
Adam’s Hock block plane kit
Last weekend, Adam bought a block plane kit form Hock Tools, at the Woodworking in America market place. We finally had the time, this weekend, to put it together.

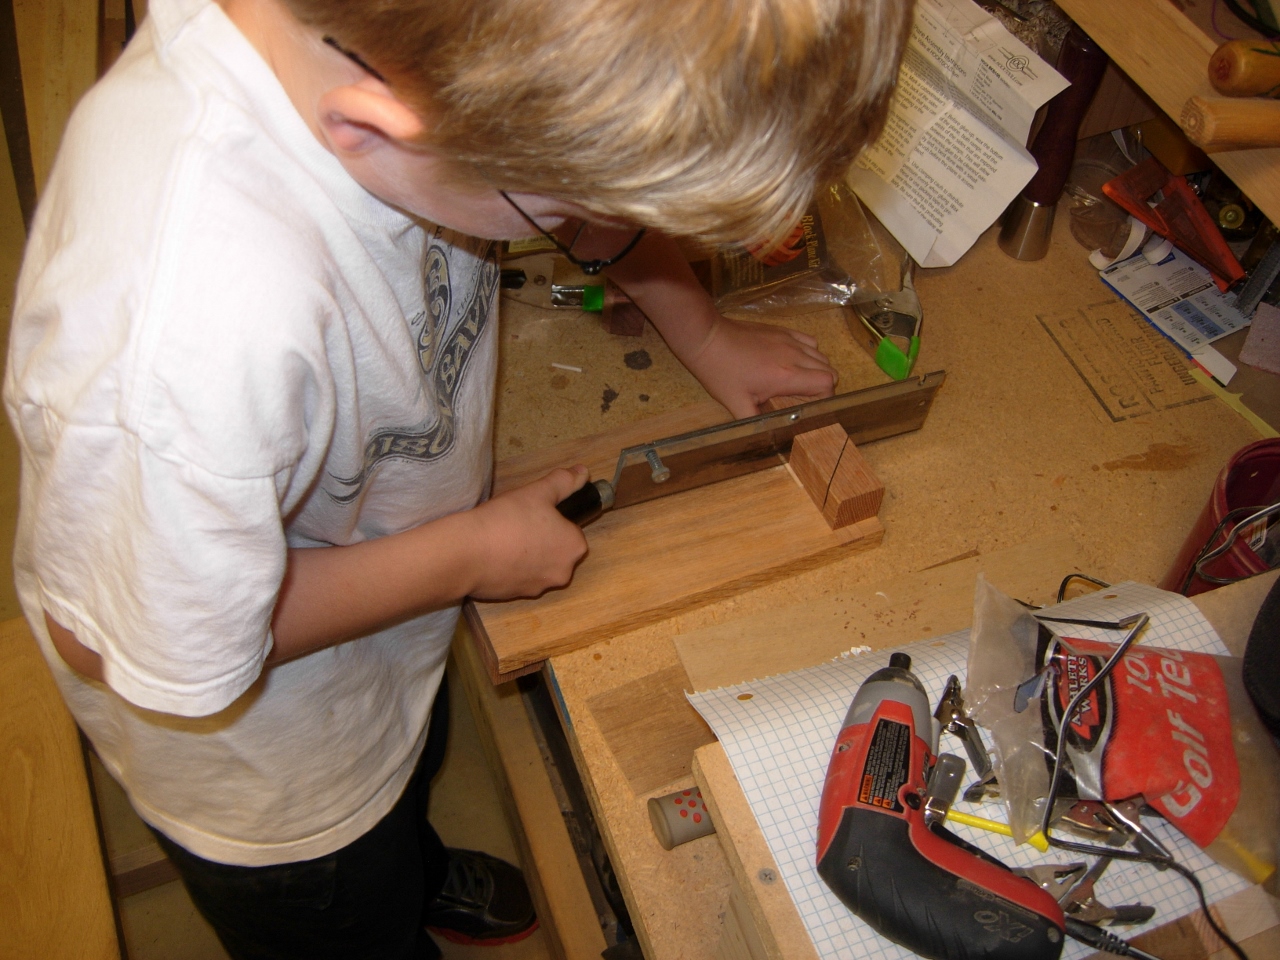
Clamping and drilling the body
I tried to let Adam do as much of the work as possible, but I had to help a little. He started by assembling the rear and drilling locating holes. Next he cut the supplied dowel to make the locating pins.
Cutting the dowels
After pinning the rear in place, he repeated the process with the front.
Pinning the back in place
Then he marked the location of the opening in the middle. Once everything was located and marked, the instructions say to take it all apart and apply paste wax to the bottom and the inside surfaces to prevent glue squeeze-out from sticking. We ran into a slight problem getting everything apart at this point. We drove the pins all the way in and they seated very tightly. The thing did not want to come apart… A pair of pliers and a judicious use of a chisel on the outside ends remedied the situation, but I would advise not seating the pins all the way down next time.

Marking the opening
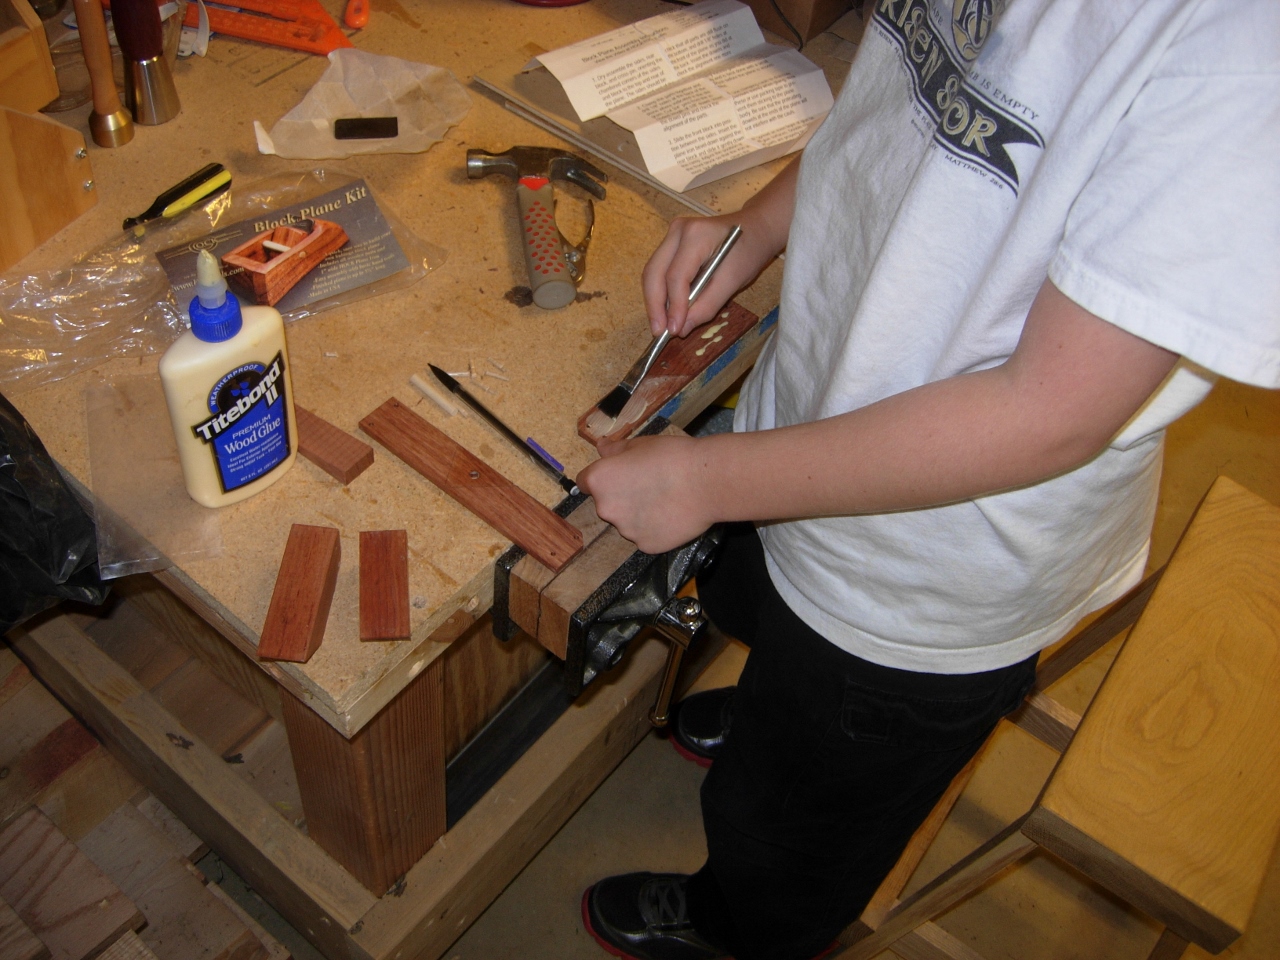
Applying paste wax
Adam applied the paste wax, with a paper towel, then the glue, with a brush.
Applying glue
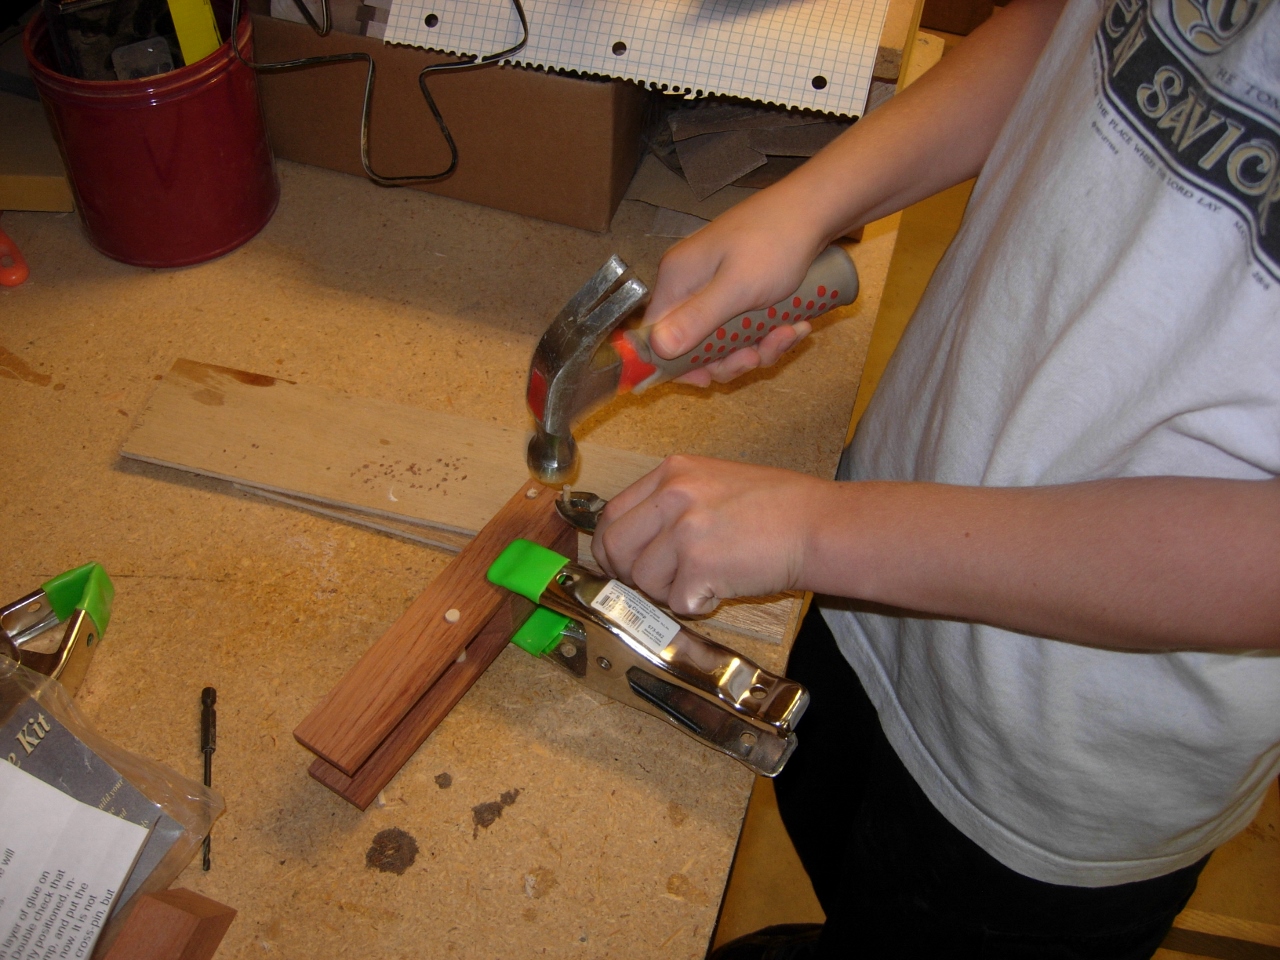
We then re-pinned it and clamped it up and let it set overnight.

Re-pinned and clamped
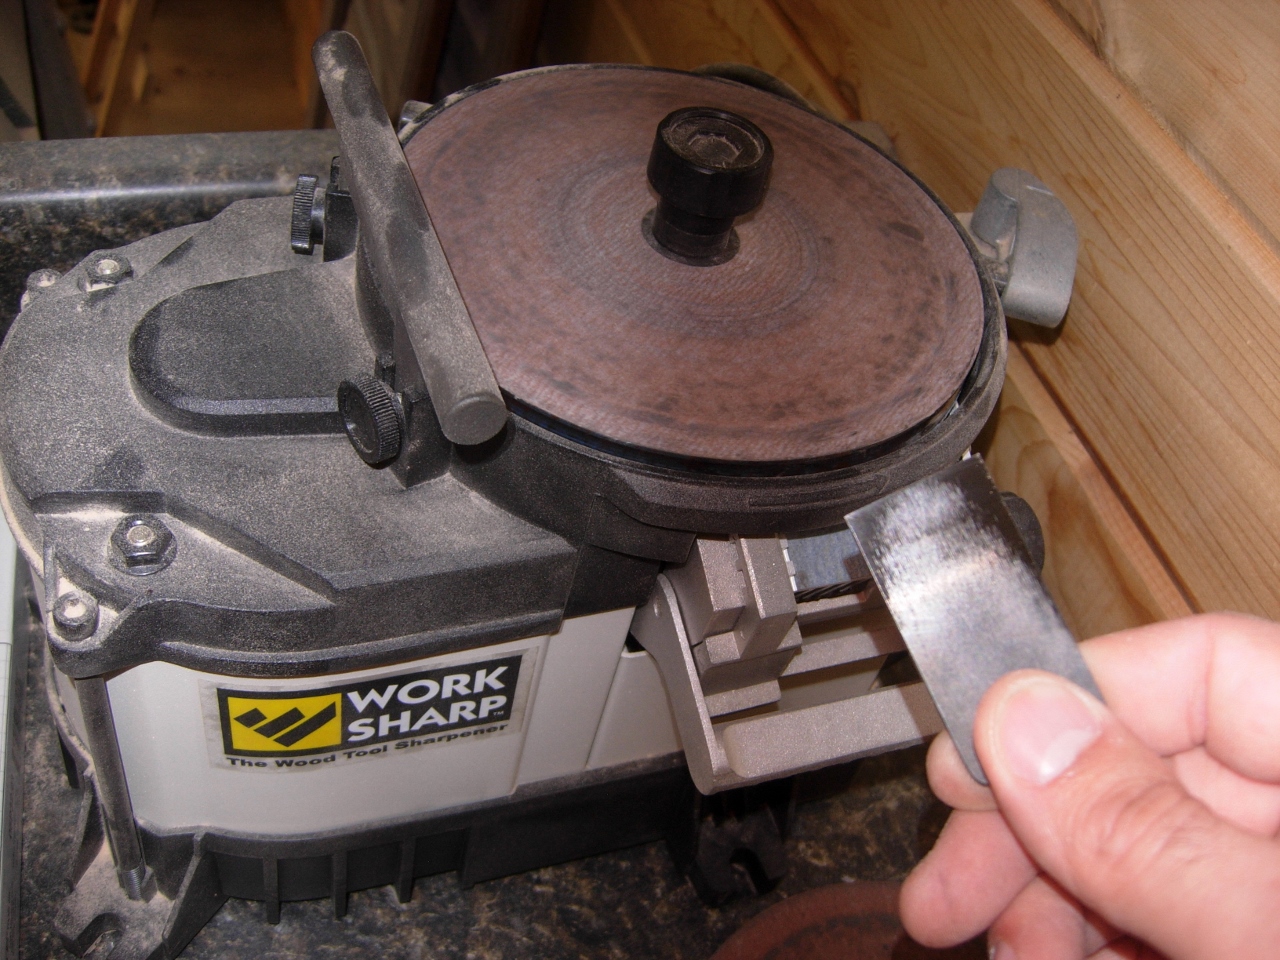
Flattening the back of the blade
Day two started with sharpening the blade that came in the kit. I flattened the back on my Work Sharp sharpener, then sharpened the front to a 30 degree bevel.

Sharpening the blade
After honing it on the leather wheel, the blade was razor-sharp.
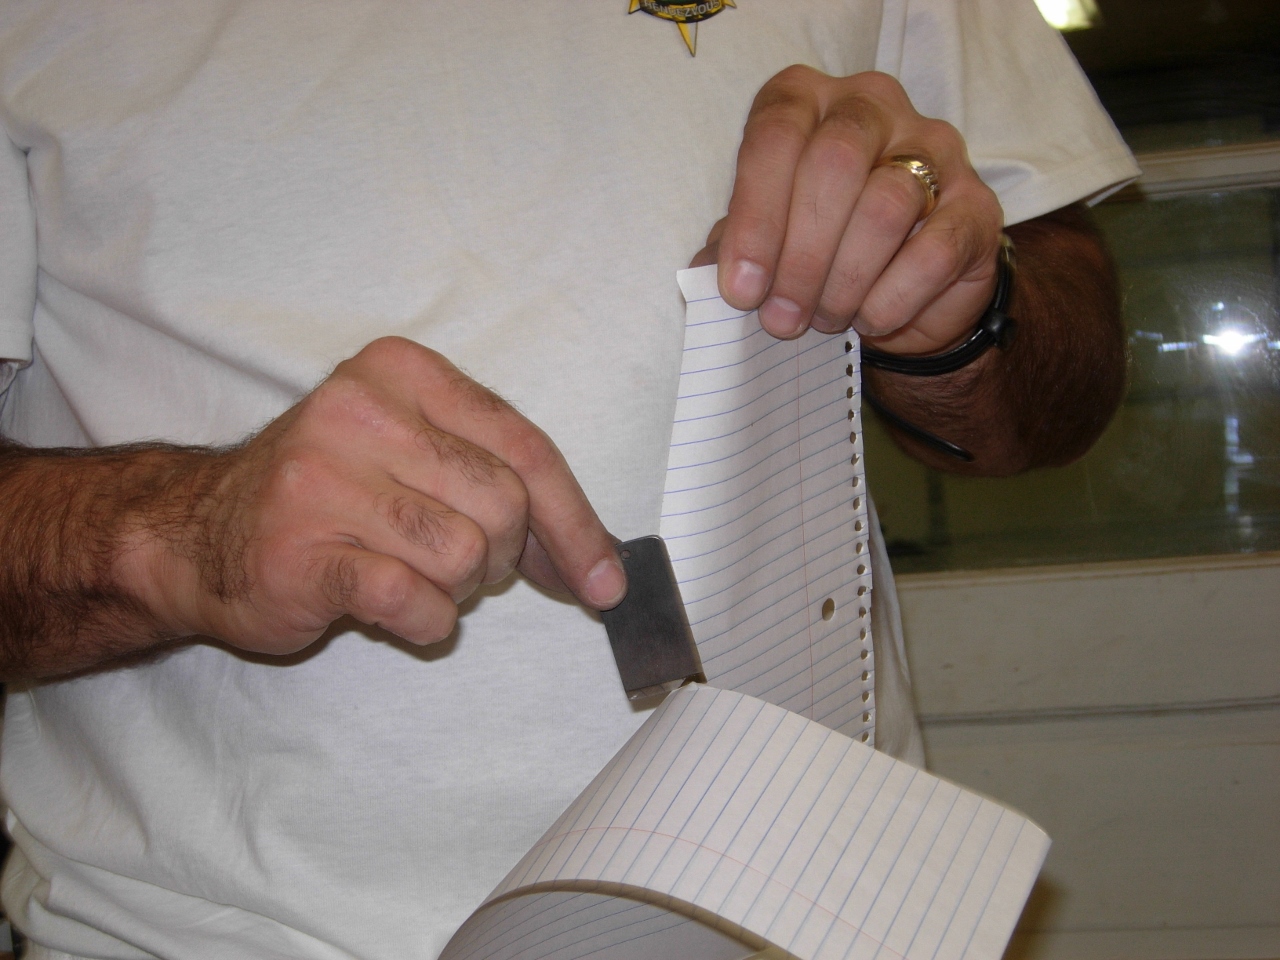
Cuts like a razor
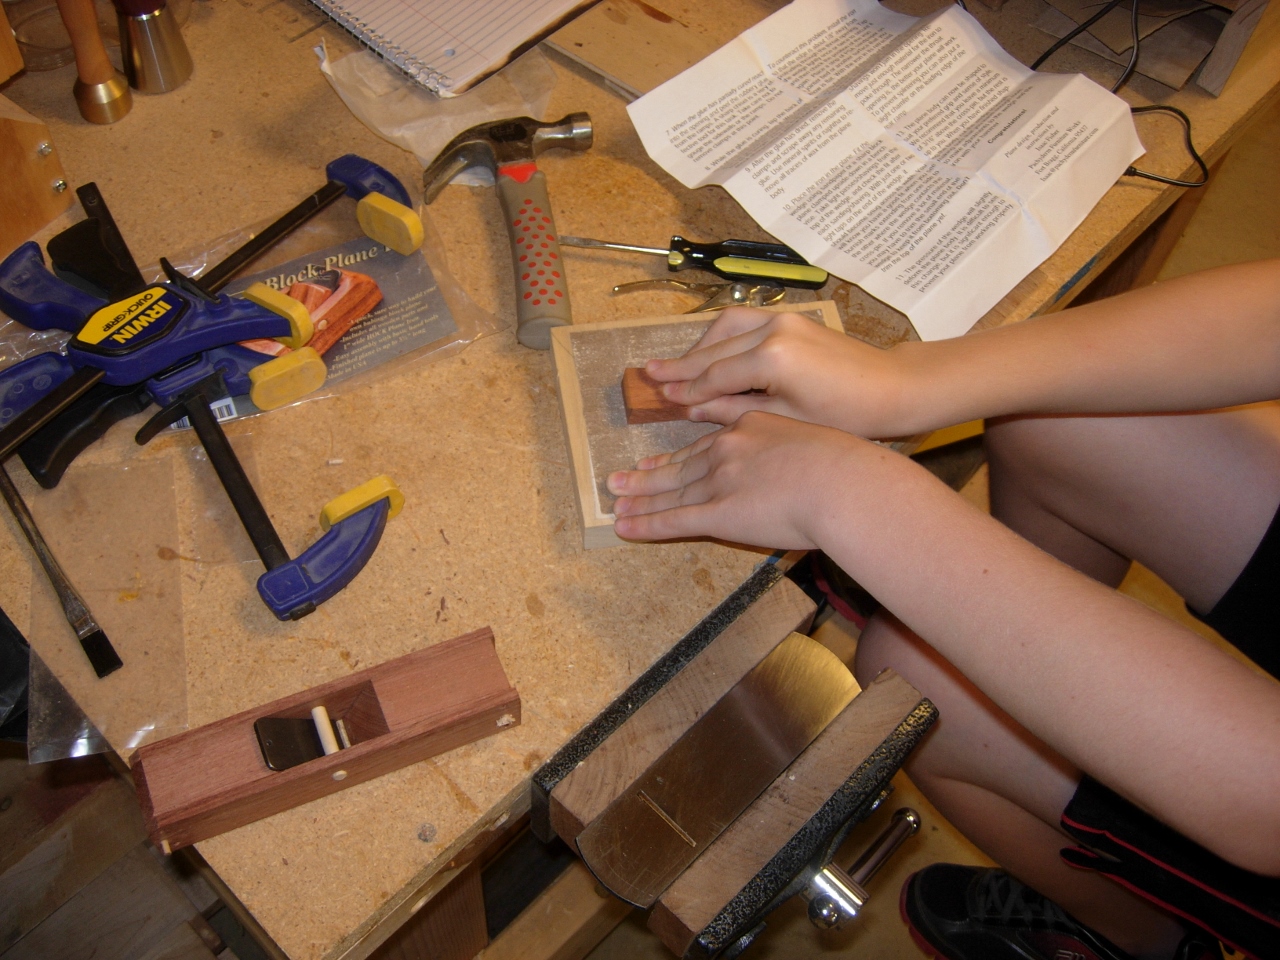
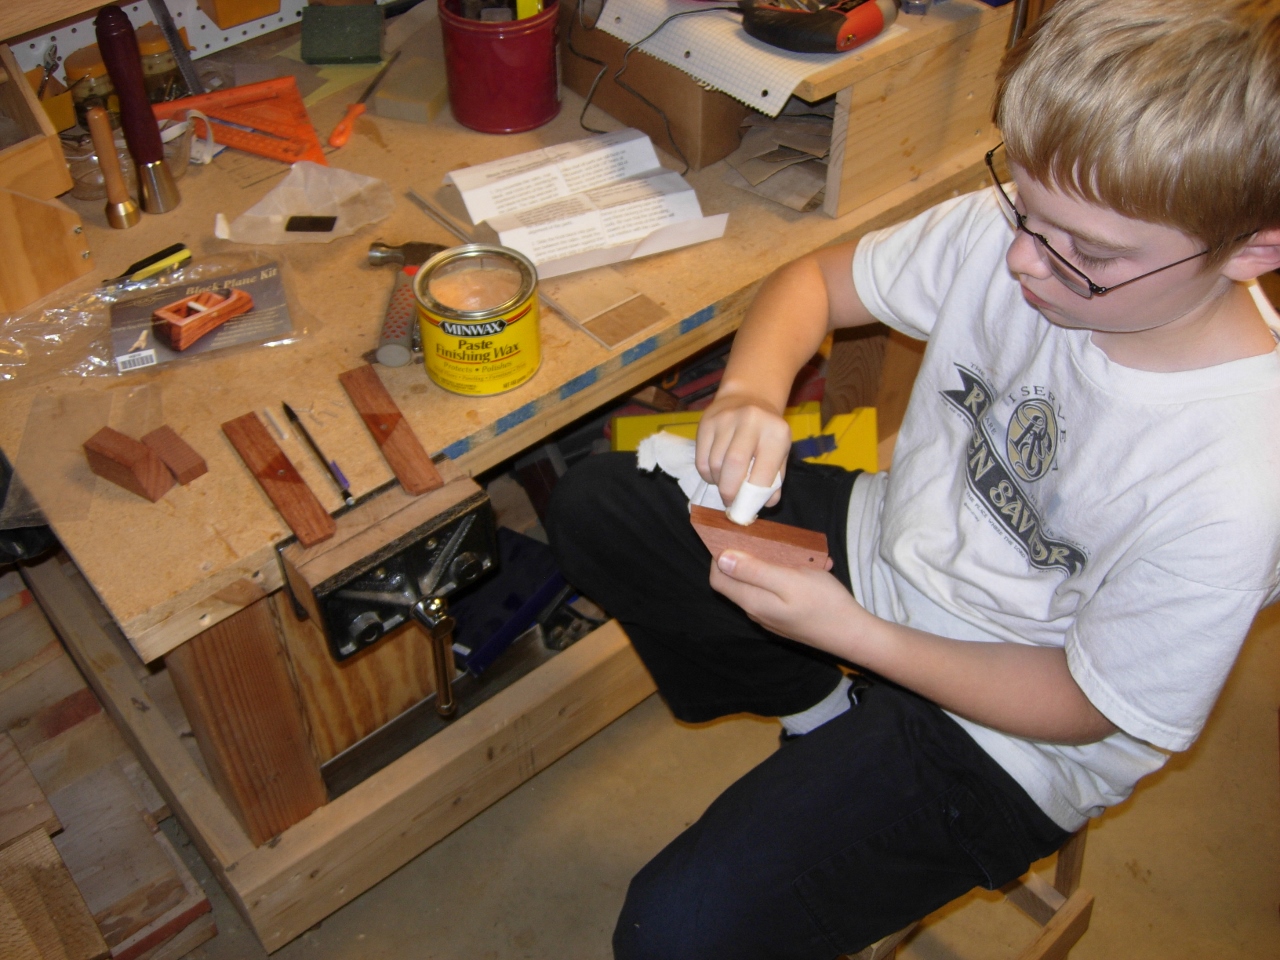
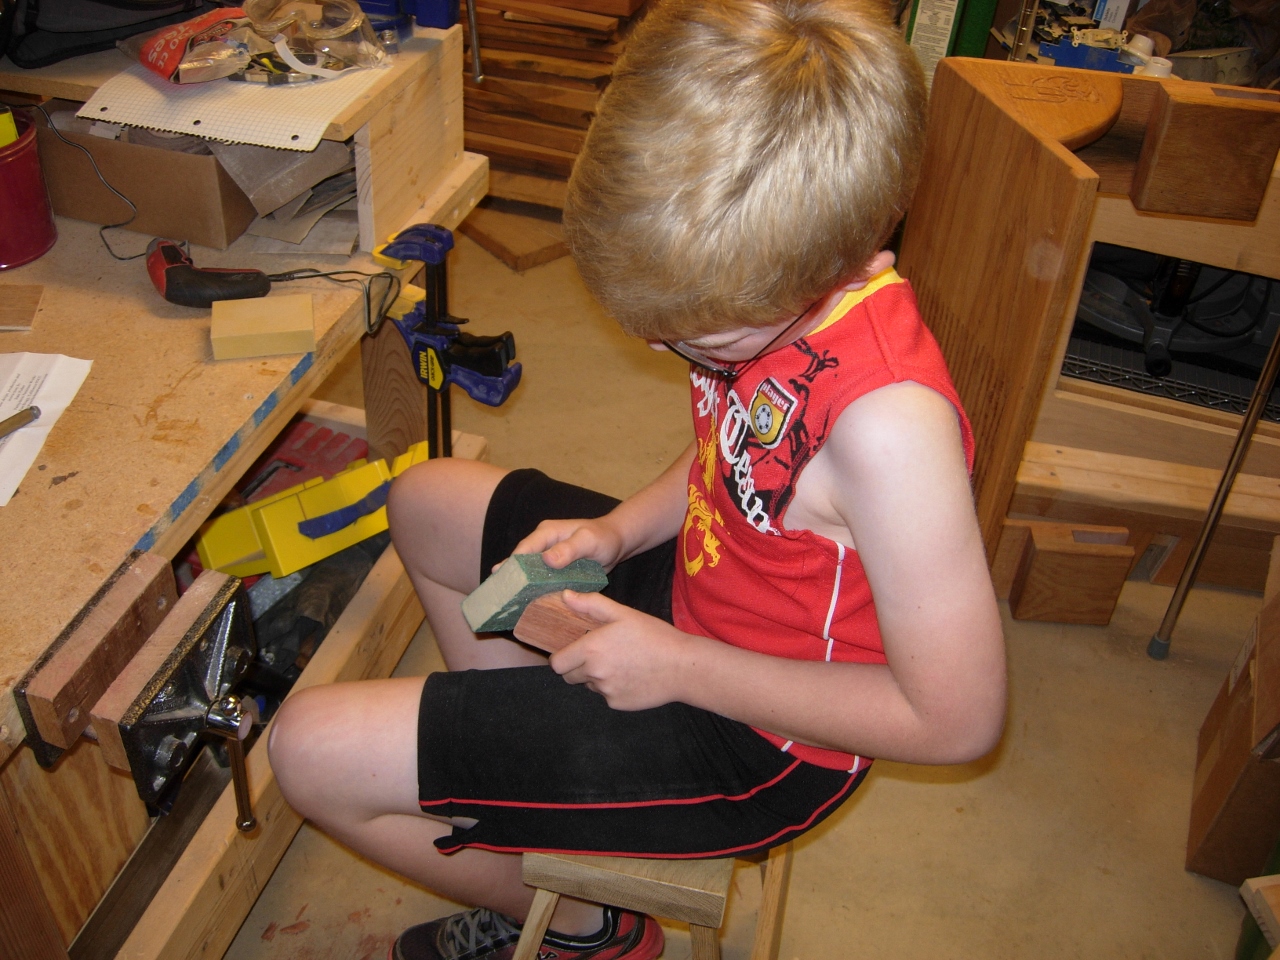
Sanding and planing the wedge
With the blade ready and set in place, we sanded and planed the wedge until we had a nice fit.

Wedge fit

Flattening the sole
Then Adam flattened the sole of the plane on a sheet of sandpaper. He used a small mill file to open the mouth just enough for the blade to slip by.

Opening the mouth
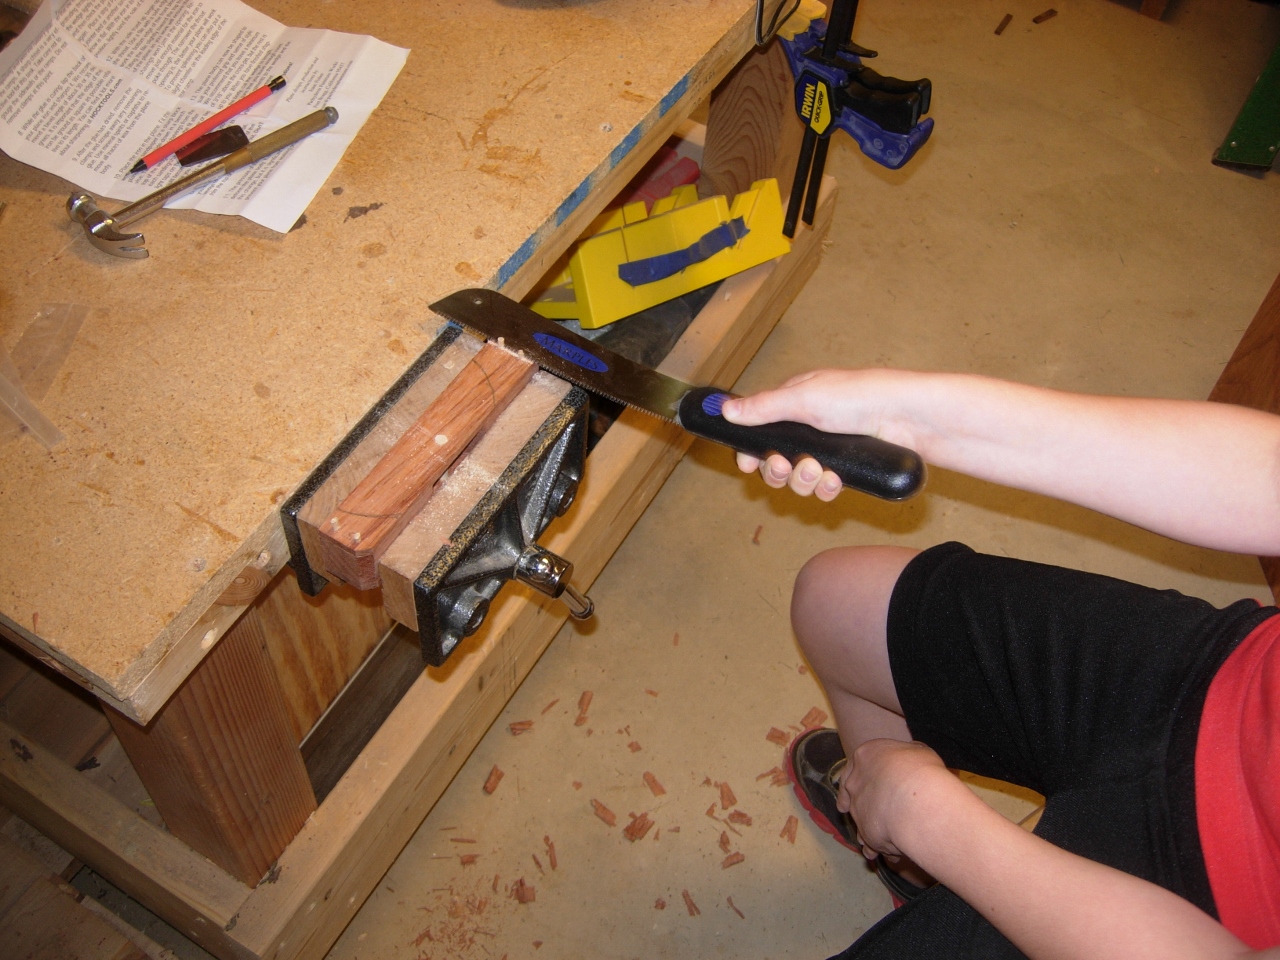
Trimming the dowels flat
With all of that done, it was time to shape the plane. We sliced off all of our dowel pins and sanded the sides flat. This enabled Adam to cut the desired curves to the front and back, on the band saw.

Cutting the rough body shape
The curves were smoothed out on the spindle sander.
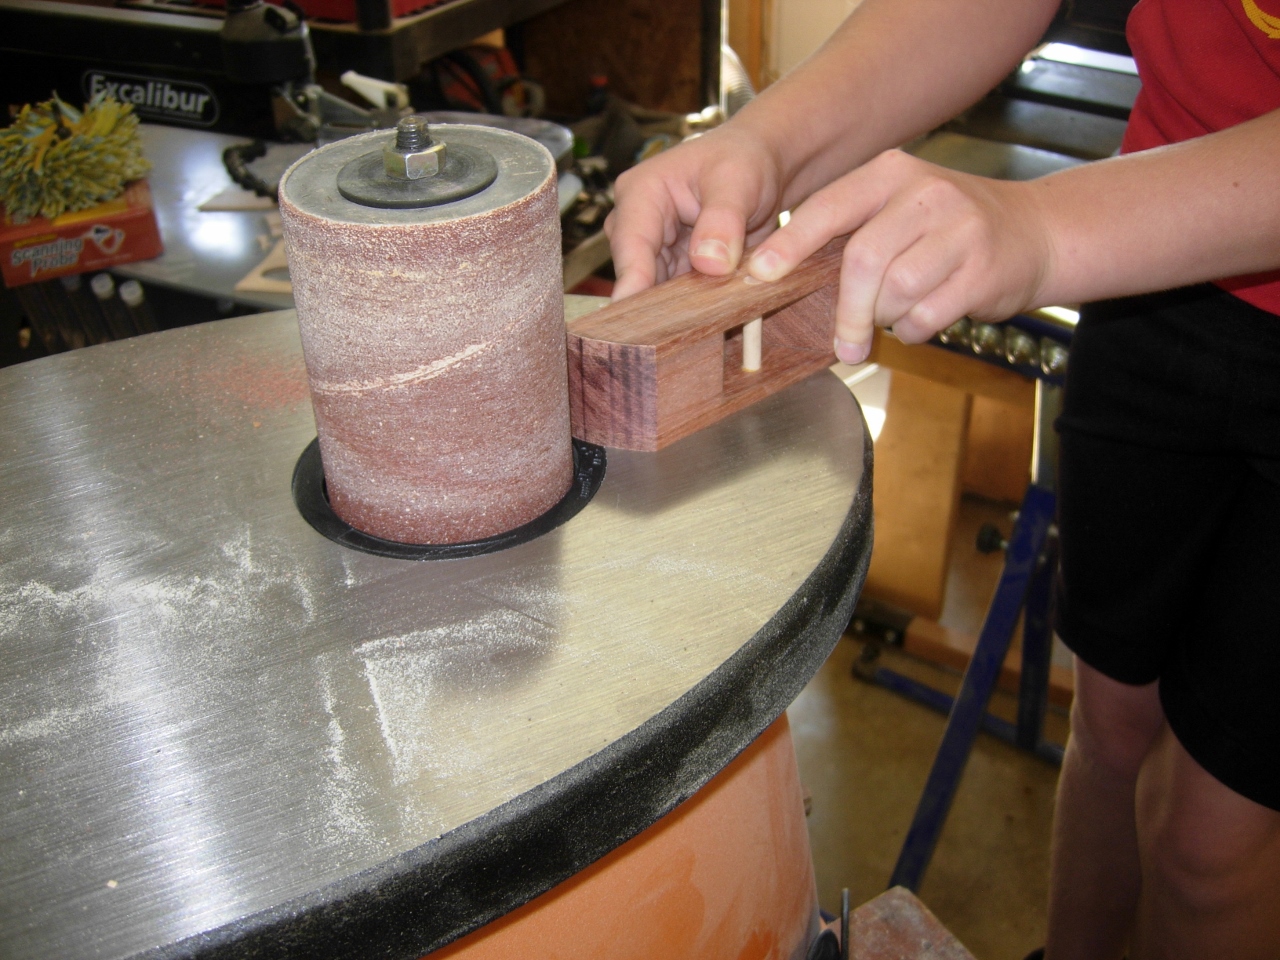
Sanding the curves
Then the fine tuning of the shape began. Adam used my Auriou rasps to round off all of the outside edges.

Rounding the edges
Final sanding
After a final sanding, we set the blade and he gave it a test run.

Test run successful

Adam’s plane is complete
Perfect shavings! Adam’s plane is complete and just the right size for his small hands.

Finished block plane
Thanks again to Ron Hock of Hock Tools for putting together this neat little kit, just Adam’s size.

Adam’s new best friend, Ron Hock

Nice job Adam! Lawrence, you’re making great memories! Keep up the good work.
Michael
These are day’s that you both will remember with great fondness:)!
Reblogged this on The Sharpening Blog and commented:
My new best friend built his HOCK block plane kit http://www.hocktools.com/Kits2.htm#KB
great post – this looks like a fun project. Did you trim the length of the plane?
Yes, he cut about an inch 1″ off each end. The kit was about 6″ long originally. Adam wanted it smaller for his hand. I like the longer one that I tried at Ron’s booth at WIA.
Pingback: High school woodworking class – day 2 | Midnight Woodworking