
Laundry room cabinets – day 9
I only had a couple of hours to work last night, so I made the shelves for the cabinets.

Ripping plywood for shelves
I had some 3/4″ oak plywood, so I ripped it down to 22″ . That will be the depth of the shelves plus the edge-banding. Since I have had problems with my plywood being square, I wanted to cut the shelves to length on something besides the table saw. I decided that my sliding miter saw would be worth a try. I cut more than half way through, then flipped the shelf over and lined up the blade with the previous cut. It worked well enough, though a bit awkward.

Square cross-cutting with the sliding miter saw
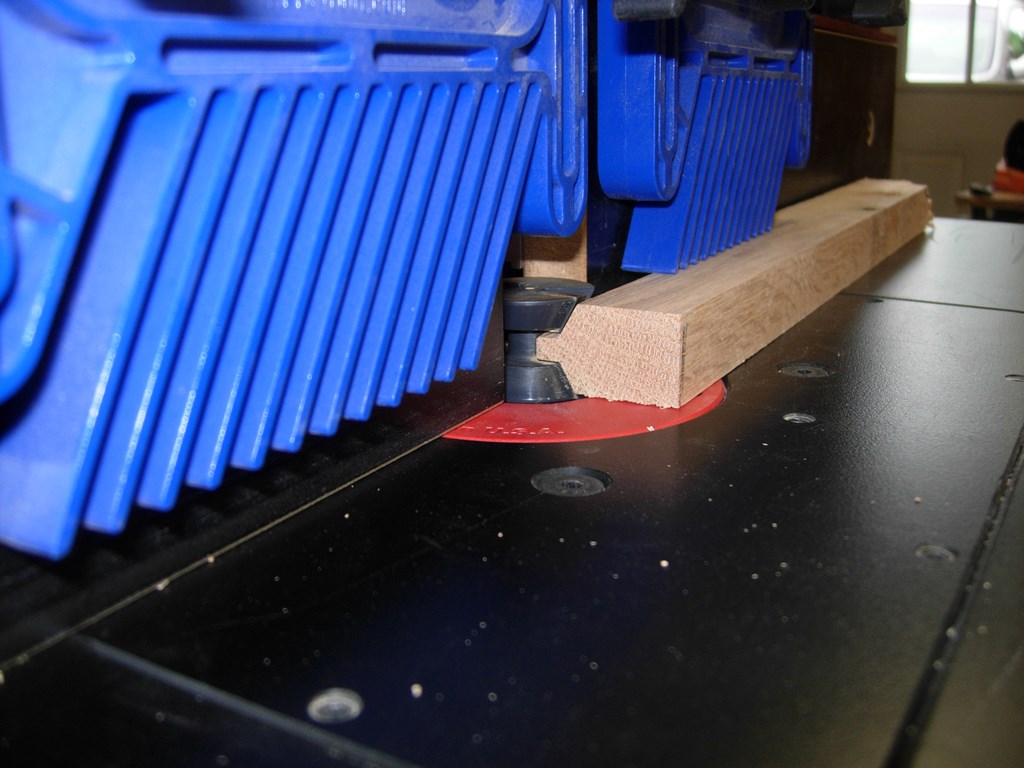
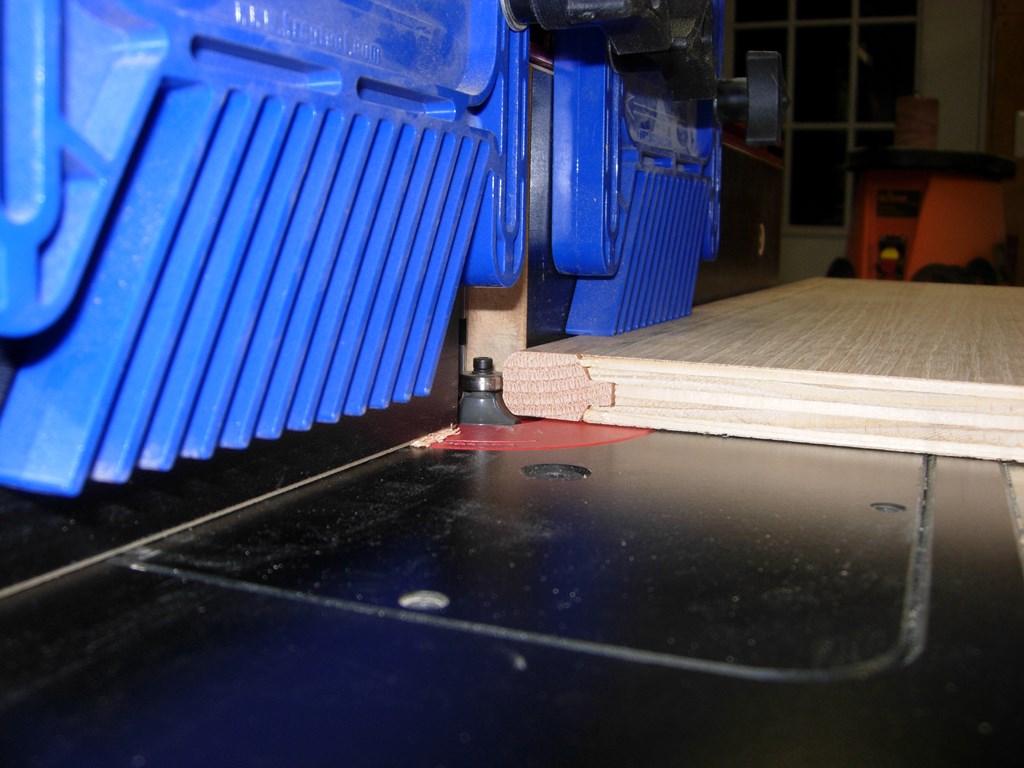
Next step was to set up the router to cut the female side of the edge-banding into the plywood.

Routing the edge-banding groove
After that, I cut some strips of oak and ran them through the opposing, male cutter, to create the edge piece.
Routing the male side of the edge-banding

Applying glue to the groove
I brushed glue into the groove, then set the edge piece in with a rubber mallet, then clamped the edge firmly in place to dry.
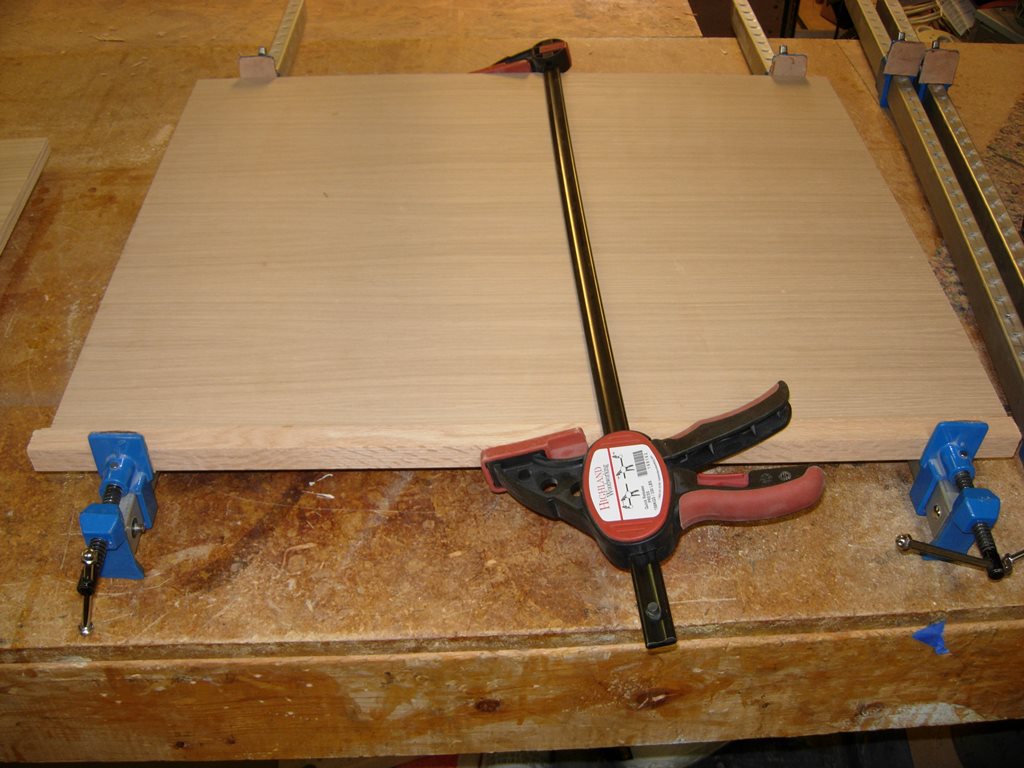
Clamping the edge-banding on
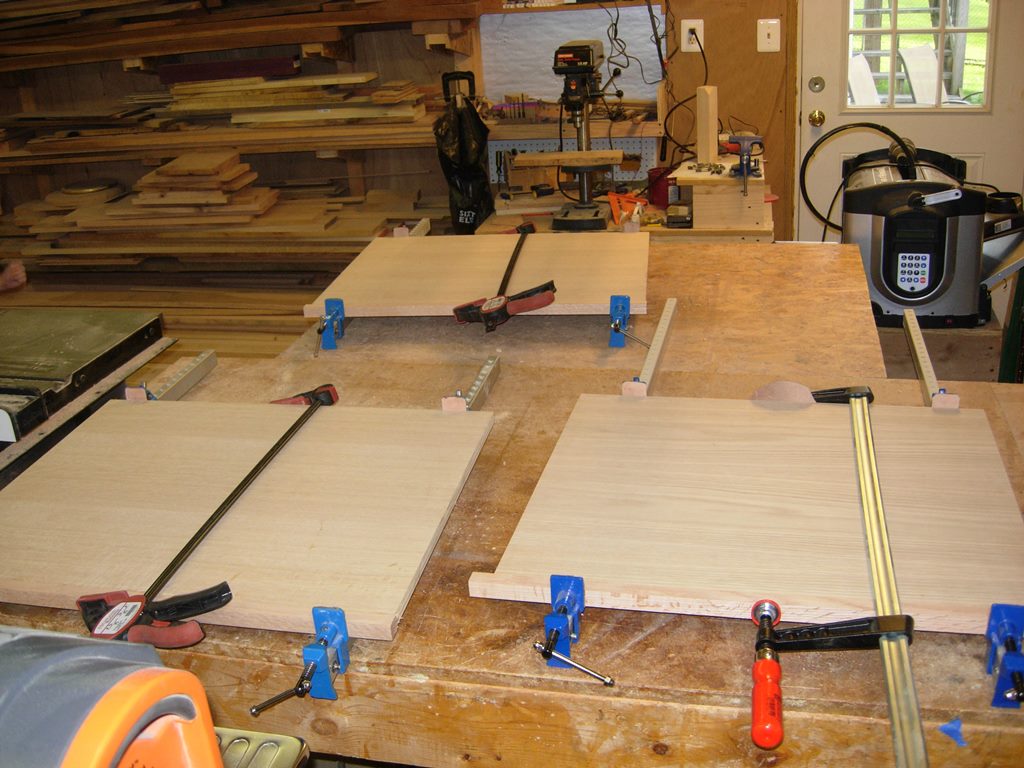
All three shelves glued and clamped
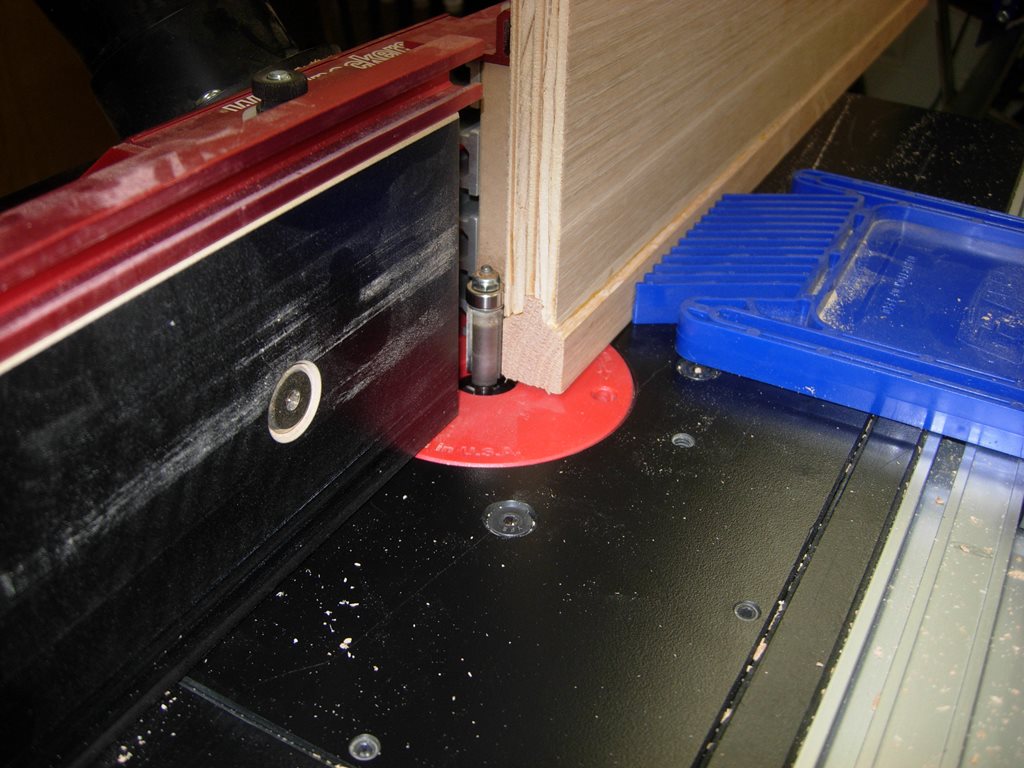
Flush trimming the new edge band
After a couple of hours, the glue was dry enough to run the shelf through the router, with the flush trim bit installed.

First shelf trimmed
When all the shelves were trimmed flush, I cut a 1/4″ round-over on the top and bottom of the front edge of the shelf.
Routing a round-over on the edge
When the shelves were complete, I did a test fit in the cabinet boxes. The 3/4″ plywood is good for a strong shelf, but the 1-1/4″ deep piece of oak will add just a bit more strength to help resist sagging under a load.

Shelves complete
The last thing to cut is a piece of crown moulding, then its time to spray some polyurethane. I need to clean my shop and set up my temporary spray booth this weekend.
