
Laundry room cabinets – day 3
With the plywood cut, I am now ready to start building the individual cabinets. My design is a little different that a standard kitchen or bath cabinet. These cabinets will be suspended, up in the air, above the washer and dryer. I want them to be rigid and strong. My plan is to build an oak frame that I can attach the plywood to. This will keep everything square and give me a rigid top and bottom, to each cabinet, that I can attach the face frame to.

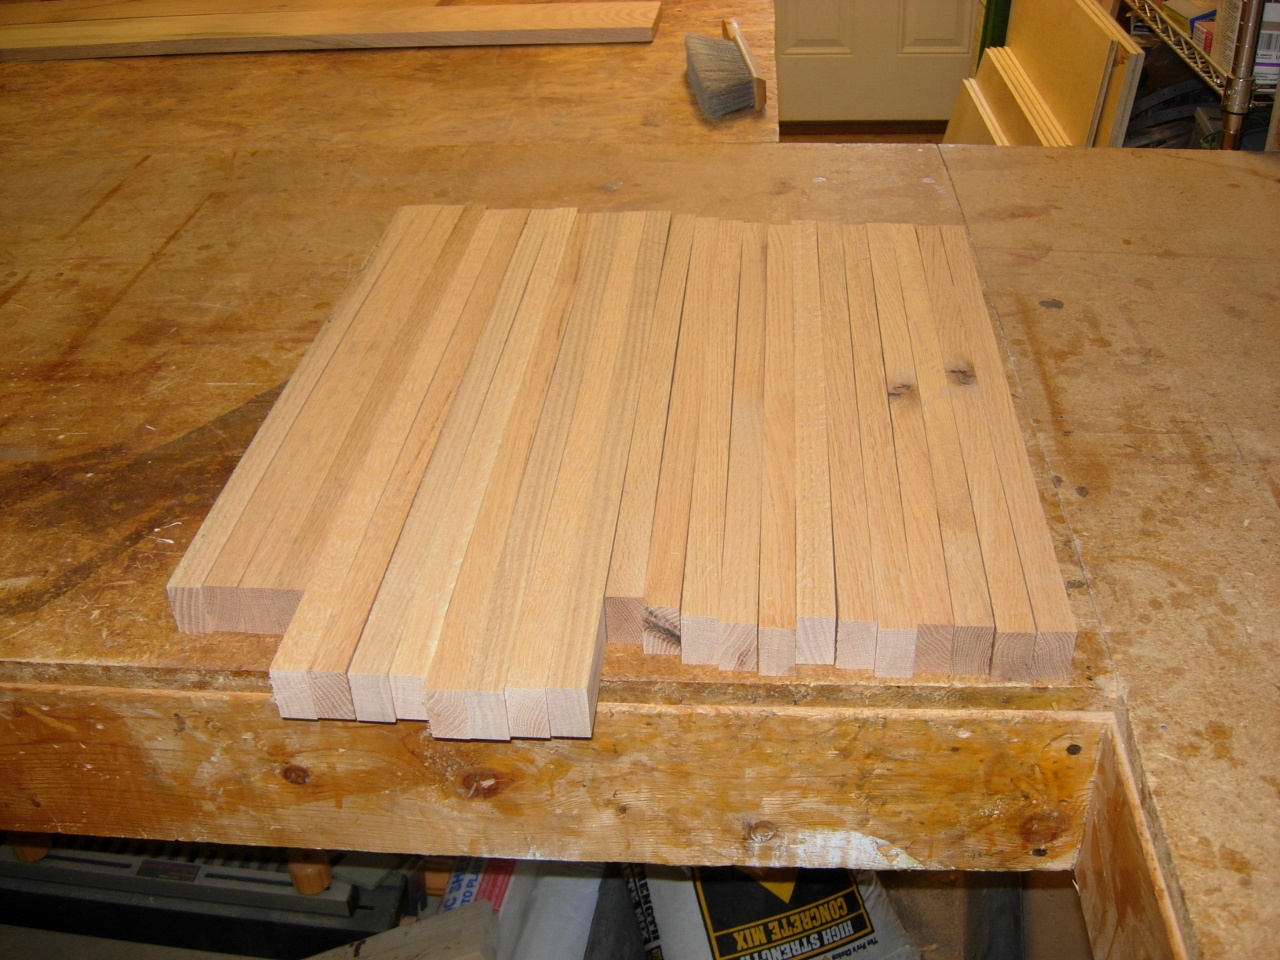
Ripping 1-1/2″ strips
To create the frame, I rip a pile of 1-1/2″ wide strips from some 3/4″ thick oak that I have. I figure up the lengths based on the dimensions of the inner plywood shell of the cabinet, and cut each strip to the desired lengths.

Cutting the strips to length

Gang jointing the strips on the planer
To clean the strips up, I gang joint them on the planer, running 4 strips through at a time.
Strips cut and planed
I set aside all of the 23″ long side pieces for later, then take the front and rear pieces over to my Kreg pocket hole jig. I drilled two pocket holes into each end of them.
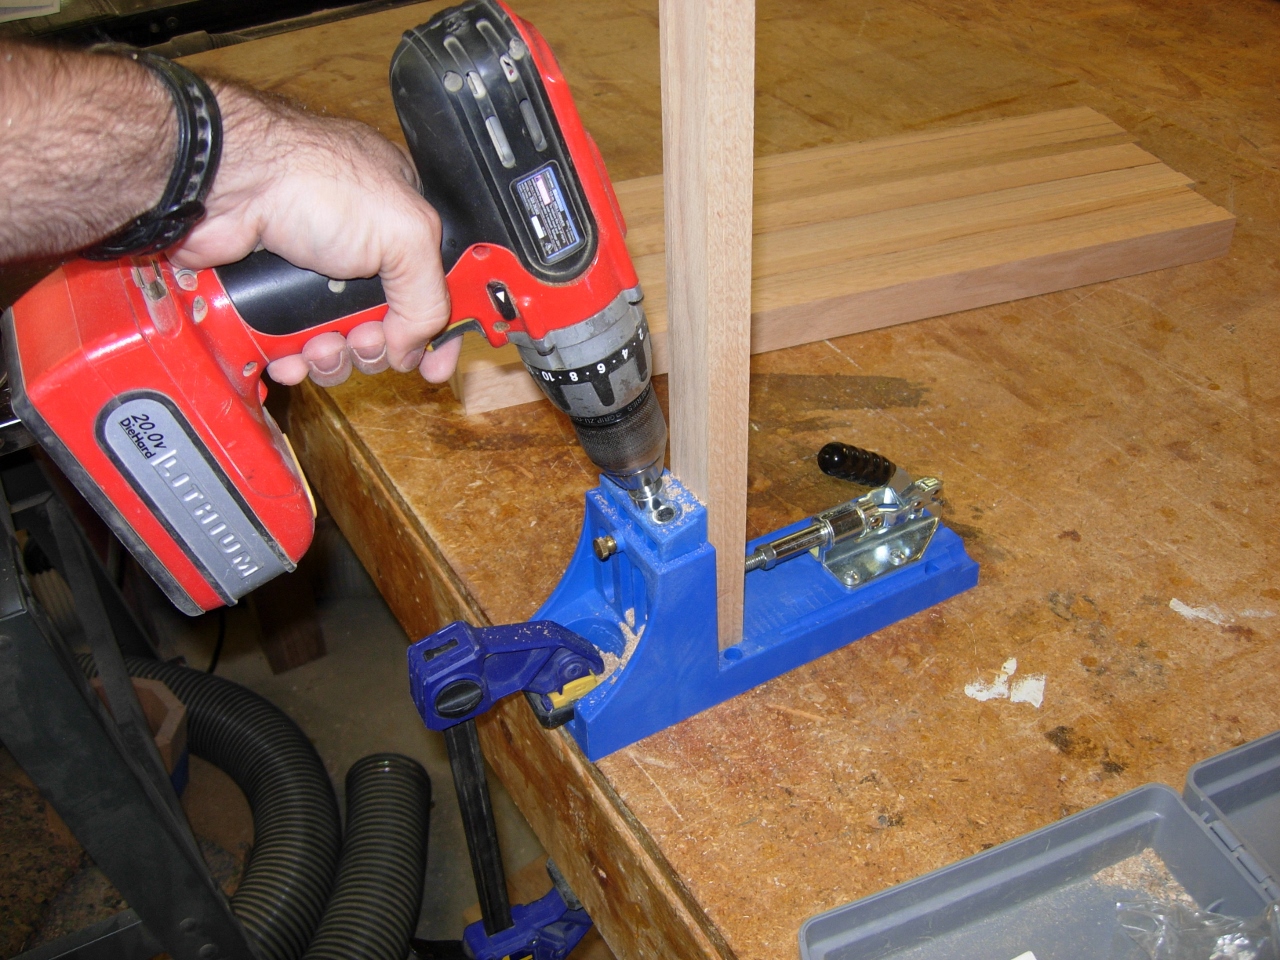
Drilling a double pocket hole
I clamp the frame together tightly, making sure that all of the edges are flush, then install a fine threaded 1-1/4″ pocket hole screw into each hole.
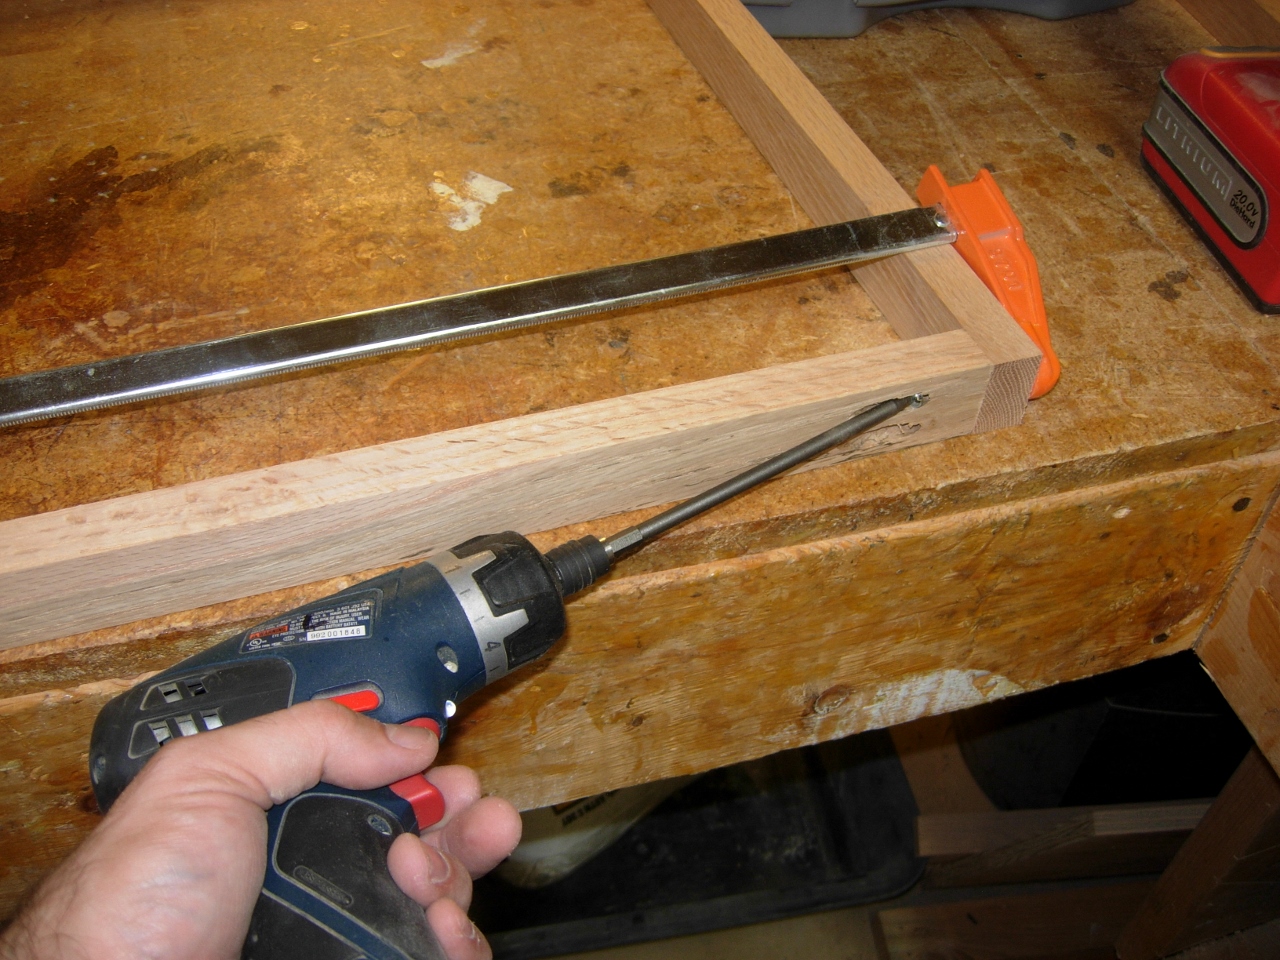
Assembling the frames
The reason that I prefer to use pocket holes is that they always draw up tight and square, as long as you cut the end square to begin with. I check each frame for square, but there are no problems.
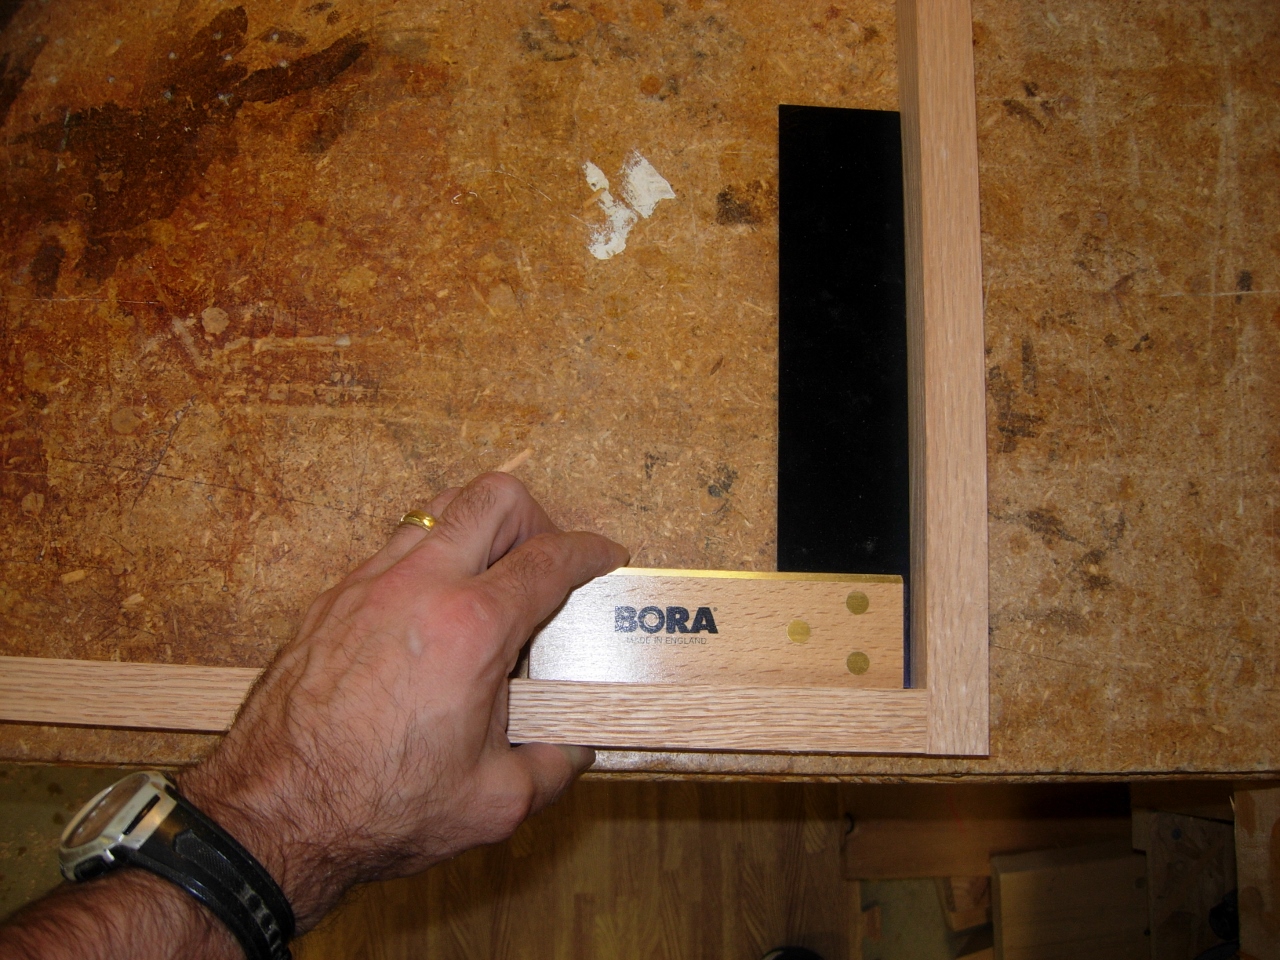
Always square
I have a top and bottom frame for each of the three cabinets. The two outer cabinets are wider than the center one so two of the frames are slightly smaller.

Frames assembled
Earlier, I placed a mark at the top of each side piece of plywood, so that I assemble the sides in the same direction. Remember that I installed the shelf standards flush to one end of the plywood. That will be my top end, insuring that my shelves would be level. I will be glueing everything together so it would be bad to have some of the shelf standards upside down…
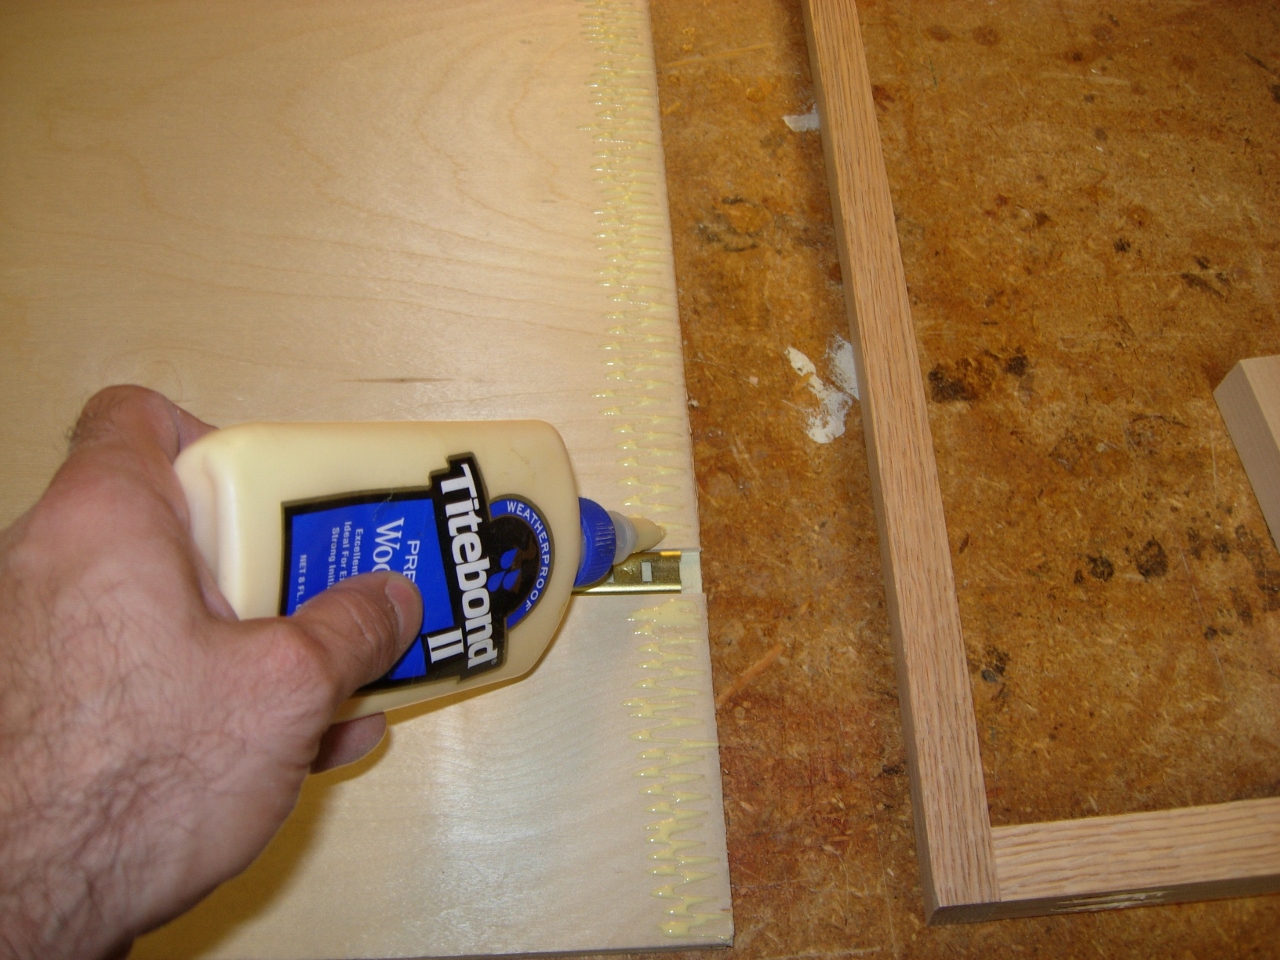
Applying glue to frame locations
I applied glue to the top and bottom of the side pieces and screwed the frames to them, holding them flush to the outer edges.

Attaching The sides to the frames
With the sides attached, I ran a bead of glue around the back edges.

Sides attached, glue applied to the back edges
I used my 18 gauge brad nailer to attach the back panel using 1-1/4″ brads.
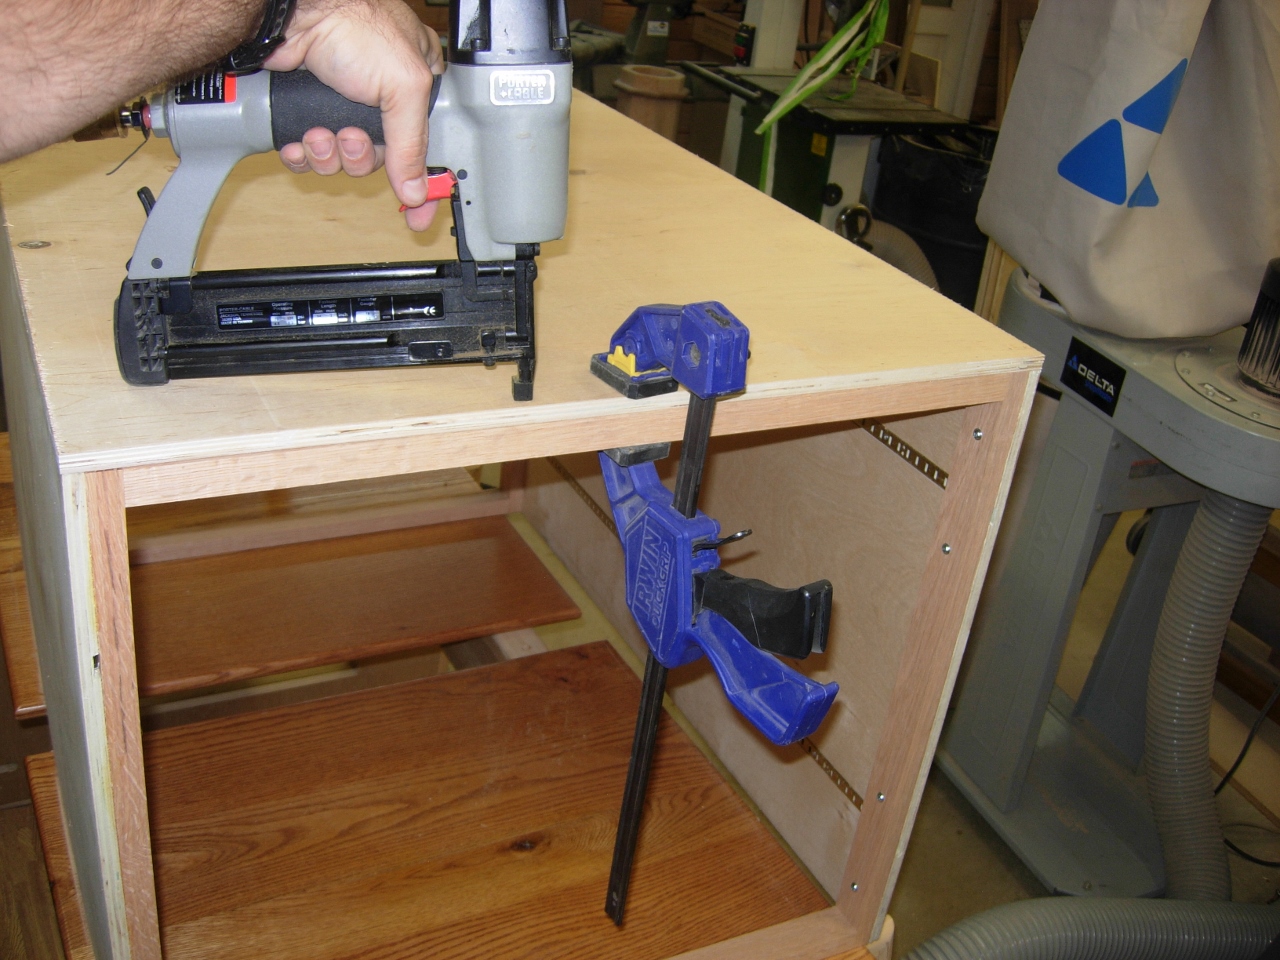
Nailing on the back

Glue applied to the inner facing edges of the frame
To attach the top and bottom panels, I ran glue around the top of the bottom frame piece and nailed the bottom in place.

Nailing in the bottom panel
I flipped the cabinet and repeated the process for the top.

Top and bottom attached
This completes the first cabinet box. It is rigid and heavy, and perfectly square. Tomorrow, I should be able to get the other two cabinets assembled, then I can start milling down the oak for the face framing.
