
Laundry room cabinets – day 2
I finally got a chance to get back to the cabinets I started. I have been so slammed with things to do, outside the shop that I haven’t been able to post anything. I should be able to make a lot more headway on my shop projects over the next week. I think I have at least half a dozen of them.
I did manage to grab a couple of hours to work in the shop today, so I worked on cutting grooves for installing the adjustable shelf standards. For the last couple of cabinet projects, I cut the dados with a router. I wanted to try something a little less messy, so I am cutting them on the table saw today. To start, I set the blade depth to match the thickness of one of the shelf standards.

Setting the blade height
Some of my plywood is a bowing a bit, so I clamped a shop-made feather board to my fence, to hold the plywood as flat as possible to the table.
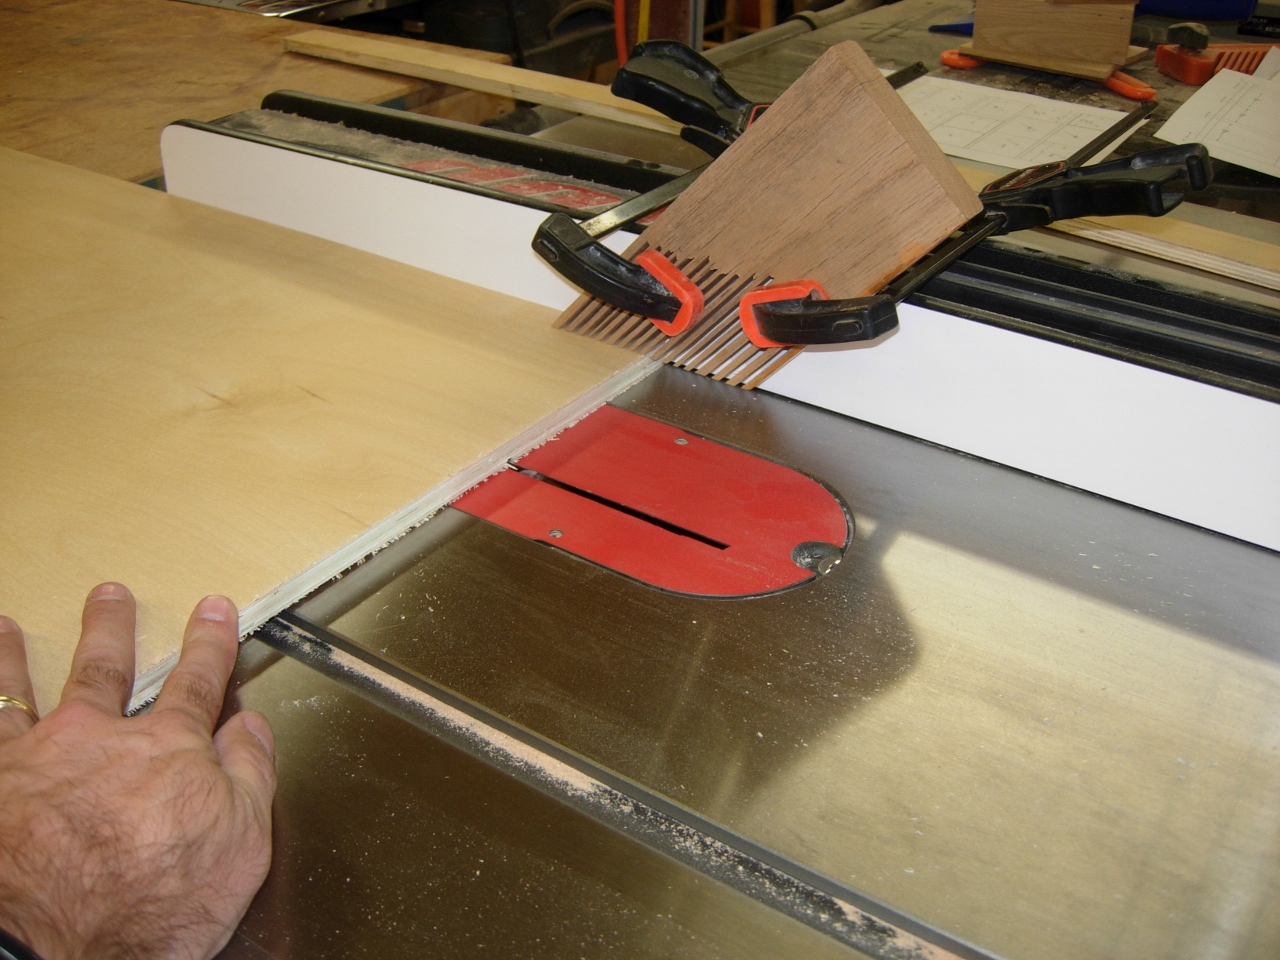
First cut
I set the fence 5″ off the blade and ran my plywood sheets down both sides.
Cut 5″ in from each side
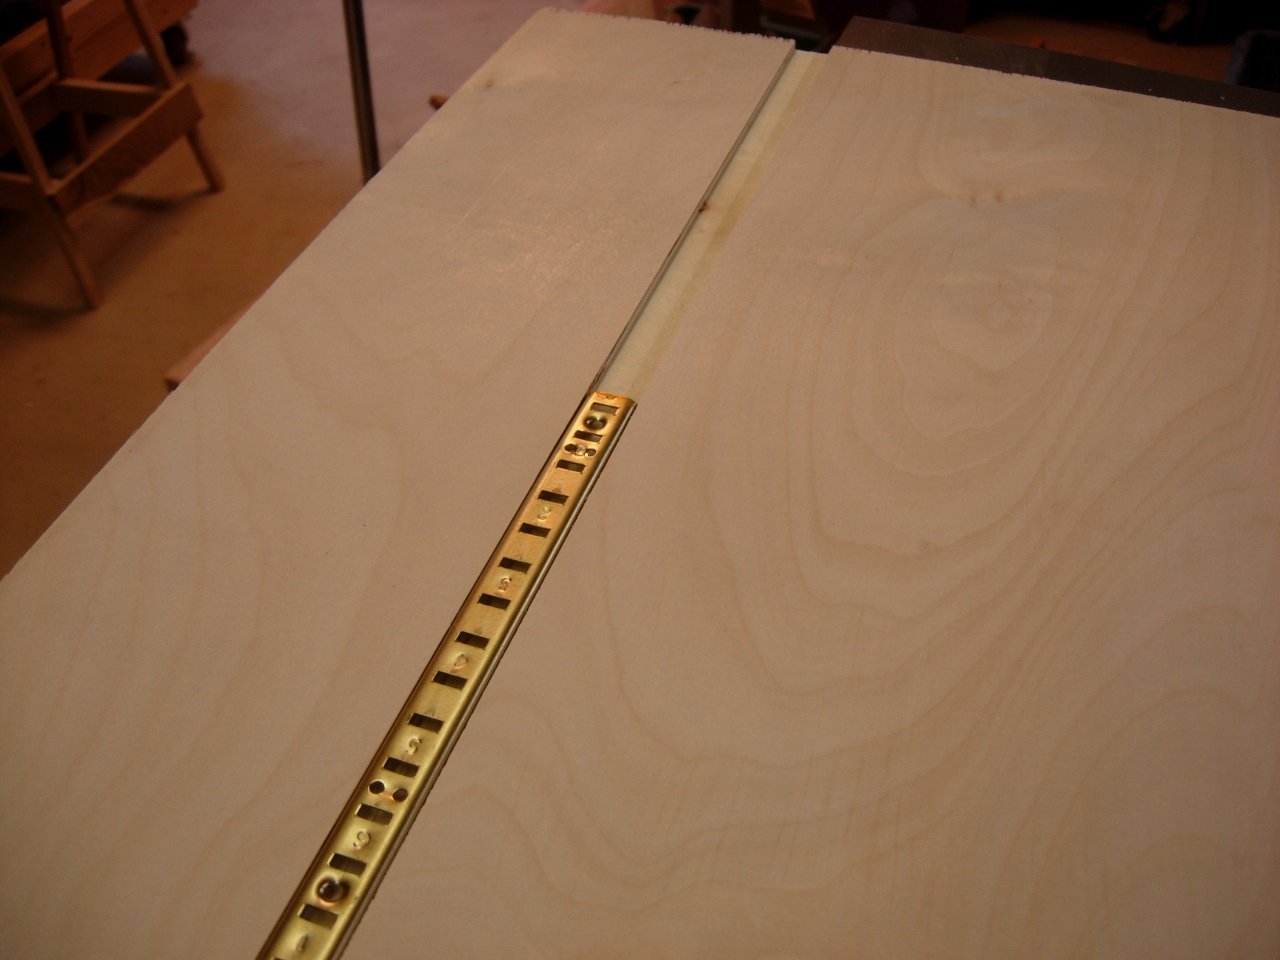
I moved the fence to 5-1/2″ and repeated the process. I laid a standard in the grooves to test the fit.

Testing the fit
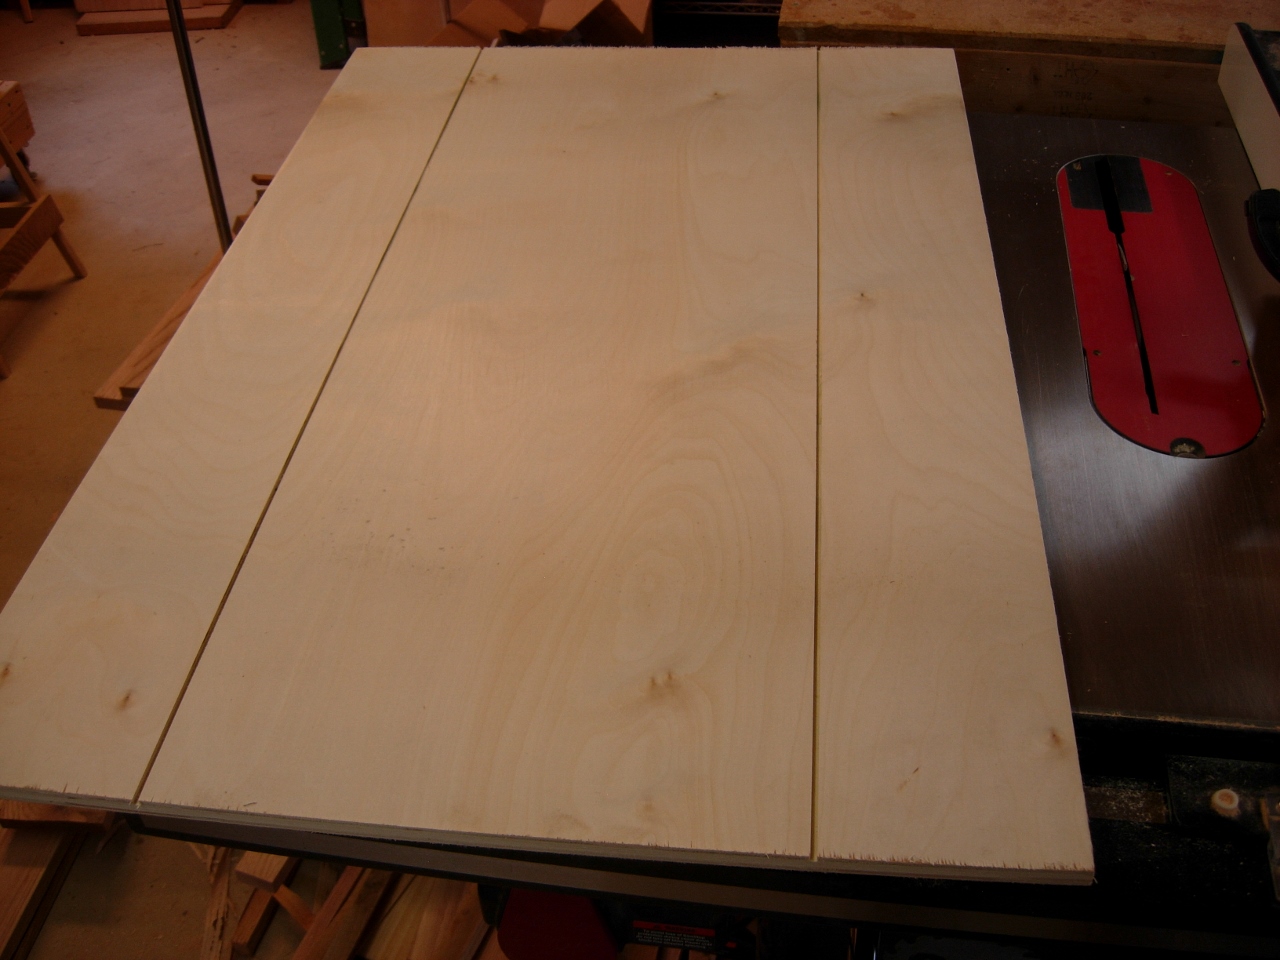
Satisfied with the size, I moved the fence in 1/8″ at a time to cut the rest of the dado.
Dados cut
The shelf standards are sold 36″ long and my cabinets are 2′-11″ tall, so I had to cut the standards down a bit. To save time, I stacked them together and clamped them up in a vise, marked 1-1/4″ in, and started cutting..
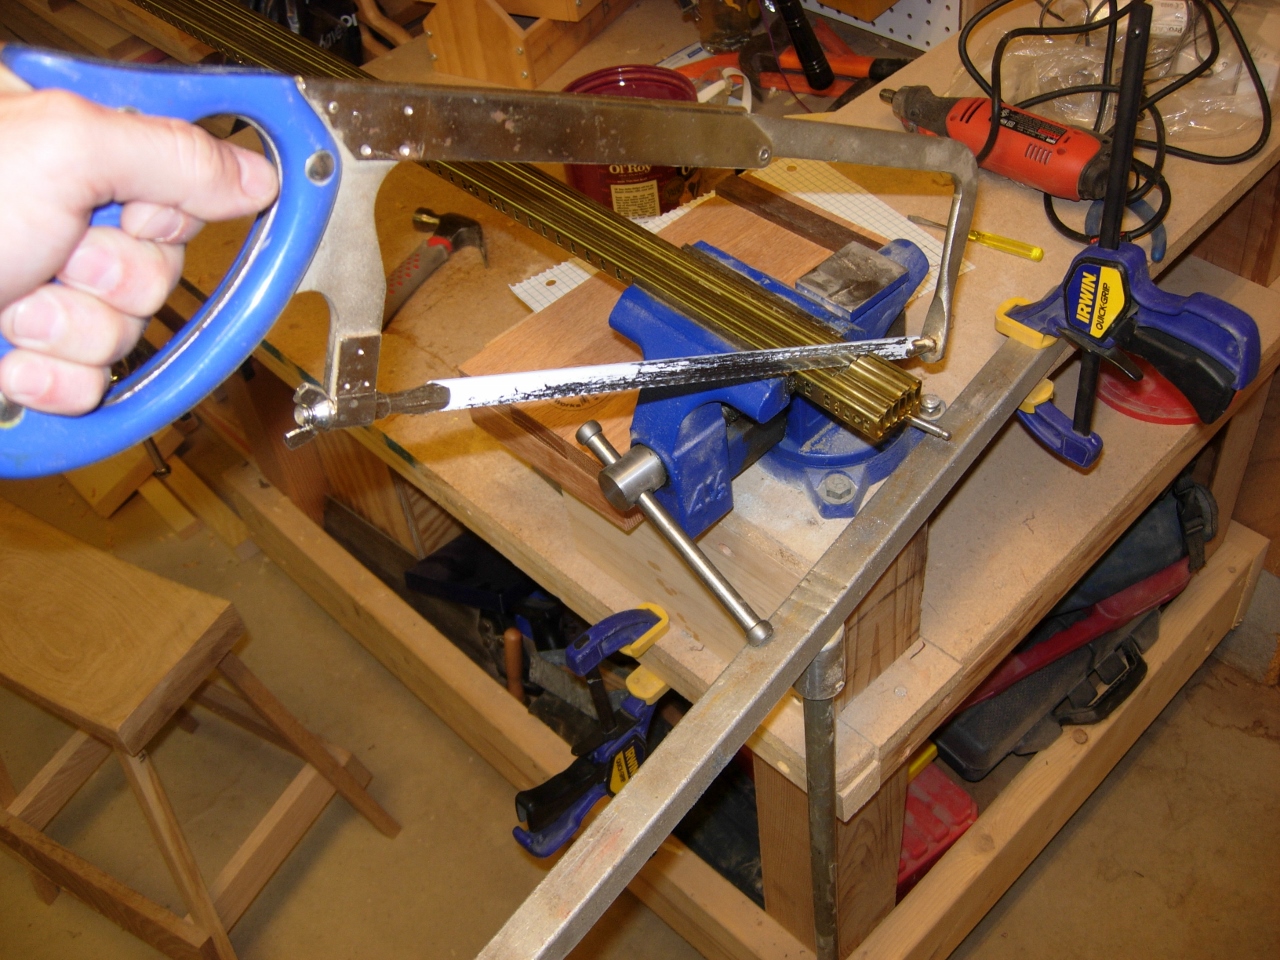
Cutting 1-1/4″ off the pilasters
To prevent metal shavings from getting all over the place, I clamped down a 24″ long bar magnet, to the bench. Not only did it catch all of the shavings, but it caught the off-cuts as well. I hit the ends with a file just to clean them up.

Using a bar magnet to catch all of the shavings
After all the standards were trimmed down, I lined them up flush to the top, and screwed them in.

Shelf standards installed
I know it doesn’t seem like much, but getting back in my shop is the first step. I am having a mini heat pump installed tomorrow (hopefully) and I have spent the last two days prepping for that. Once that is done, I can get back to work…

Pingback: A Woodworking Vise – Best Plans Work
Pingback: Woodworking Bench Vise – Best Plans Work