
Another turkey fan mount
I posted the build and the plans for this about a year ago, when I built one for a co-worker. It has, by far, been my most popular post. I had over 270 downloads of the plan. The plan was designed to be printed out full scale, on an 11″x17″ “ledger” size piece of paper. The thickness of the wood pieces are more important than the shape of the plaque, so don’t fret if you can’t print something that large, just draw your own shape.
turkey-fan-mount.PDF
My co-worker asked me to make another one, so this time I decided to refine my techniques a bit. I have learned a few tricks since the last one and I managed to build this one in about three hours.
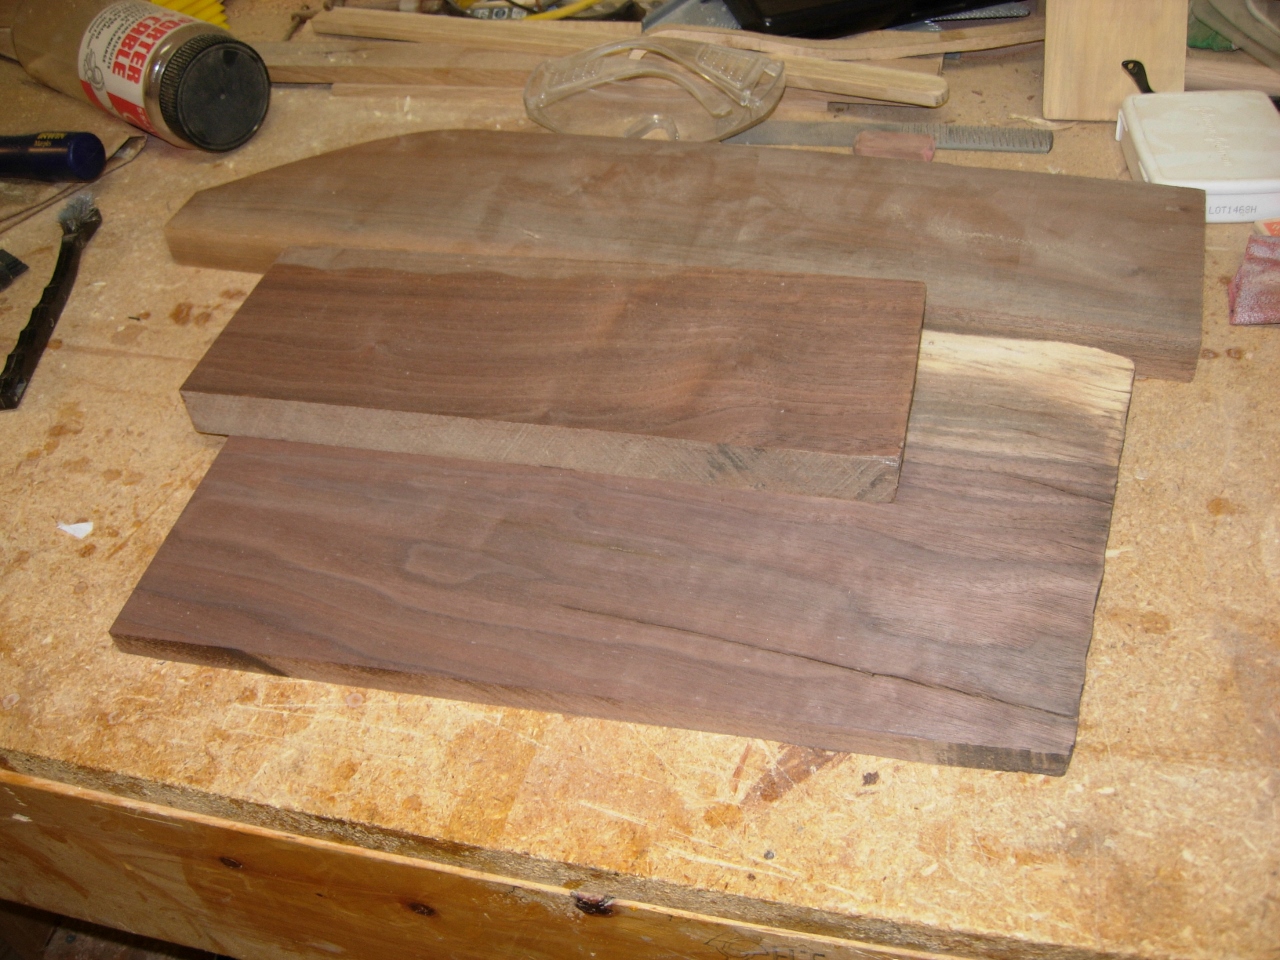
Pile of scrap
This is a great project to make from scraps, and you can use whatever wood you like. I pulled a few scraps of walnut off the rack and planed them down to the desired thickness.

Planing this piece down to 1/2″

Cutting this one in half
This chunk was left over from my son’s bed (8 years ago). I never throw away walnut, if looks even remotely usable… I cut it in half and joined it back together. Since it all came from the same piece, it nearly has a perfect book-matched appearance.
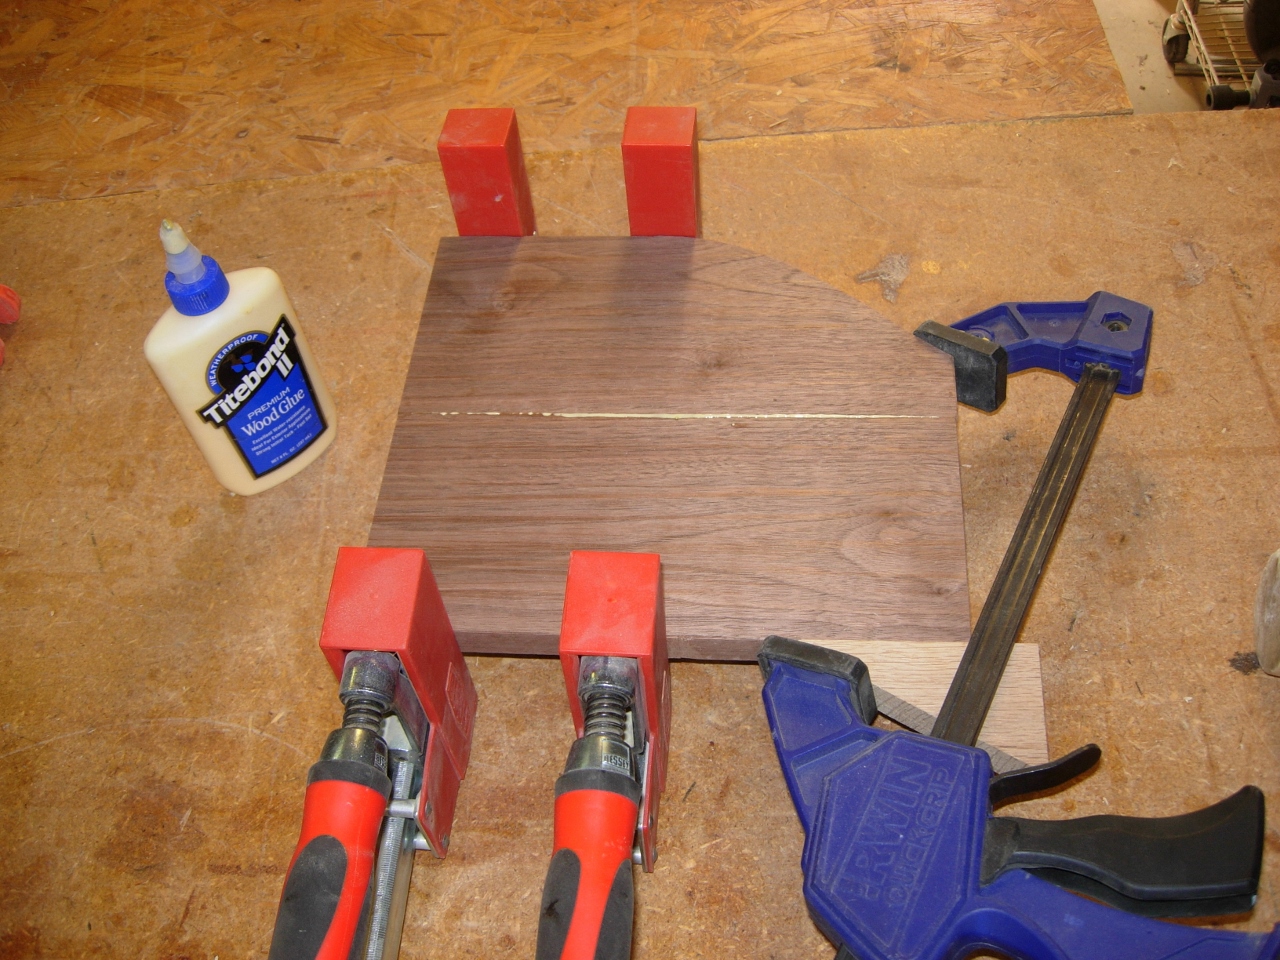
Glueing up the back plate

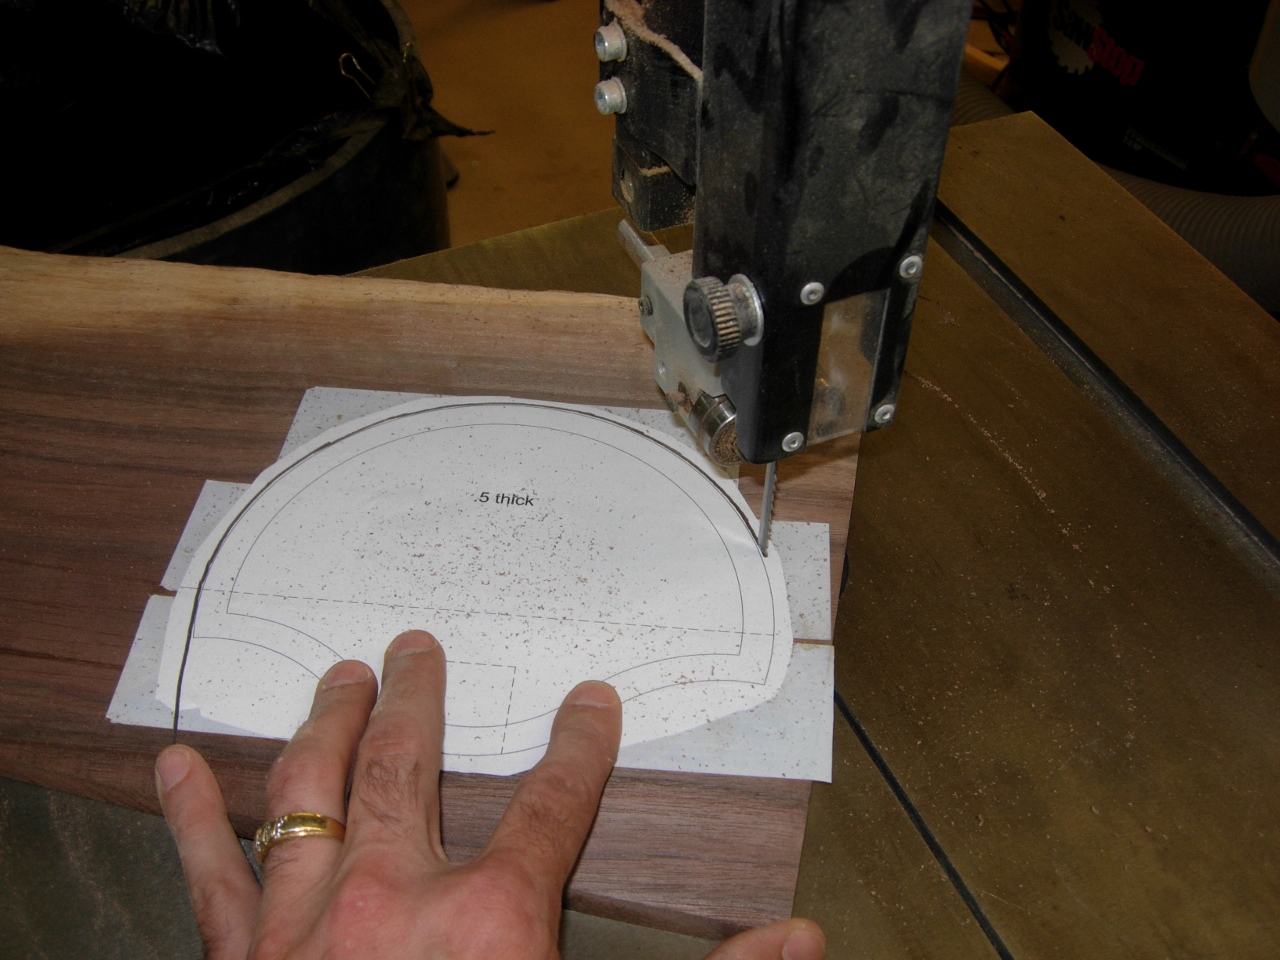
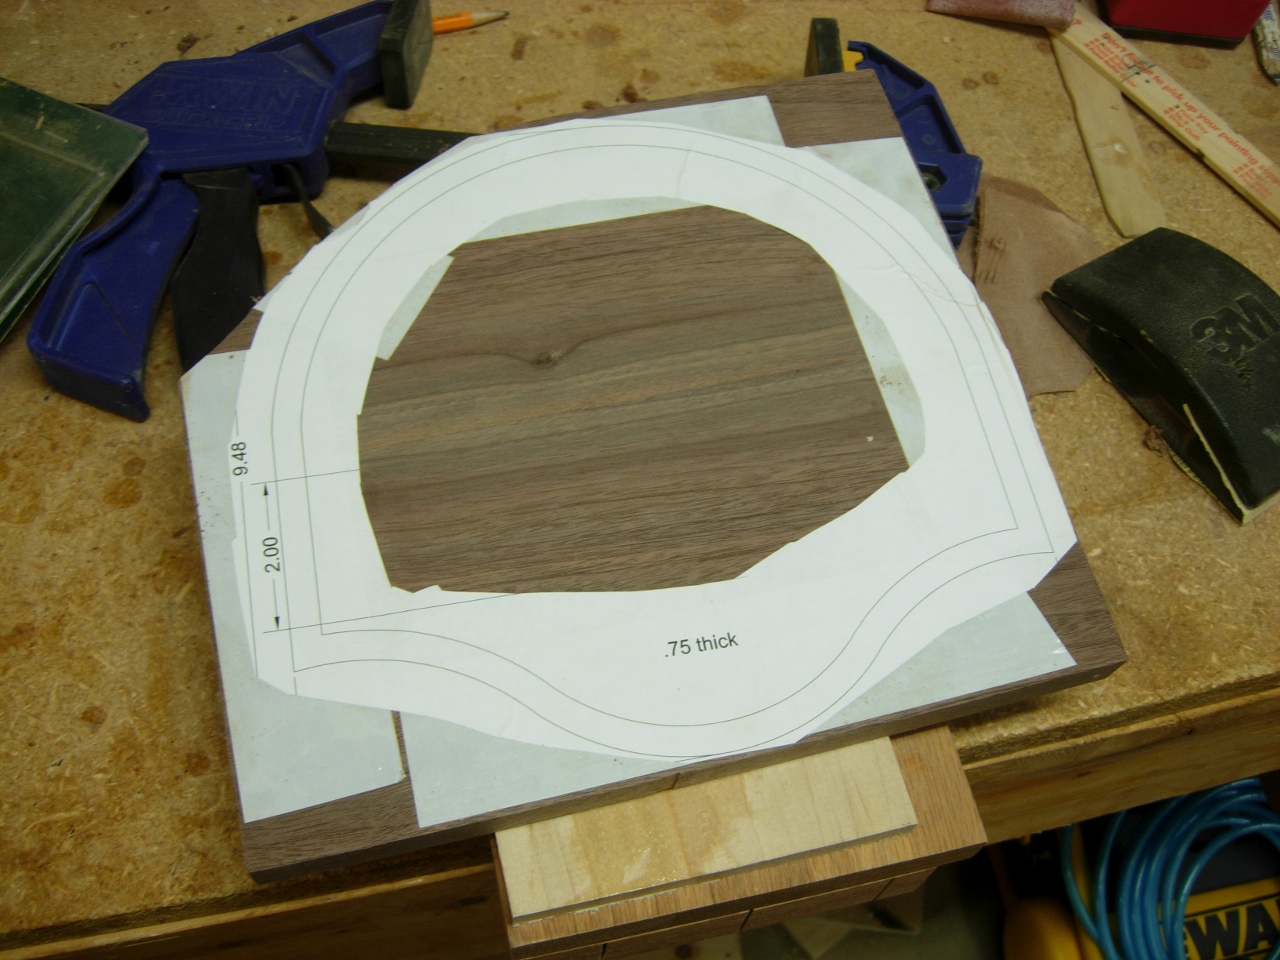
Attaching pattern with double-sided tape
While the piece for the back plate dried, I applied double-sided carpet tape to the other two pieces and attached the patterns for the front and middle sections.

cutting out the middle piece
I cut them out on the band saw, staying just outside the line.
Cutting out the front piece
It is a rough cut, as you can see from the lay-up below.

Front and middle together
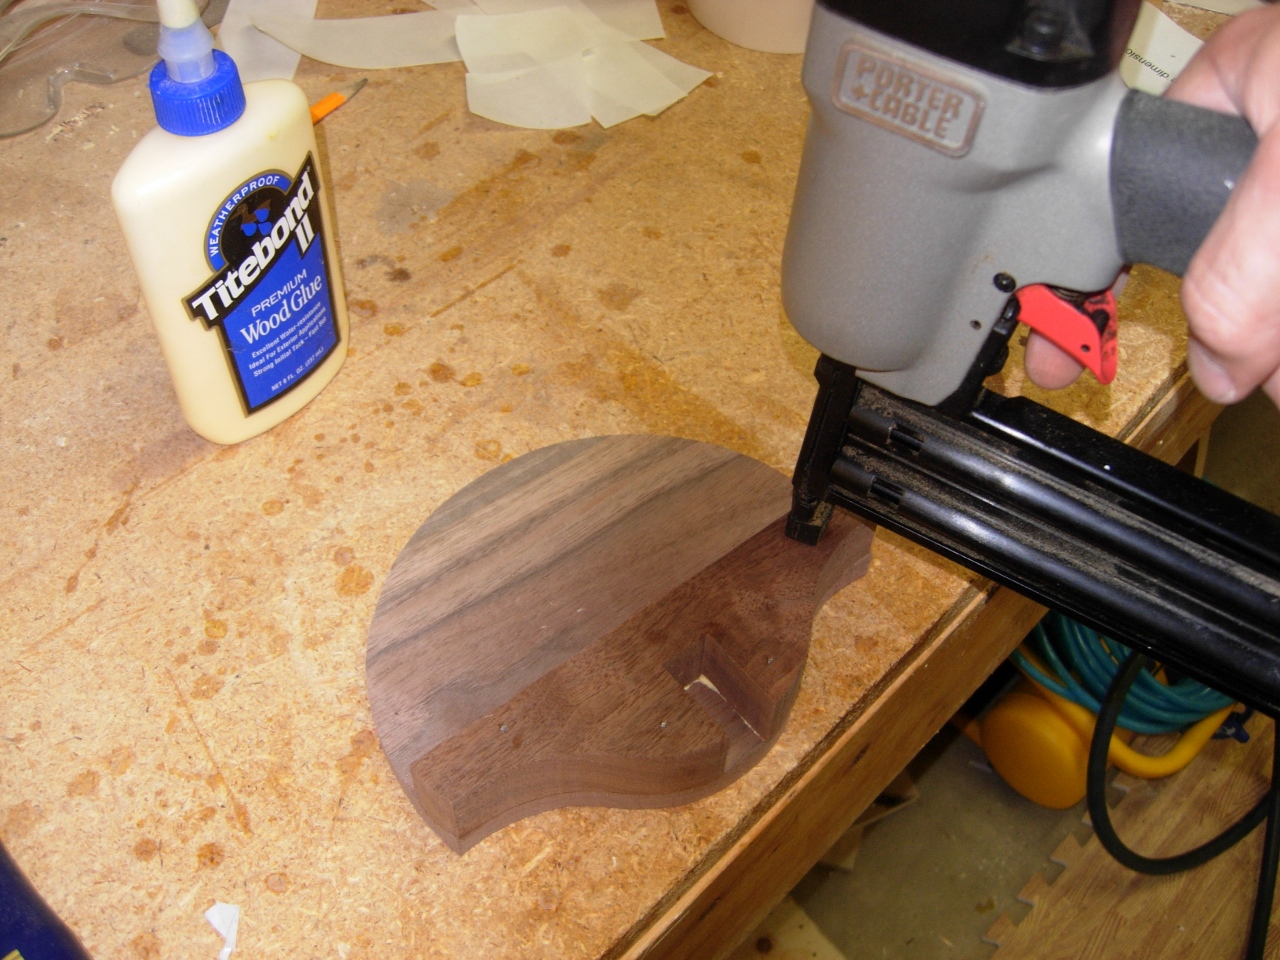
Glueing and nailing the front and middle together
I peeled off the patterns, then applied glue to the small, middle piece. I used 1-1/4″ brad nails to hold it in place, then match-sanded both pieces on the spindle sander.
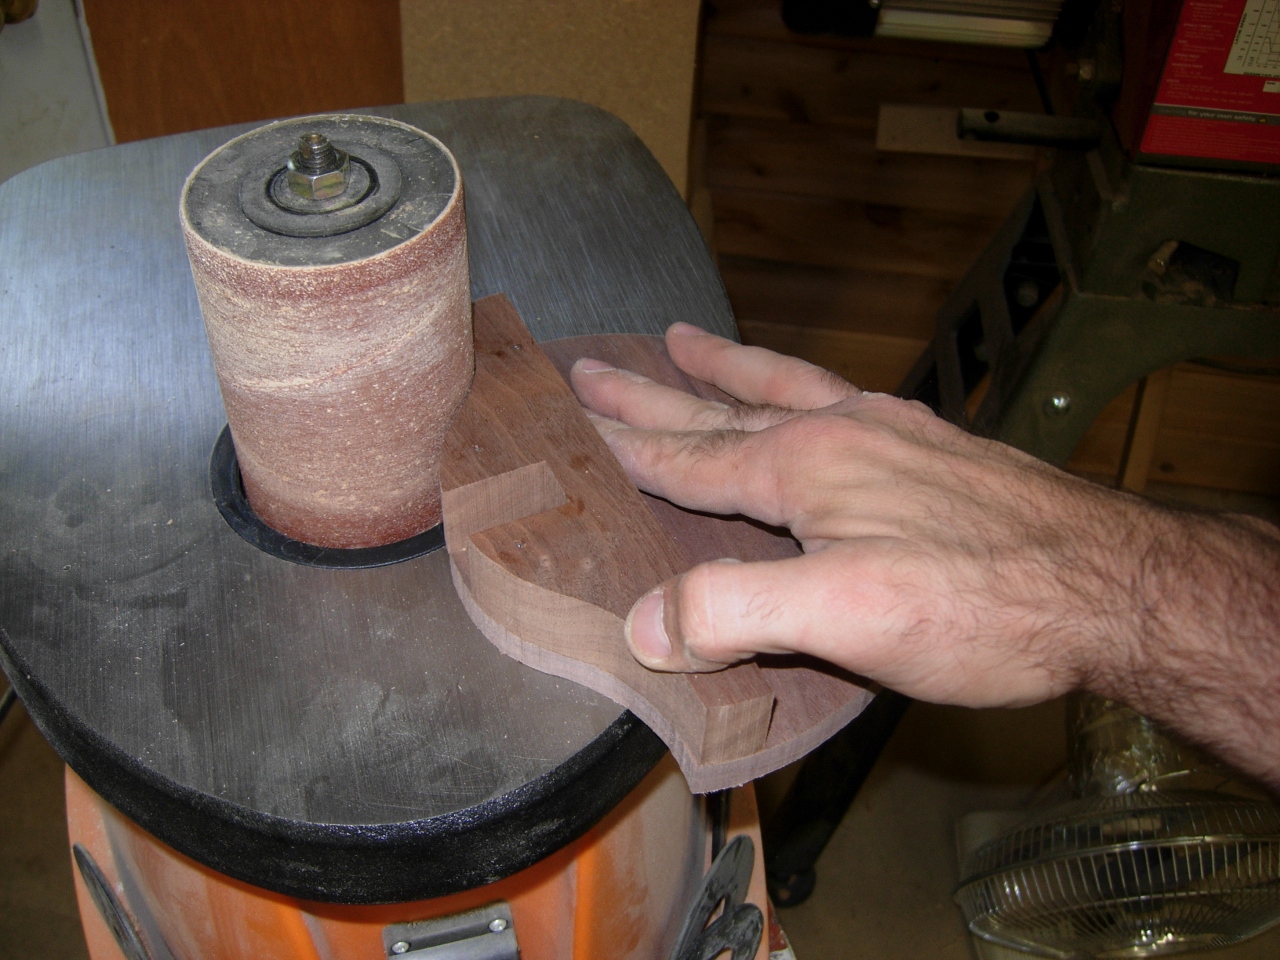
Sanding them together
Since they are now permanently attached, they match perfectly when sanded.
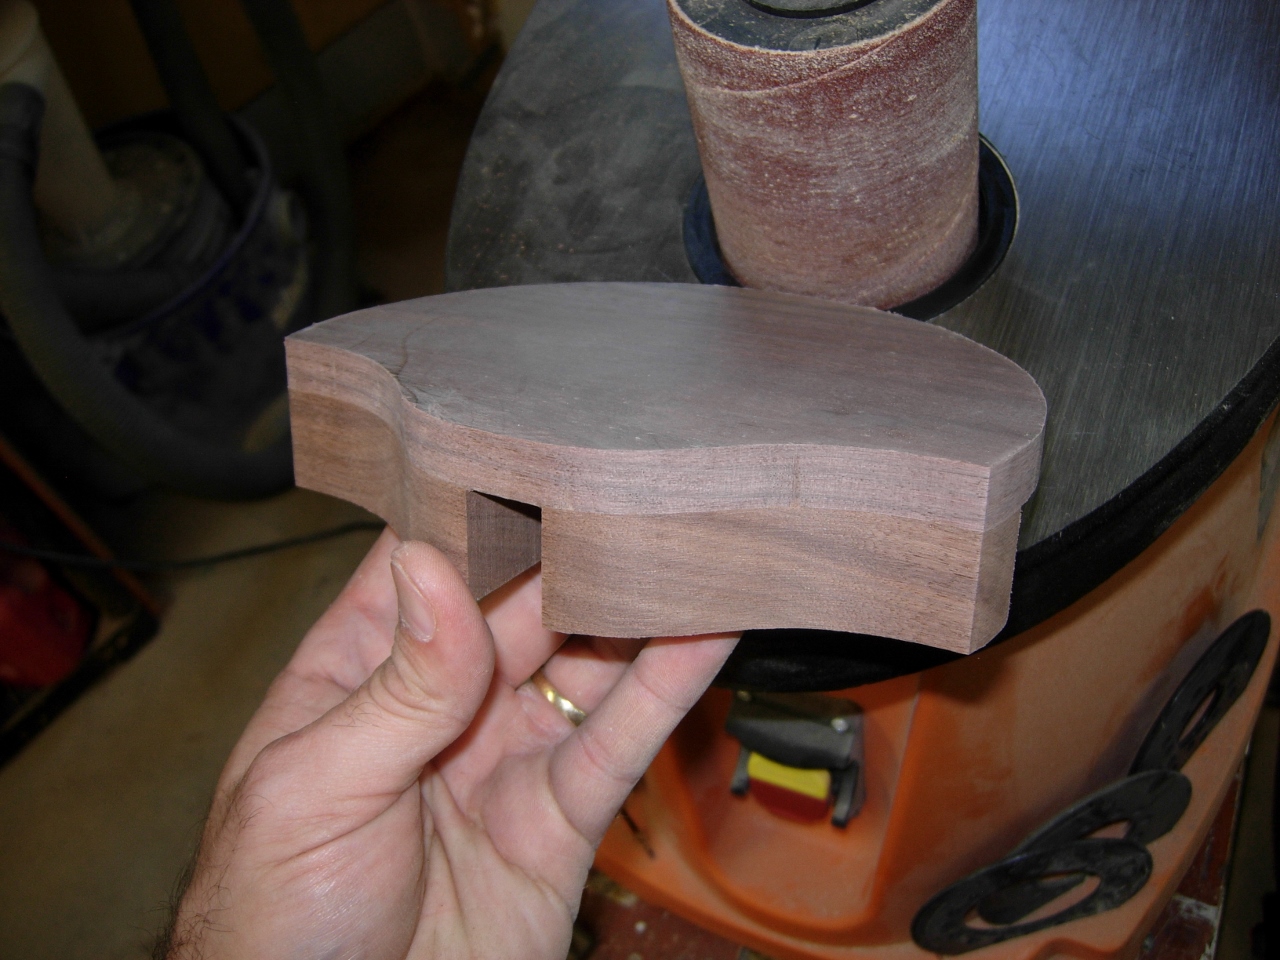
Edges sanded
The final step for this part is a 3/8″ round-over, done face-down, on my router table.
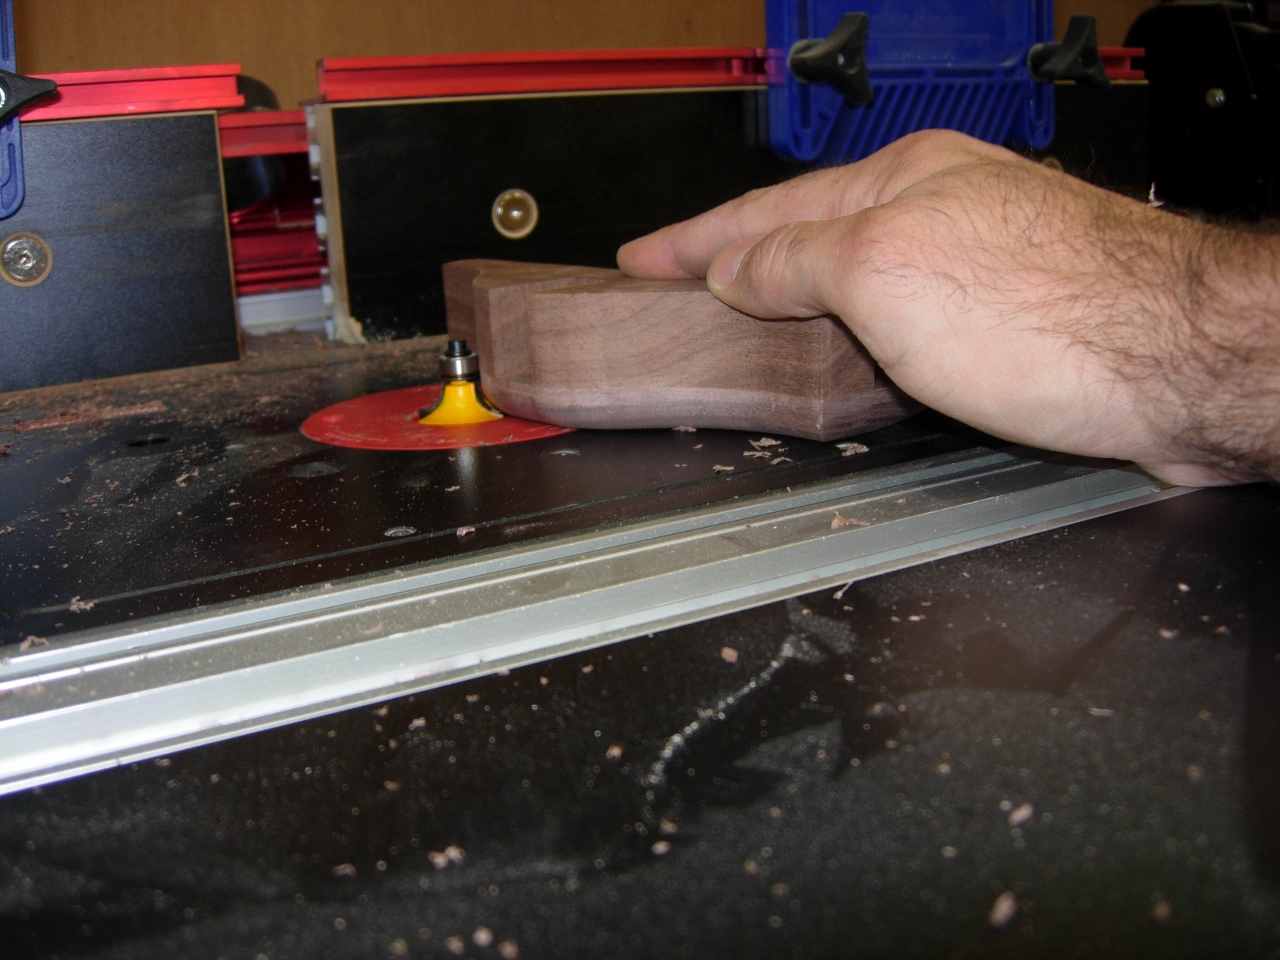
3/8″ round-over on the face
After about an hour of drying, I sliced off the glue squeeze-out while it was still pliable.

Removing the glue squeeze-out
Next I used a card scraper to blend together the slight elevation difference caused by the wood shifting a bit, during the clamping.

Using a card scraper to blend the seam
Attaching the back plate pattern
I applied the template and cut it out, just like the other two pieces.

Back plate cut out

Running it along the spindle sander
This one was also sanded and rounded over as well.
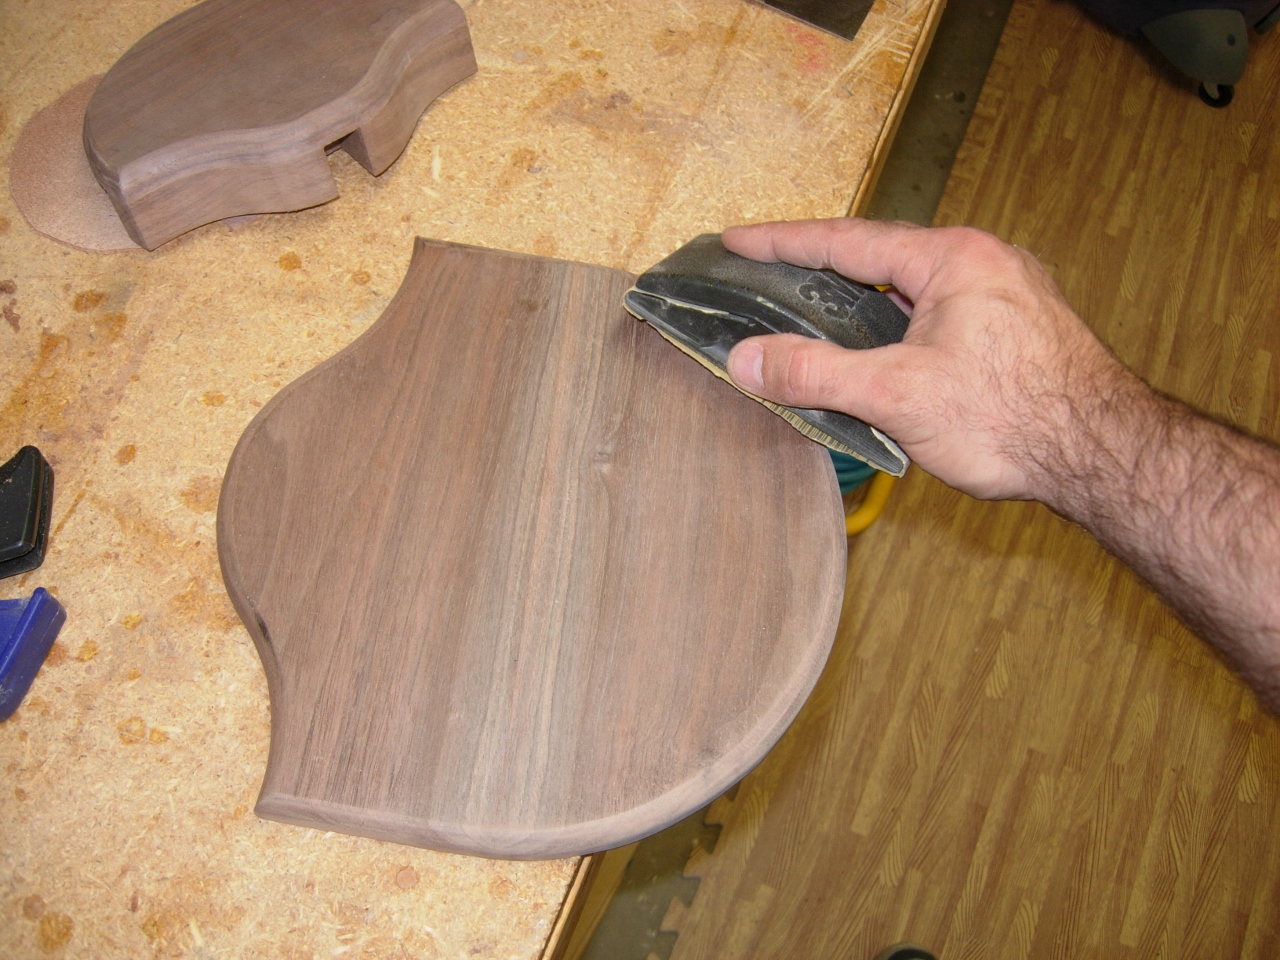
Finish sanding both pieces

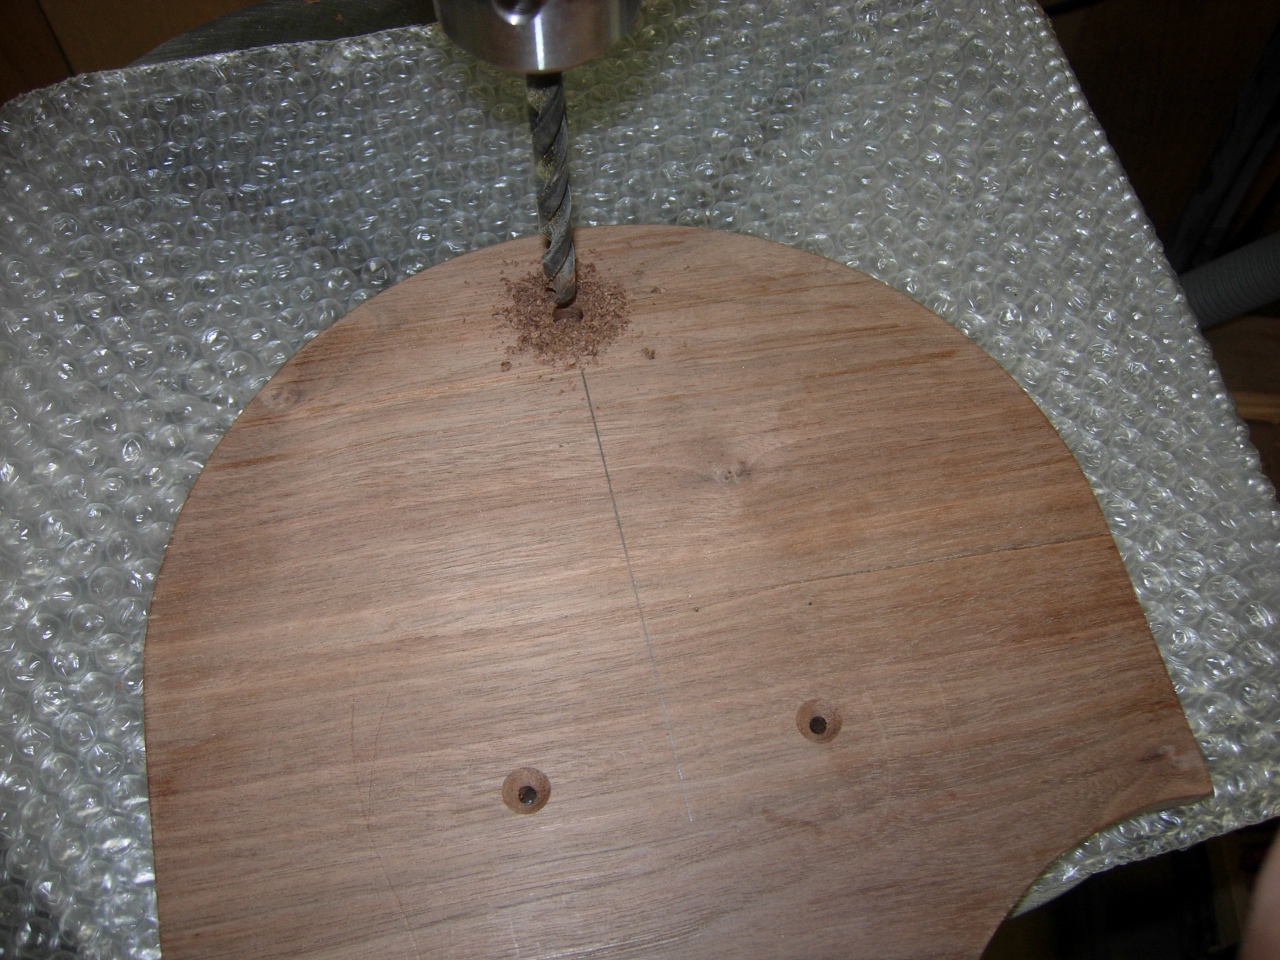
Drilling mounting holes
I centered the front piece over the back plate and marked its location. Making sure to avoid my brad nails, I marked the location of the mounting holes and drilled clearance holes for the mounting screws. I then flipped the back plate over and counter-sunk the holes.

Counter-sinking the back side
I also drilled an 11/64″ hole centered on the upper back for hanging it on the wall. You may have noticed the bubble wrap. I haven’t gotten around to building a table for my drill press yet, and the bubble wrap was handy. It keeps the cast iron drill table from scratching my wood, and is doesn’t seem to cause any problems, so I have been lazy and keep using it. (I don’t know why, but I kind of like it…)
Drilling the hanger hole
I clamped the front to the back together and drilled pilot holes for the wood screws.
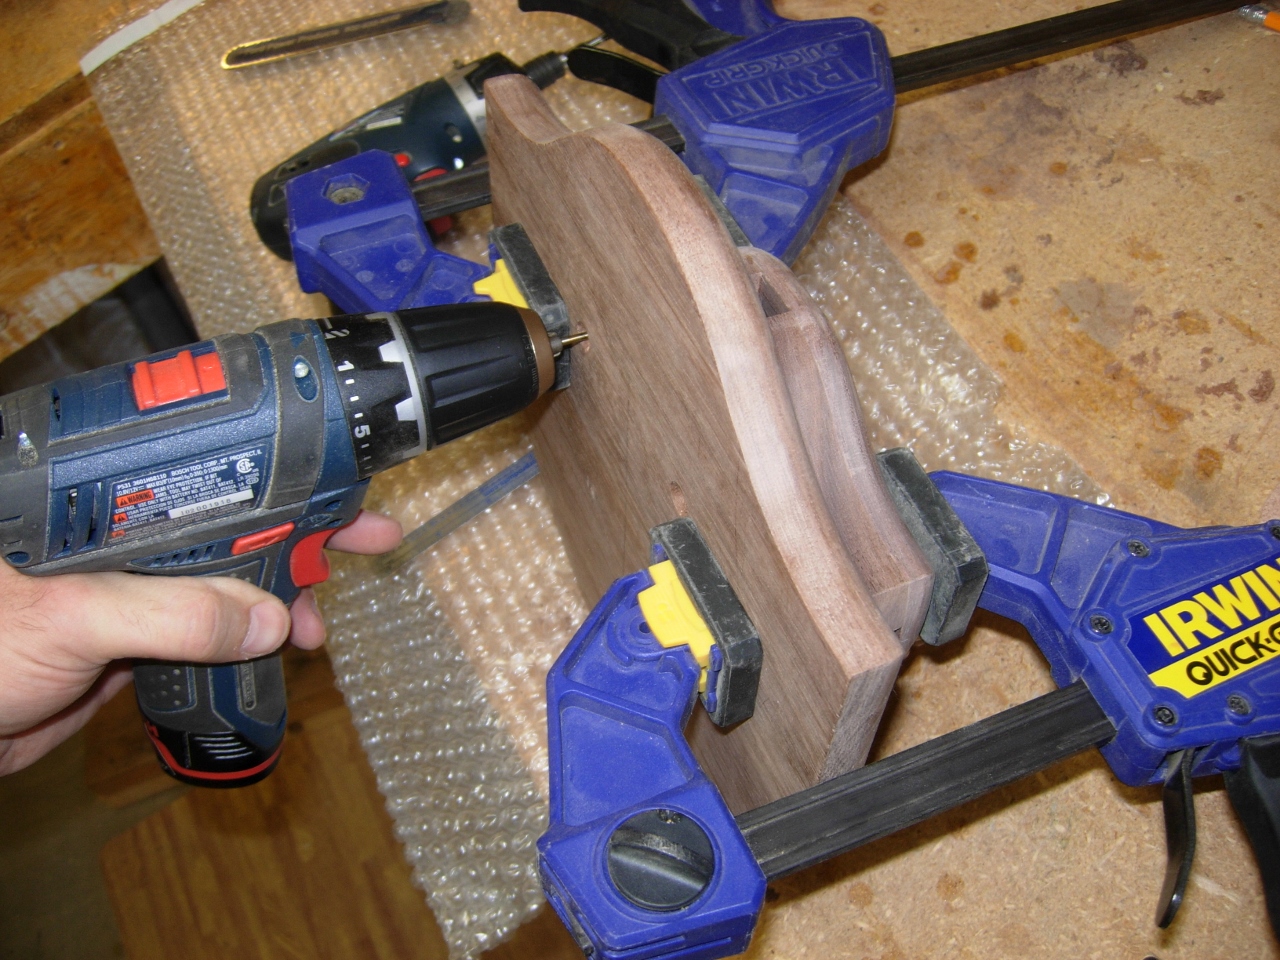
Drilling the pilot hole through the front piece
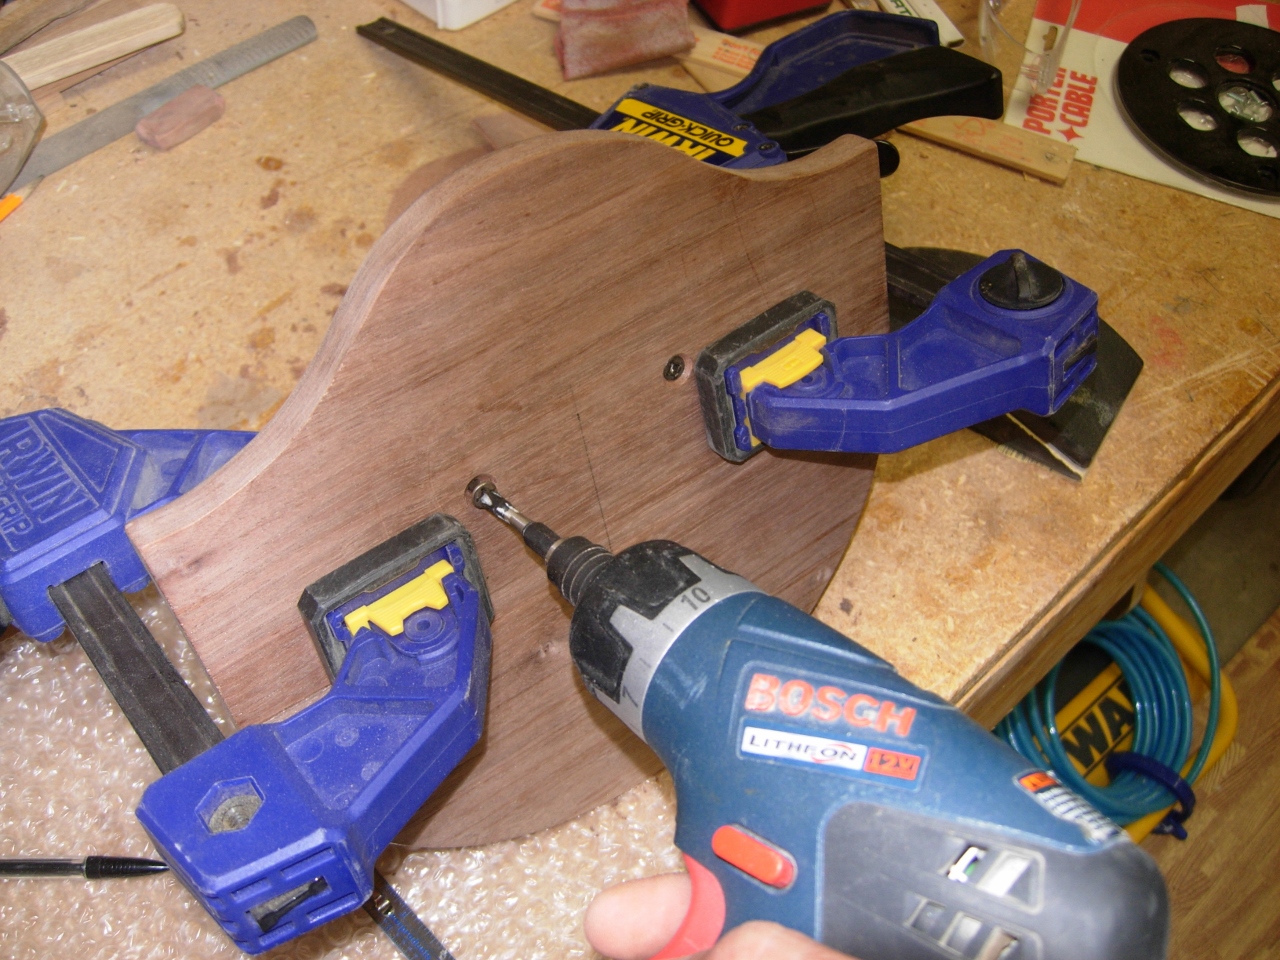
Screwing the back to the front
After attaching both pieces with two 1-1/4″ wood screws, I hung it on one of my wall hooks to make sure it hung centered.

Everything looks centered
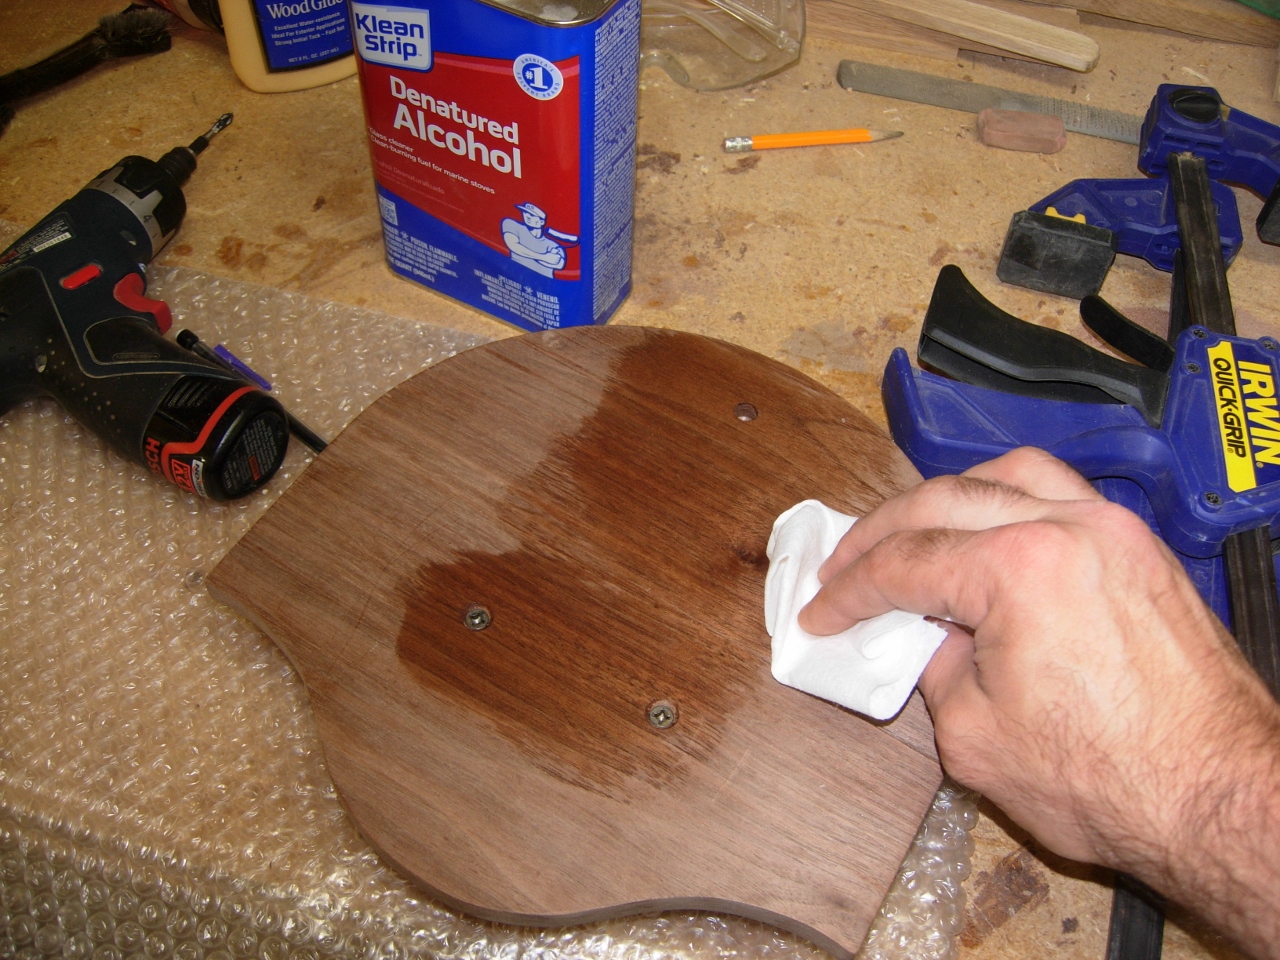
Removing pencil marks with denatured alcohol
I pulled everything apart and removed all the pencil marks with denatured alcohol.

Applying Tung oil
I applied three coats of Tung oil over the course of several hours and let them dry over night.
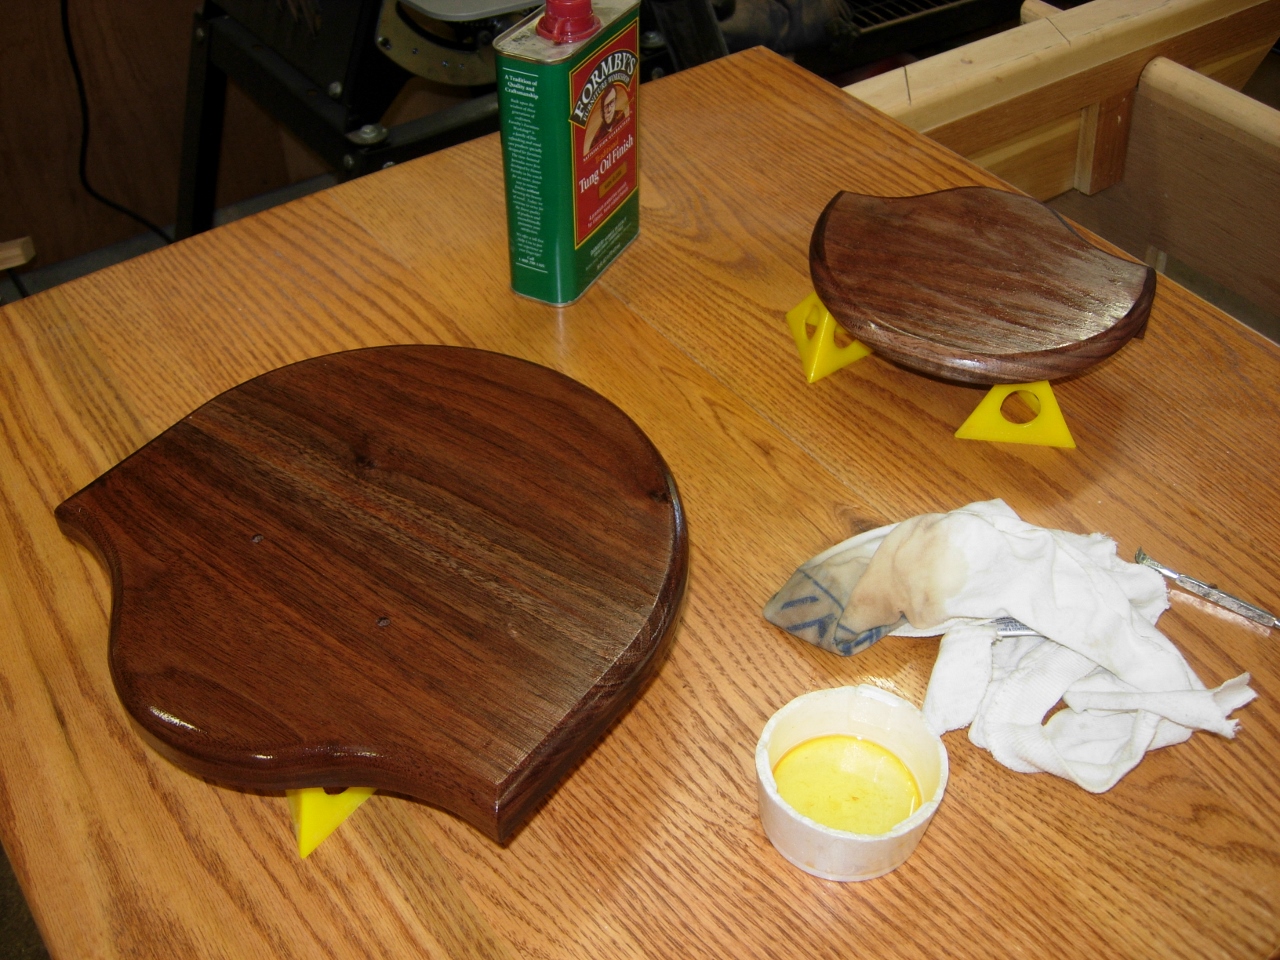
Second coat applied

Assembled after third coat
It will definitely build up more gloss if I added another couple of coats, but I will be giving it to my co-worker tomorrow, and he can add a few more if he desires.

Where do u get the blueprint of your project
I created it myself. There is a link to the PDF just after the first paragraph, if you want a copy.
I would like to get a copy of your turkey tail mount if p[possible, I would like to make one. If your willing to give me a copy please send it to e12pointer@aol.com
Thanks
Faro
Sure, there’s a link at the beginning of the blog post pick on it and download the PDF. Enjoy
Any way I could receive a copy or pdf of the plans? If so my email is jdurtdudes@gmail.com
Thank you.
How do you mount the feathers and beard? Glue them in?
My friend has a taxidermist prepare the fan. I believe that the fan is spread and epixy is applied to the bottom where they all come together. Then some wood screws are used through the epoxy.
Thank you for writing tthis
You are the man – thank you for sharing every detail including the plans. God bless.