
Bed upgrade – day 8
Well, I got pulled into working on some other things for the last couple of days, but I had a good bit of the day, today, reserved for working on the bed. I started with staining the center beam. Since it was a beautiful, sunny day, I sat the beam outside to dry in the sun.
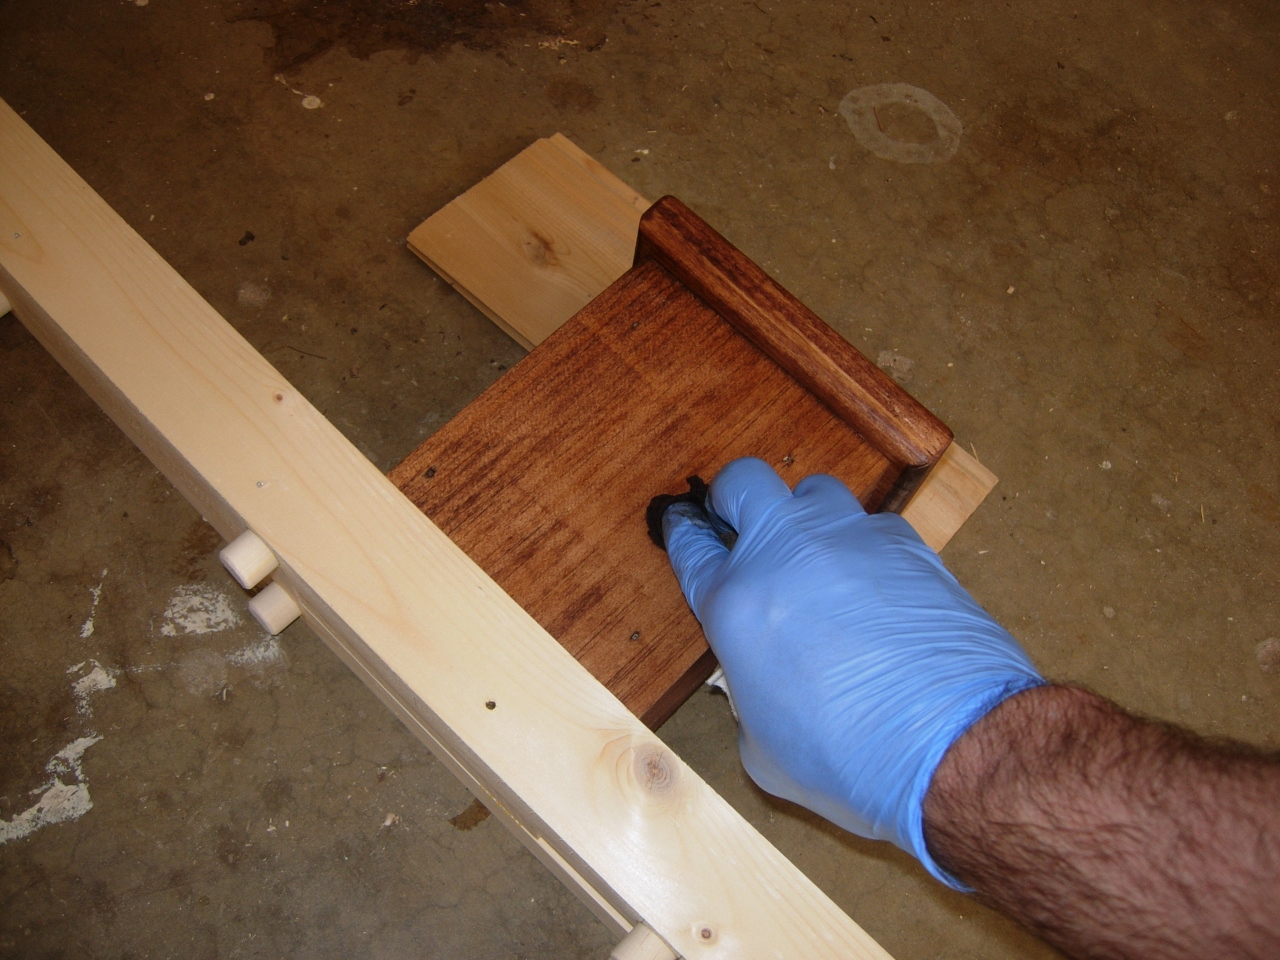
Staining the feet

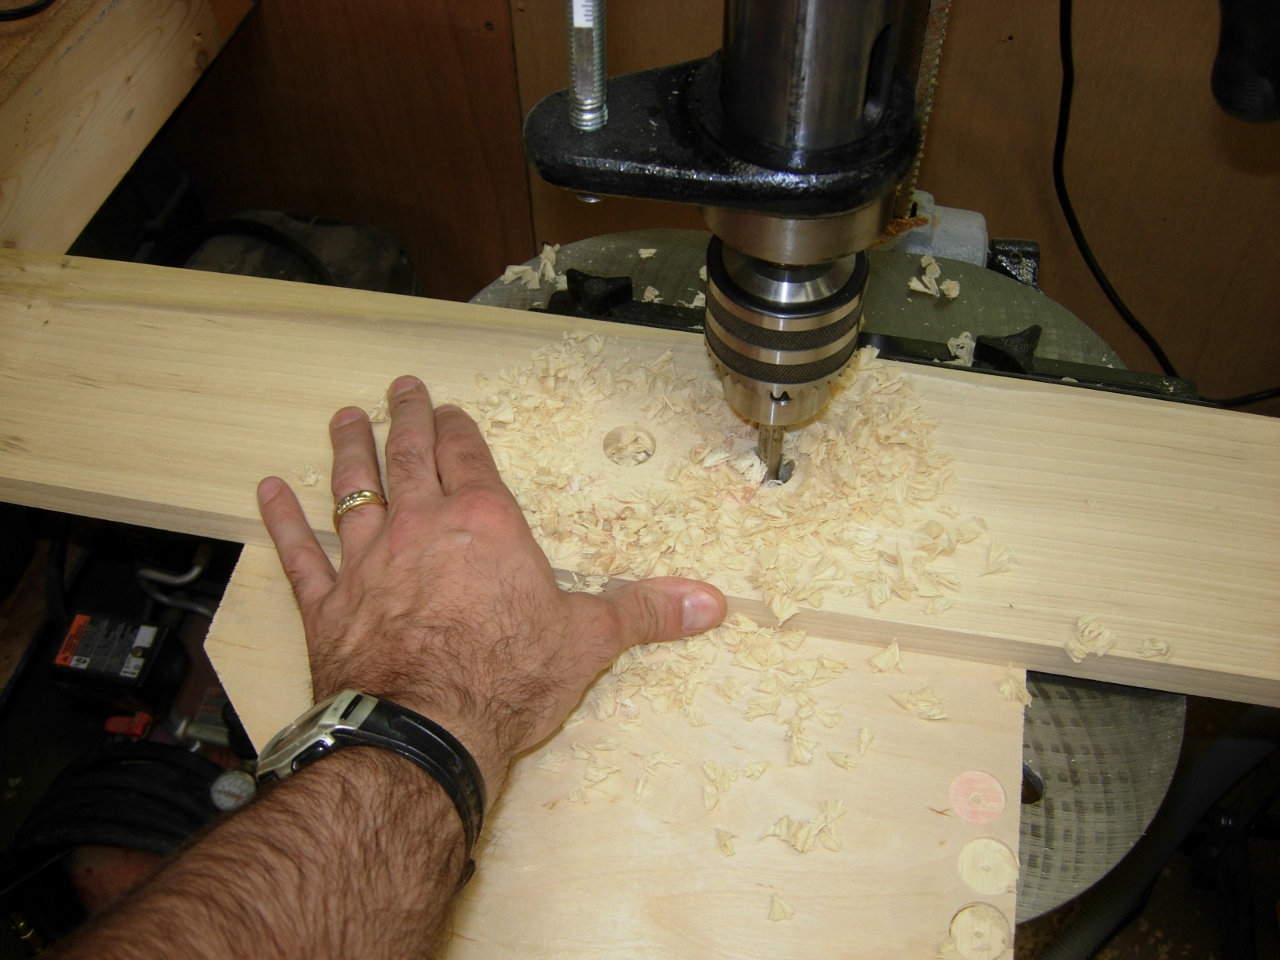
Drilling the slat ends
The last thing that needs to be finished are the bed slats. I marked and drilled the ends of all the slats first. Next, I drilled the double holes in the center. I am using a 7/8″ forstner bit. The peg is 3/4″ so this will leave a bit of slop. That should make it easy to line everything up.
Drilling the double holes in the center
With the first one drilled, I lined up the end holes with the next slat, then traced the two hole locations in the center. I repeated this process for each, then drilled them all out.

Using the first to mark the rest
The last step was to round over all of the edges with my router.
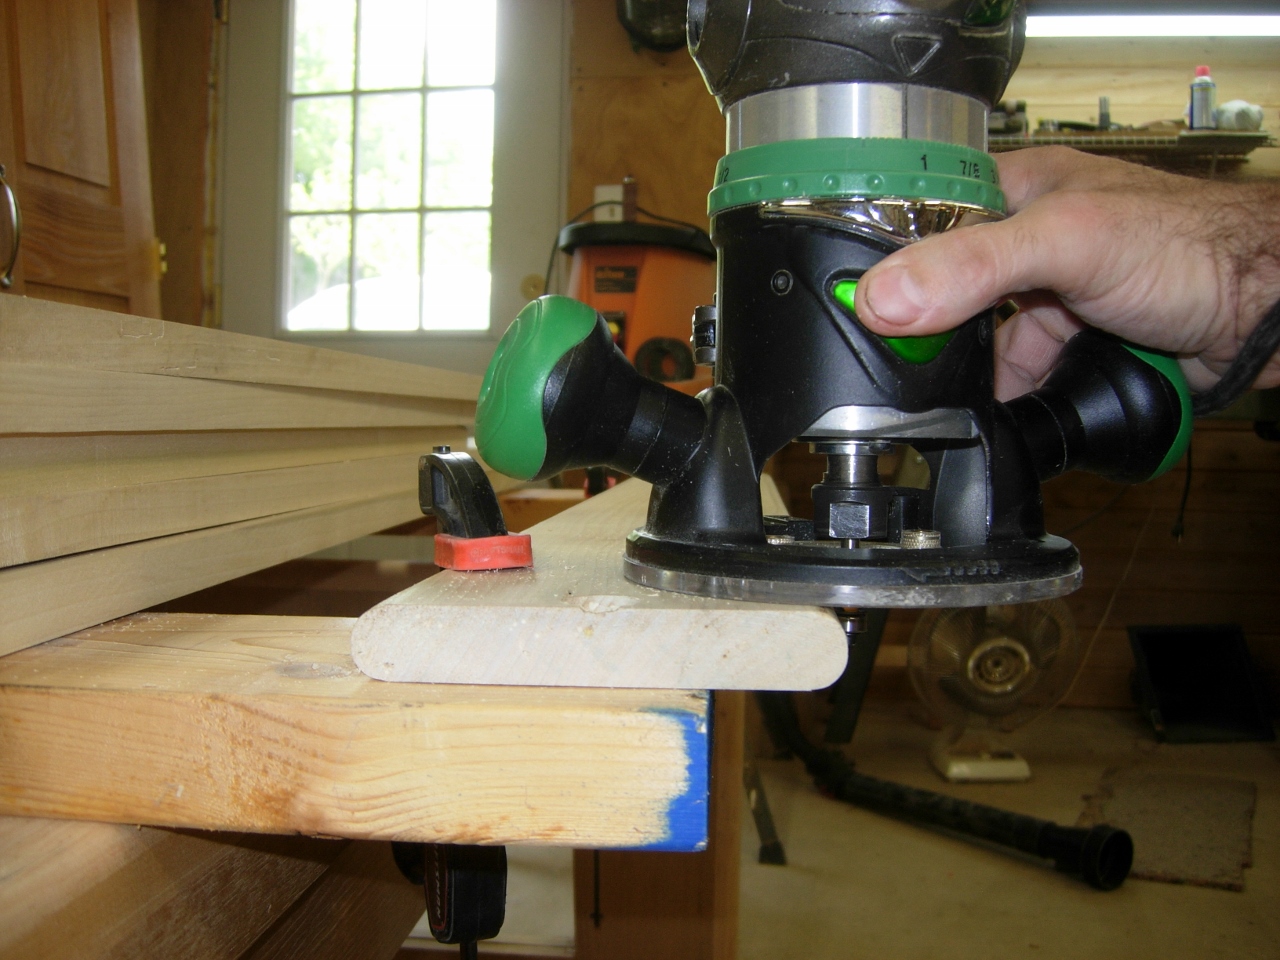
Rounding over the slats
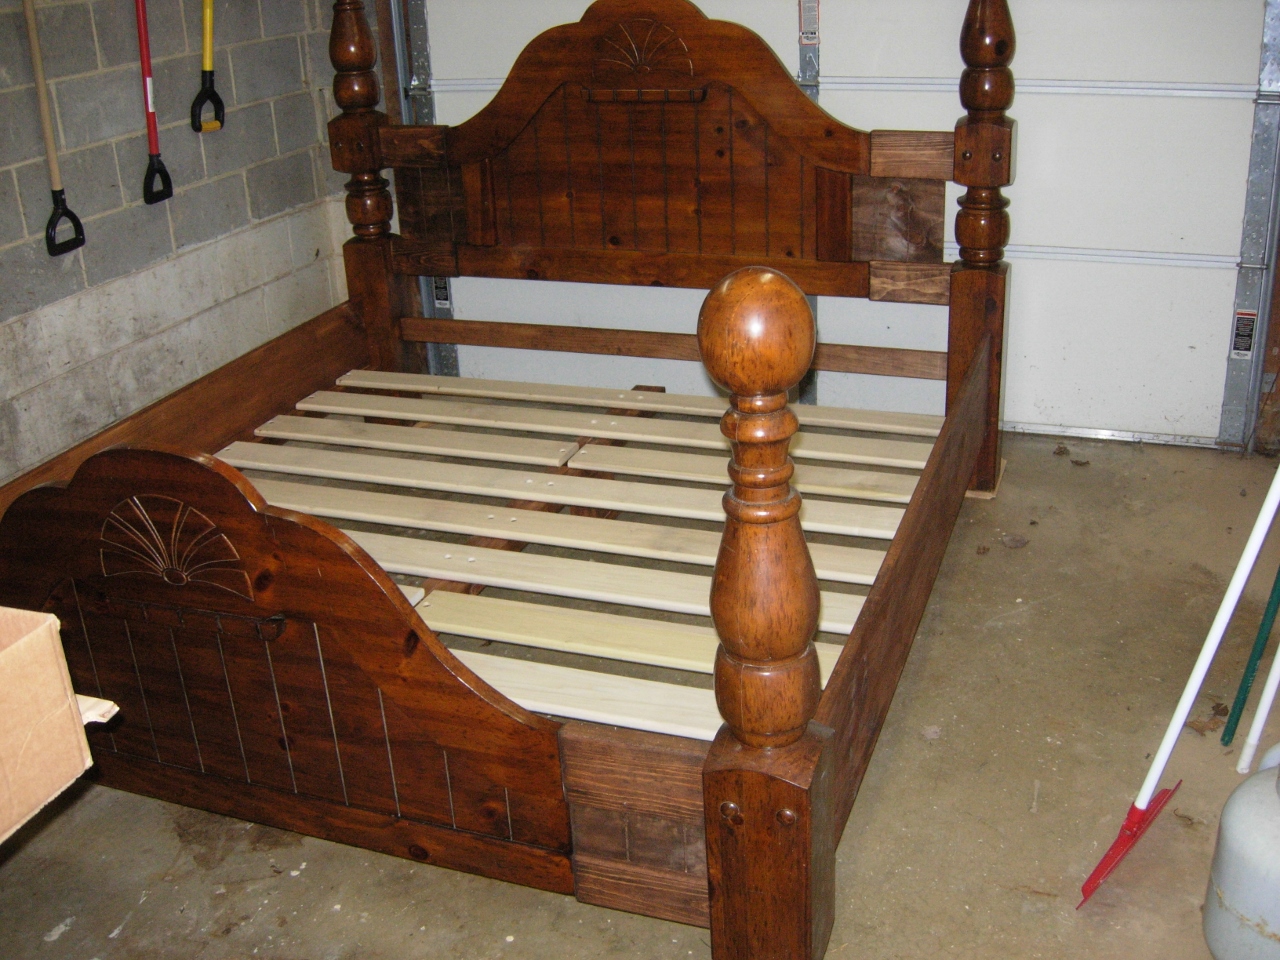
Slats installed
The bed slats were installed easily with no problems. I threw my assistant onto the slats to perform a load test. If it can hold him, it should be able to handle anything…
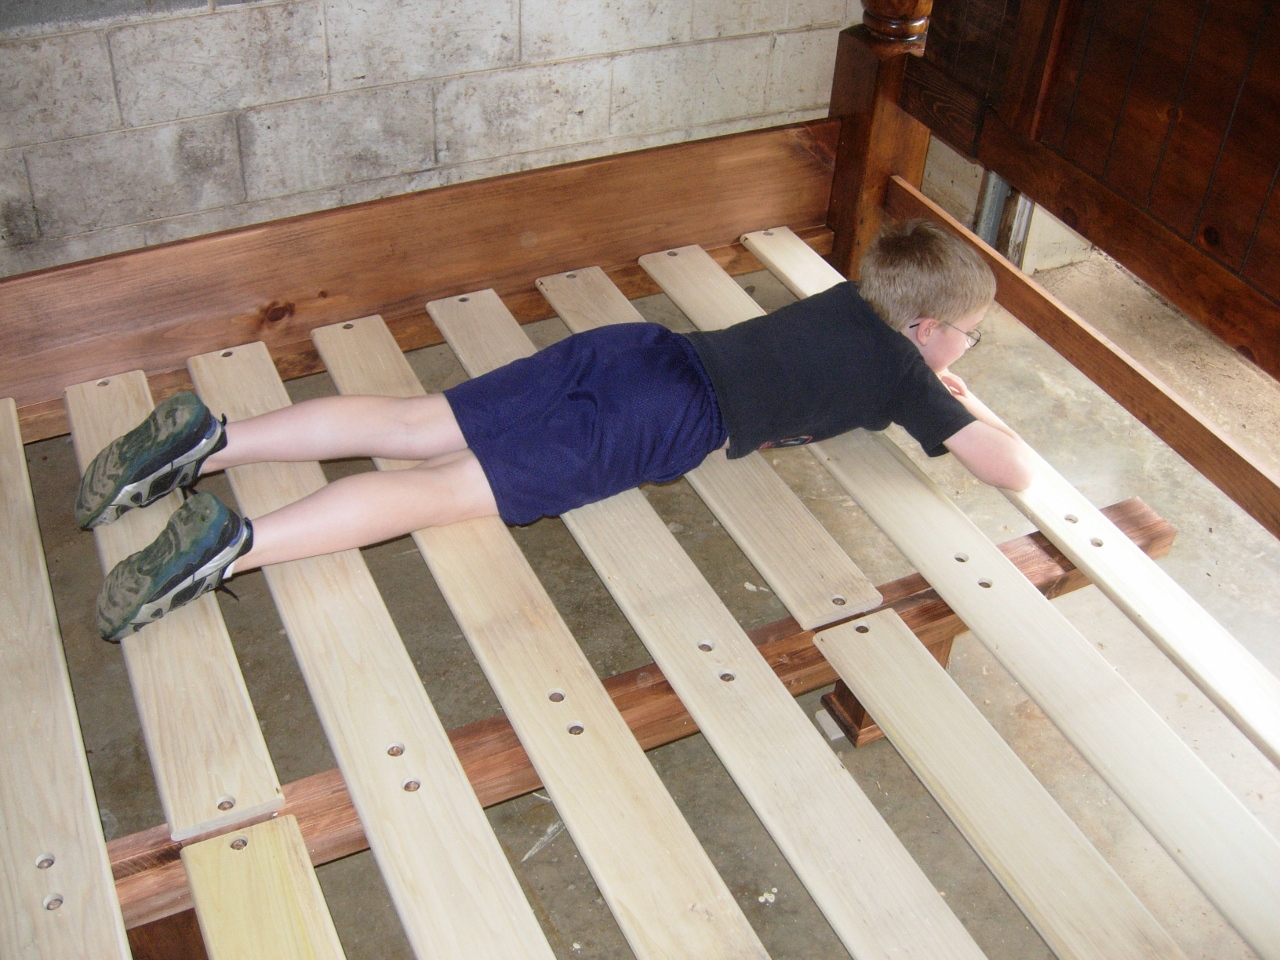
Load testing

Sanding the existing finish
Prior to applying my first coat of finish, I scrubbed the old bed frame pieces to rough up the finish. This cleans up any remaining dirt while offering a better surface to apply the new finish to.
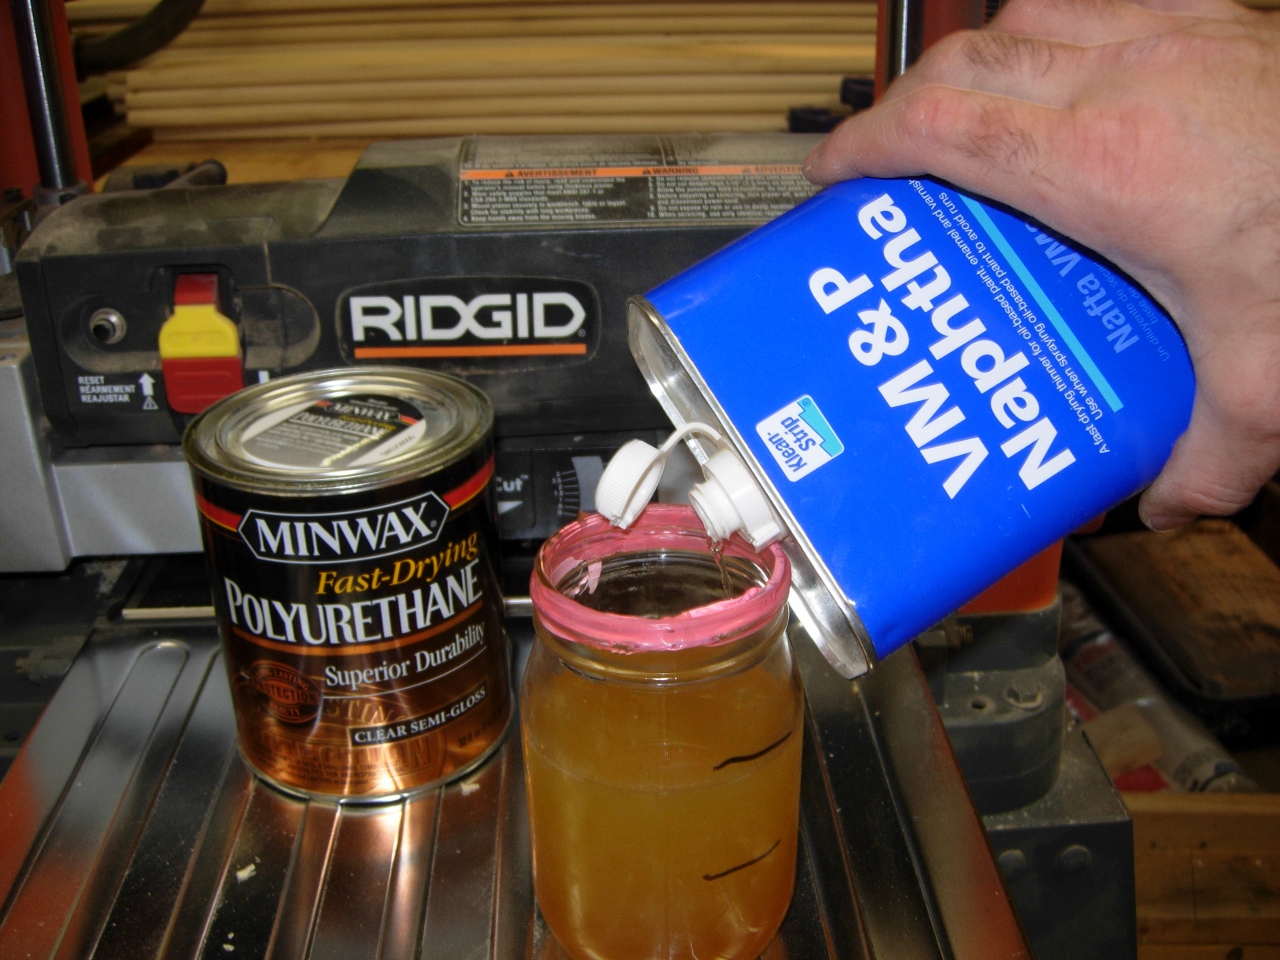
Mixing some wiping poly
Since I have a lot of tight, detailed areas to finish, I decided to use wiping poly. I mixed polyurethane and thinner in equal parts. Then I simply wiped it on every surface with a piece of an old tee-shirt. What is nice about wiping poly is the fact that you can wipe away any excess so that you don’t get runs in the finish.

First coat really sucks in
The new pine really sucked in the finish. I applied a couple additional coats to those areas before I finished. Since the poly is thinned, it dries a lot quicker but half the finish gets applied with each coat. I will have to apply probably four to six coats before I am happy with it.
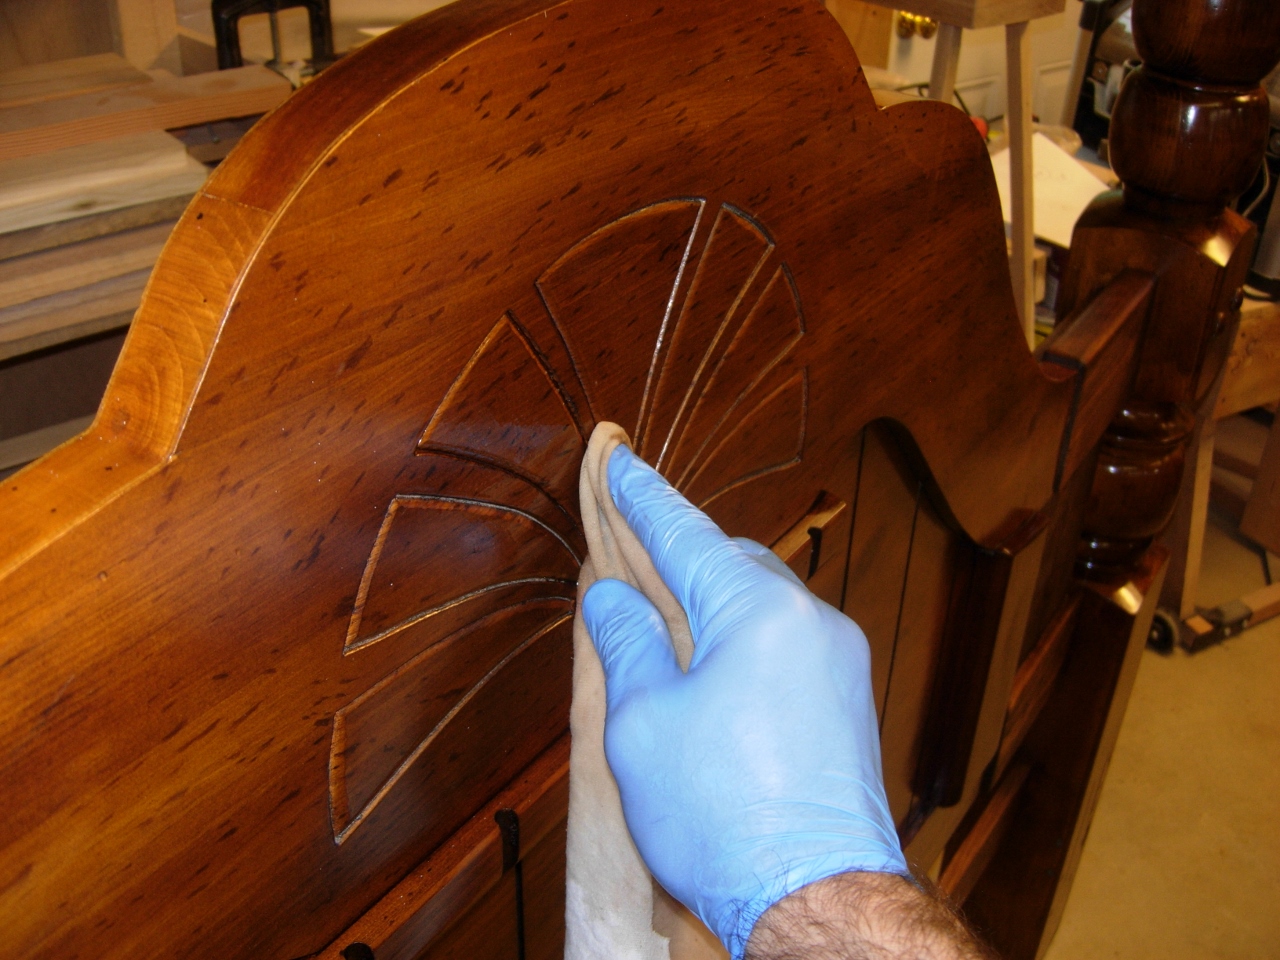
Applying poly over the old finish
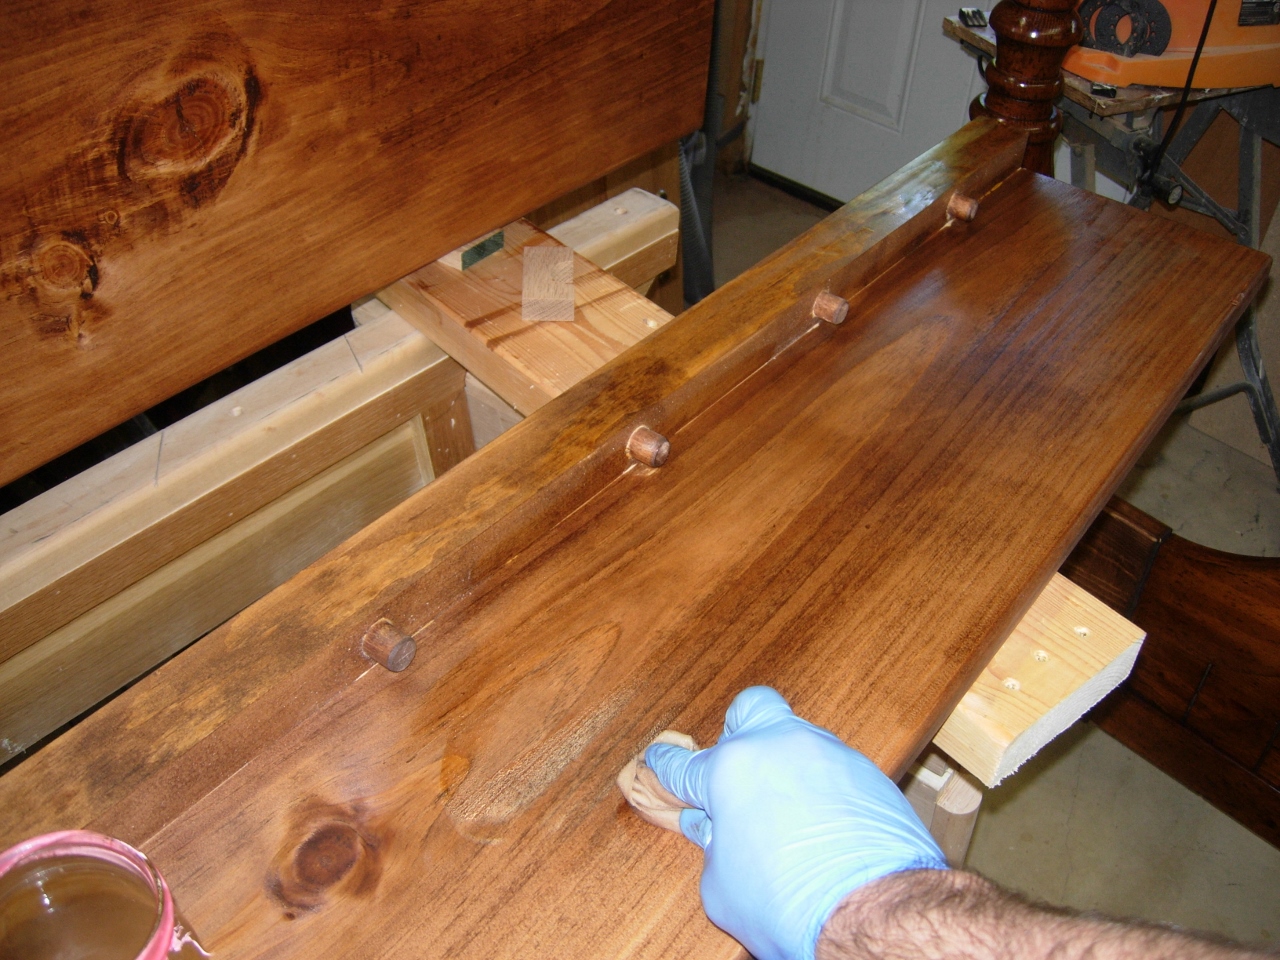
First coat on side rails

First coat on foot board
The stain has started to take on a more golden hue, as I had hoped. It is blending better with the existing finish, not perfect, but better.

First coat on head board
Hopefully I will be able to get several more coats applied this weekend, my “to do” list seems to be getting longer…

Looks great!! Love the “LOAD (Adam ) TEST” !!!
Woah that came out beautifully! Look at that stain! Gorgoues bed!