
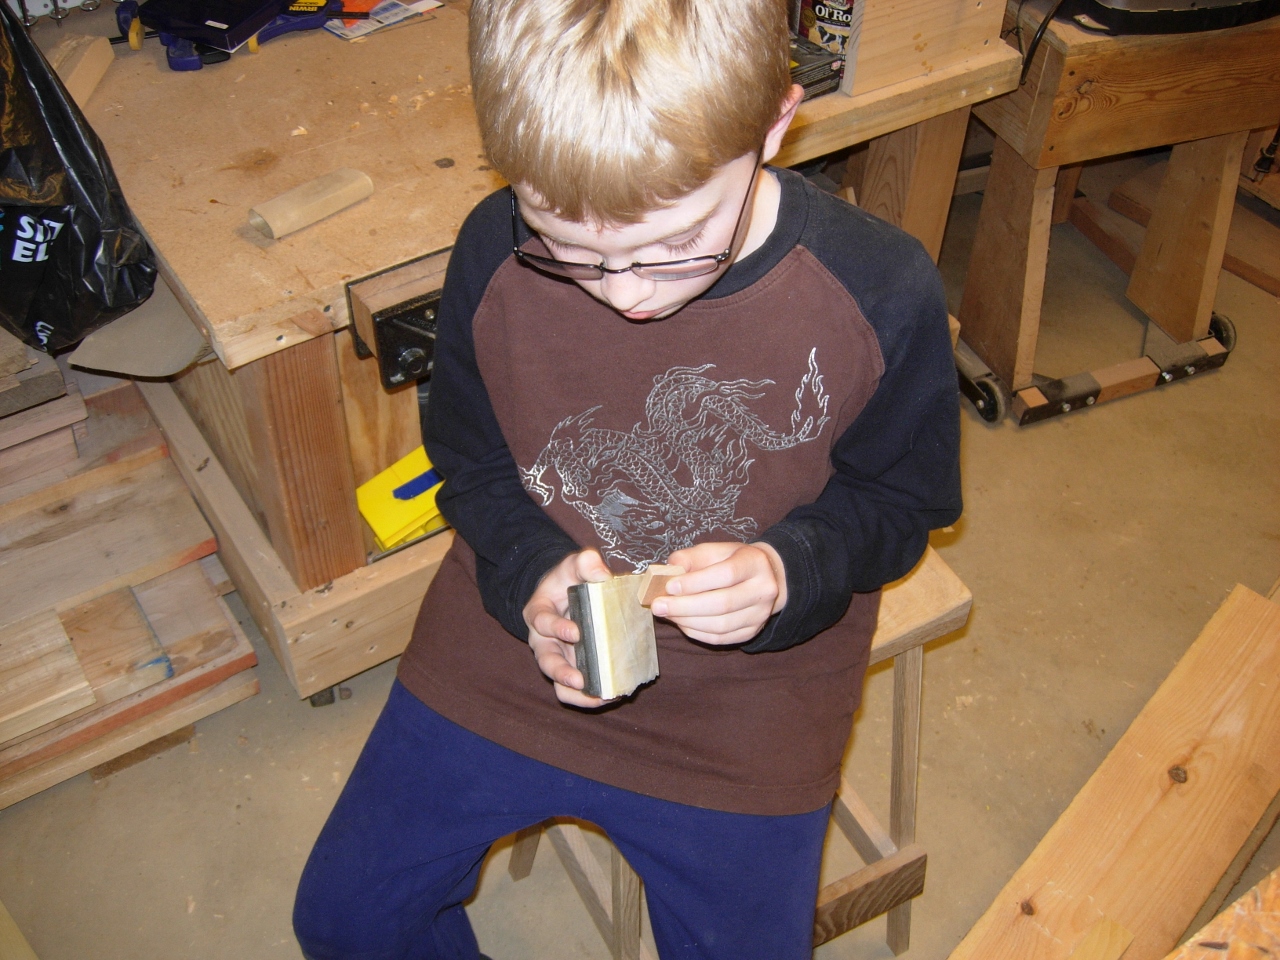
Sliding lid jewelry box
My dear wife’s birthday is today. Adam came to me last weekend and asked if he could make Mommy a jewelry box for her birthday. I asked him to pick out a design from a book that I have on building wood boxes. He picked out a sliding top candle stick box. He decided that it fell into his skill level, so he grabbed some pine and his hand saw, and started cutting. I was working on the bed frame at the time, so I let him work for a while. After he had a majority of the pieces cut, I helped him cut the grooves for the lid and the rabbet on the lid’s edge. He wasn’t happy with the appearance of the scrap pine, but he was very happy that the box was functional. He even hand carved the finger pull in the lid. We decided that this box made an excellent prototype, but we would make mom’s box from something harder and a little nicer looking. The pine box will probably wind up holding some of his tools and sharpening stones.

Adam’s prototype slide top box
Adam found his way to my small pile of cherry, that I cut and dried from some cherry fire wood.

Planing down some cherry
He was correct in assuming that it would make a pretty box, but the wood is a lot harder than pine. We decided to use power tools for most of this project. We planed the pieces down to about 5/16″ thick, and cut all the pieces down to size.
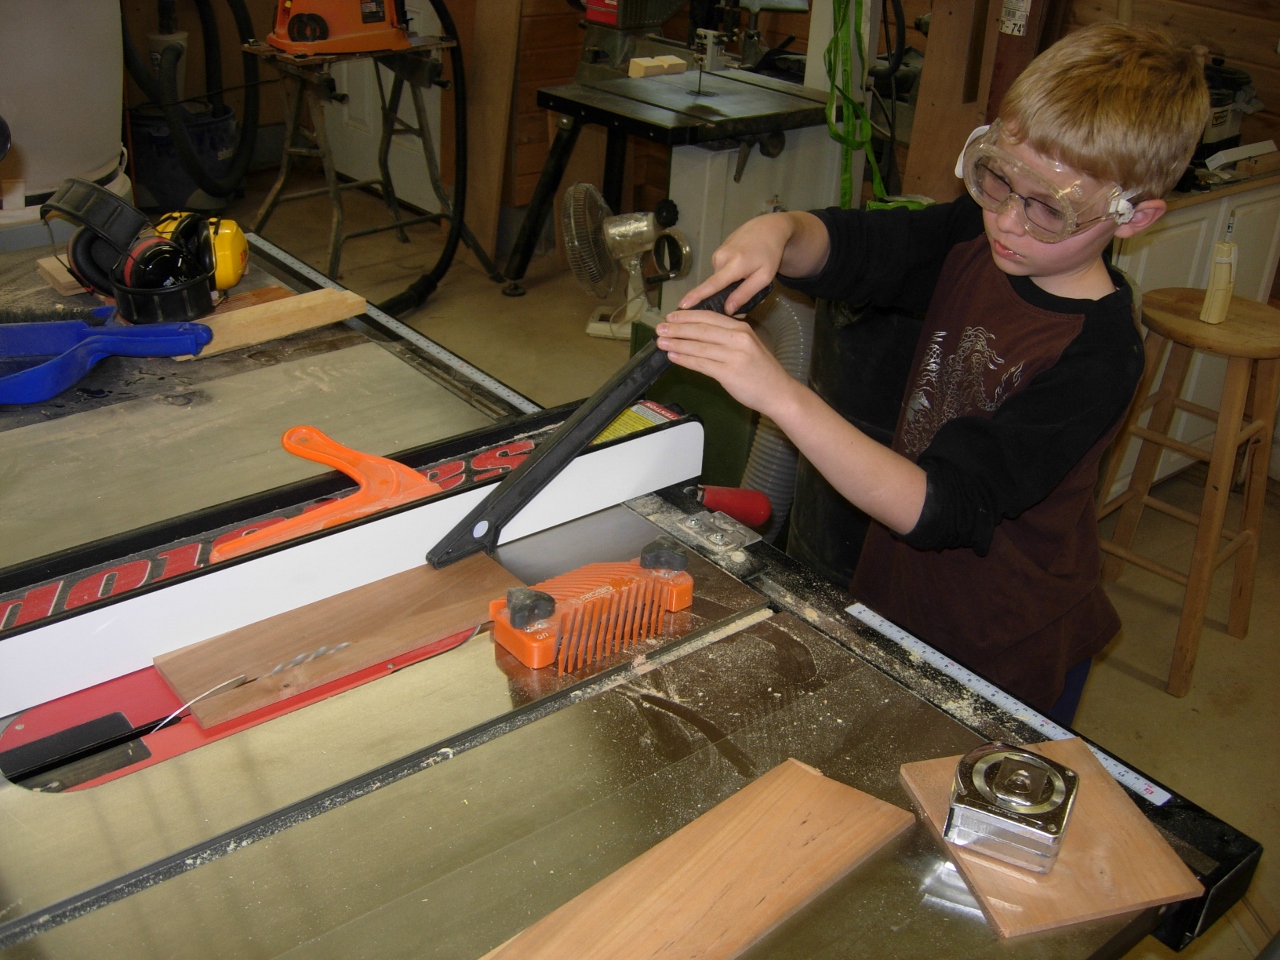
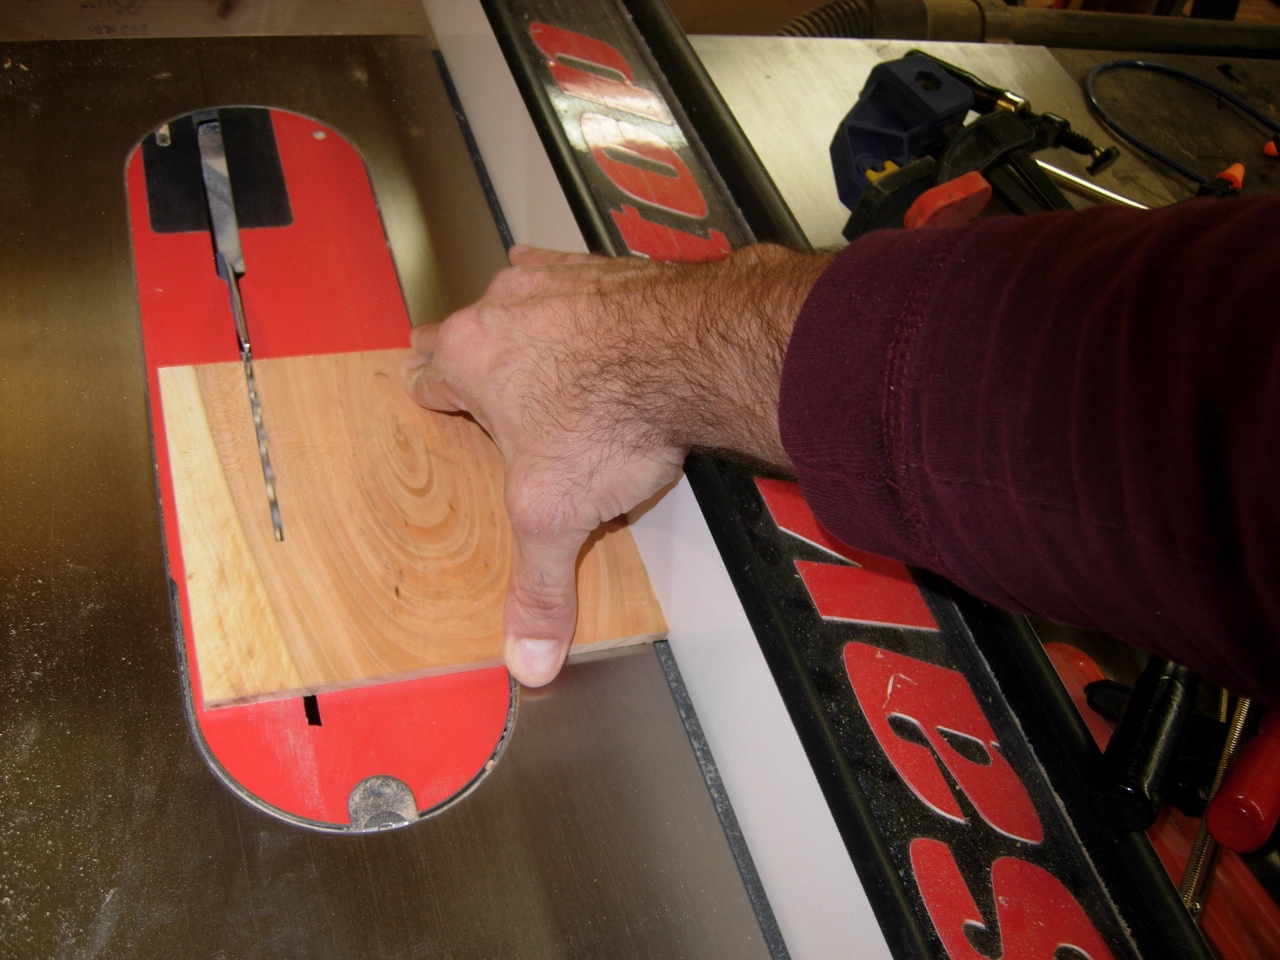
Adam ripping the sides of the box
Adam operated the table saw for the first time, standing well back from the blade. I used the miter saw since it is setting right at his eye level.

Cutting the sides to length

Cutting the dado in the sides
I cut the grooves for the lid and the rabbets.
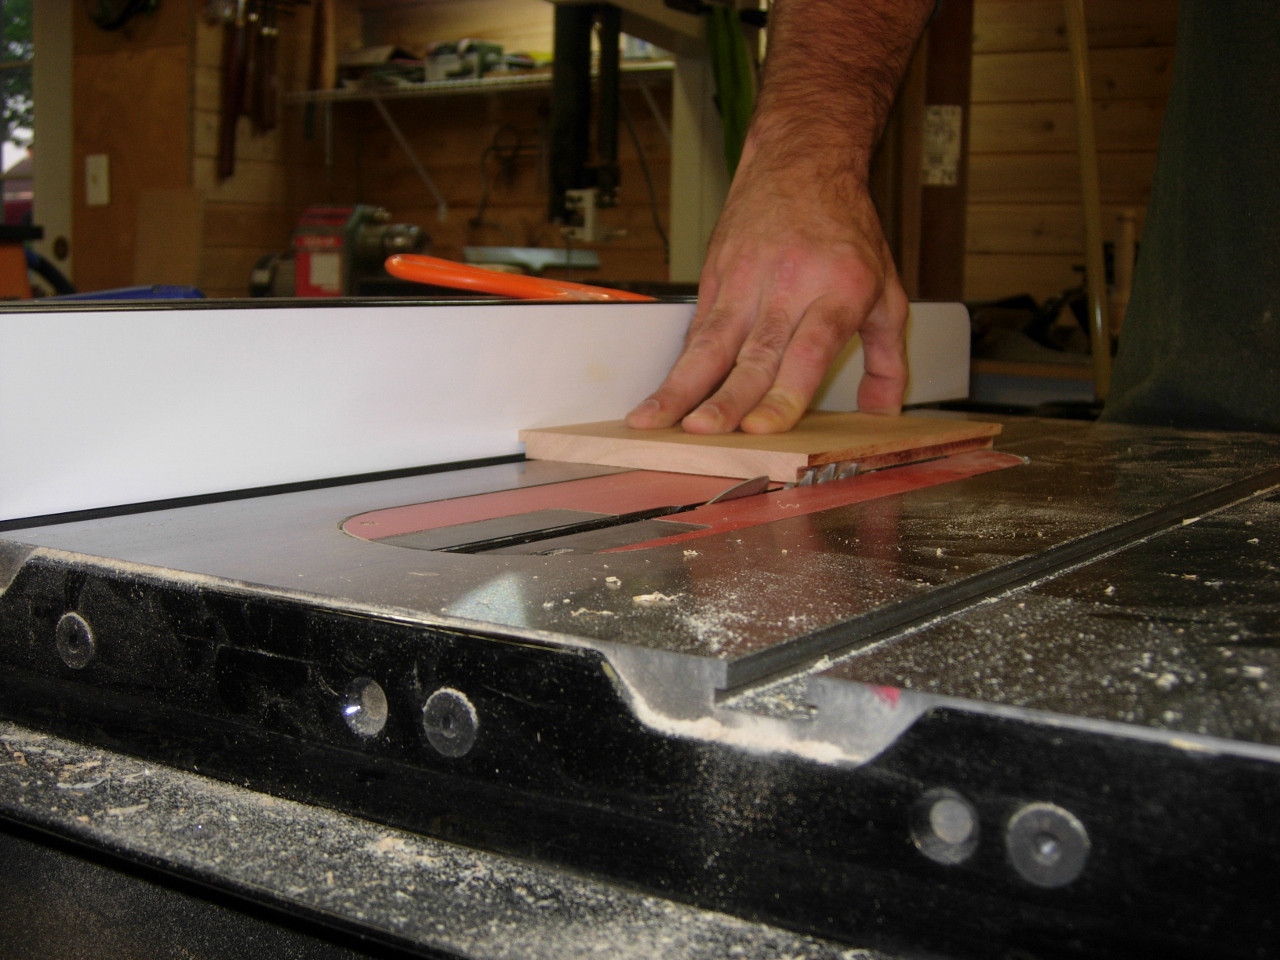
Cutting the rabbet on the lid

Dry fit
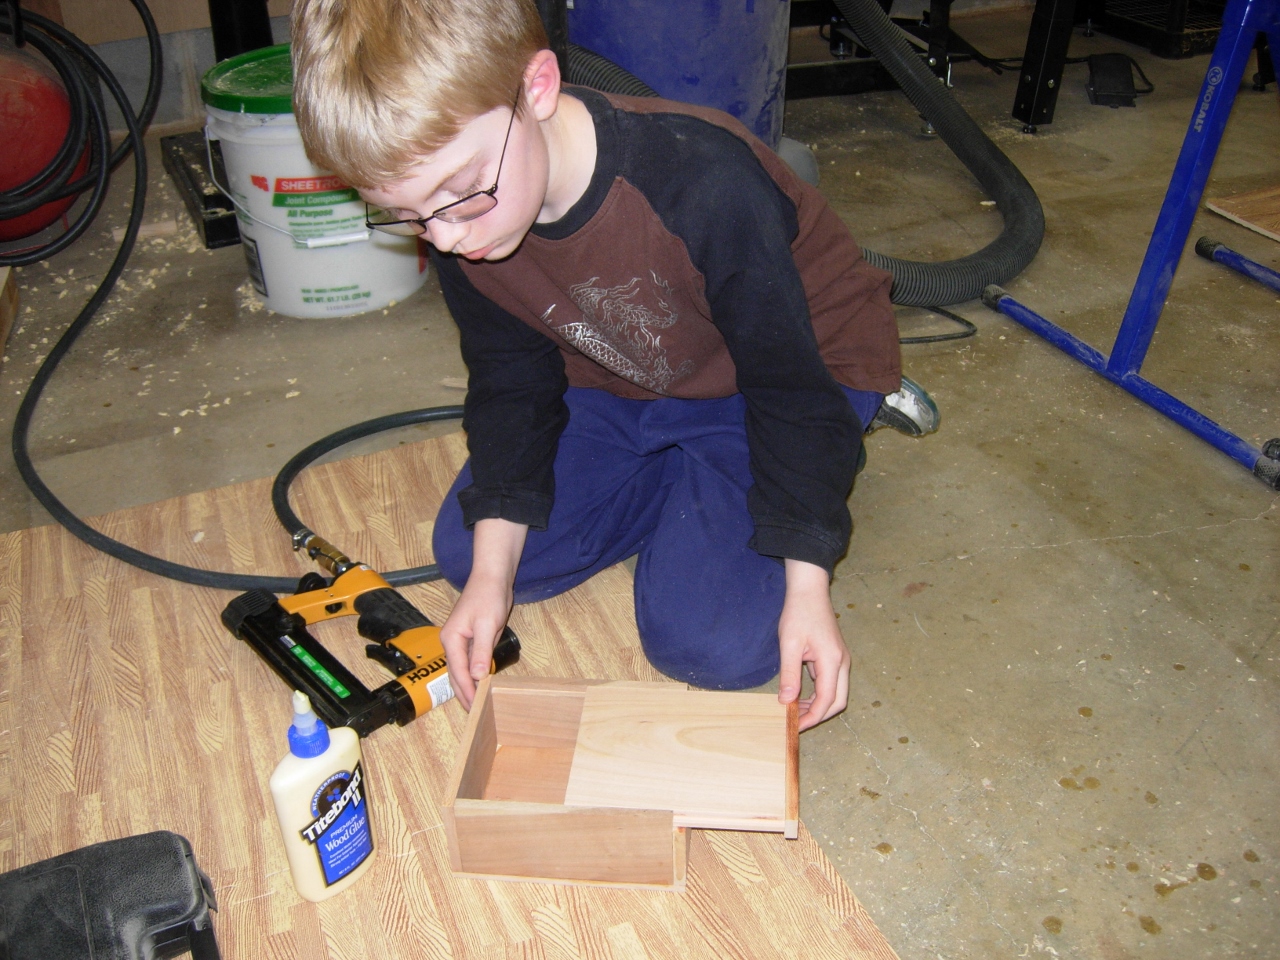
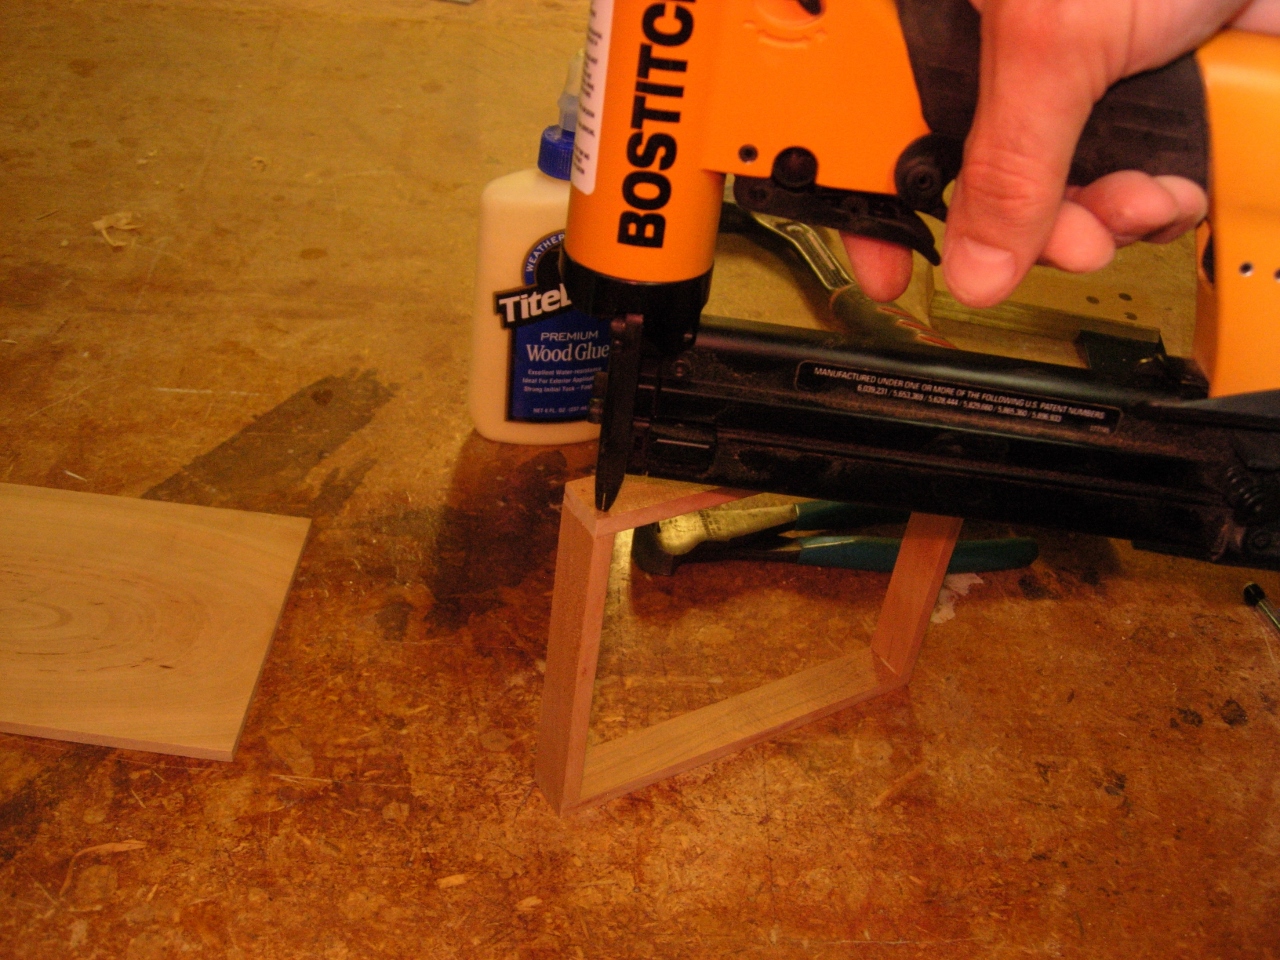
We did a dry-fit of the pieces and everything looked good so we applied glue to the edges and Adam pin nailed the sides and bottom together.
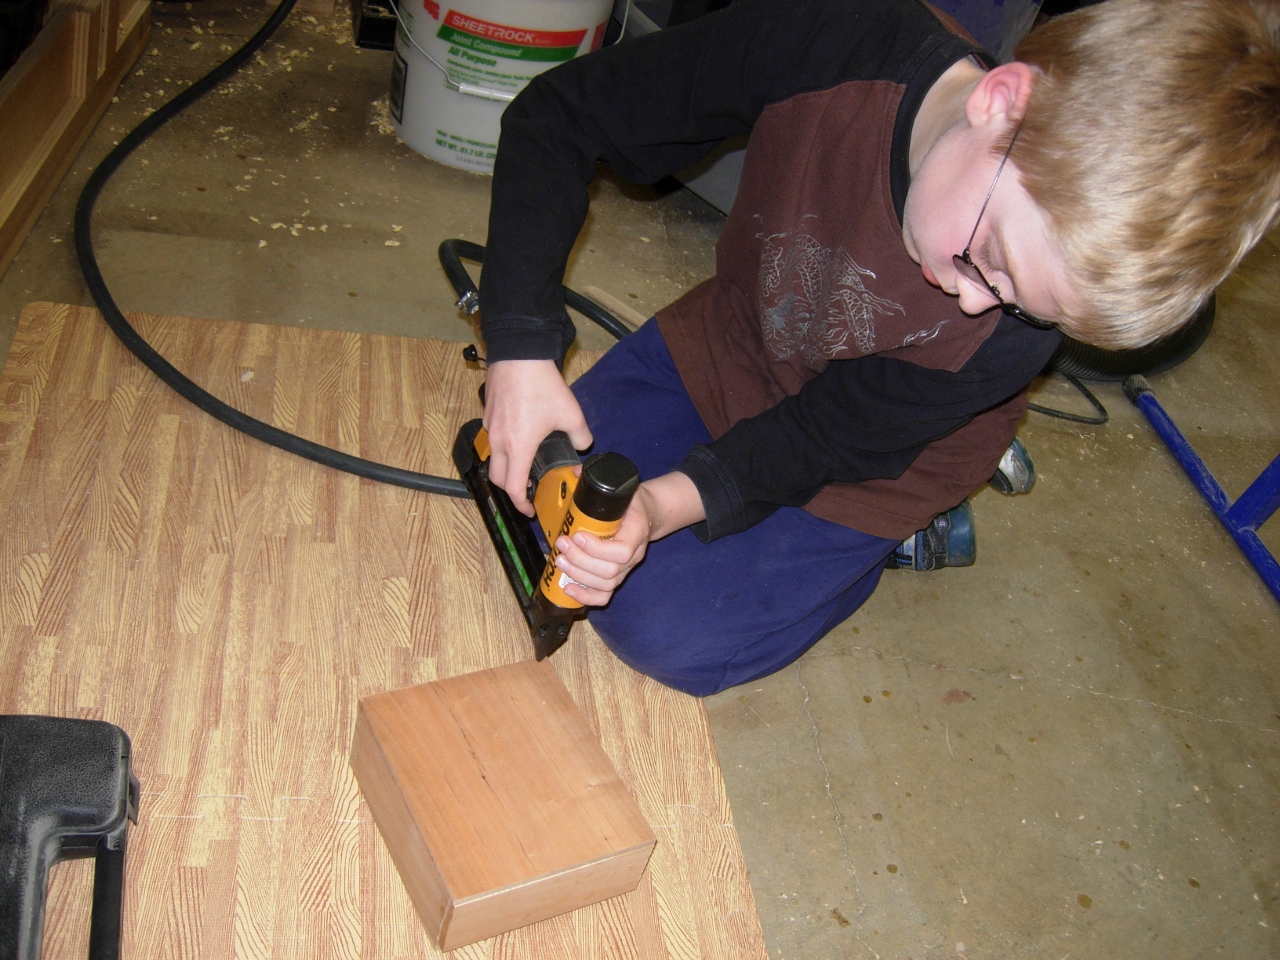
Pinning the box together
Instead of trying to carve a pull, we made the front side taller, then cut a 1/2″ piece off to glue to the edge of the lid.

Applying glue to the edge of the lid
Adam pinned it in place. This gave us a lip, sticking up across the front to pull on.

Pinning on the lid lip
Adam tested the functionality of the lid for a while, then did a little finish sanding to clean up any saw marks or burn marks.
Testing the lid
Adam sanding some stand-offs
While the box was functional, it wasn’t much use as a jewelery box yet. We cut some 1″ squares to use as stand-offs and glued them to the sides.

Glueing the stand-offs in place
These would hold up a second level tray.

Resawing a piece for the tray bottom
To make the tray, I re-sawed a small piece of cherry , then planed it down to about 1/4″ thick. This piece will serve as the bottom of the tray.
Cutting the tray bottom to size
I cut some 3/4″ wide pieces for the sides of the tray and pinned them together.
Assembling the tray sides

Pinning the bottom to the sides
The sides were then attached to the bottom. For the center divider, we marked out another 3/4″ wide piece with a 1″ tall hump in the middle.
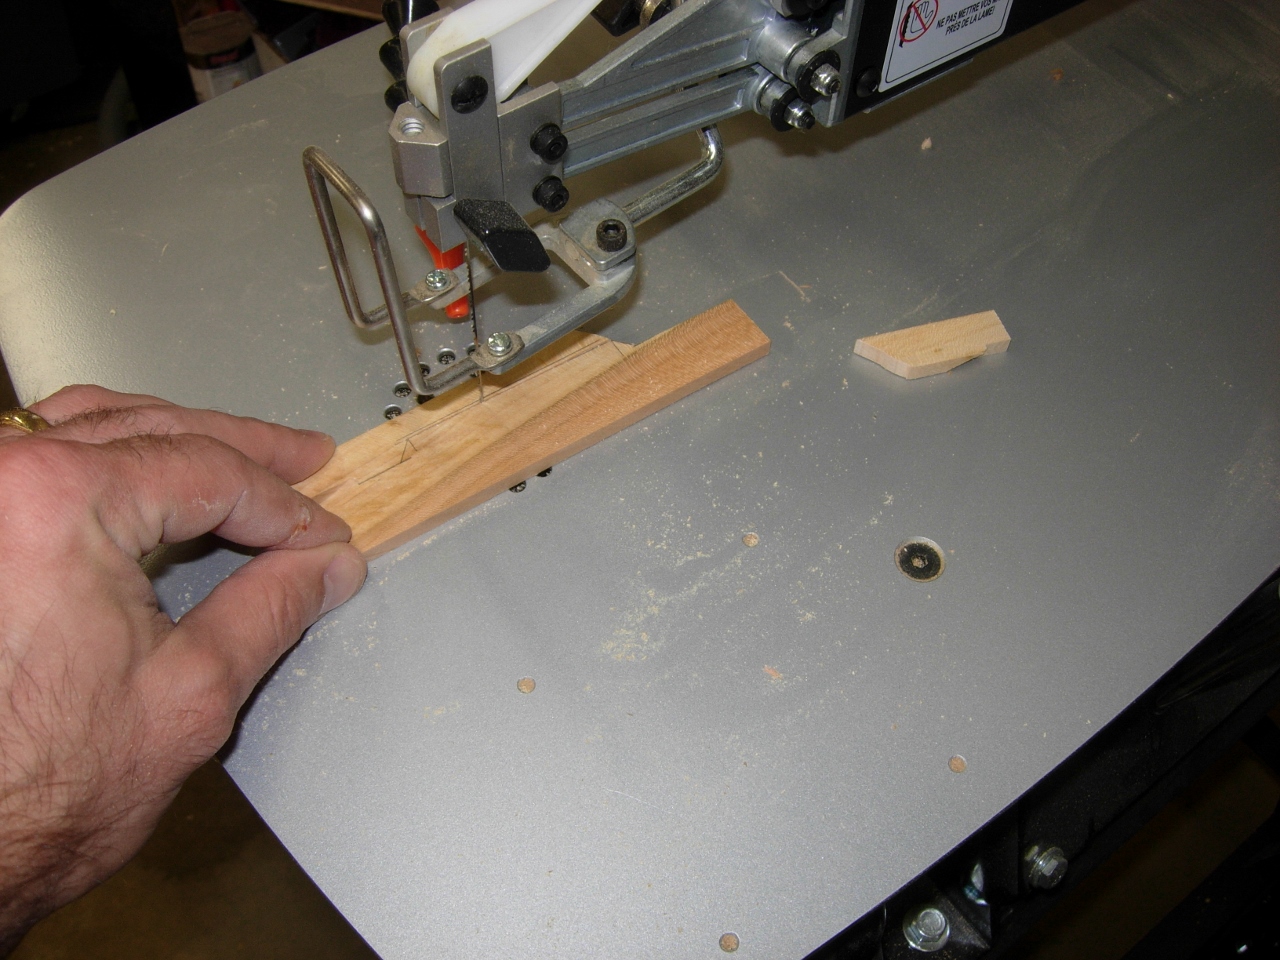
Cutting the center divider on the scroll saw
Using a rasp, we gave some curves to the piece highlighting the hump, in the middle, as a handle.

Rasping some curves into the divider
The divider/handle was glued and pinned to the center of the tray.

Attaching the divider

Tray nested into place
The tray fits nicely on the stand-offs and leaves about 1/16″ of clearance for the lid to close over it.

Lid misses the divider
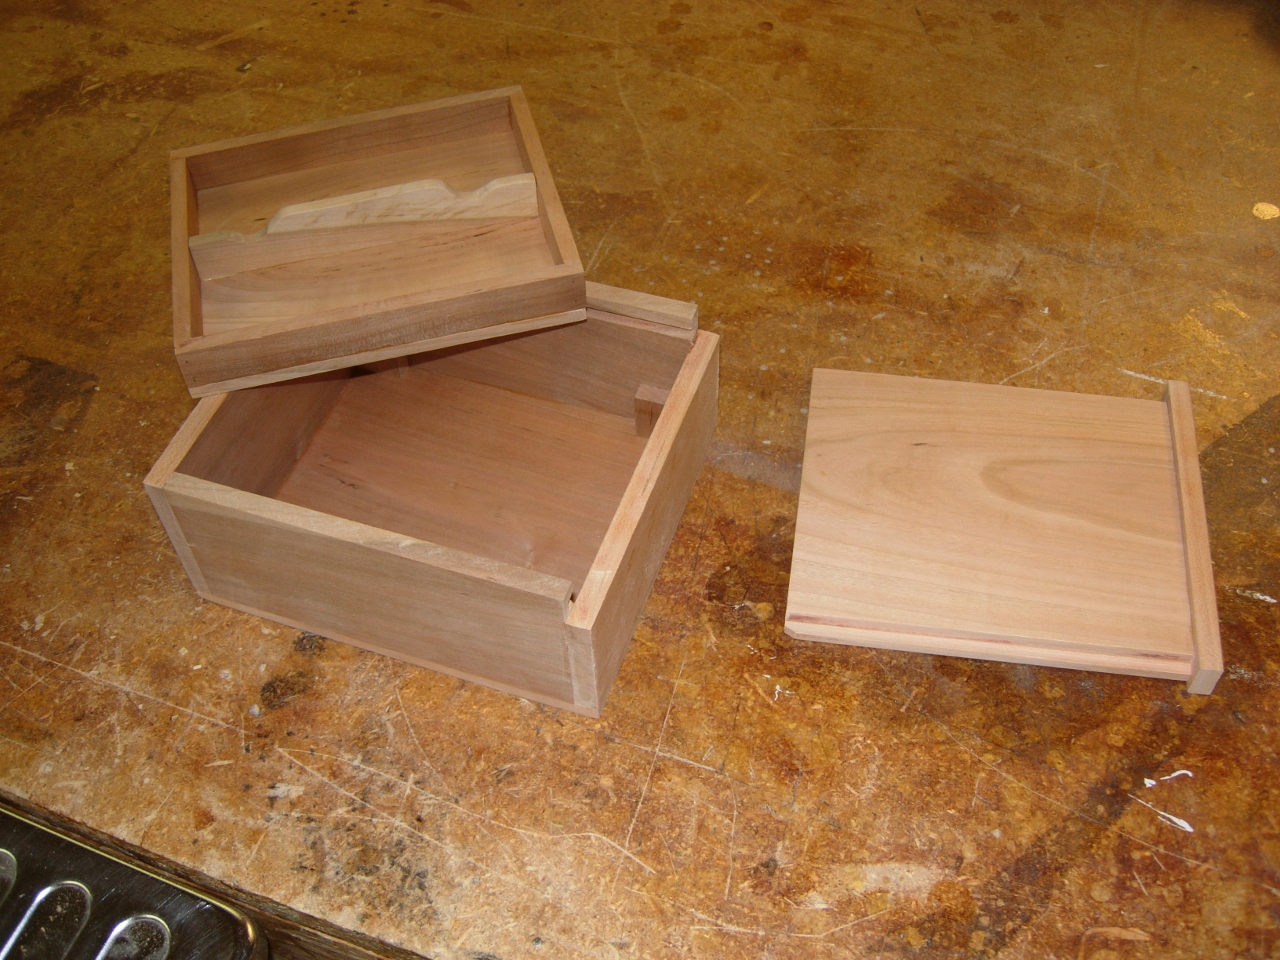
Tray just sitting on top
For now, the box is rather plain and unfinished. I think that as Adam improves his carving skills, he may one day feel comfortable coming back to the box and adding some additional detail.
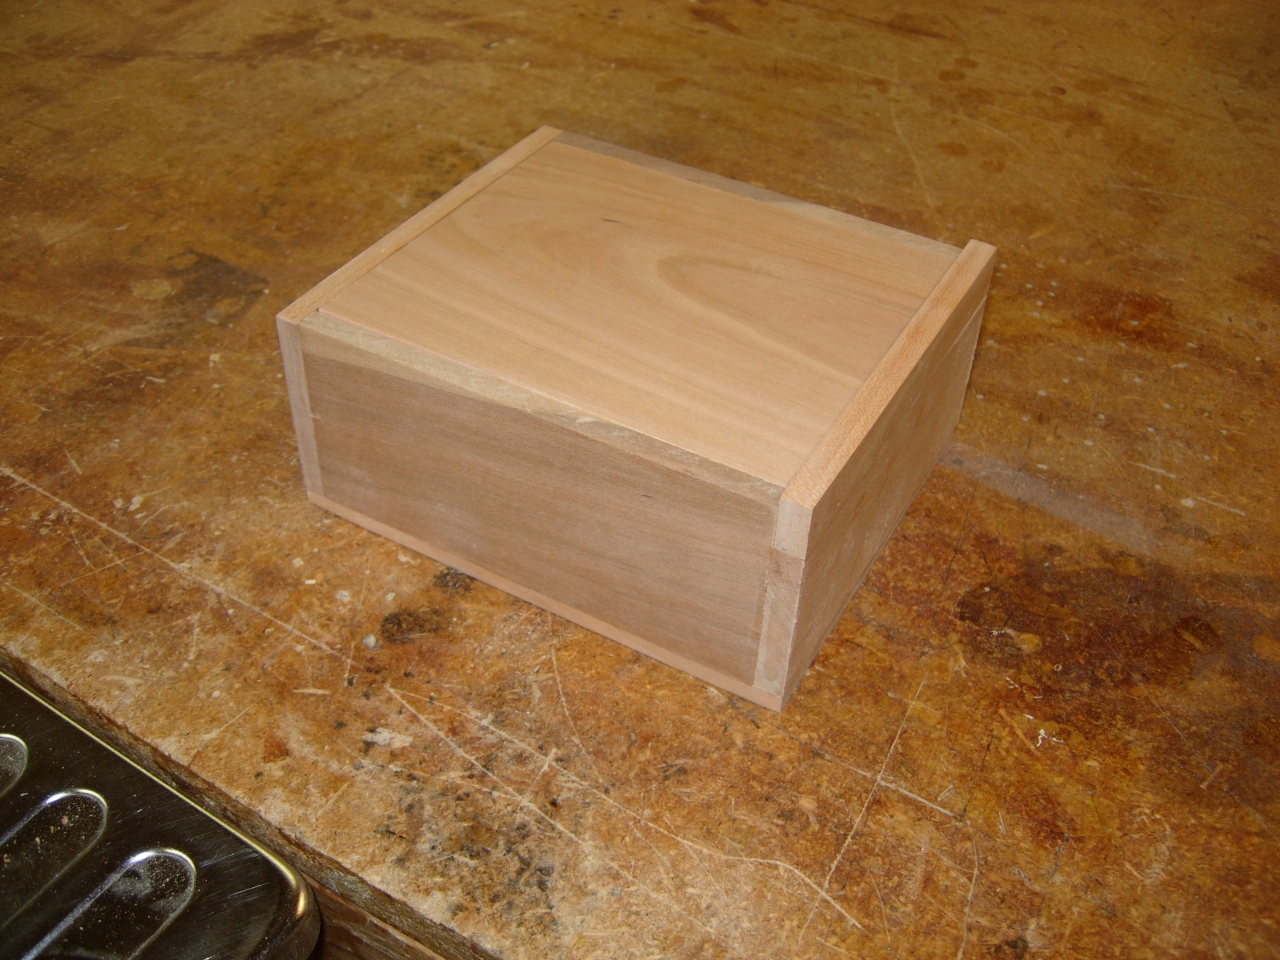
Box closed

Happy Momma
