
Bed upgrade – day 7
My goal last night was to create the center support rail for the bed. I need something sturdy enough to support all of the weight of the mattress, box spring, and two people. It will be independent of the bed frame, so it will have to stand on its own.

Cleaning up an old 2″x6″
I have exhausted most of my supply of pine boards, just a few short pieces left. For the long rails, that will run down the center, I decided to use one of the 2″x6″ boards that was formerly used to support my workbench. It is at least 10 years old, so I think it is dry enough that it won’t twist on me. I ran it through the thickness planer to clean up the surface, then ripped it into 2″ wide strips.
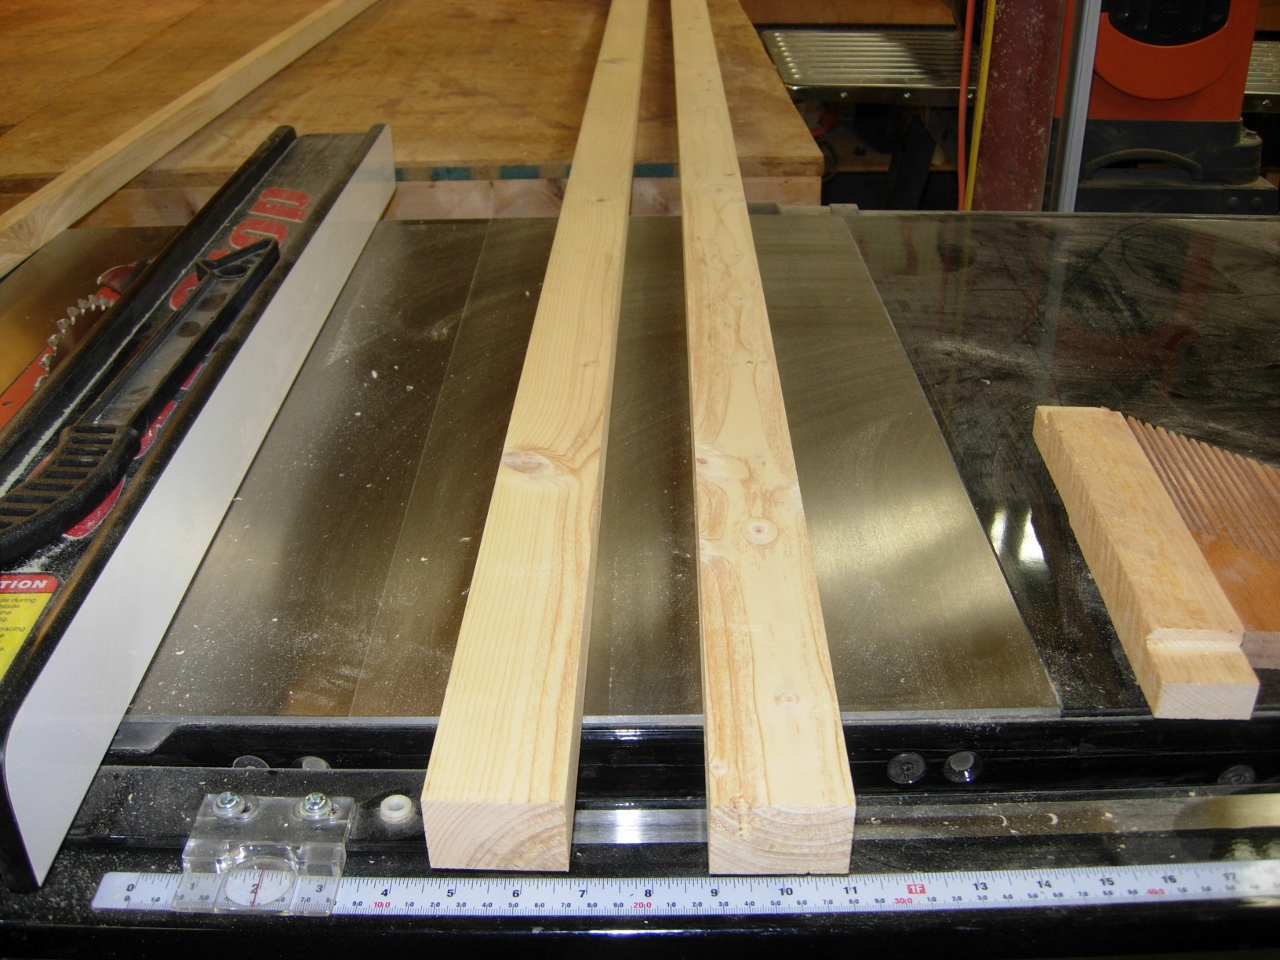
Cleaned up and ripped down
To create the two legs, I used some of my short left-over pieces to create some 6″ and 8″ pieces that will be laminated together.

Ripping plated for the legs

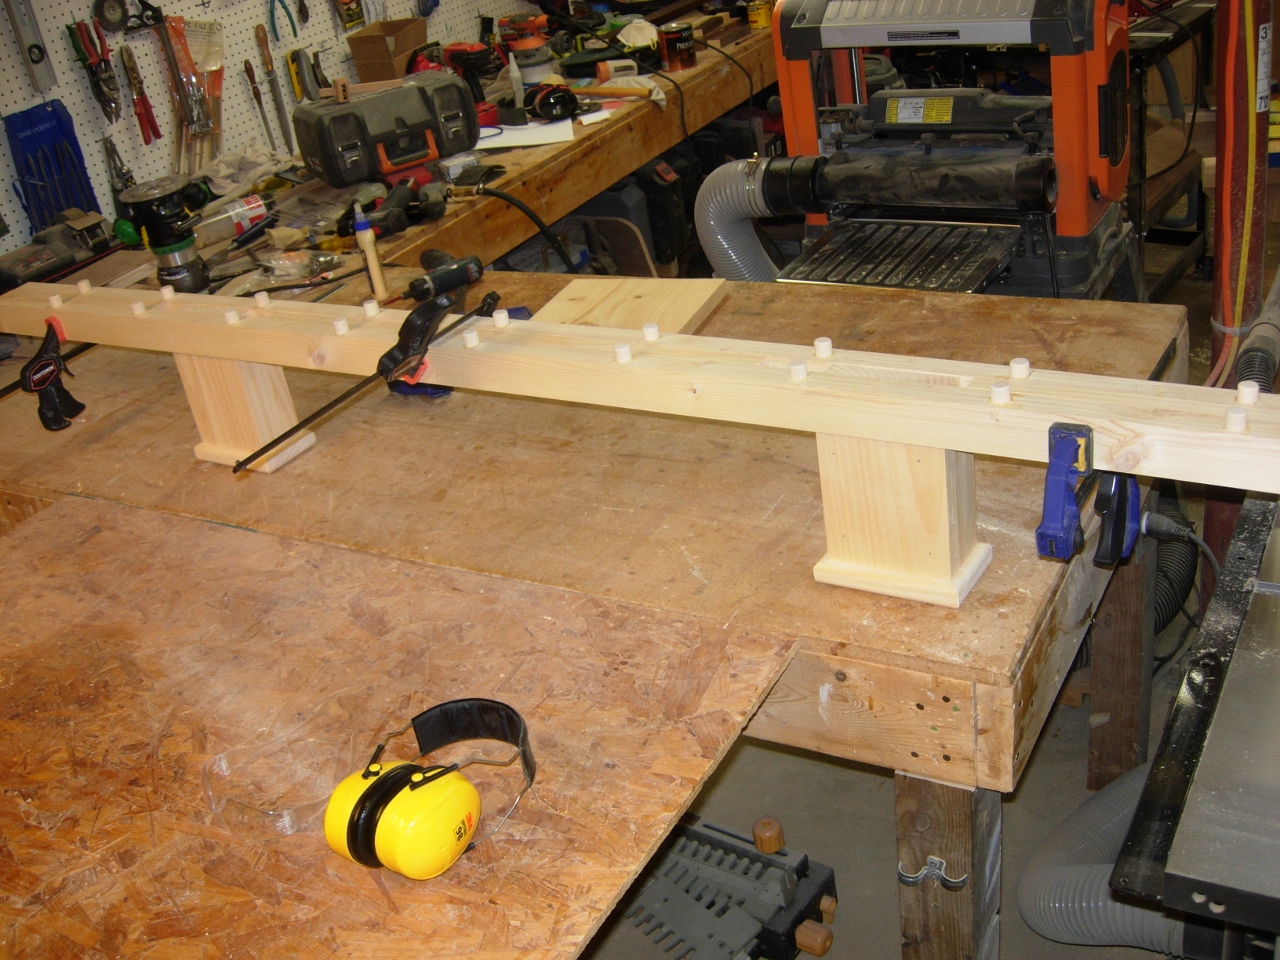
Dry fit of the center beam
I stacked everything together in a dry-fit to make sure it would all be stable.

Rounding over the feet
I didn’t want exposed end grain to sit on the floor, so I cut out rectangular feet to attach to the bottom of the legs, and rounded over all of their edges.

Laminating the legs
I laminated the legs together using wood glue and 2″ brad nails.

Nailing the legs together
Next, I counter-sunk two holes in each foot and glued and screwed the feet to the bottoms of the legs.
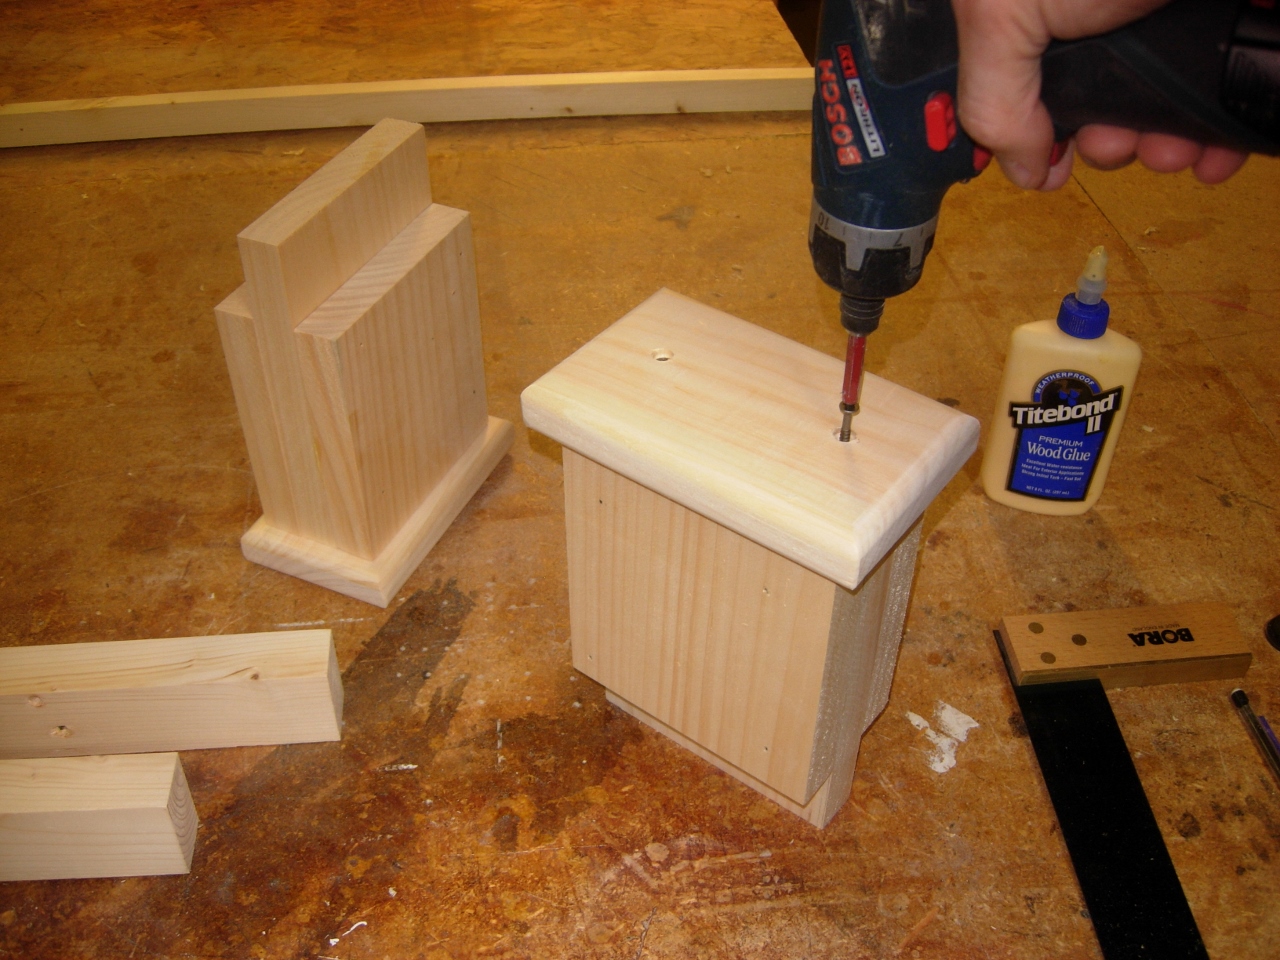
Screwing on the feet
I marked peg locations in the two beams to match the locations on the bed rails, then drilled 3/4″ holes.
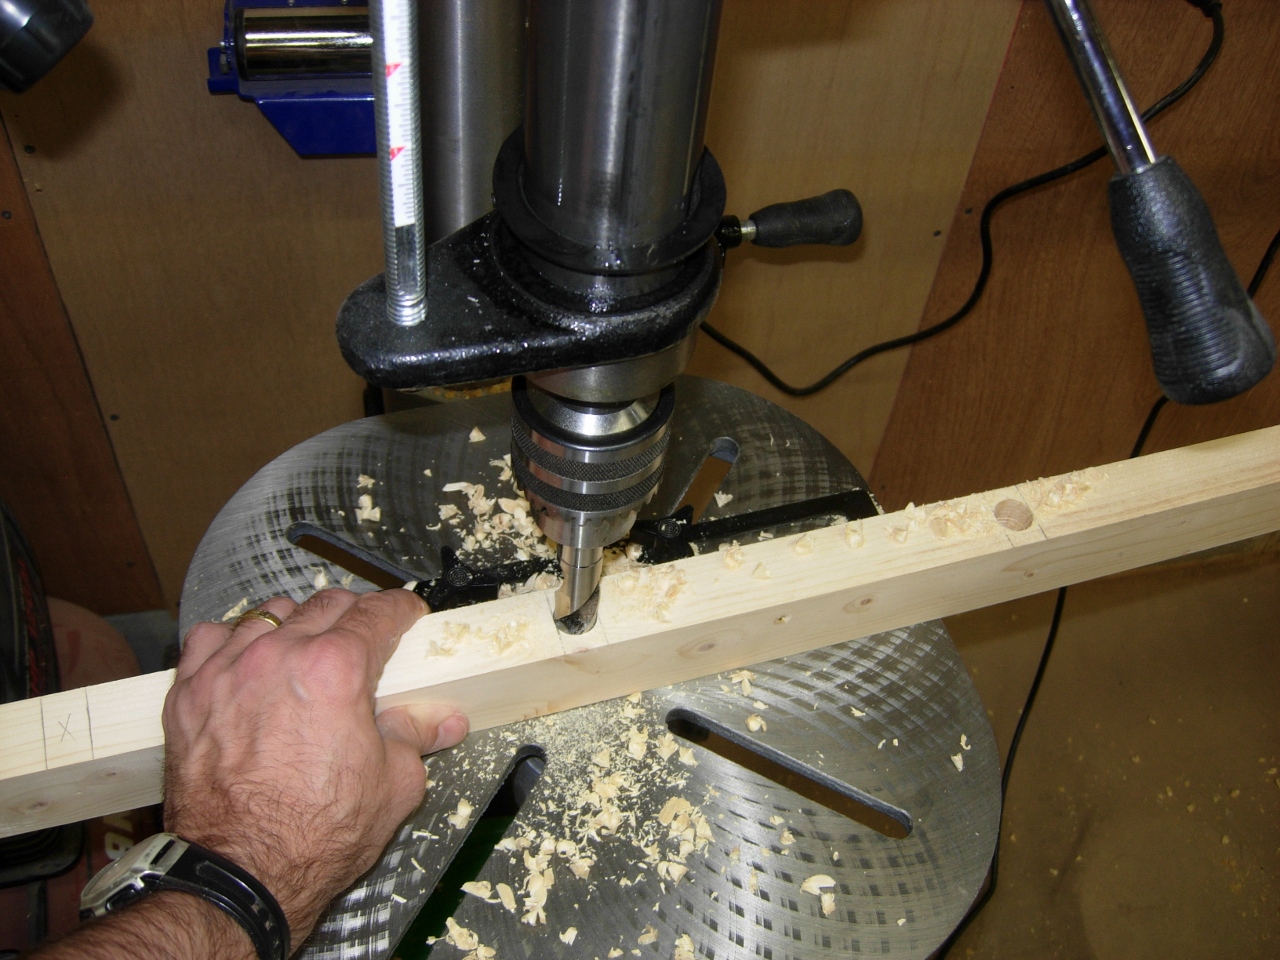
Drilling holes in the center beam

Cutting 18 more pegs
I cut 18 more dowel pegs, using my “V” block jig, then sanded a bevel on one end.
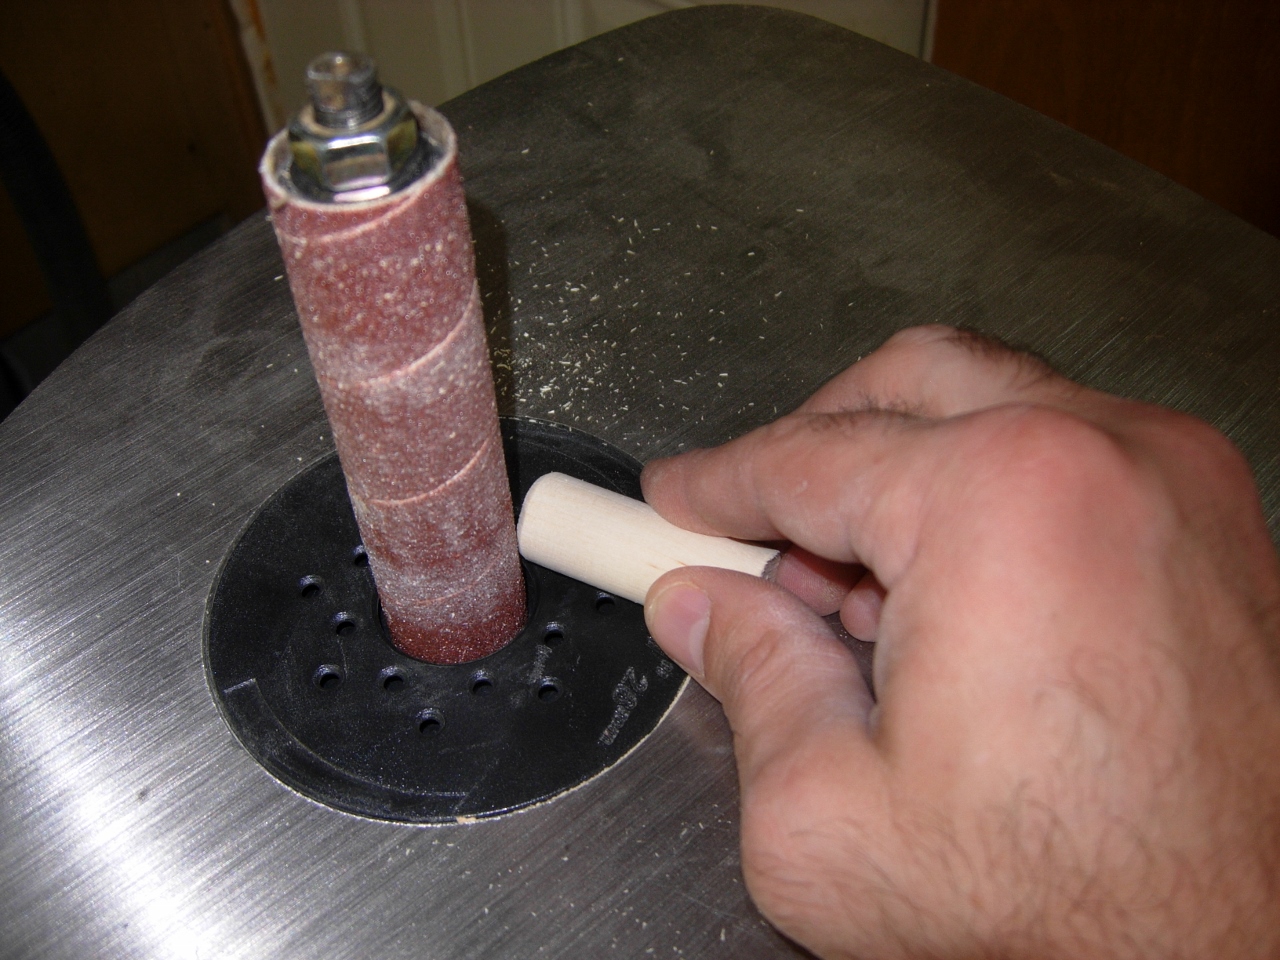
Rounding off one end

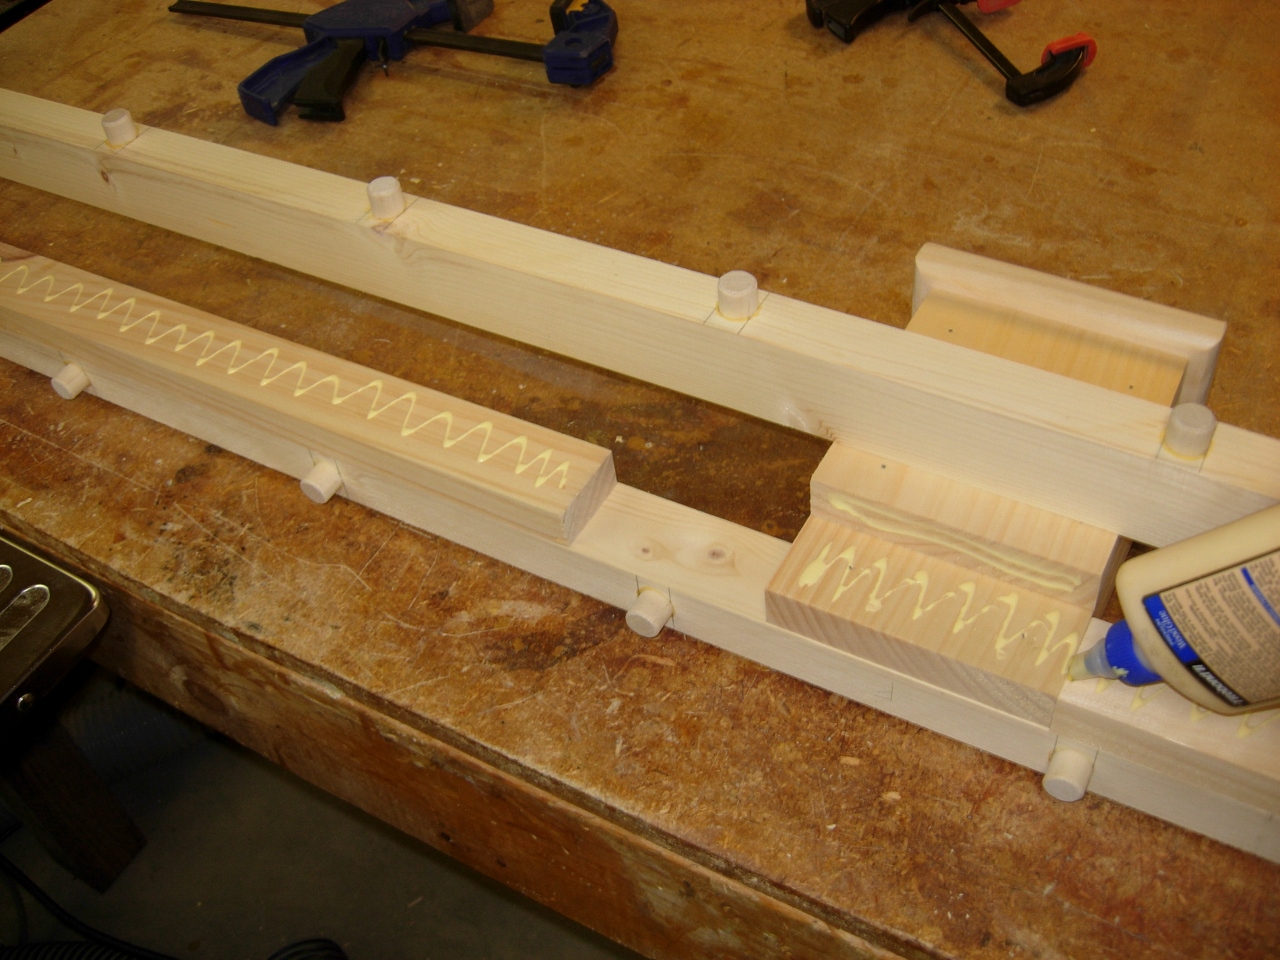
Applying glue and installing the pegs
After applying glue to the sides of each hole, I inserted the dowels and let them dry.
Adding blocking down the center
I cut pieces of blocking to place down the center of the beam, just to stiffen things up. Then I glued and nailed the whole thing together.
Gleuing up the beam
You may have noticed that I wound up with a double row of pegs down the beam instead of a single. In an effort to minimize waste, I intend to have some bed slats run the full 77″ width of the bed, and some of the ends cut from those boards will be 38″, only running half the width. They will be equally as supportive as the longer slats. The boards that I got for the job were 10′ to 12′ long, air-dried poplar, and I didn’t want to make a lot of waste.

Ripping down the poplar bed slats
I cut the poplar down to the lengths and widths that I wanted and ran them through the planer to clean up the faces.
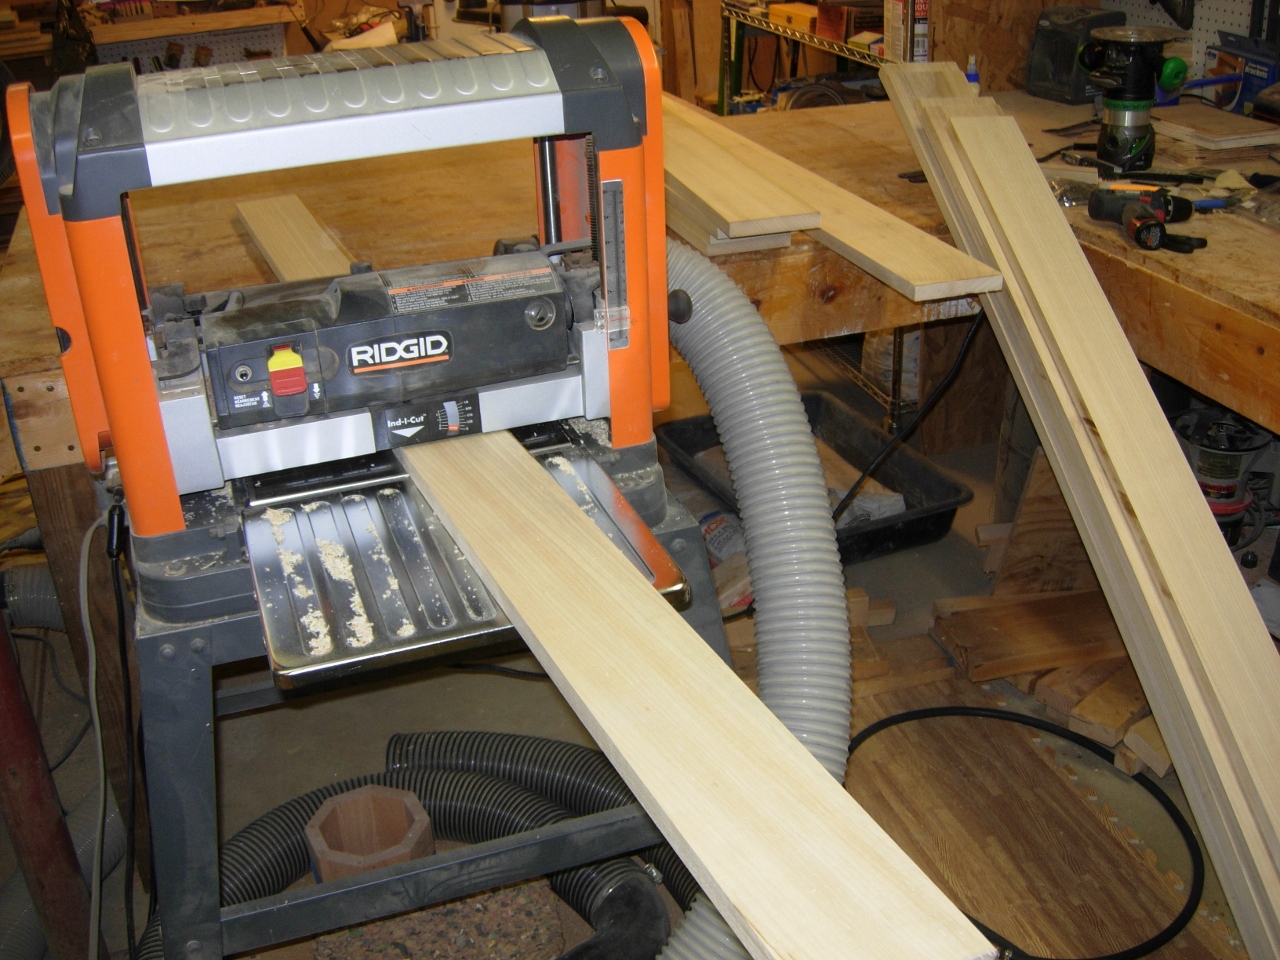
Planing the bed slats
Hopefully tonight I will get a chance to round over the edges and drill the holes in the ends and centers. That will be the last of the construction and I will be down to finishing.
