
AJ’s custom Stratocaster – complete
I got to finish up AJ’s guitar this weekend. The guitar body has been done for nearly a year, but due to some personal issues, it had to be put on hold. I finally got the green light to finish it, so I bought most of the parts that I needed and scavenged some from some of my sons old guitar parts.
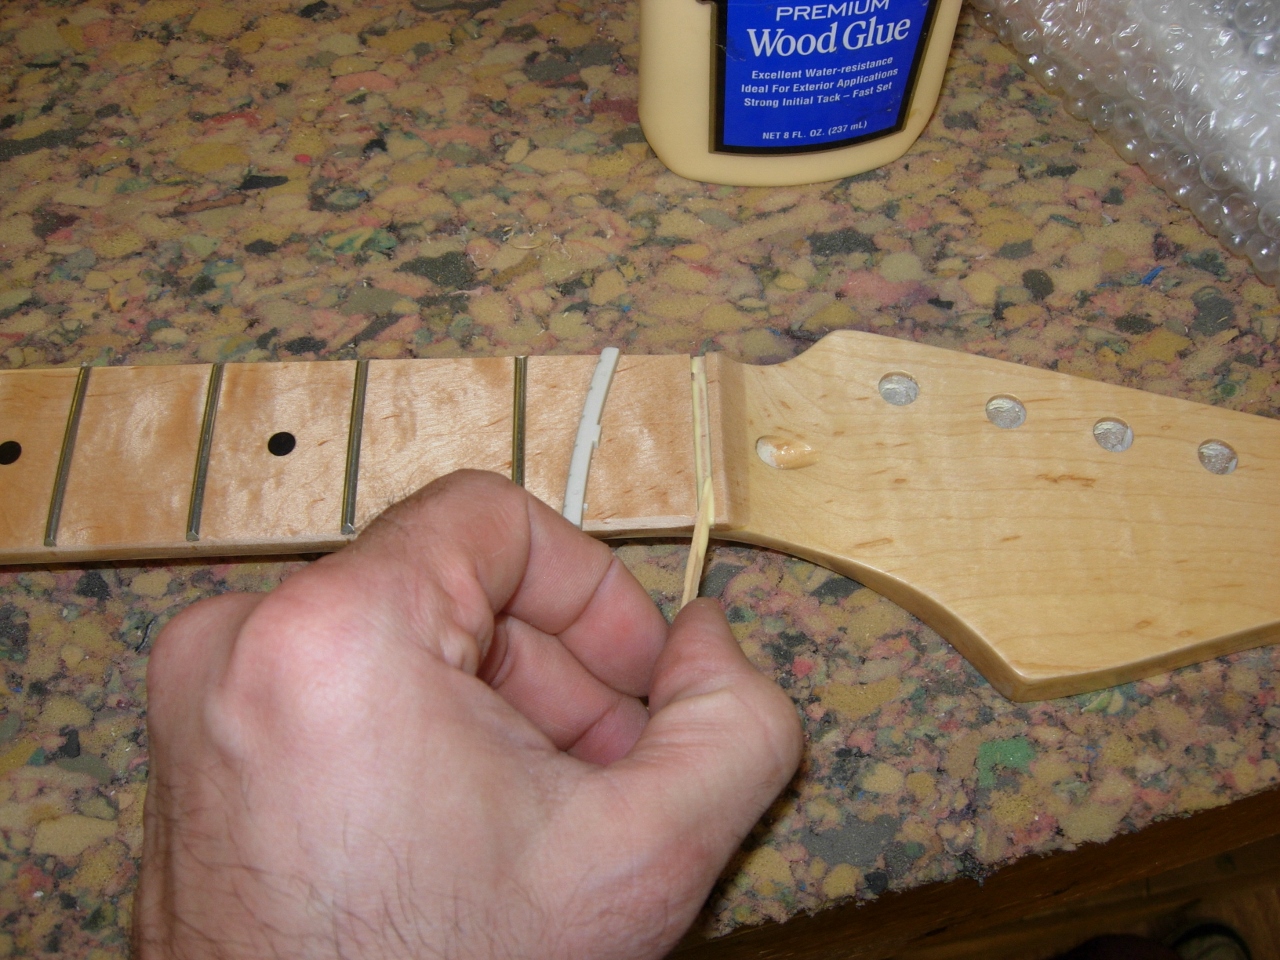
Glueing in the nut
I haven’t felt brave enough to create a neck of my own yet, so I purchased a nice maple one. I had to install the nut, so I applied a bit of wood glue and pressed it in place.

Setting the nut

Trimming the neck pocket
When I made the body, I did not know what neck I would be using, so I sized the mounting pocket a bit small. I trimmed away the walnut a couple of thin slivers at a time, with my chisel, until I had a nice fit for the new neck.
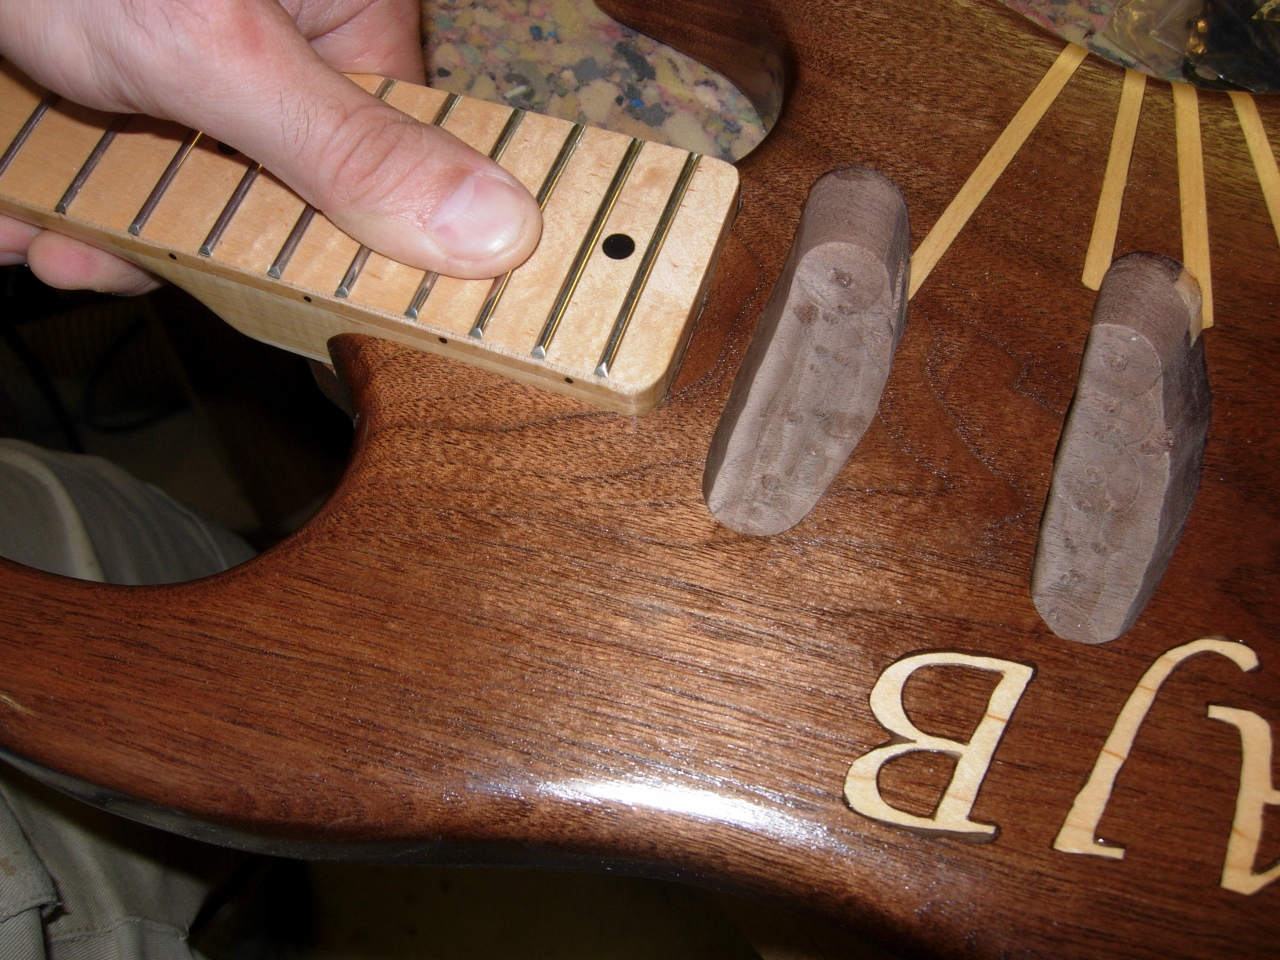
Nice tight fit

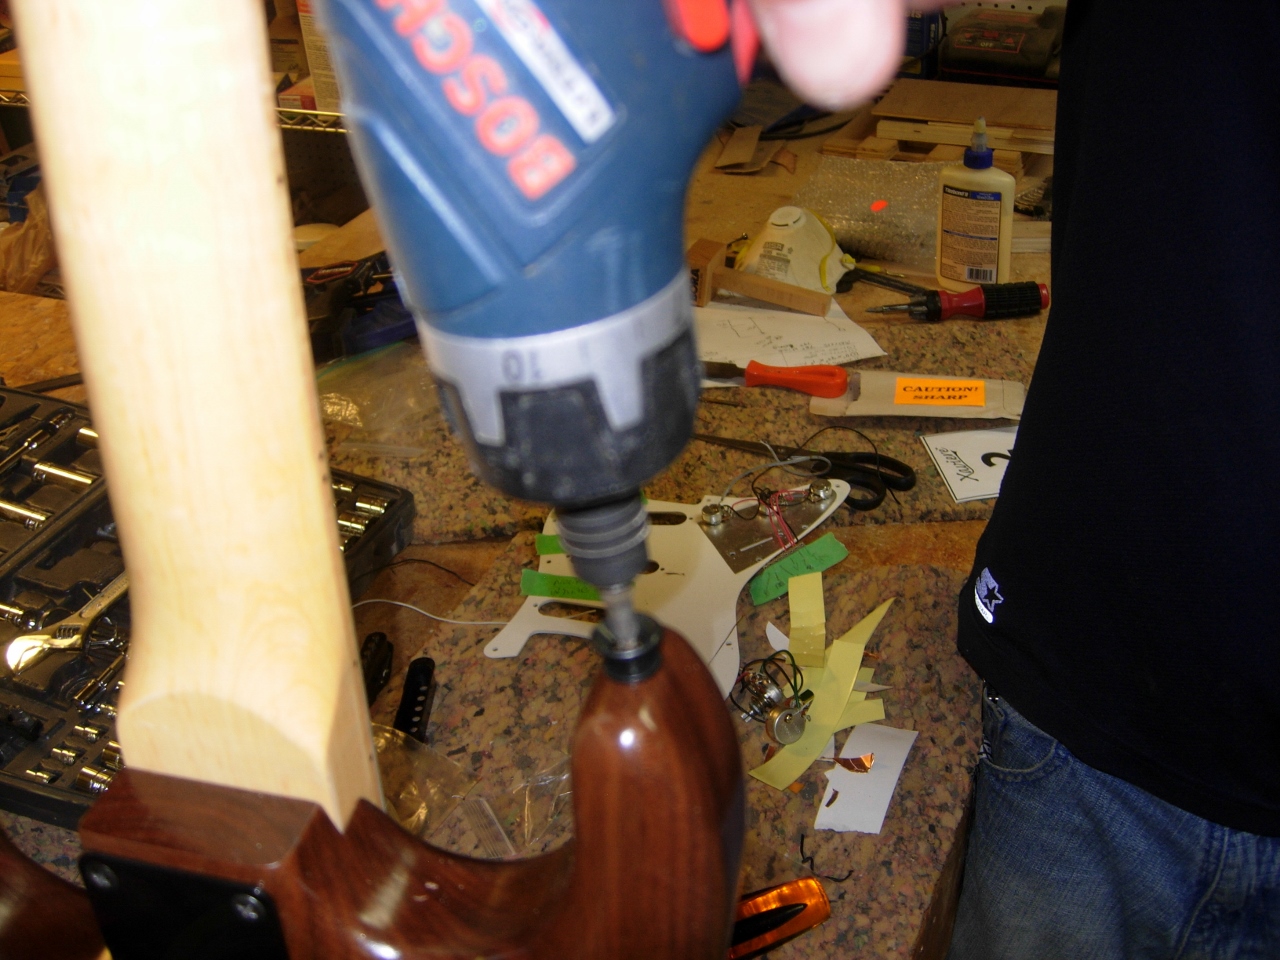
Drilling pilot holes for mounting the neck
I clamped the neck in place and drilled some pilot holes in it for mounting. I attached the neck plate and screwed it all together.

Neck mounted

Drilling out the tuner holes
The holes in the headstock were 9mm, and my tuners were 10mm, so I opened them up to the correct size with a drill bit and installed the tuners.
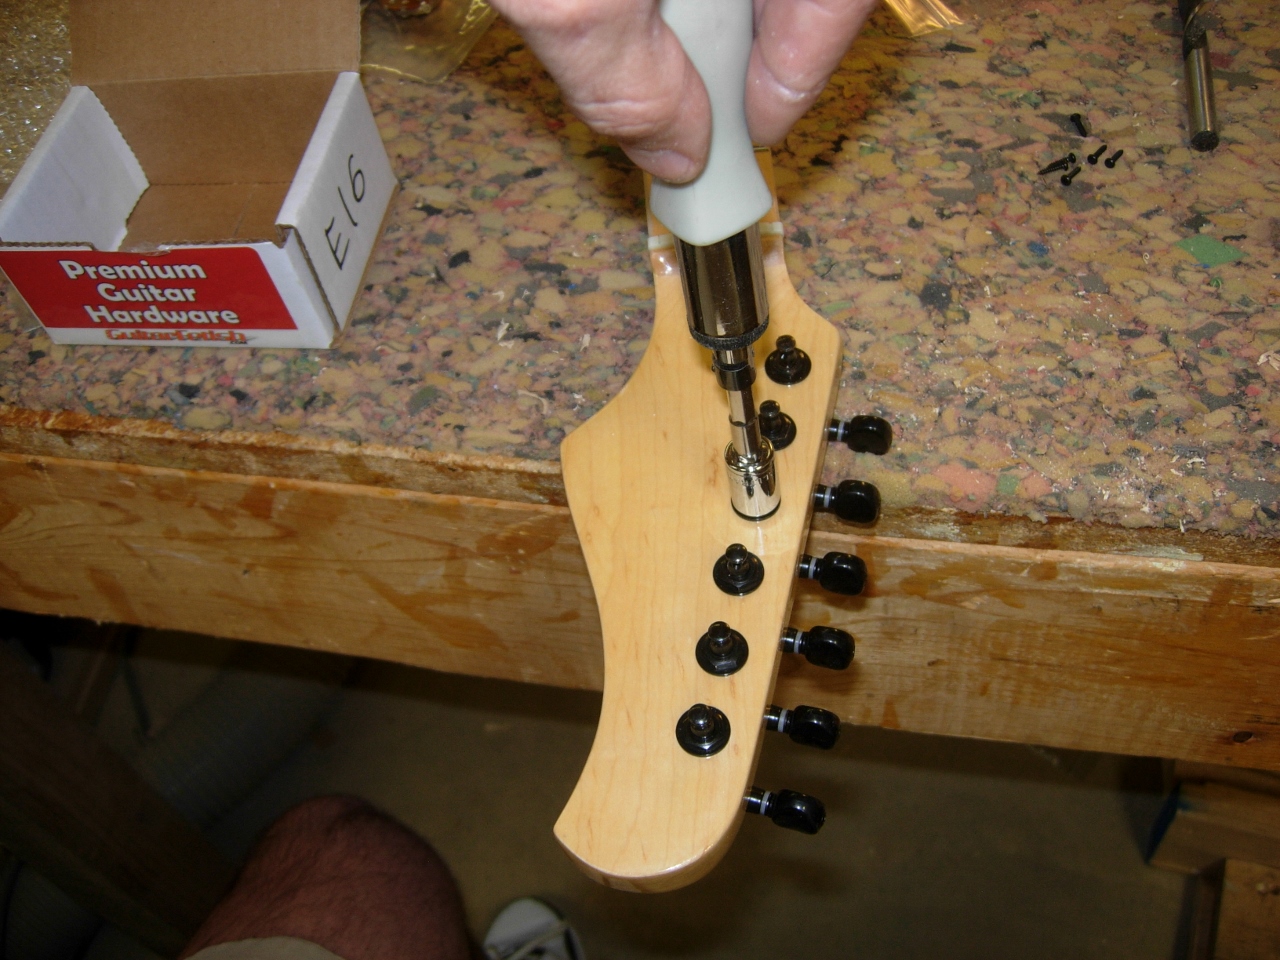
Mounting the tuners

Trimming adhesive backed copper
I purchased some adhesive backed copper to line the rear cover plate and the inside of the control pocket.

Control pocket lined with copper
When they were lined, I drilled and countersunk the mounting holes for the rear cover plate.
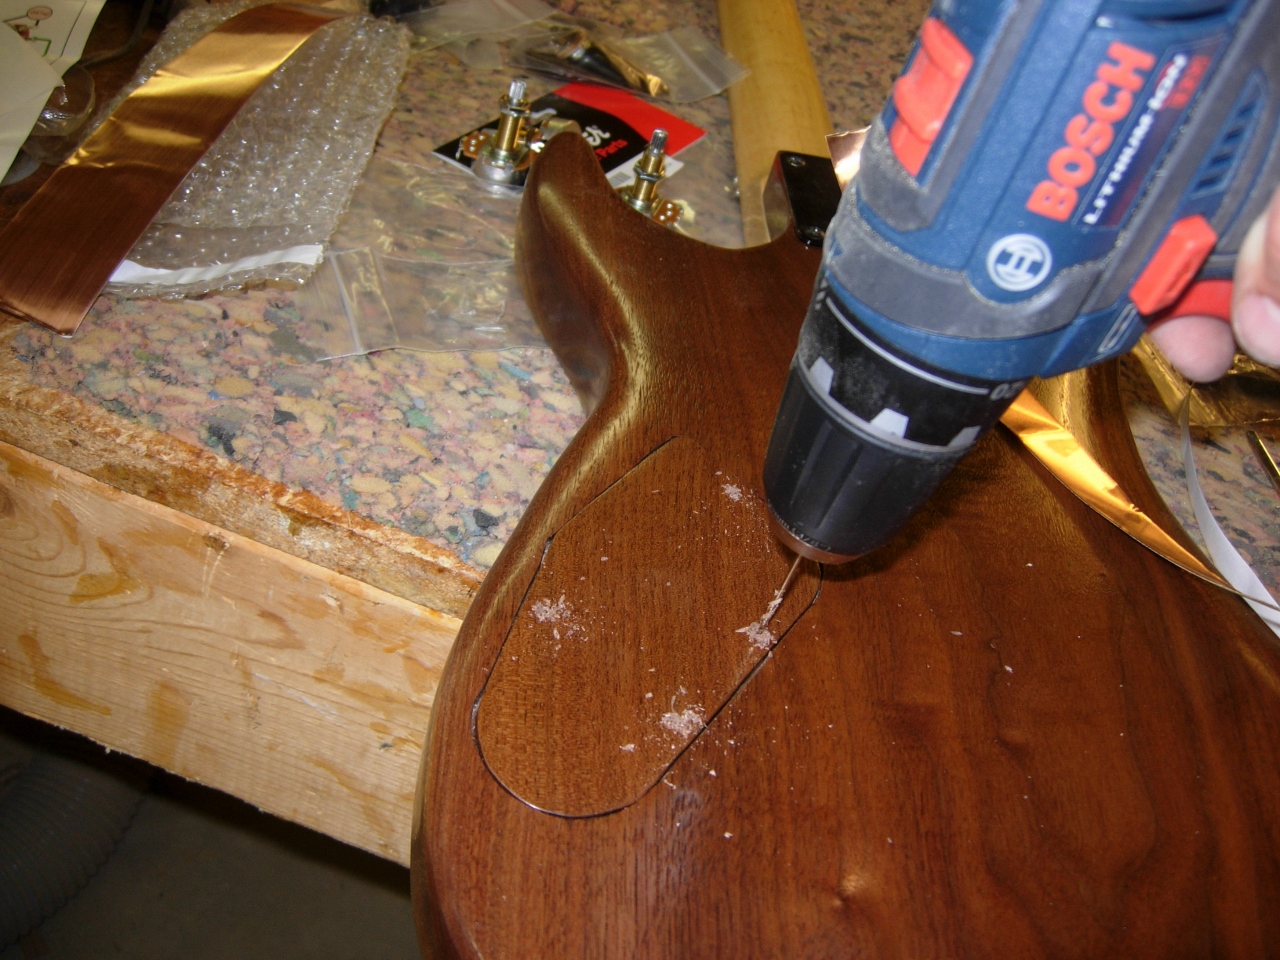
Drilling the mounting holes for the rear cover plate
Scavenging parts
To save a bit of money, at this time, I cannibalized some of my son’s left-over strat components. I got some low-profile trim rings for mounting the pick-ups. I centered them to drill pilot holes, then screwed them down.
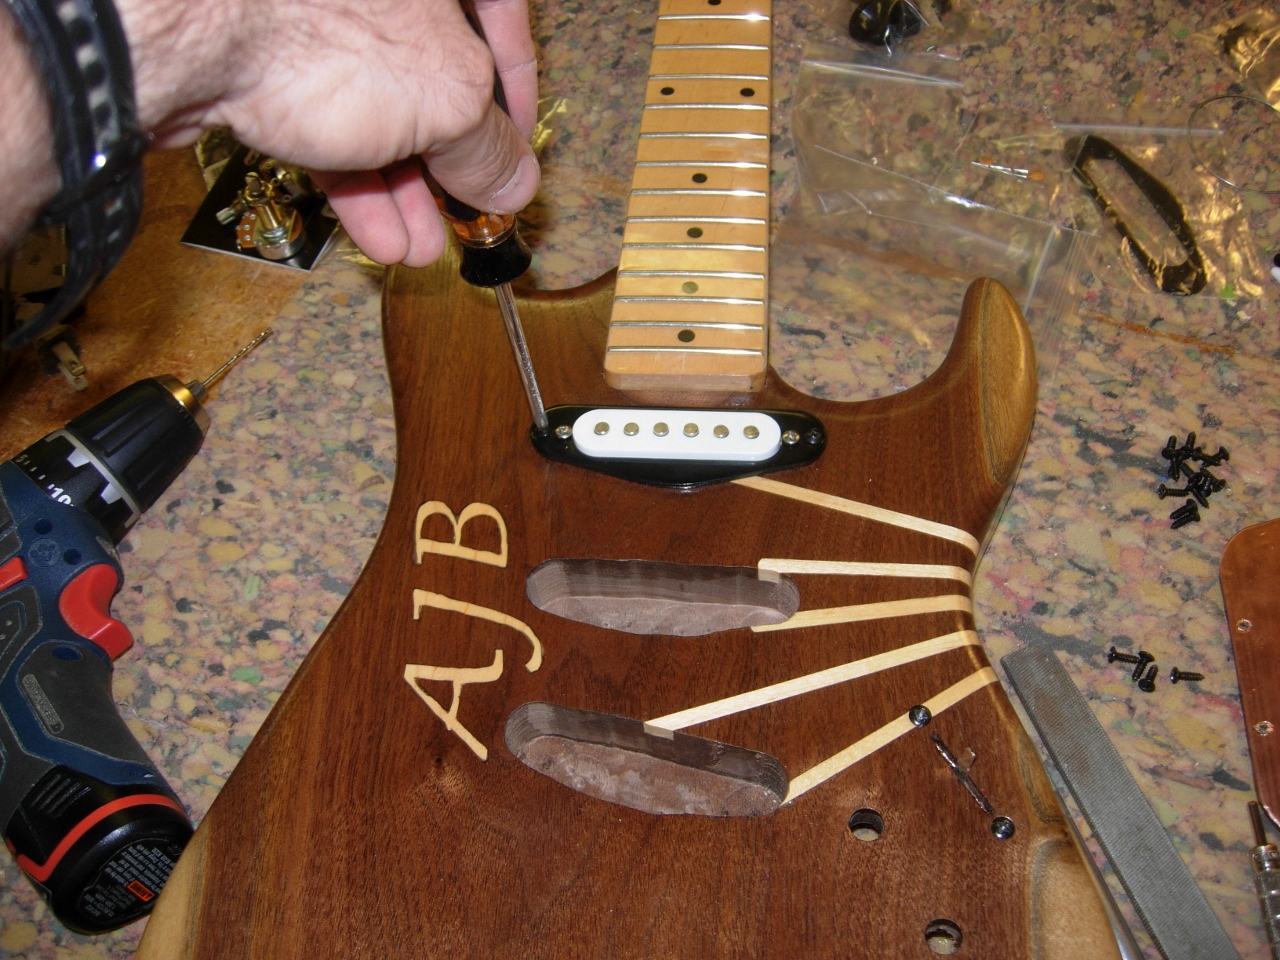
Installing the pickups

Locating the hardtail bridge
To locate the hardtail bridge, I strung a guitar string through the first and the last tuner so I could line them up with the neck and the pick-ups. Once I had the desired location, I used a few pieces of tape to outline it so that I could screw the bridge in place.

Screwing the bridge in place
With the bridge in place, I drilled holes through the body, for the strings.

Drilling through holes for the strings

Drilling counter-bores on the back side
I flipped the body over and used those holes to drill a counter-bore from the rear for the string bushings.
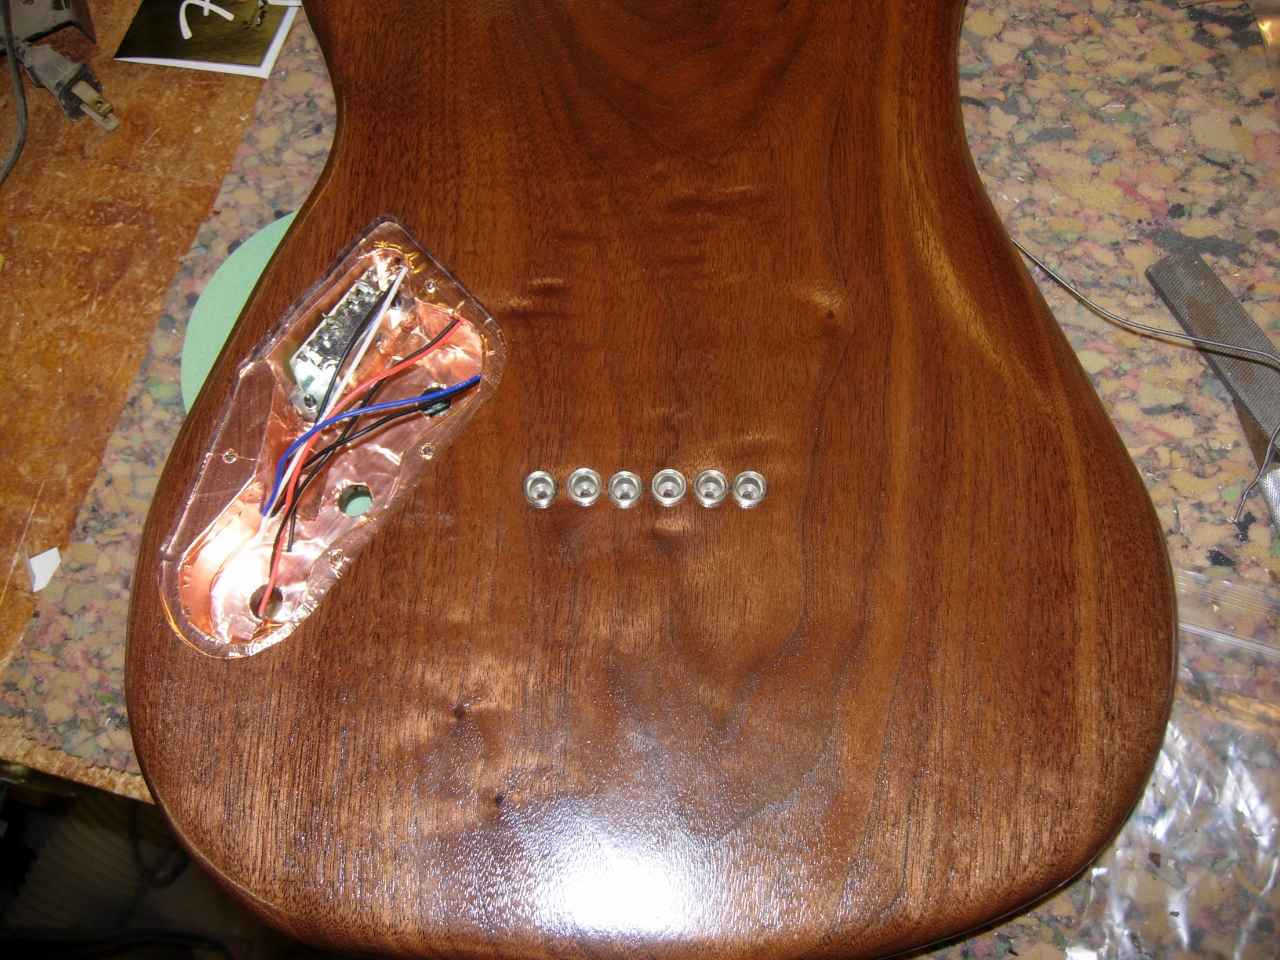
Bushings seated in counter-bored holes

Installing the volume and tone pots
Next I installed the volume and tone pots, in the body, then the string trees in the headstock.

Installing the string trees
The last piece of hardware, to install were the strap buttons. I screwed one centered on the bottom, and one on the tip of the horn.
Attaching the strap buttons
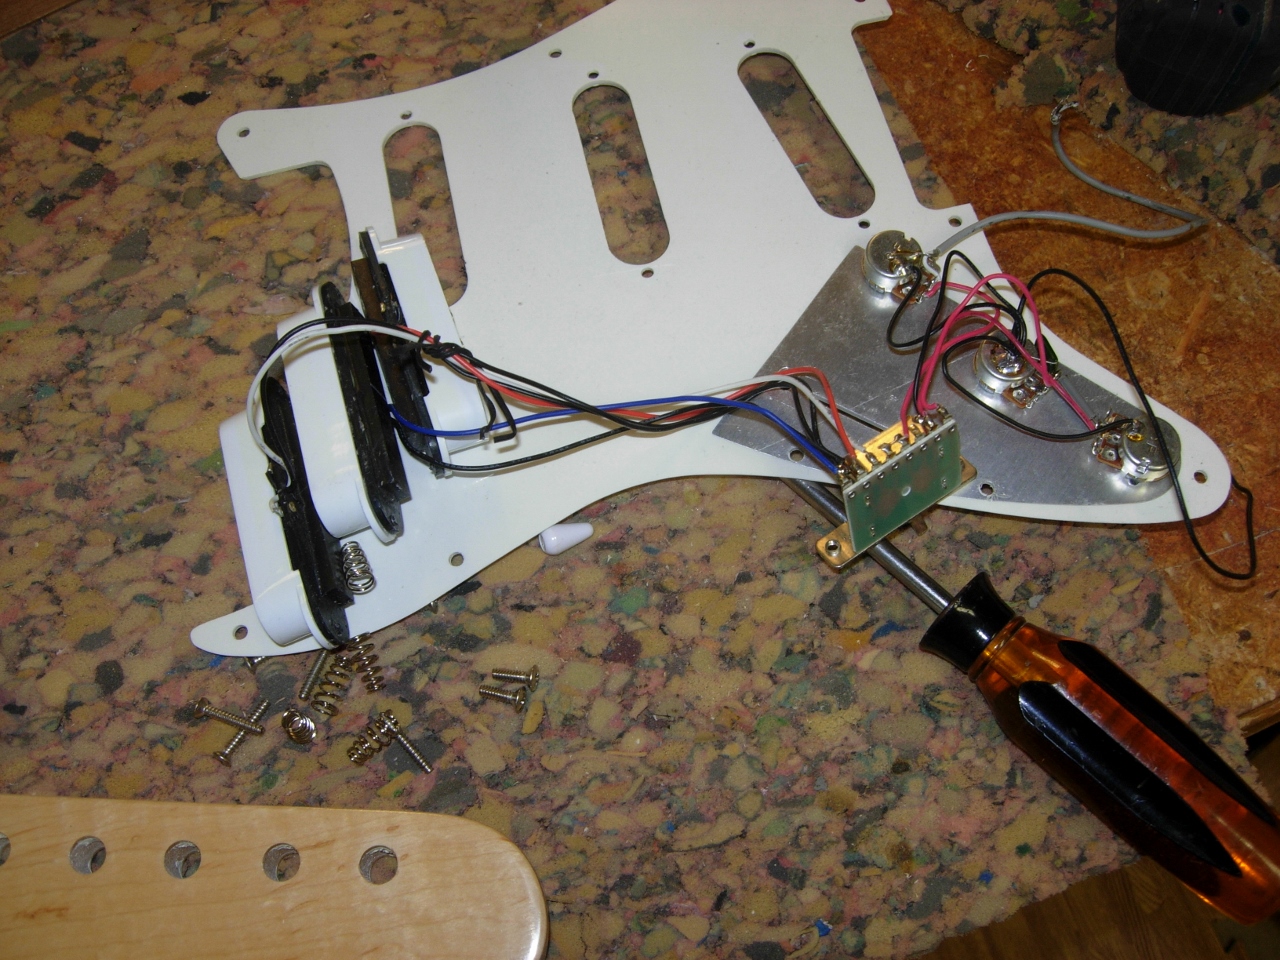
Wiring these things up is not my favorite job. I deliberately made the pocket tight, but didn’t think much about getting a soldering iron in there… It took my son and I a while to get it working. Holding the wires, solder, and iron require at least three hands, and throw in an extra hand to hold the other wires out of the way so nothing gets melted. Basically, it is like playing twister with a soldering iron. Initially we got it all wired up, and nothing worked. Then I re-wired it a couple different ways, no luck there either. Finally I pulled out the old 5-way switch that I was using and tried a different one. That was the problem.

All wired up

My son, tuning and testing
Ian tuned it up and ran it through its paces, and gave it a thumbs up.
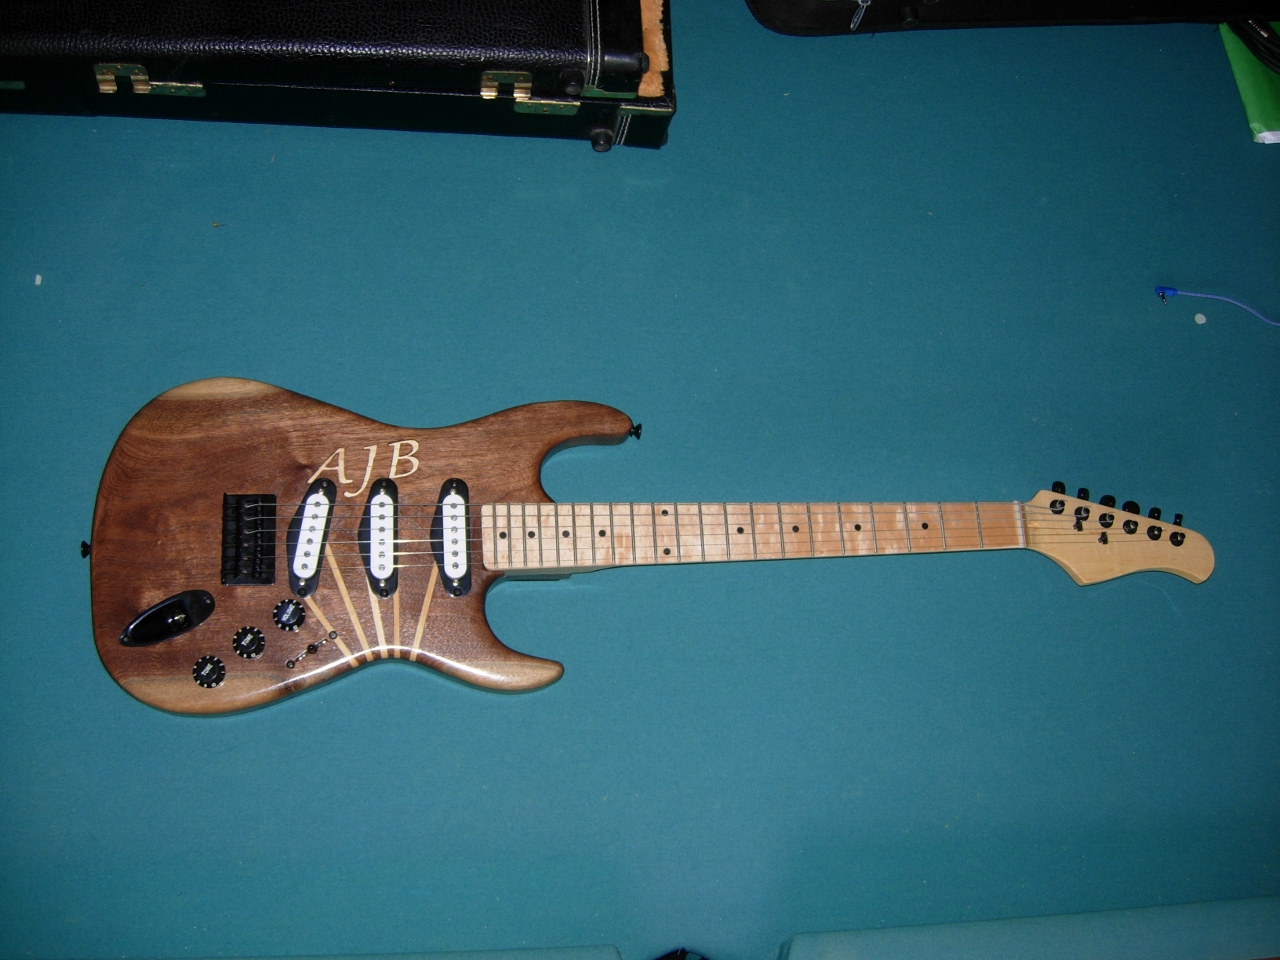
AJ’s strat complete
Eventually the pick-ups will get replaced, and hopefully AJ will get black or cream colored covers to better match the guitar. For now it is working and sounds pretty good. Hopefully I can get it to AJ this week and see what he thinks.
