
Rob’s humidor project – day 5
It has been a quiet week in my shop, because I took a little break over Easter.
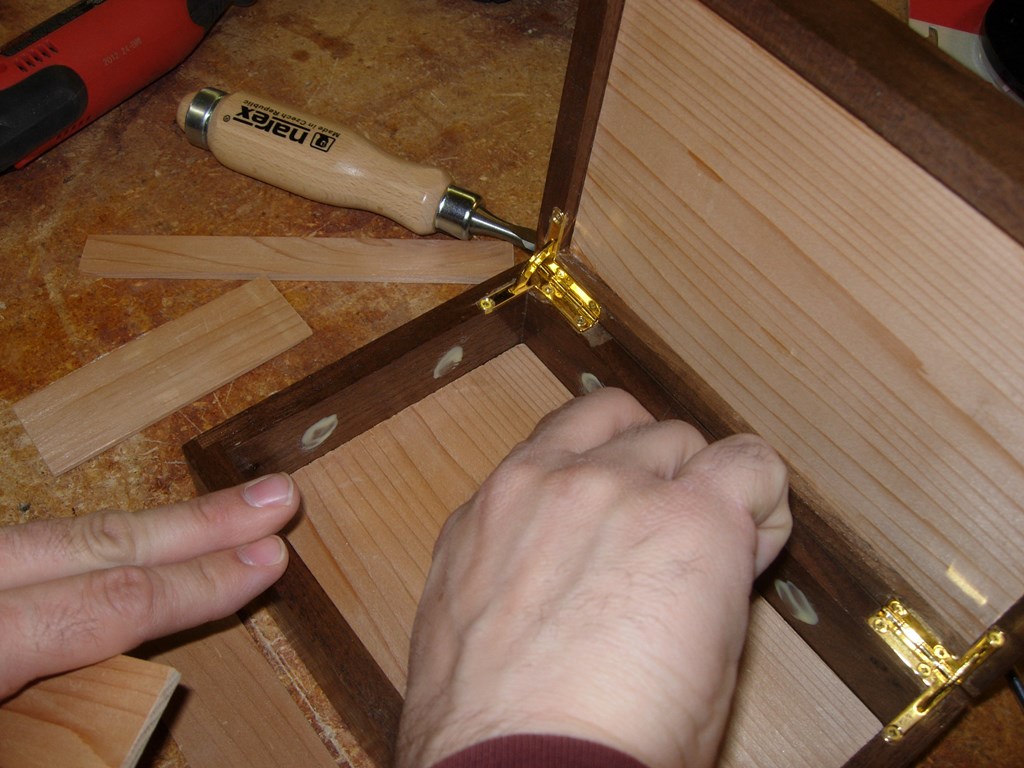
Rob came over last night to try to finish up on the prototype humidor. He cut the first quadrant hinge in last week, so we had one left to go.
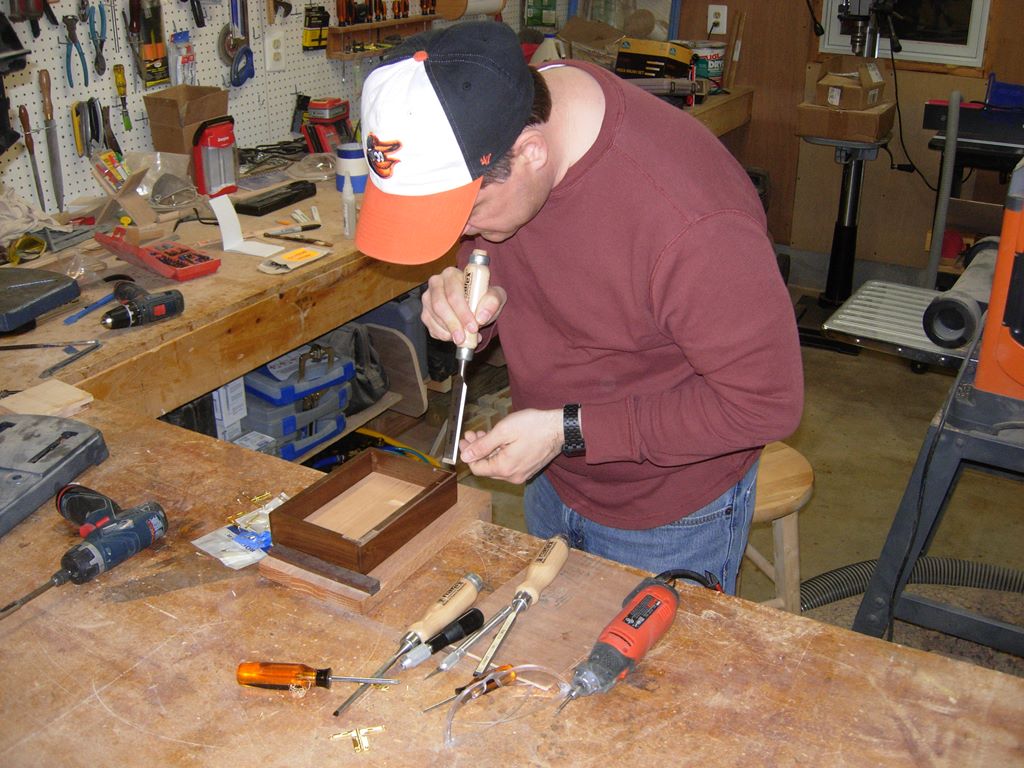
Cutting out the last hinge
Things started out a little rough when Rob applied a bit too much pressure while cutting the hinge mortise, on the lid, and a thin piece split away.

A small split in the walnut
I worked on repairing the split while he cut the opposite mortise.
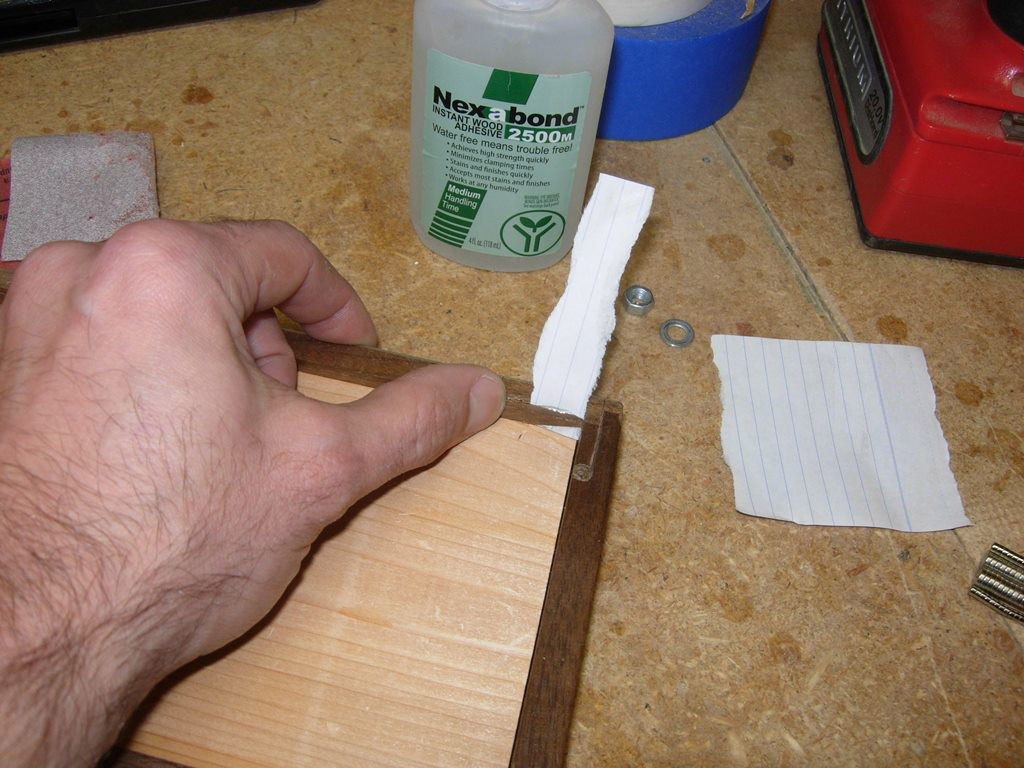
CA glue applied with a strip of paper
The split wasn’t too bad, so I opted to use CA glue to reattach it quickly. Since this glue bonds to skin instantly, (trust me, I have accidentally tested it…) I used a strip of paper, with glue applied to each side, to coat the inside of the split. I clamped it up with a spring clamp for fifteen minutes or so, and it was ready for Rob to finish cutting.
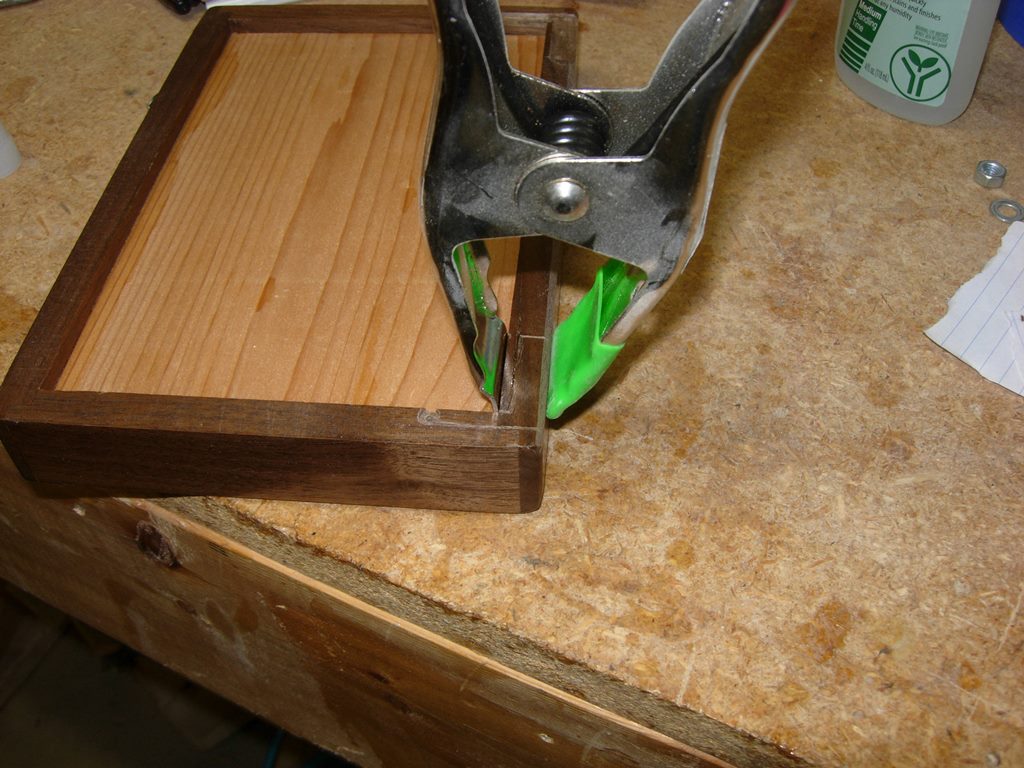
Clamping up the repair
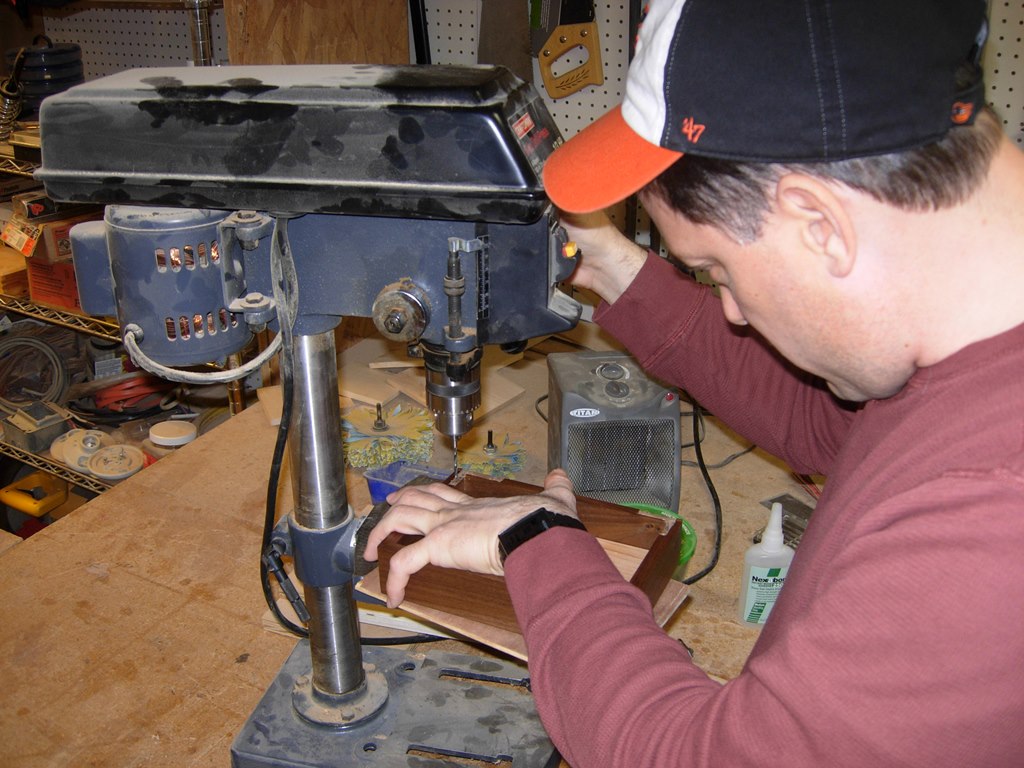
Drilling out the hinge retainer pocket
After the hinge mortises were cut away, Rob drilled a series of holes to create a pocket for the hinge retainer. The pocket was then opened up and cleaned out with the dremel tool.
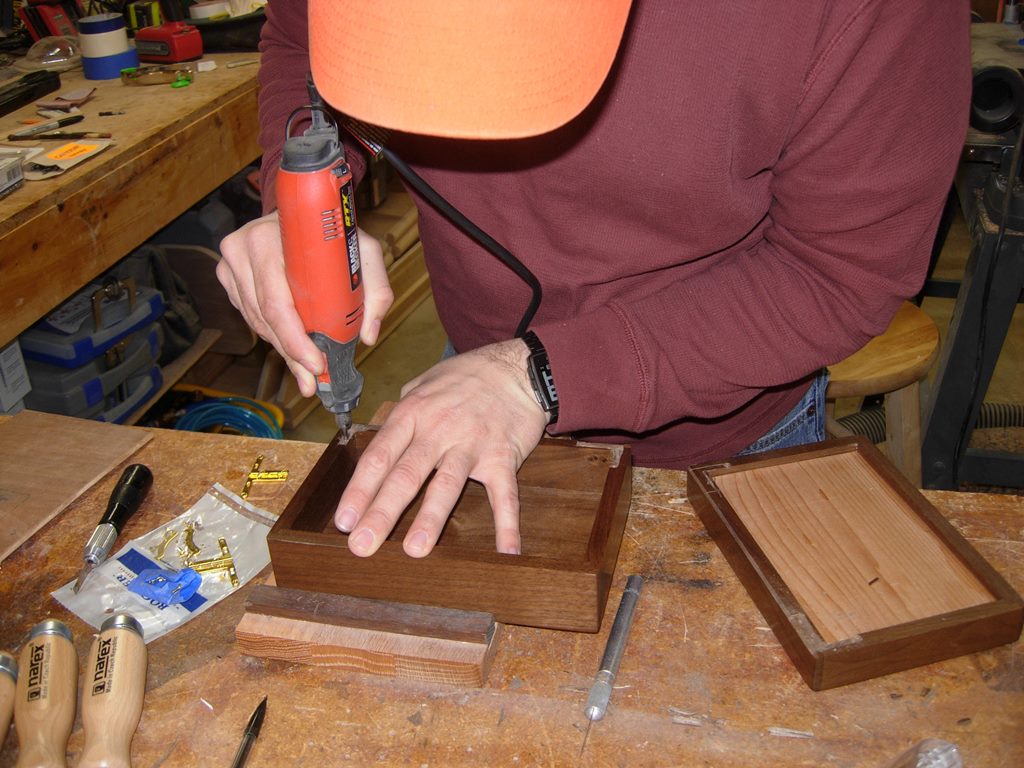
Cleaning up the slot
Rob didn’t like freehand drilling the pockets on my small drill, so we bolted a fence to the larger drill press. The fence and larger table gave him a more stable platform to work from.

Stepping up to the larger drill

Attaching the hinge
He attached the new hinge, but before we attached the other one, we added a small shim. The mortise, that we cut last week, was about 1/32″ too deep, and the lid did not shut all the way at the front. For the shim, I cut a small piece of card stock, and laid it in the mortise. It is too thin to see from the outside, but it helped a lot with the lid closing properly.

Shimming the first hinge
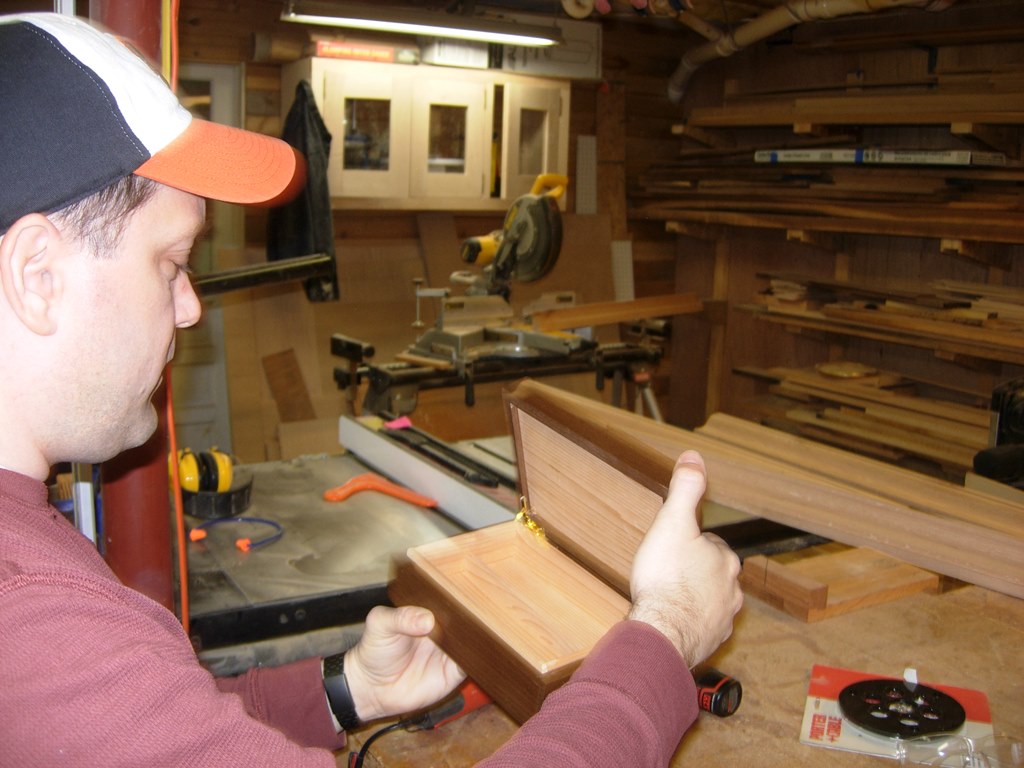
Dry-fit successful
After the hinges were assembled, we did a dry-fit and tweaked the edges of the cedar so the lid would close with enough resistance to show that it was air-tight, but not enough resistance that the cedar would interfere with the opening and closing. This may need slight adjustment when the humidor gets charged with moisture, and the cedar expands slightly, but for now, it fits perfectly.
Closes nicely
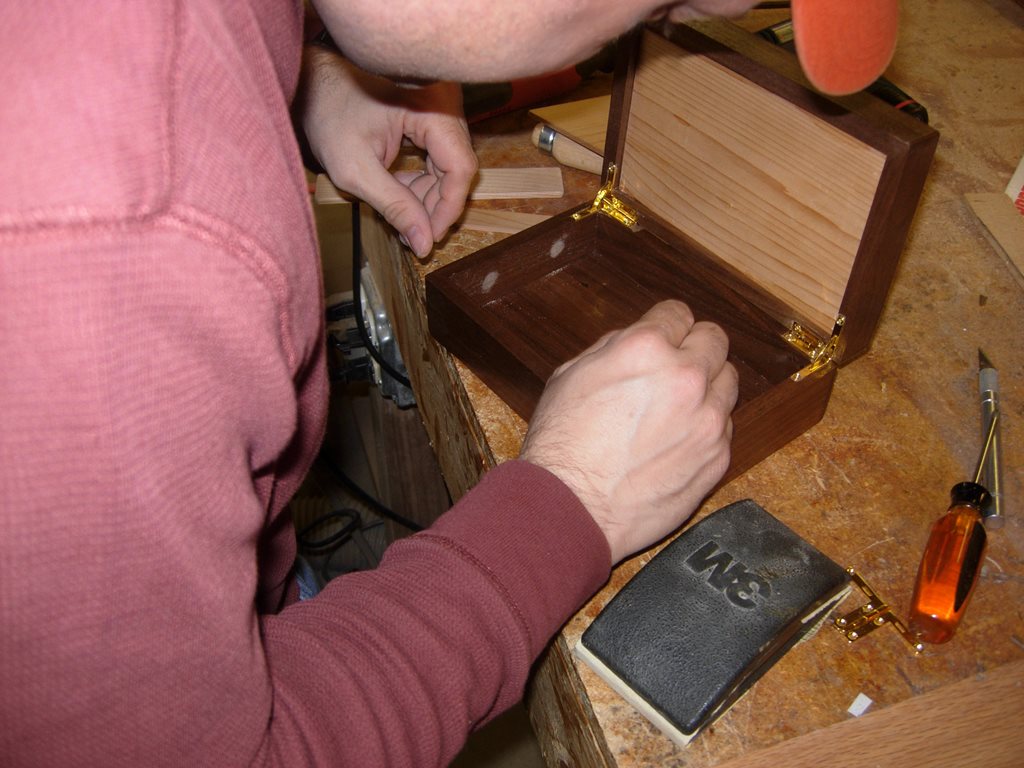
Sanding the glue attachment points
The last step was to sand a few connection points in the finish. This enables us to apply wood glue directly to the walnut, for attaching the cedar. We only attach it at a couple of small points so the cedar can expand, if needed, without stressing the wood to the point where it would crack. We used Titebond II wood glue because it is water proof. The cedar will maintain a relative humidity of about 70%, and that might not work so well with other types of glue.
Applying wood glue
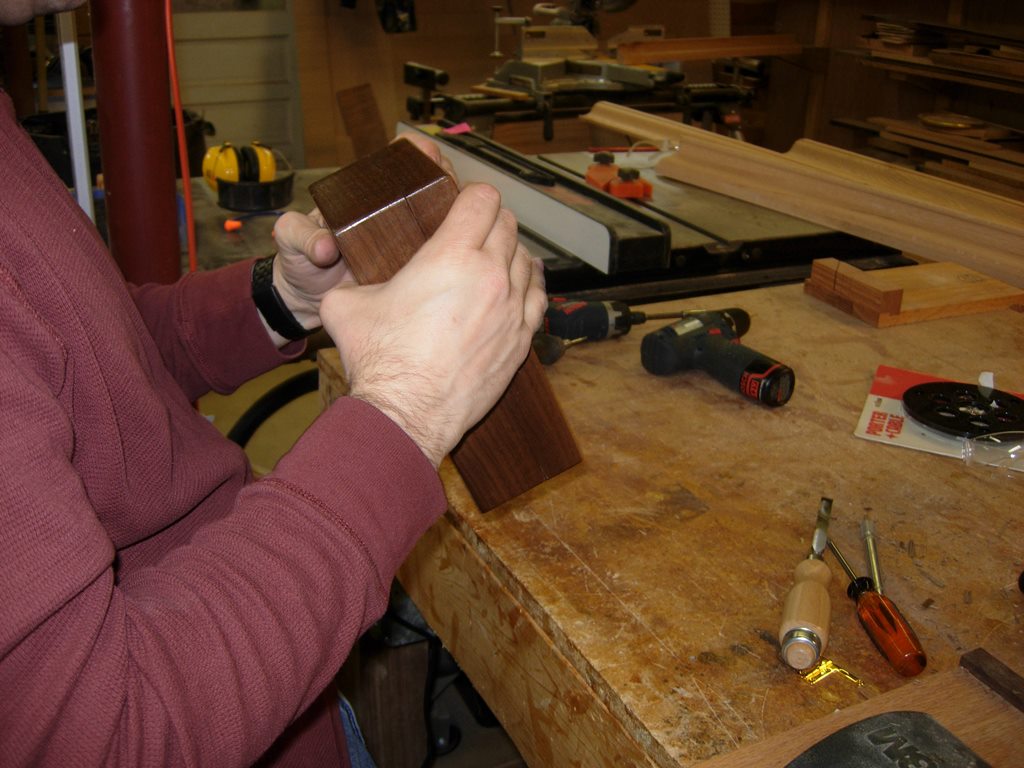
I cut a couple of pieces of left-over cedar to press-fit into place, to clamp the cedar to the sides while it dries.

Sides held in place by press-fit scraps
Since this was not only a prototype, but also a learning exercise for Rob, there are a few chips and scratches. We also learned that it will probably be prudent to spend a bit more on better hinges, and make the walnut sides thicker on the next one. Rob also wants to come back and apply a coat or two of polyurethane to better protect the outside surfaces. But for now, he is going to take it home for a few weeks, charge it with distilled water, and test it out. Hopefully, in a few weeks, Rob will be able to say that it worked perfectly. For now, we are happy with the outcome and Rob looks forward to testing it out.
