
Rob’s humidor project – day 4
Rob’s quadrant hinges finally arrived, so last night we started installing them. We were a little cramped for space, since I am still in spring cleaning mode. Everything is strewn across my bench, waiting to be dusted off and relocated…

Scribing the hinge locations
The quadrant hinges did not come with any directions, so we took our time figuring things out. One reason for making the prototype box was to learn what works well, and what doesn’t. One thing that we have determined is that we shouldn’t have applied the finish yet. Marking the hardware location would have been easier with a pencil, but since a pencil won’t write very well on the shellac, we traced the outline of the hinges with an Exacto knife instead.

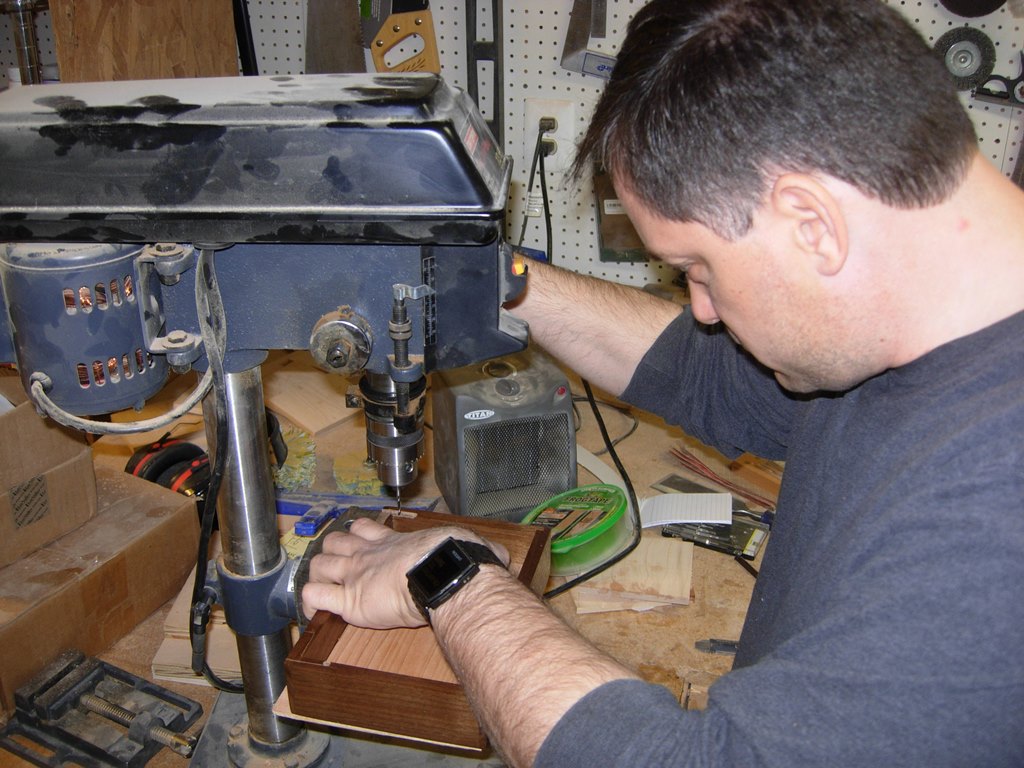
Drilling out the round portions
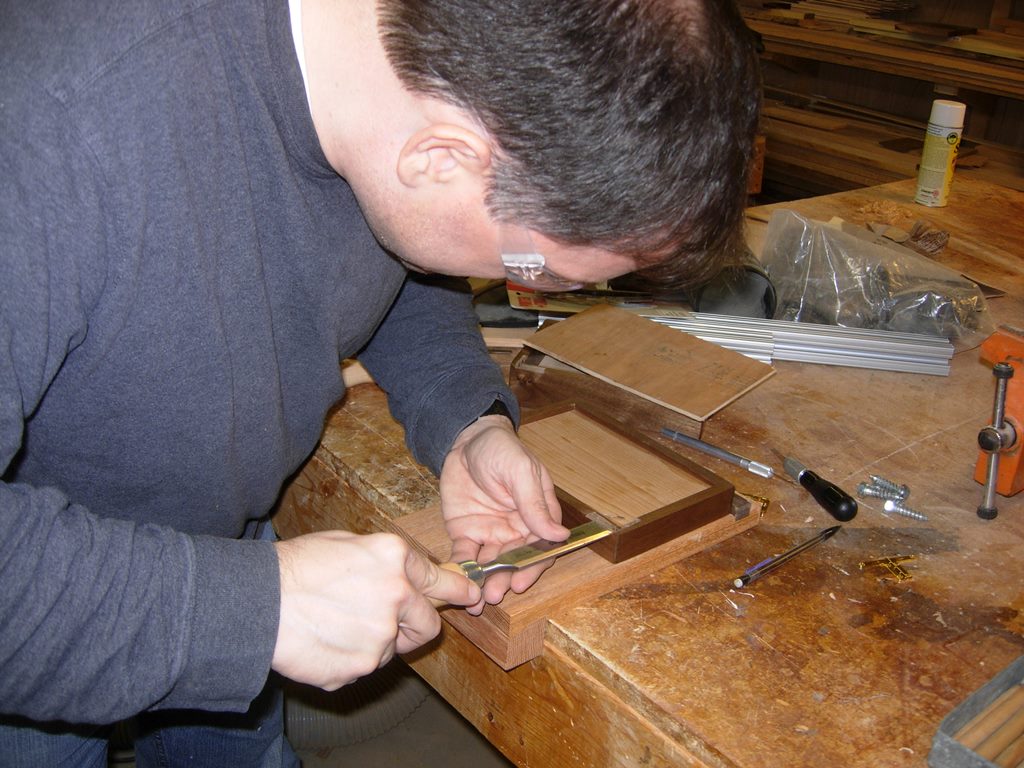
One end of the hinge is round so Rob drilled a pocket at those locations. The rest of the recess was cut out with a chisel. This took a while because it was a fairly narrow pocket, and the grain in the first corner was a bit swirly. The swirly grain tends to draw the chisel down forcing you to cut deeper than you want. To avoid this, we kept switching the angle of approach, slowly pairing away the waste material.

Carefully removing the waste with a chisel
Drilling out the hinge retainer pocket
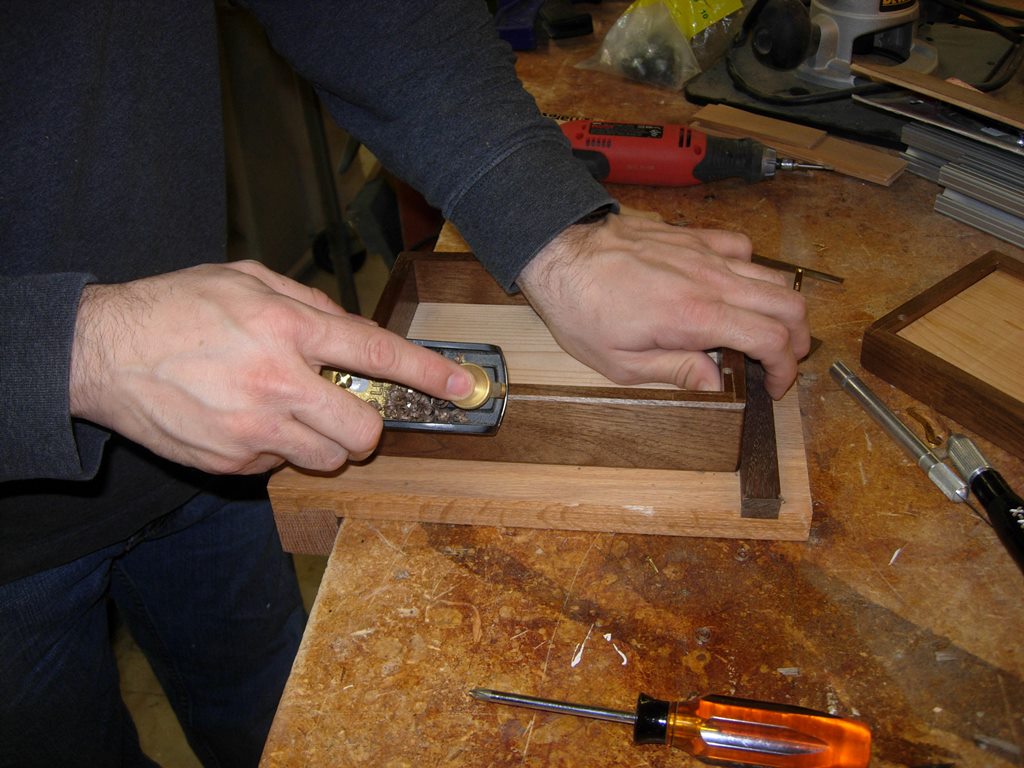
The hinge has a little retainer bracket that requires a recessed pocket. Since the hinges are only 3/16″ wide on the side that has the retainer, it was difficult to cut away such a deep and narrow pocket. We wound up drilling out what we could, then cleaning out the pocket with a dremel tool.

Cleaning the pocket with a dremel tool
Cutting out the hinge pocket in the top
After successfully cutting out one side of the hinge recess, Rob repeated the process on the lid. It went a lot faster the second time through.

Drilling pilot holes
Once the pockets were finished, we pre-drilled the screw holes and installed the first hinge, and found a slight problem. We set the hinge flush to the back so the pivot did not stick out. That meant the back edge of the box and lid hit when the lid opened. Since we already cut the recess for the hardware, we decided to cut a chamfer on the interfering edges instead of moving the hinges.
Planing a chamfer on the back of the box

Screwing in the hinge
Rob installed the screws and tested the hinge. The box opened a lot further with the back edge removed. Hinge number one was installed, but we found that the screw heads stuck up just slightly, preventing the lid from closing completely. Since the hinges are solid brass, I grabbed one of the extra hinges and drilled the countersink a little deeper. It didn’t seem to damage the hinge, and the screw set lower, so I think that is what we are going to do to fix the problem. It was getting late though, so we called it a night.
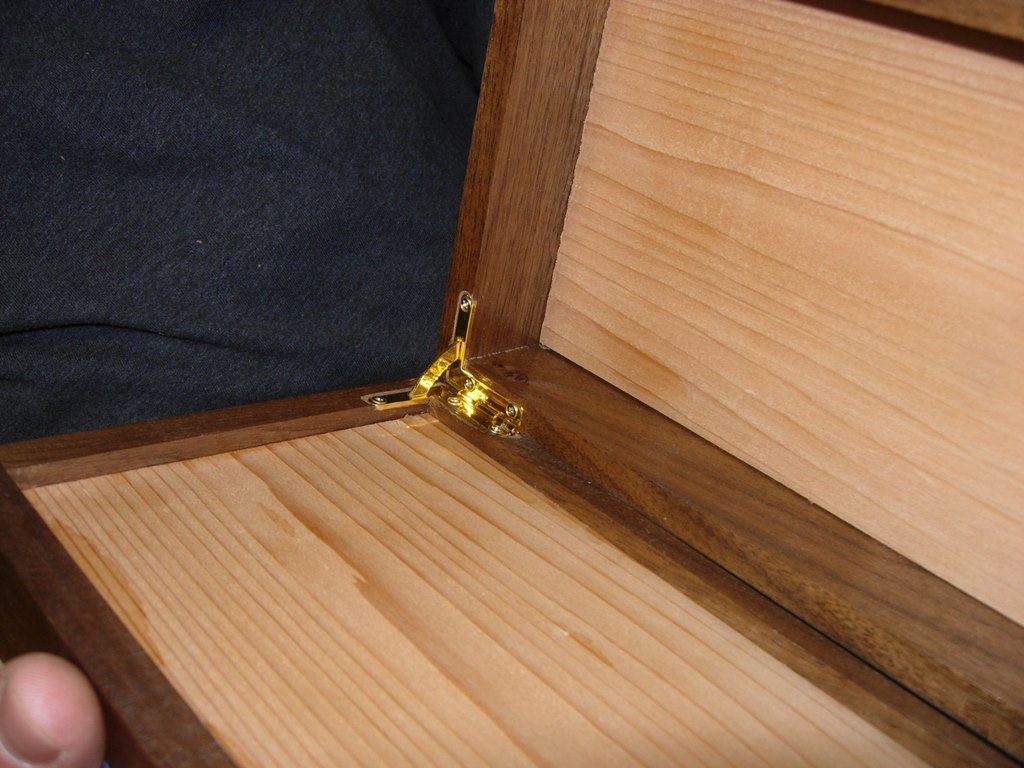
One down, one to go
We should be able to finish installing everything next week, and maybe put on a coat of polyurethane over the shellac. Rob noted some problems with the finish, this past week. When it got humid, the shellac seemed to be more pliable, and it started holding finger prints. The Polyurethane should prevent that from happening.
