
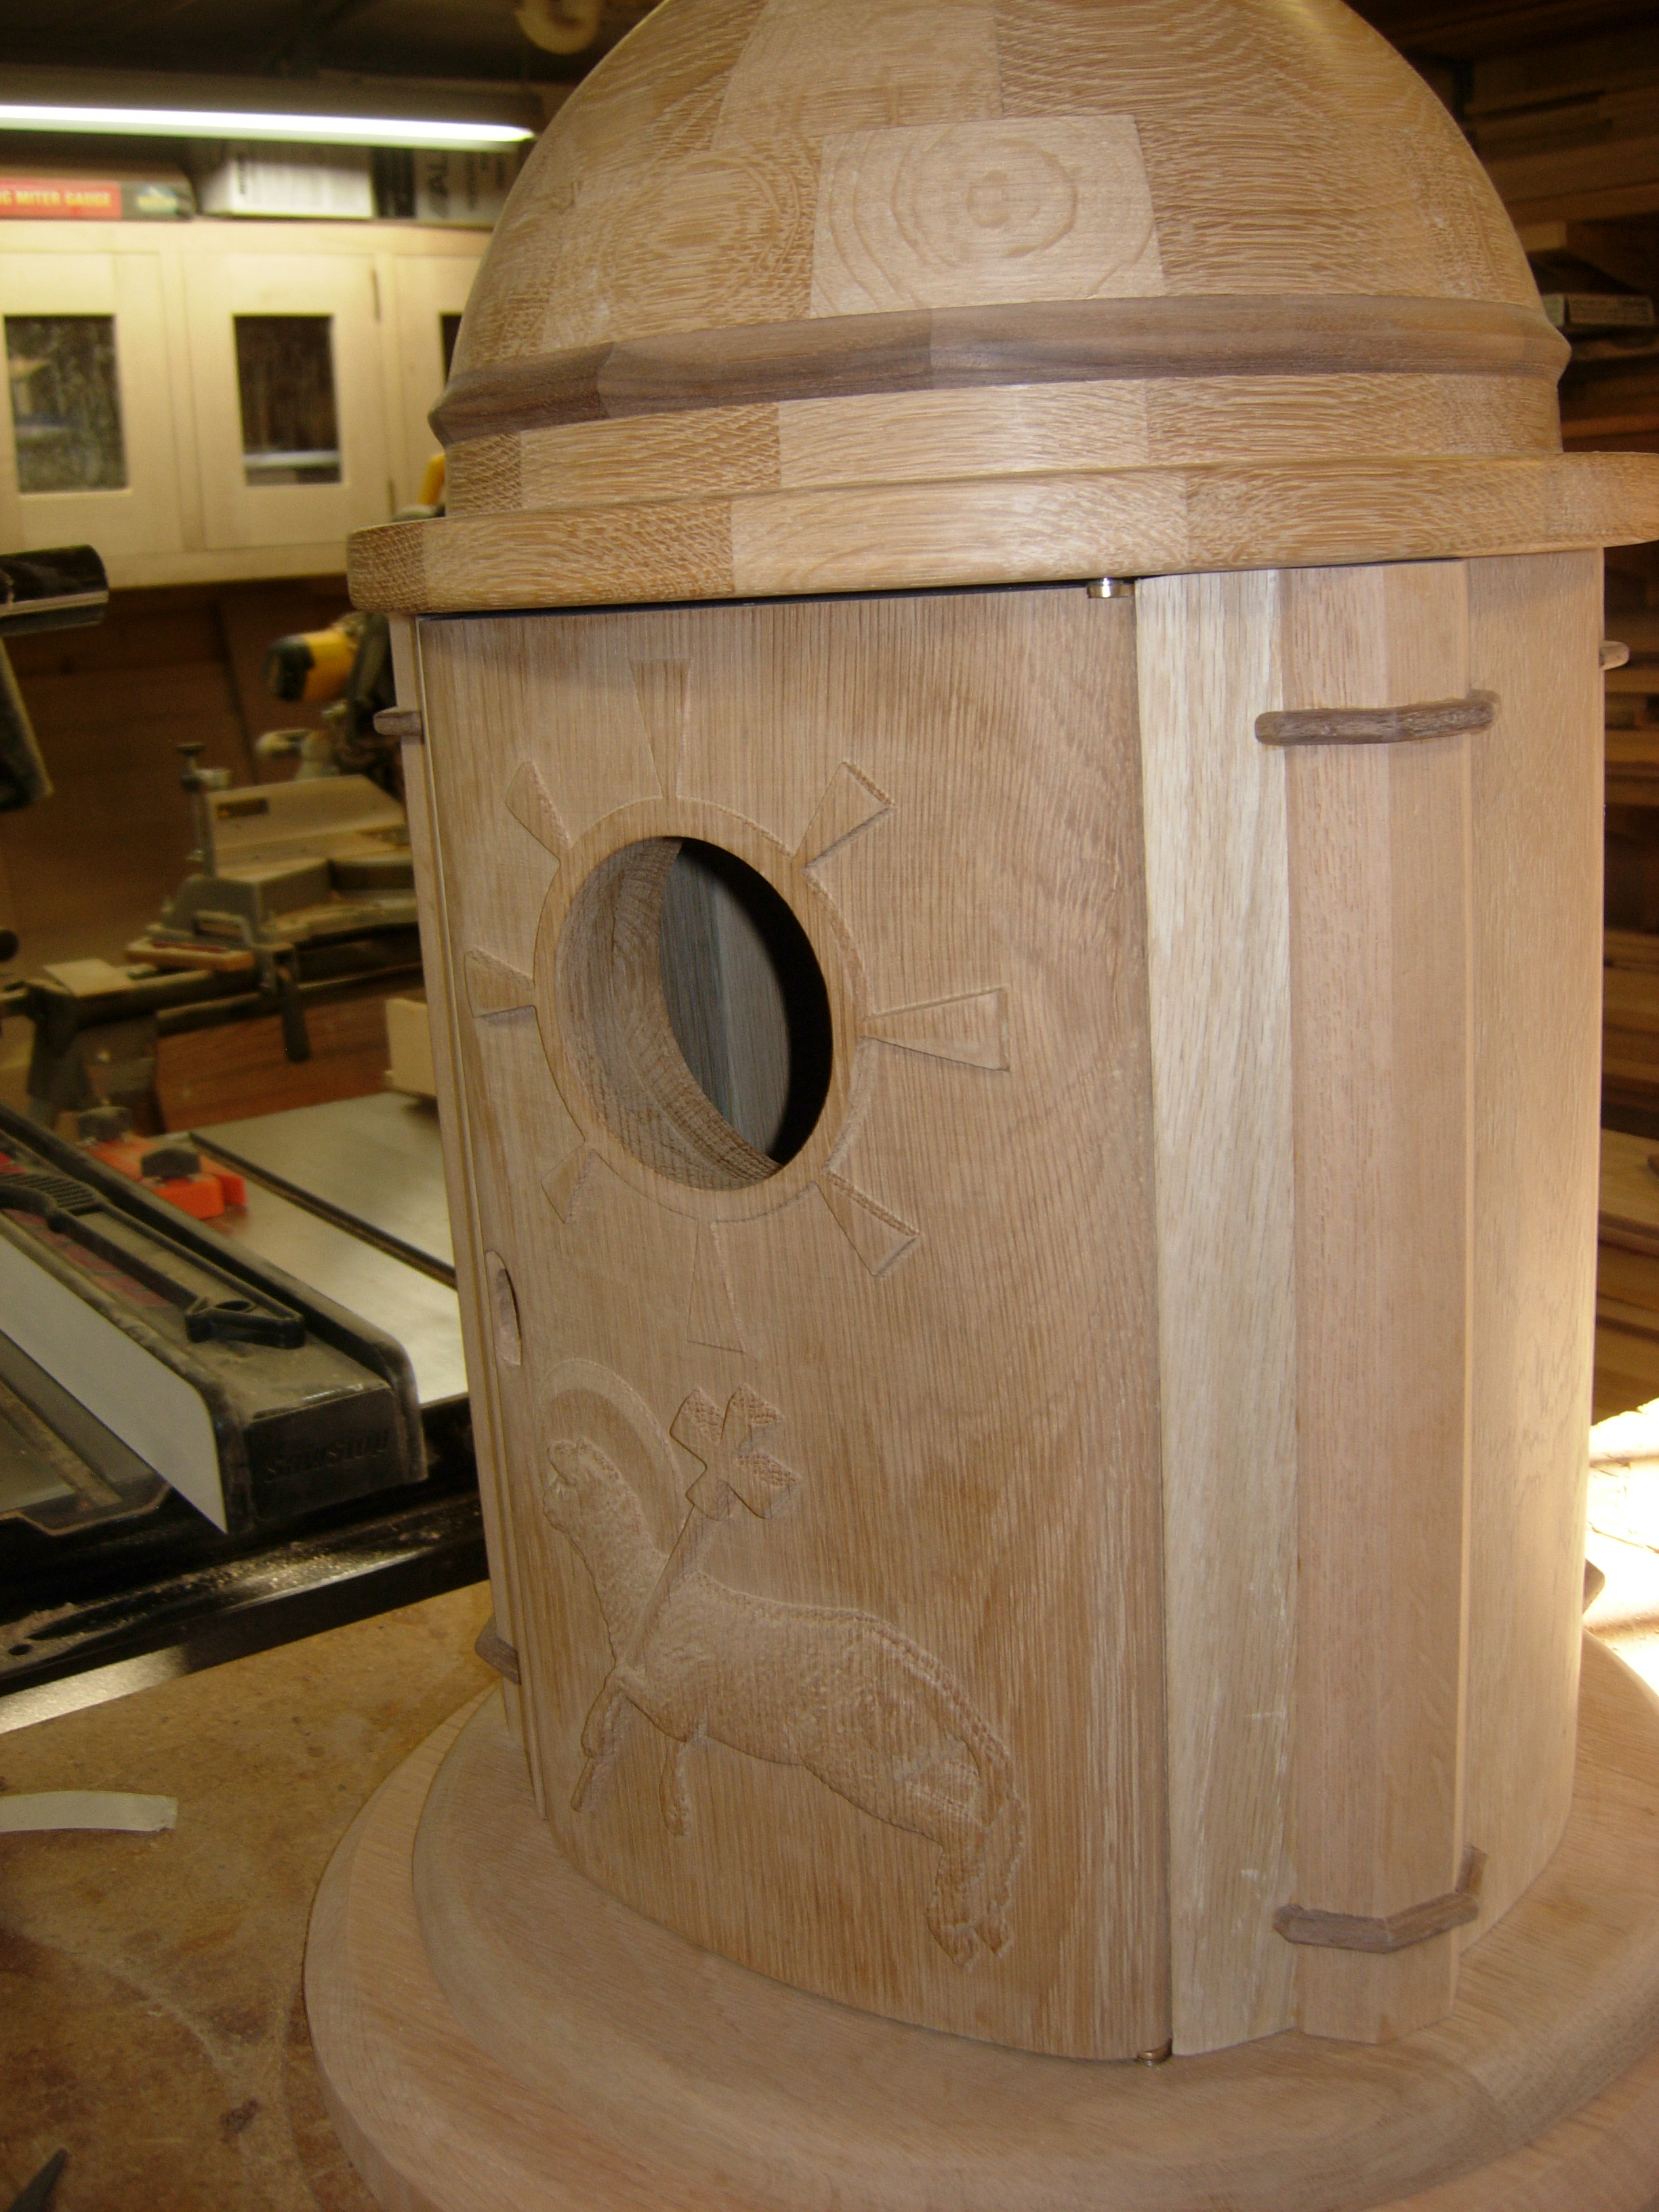
Tabernacle build – day 11
After pulling the clamps off of the glued up door panel, I used my smallest chisel to mortise out the area where the pivot on the knife hinge sits. I repeated this on the bottom, and reinstalled the hinges for a test fit.

Mortising in the hinge pivot
Dry-fit of the full door
The door fit well, so I moved on to the next design challenge.
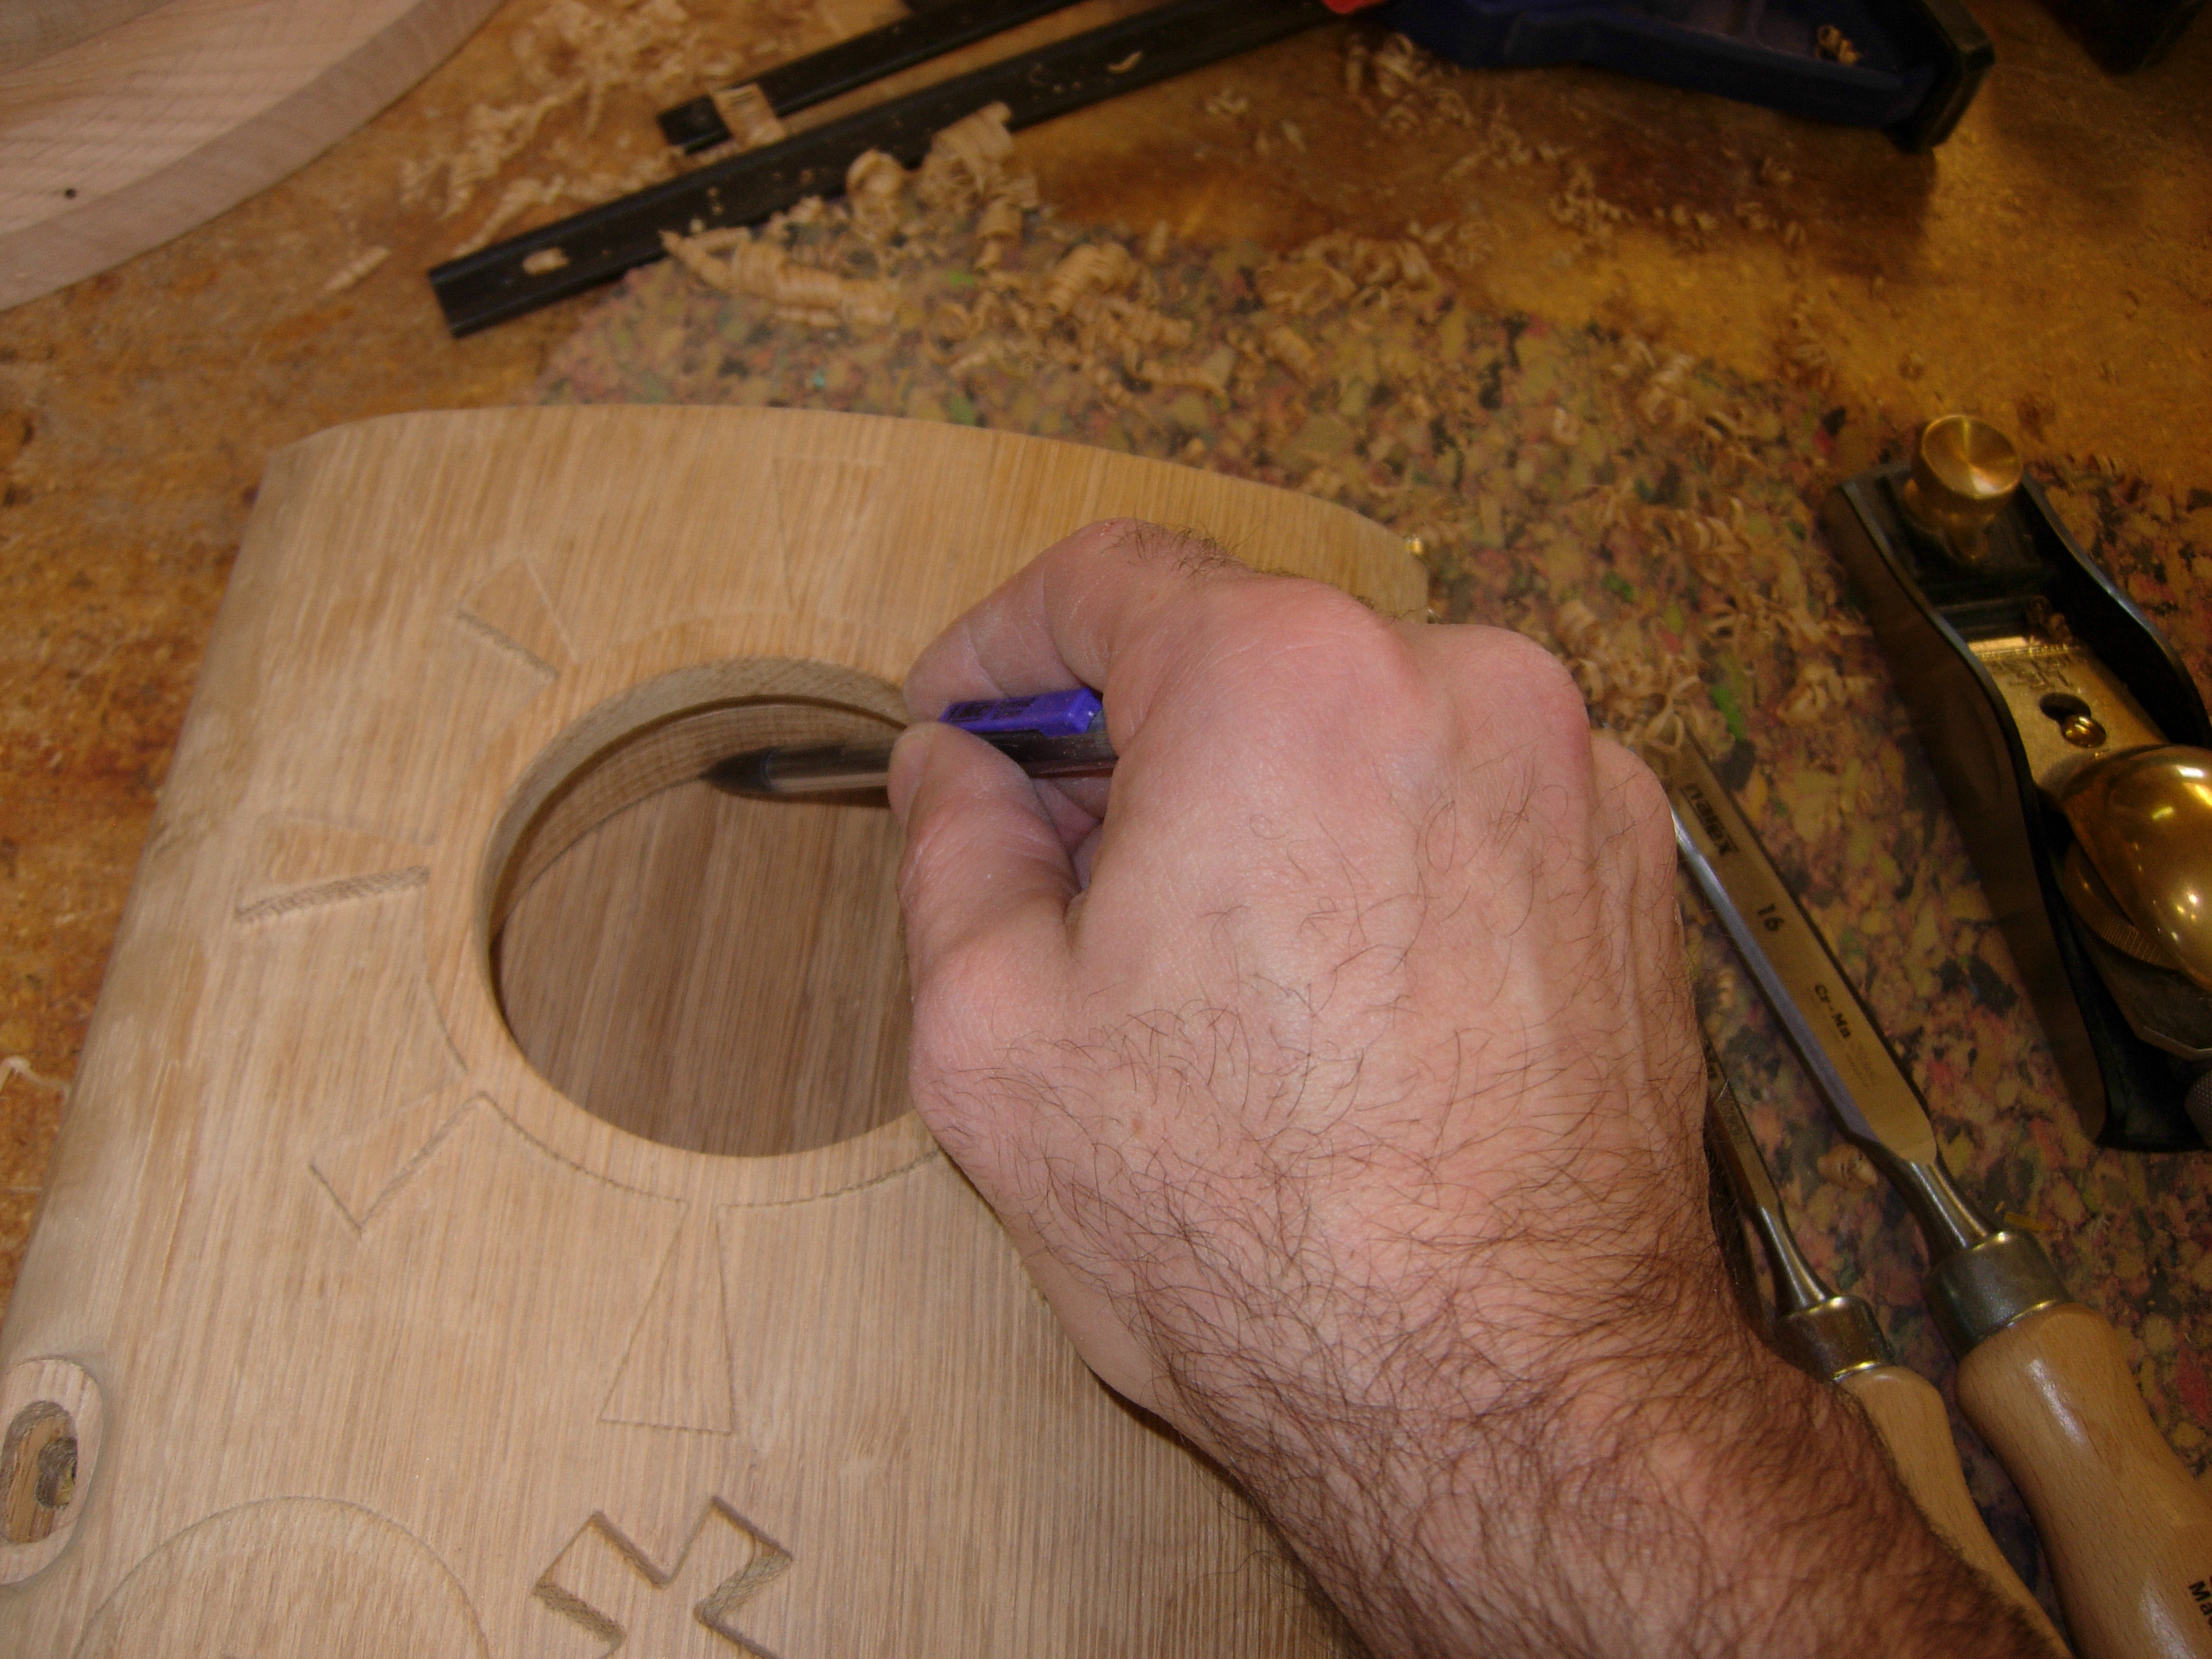
Tracing the opening
We want to display a pyx in the portal window that is in the door panel. I need to come up with something that has a slide to hold the pyx, as well as retain the glass window . The first step was to trace the larger diameter hole in the door. Next I traced the base of the pyx to create a slot, then drew an inner circle attached to it. This should give me a retainer ring as well as a mount for the pyx.
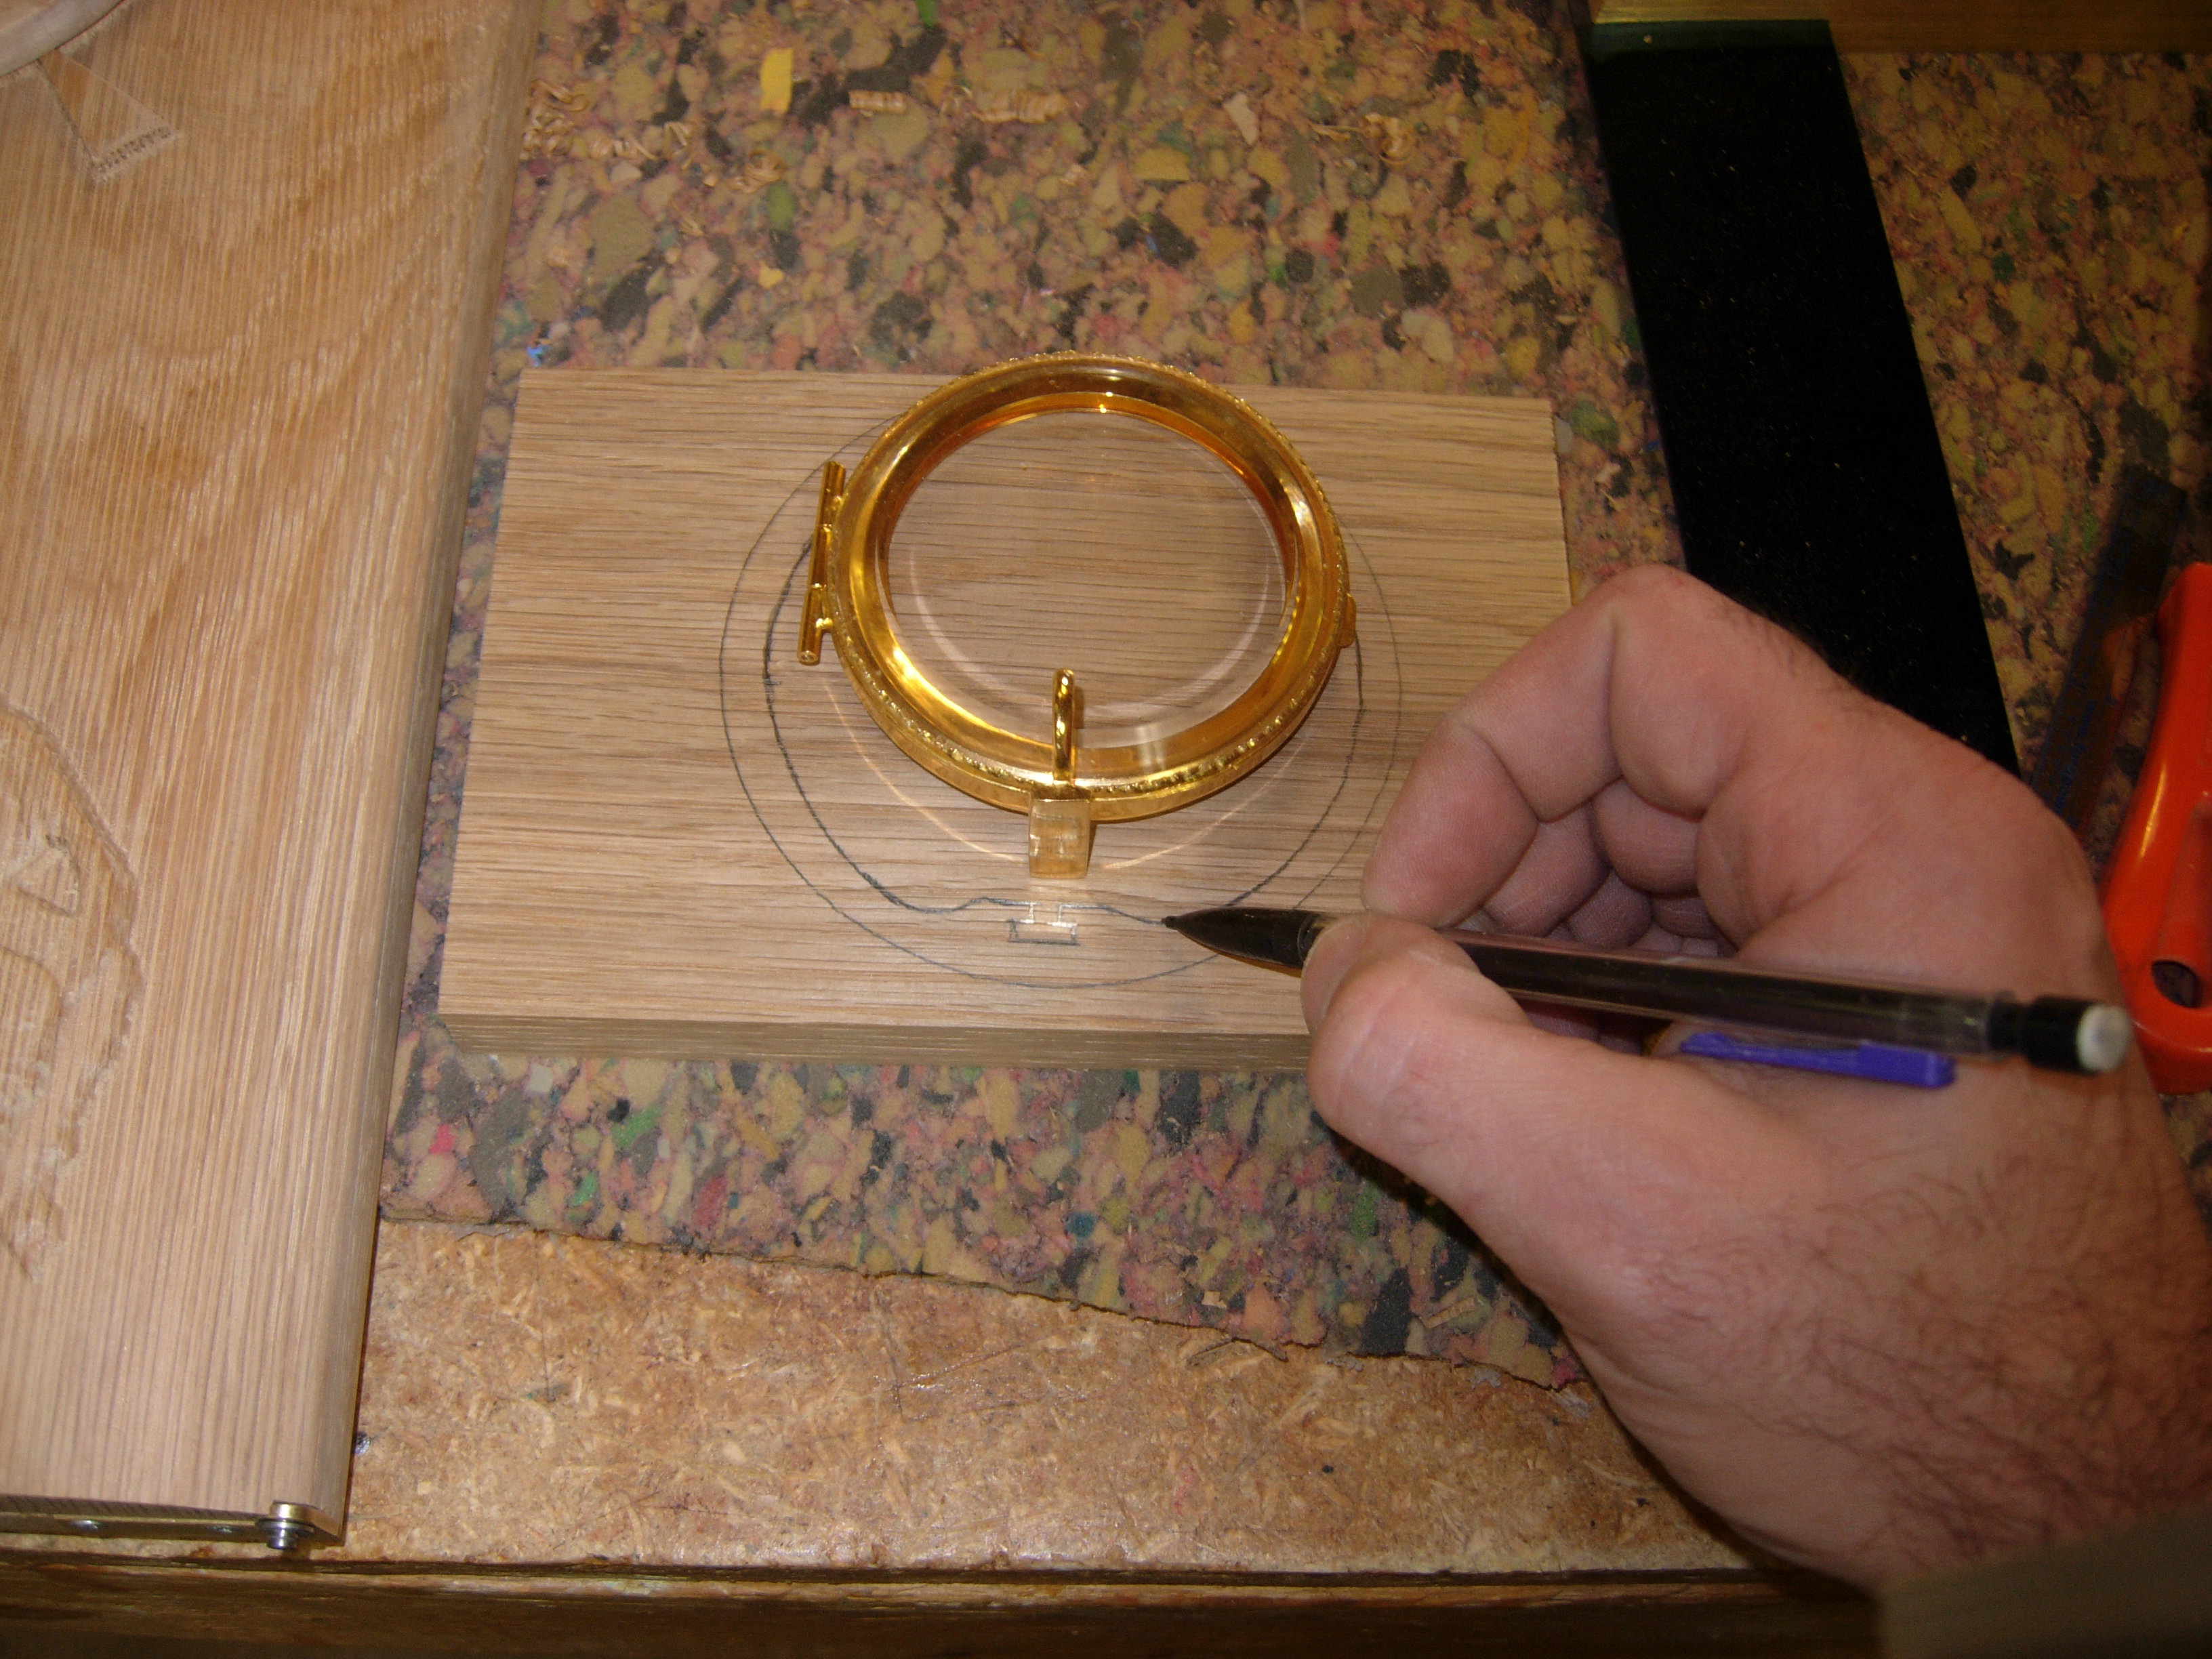
Laying out the lunette slot
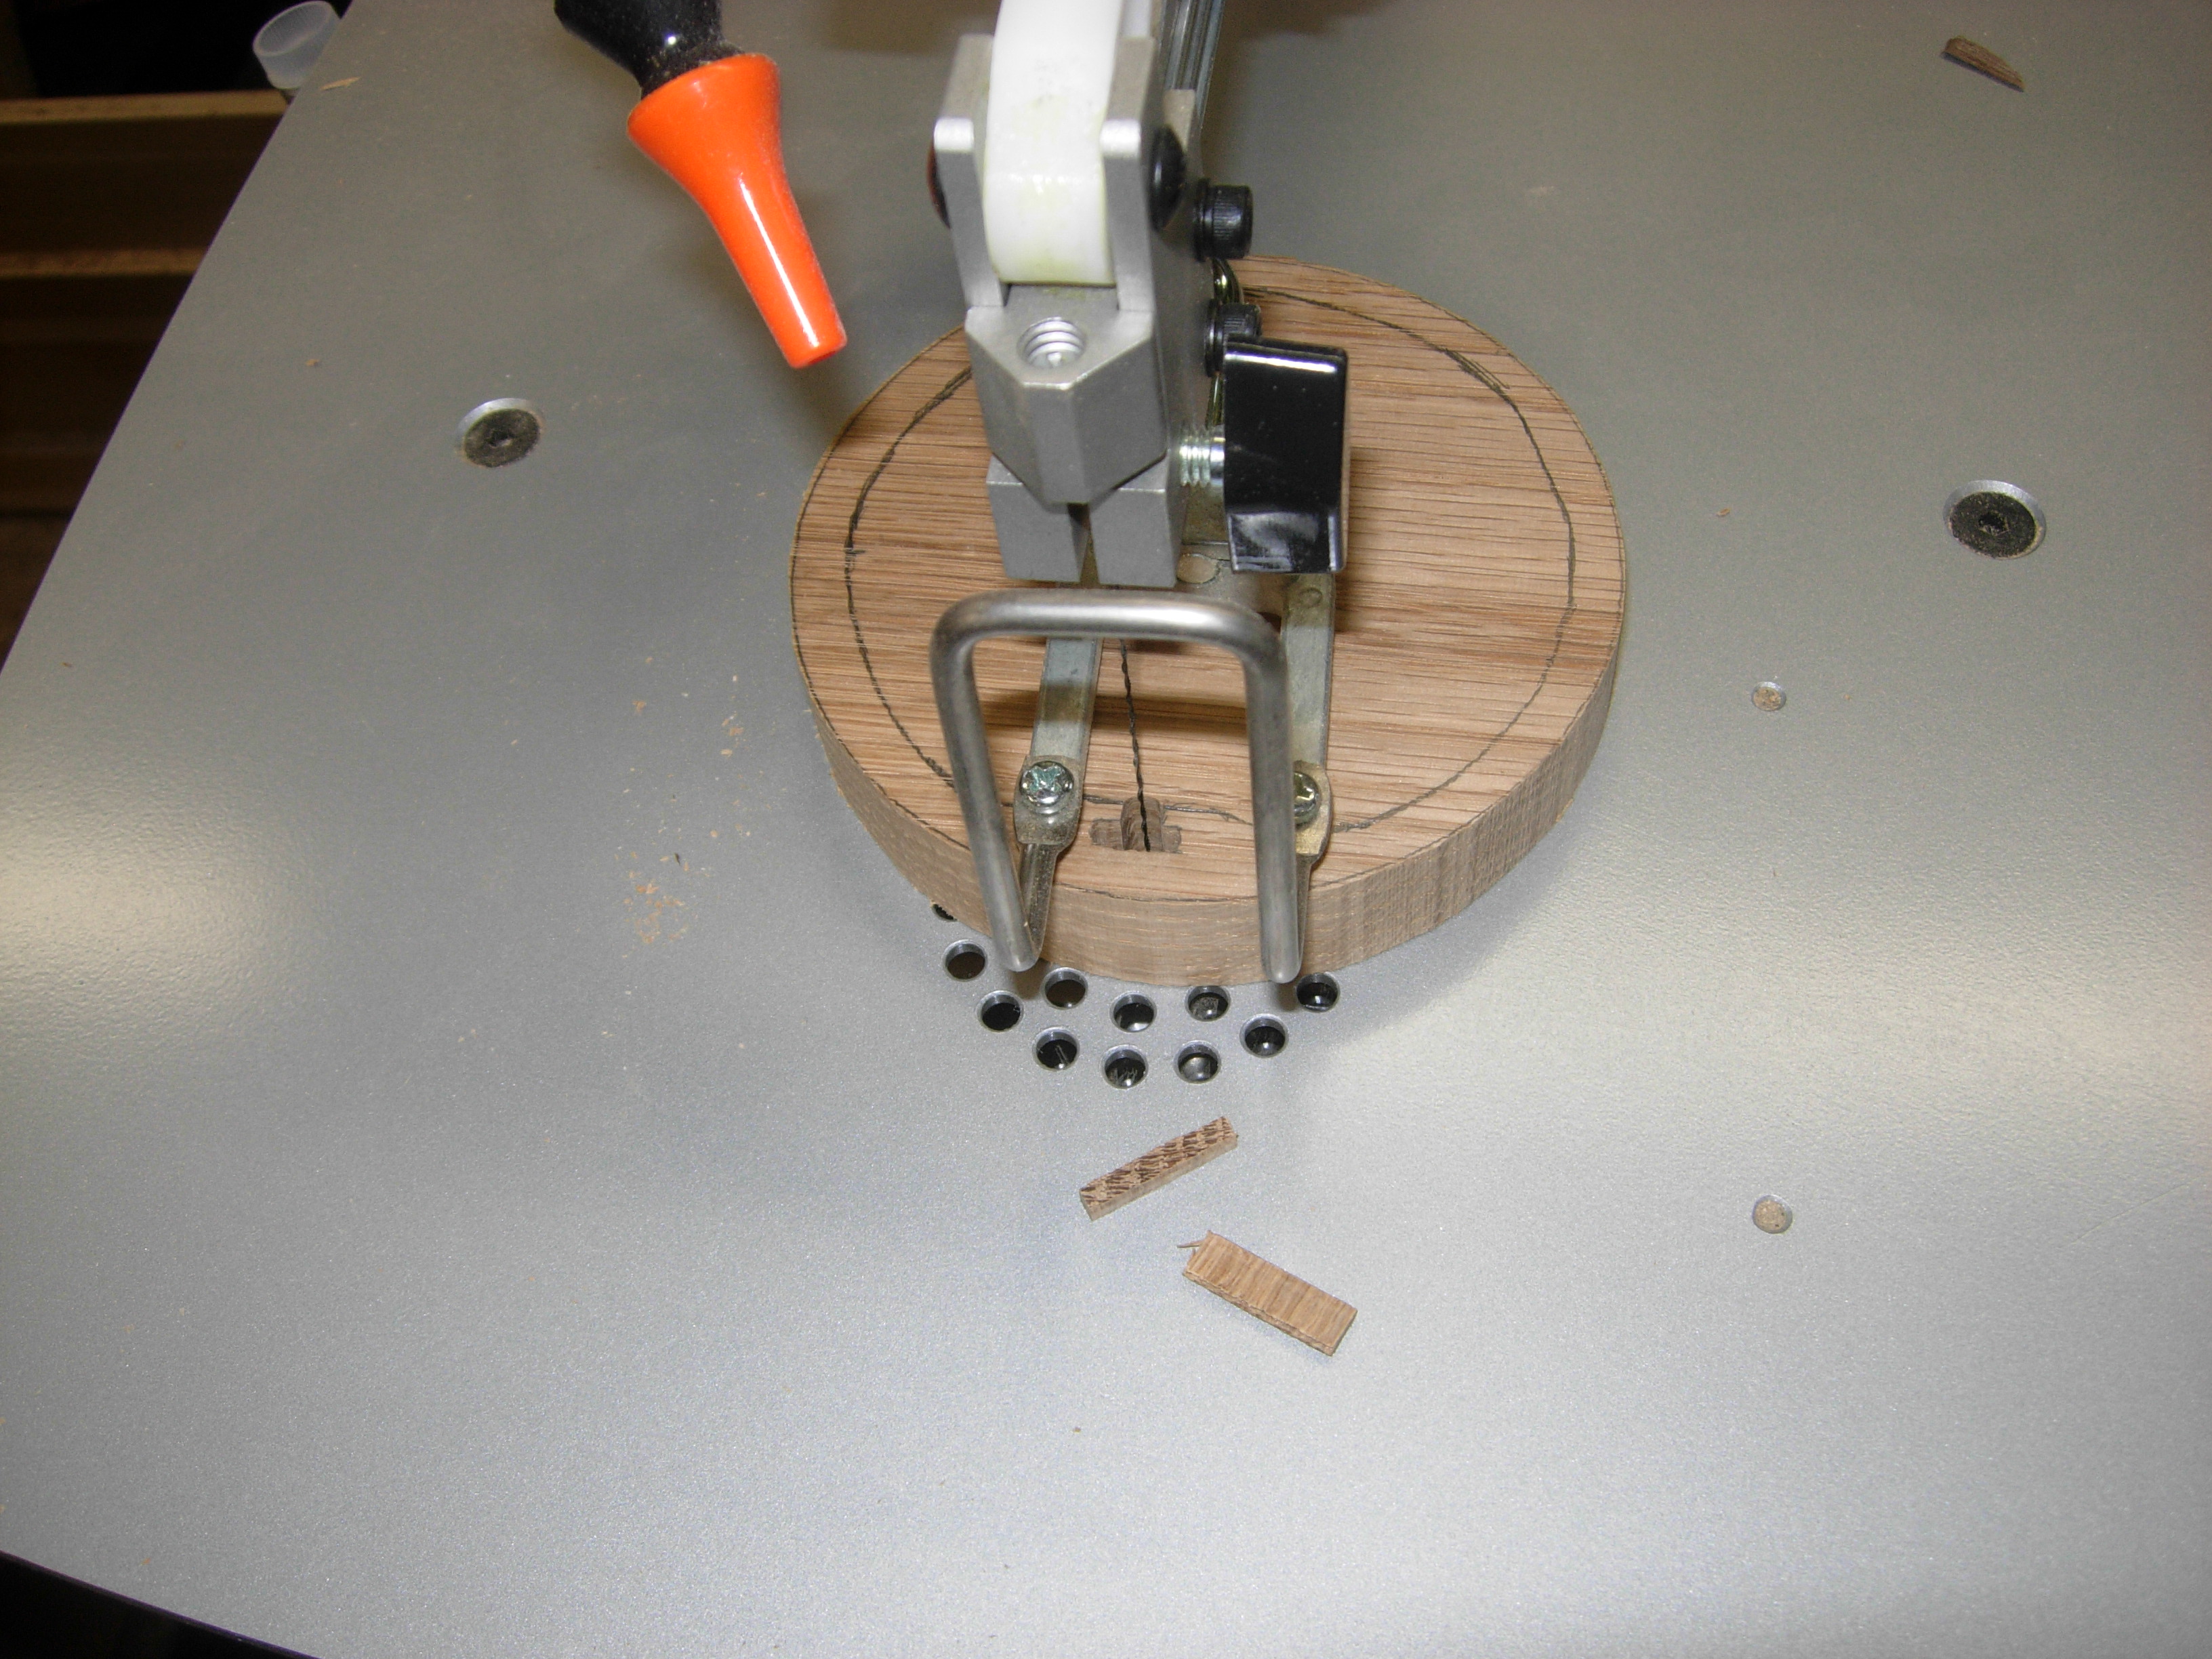
I drilled a couple of small holes to give me a location to start cutting with the scroll saw.
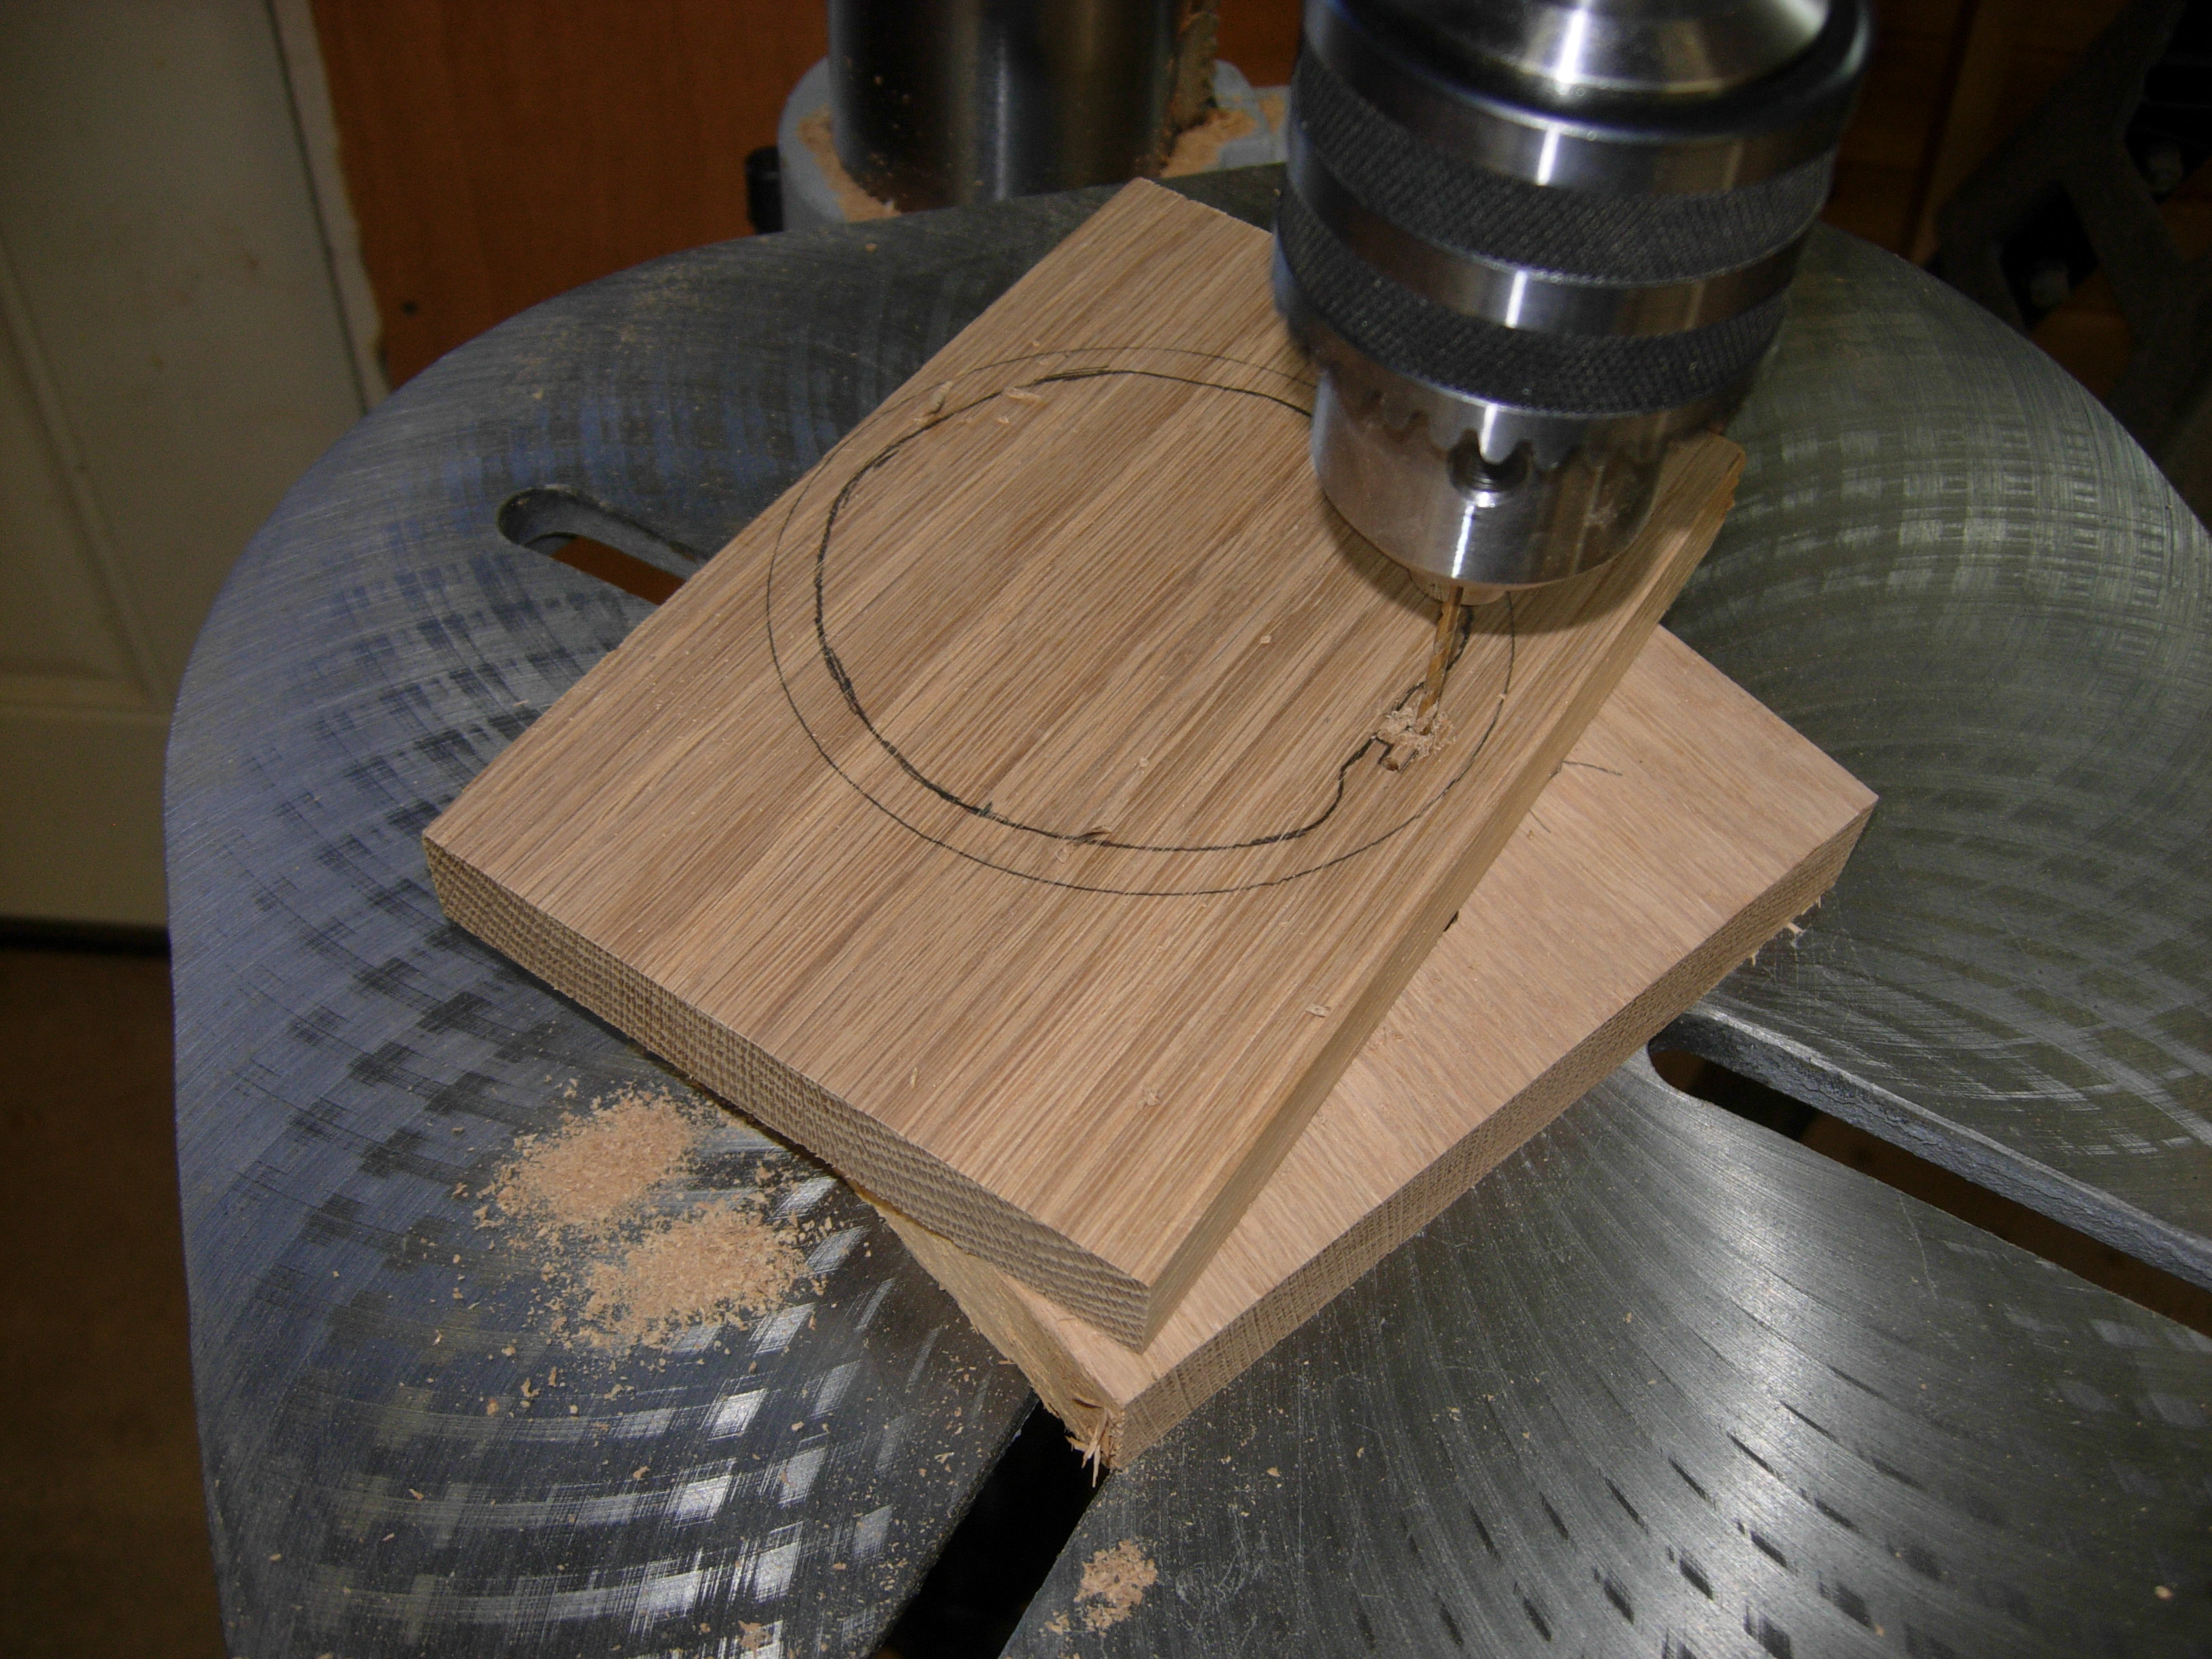
Drilling starter holes for the scroll saw
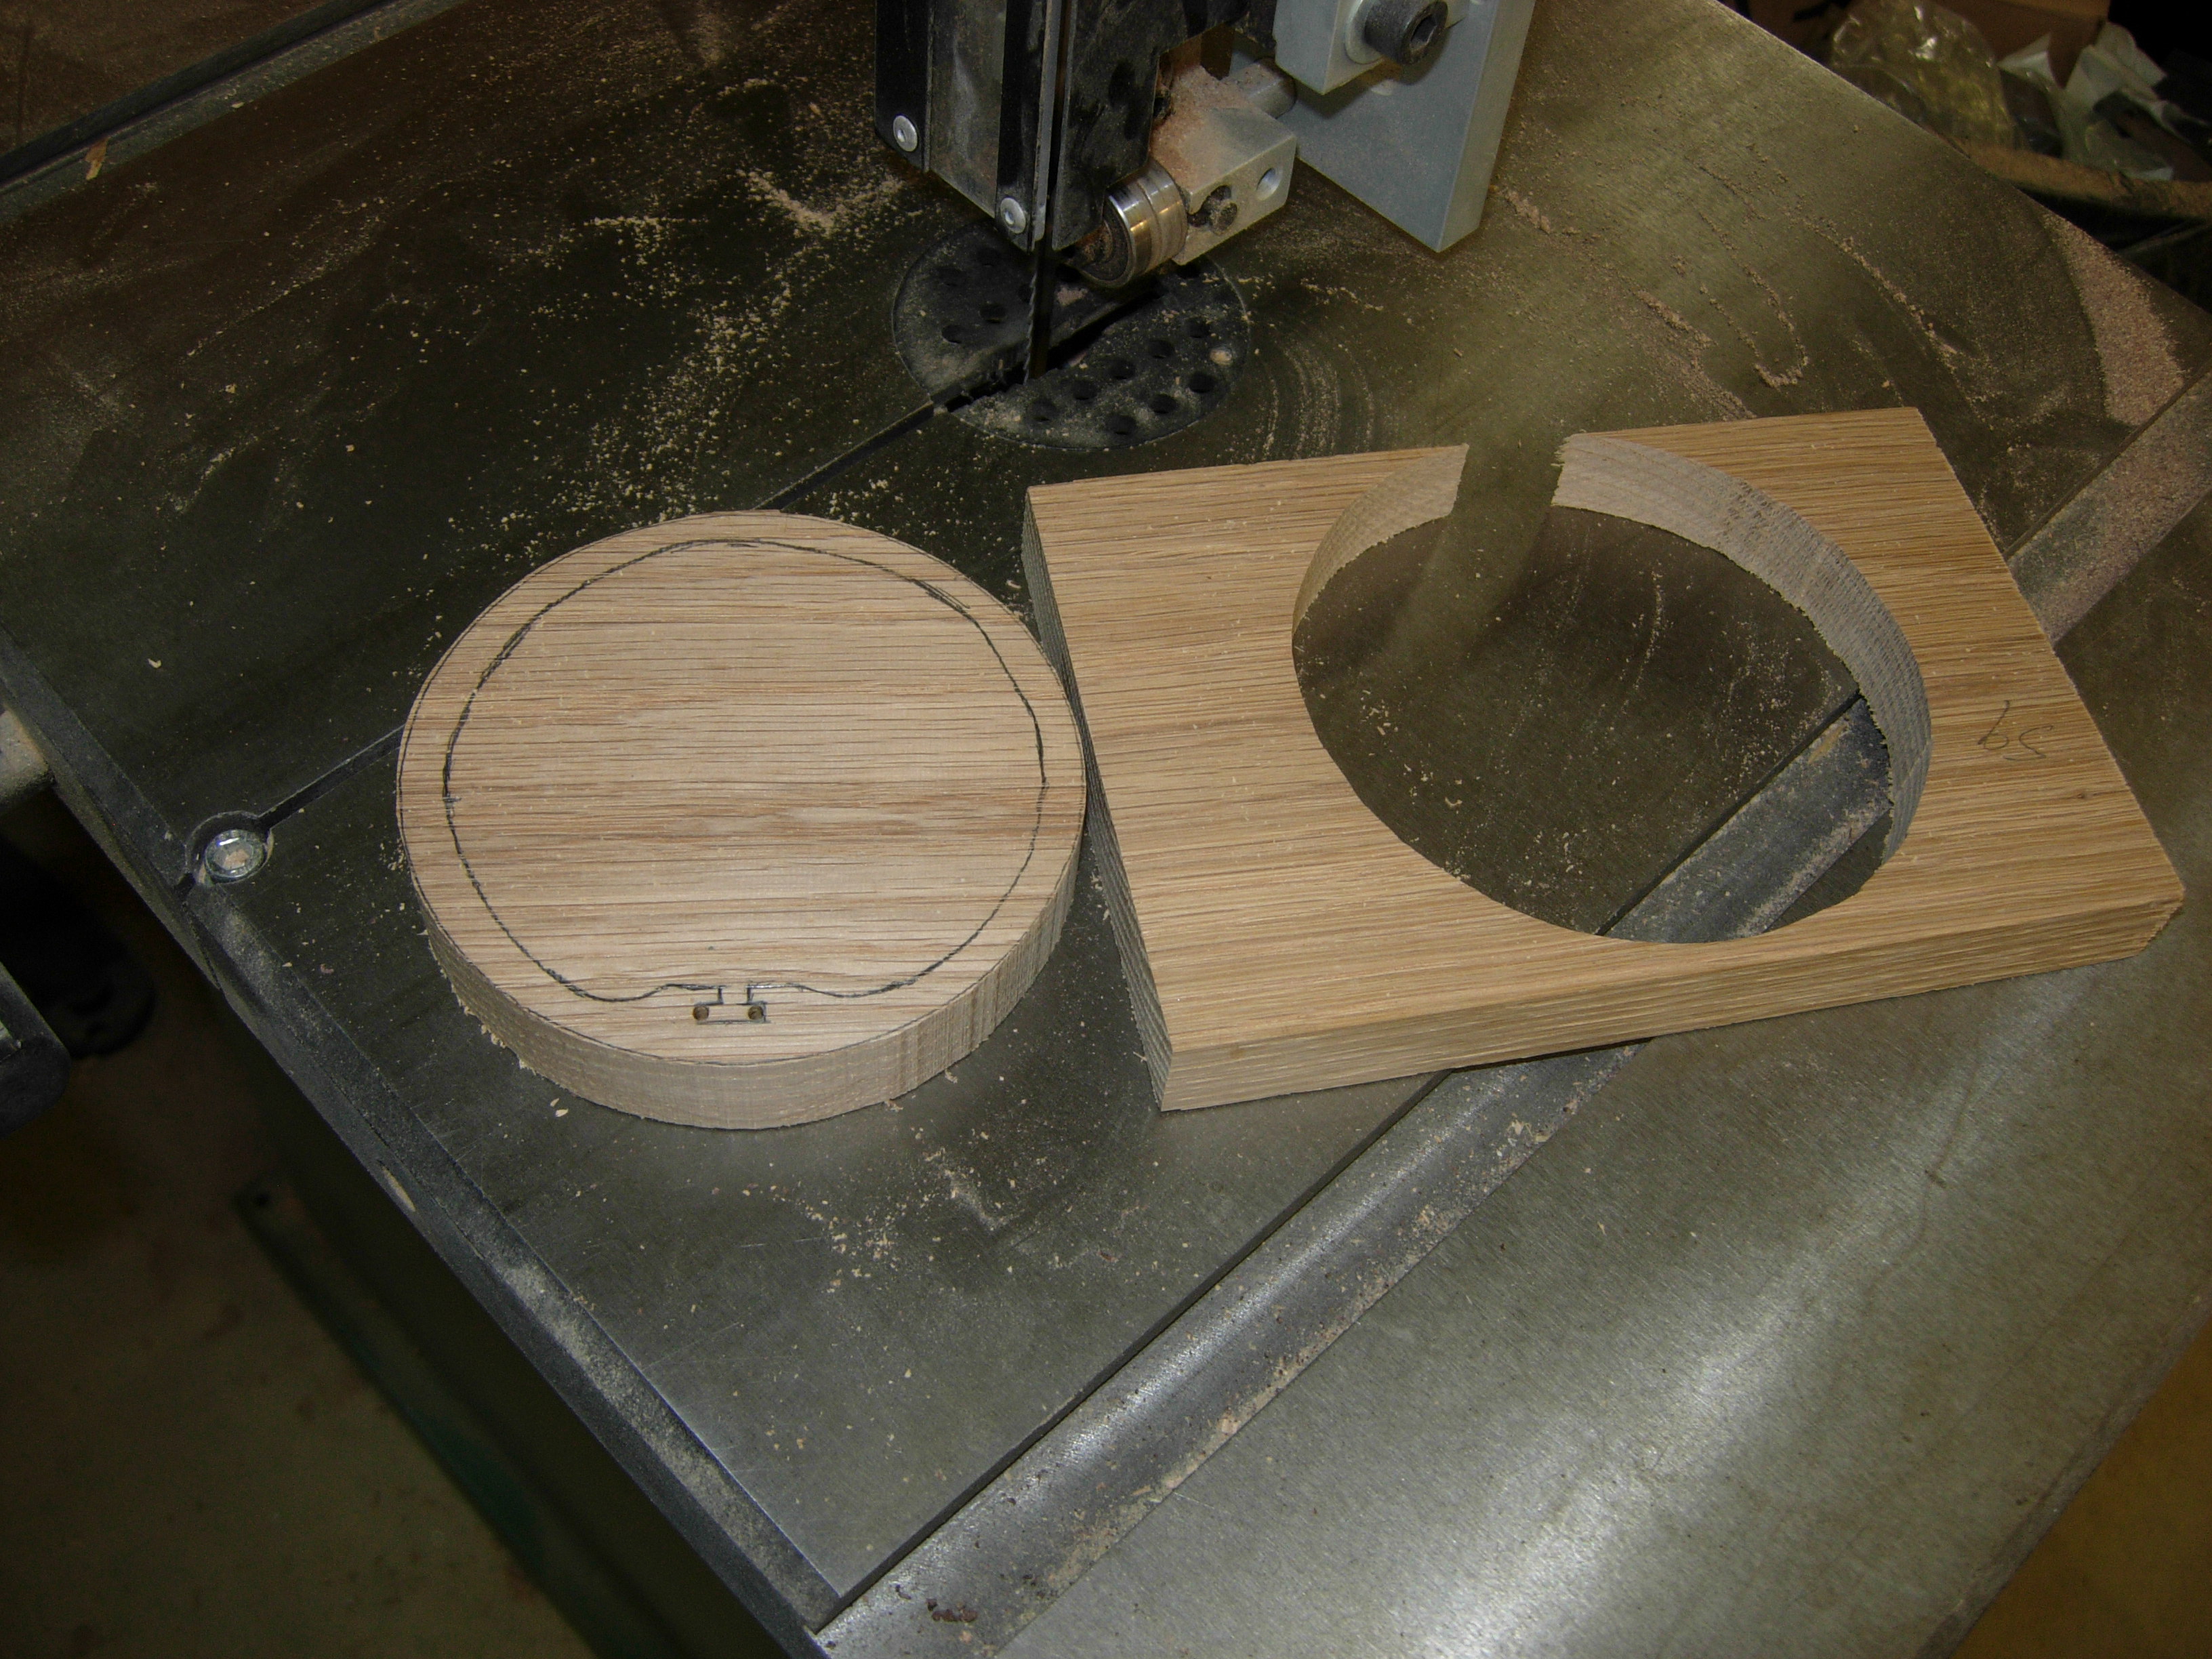
Cut the outside on the band saw
After cutting the outer diameter with the band saw, I slipped the scroll saw blade through one of the holes, then re-attached it to the saw.
Trying out a multi-directional blade
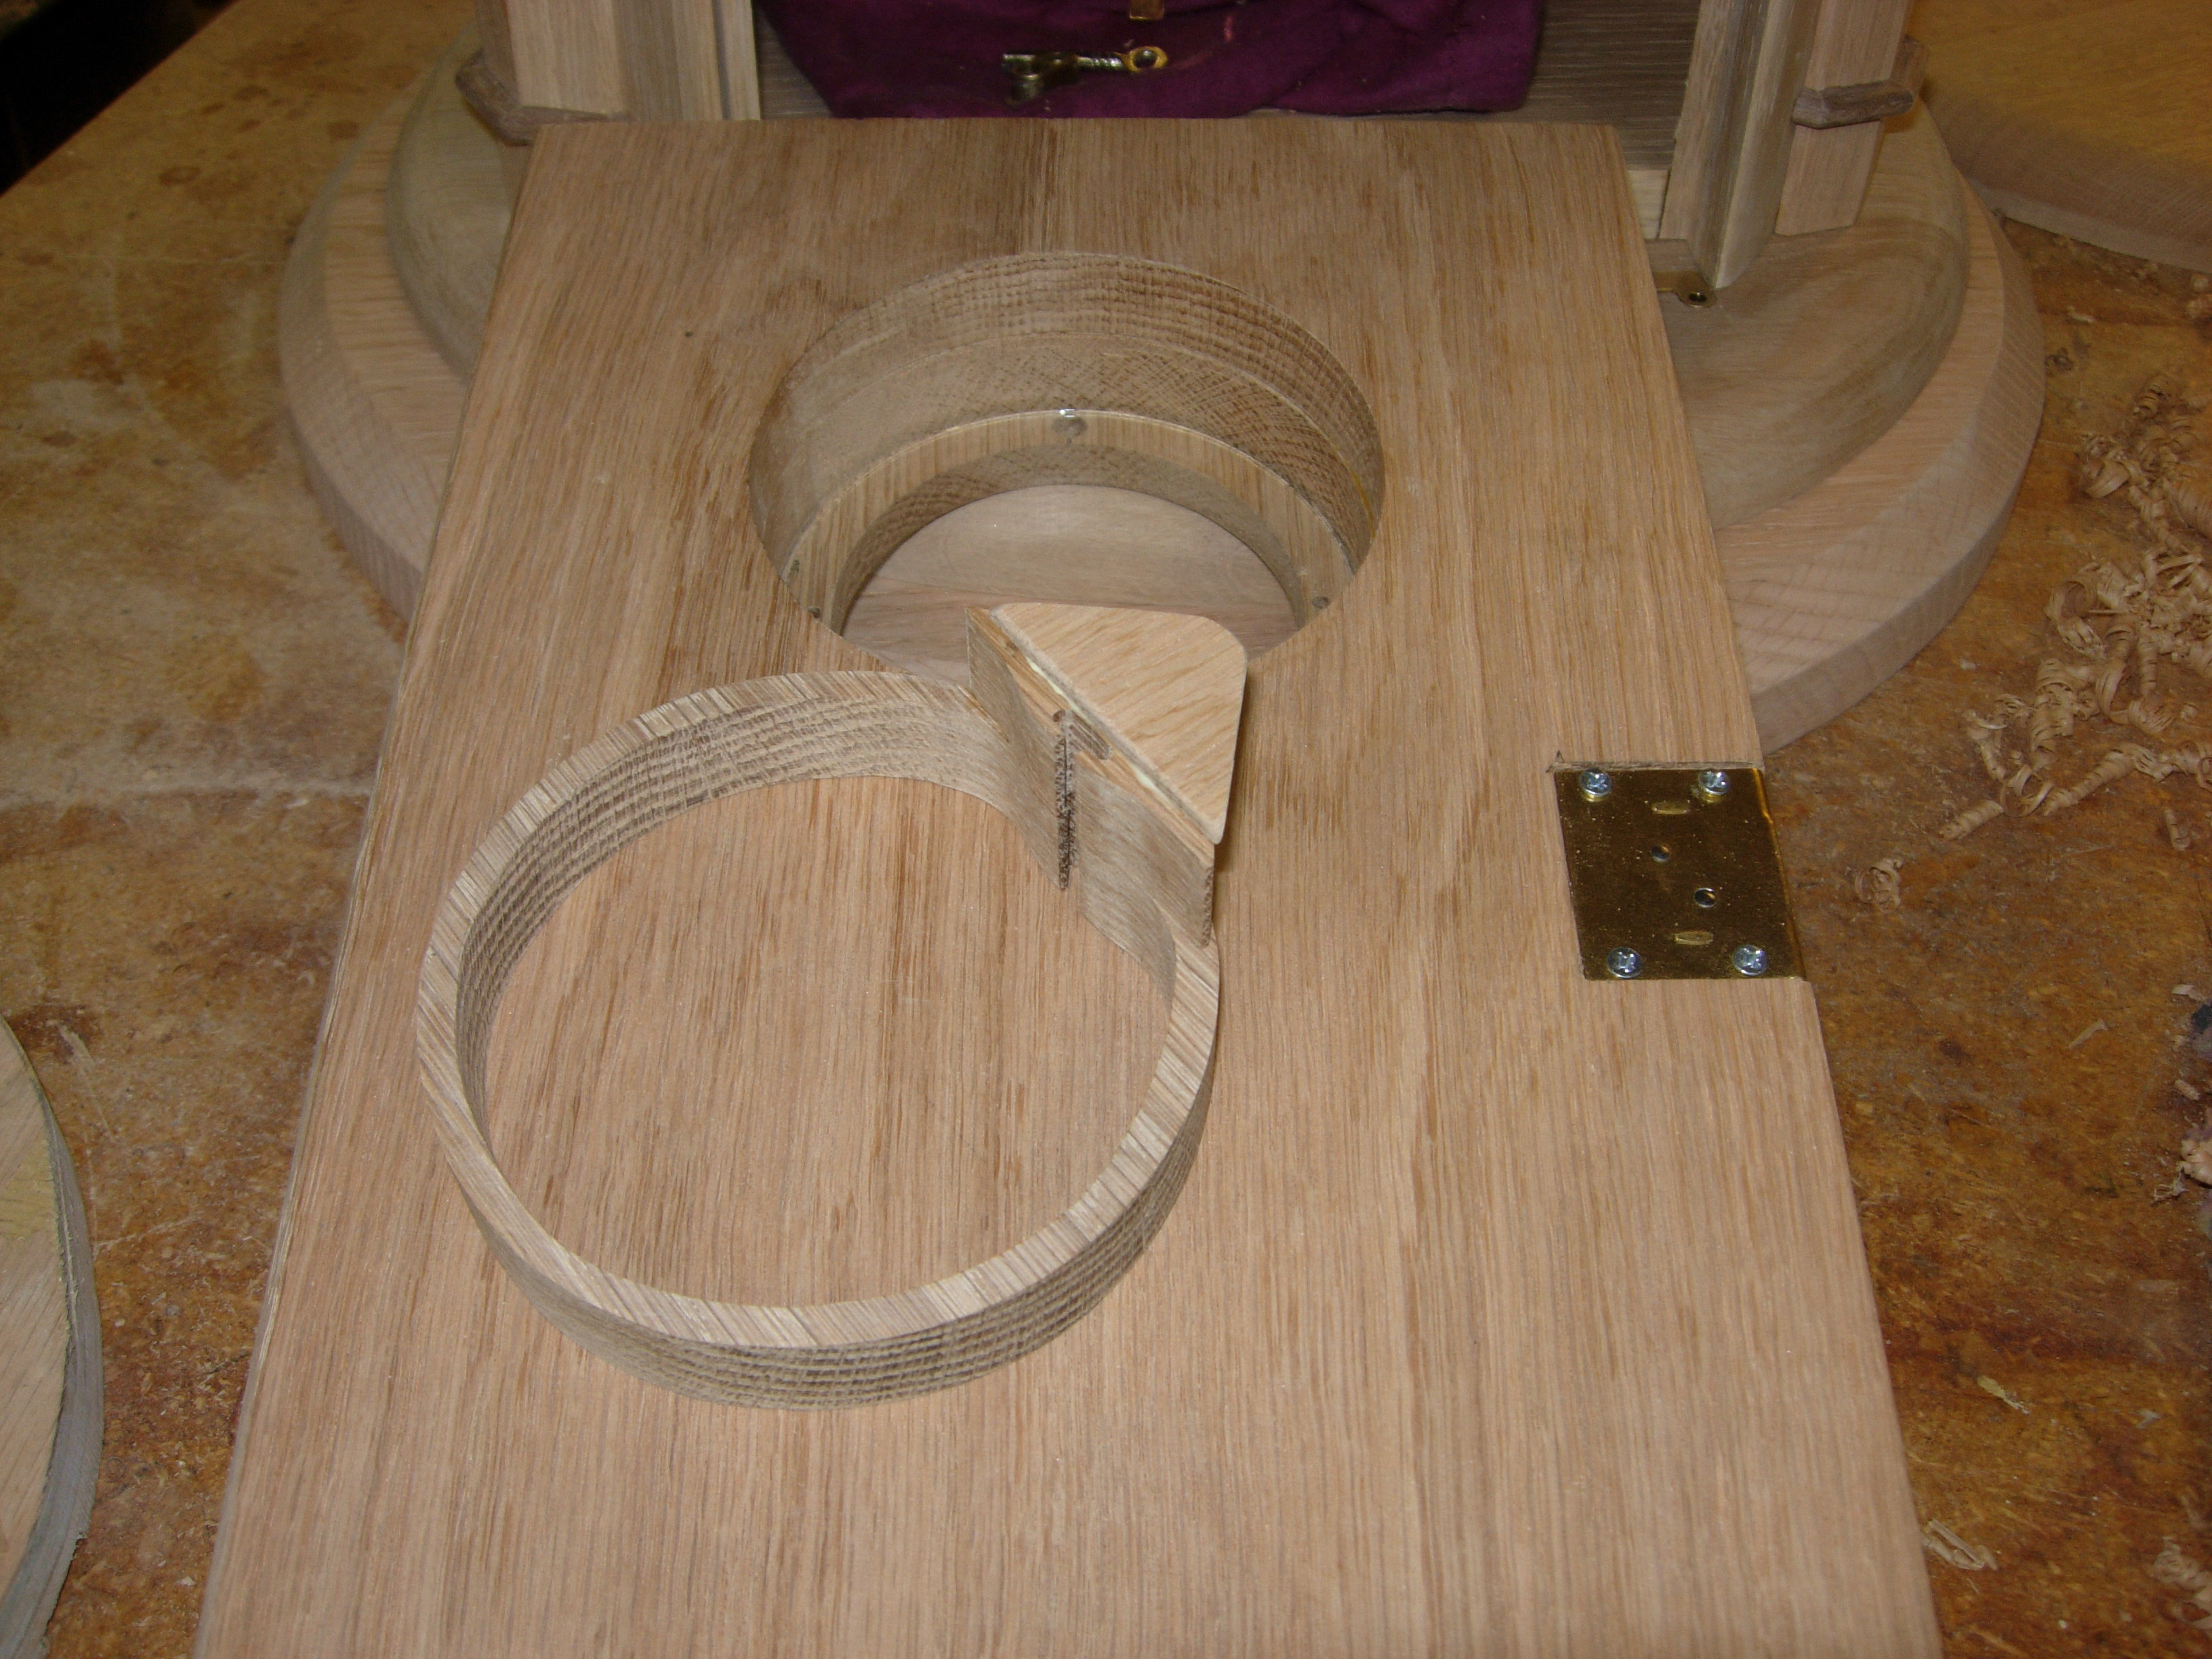
Testing a new multi-directional cutting blade, I cut out the notch first, then the entire inner ring. I like the blade, but I think the 3/4″ oak was a bit thick for it, so after cutting out the slide area, I put the original blade back in to cut the rest.
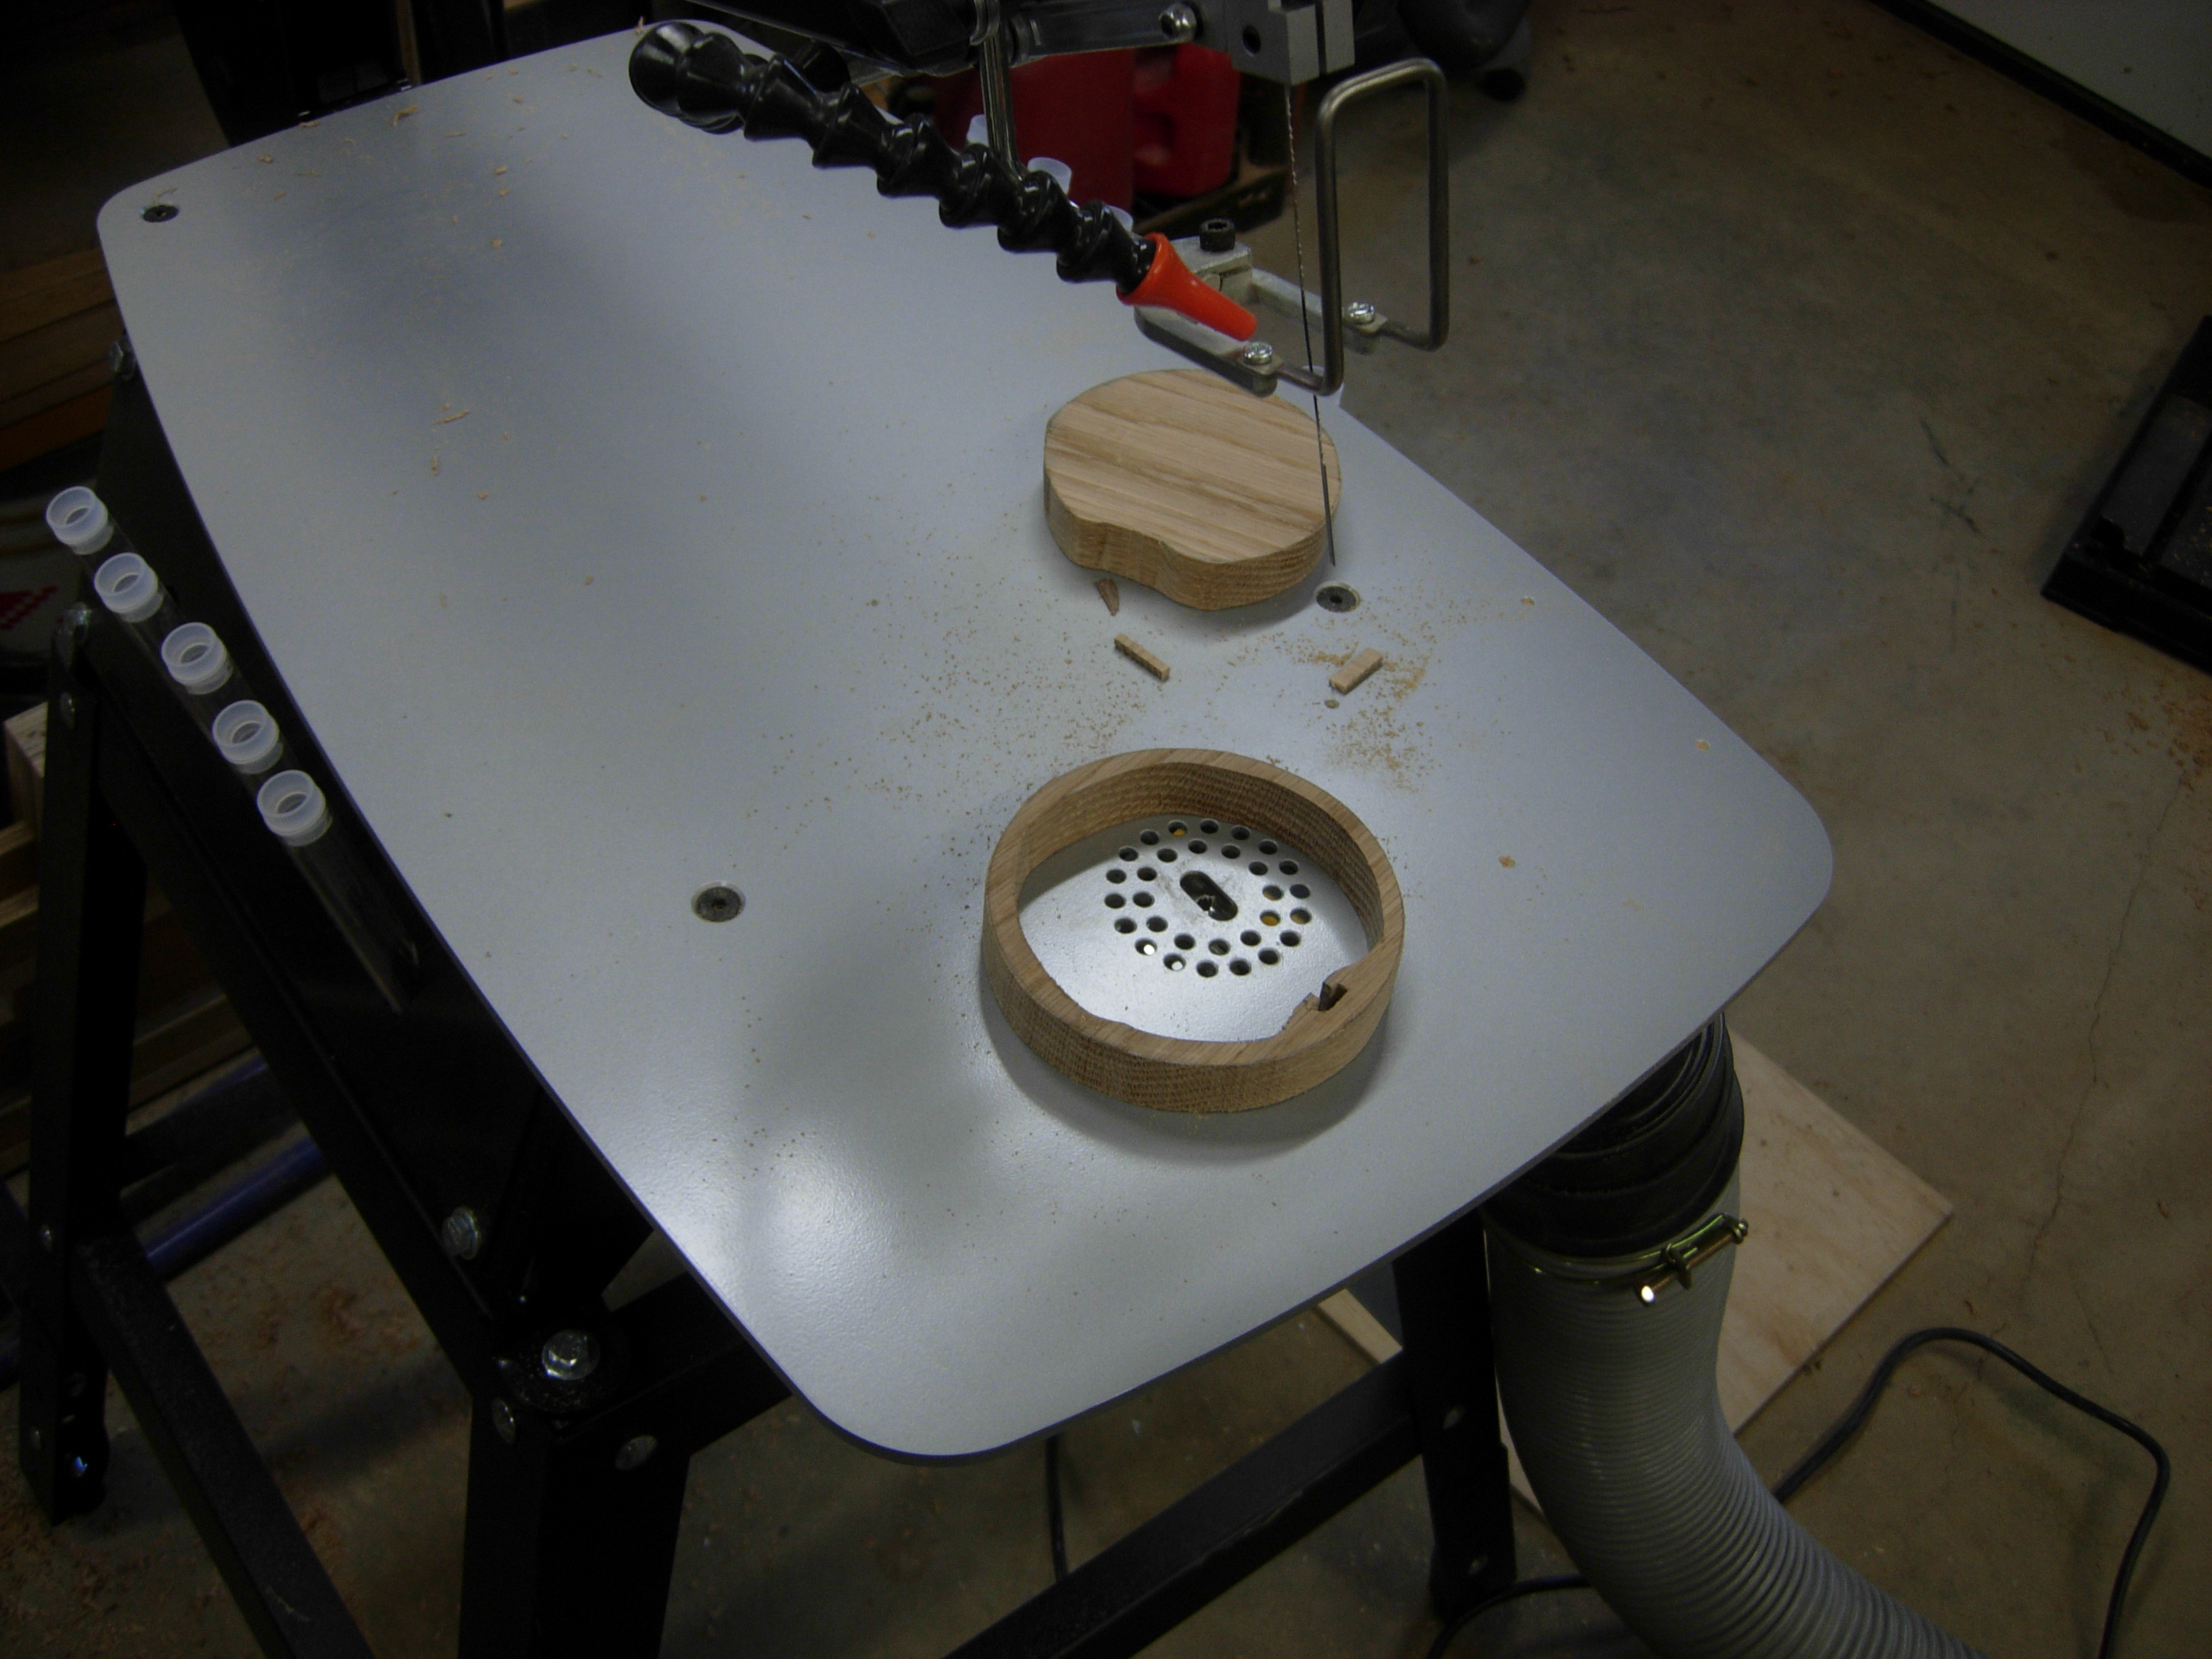
Waste in the center is removed
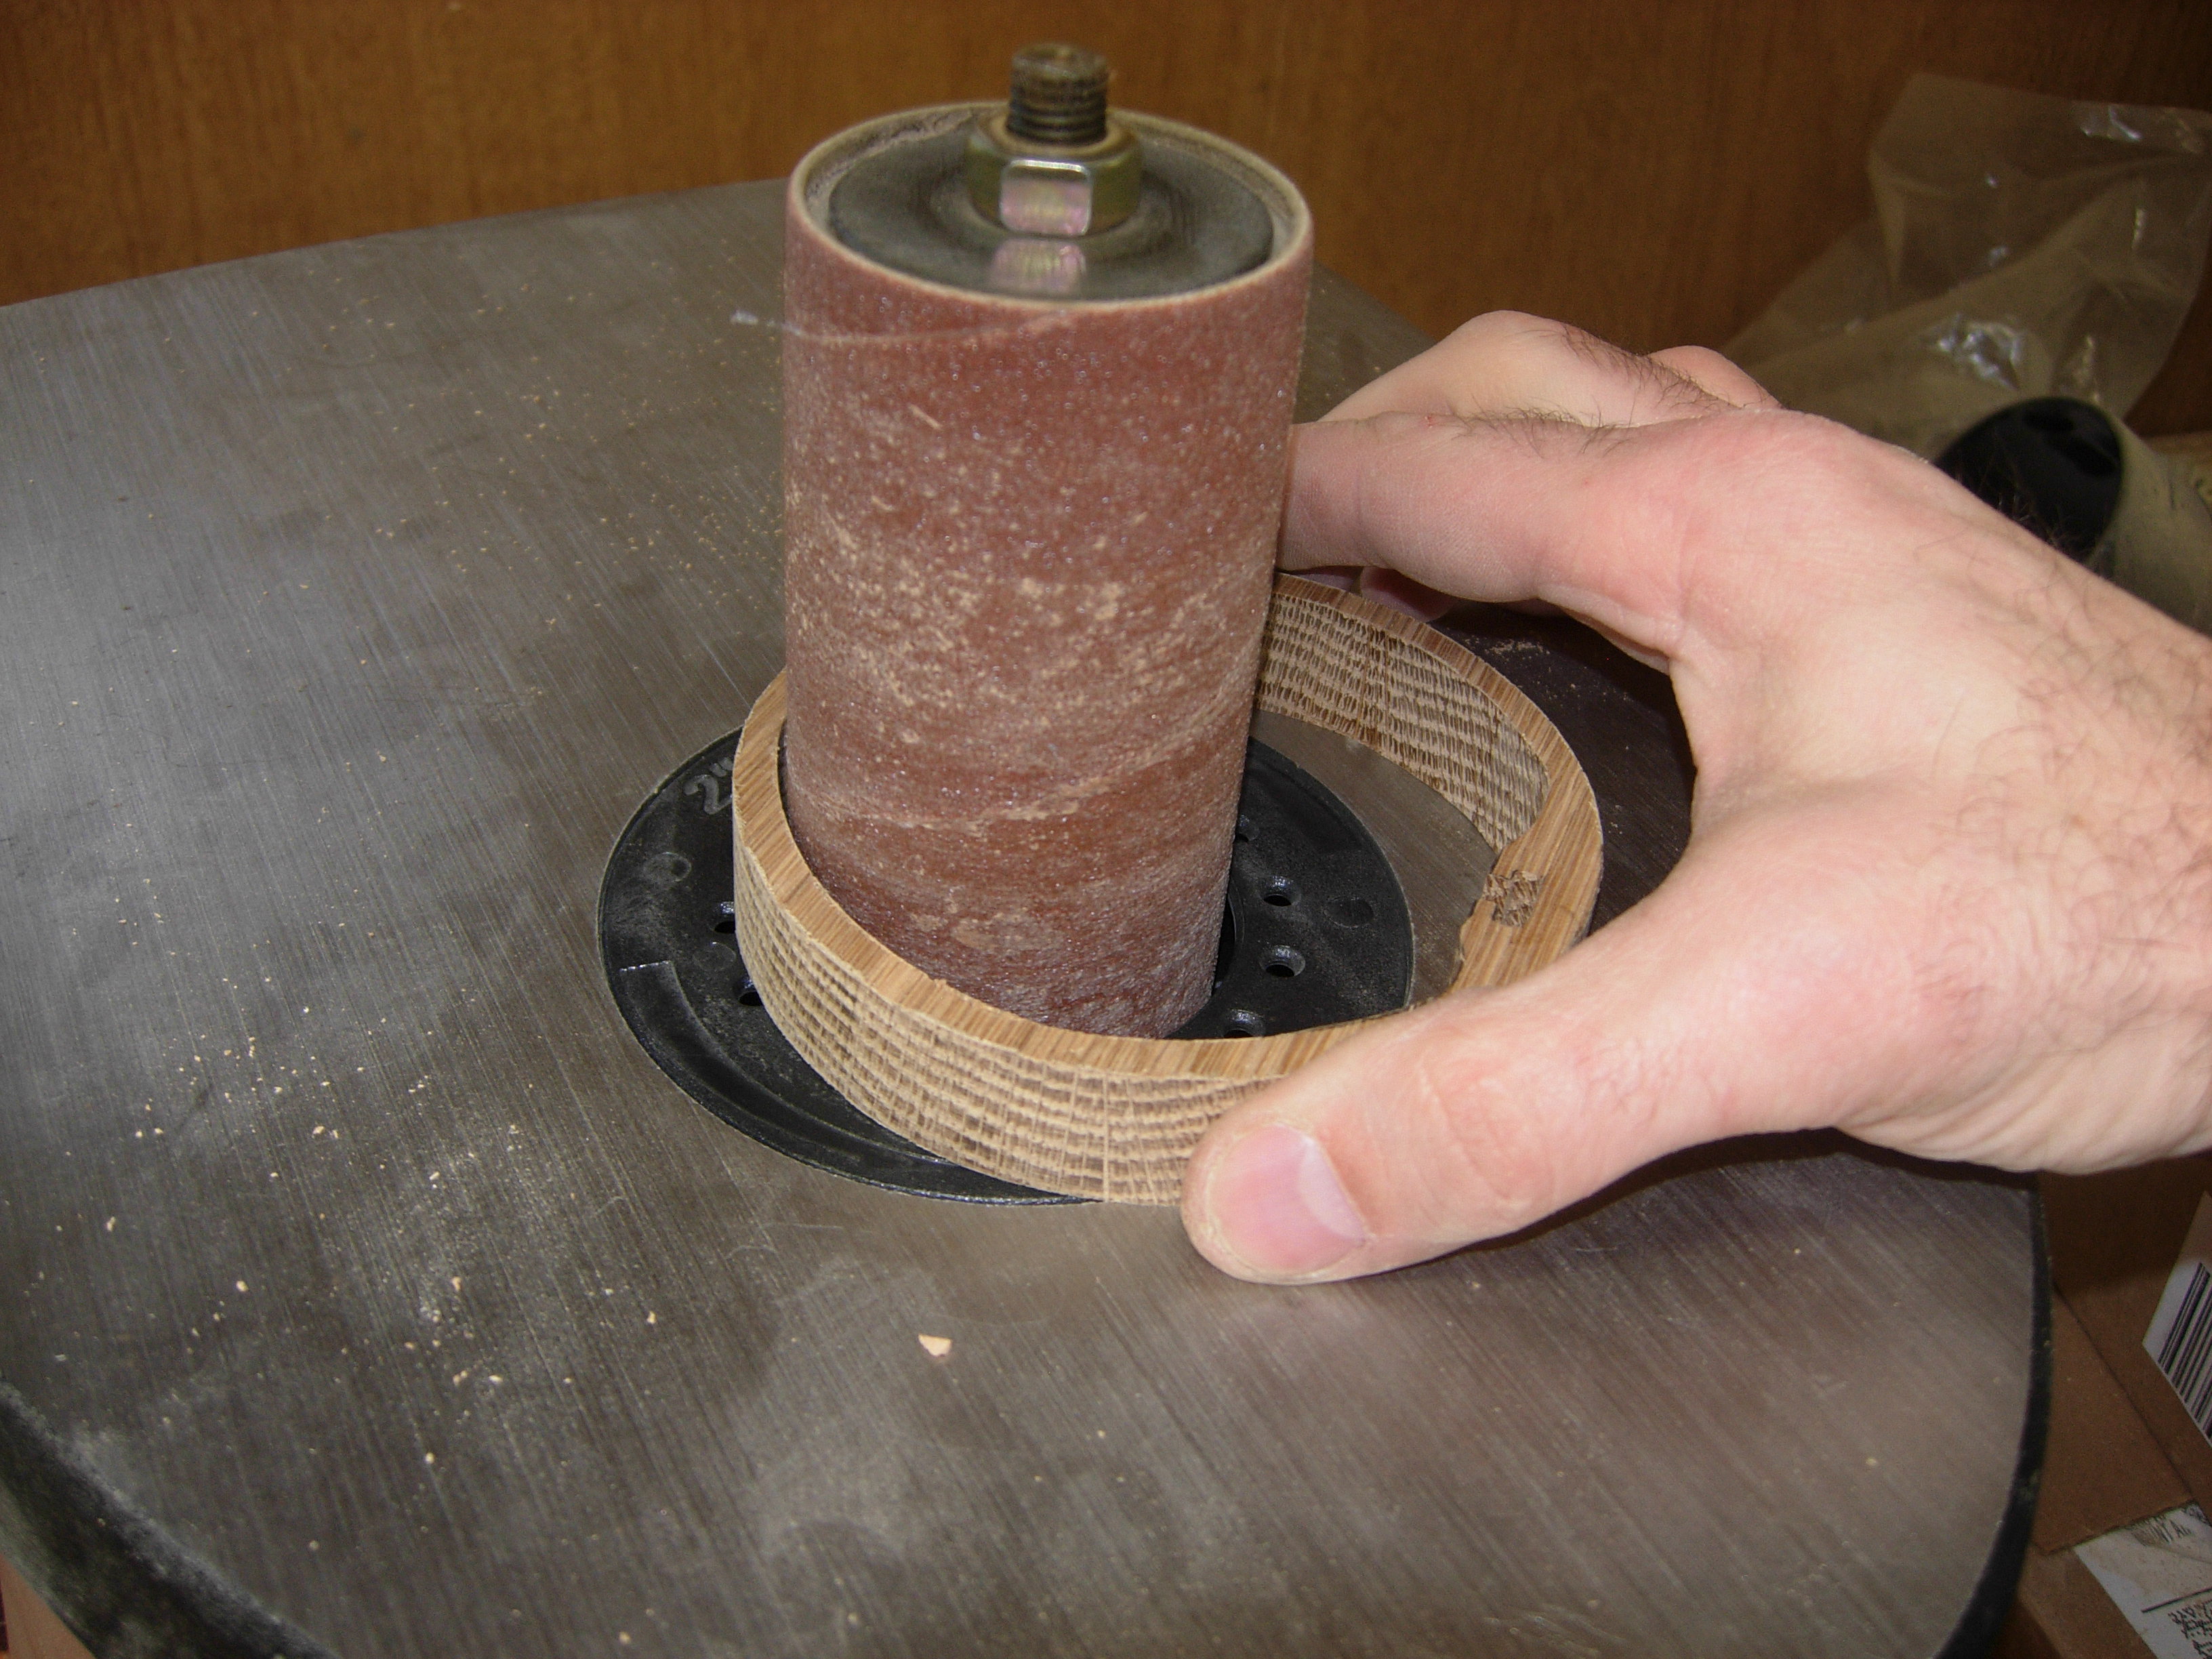
Cleaning up the cut edges
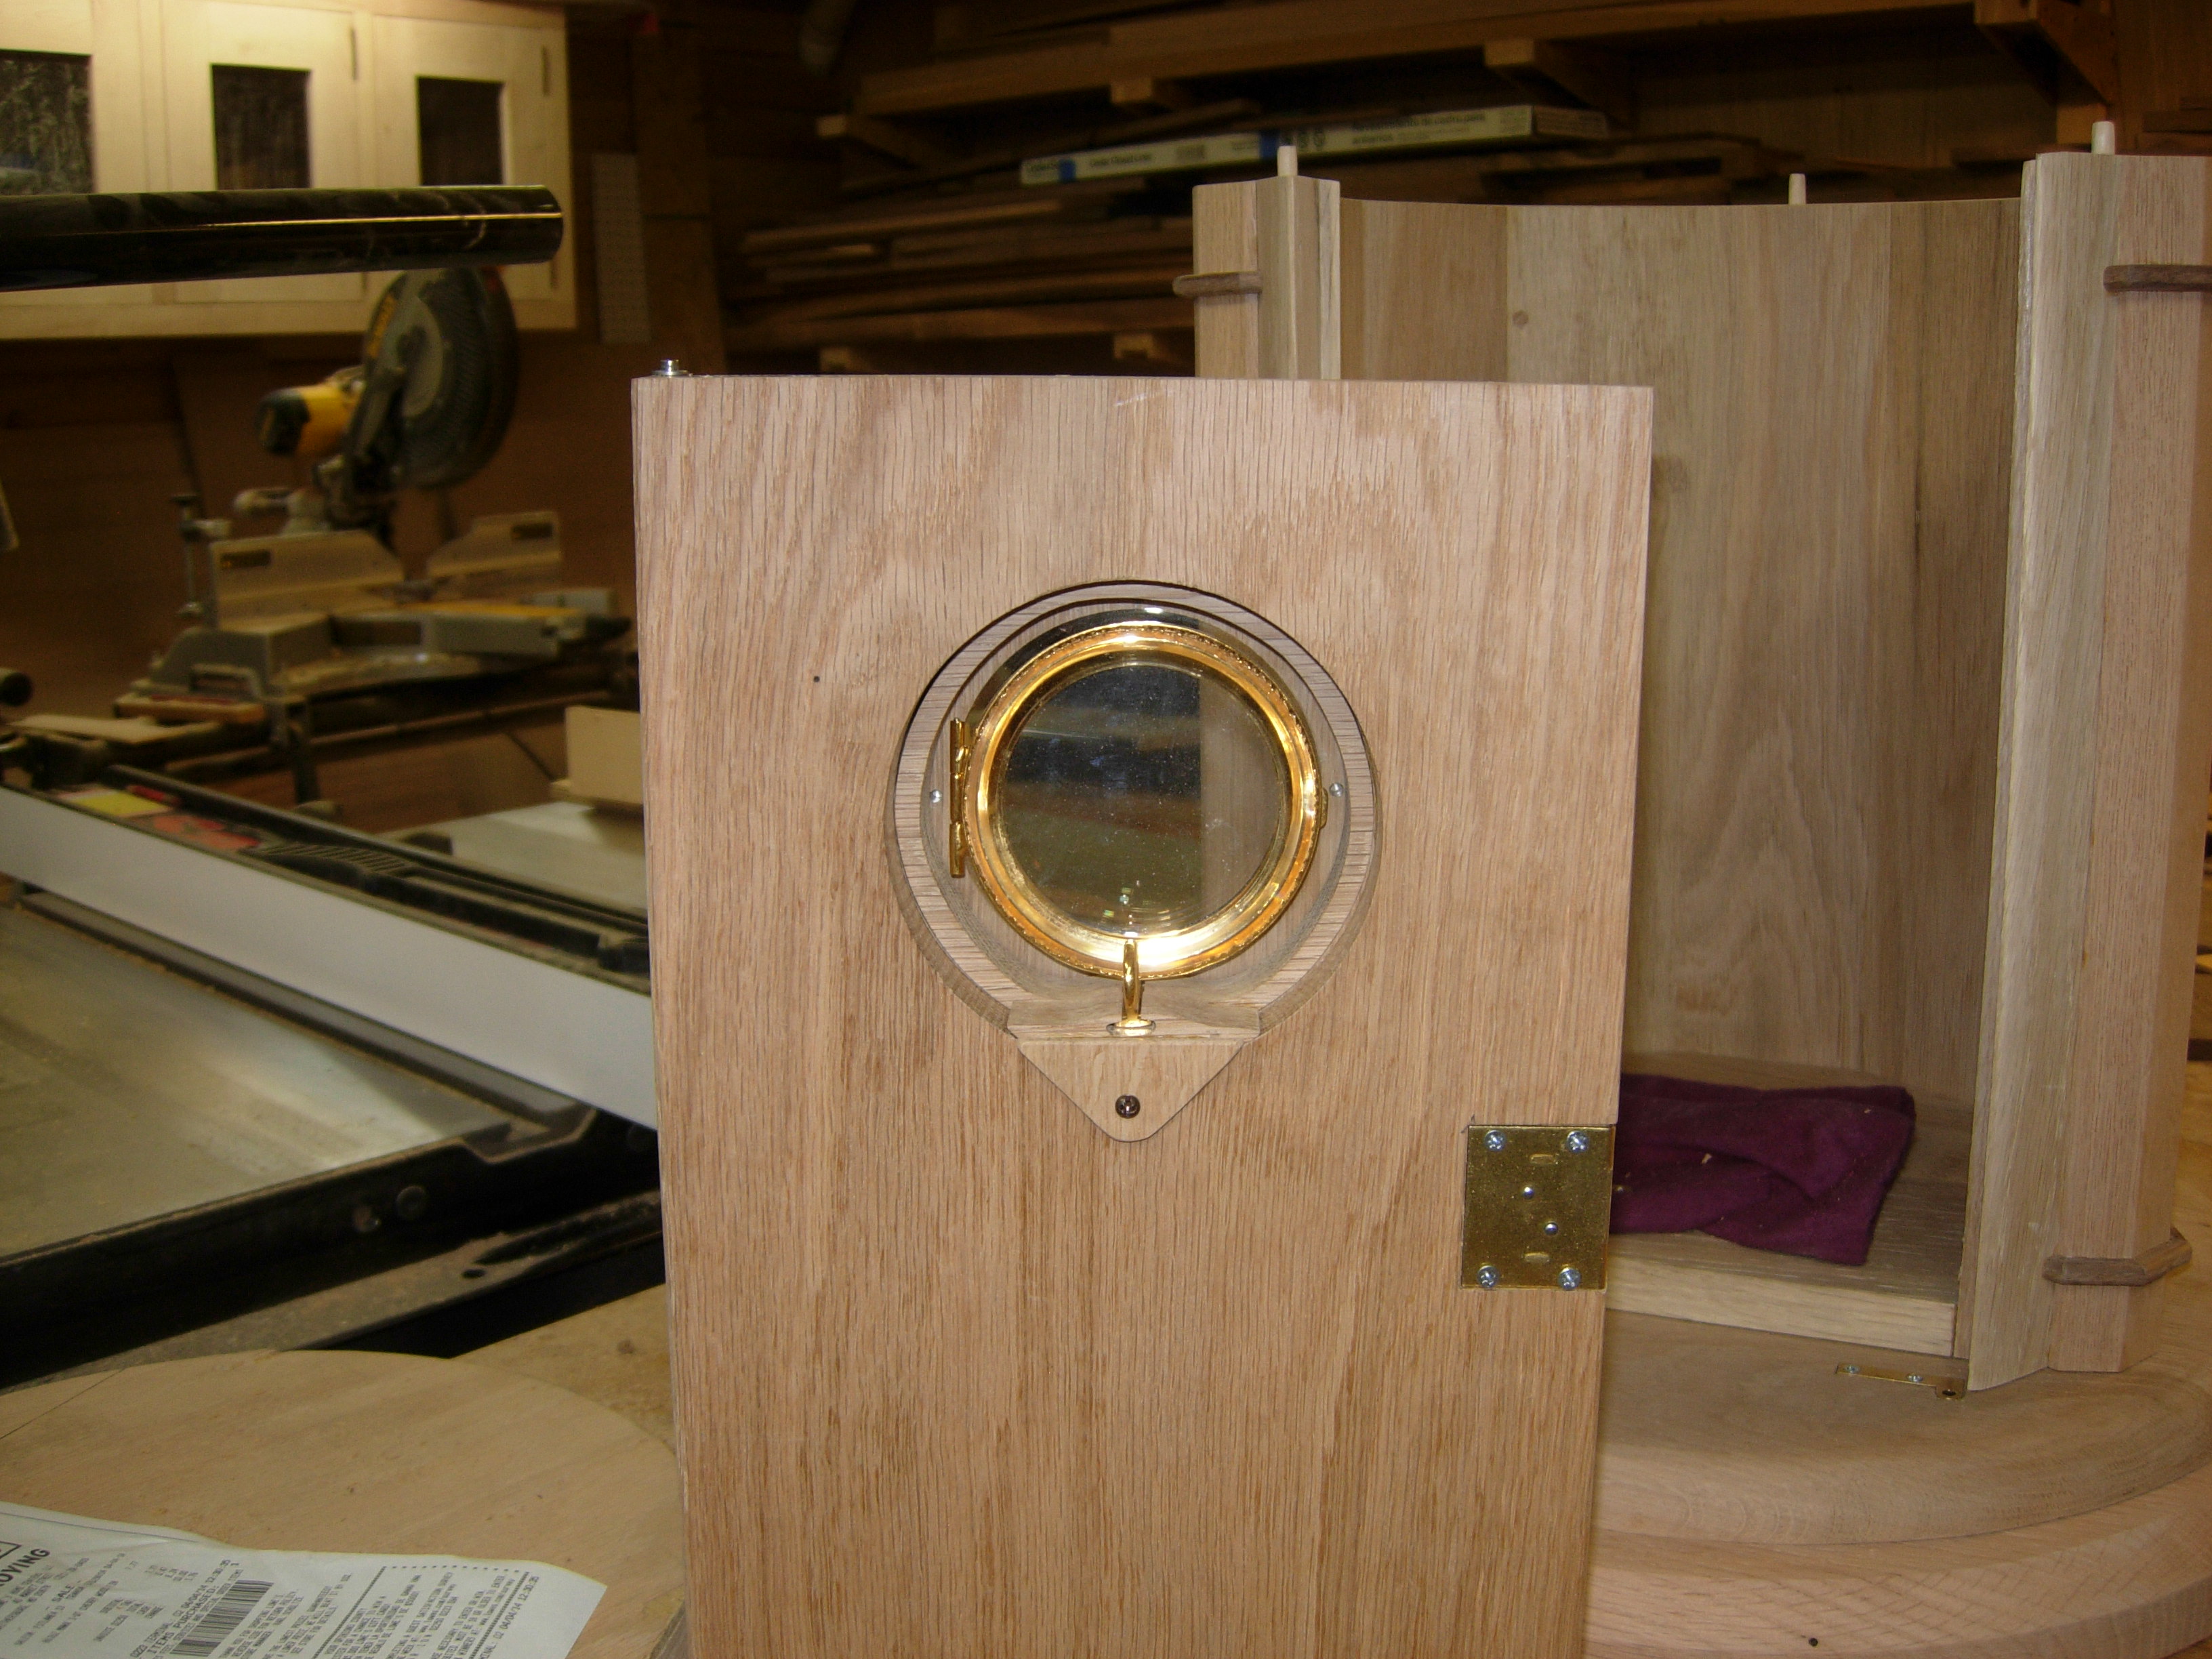
After sanding the retainer, inside and out, I inserted the glass window, then the retainer, nearly perfect fit.
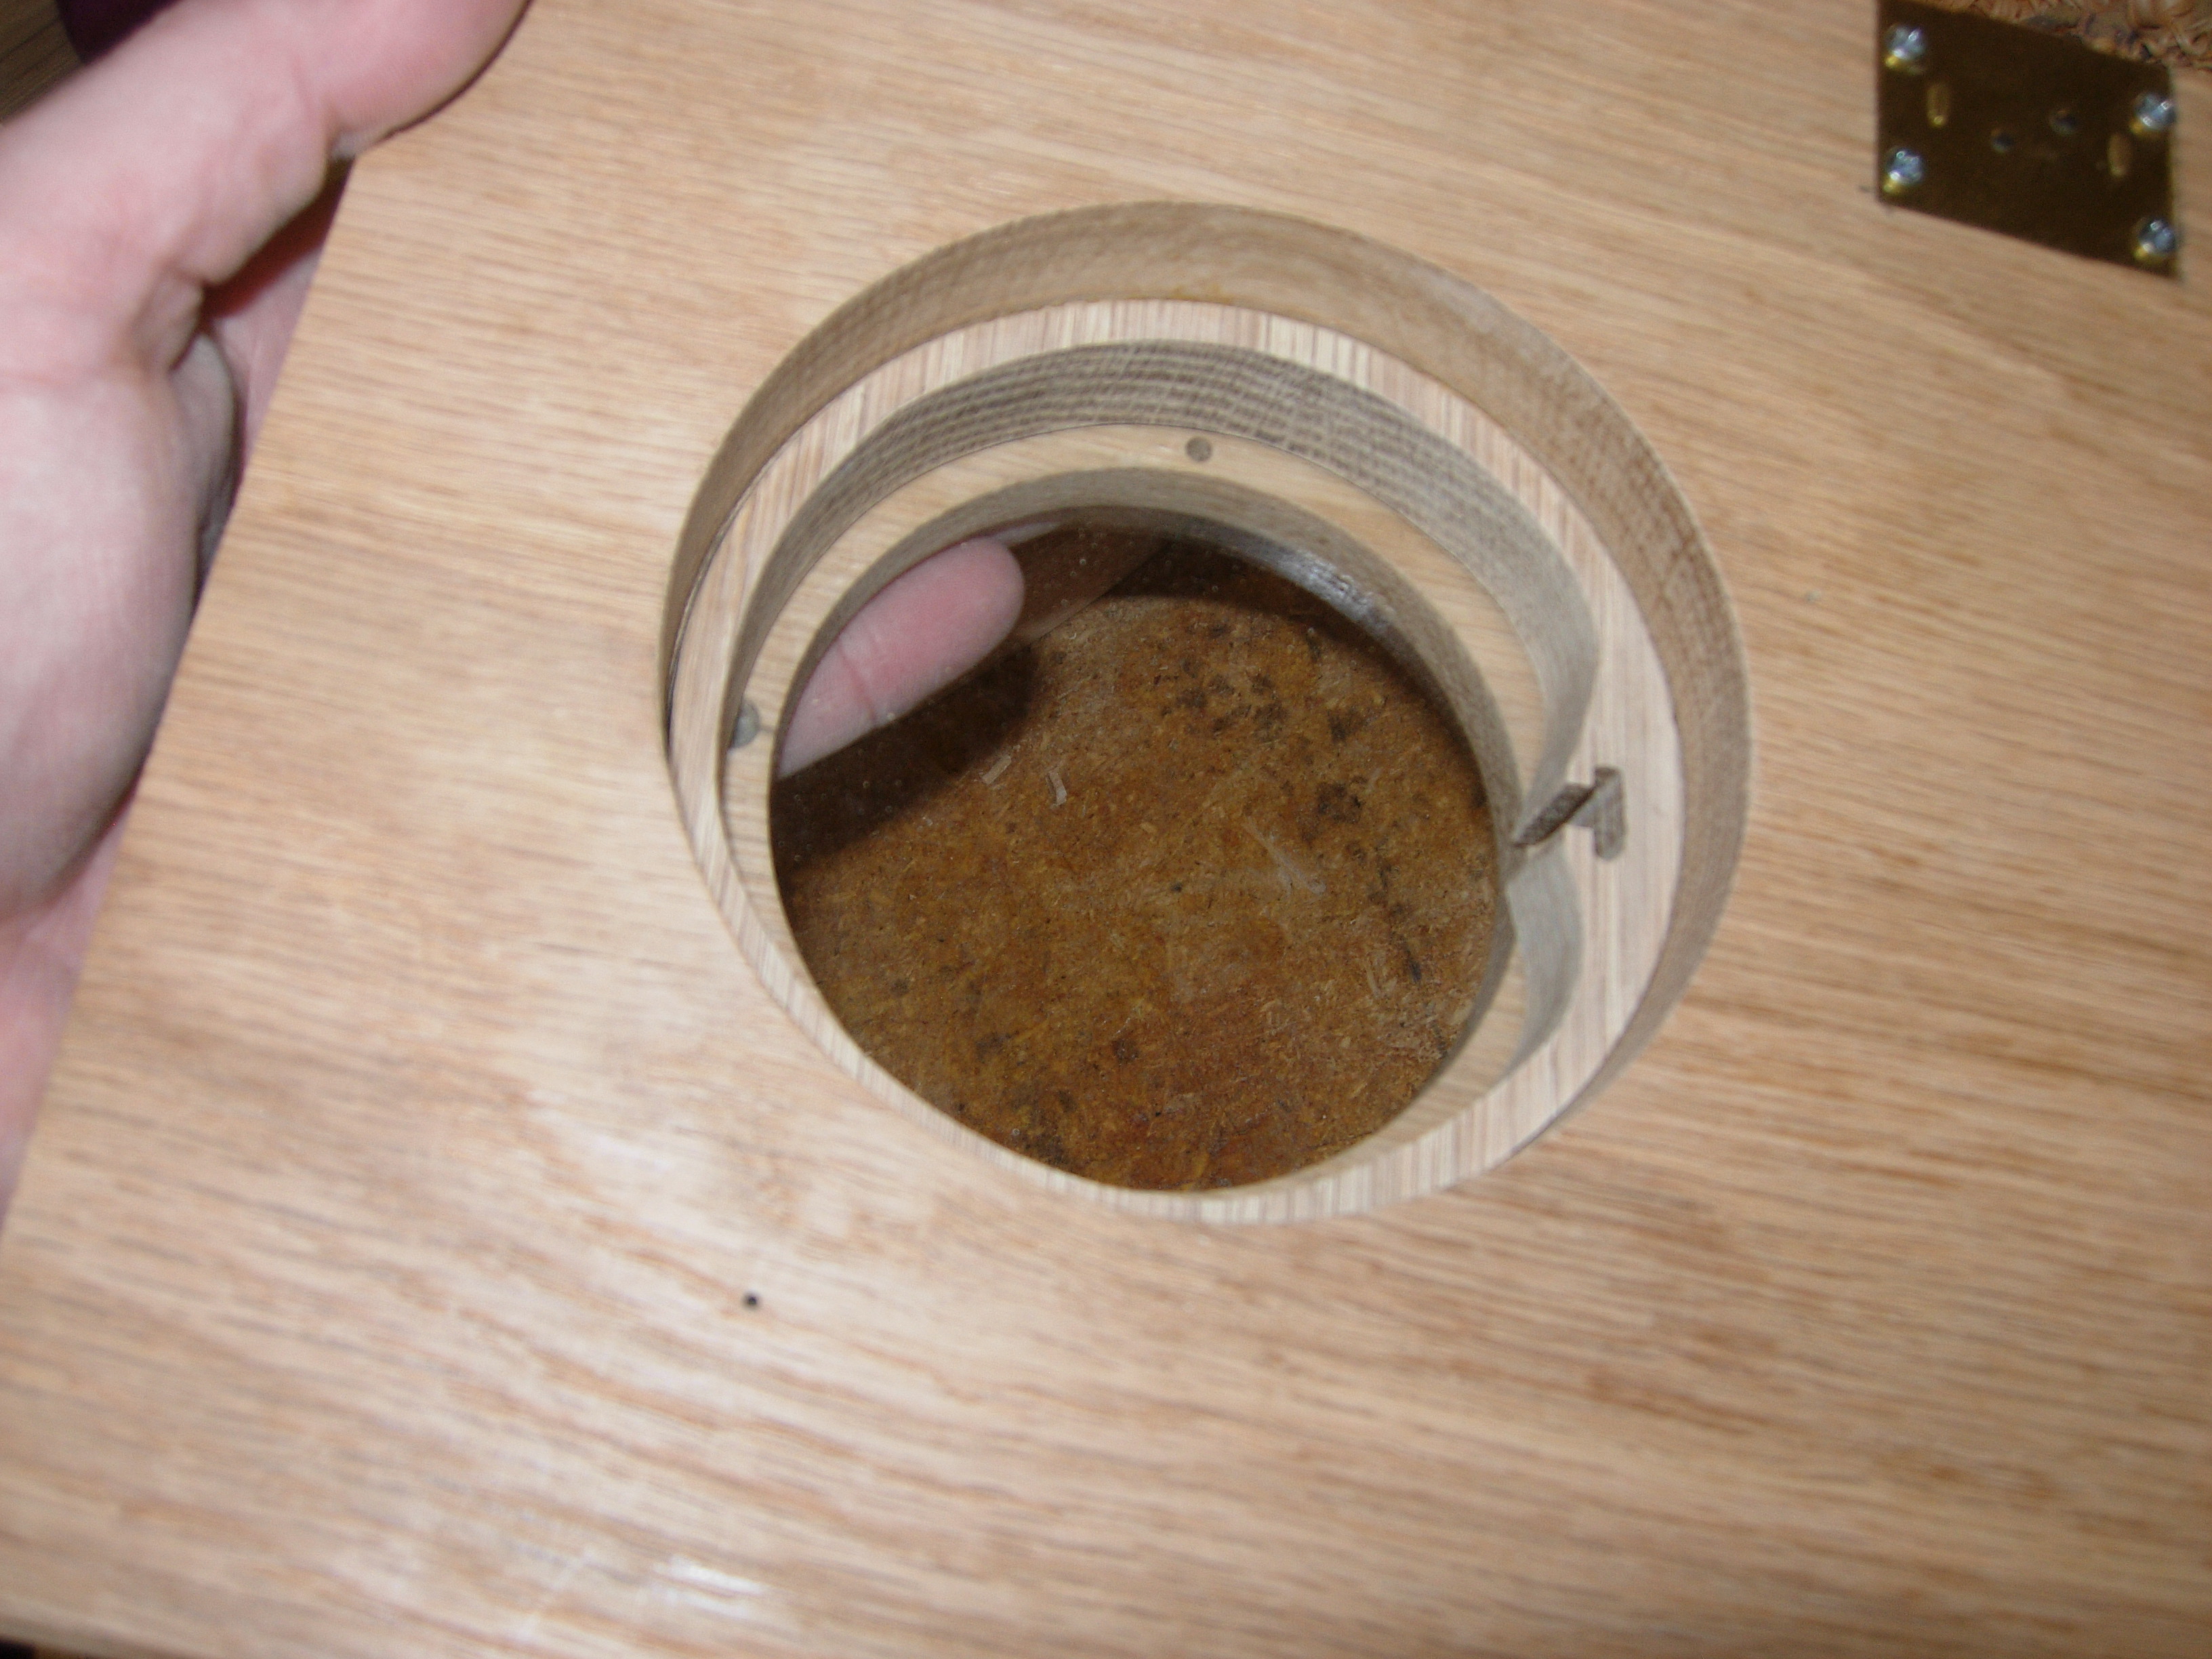
This piece also retains the window
Test fit of the lunette
After test fitting the pyx, I realized that the slide was not deep enough, so I cut an additional, smaller piece to match the bottom curve of the retainer, and the slide groove, then glued it to the ring.
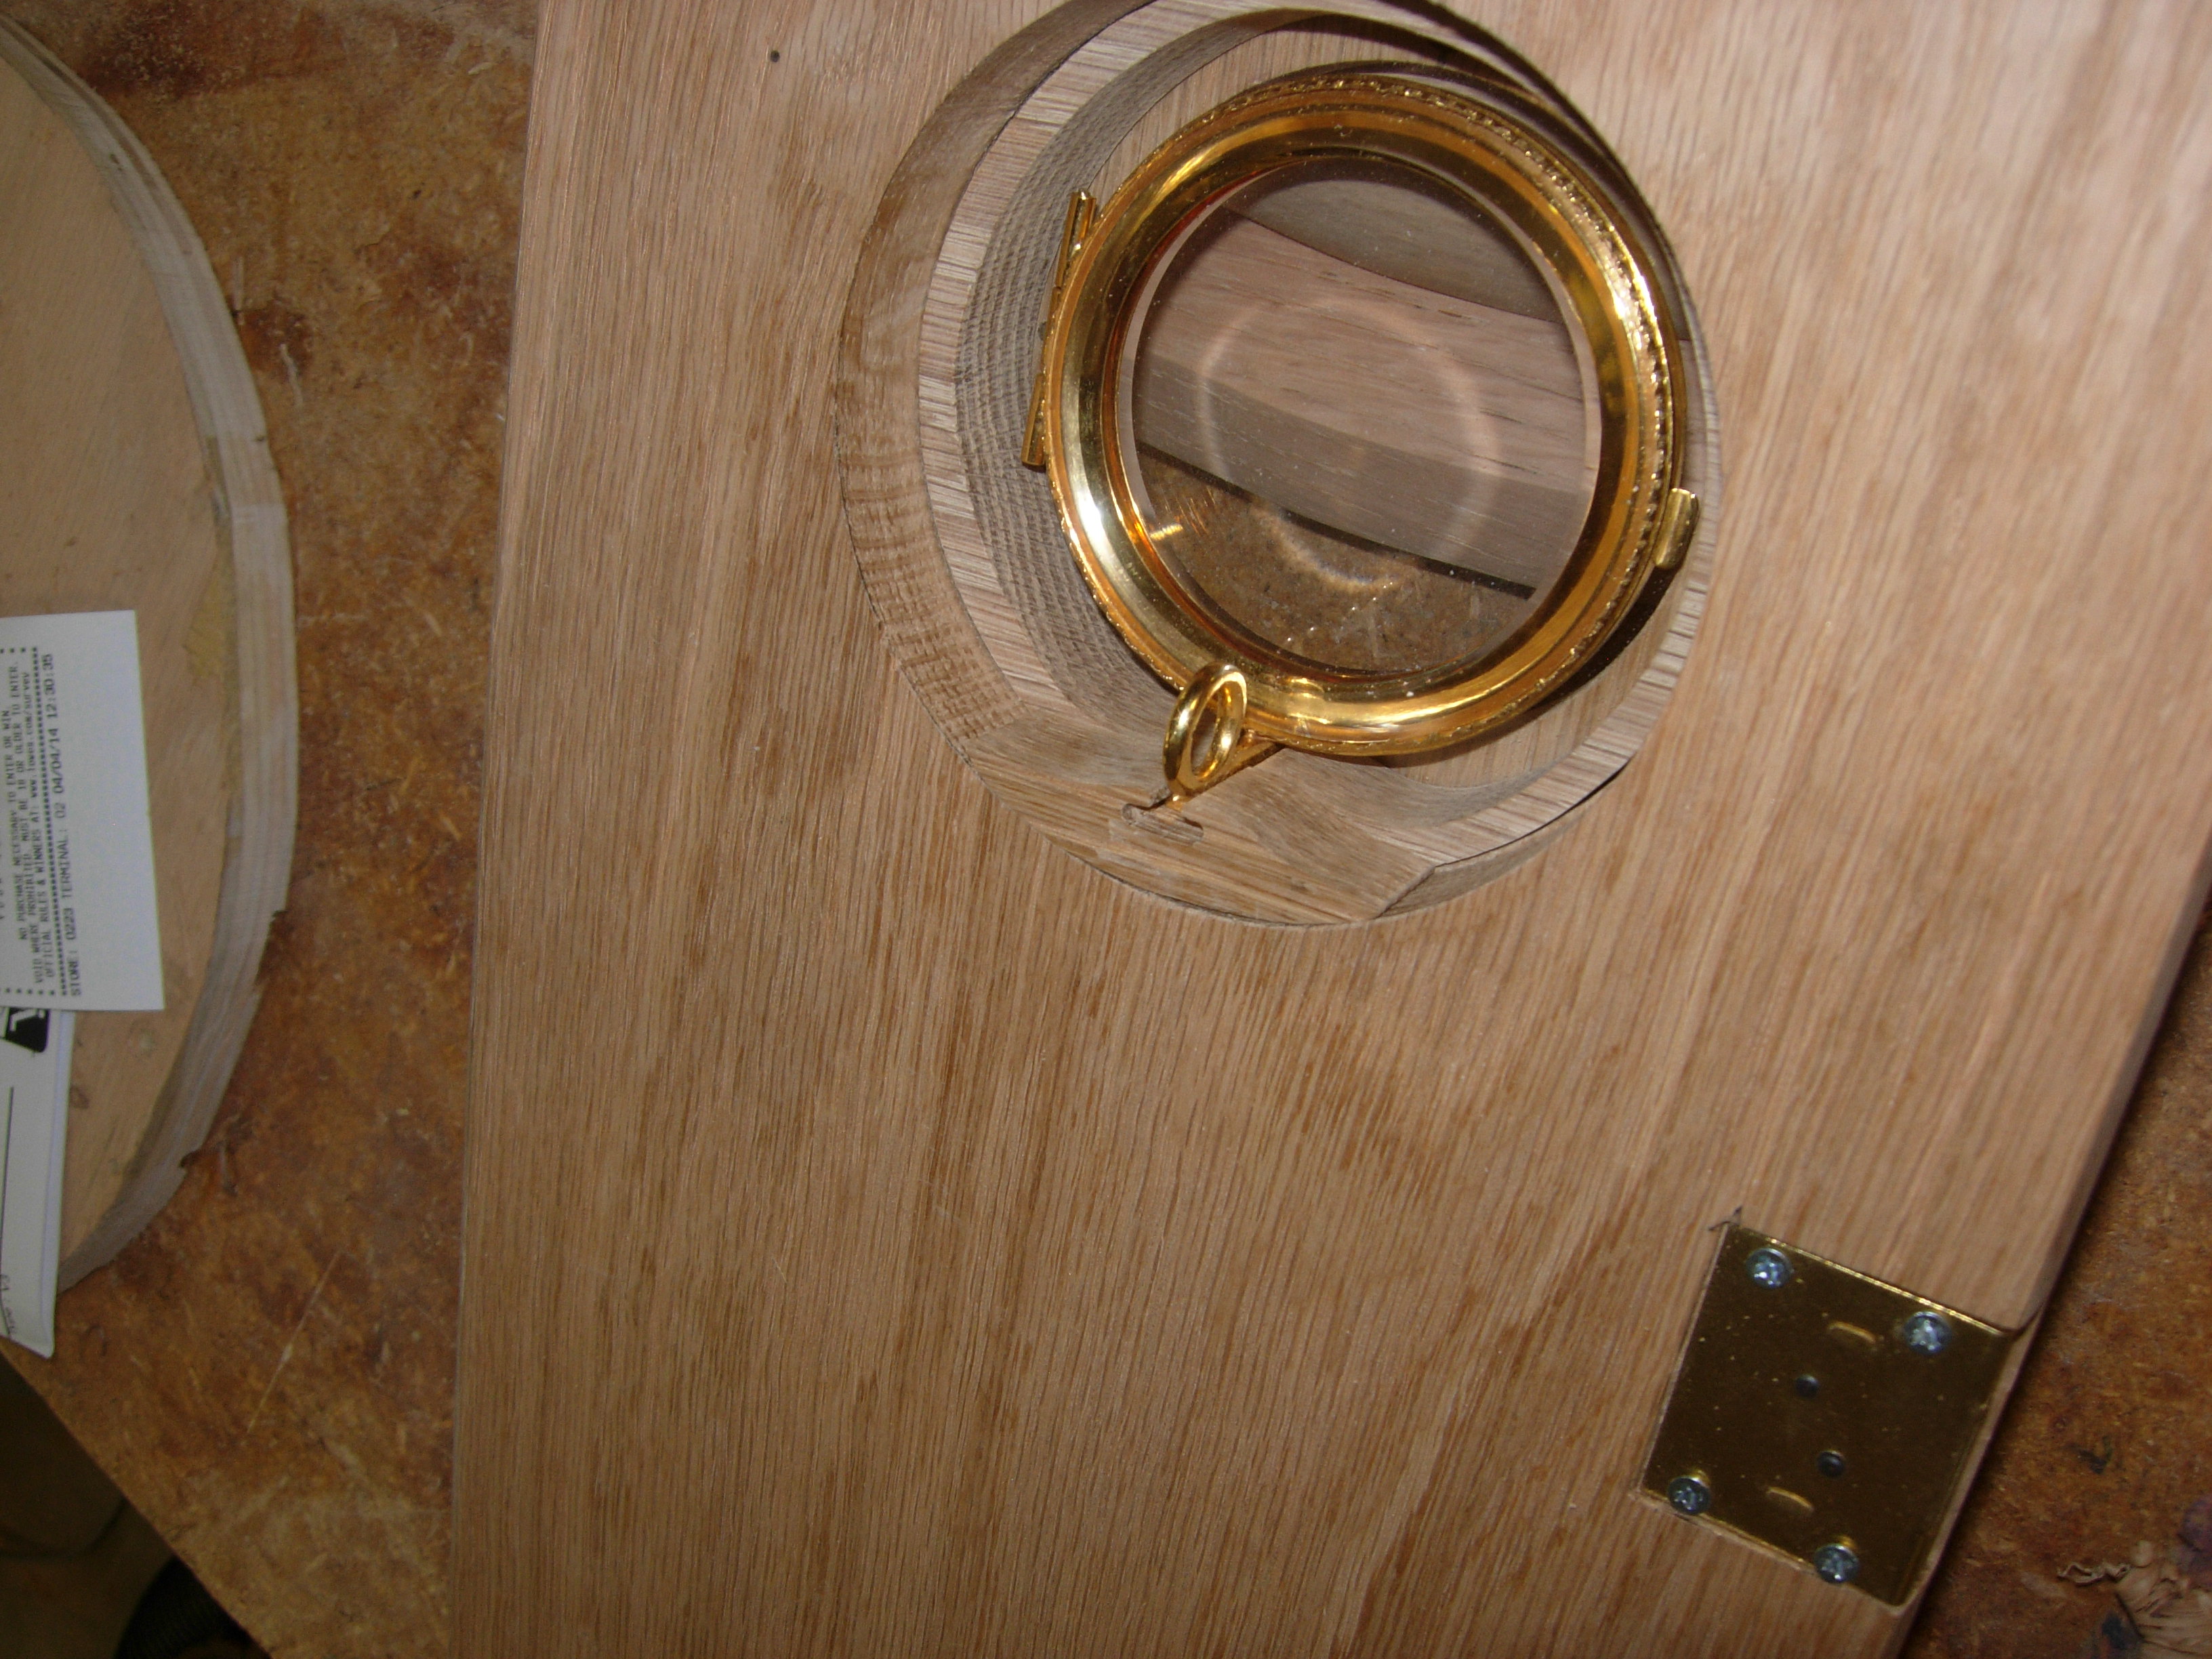
An additional piece to extend the slot
Adding a retainer tab
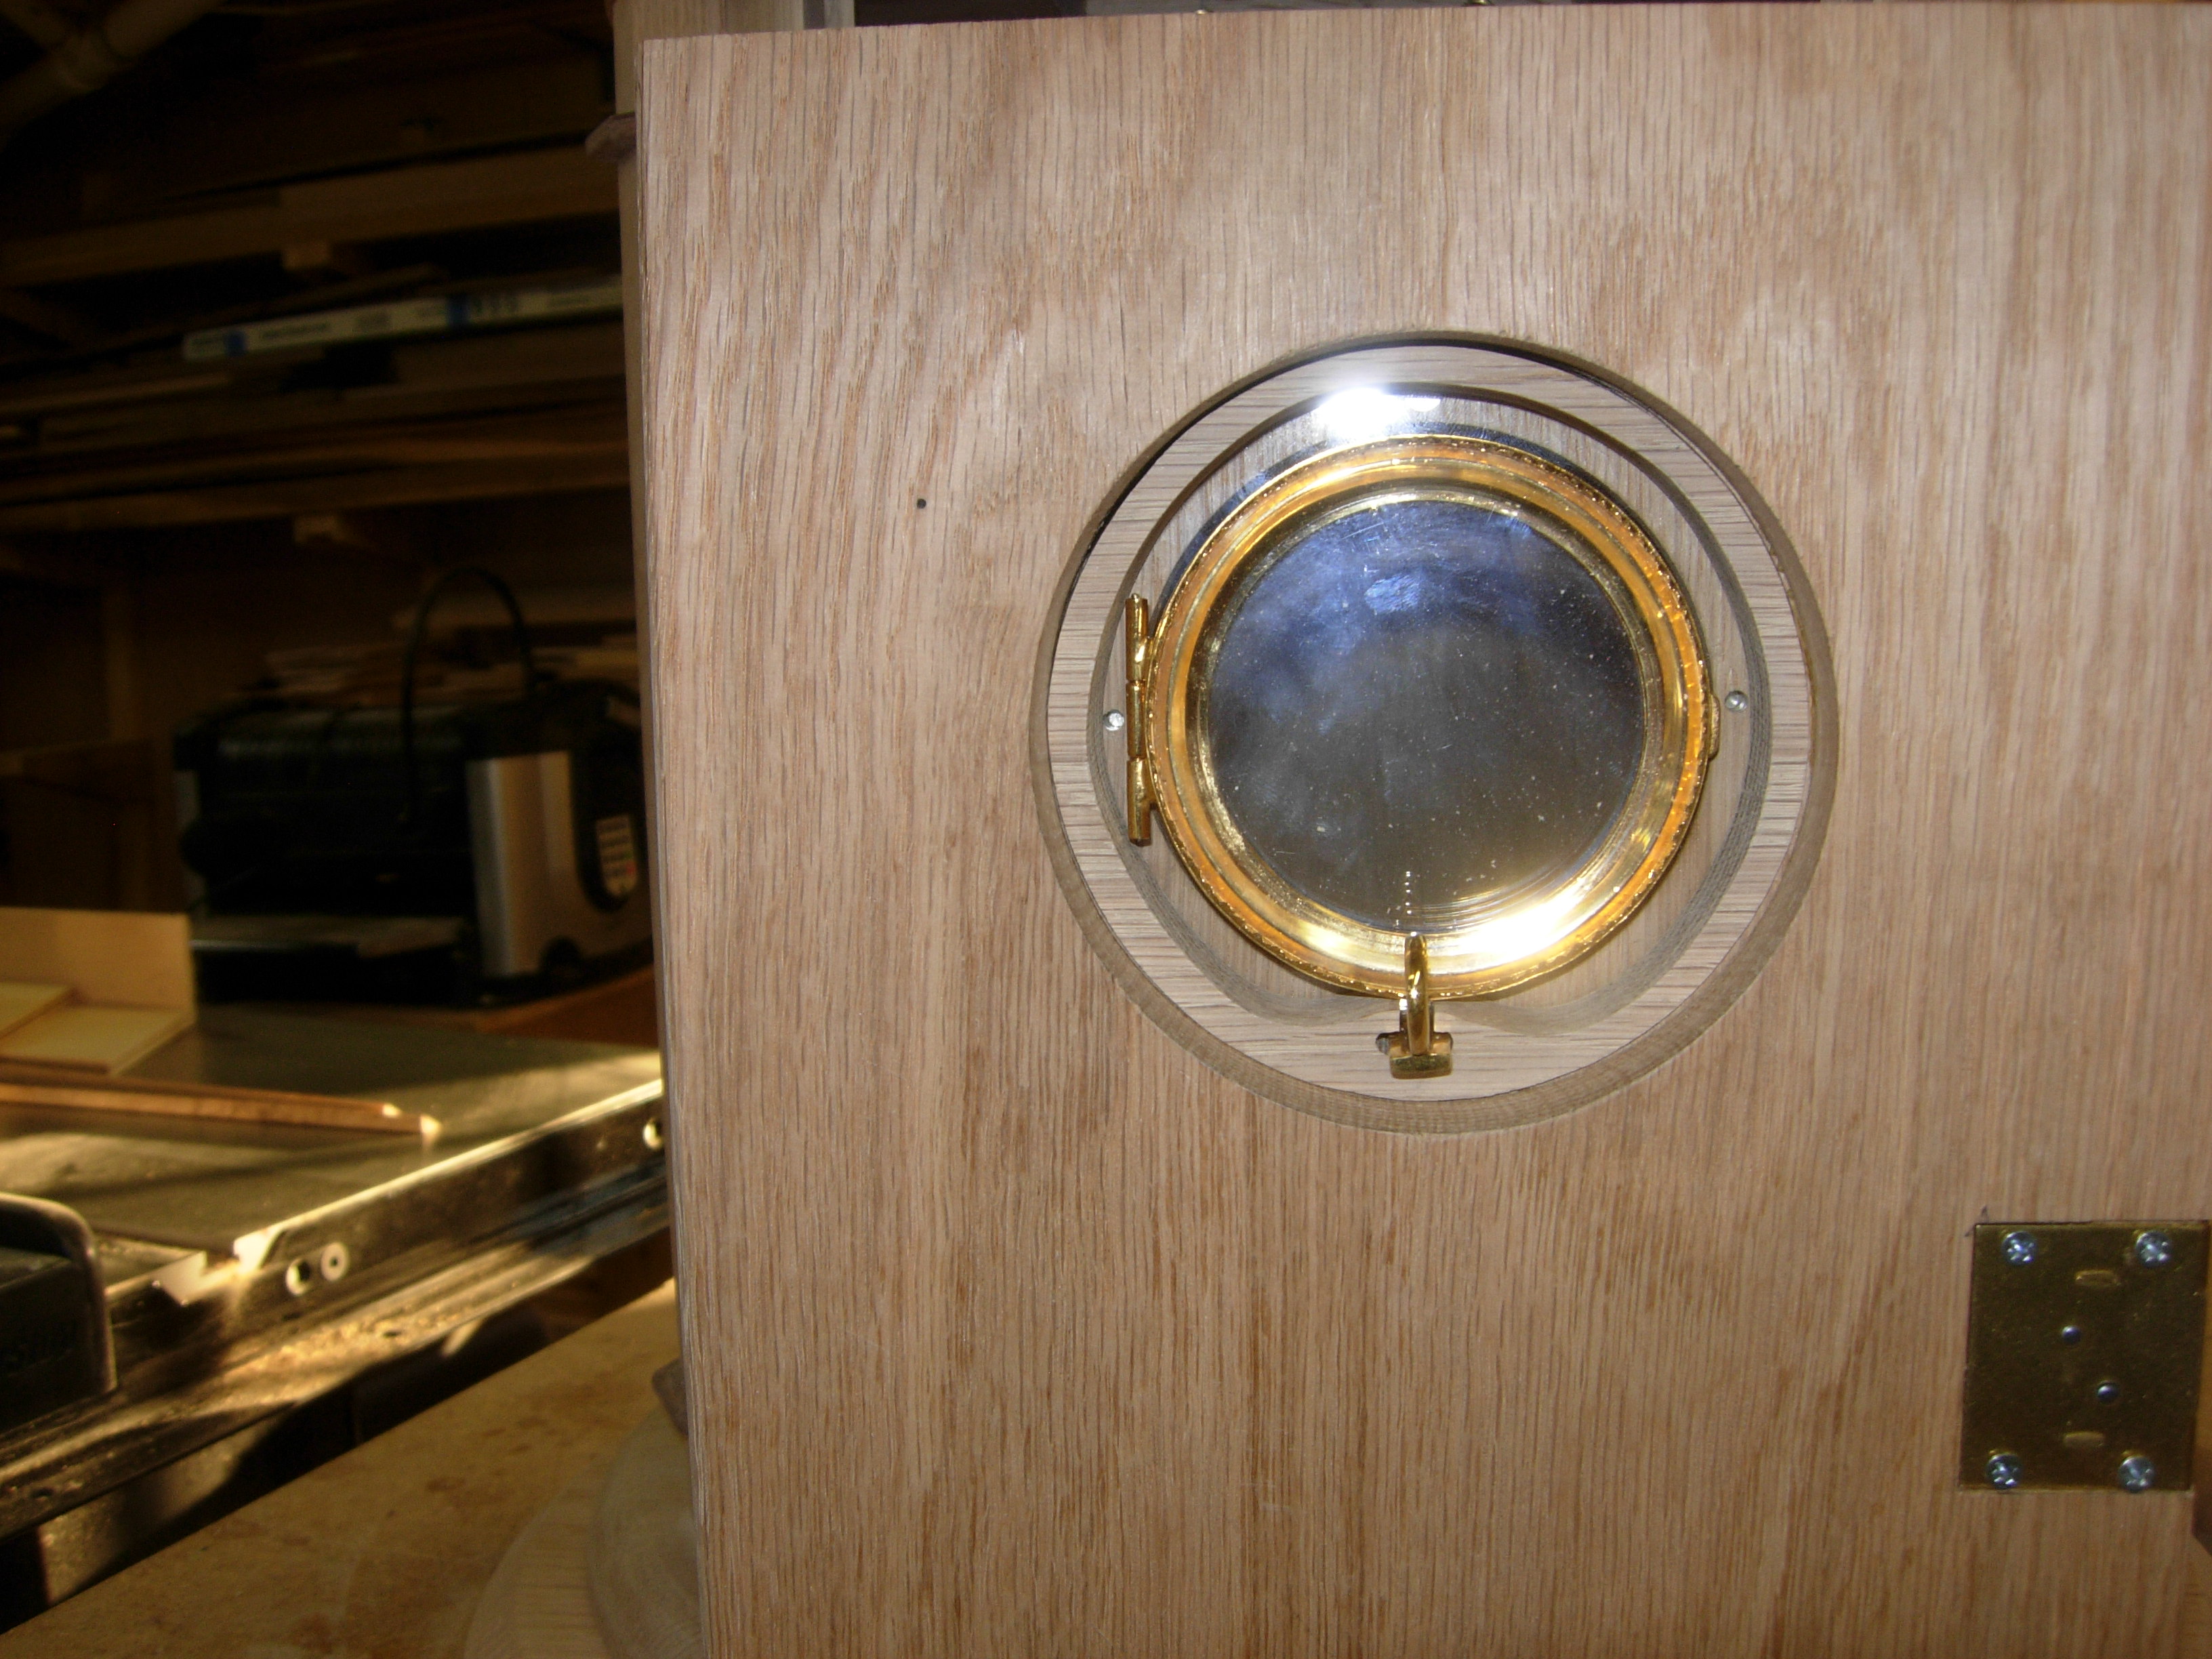
Now I needed to figure out how to hold it in place. Since the additional piece finished out flush to the inner surface of the door, I decided on adding a simple tab to it, and holding everything in place with a single screw.
Retainer installed
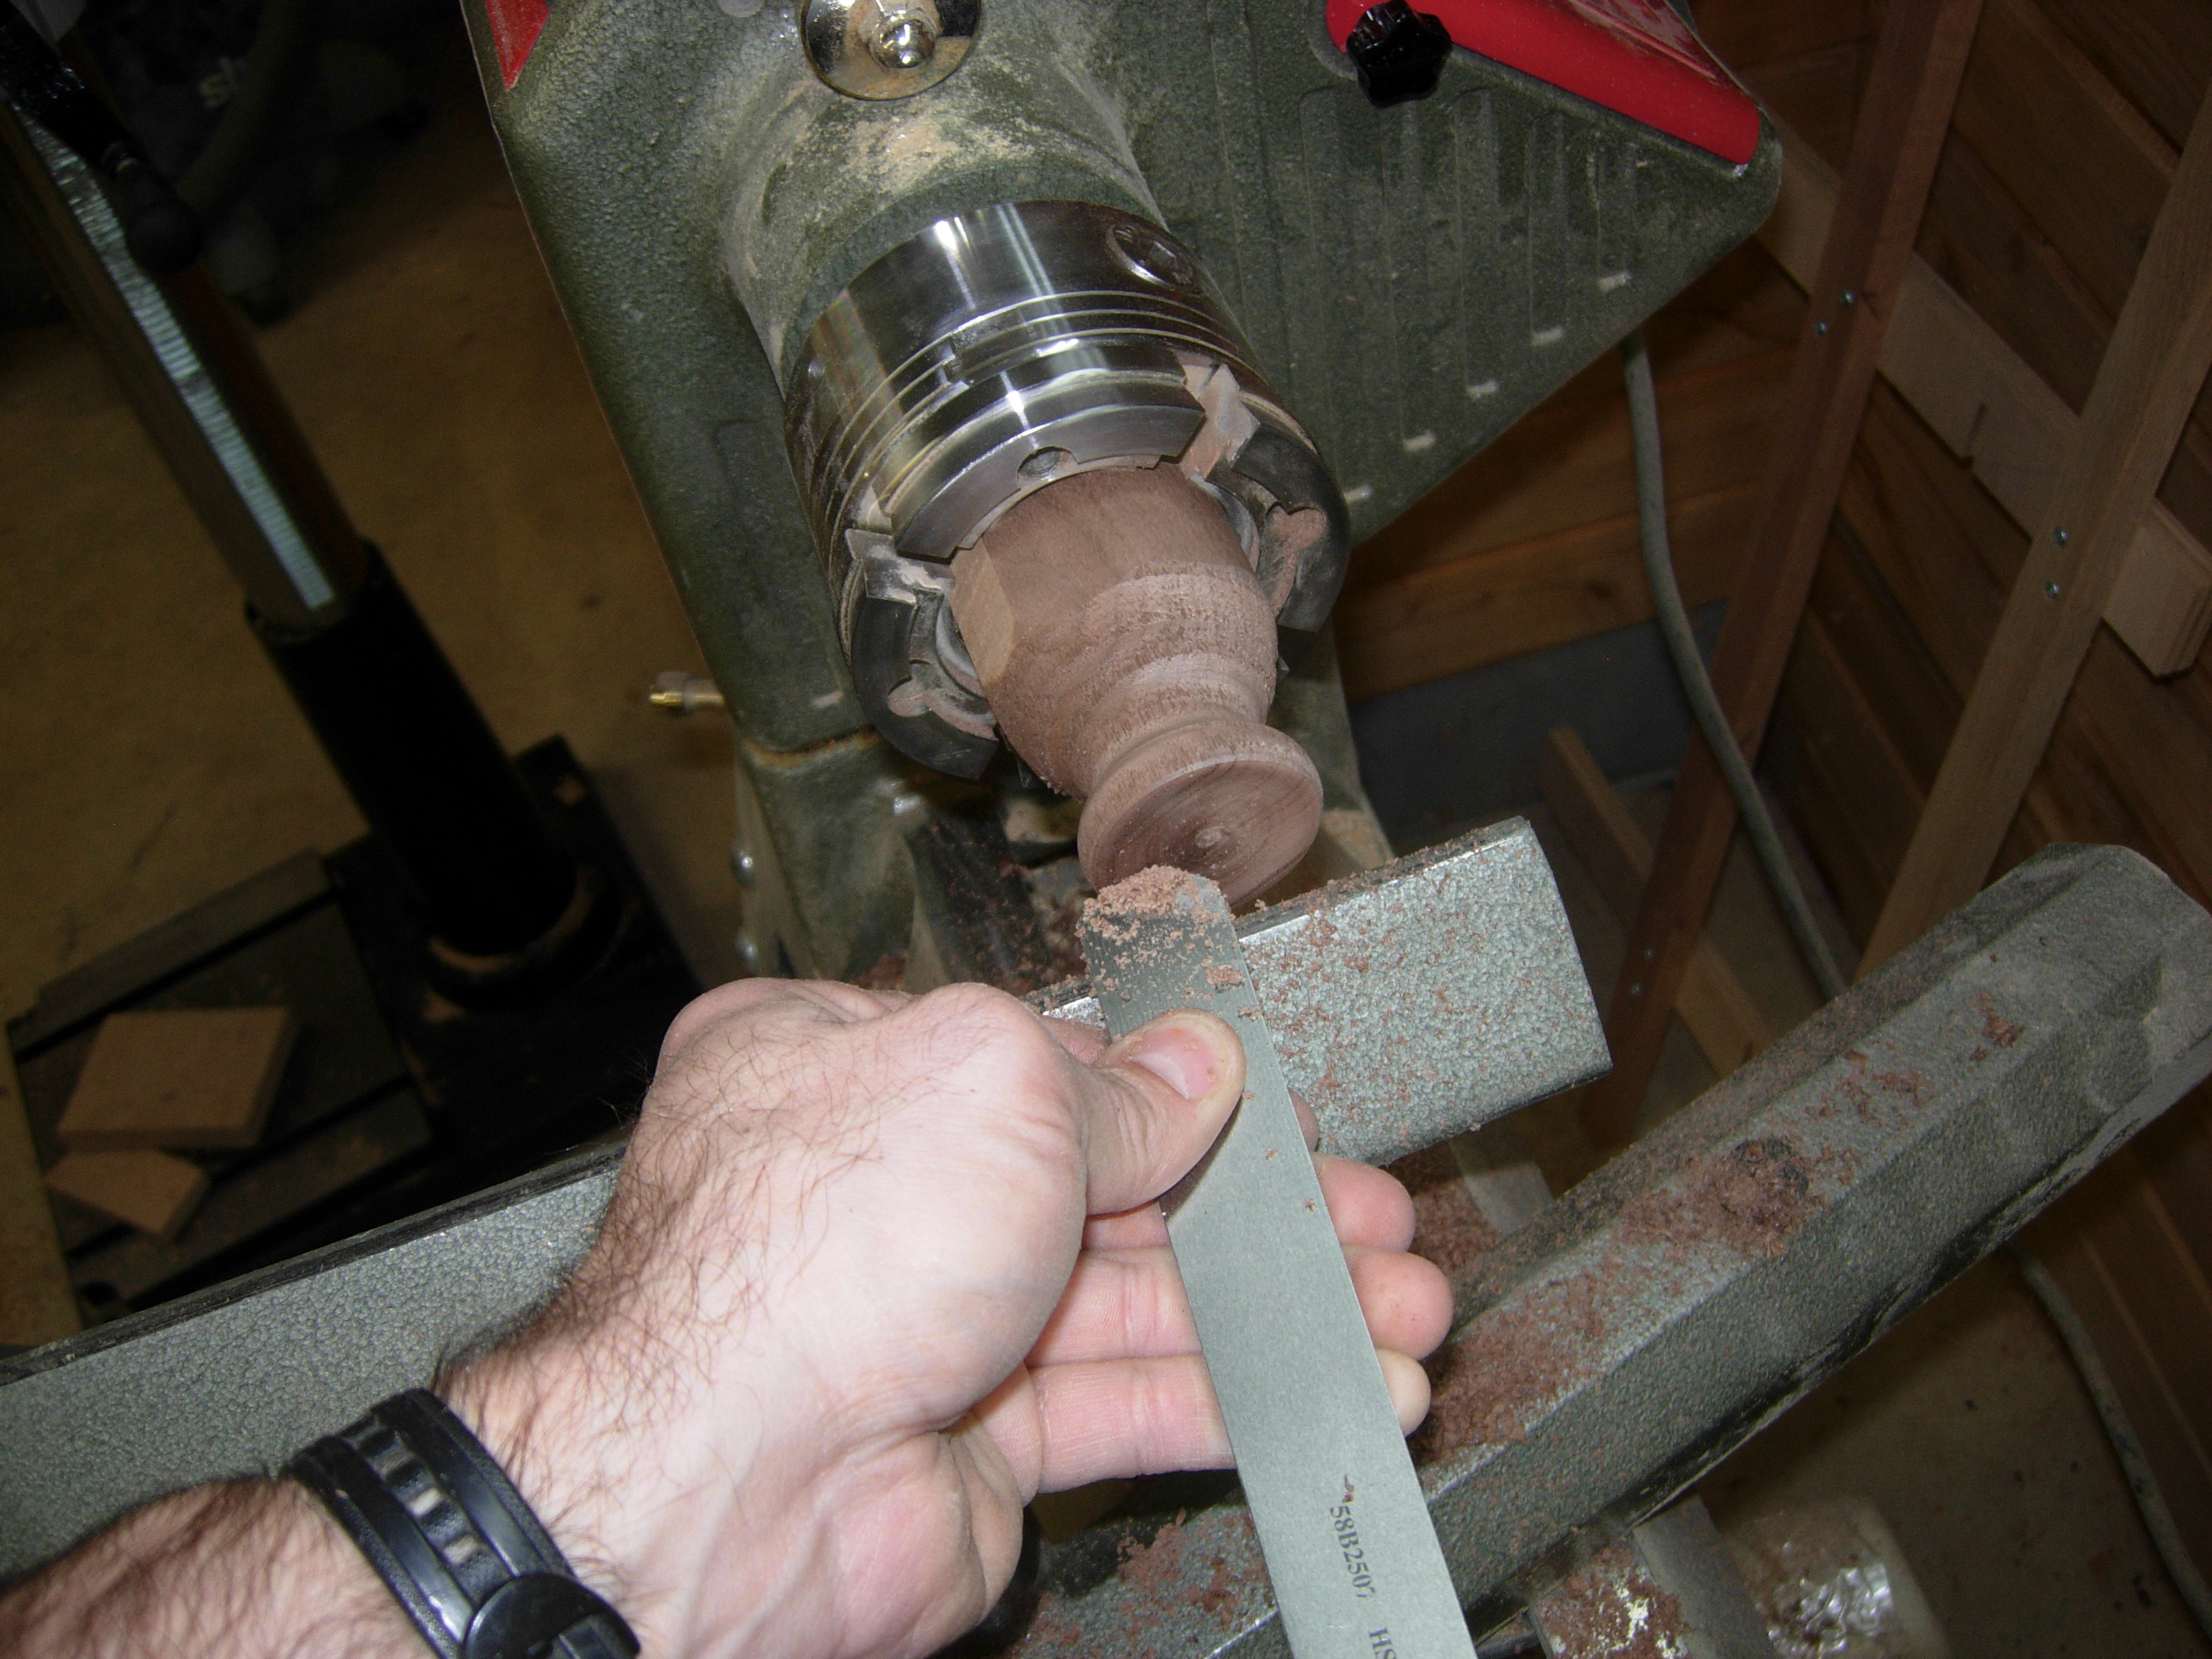
Cutting a finial on the lathe
The next detail was the top of the tabernacle. I intend to mount a small cross, but I wanted a finial made of walnut to break up the oak and match the walnut trim elsewhere on the tabernacle. I chucked up a scrap chunk of walnut in the lathe, and just started cutting until a shape I liked started to emerge. I dished out the bottom to match the top of the dome to give me plenty of glue surface.
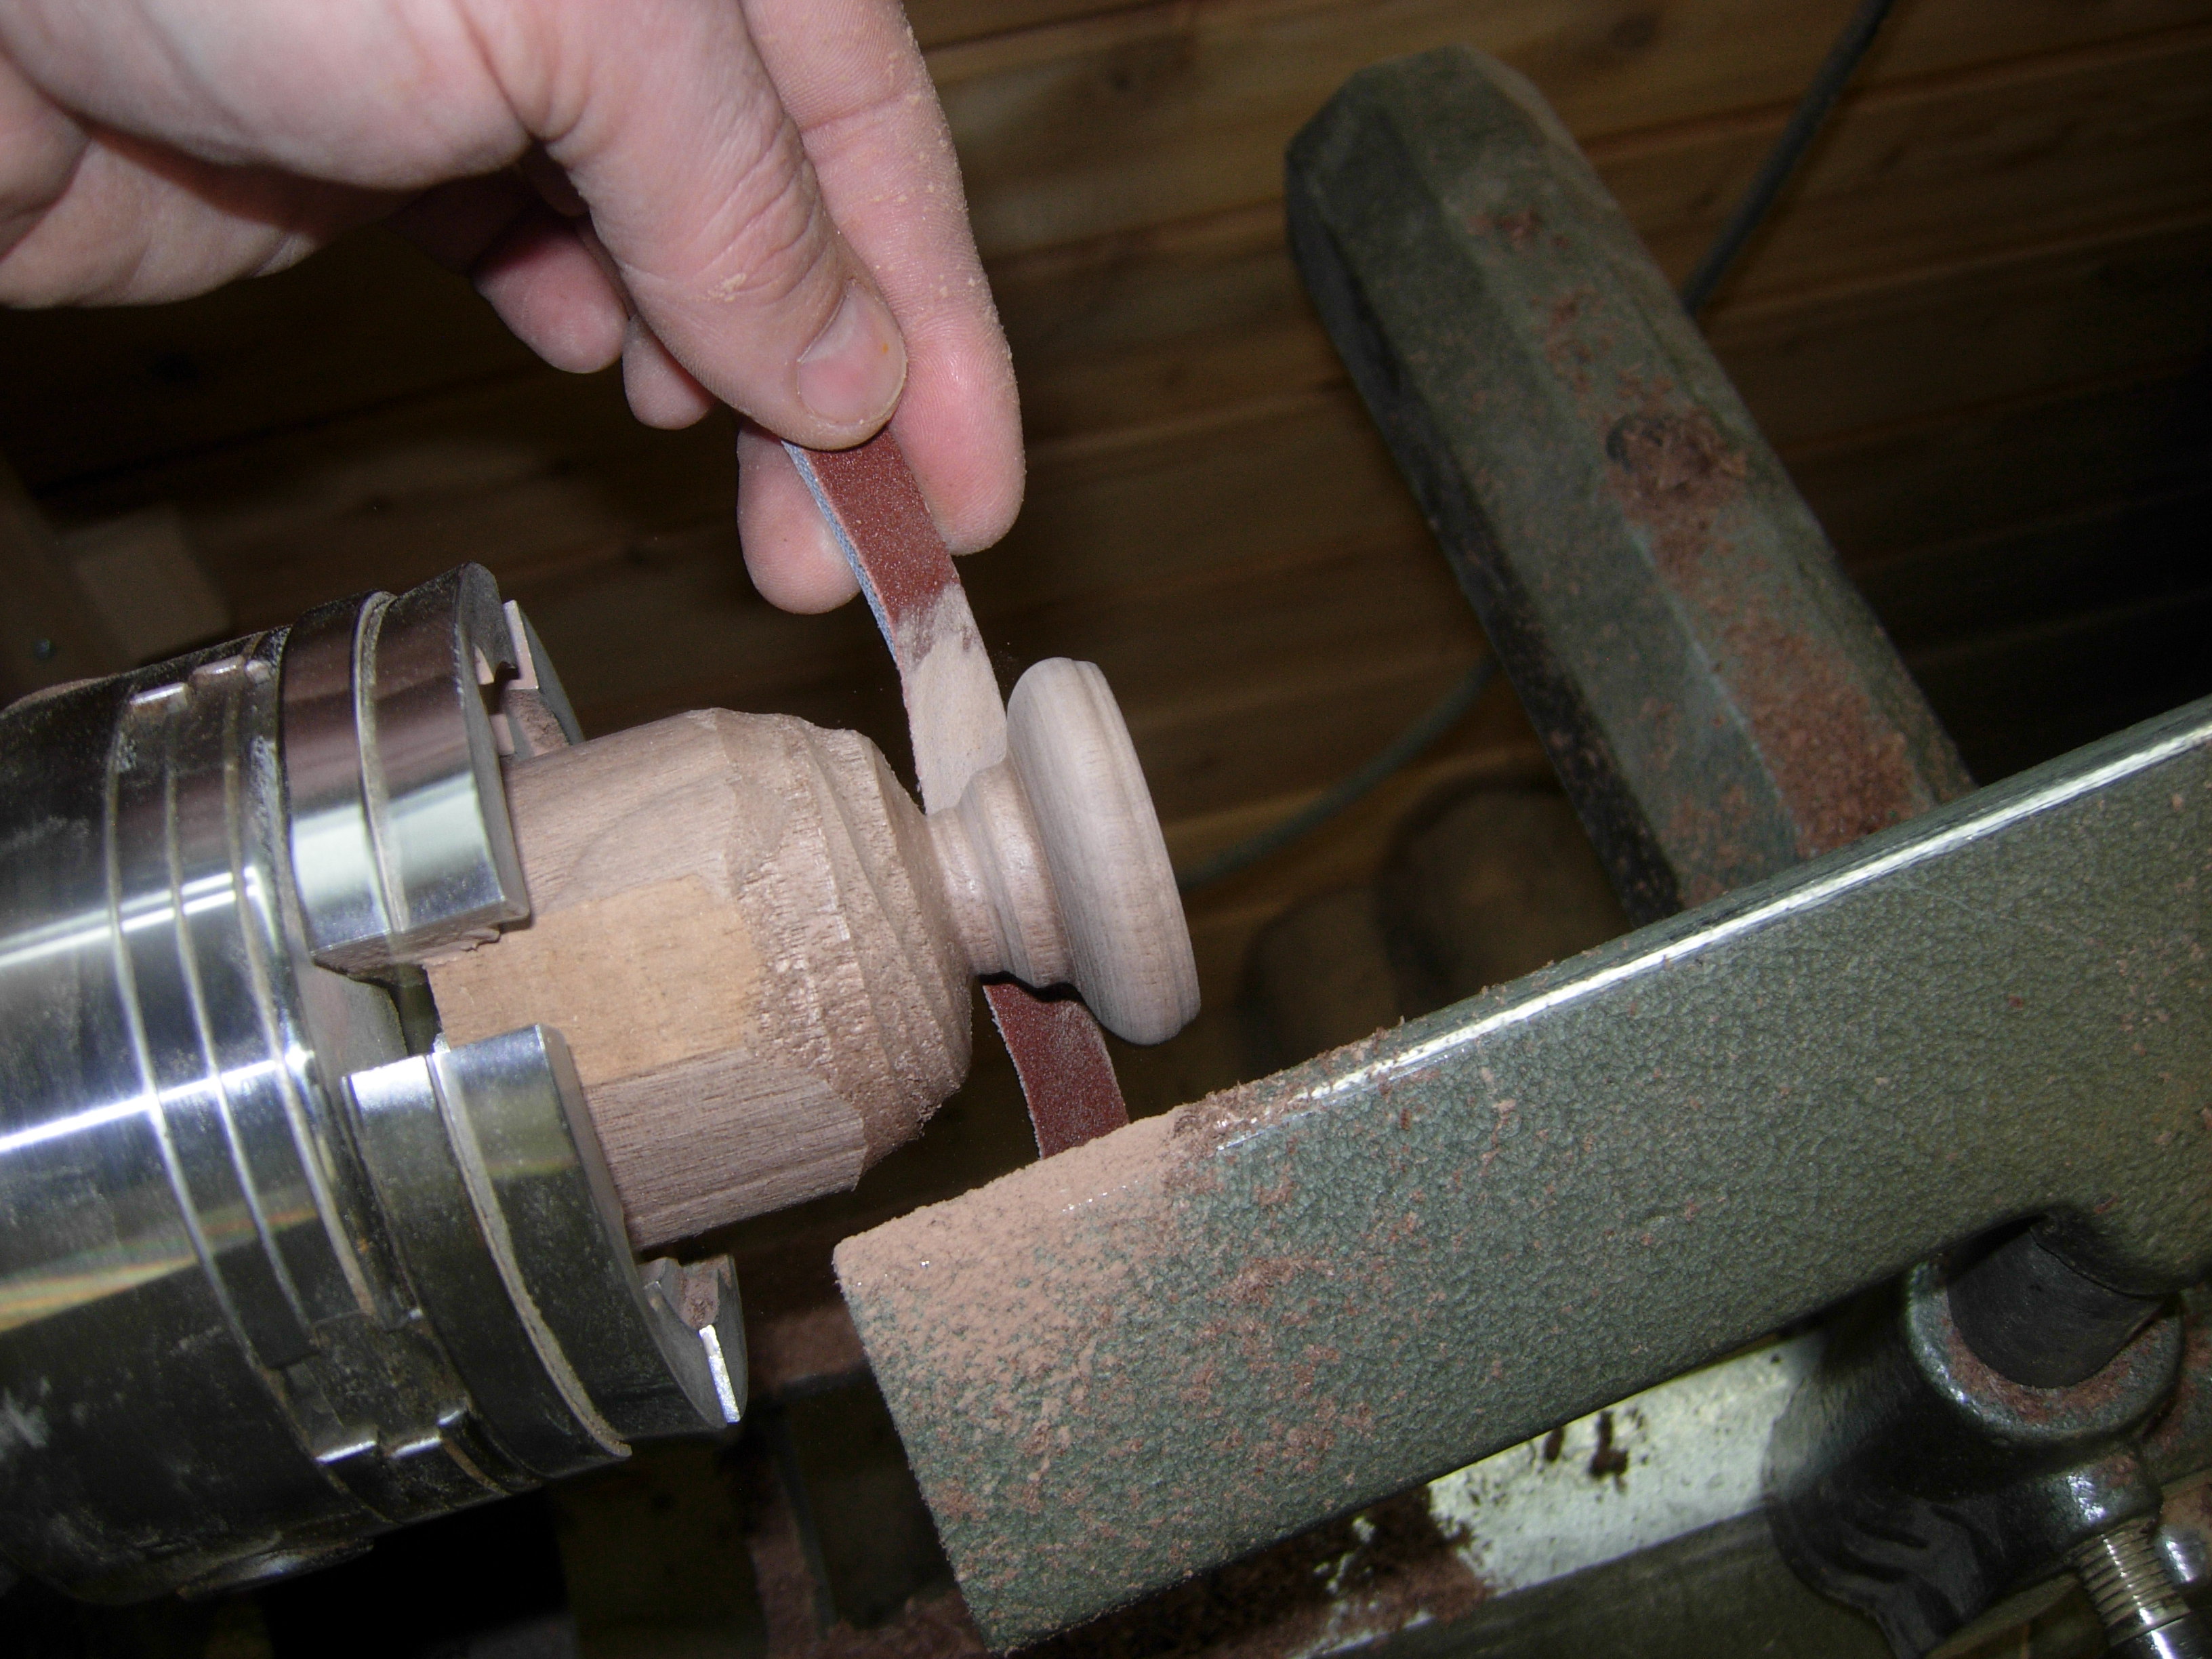
Shaping and sanding
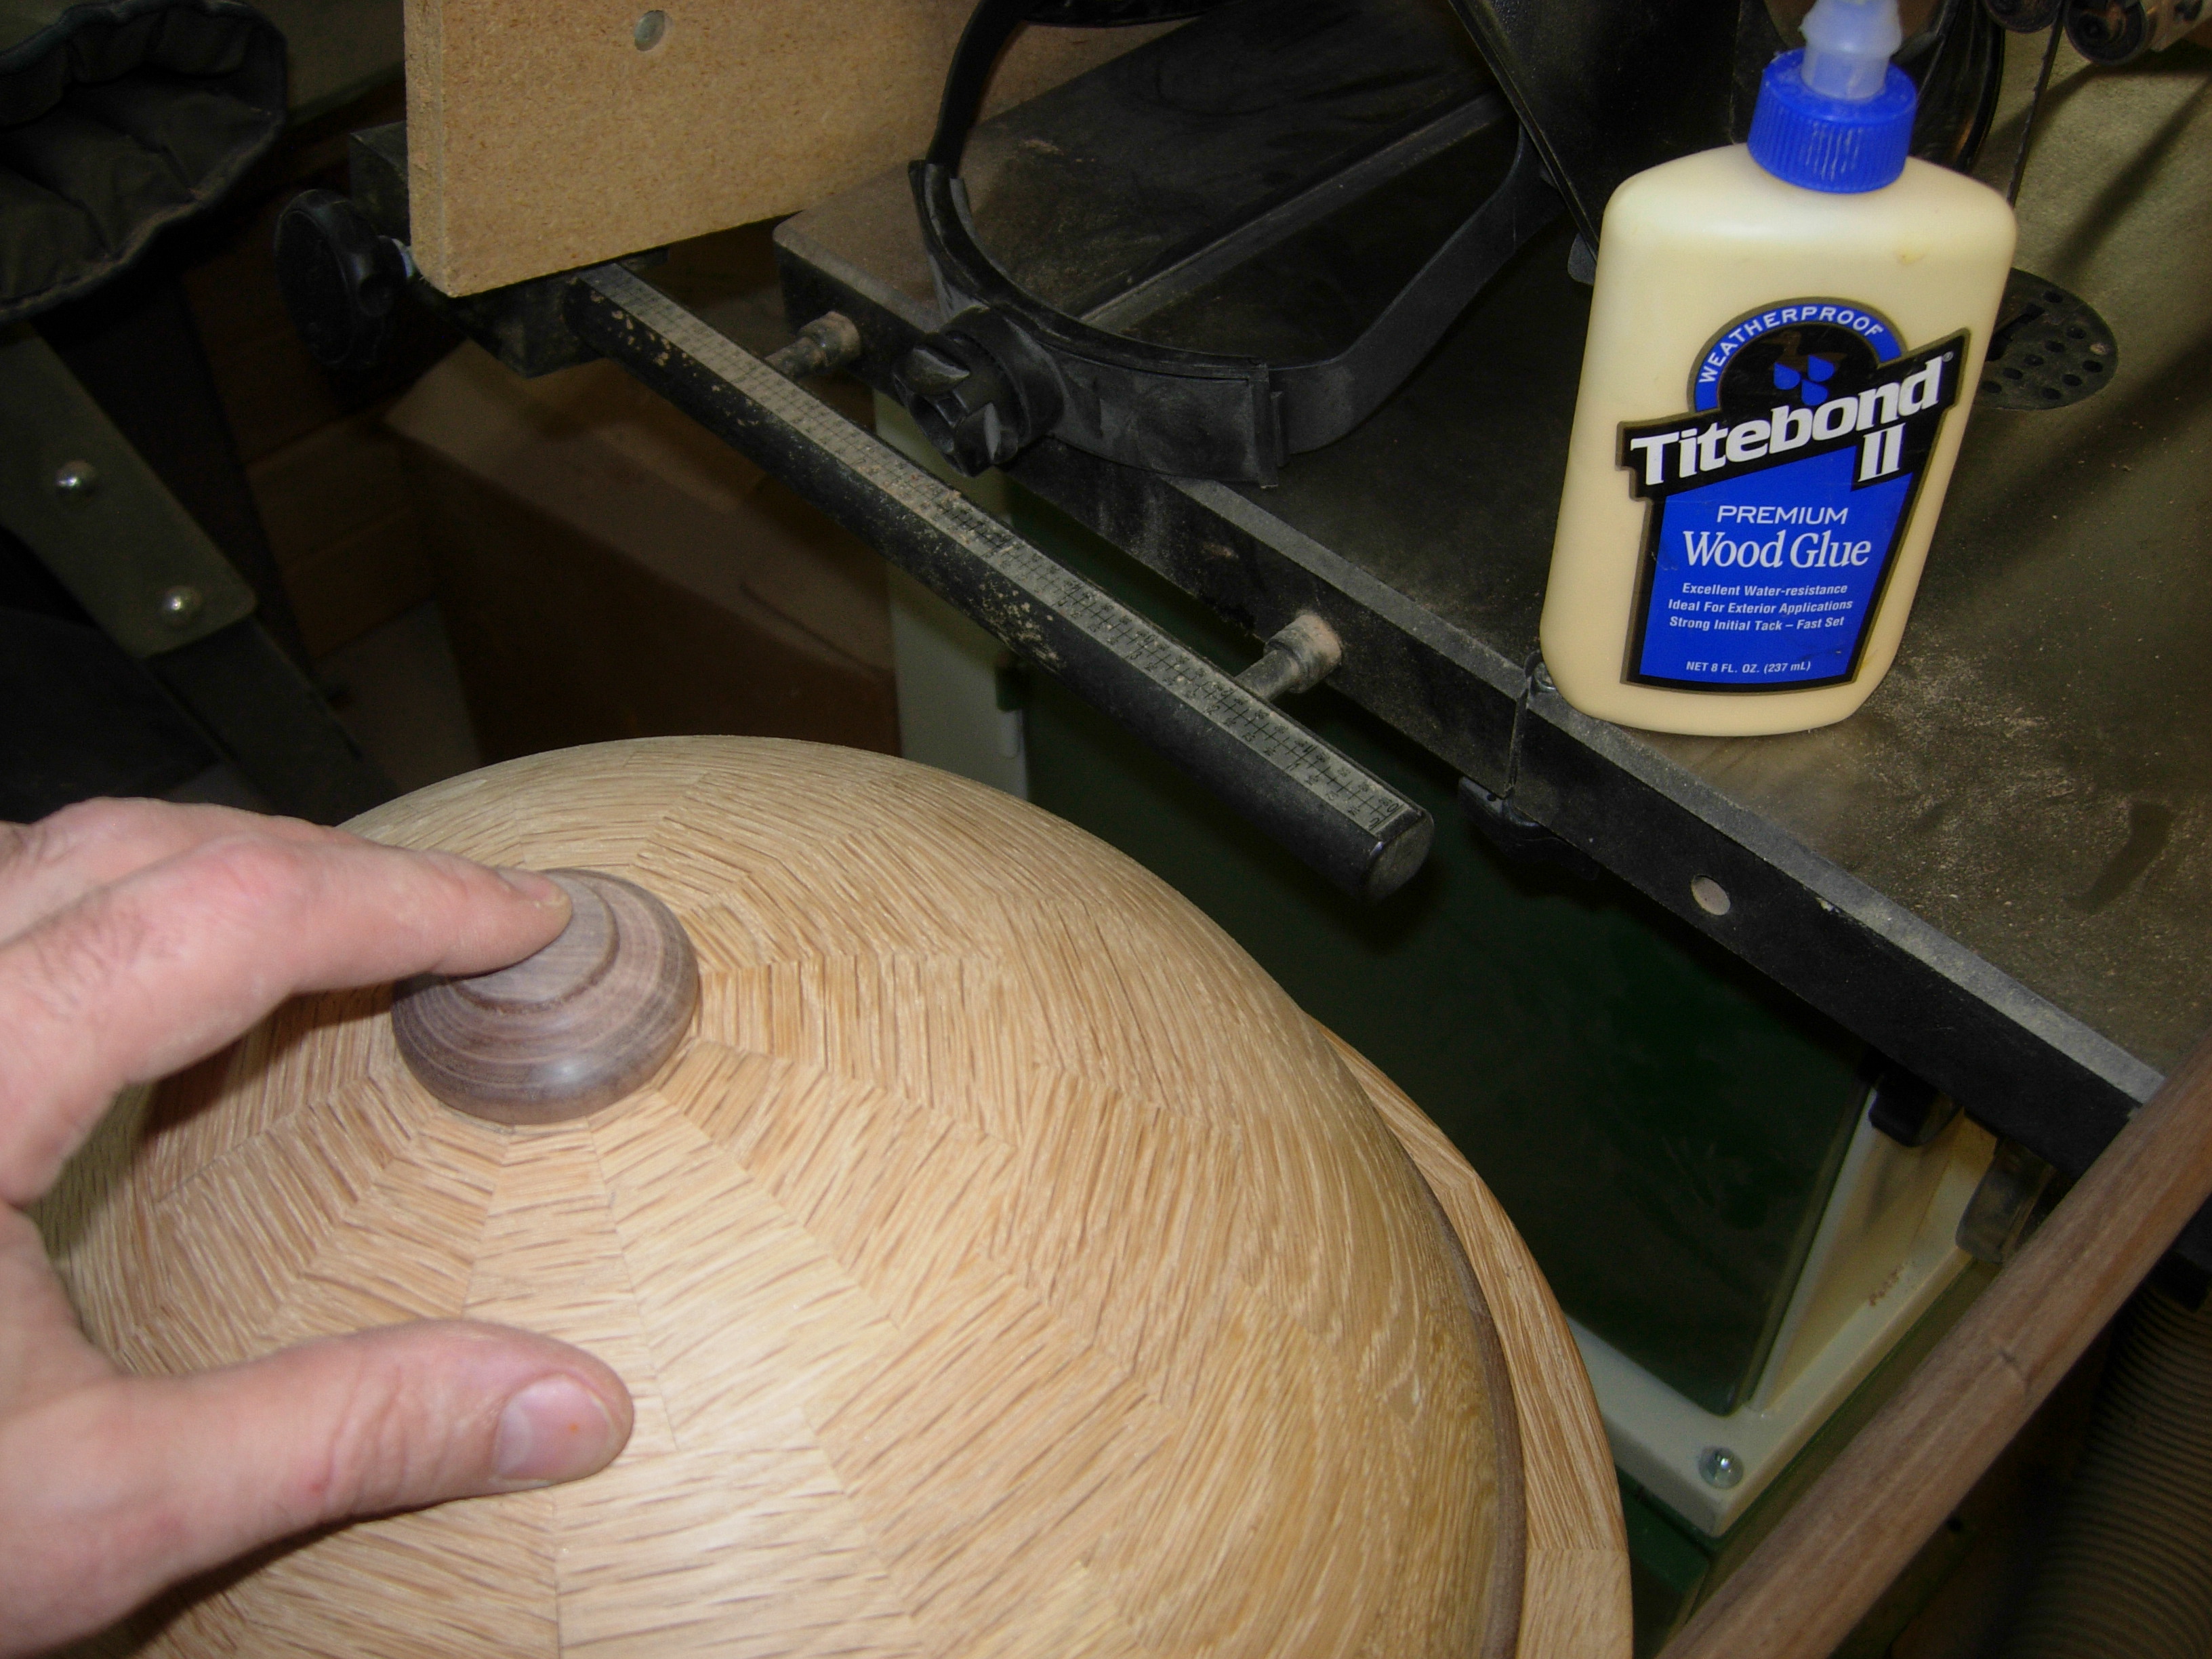
Glueing the finial in place
After glueing the finial in place, I found a piece of walnut, in the scrap pile, and planed it down to 3/8″ square.
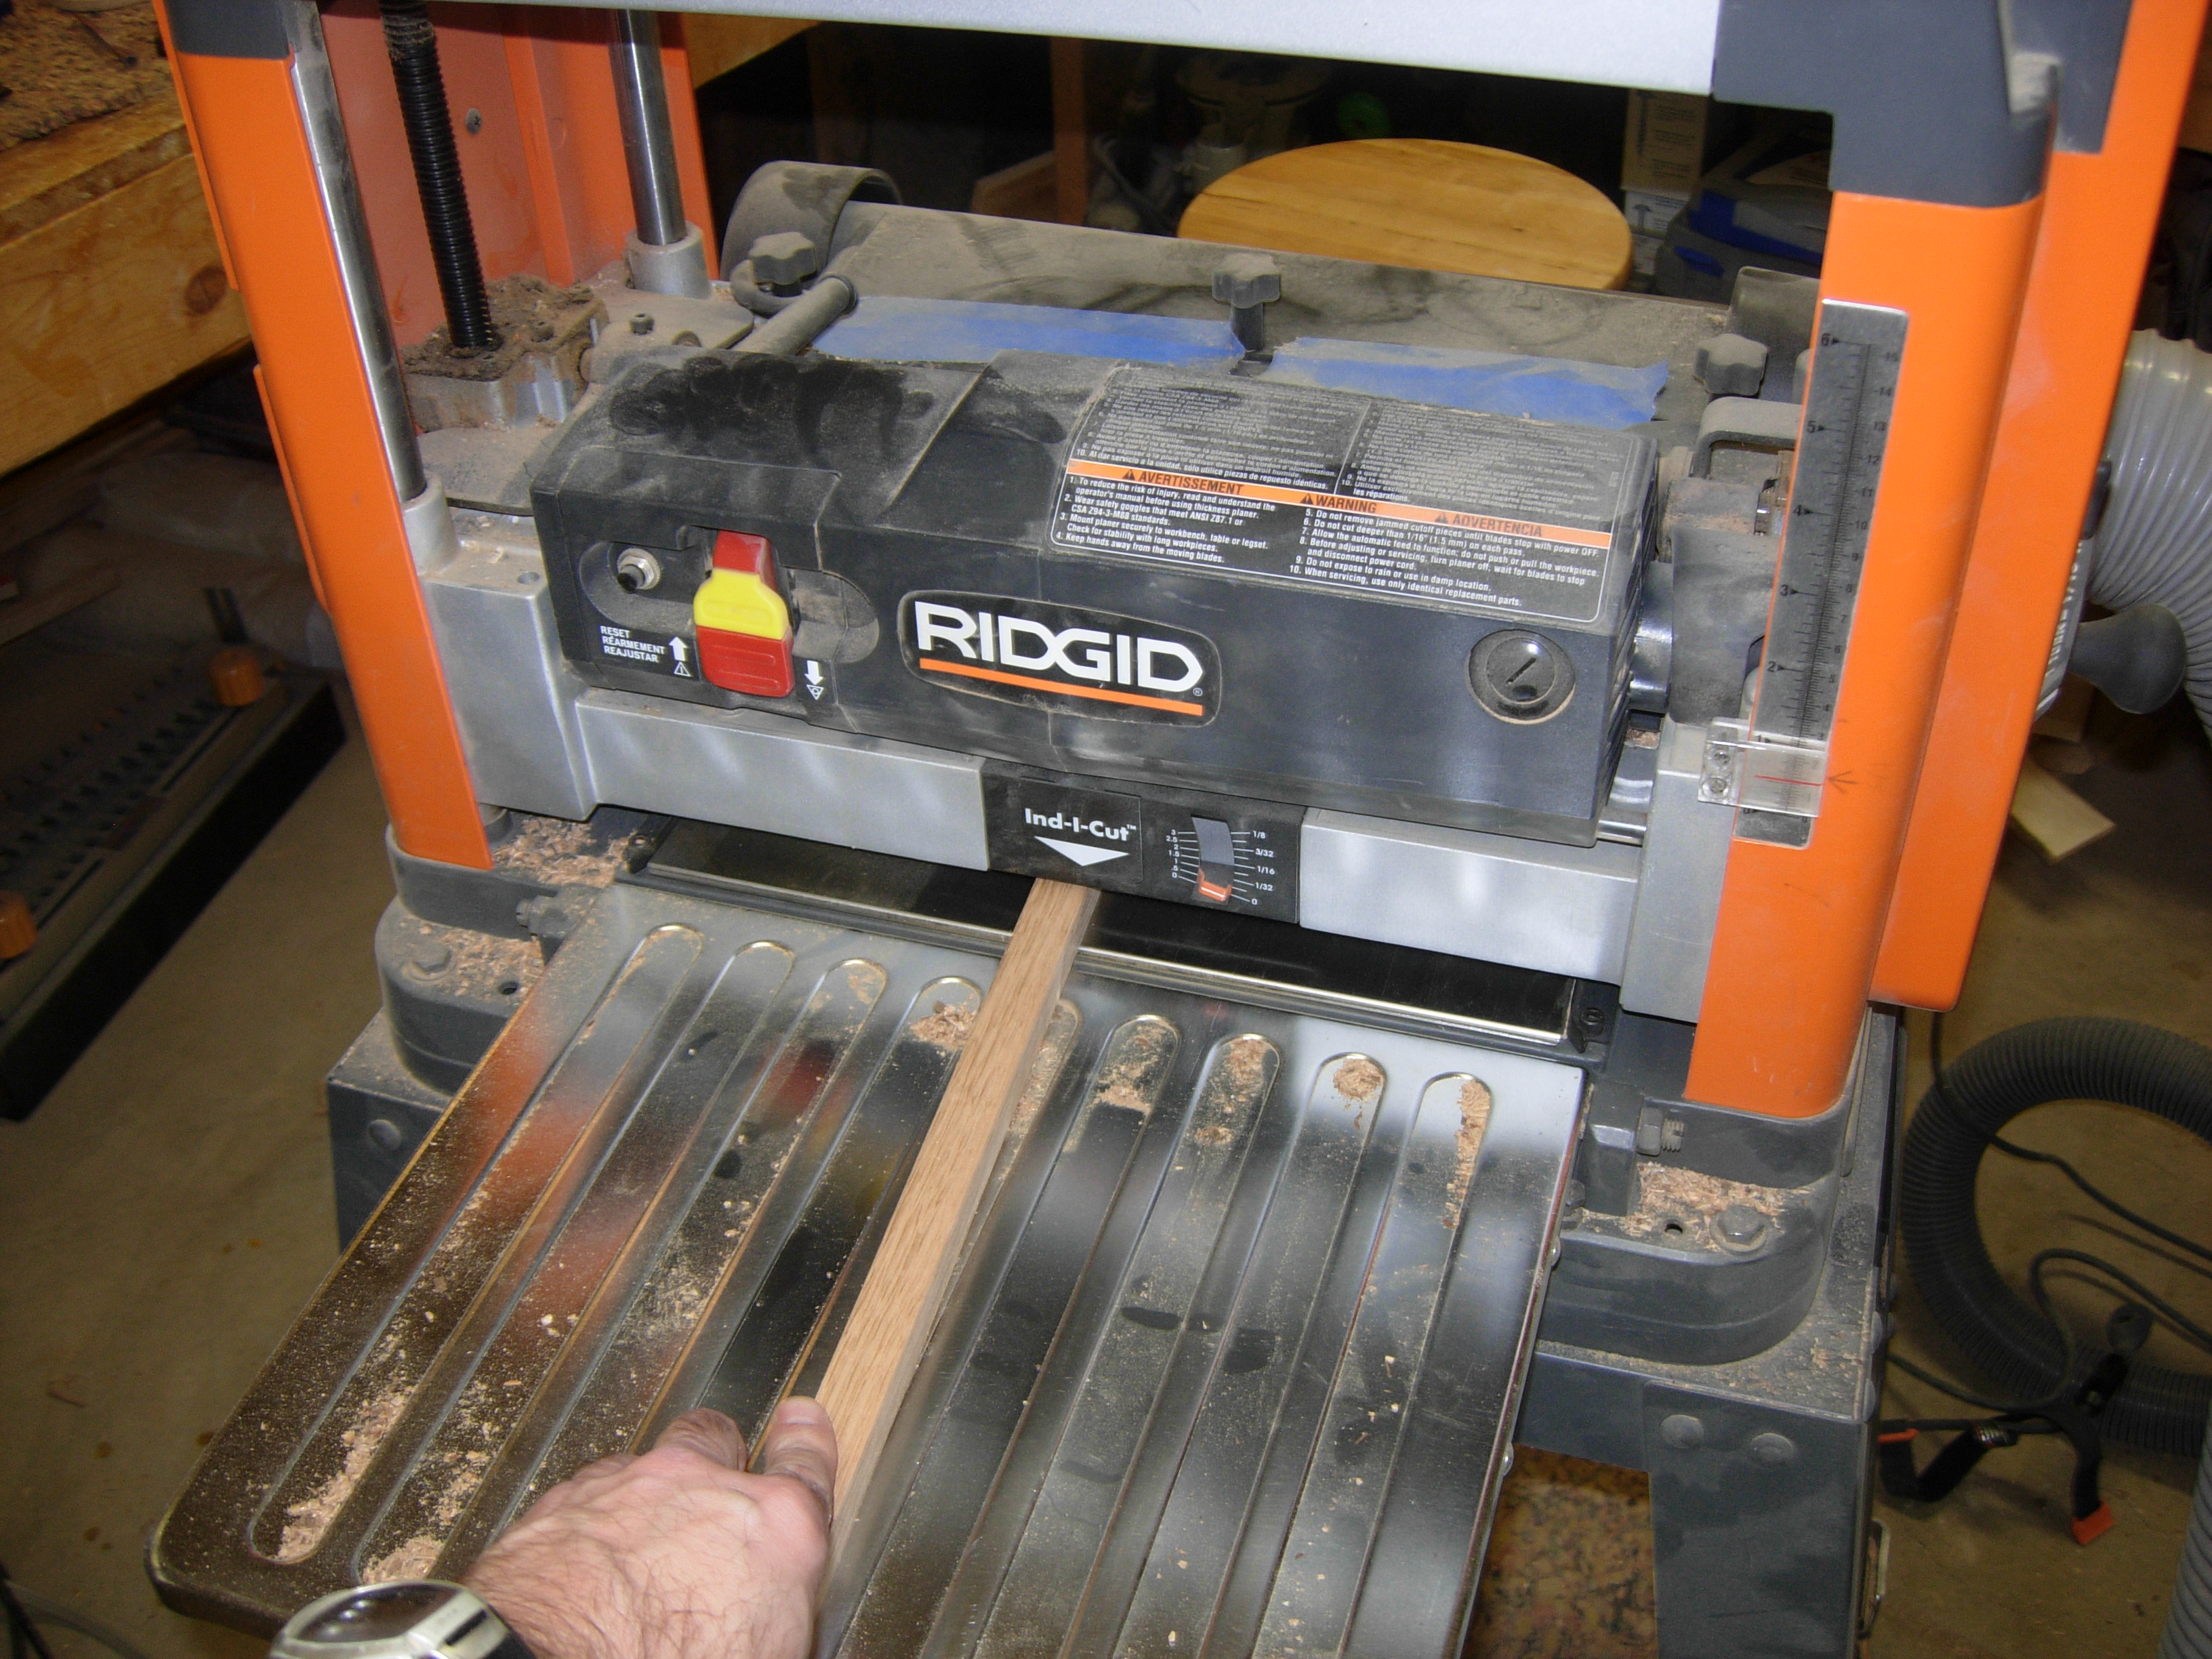
Planing down a scrap for the cross
Now I have to either mortise a square hole to insert the cross, or make the base of the cross round. An idea came to me while I was trying to figure out how to round the end. Dropping the 3/8″ stick through the center hole of my drill press, I locked it squarely in my small vise, then bolted it in place, centered under the chuck. I grabbed my 3/8″ plug cutter, and ran it down the end of the cross. After a little sanding, I had a perfectly round, 1″ long dowel on the bottom of my 3/8″ square stick.
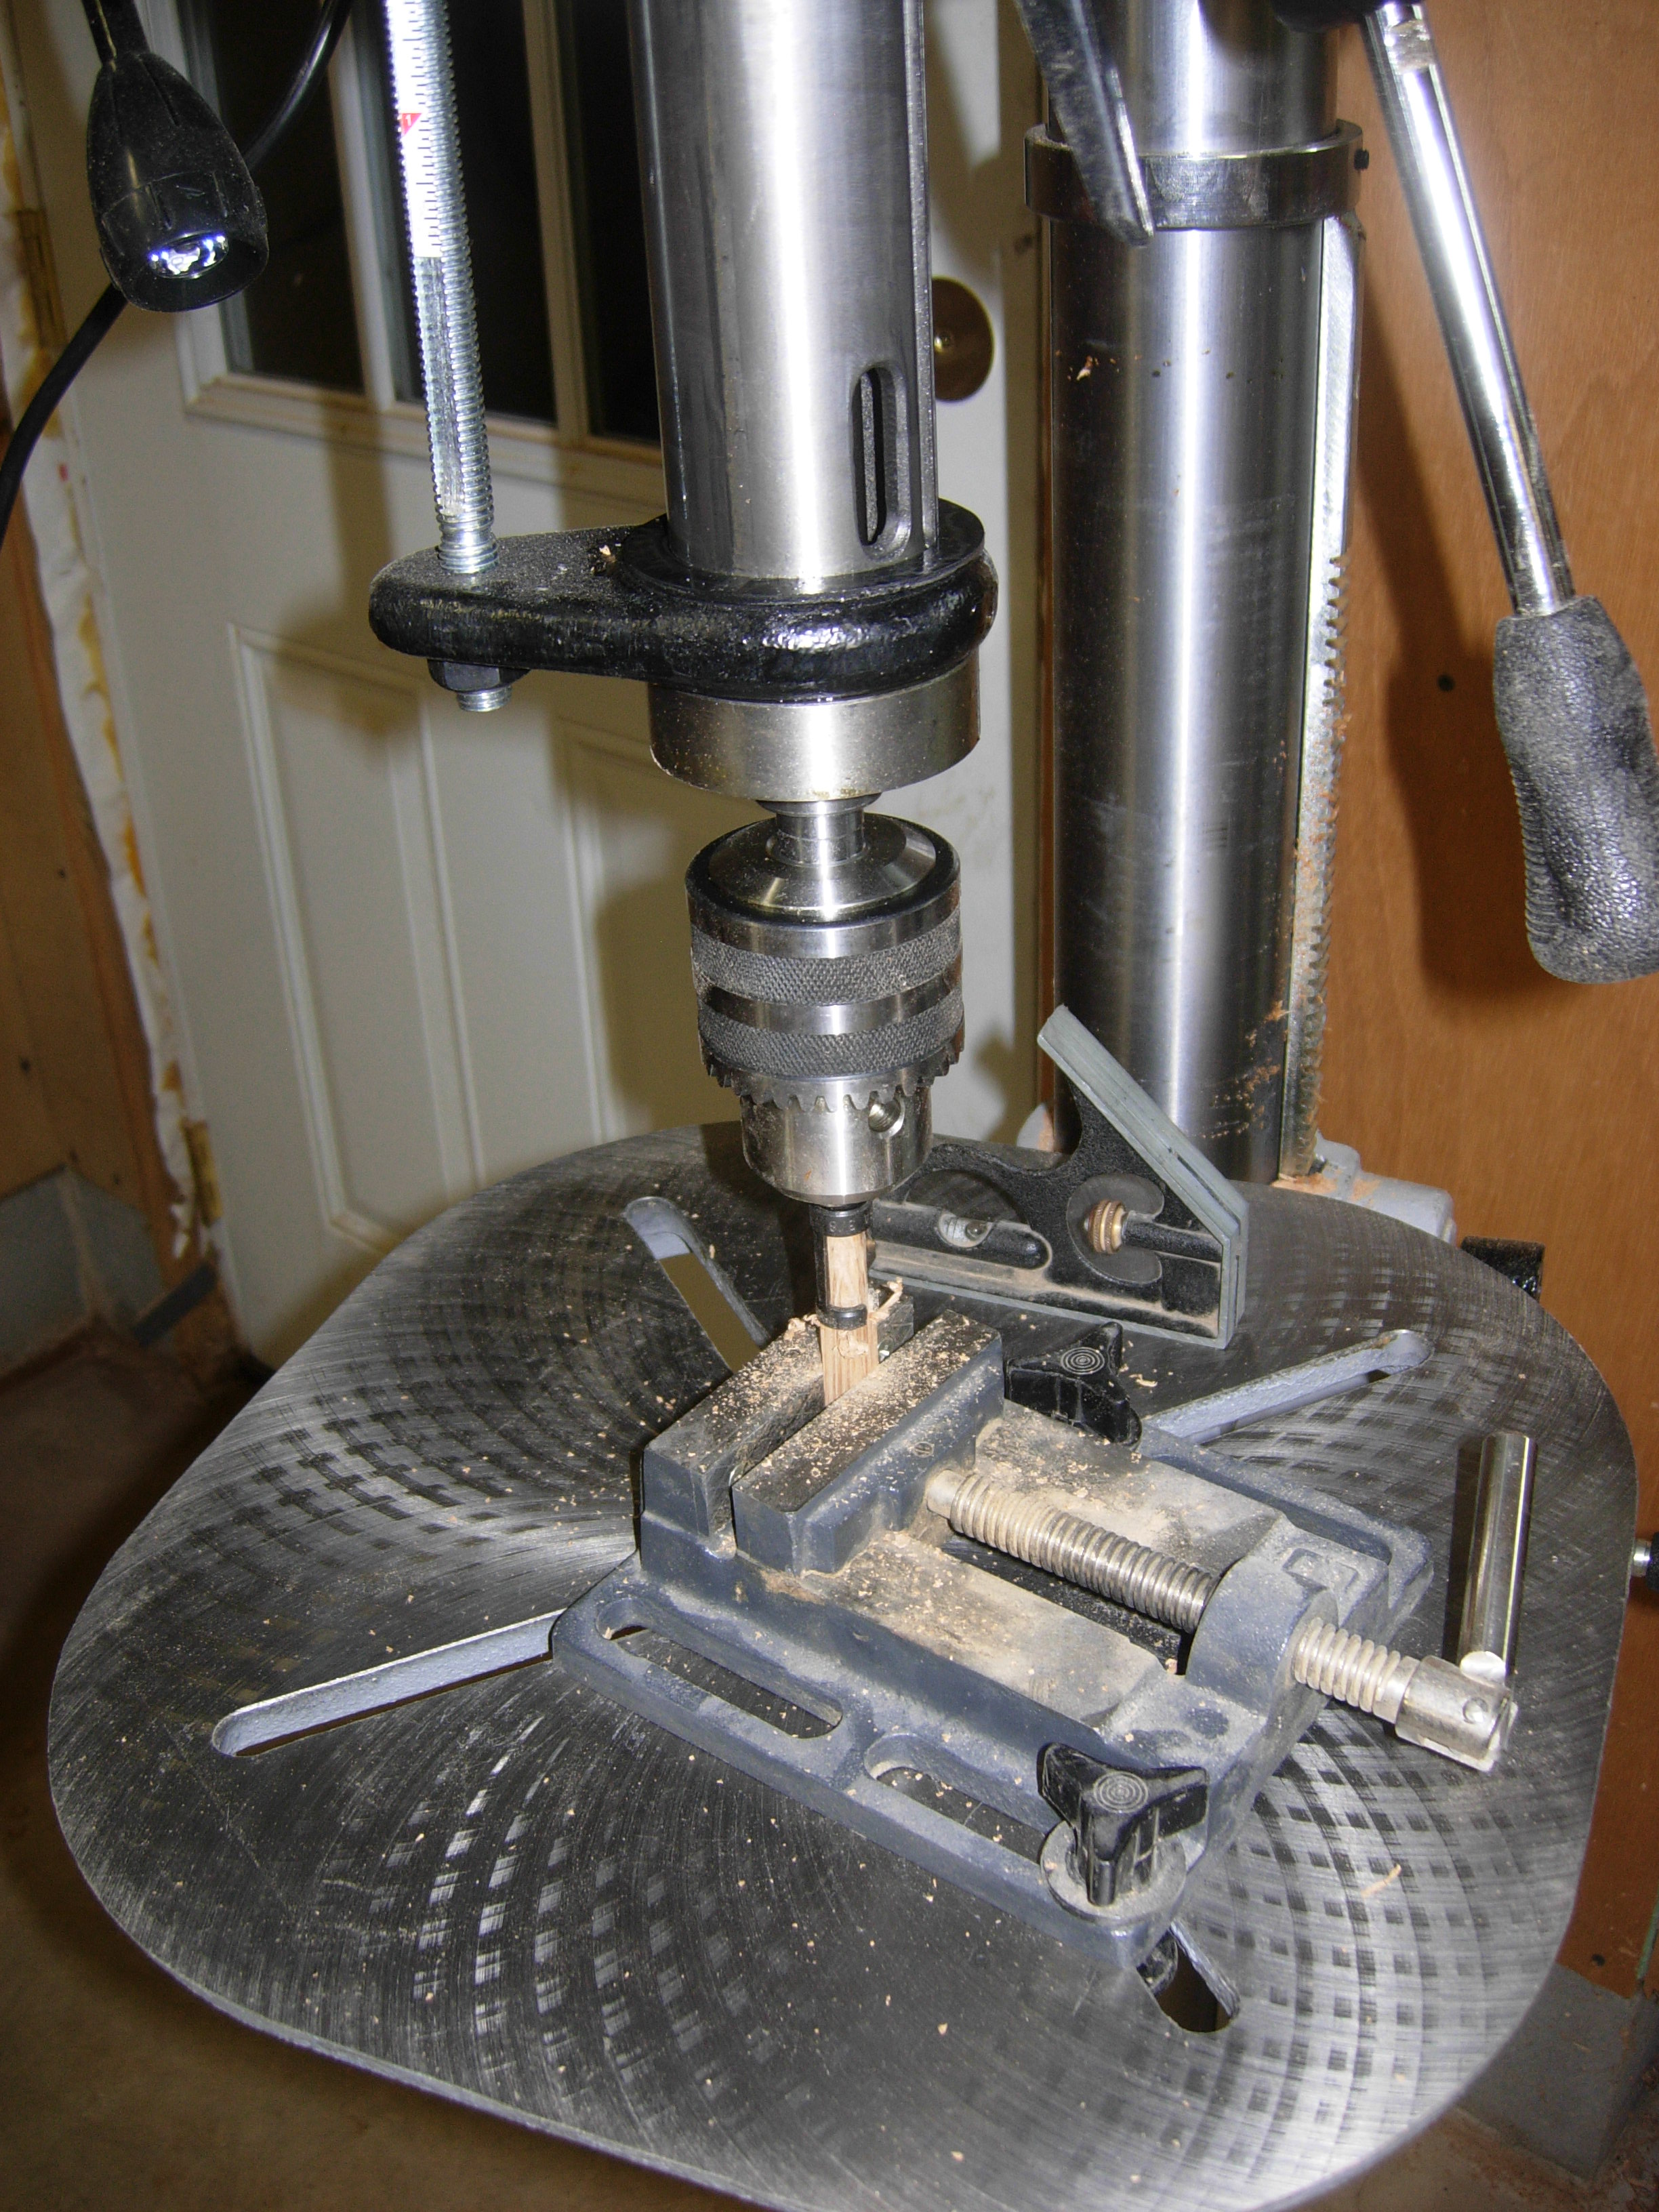
Making one end round
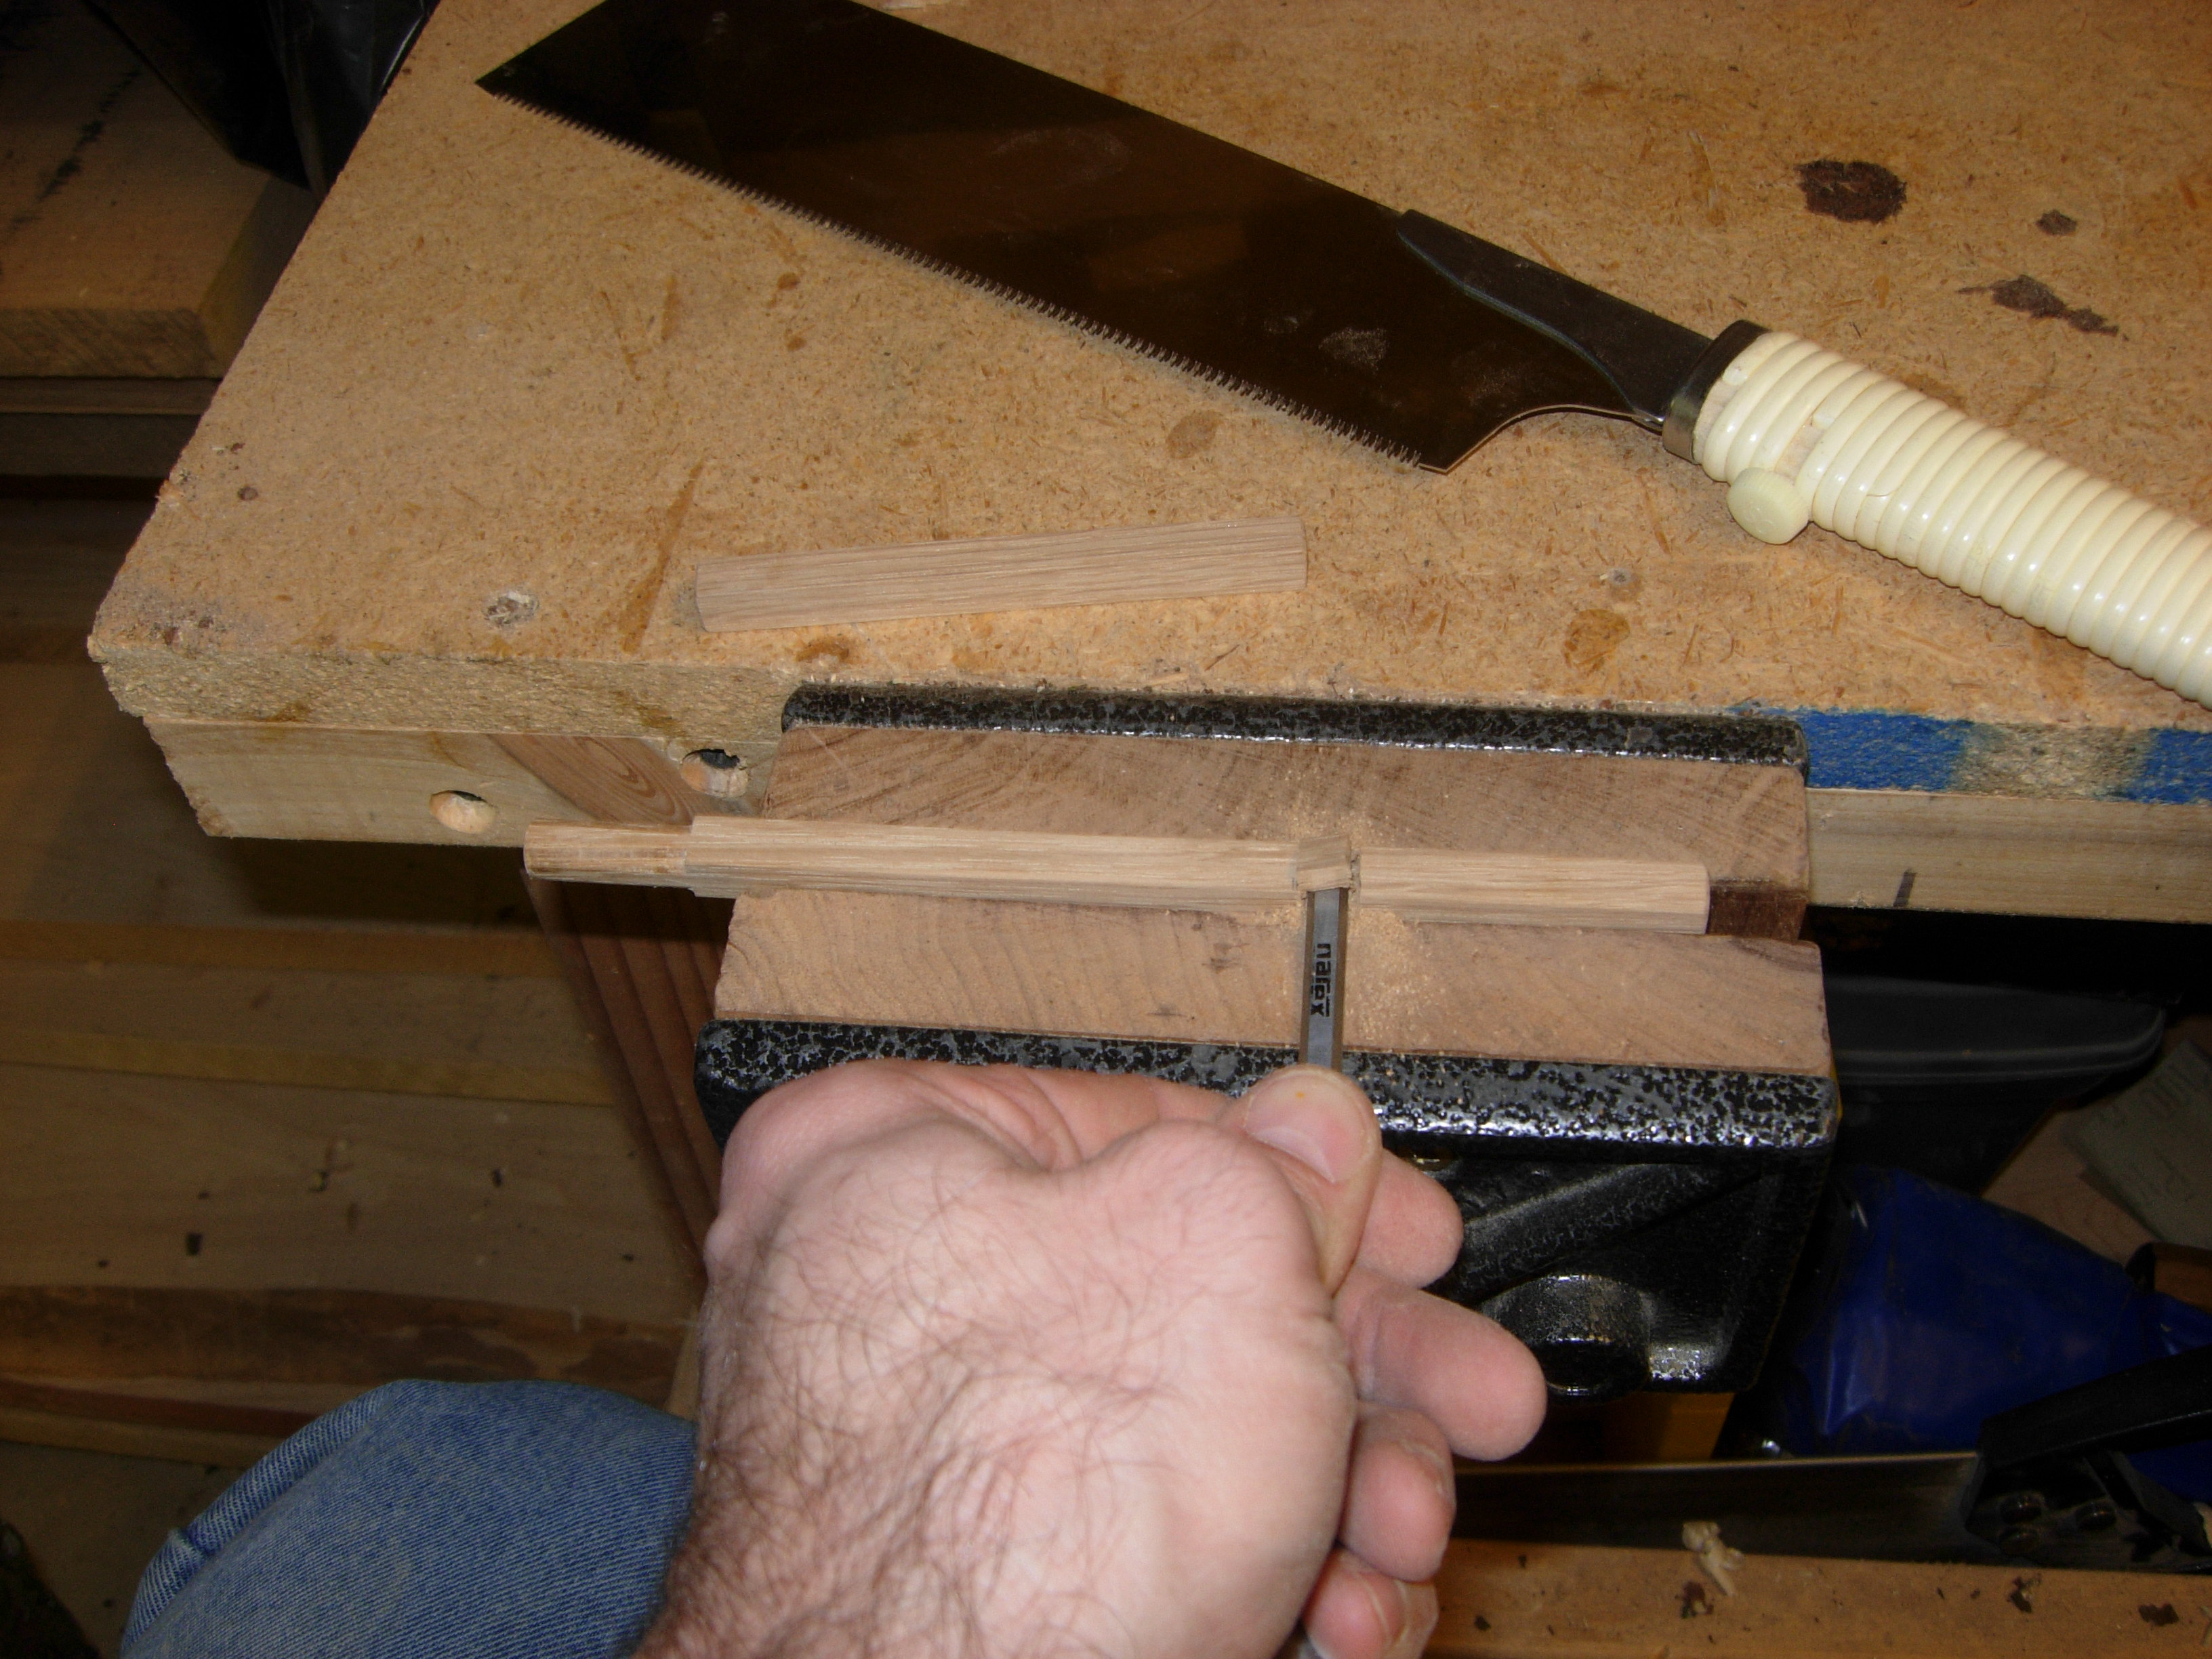
Cutting out a notch
The last step was to cut a notch half way through both pieces of the cross and glue them together.

Cross glued up
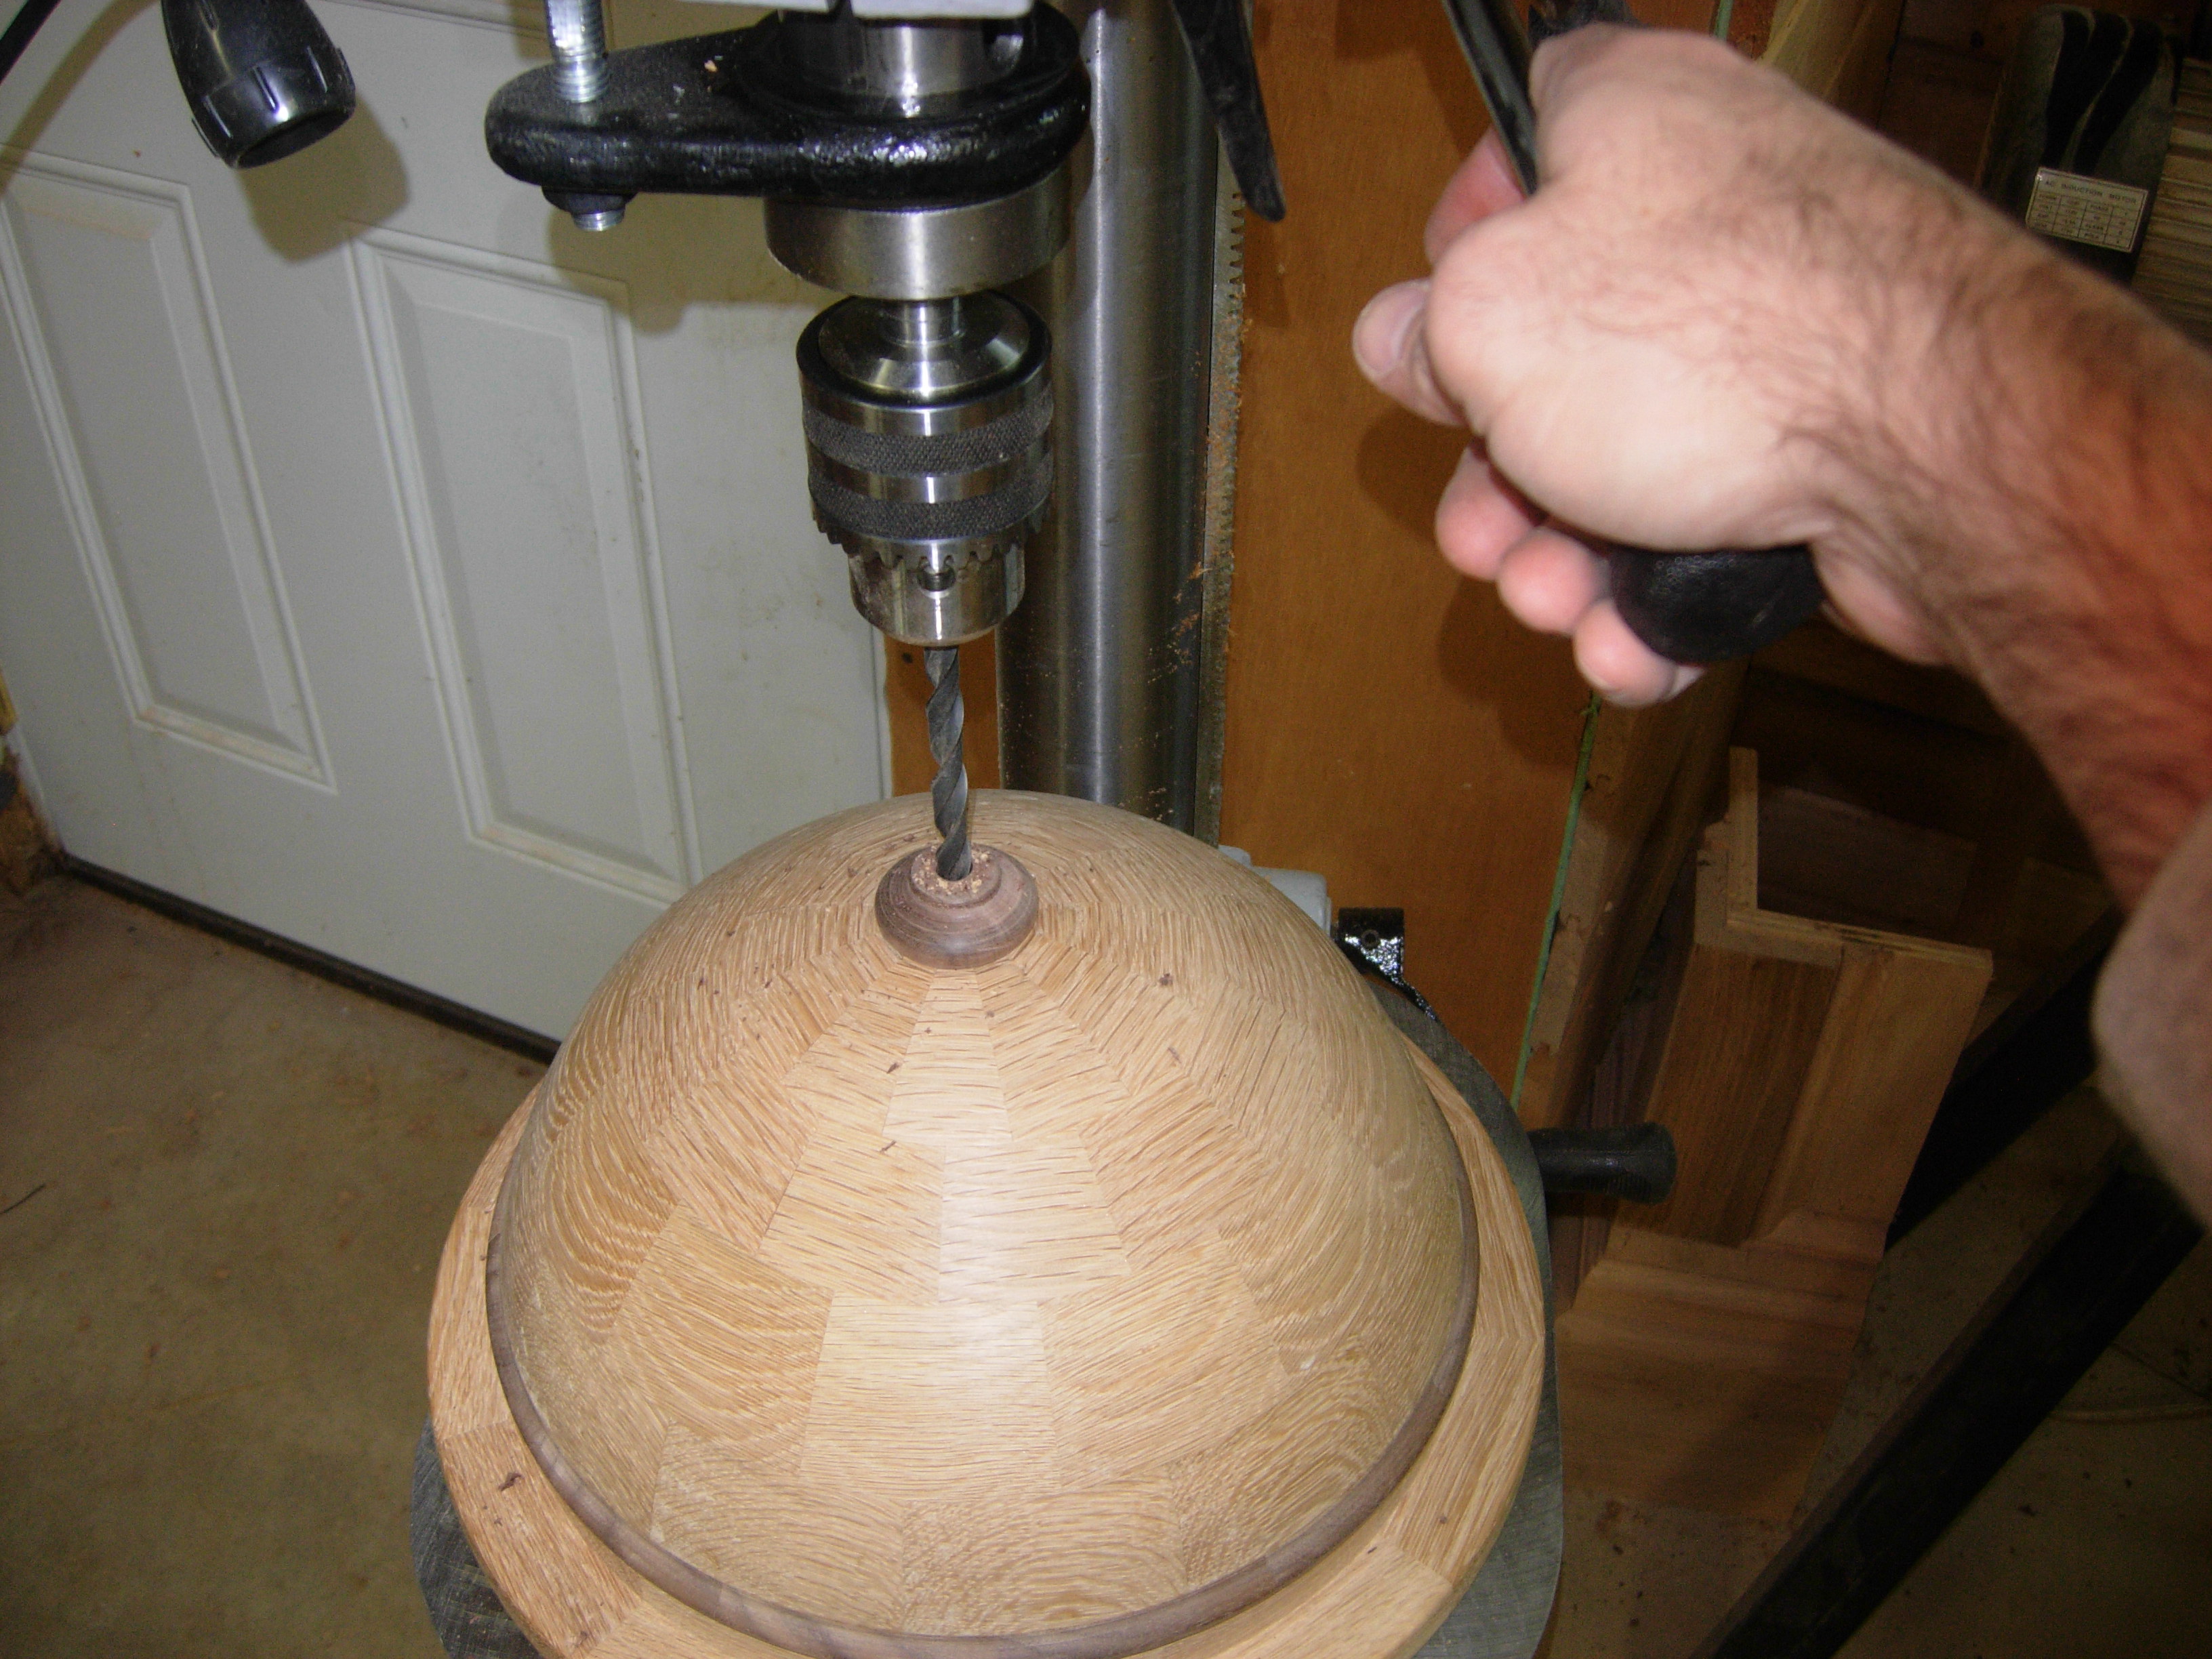
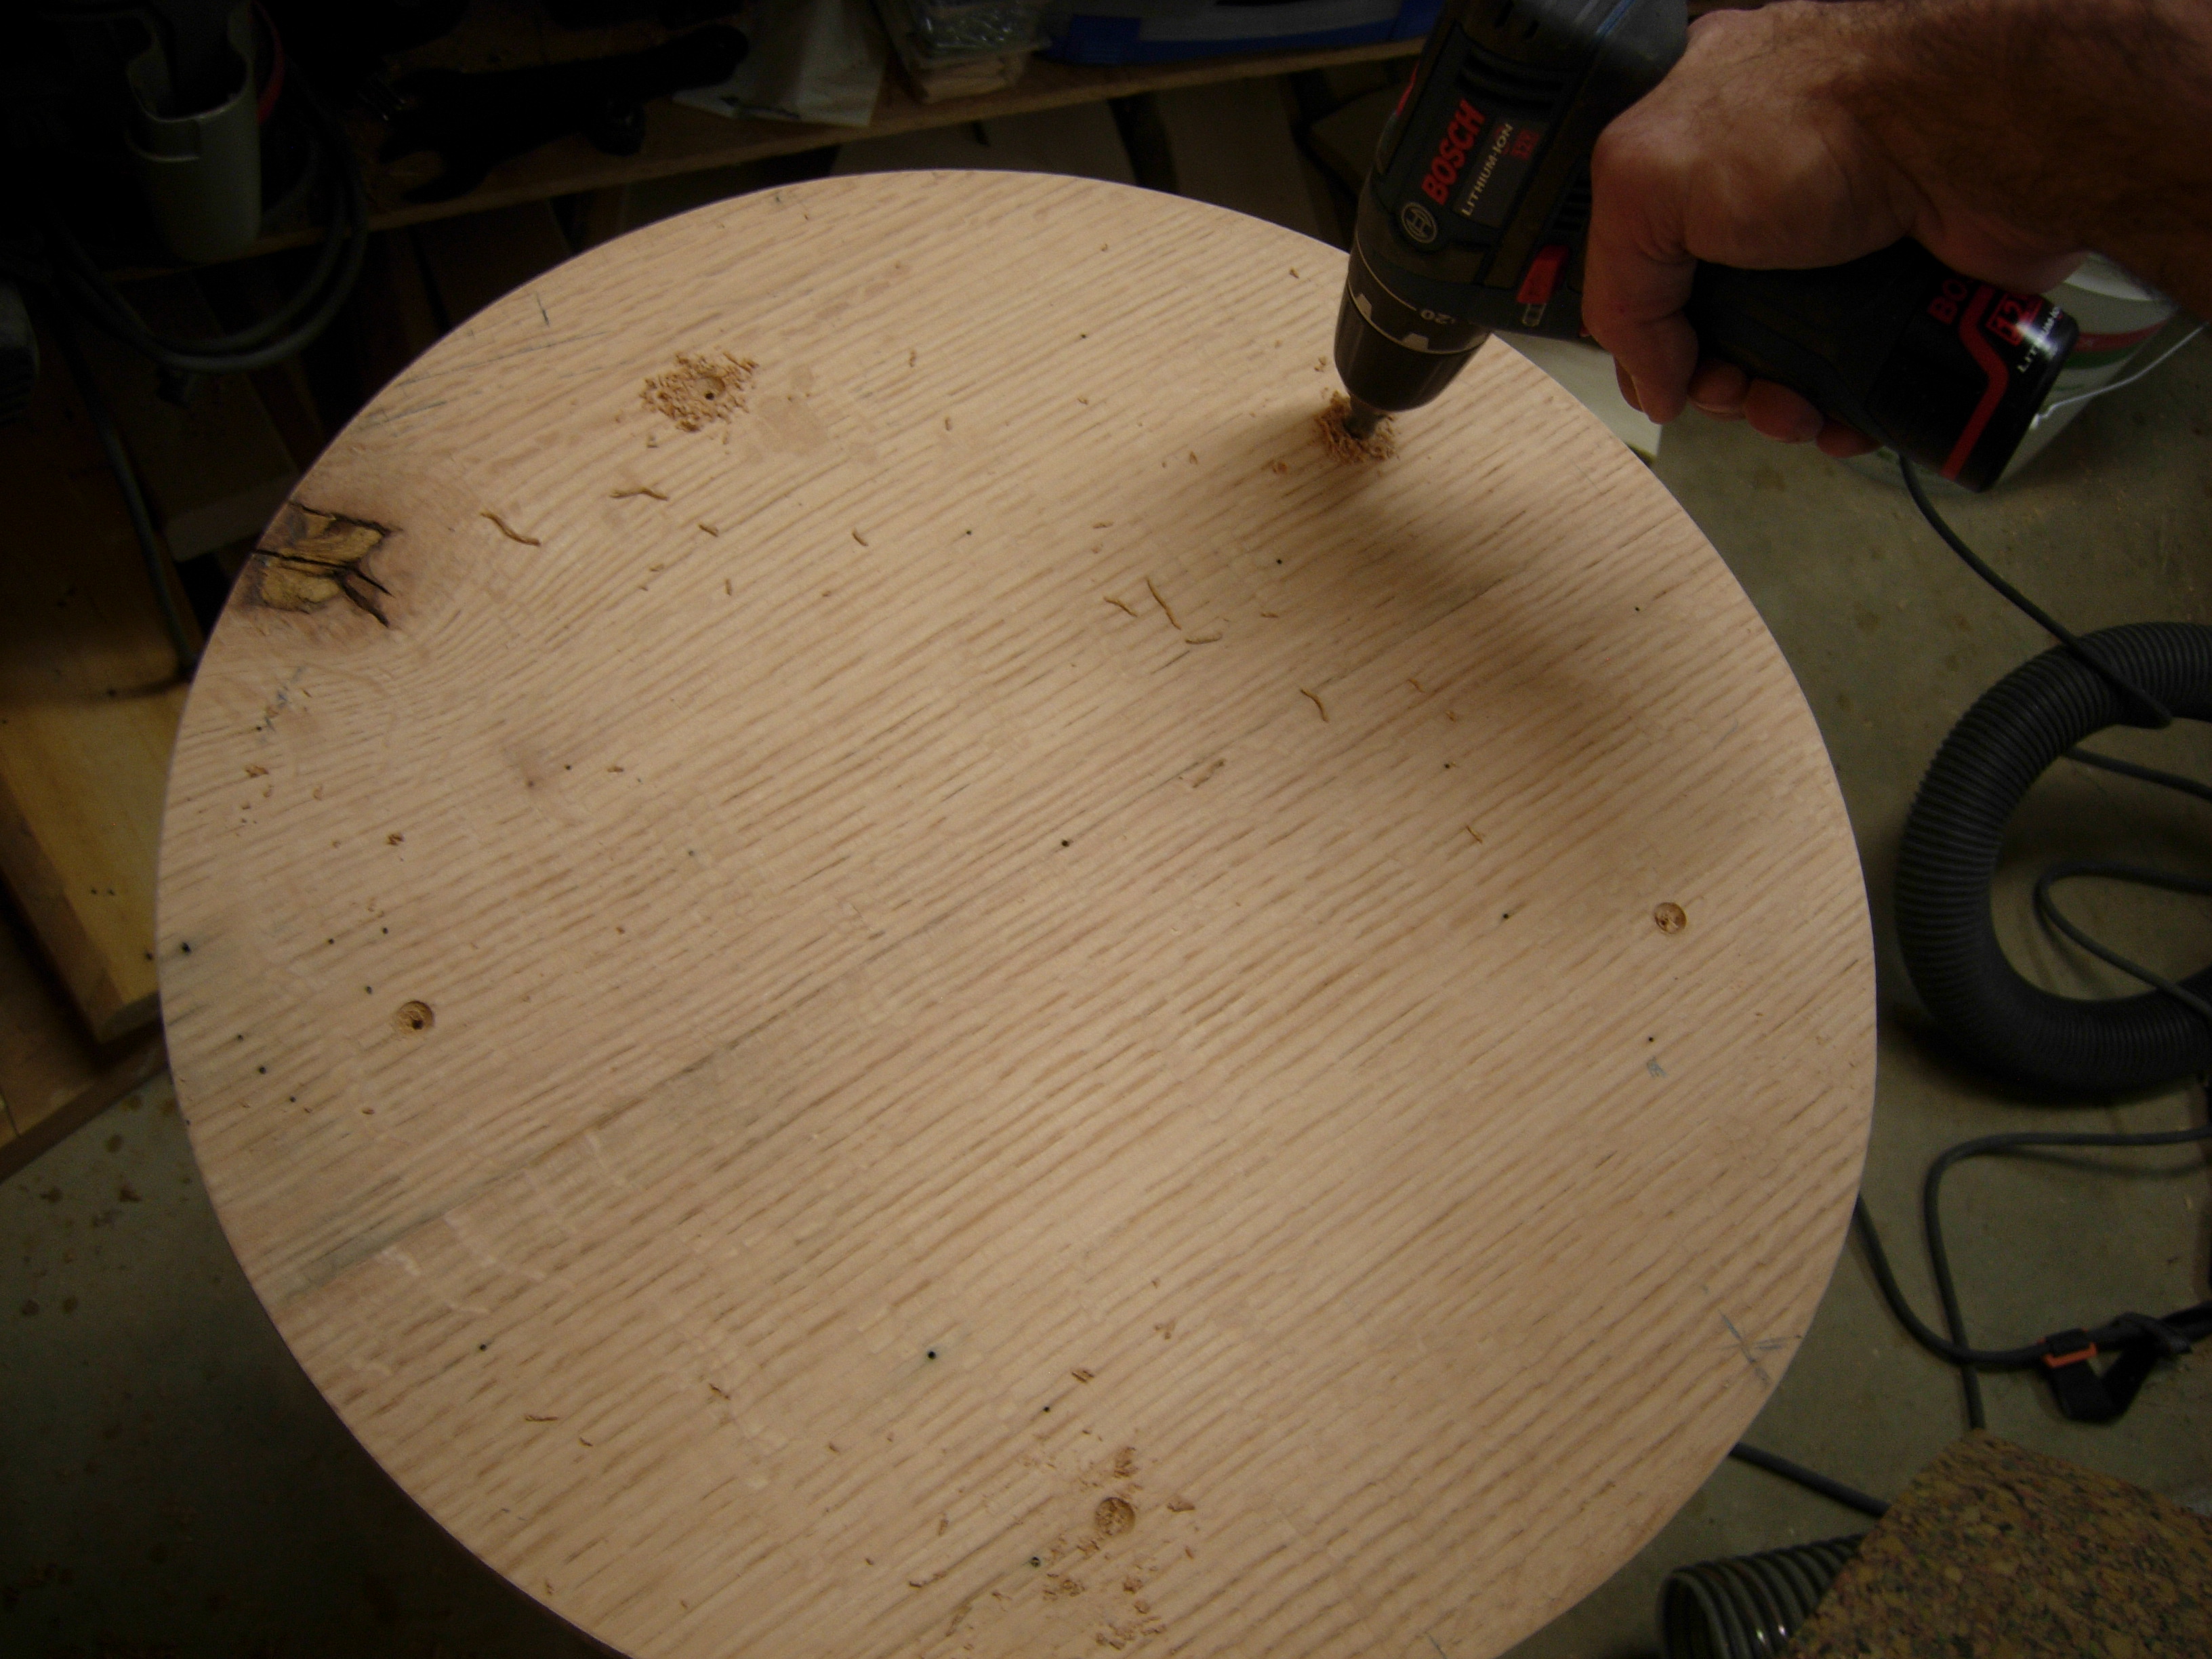
Drilling the mounting hole
I set the dome in the drill press and drilled a 1″ deep hole in the center of the finial, then glued the new cross in place.
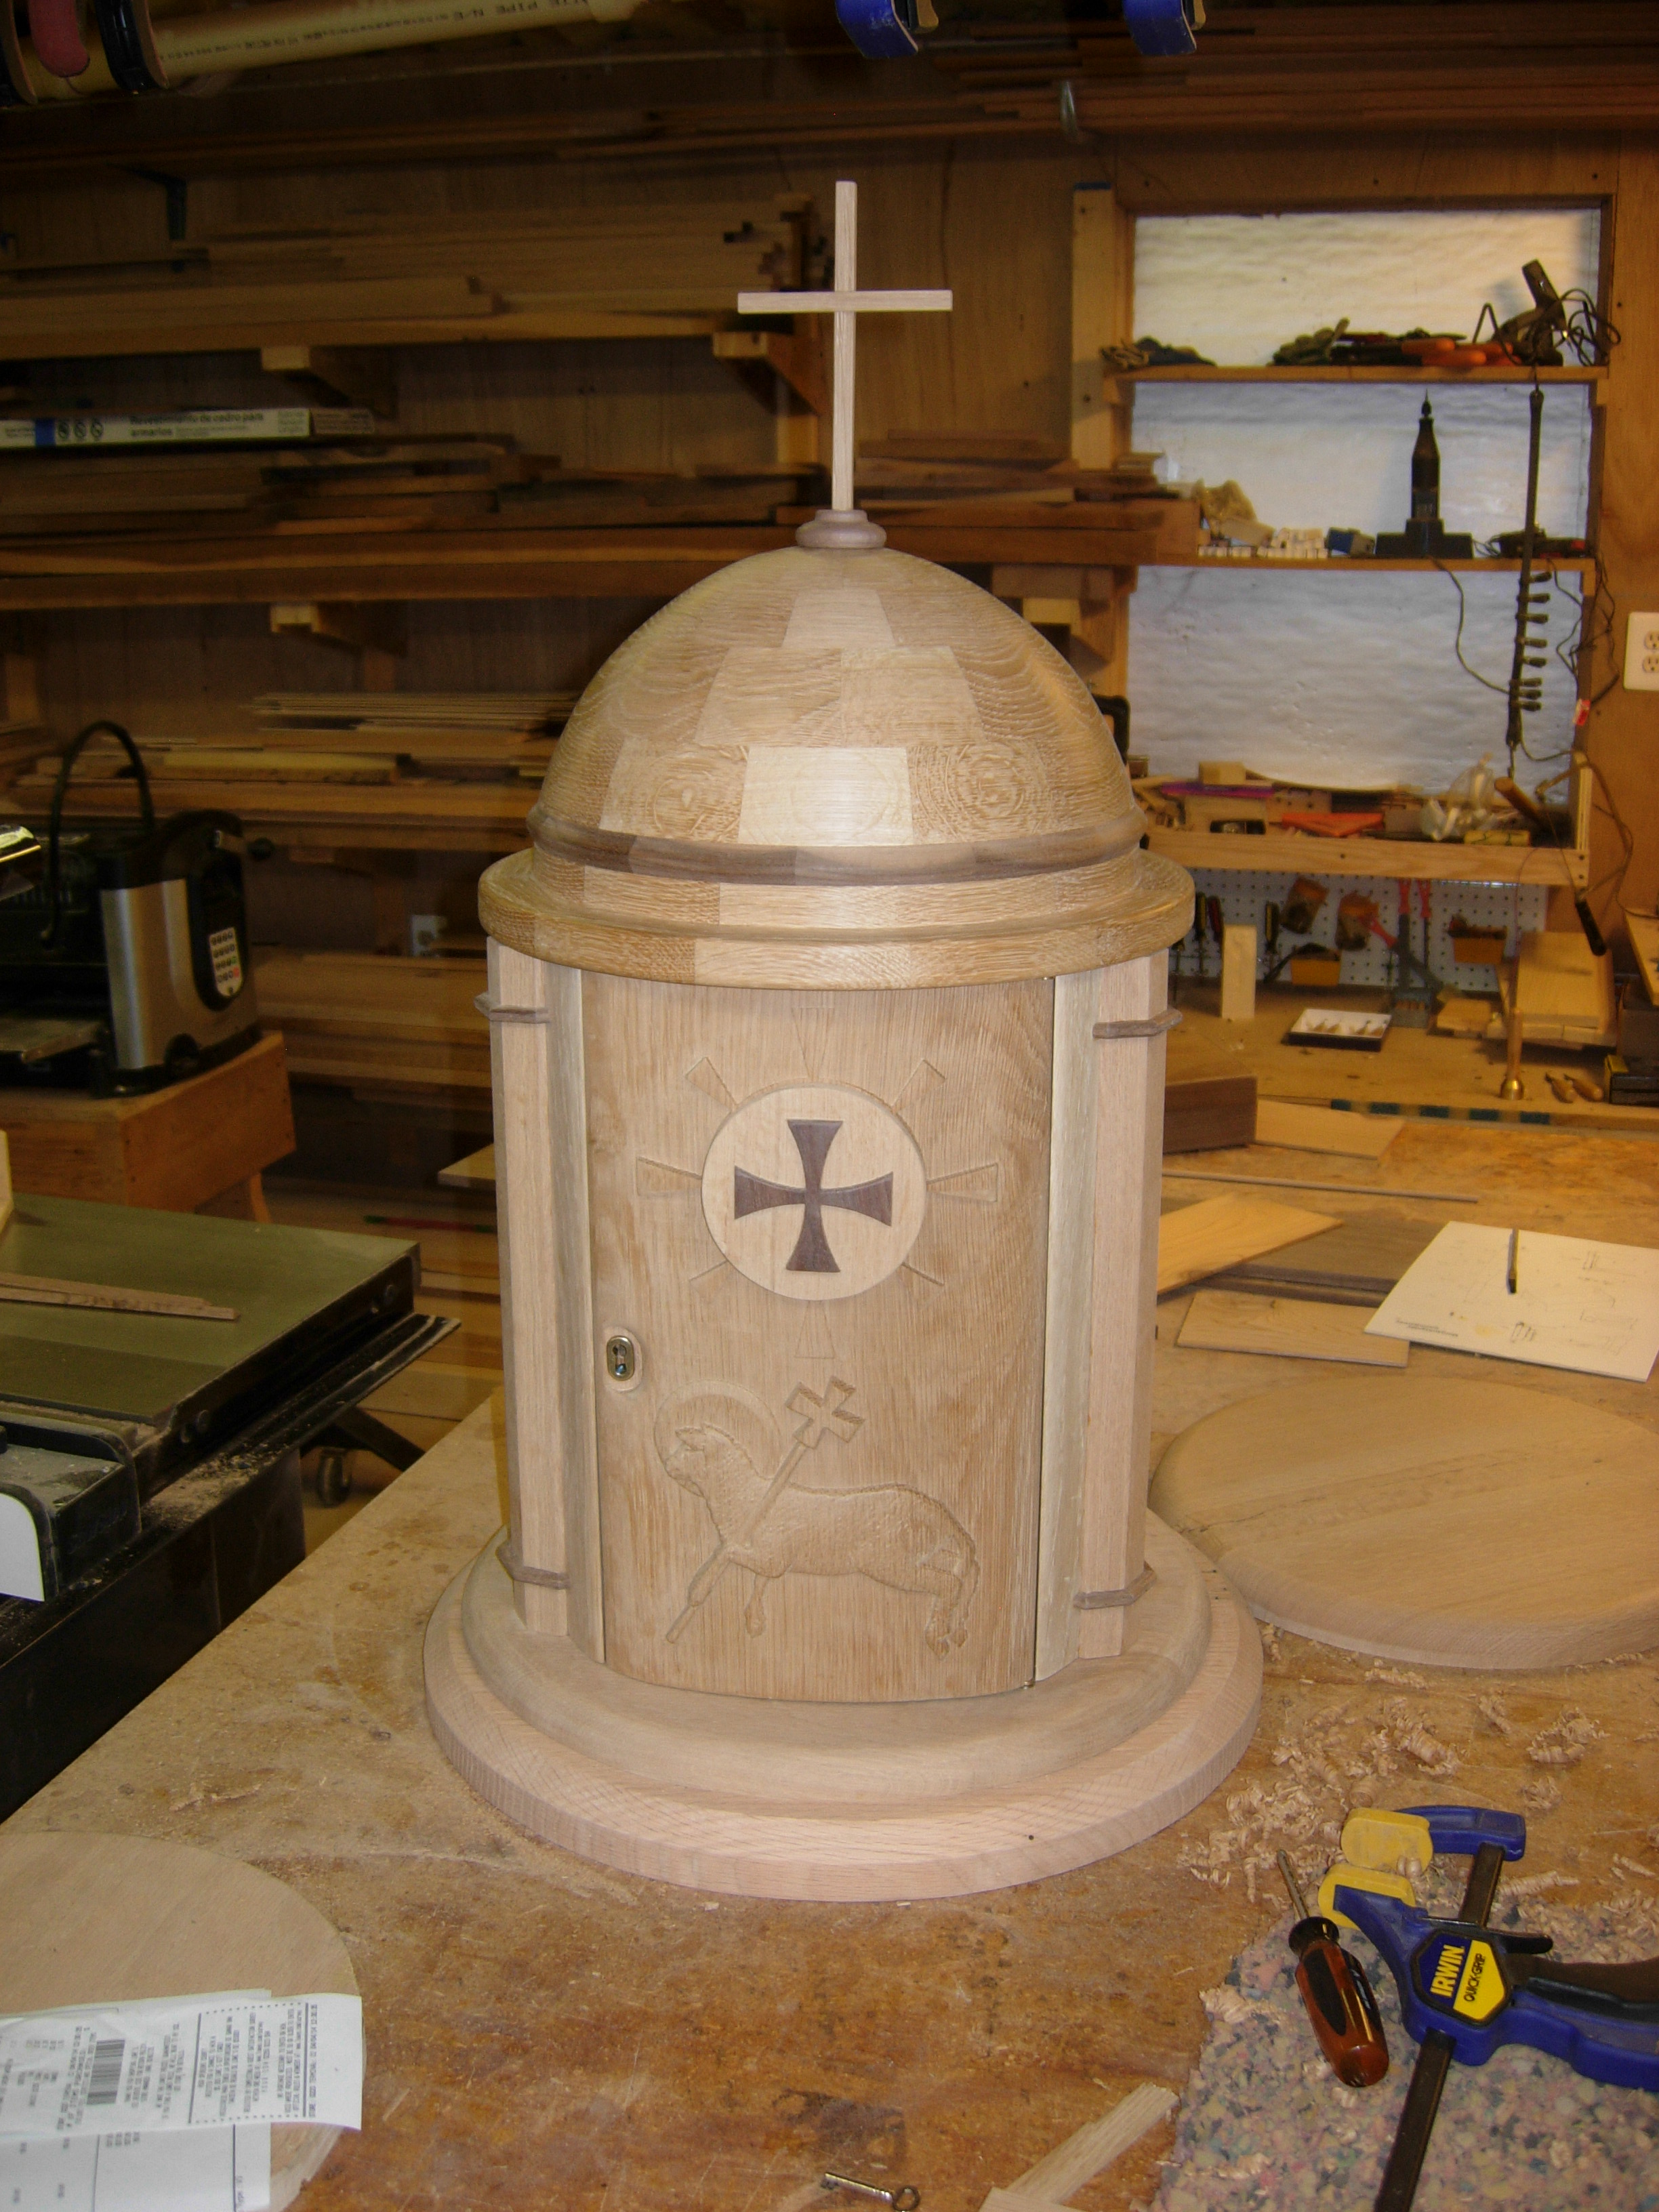
Almost done!
Countersinking the sub base
One final detail to figure out. How to install the door, once the dome top is glued on? Well, if you remember, I only screwed the upper base to the bottom of the tabernacle body. So I am going to screw the lower base to the upper. It will be a lot of screws to remove if the door has to come out, but it will at least be possible.
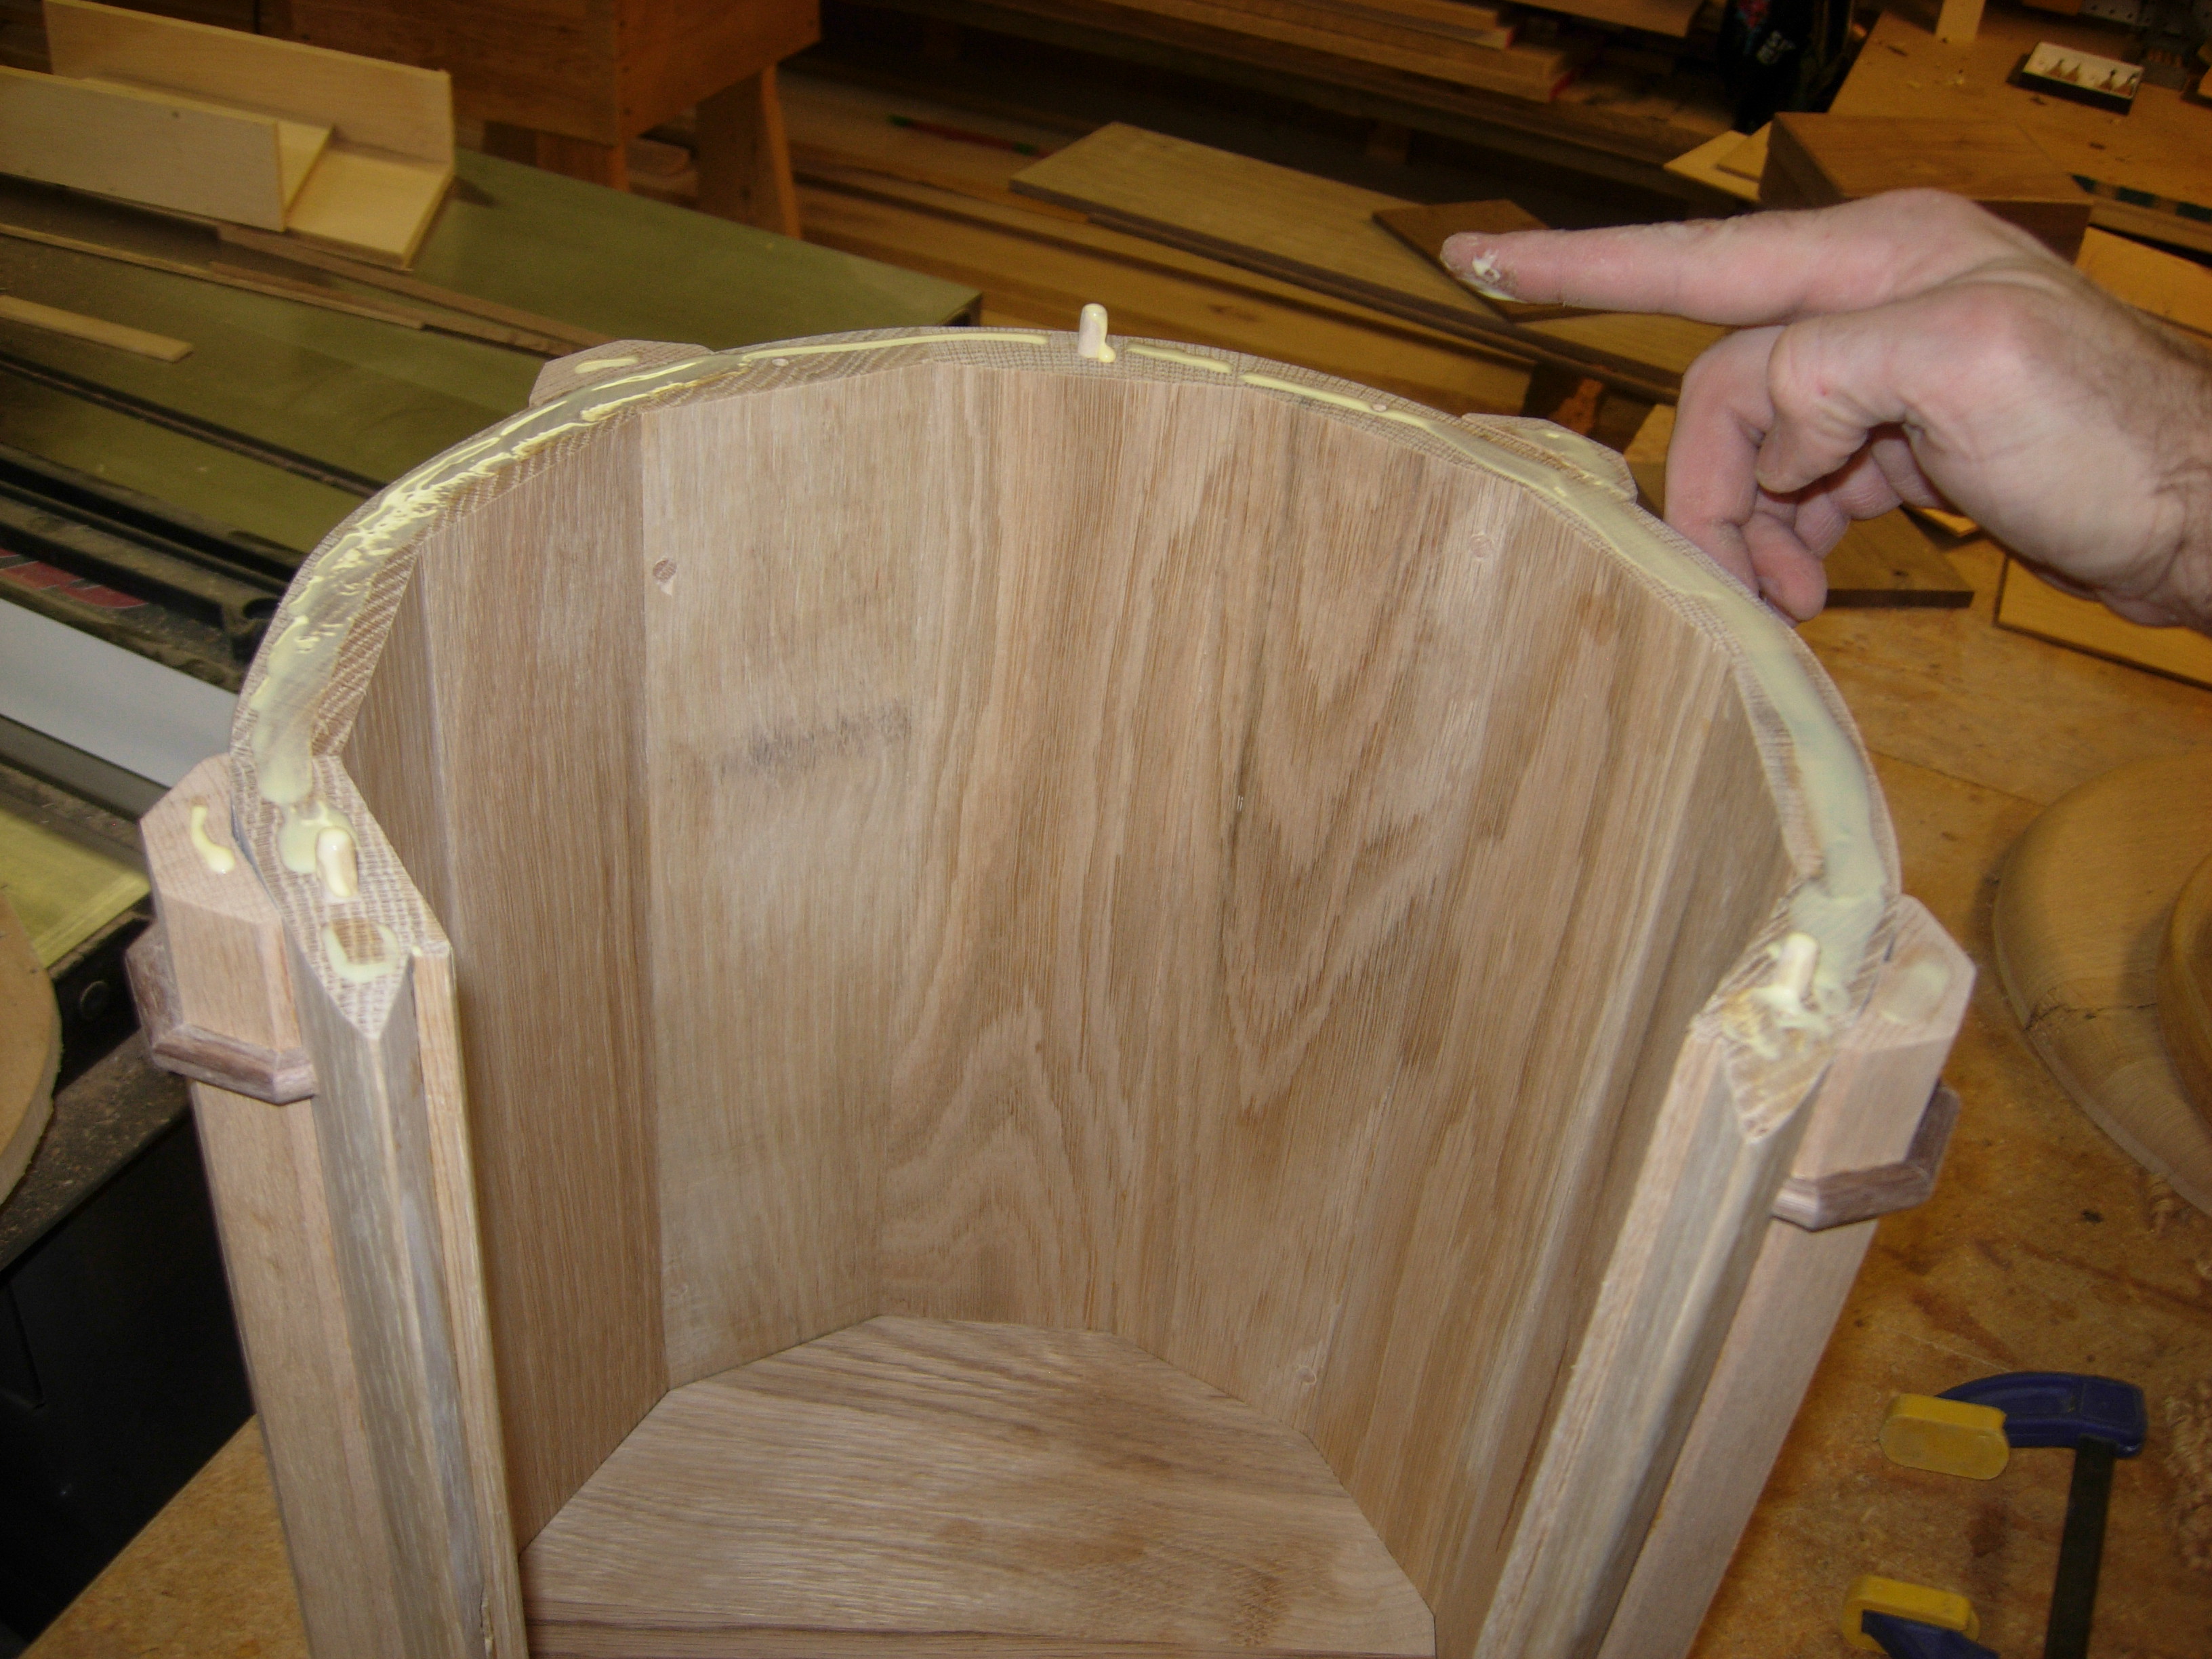
Applying glue for the top
After marking the hole locations on the base, I drilled and countersunk the holes, then glued up the top and clamped it to dry.

Top clamped to body
With all of the assembly details complete, I pulled off all of the hardware and made sure all of my surfaces were sanded nicely.
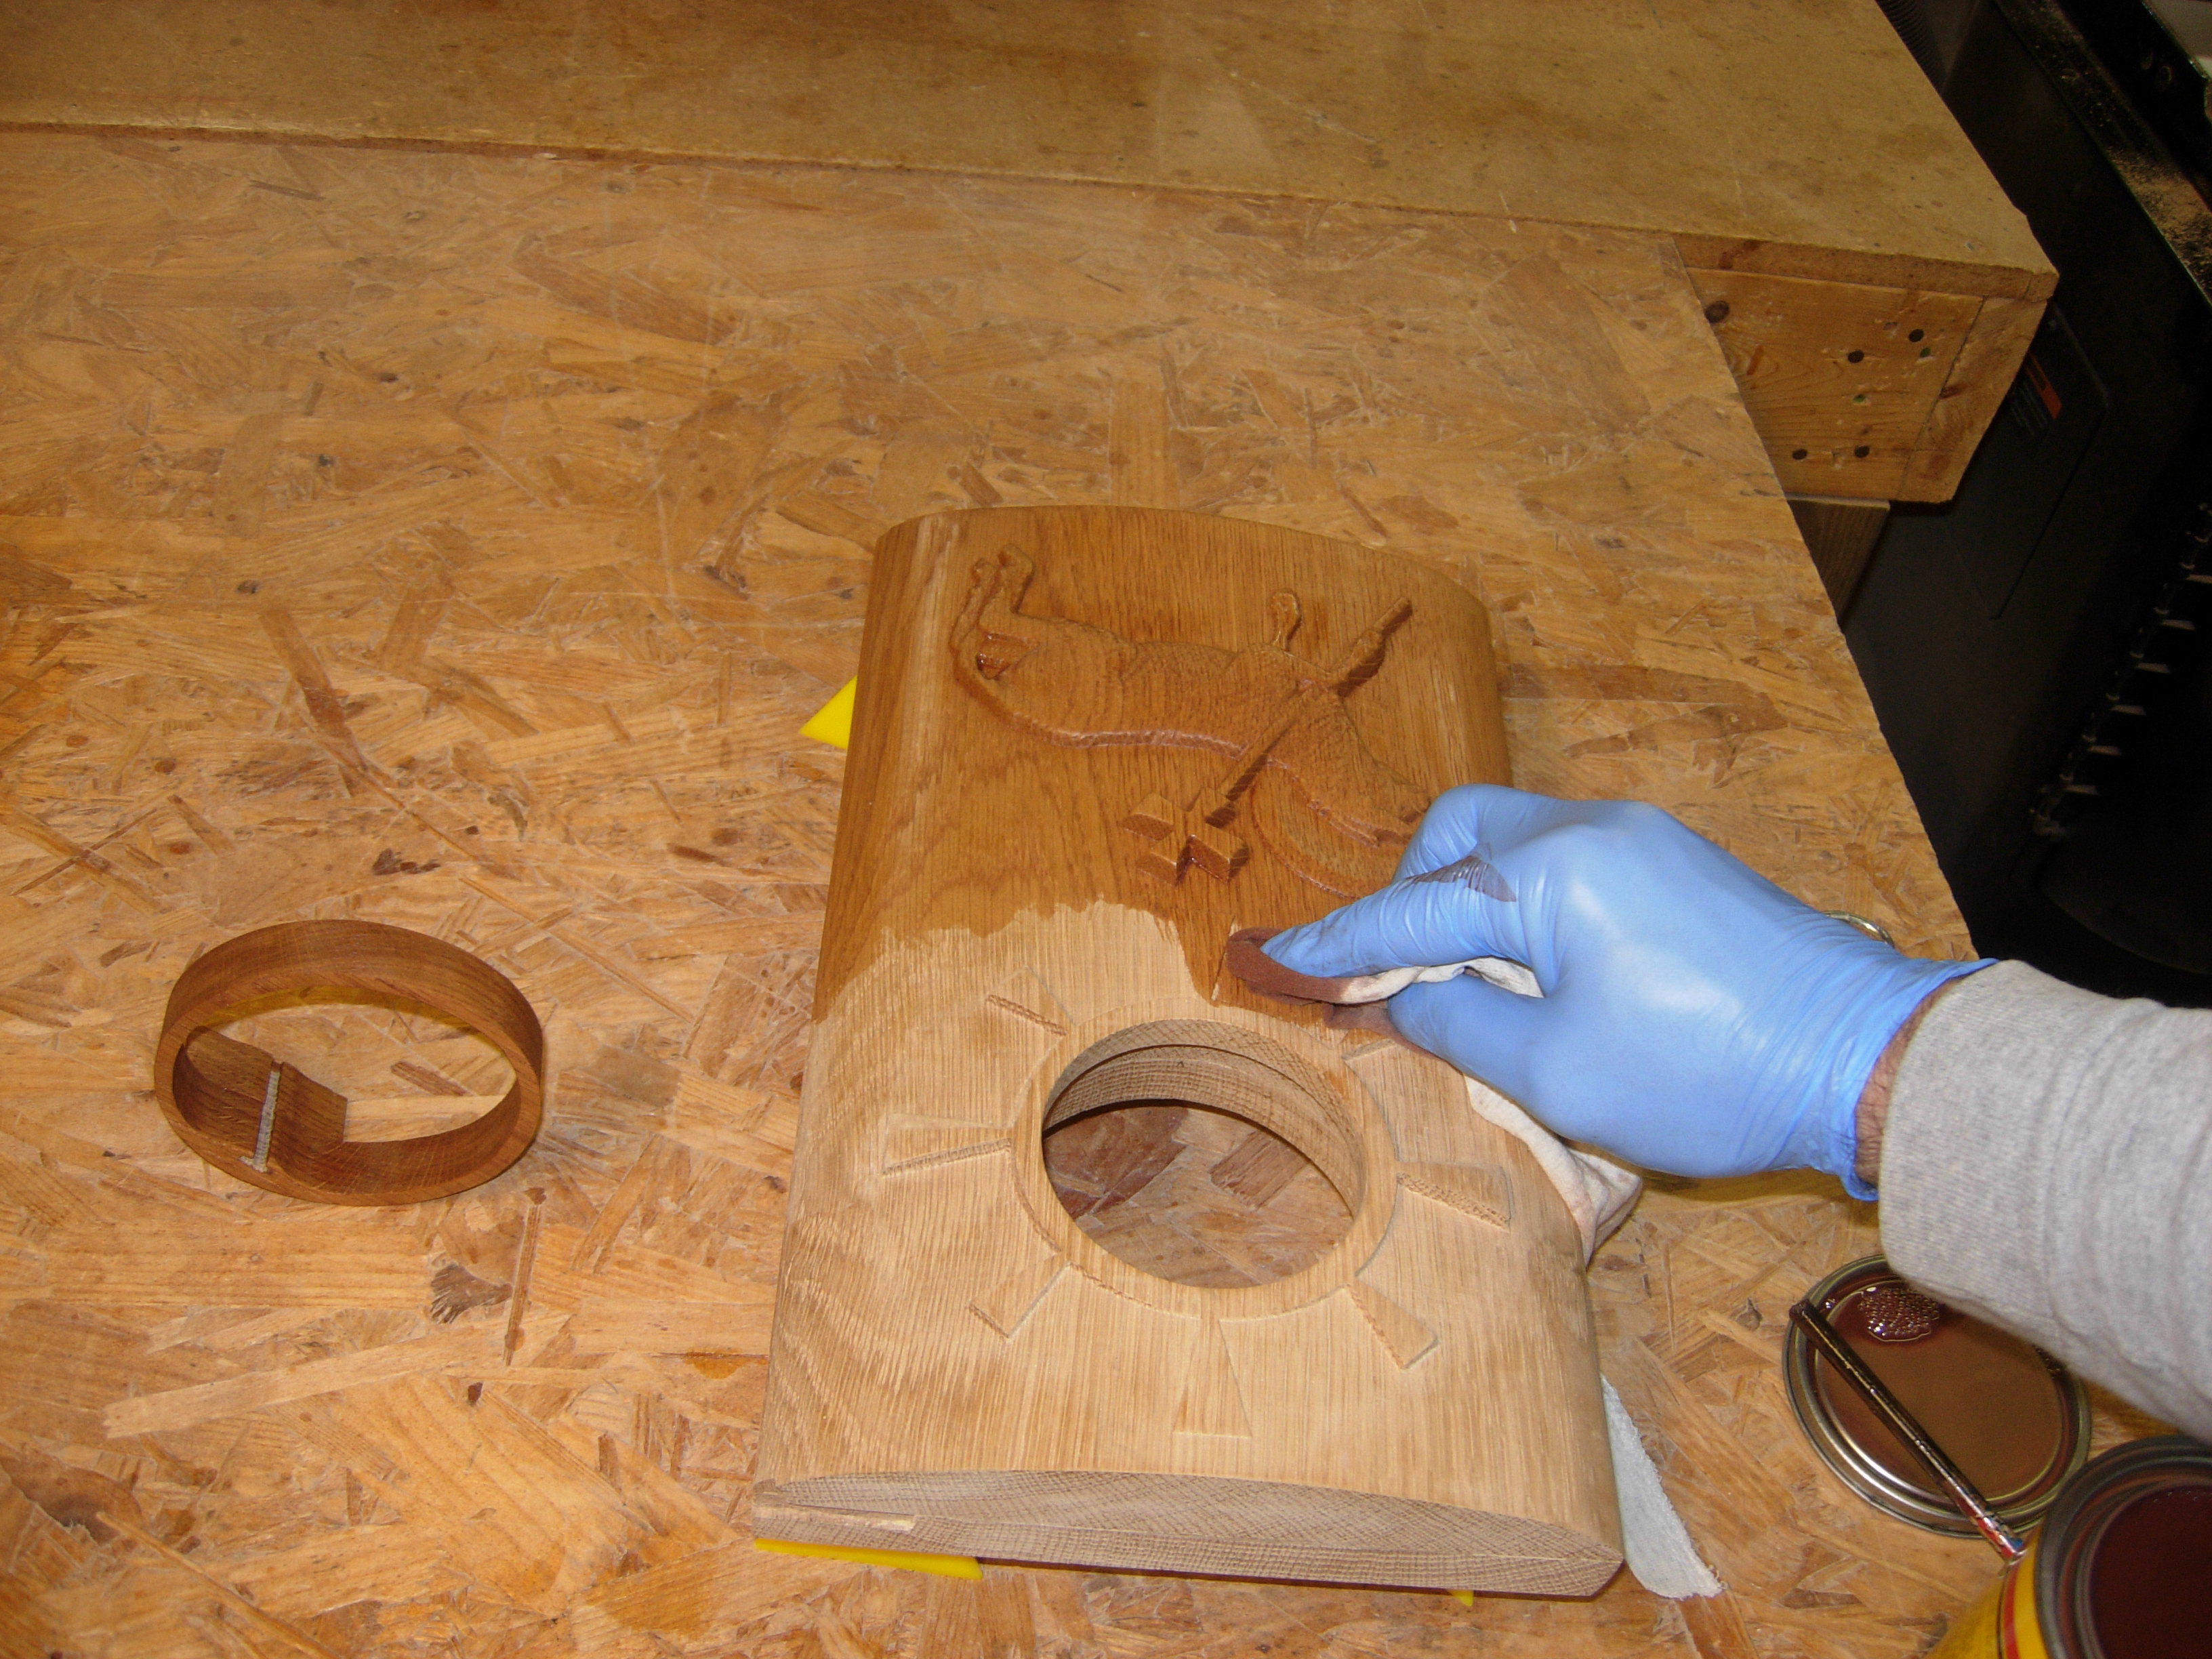
Staining the door
The first step in finishing is the staining. I got out the cherry stain that I use on all of Saint Peter’s project and applied it to all of the pieces with a piece of an old T-shirt.
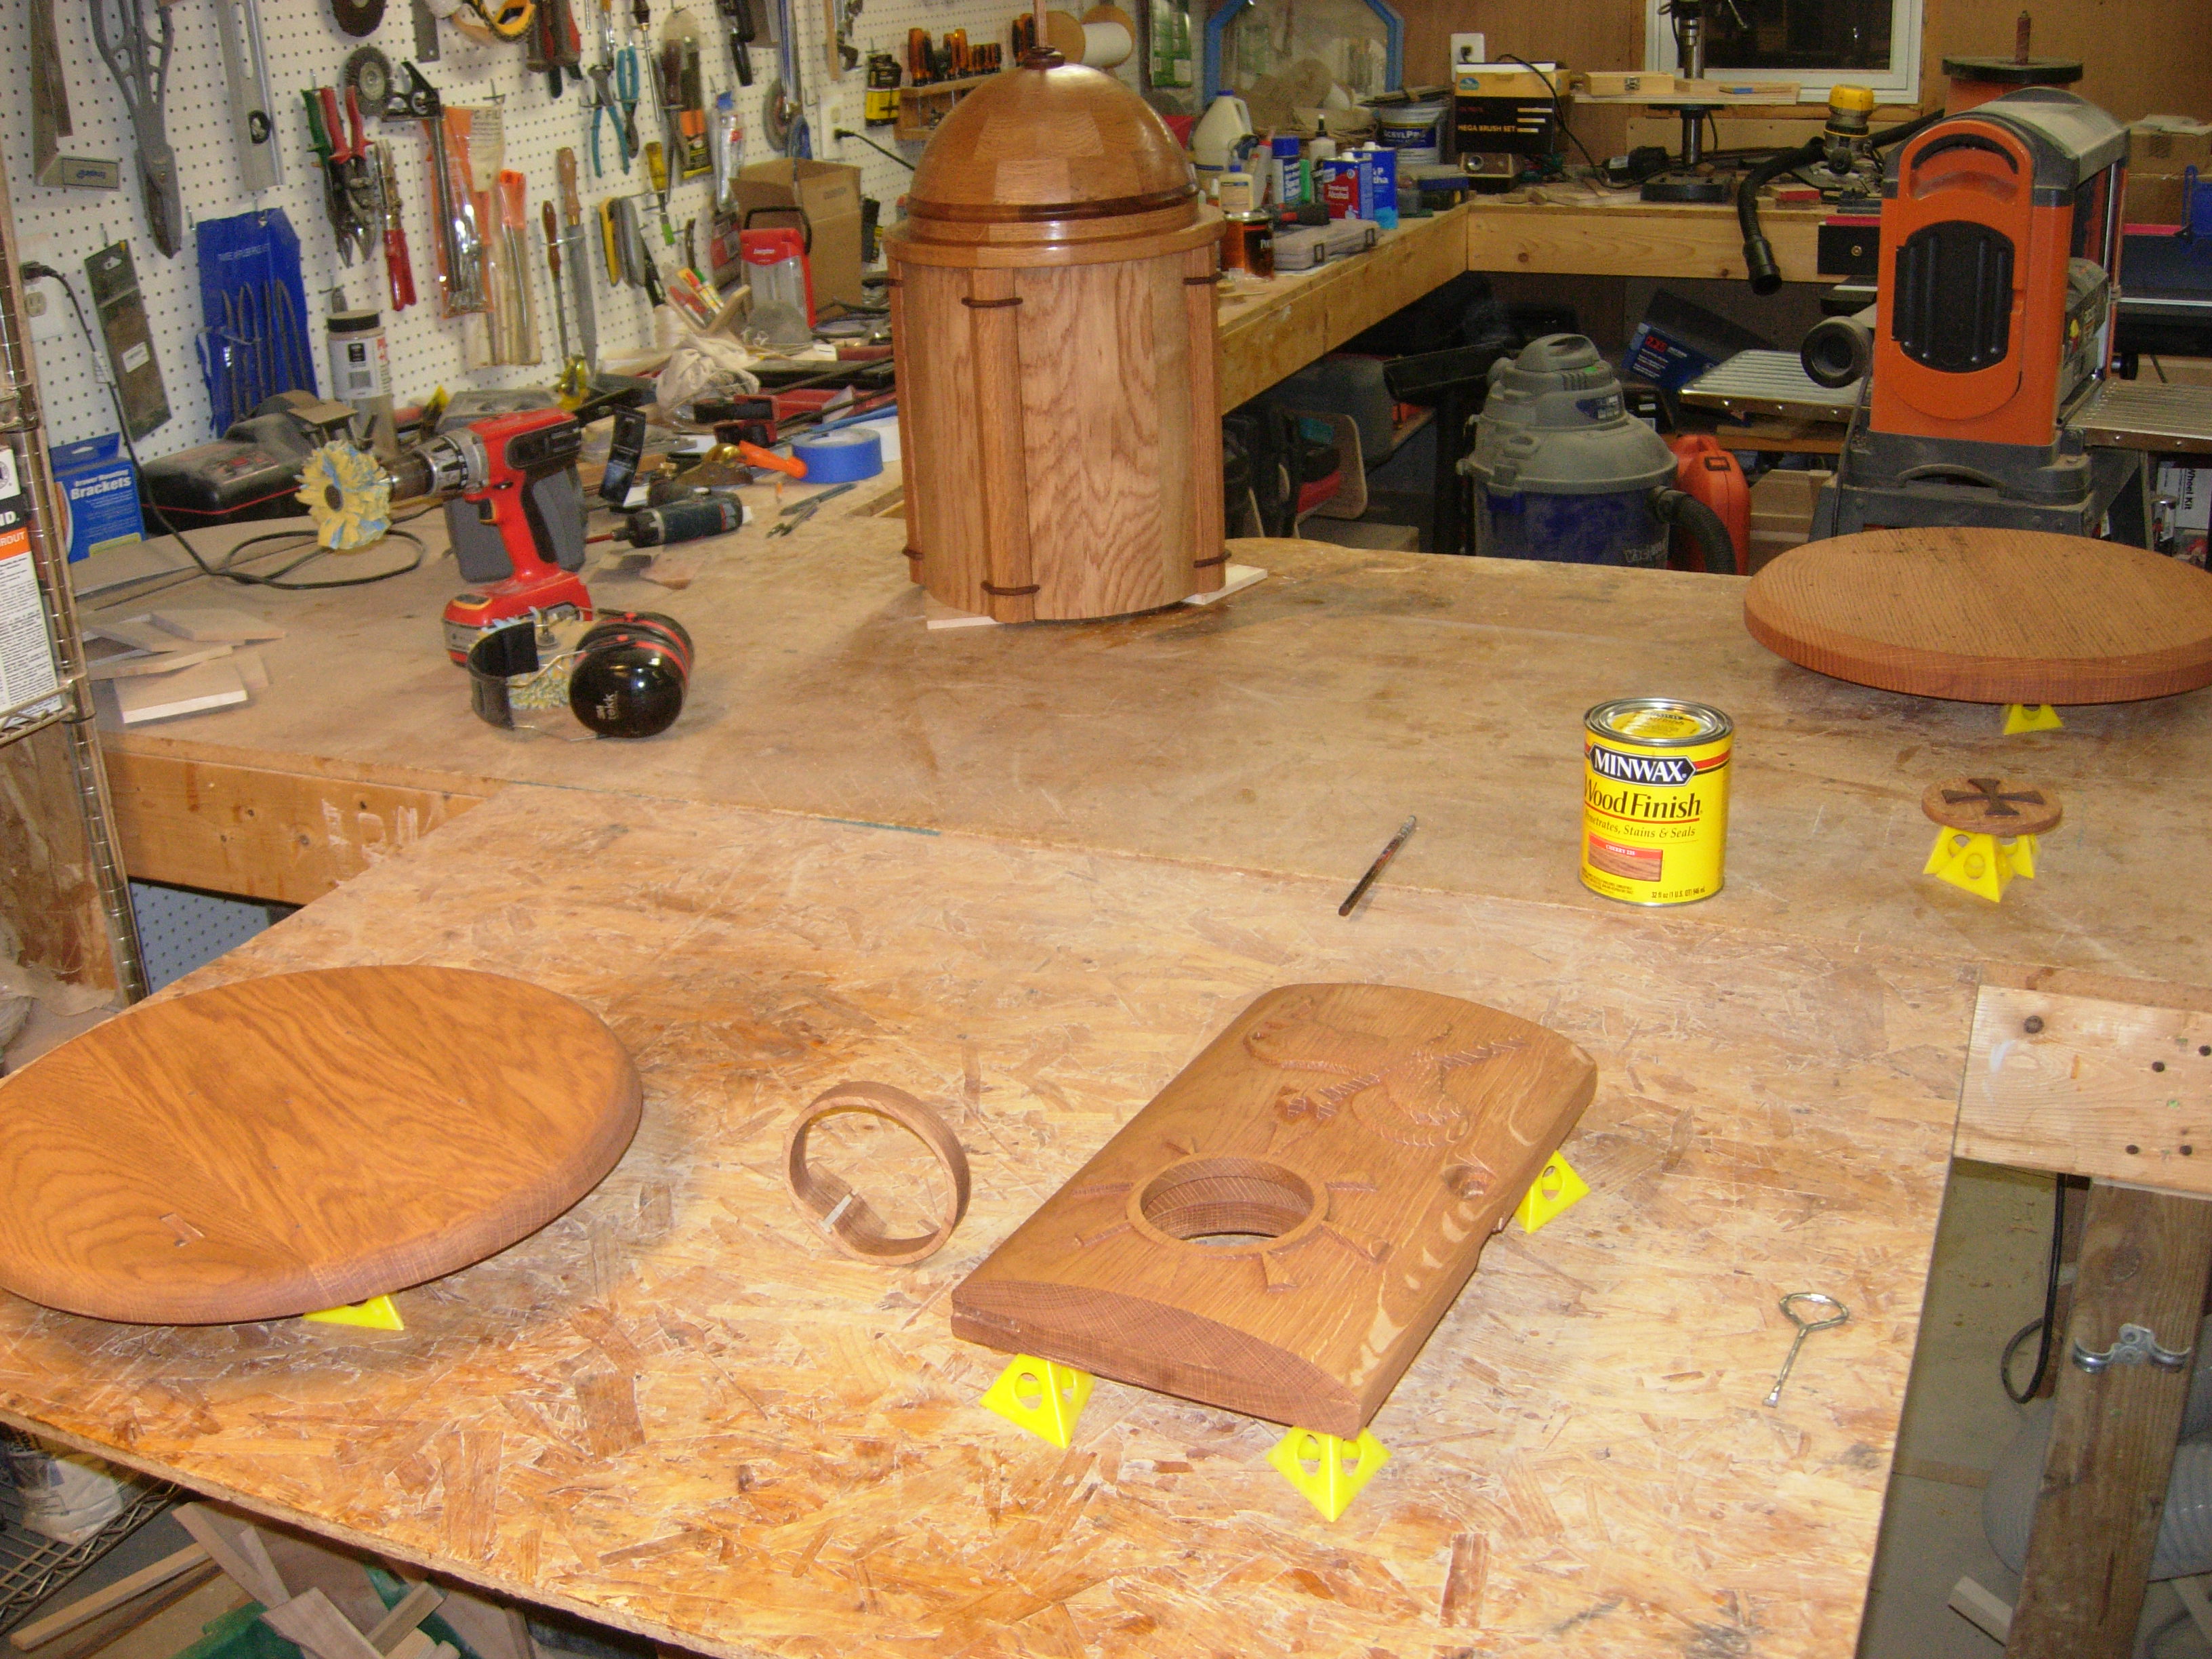
Everything stained
Since it is well past midnight, I am going to let this dry, and head off to bed.

Tabernacle stained

This project has tasked just about every facet of your woodworking experience, it’s been a joy and enlightening to read and observe. I like the manner you have solved many challenges during this build. Thank you.
Thanks for the encouraging words. I look at each project as a way to learn something new.