
Tabernacle build – day 10
I worked on the door panel last night. I don’t actually have a complete plan for what it will ultimately look like when completed, just a vague notion of what it needs to have. Probably not the best approach, but I have just less than a week to get it done, so it is a design-on-the-fly project.

Door made of layers
I need a small display window in the door, so I intend to place it in the flat circle that I carved into the front panel. I need a small door to cover the window, but I can’t find a tiny hinge for a round door, that I like. So, my current answer is “rare earth magnets”. I purchased some 1/8″ and 1/4″ diameter magnets to use. I need to embed them in the door and the window frame, close to the surface, so to create the door panel, I am layering a 1/8″ panel up to a 1/4″ panel with double-sided tape. Then I am glueing a 1/8″ piece of walnut to that. The whole assembly comes to 1/2″ thick. That is my minimum thickness for the carver. I created a program for the carver that has a cross to match the altar. The cross will be walnut and the rest of the walnut will be carved away. This layer-up should make more sense as I get further into yesterdays build.

Door panel glue-up
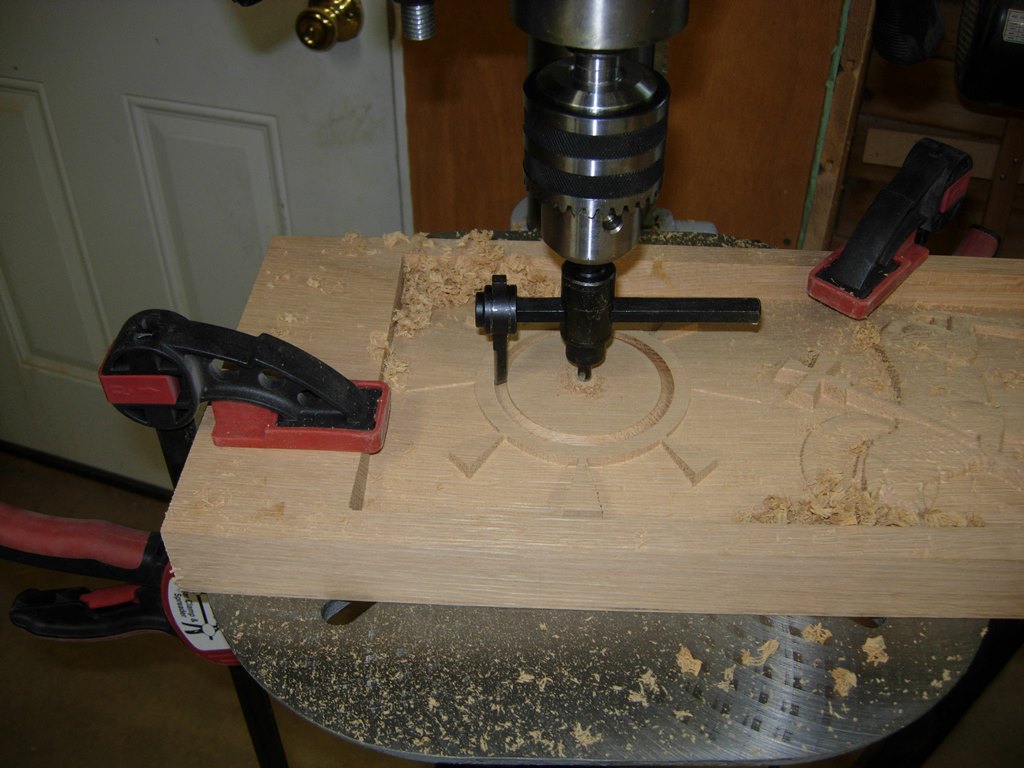
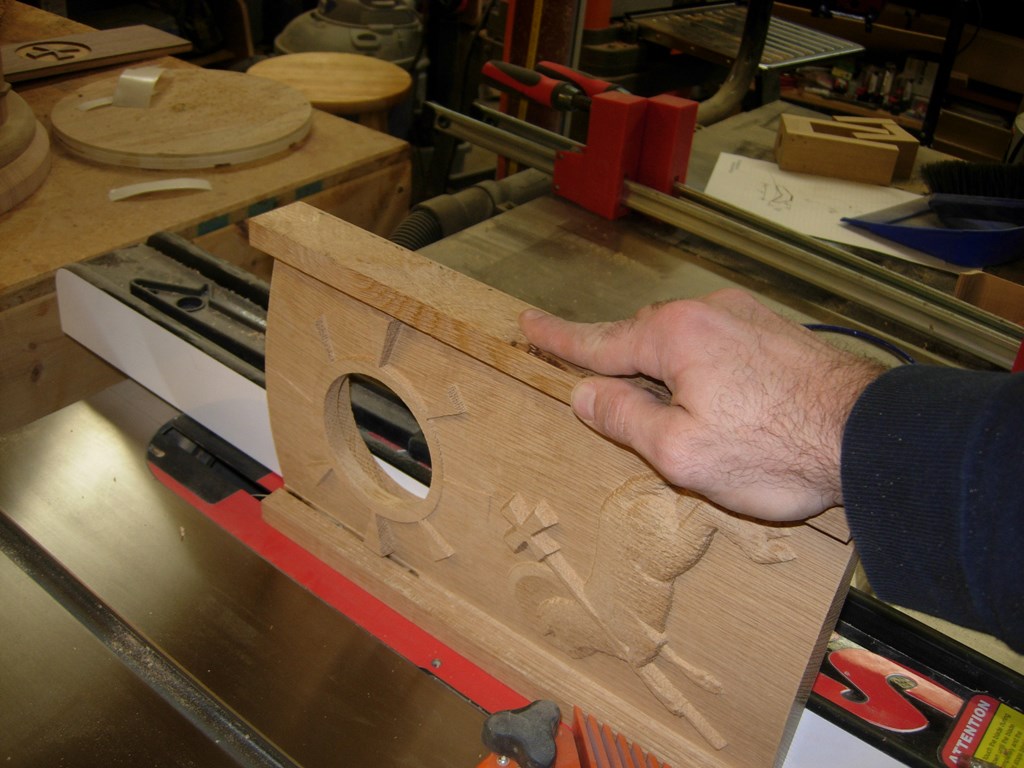
Cutting the window opening
I let the glue dry on the door panel then placed it in the carver and let the program run. In the half hour while that was carving, I moved back to working on the main door panel. The reason I left the panel oversized, and haven’t cut away the outside yet, is that I need a flat surface to mount to the drill press on both faces. Once I drill out the window openings, it will be cut down. Using my hole cutter, I started a cut of a 3″ diameter circle in the center of the 4″ disc on the front of the panel. The main purpose of this was to locate the center pilot hole. I only cut about half way down to the depth that I would need, because I need the pilot hole to stay located for a while.

Piece of glass from a picture frame
I was not able to find a 4″ diameter piece of glass on short notice, so I purchased a circular picture frame off of a clearance rack and removed the glass from it. The ugly frame went into the trash…
Using the pilot hole to center the hole saw again, I adjusted the blade to be just slightly wider than the diameter of the glass.

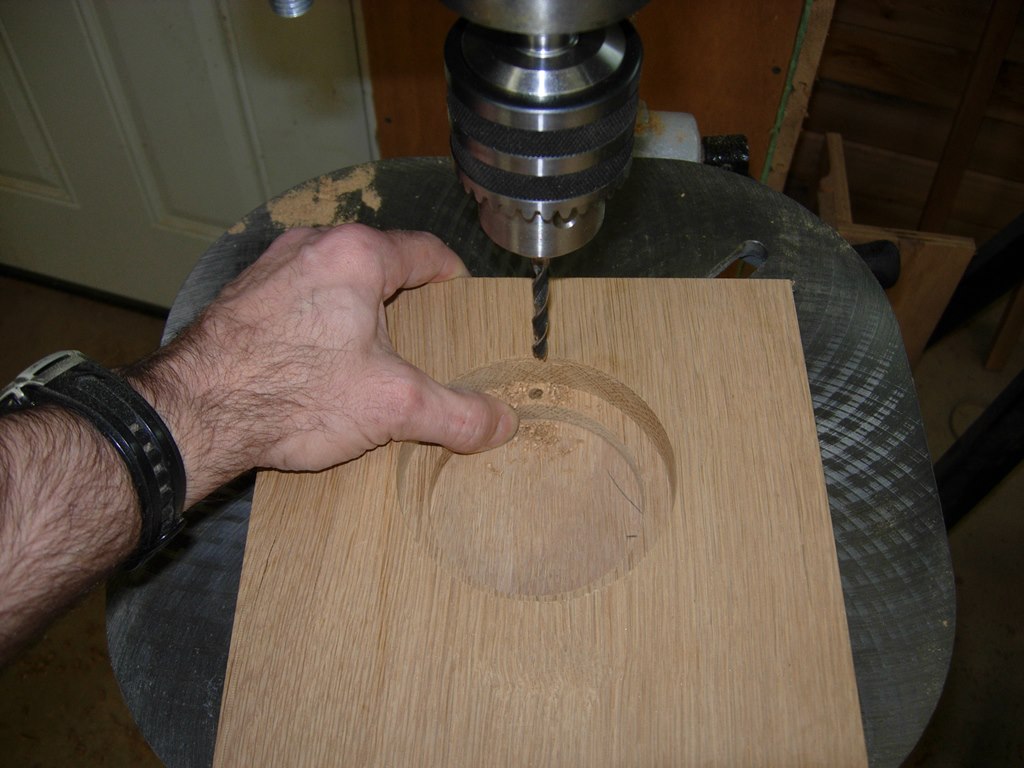
Cutting the counterbore to receive the window
I drilled the counterbore 3/4″ deep, then repeatedly reduced the diameter of my cutter to clean out a majority of the material.

Hogging out material
Next I cut the ends off of the panel, matching the length to the flat door, that I made the other day.
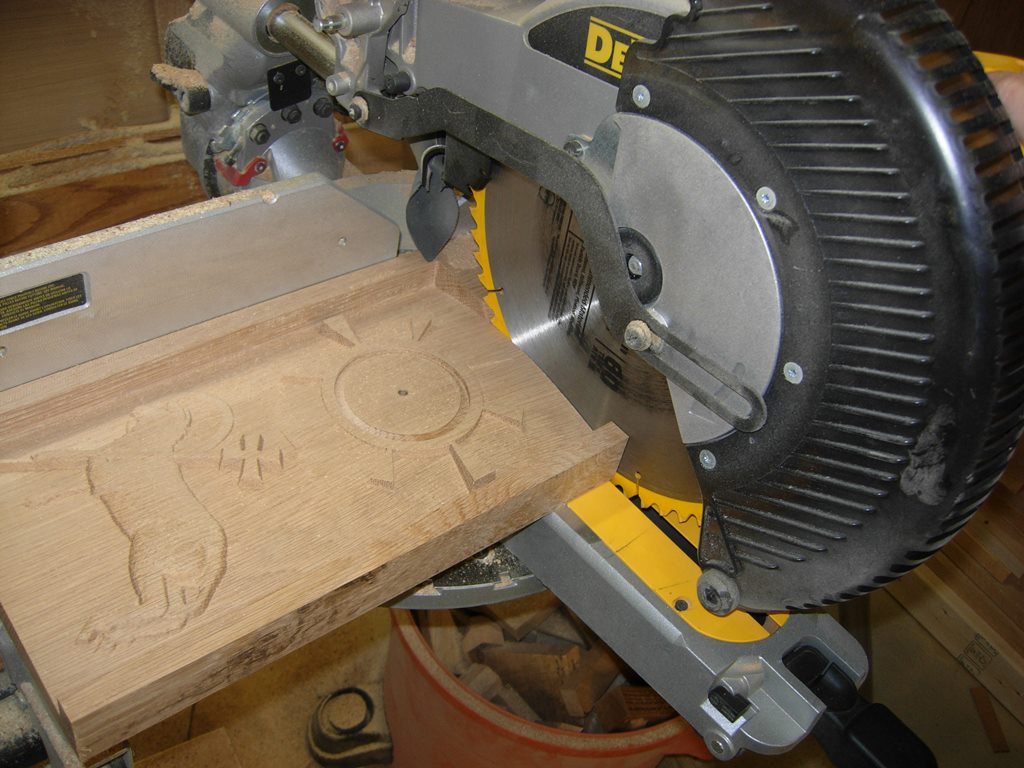
Cutting door to length
Lining up the two door panels, I drilled the pilot hole through the center of the circle into the second panel.

Match drilling the back panel
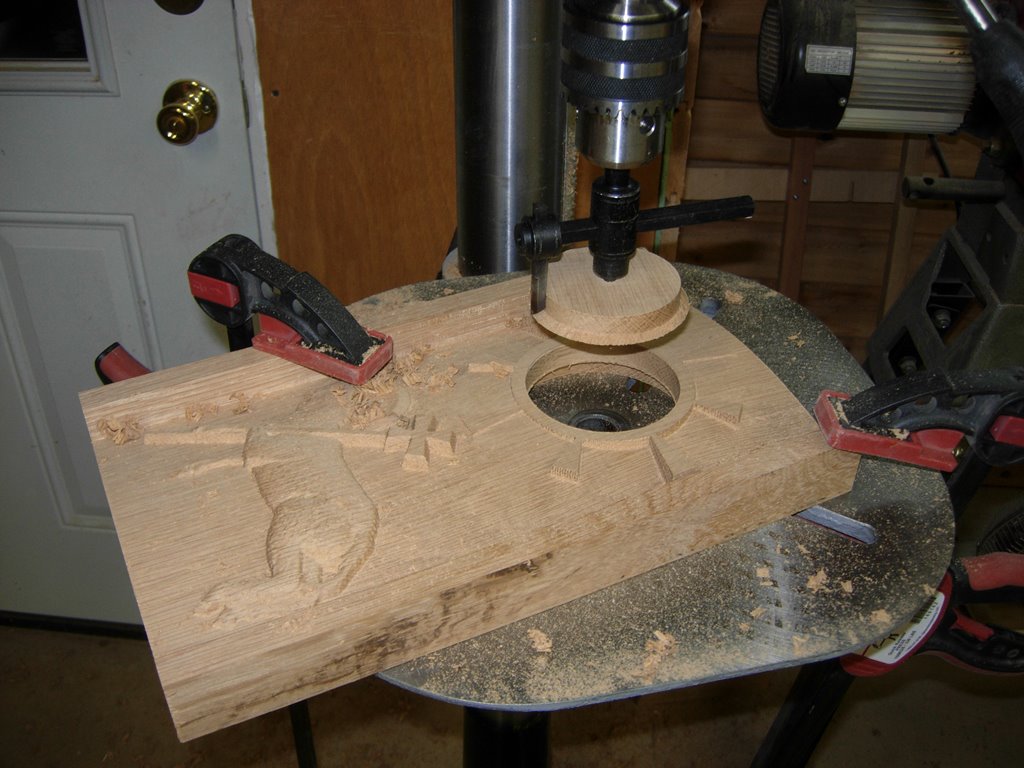
I cut a matching 4″ hole in the back panel using the same pilot hole.

Cutting the window hole from the back panel
Now I can remove the original 3″ diameter hole in the front.
Cutting the 3″ hole in the front
I removed what was left on the shoulder of the counterbore, with my router. I had only roughed that surface out with the hole saw before.
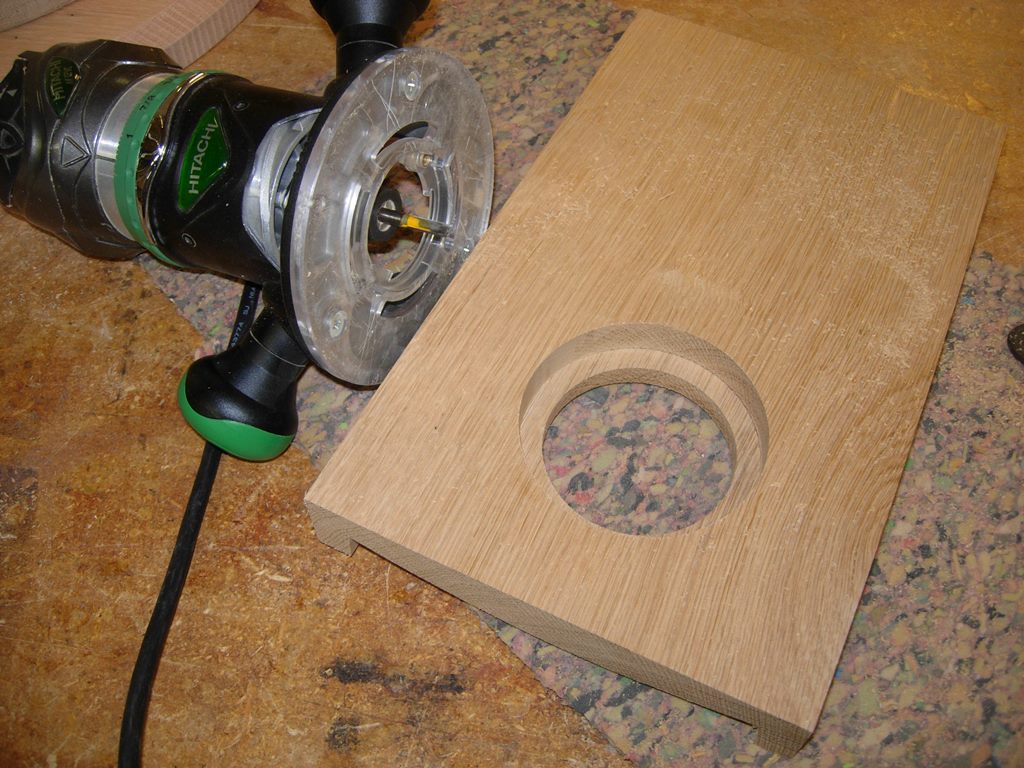
Router to clean up the counterbore
I am now ready to remove the side rails from the door panel. I will curve them over later, but for now, I just cut away the majority of the excess with the table saw.
Trimming the rails off of the front panel
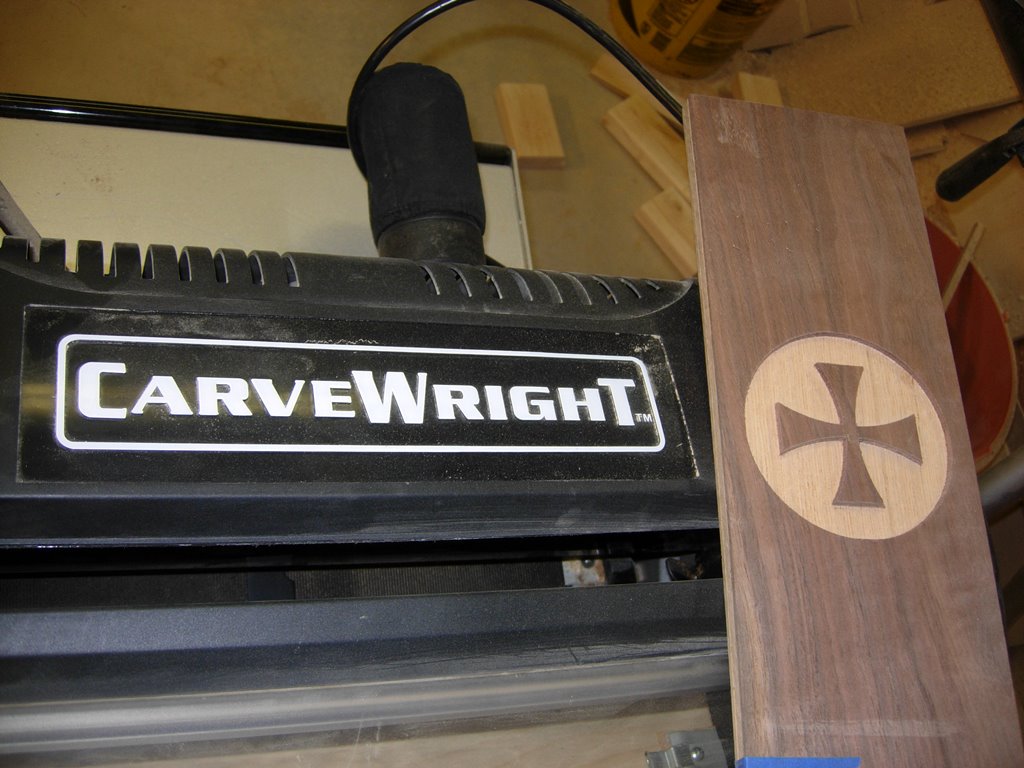
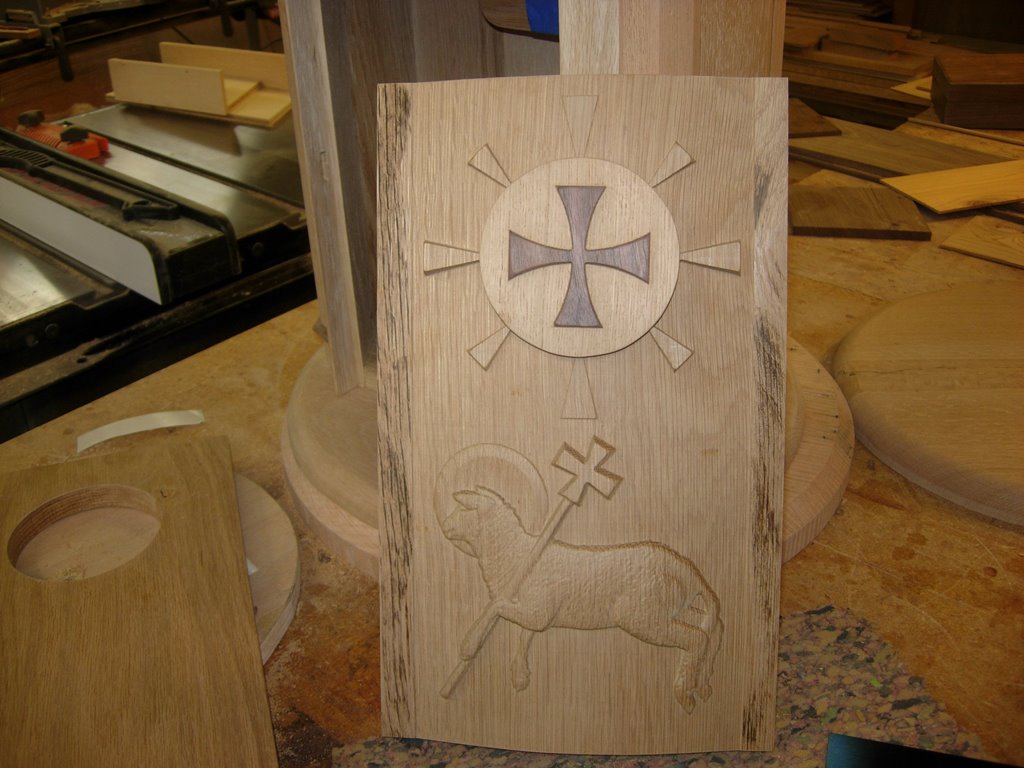
Window panel carved
Meanwhile the carve was completed on the Carvewright.

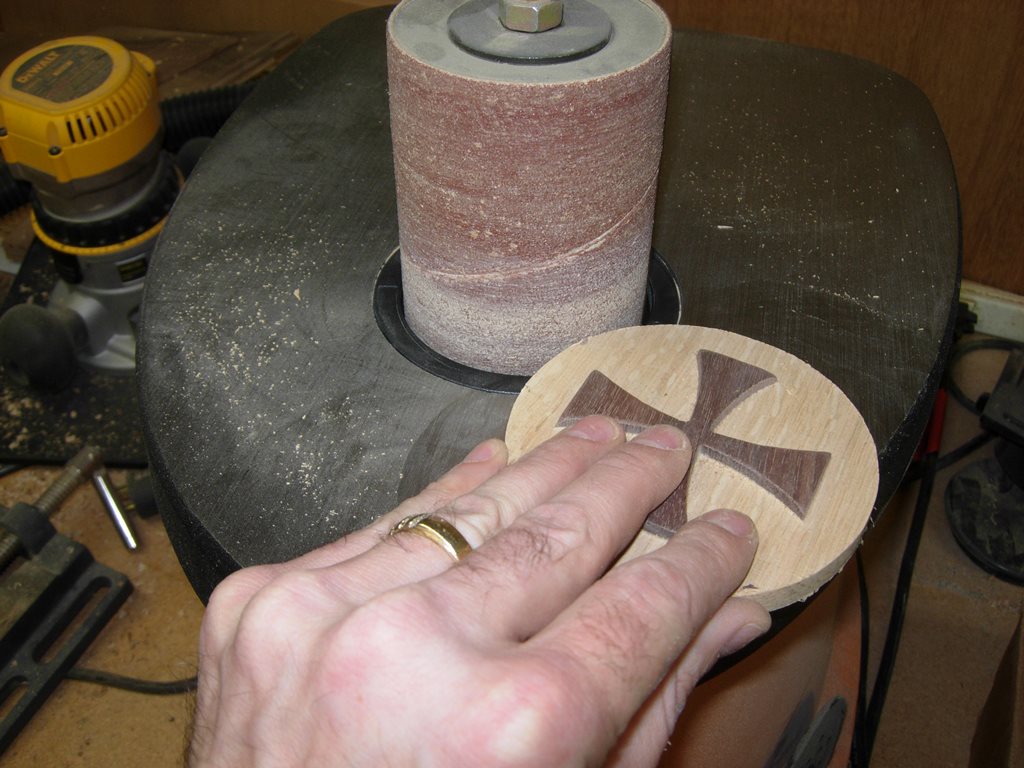
Cleaning up the carve
I attached my buff sanding wheel to my drill and cleaned up both of the carved panels.

Buff sanding the carve
Next, I went back to the drill press and drilled a couple of 1/4″ diameter holes down to just shy of the face, for recessing the magnets.
Drilling recesses for magnets
I pressed a couple in place to test. Ultimately I decided to use four, so I repeated the process on the sides of the counterbore as well.

I will try two first
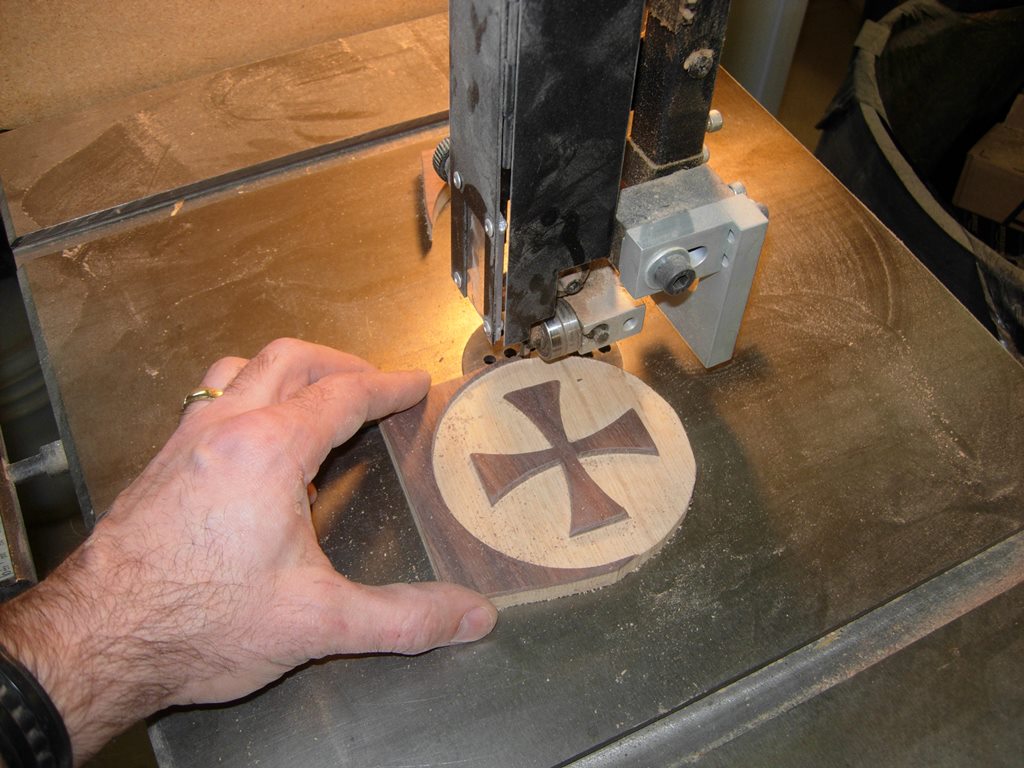
Cutting the circle door
With the magnets in place, I then cut out and sanded the circle for the little door panel.
Sanding the edges
Remember the back 1/8″ was attached with double-sided tape? I marked the edge so I would know where to reassemble later, then I slowly separated the two layers with a chisel, peeling the tape off, when they were apart.

Separating the back layer
After laying the thin panel in place, I easily located the magnets by simply laying them on the back and letting them jump to the closest magnetic field. Then I traced the location on the panel, and while they were still stuck in position, I marked the up side, of the magnet, with a sharpie. I wouldn’t want to assemble it with the magnet backwards. It would never stick… Next, I drilled all four 1/16″ deep holes in the 1/8″ panel to recess the magnets in.

Locating the magnets
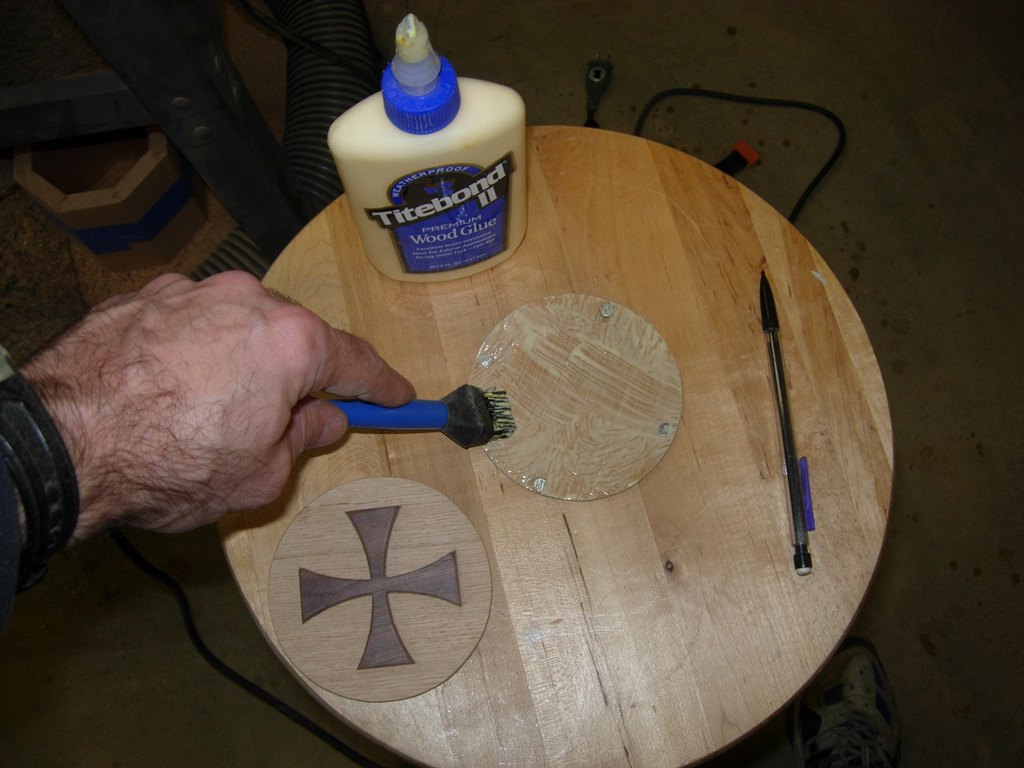
Glueing the magnet panel back on
I applied glue, then clamped the two layers of the door back together, making sure to line up my marks so the edges and grain lined up perfectly. After it was dry, I attached the door. It held fairly well with just a slight sag from the weight.
Hanging in there…

Planing the edges of the outer door panel
With the little door complete, I moved my attention back to the main door. I used my block plane to shape the curve of the door edges, to better blend the radius of the door panel with the radius of the cabinet body. I then sanded everything down smooth. While I was at it, I sanded down the rays on the side of the circle to match the curve of the door. they were flat before, and I thought they stood out too much.

Finish sanding the panel
I did a quick dry-fit to see how the door would look. Not too bad.

Door dry-fit
During the dry-fit, I realized that I no longer had a key hole so I located the keyhole and drilled a pocket large enough to mount the escutcheon. Since the key is short, I made sure there was also enough room for a couple of fingers to turn the key.
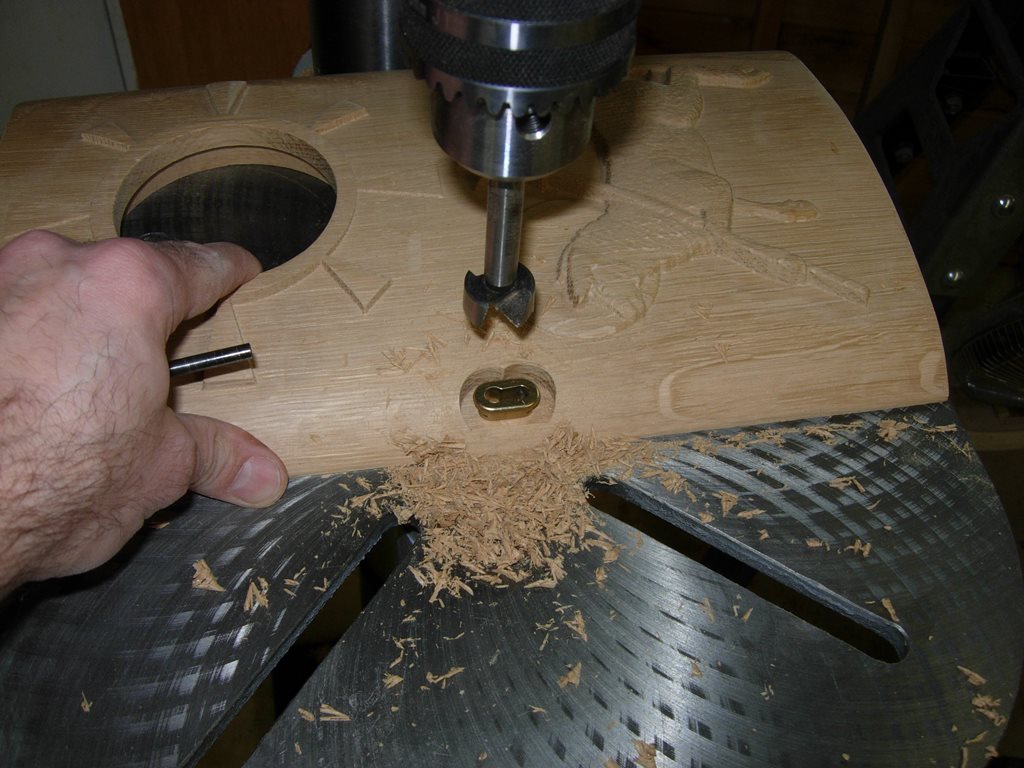
Creating a counterbore for the key hole

Blending the counterbore in with the curve
With my rasp, a chisel, and some sand paper, I blended the pocket in with the surrounding curve.

Finished shape

Applying glue to the back panel
Since it was almost midnight, the last thing I did was glue the inner and outer panels together.

Clamping up the door panels
