
Rob’s humidor project – day 1
Rob came back over last night to start a new project. He wants to build a humidor, so we did some research. I contacted Chris Adkins at High Rock Woodworking . He referred me to a set of plans on the Fine Woodworking website. I also bought a book with designs for several types of boxes including a humidor. All of our research led to the conclusion that the main requirement was a spanish cedar lining. The outside of the box could be virtually any other wood product. I have some left-over pieces of walnut from a previous project that I let Rob select from. We found a piece that he liked and set it aside. I also have a bit of spanish cedar tucked away, so the only purchase required will be the hinges and latch. After a week or two of reviewing the different designs, Rob decided on a hybrid of all of them. We will be making this one smaller than a normal humidor. Large enough to hold around four or five cigars and a humidity tube to maintain the 70% humidity requirement. He decided on rabbets to join the sides, top, and bottom, with the end grain showing on the sides. We decided to build a prototype box to test the design, so that is what we started last night.

Rough cutting the panels
We started with a 6-1/4″ wide x 32″ long x 7/16″ thick piece of walnut. Rob rough cut the 8″ lengths, then stacked the pieces together and cut the exact 8″ length on the top, bottom, and side pieces all at the same time. The 5″ piece, for the ends was cut last.
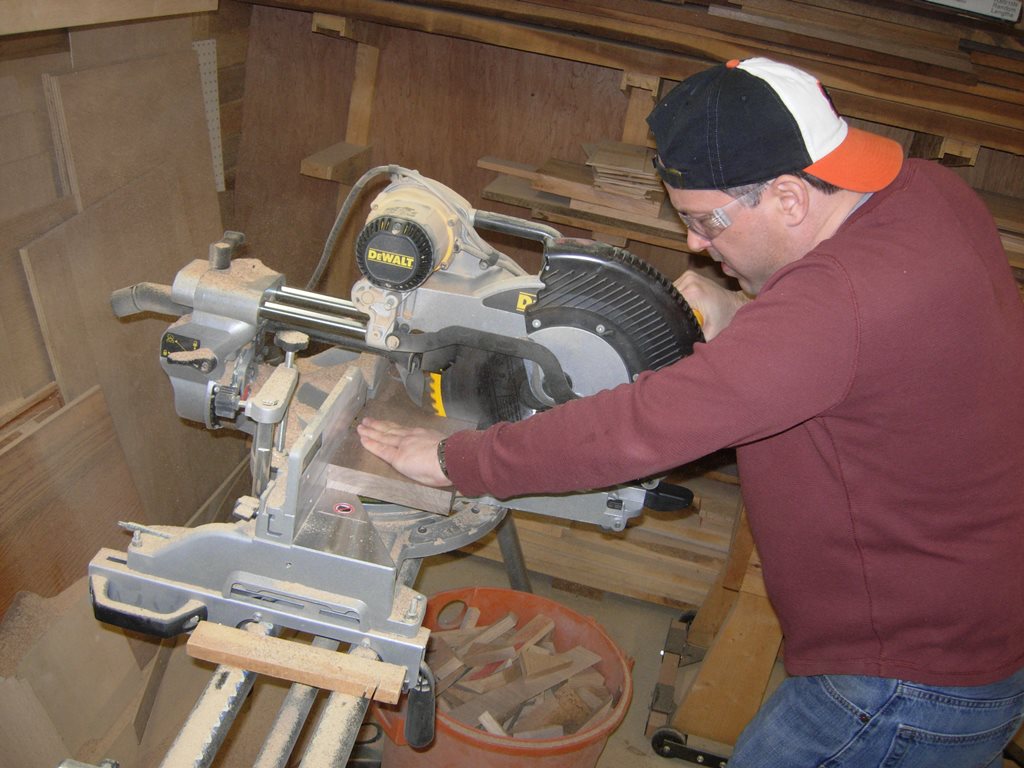
Cutting all the top and side pieces to the exact length
Since the box will be 3″ tall, he ripped the end piece and one of the 8″ long pieces to create the four sides.
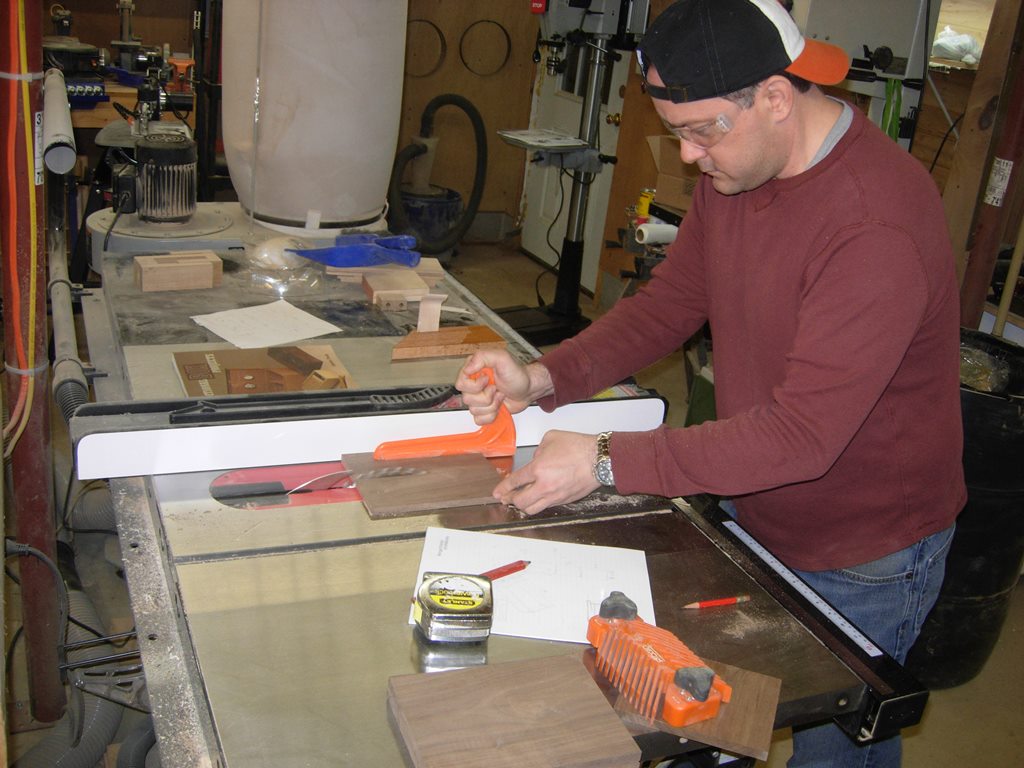
Ripping the sides to 3″
The next step was to set up a straight-cut bit in the router table and cut the rabbets. We initially had a bit of tear-out so I increased the speed of the router and that seemed to take care of the problem.
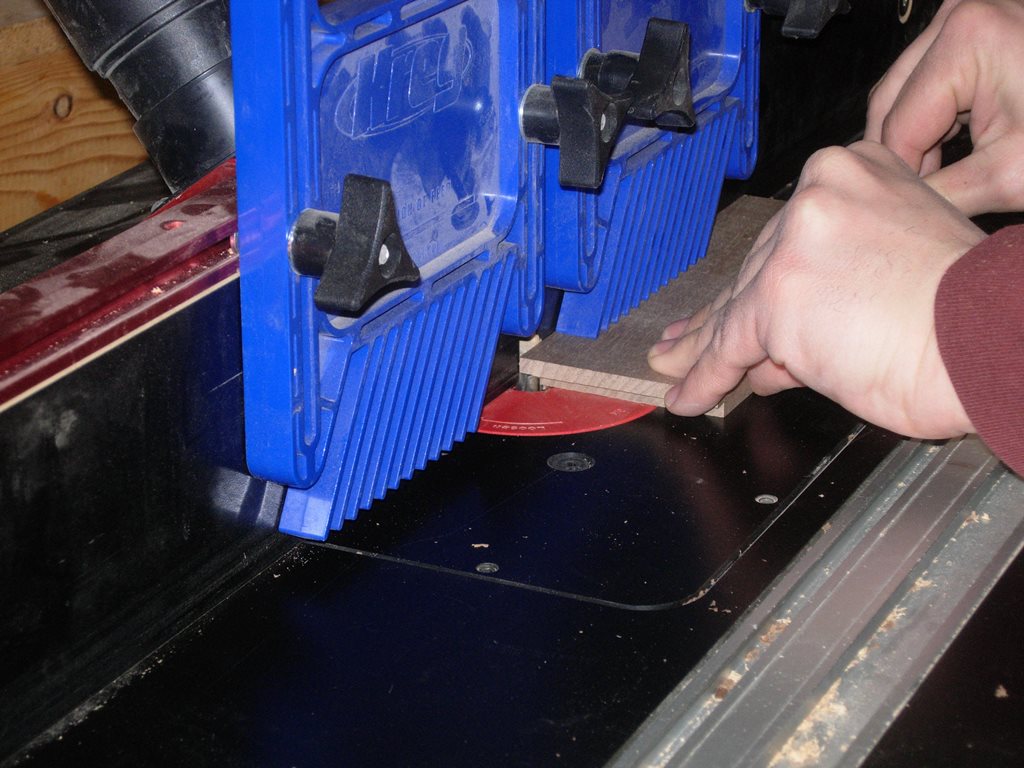
Cutting rabbets on all the sides
Next, we dry-fit the sides and clamped them to get the exact measurements for the top and bottom.

Dry-fit of the prototype
Unfortunately, we spent so much time reviewing and discussing the design, that we only had about an hour to work. Hopefully we will be able to progress much farther, with the prototype, next week.
