
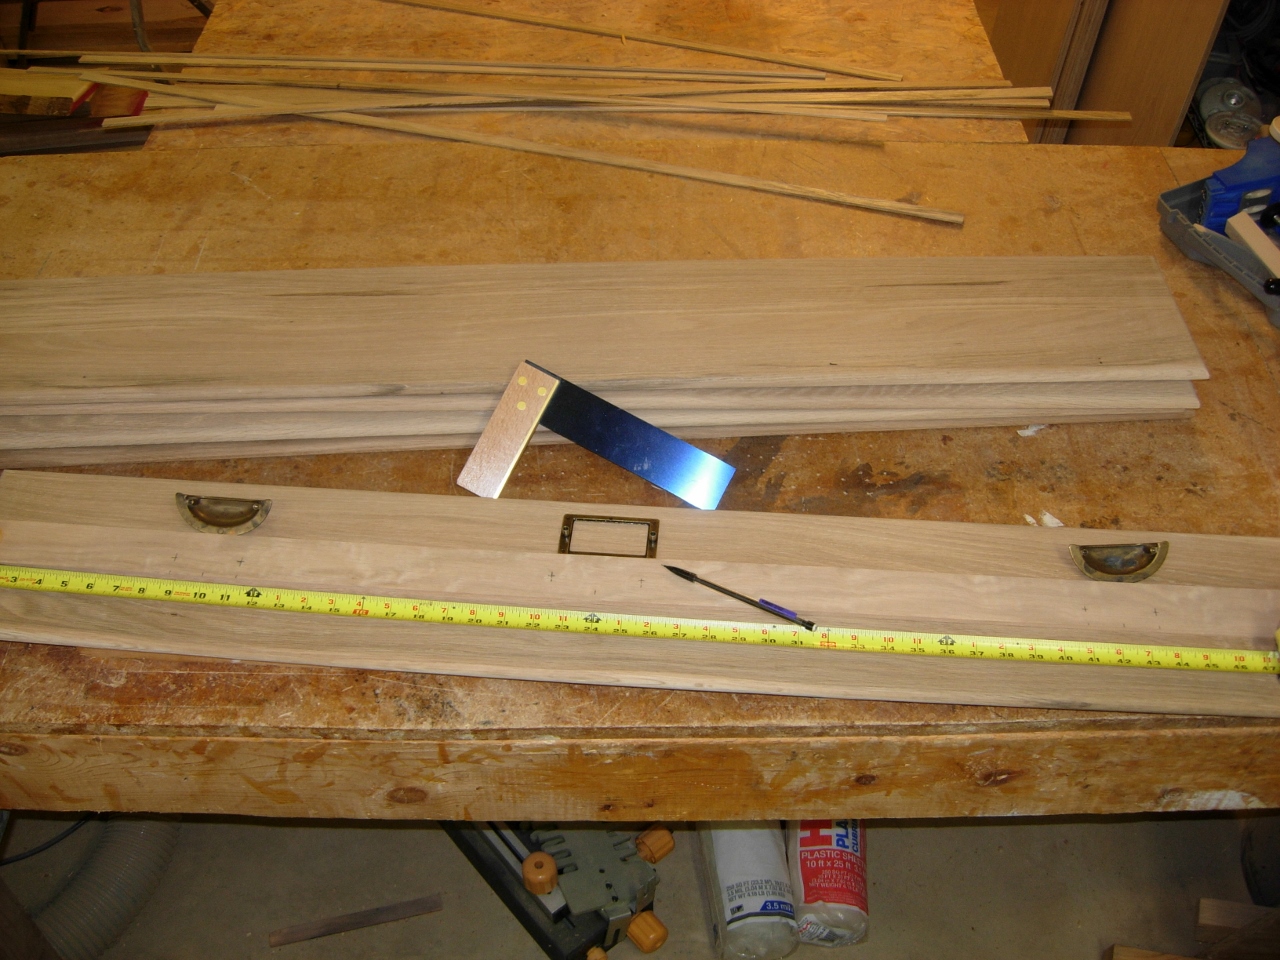
Altar cloth and storage cabinets – day 11
Today’s project was to complete the drawer faces.

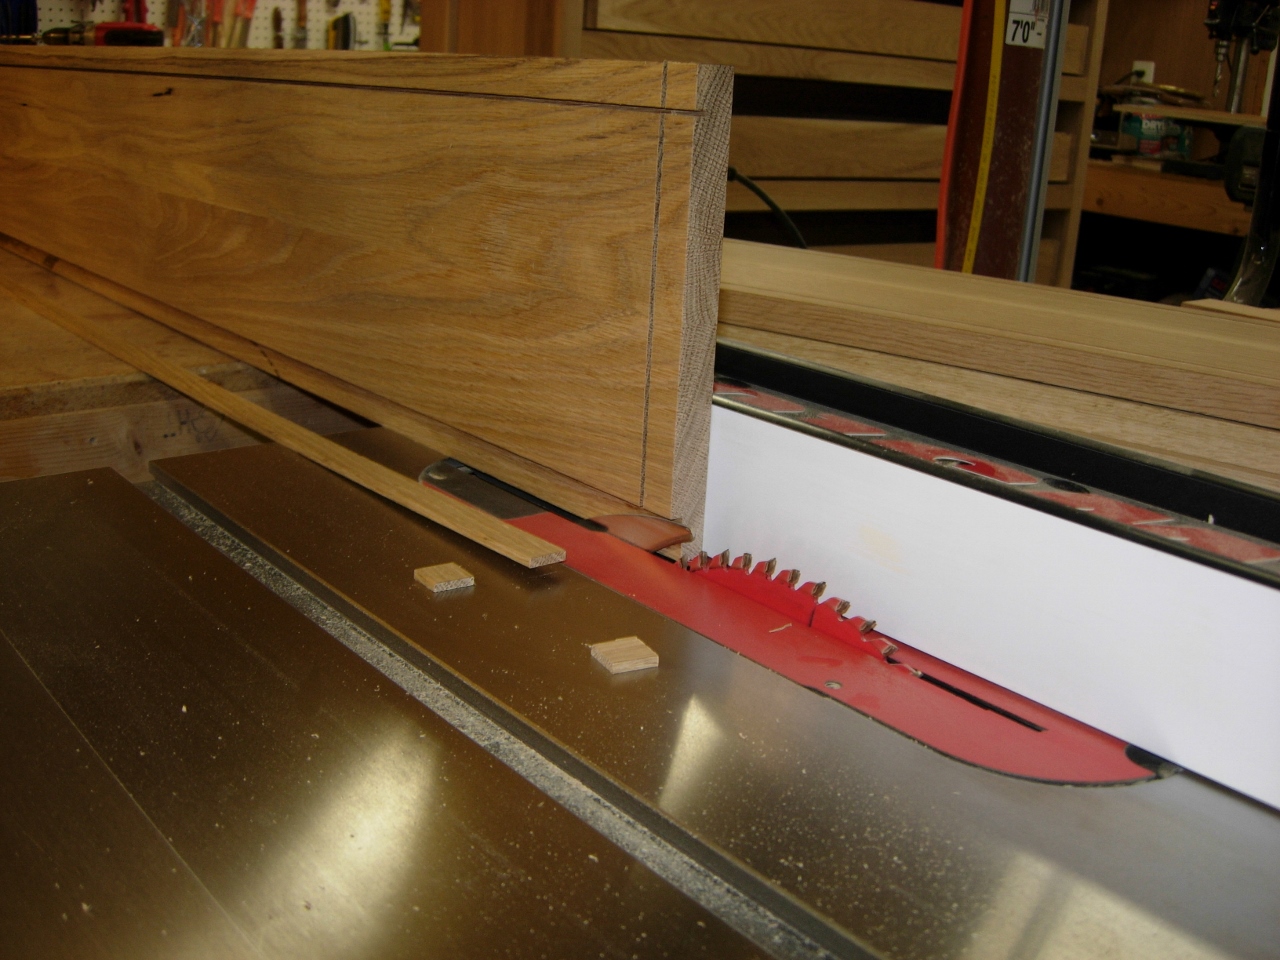
Notching the back
I started with the boards that I glued up and cut down about a week ago. I wanted to use a 3/4″ thick drawer face to mate up to the 3/4″ front of the drawer. I like to think that the thicker my faces, the less likely that they will cup or twist when acclimating to a new environment.
Long sides cut out
Since the drawers that I am matching, only have 1/2″ thick faces, I need to notch back the outer 3/4″ a 1/4″ so that the edges of my drawer faces are only 1/2″ thick, but the rest will stay 3/4″ and be recessed into the opening. I cut the notch, on my long sides, out on the table saw. My ceiling is too low to stand the faces on end to cut the rest, so the ends were notched on the router table.

Notching the ends
Next, I cut a 3/8″ round-over around the front face.

Cutting the round-over on the face
I sanded down both the front and the back with my orbital sander.
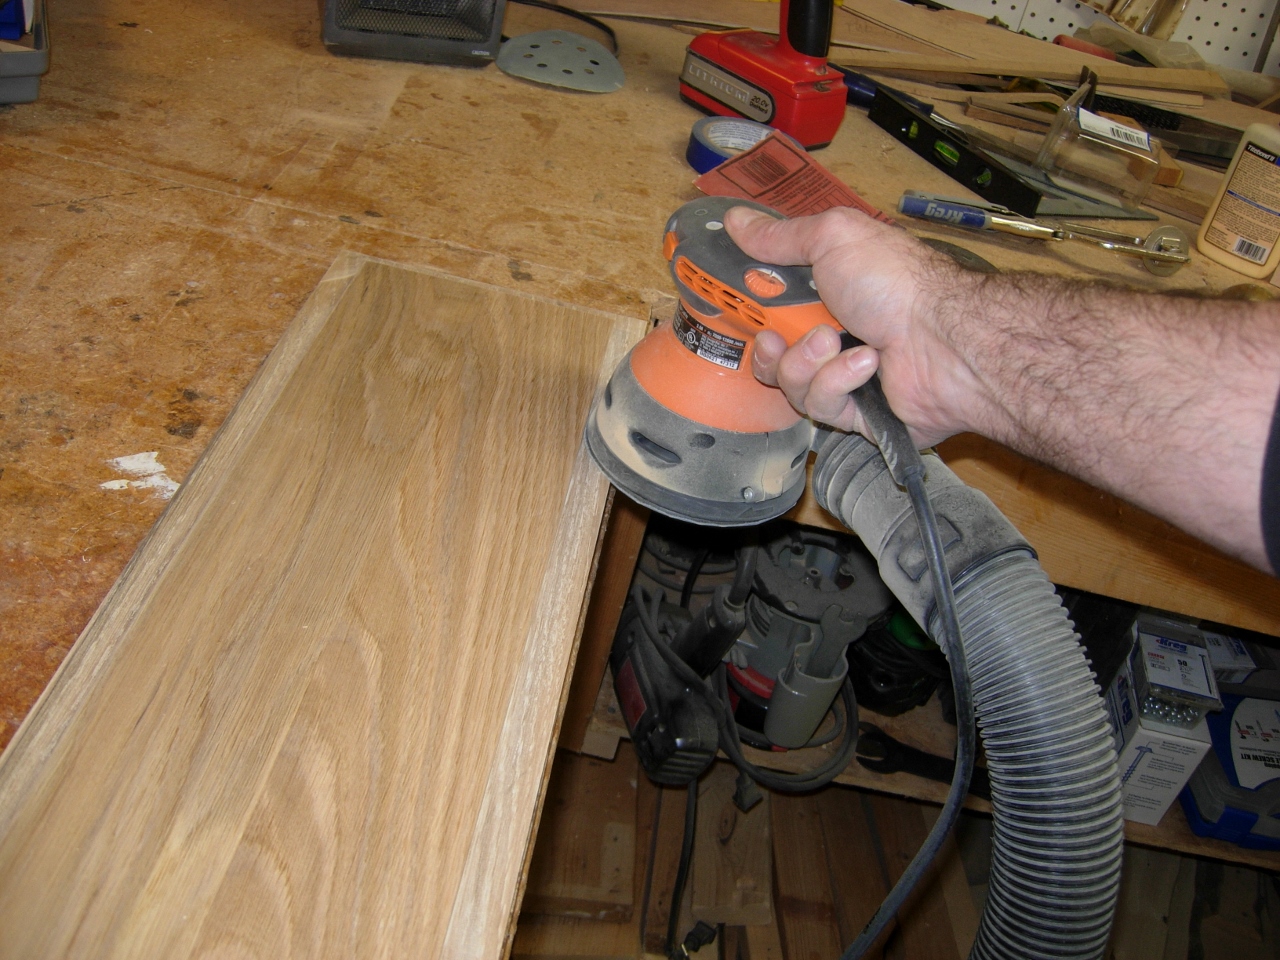
Sanding the face boards
The next step was to lay out and install the drawer hardware. To do this, I clamped a thin strip of 1/4″ plywood to the drawer face, to use as a template. Next I laid out the holes for the hardware on the template.
Laying out the hardware locations
I drilled all of the holes and tested the hardware to see how well it fit. The pulls were slightly off so I drilled them slightly wider to allow a bit of slop for assembly.

Hardware located
Once I was happy with the layout, I clamped the template to the other four drawer faces and drilled out each of them as well.
Drilling the pilot holes on the rest of the faces
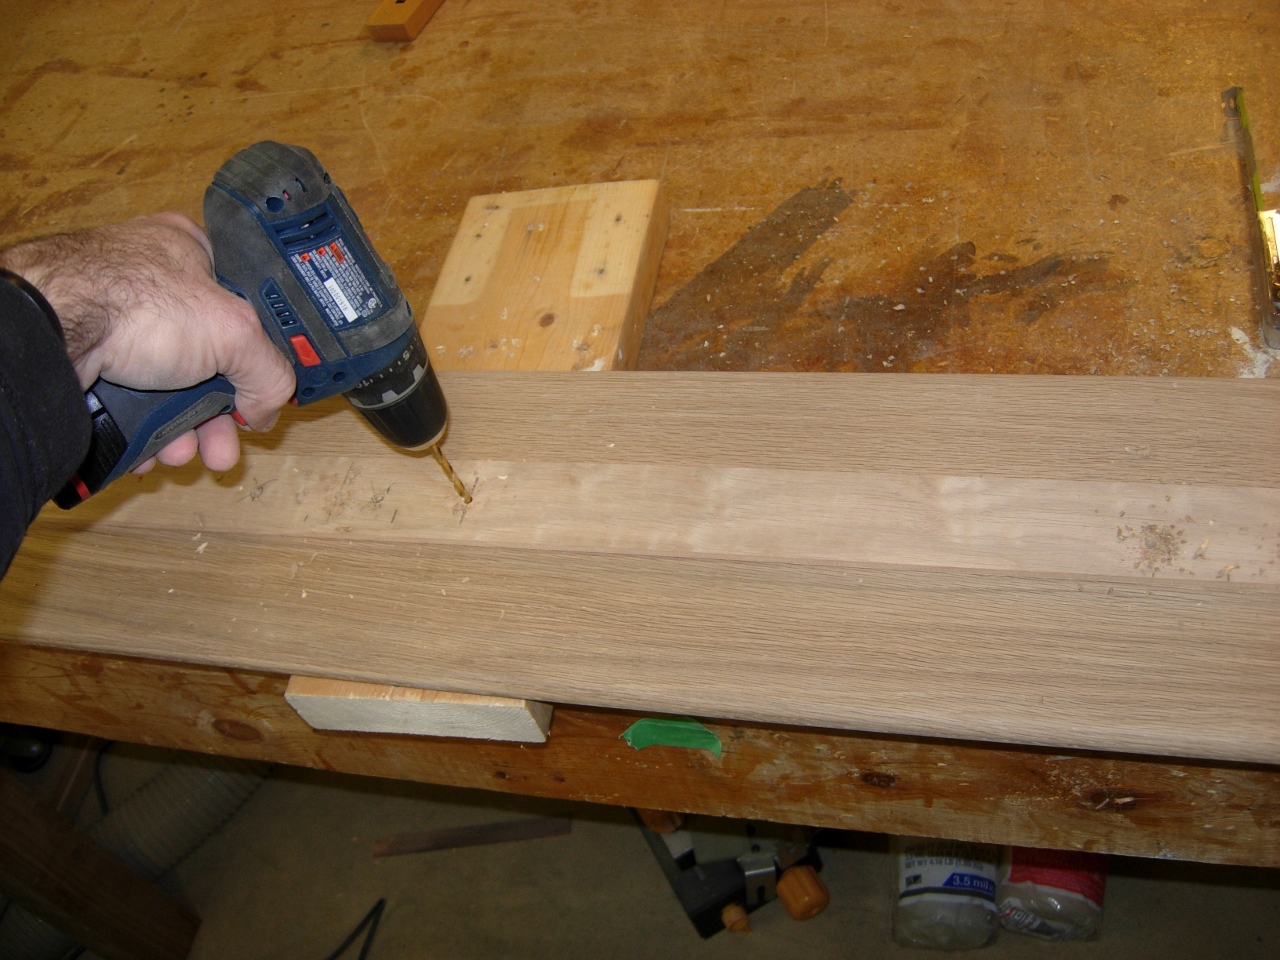
Since the hardware will have to be mounted from inside the drawer, I needed to attach the face, in order to drill pilot holes through the second board. I clamped the face in place then installed six screws to hold it on.
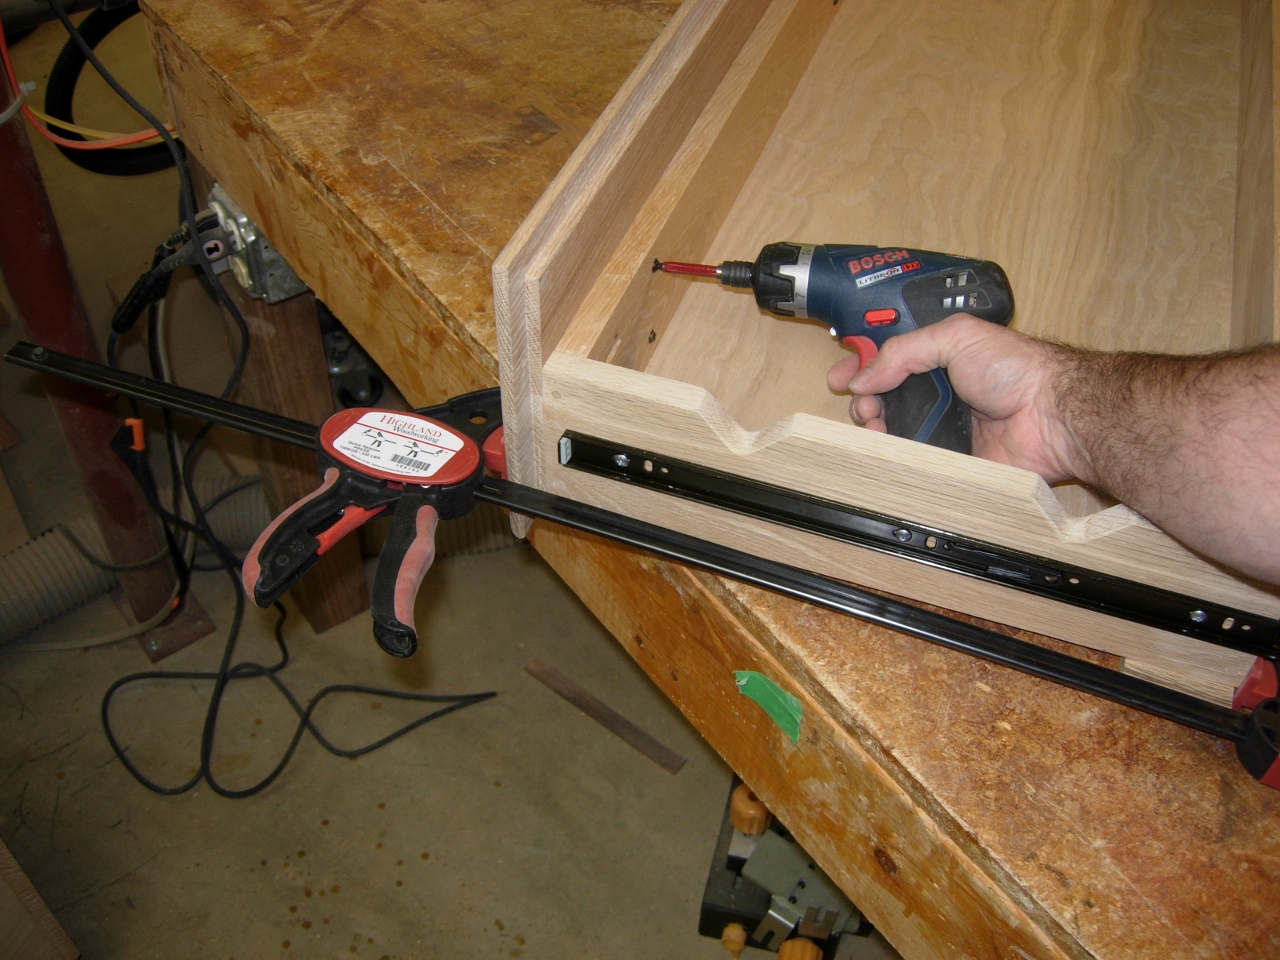
Attaching the face to the drawer
I drilled the counter-bored holes for the card holder, in the center. The counter-bore needed to be 1/2″ deep, so I used a piece of tape on my drill bit to set the stop location.
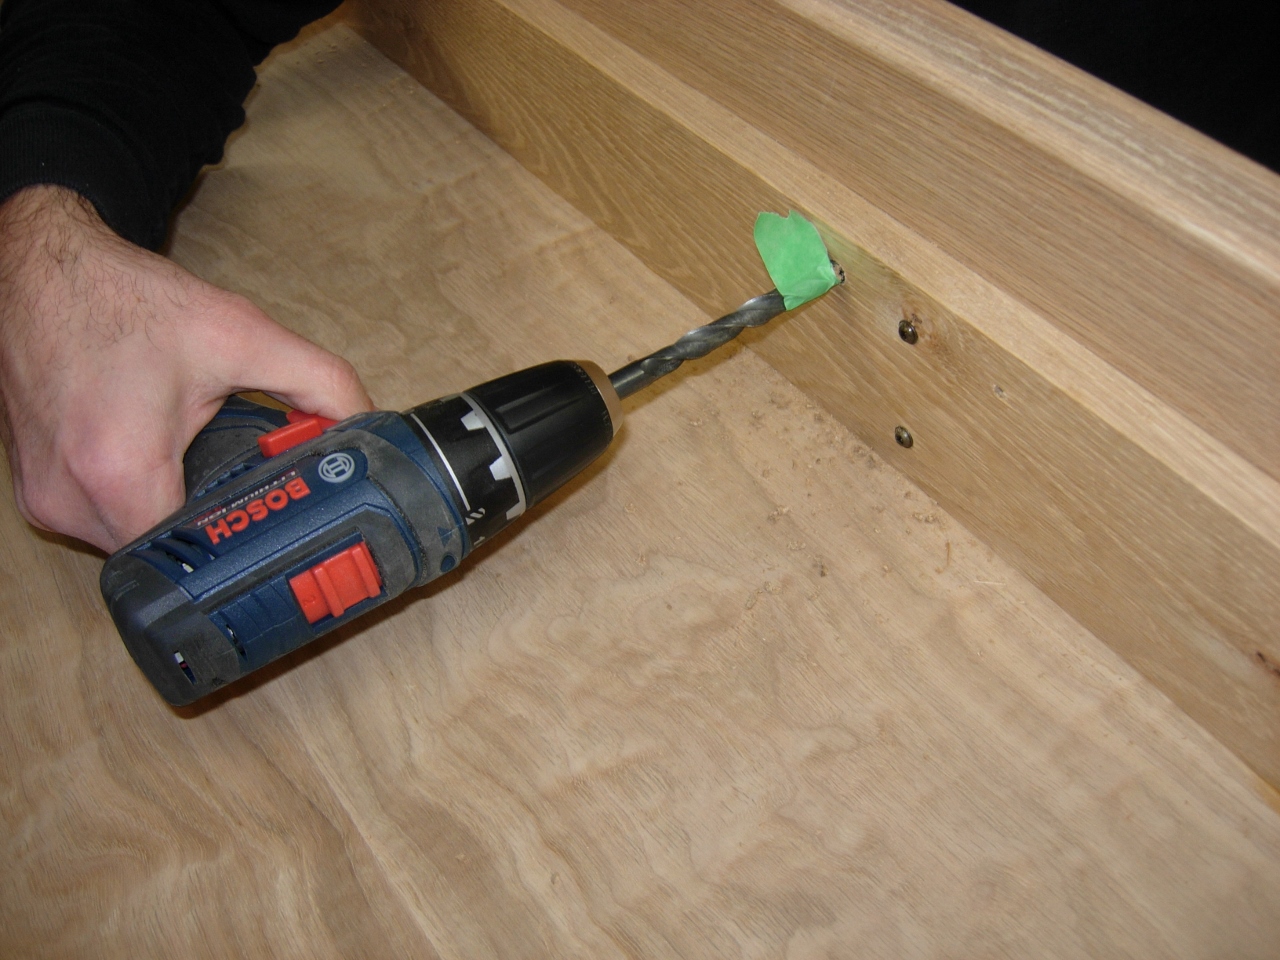
Counter-sinking the holes for the card frame
The rest of the holes were just clearance holes, so I unscrewed five of the six screws that held the face, and rotated it out of the way. Then I drilled the 1/2″ clearance holes for the pulls.

Drilling clearance holes for the pulls
I rotated the face back in place and reattached it. Then I attached the hardware for drawer one.

First one complete
It seemed to take a while to do the first drawer, because I had to keep switching bits. I had to use three different drill bits and two screw bits (Phillips and square). It occurred to me that I had asked my wife to augment my 12v Bosch screw gun collection this past Christmas. I believe that I now have one of each type… I bought my 20v Craftsman when I was building one of my house additions and it works great, but the 12v ones are the perfect size for the shop. Why so many? Well, they have different uses. I had the magnetic quick-disconnect hex headed one, and I wanted the impact driver and the one with the adjustable chuck. The kit I got for Christmas had the impact and another quick disconnect. It was supposed to have the adjustable one, but they were out, so my wife got a similar kit instead. I picked up the adjustable one on sale at a tool show after Christmas. Due to buying several kits, I now have six batteries and three chargers as well. They will be very useful when I go on my mission trip with the youth group in July. But for now, they also cut drawer assembly time completely in half. I finished the last four drawers in about an hour.

Nearly all of my screw guns…
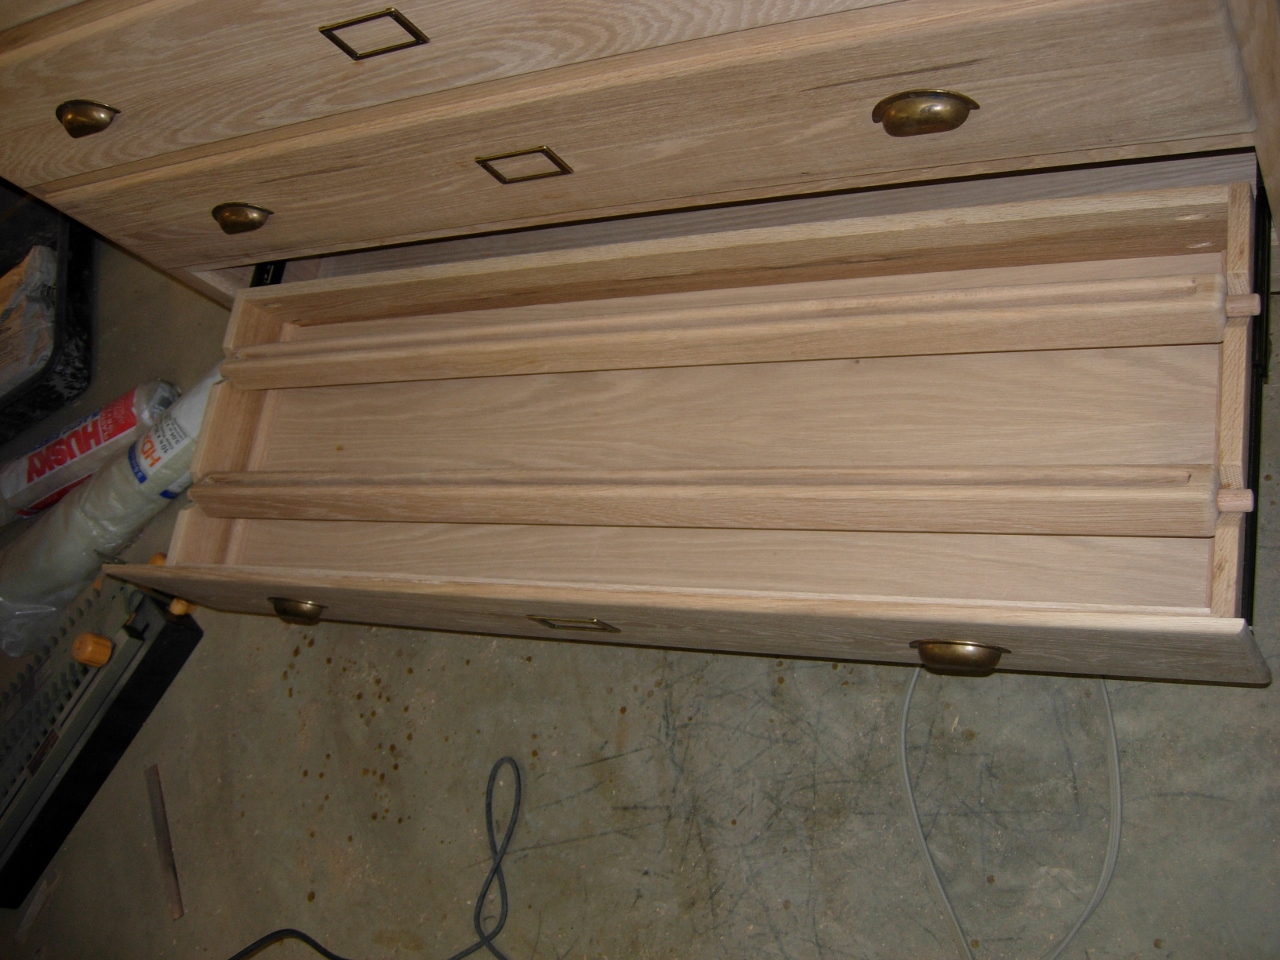
Spindles resting in place
I grabbed the spindles and set them in the drawers.
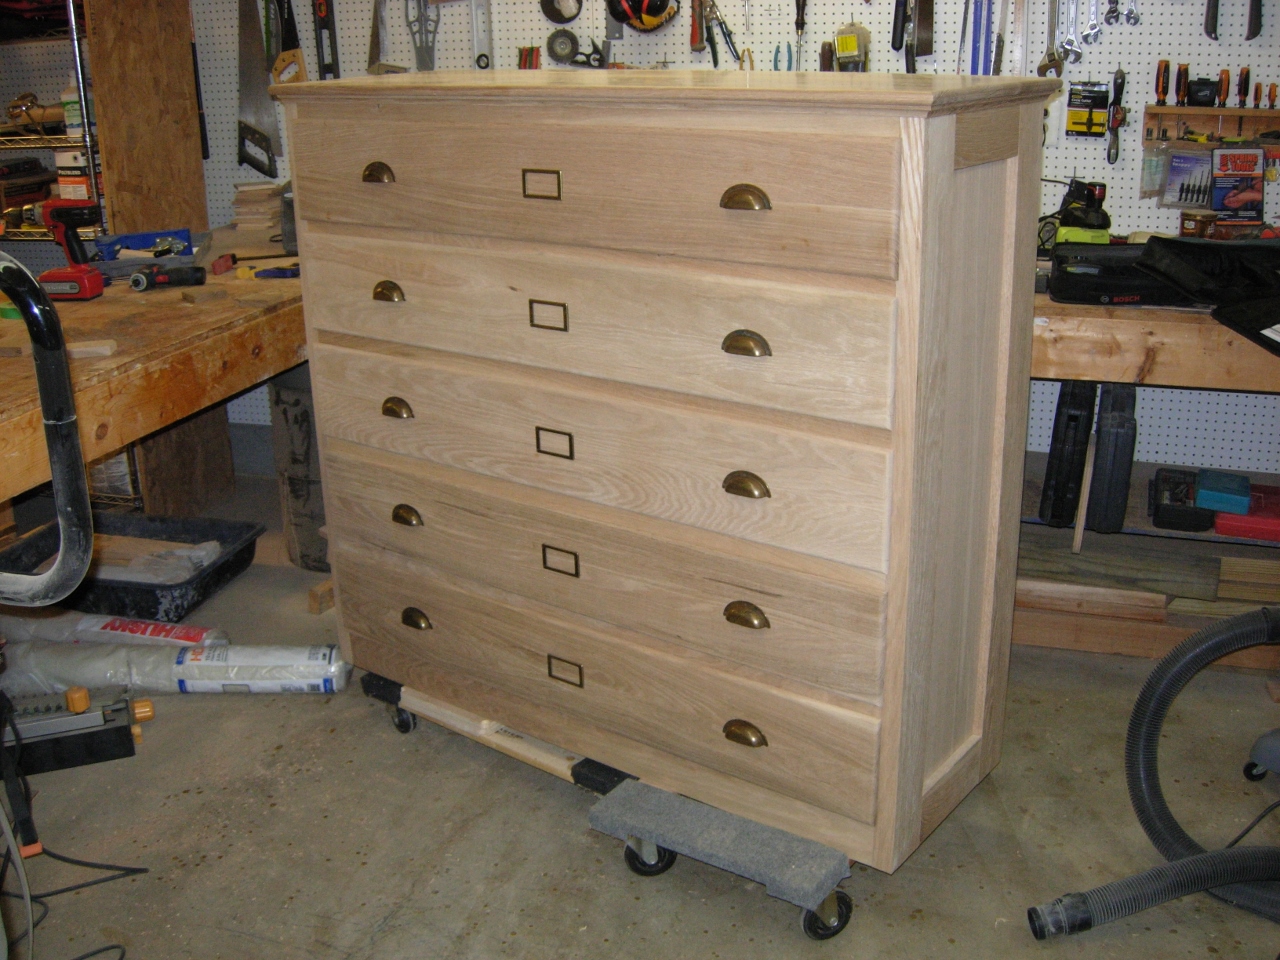
All hardware and faces installed
Here is what it looks like complete. All that is left is a couple of coats of polyurethane.
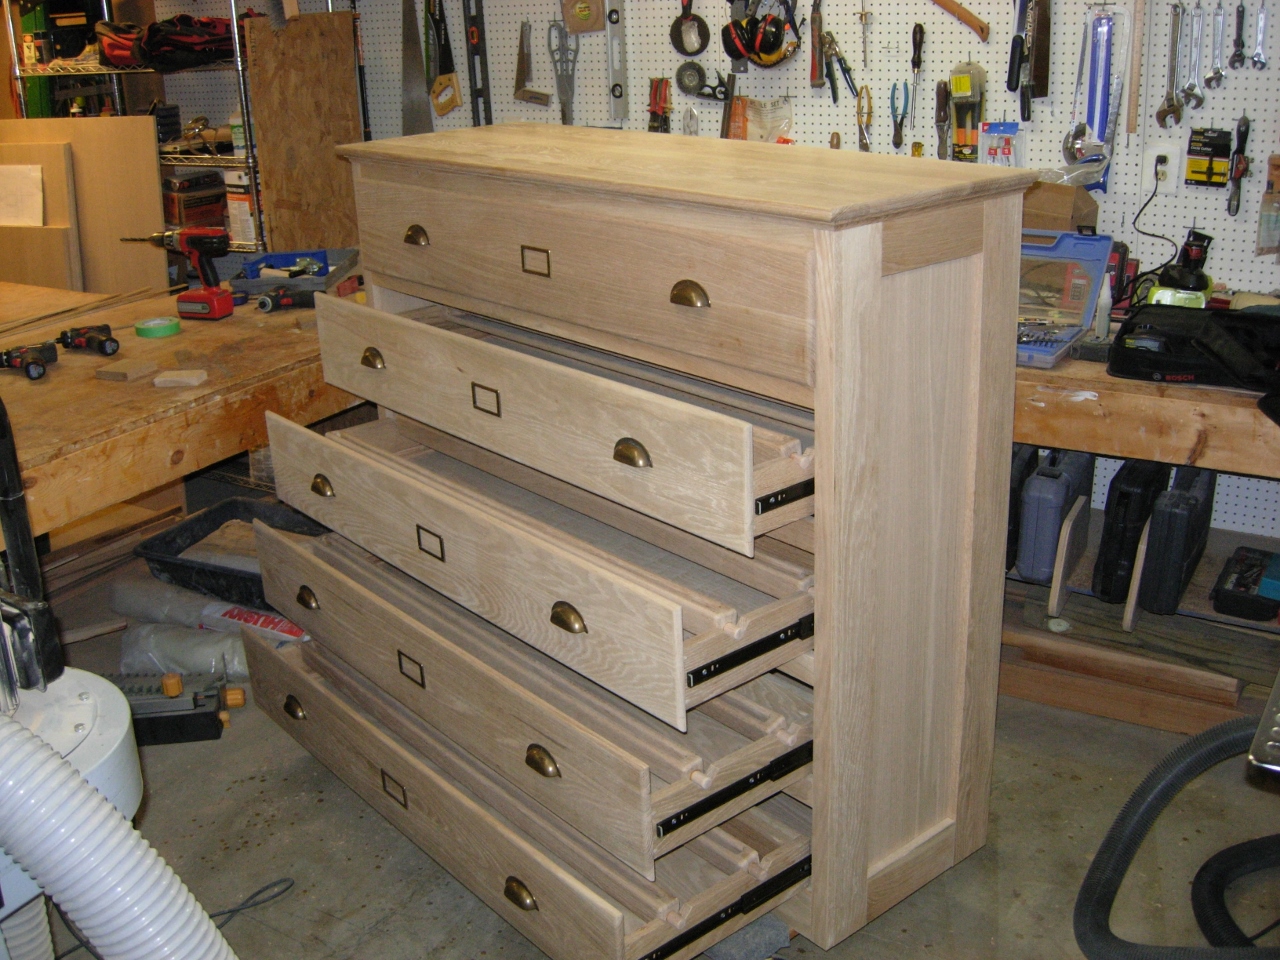
Cabinet complete and fully functional
I think I will assemble the other cabinet first and spray them both at the same time.
