
Altar cloth and storage cabinets – day 10
I am closing in on finishing this cabinet. I gathered up all of the trim, that I milled for the sides, a couple of days ago. I sanded all of the exposed surfaces. It is way easier to sand it all individually, than sanding it all assembled.
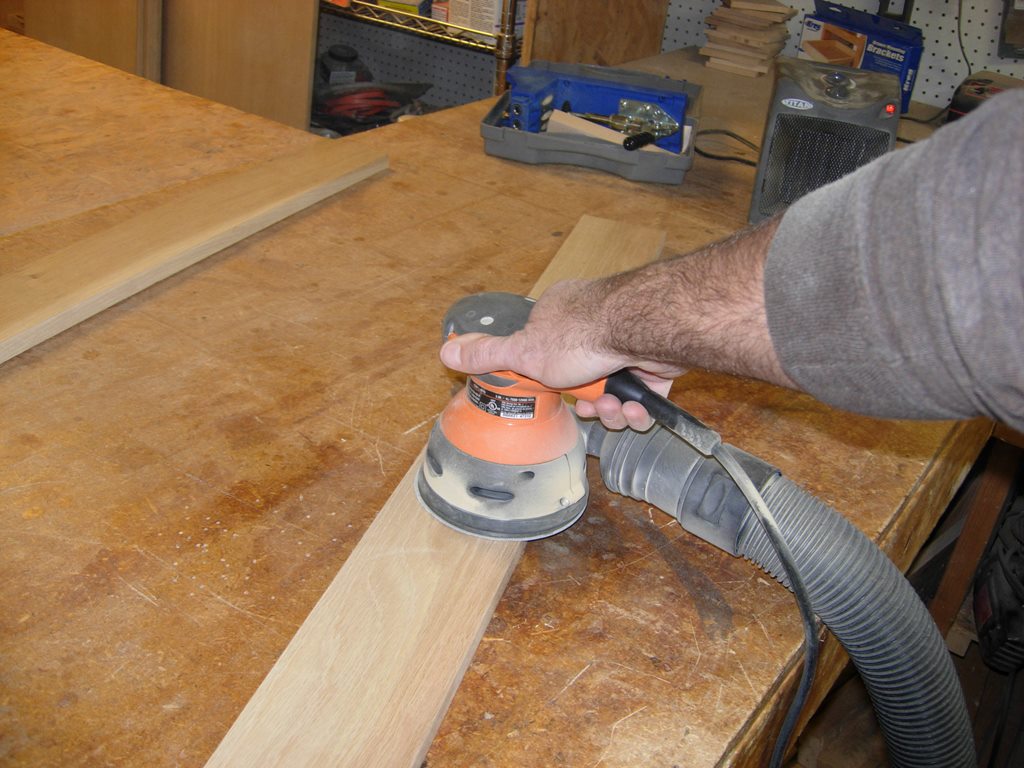
Sanding the trim
Once sanded, I took all of my vertical pieces over to the miter saw and cut them to length.
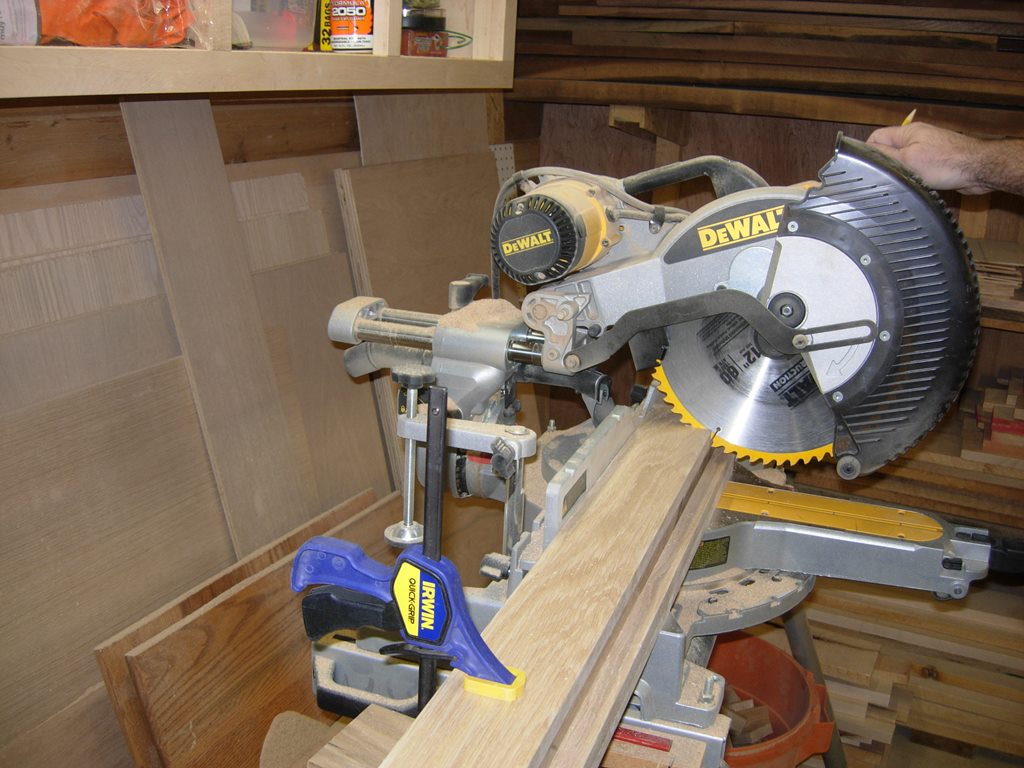
Cutting to length

Applying glue
I applied glue to the trim piece that butted up against the face frame, then clamped it to the cabinet and the face.
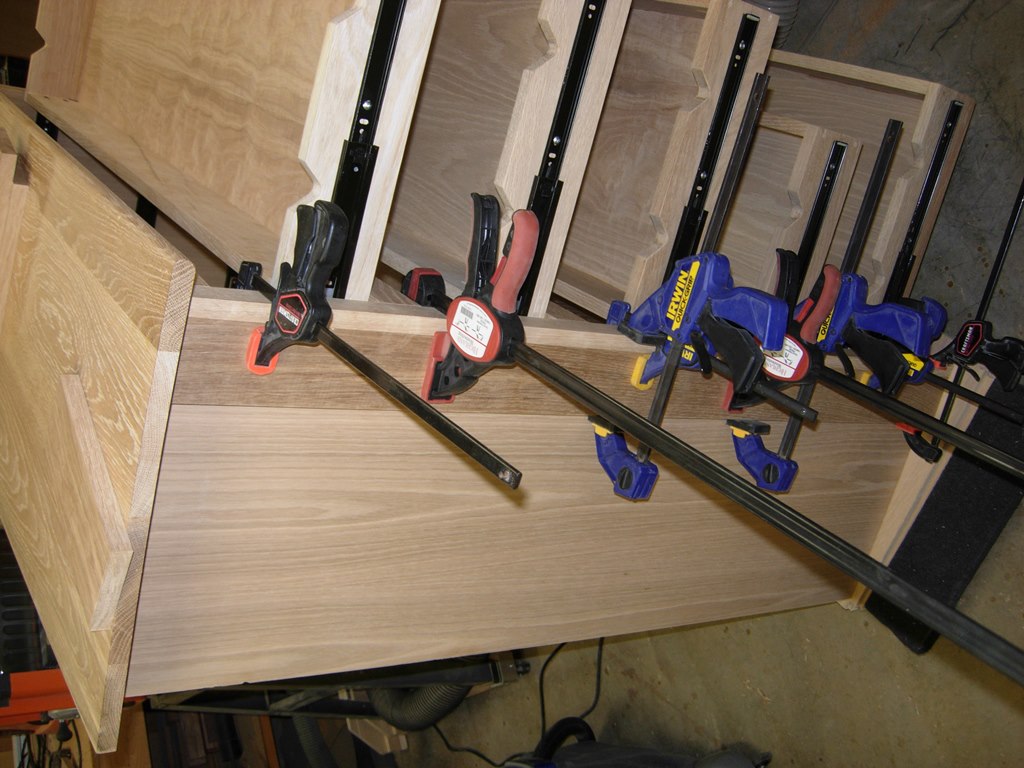
Thoroughly clamping on the trim
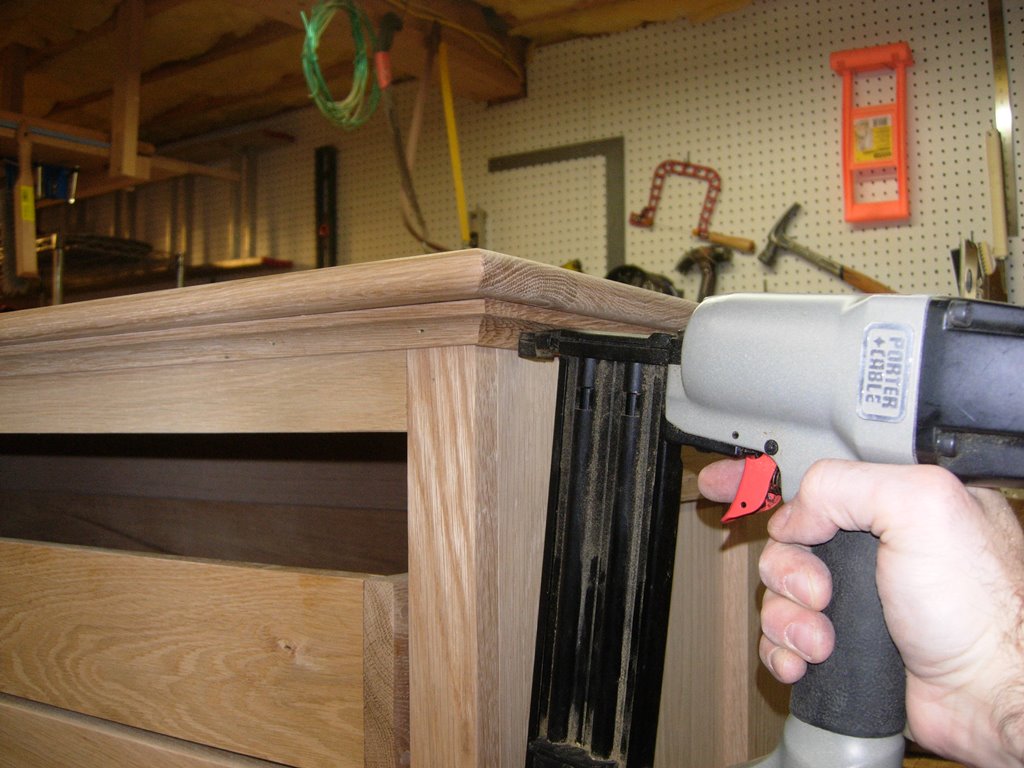
I attached it by nailing it on from the inside.
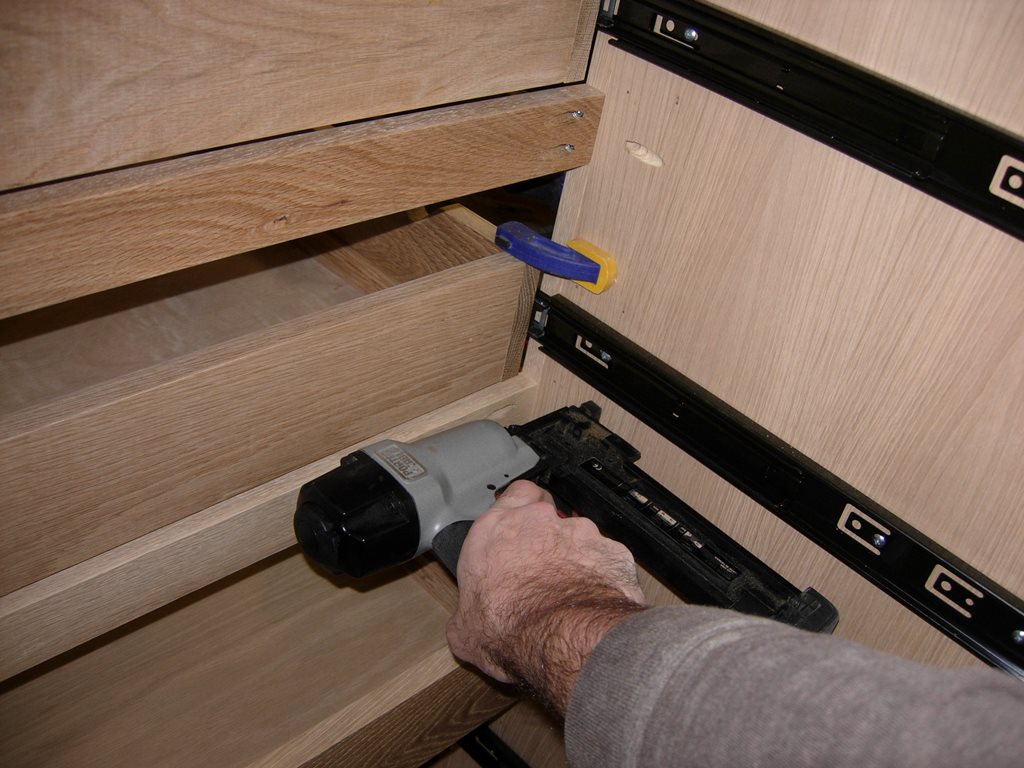
Nailing it on from the inside
After the first piece was attached, I repeated the process all the way around the side.
Right side done
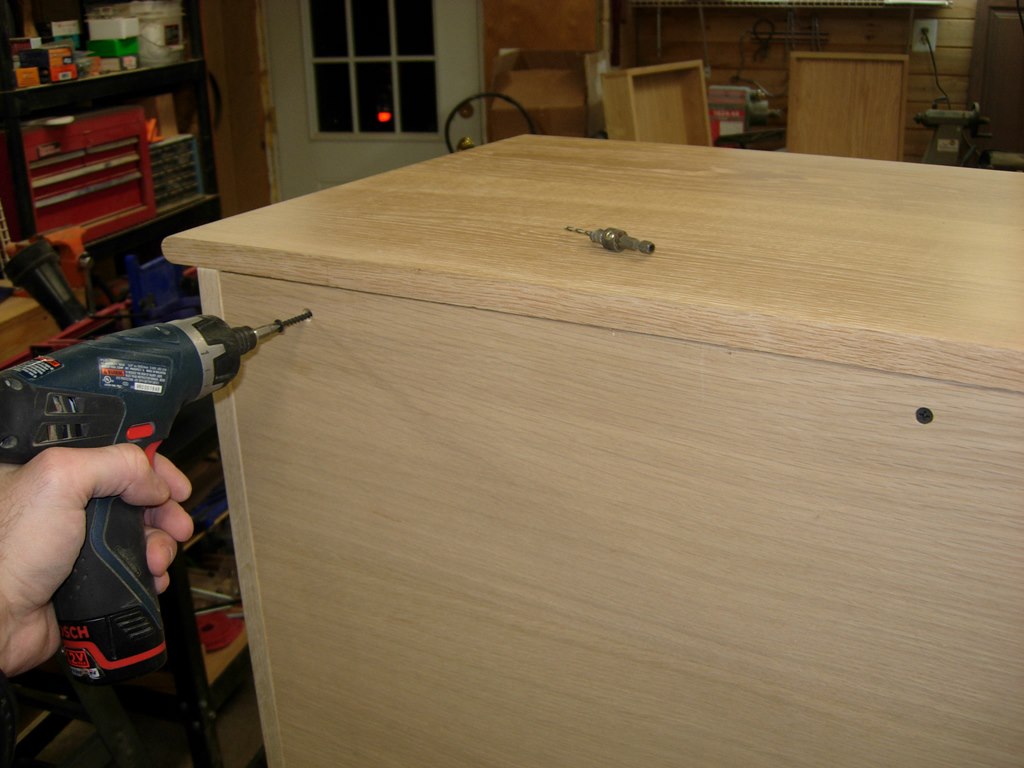
After doing the trim on the opposite side, as well, I lined up and attached the top through the pocket holes.
Attaching the top
I trimmed my piece of 1/2″ plywood to fit the rear exactly between the two pieces of trim that extended 1/2″ past the sides. I drilled and countersunk some holes so that the wood screws, that I attached the panel with, would sit flush.
Attaching the back

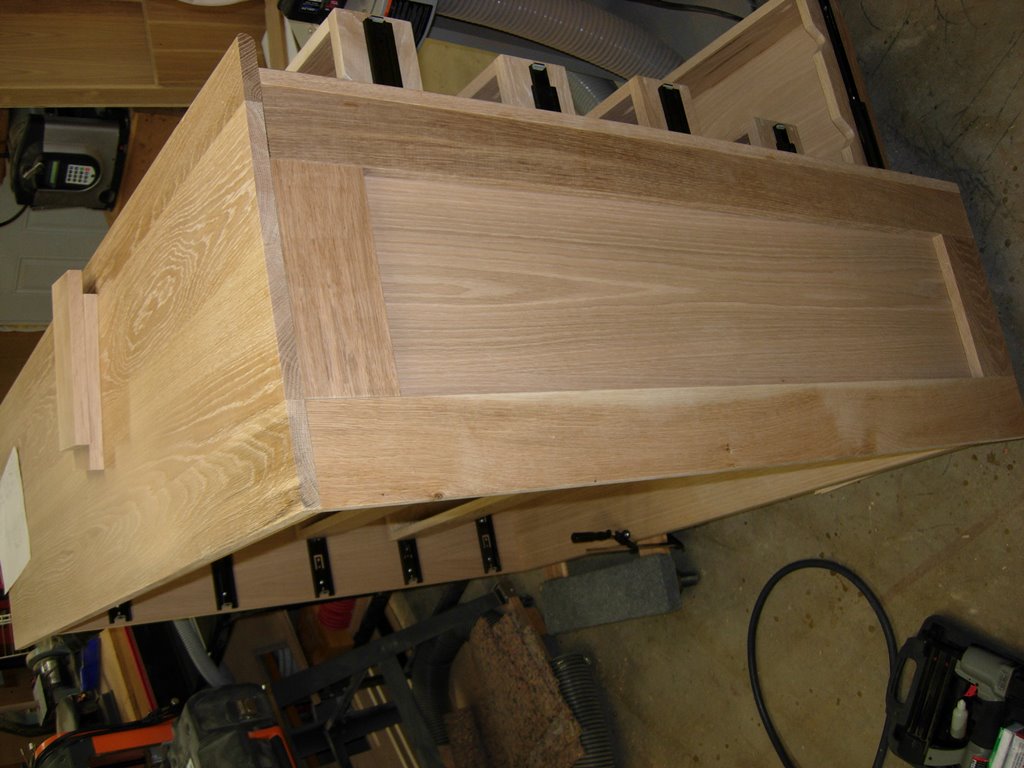
Trim, top, and back installed
My face frame was deliberately created to be slightly over-sized. This was to make sure the side trim did not stick past the front edges. The trim was easily planed down with my jack plane, then I sanded the trim flush to the sides. It would have been smarter not to have assembled the top first, but it was removable, so no big deal…
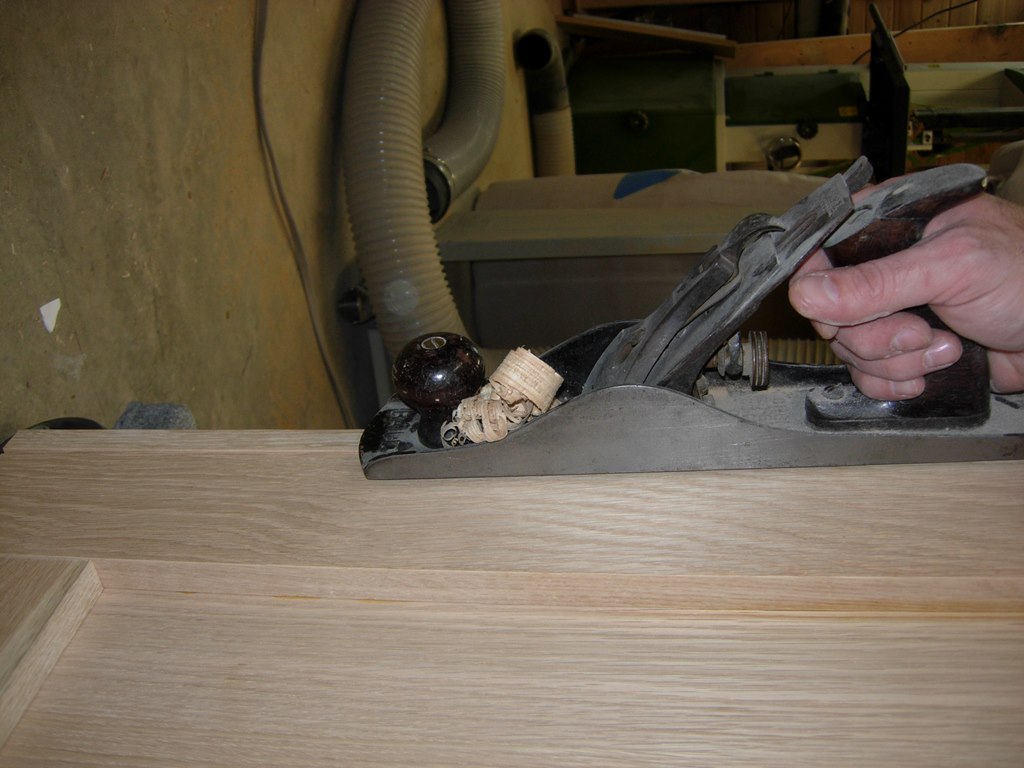
Planing the front edge flush
Once that was finished, I attached the cove trim to the underside of the top. I made sure to nail the side trim to the side, and the front piece of trim to the face frame only. This cabinet has gotten really heavy, so I designed it to be disassembled if needed. If I cannot find an assistant to help with delivery, I will need to do it myself, in pieces…
Attaching the cove trim
Everything is assembled and the drawers still operate smoothly. The only thing left to build are the drawer faces.
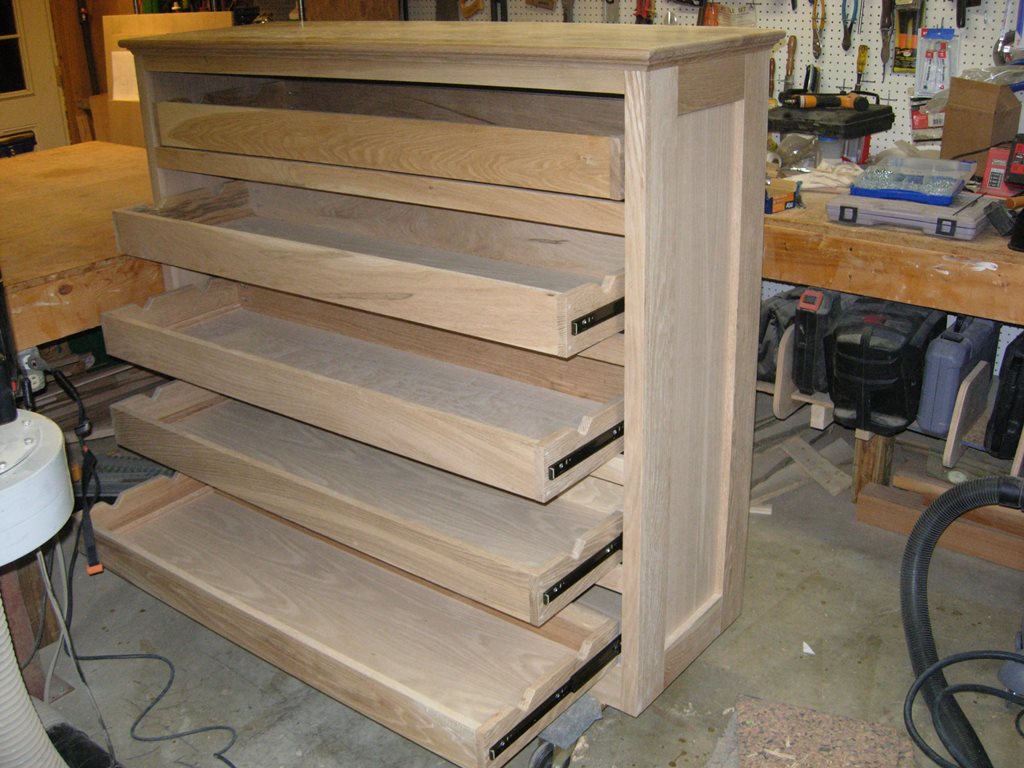
Everything assembled but the drawer faces
