
Rob’s end tables – day 2
Due to the weather, and a few other obstacles, Rob couldn’t come over to work on the end tables last week, but the snow held off long enough this week. The panels, that we glued up, were dry and ready to be smoothed down. It was late when I clamped them up, and I hadn’t noticed how much the panels had shifted. So we had a fair bit of work smoothing things out. I started out by showing Rob how not to use a hand plane… Apparently they need sharpening so that will be a lesson for another day.
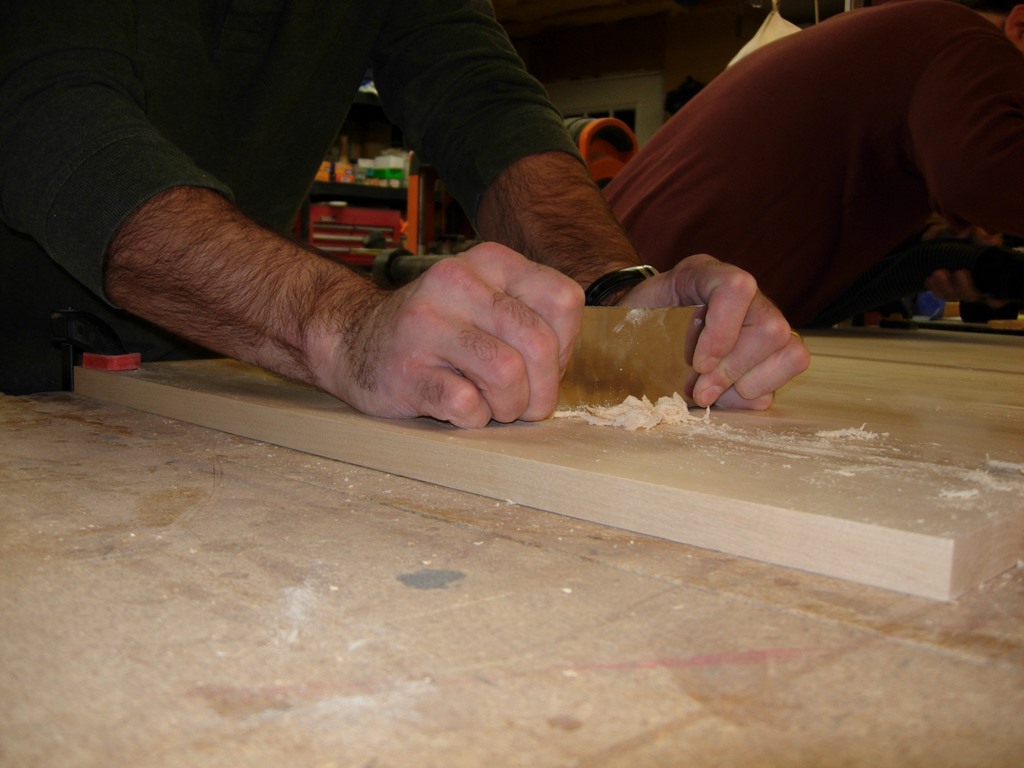
Scraping the joints down
Instead, I took down a majority of the high spots with a card scraper while Rob got to play with the orbital sander.
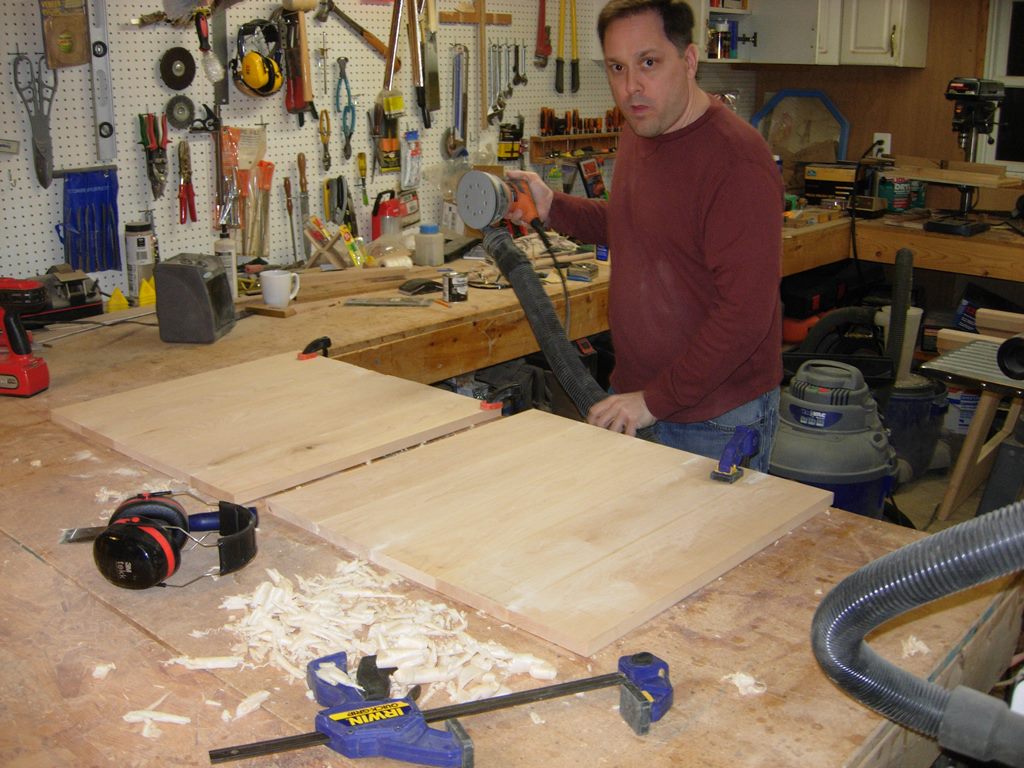
Preparing to sand
We started with 80 grit paper to aggressively level things out, then worked our way through 120, then 220.

Sanding the panels smooth
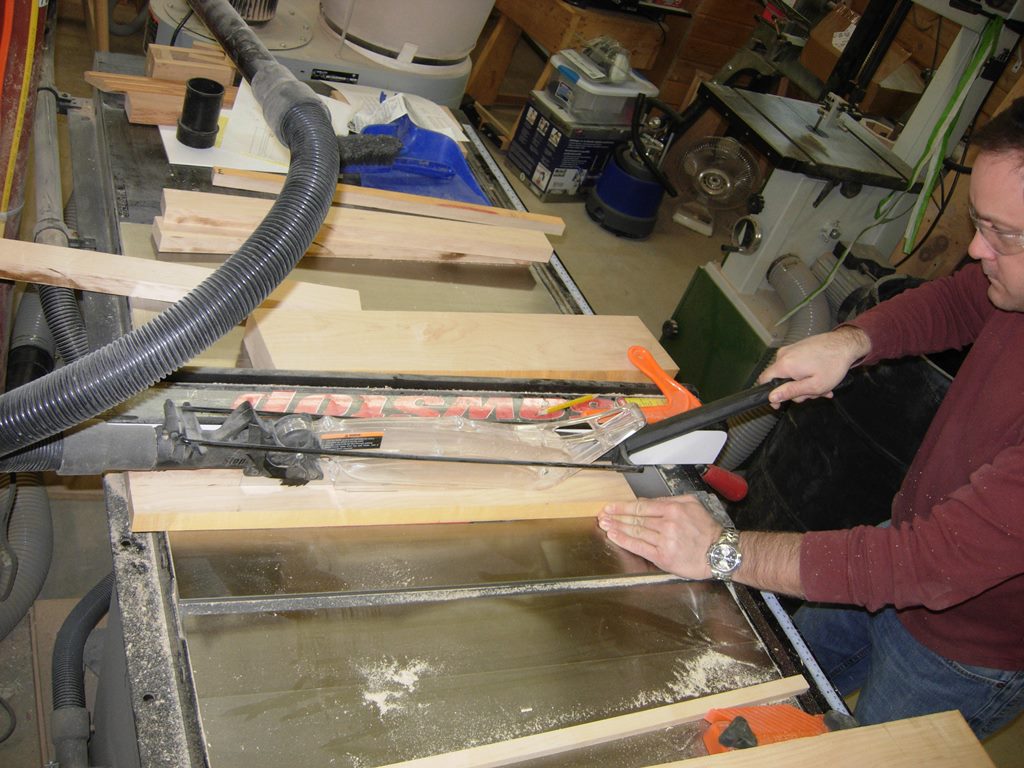
In the end, the top is a bit wavy, but very smooth. When I clamped up the tops, I tried to ensure that one edge stayed as straight as possible so we could square things up on the table saw. Rob cut 1/4″ off of the rougher side, then turned the top panel 90 degrees to cut an equal amount off of the side. We then moved the fence in 1/8″ and repeated the process on the other two sides. This left us with two parallel sides that were perfectly square.

Squareing up the ends of the table tops
We set the tops aside, and started work on the bottom of the tables. I pulled a couple of boards and we cut them down to 2′ lengths. The legs are only 20″ long and the skirt is a few inches shorter, so we left the rough blanks extra long to accomodate any snipe that we may get when planing the boards down.
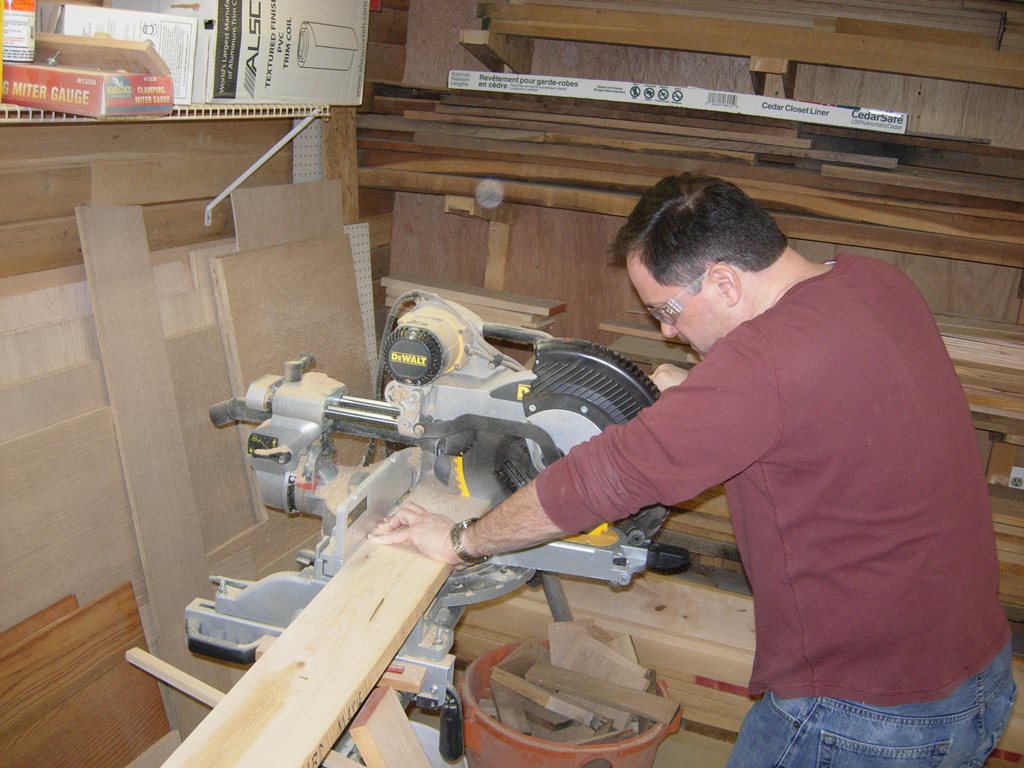
Rough cutting leg blanks
We are making the skirt pieces 3″ wide, so rob ripped down four of them for each table.
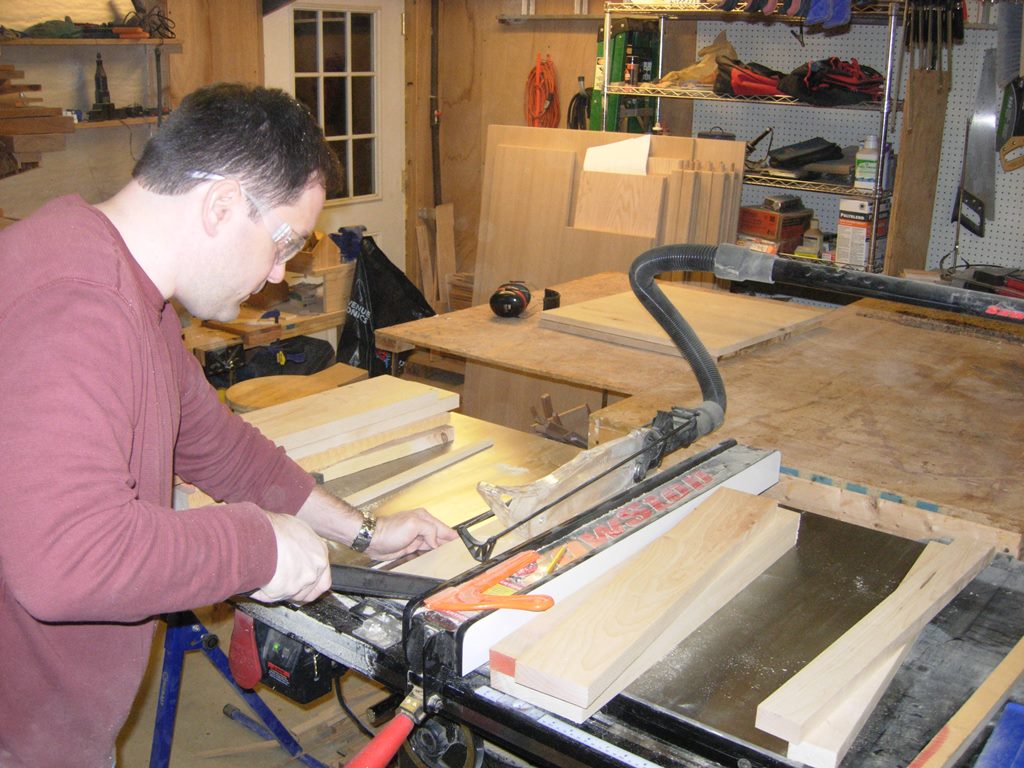
Ripping the skirt pieces
The legs will be 2″ x 2″, so we are going to glue together two 1″ thick strips. So we can easily plane the legs smooth, we rip the leg pieces 1/8″ wider. This gives us plenty of wood to plane away later, to clean up the glue joints.
Ripping down the legs
The maple that I have was skip planed before I got it. That means a light quick pass was made through a planer to take off the the rough saw marks from the saw mill. It was good enough to see the grain clearly, but not good enough to be a glueing surface.
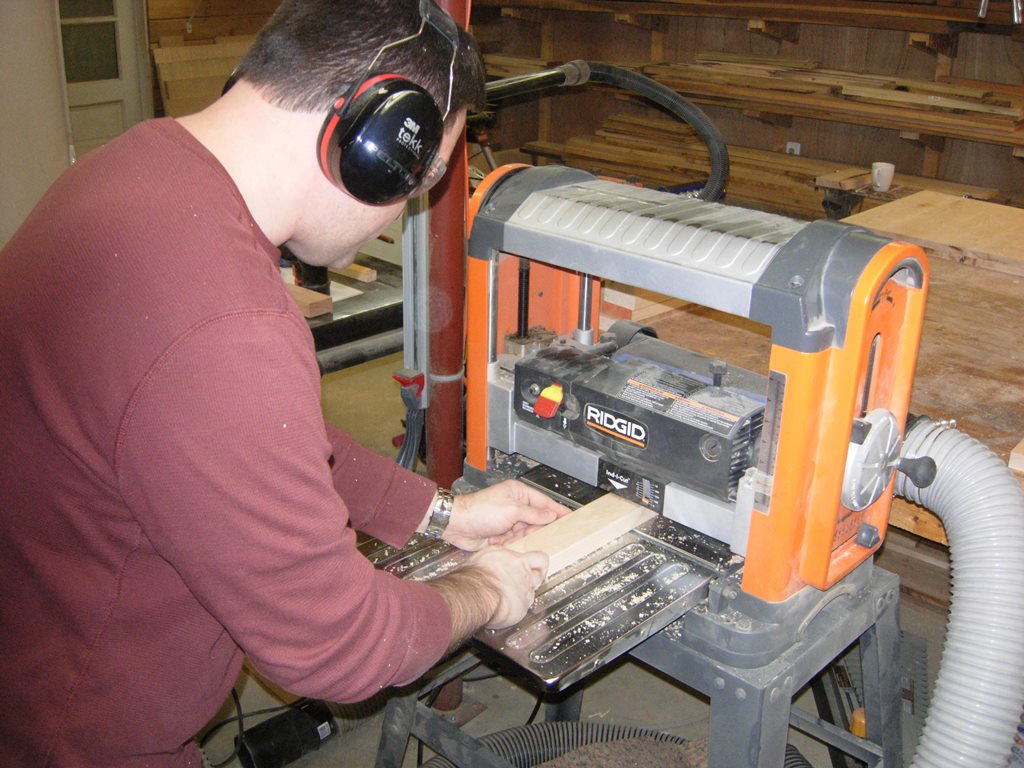
Planing one side of the leg halves smooth
I set the planer to remove an additional 1/32″ of wood, just to smooth one face. Rob ran the 16 leg halves through, then applied glue, liberally, to one half. We sandwiched the two planed faces together, and set them aside to be clamped. The process was then repeated seven more times.
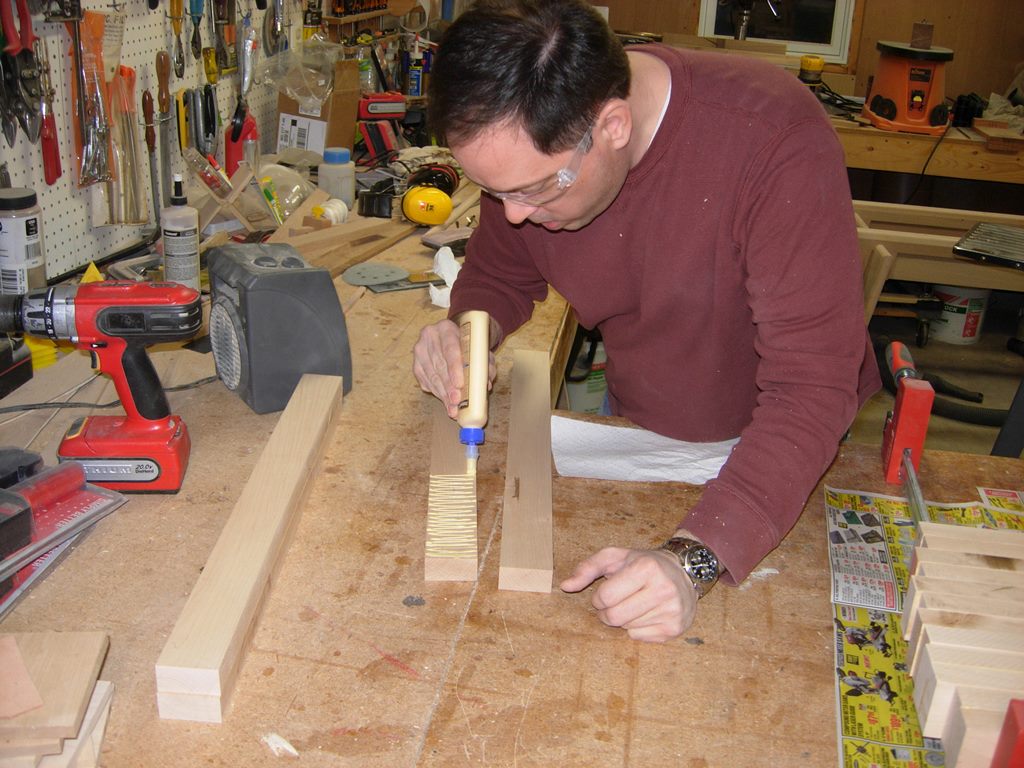
Applying glue
Instead of trying to figure out how many clamps I could put on each individual leg, I just opened up my large parallel clamps and clamped them all together at once. This method will actually help to straighten out any of the boards that may have had a slight curve.

Gang clamping all of the legs at once
Next time, we will cut down and plane the legs and skirts, then add a series of pocket holes to attach the base to the top. That will just leave finish sanding, and painting.
