
Rob’s end tables – day 3
We pulled the clamps off of the legs, that we glued up the other day. Rob cleaned the large chunks of glue off of the sides with a chisel, but to really clean up the edges and make sure that they were square to the face of the legs, we set the table saw fence to 2-1/16″ and cut one face.
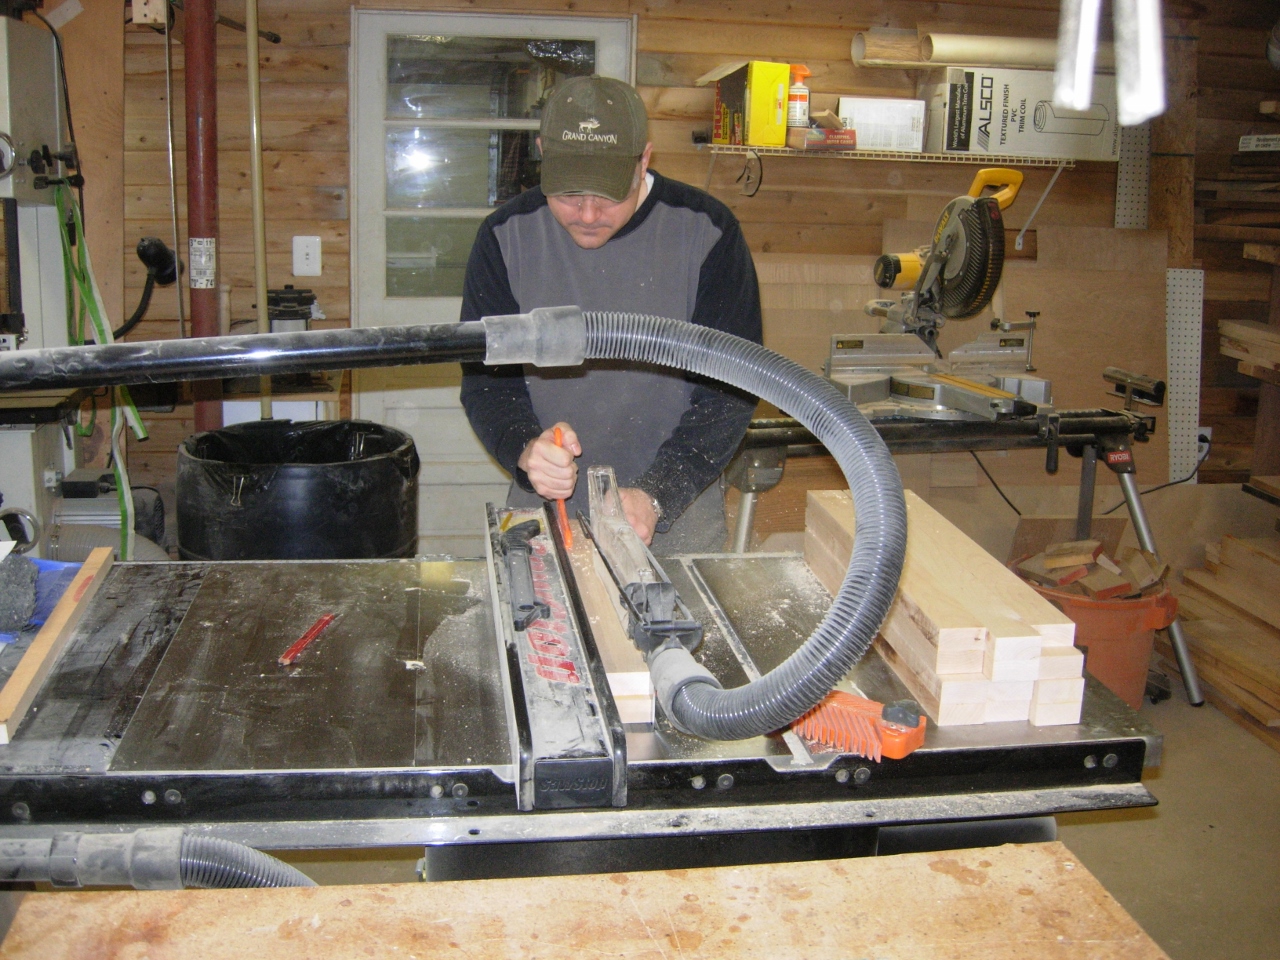
Cleaning off the glue joint
We then ran the legs through the planer, on the face that we just cut, creating a smooth, parallel face on the opposite side. Next we planed all of the sides down until we had eight, 2″ square legs.

Planing the legs square
We ran all of the skirt boards through the planer, four at a time, to joint the edges. We also planed the faces down until they were smooth on both sides.

Gang jointing the skirt pieces
We clamped up four of the skirts at a time to cut them to the exact same length on the miter saw. If we did not do this, some pieces would be slightly longer than others. This would cause the leg assembly to be out of square at the final assembly. That could leave gaps in undesirable areas.
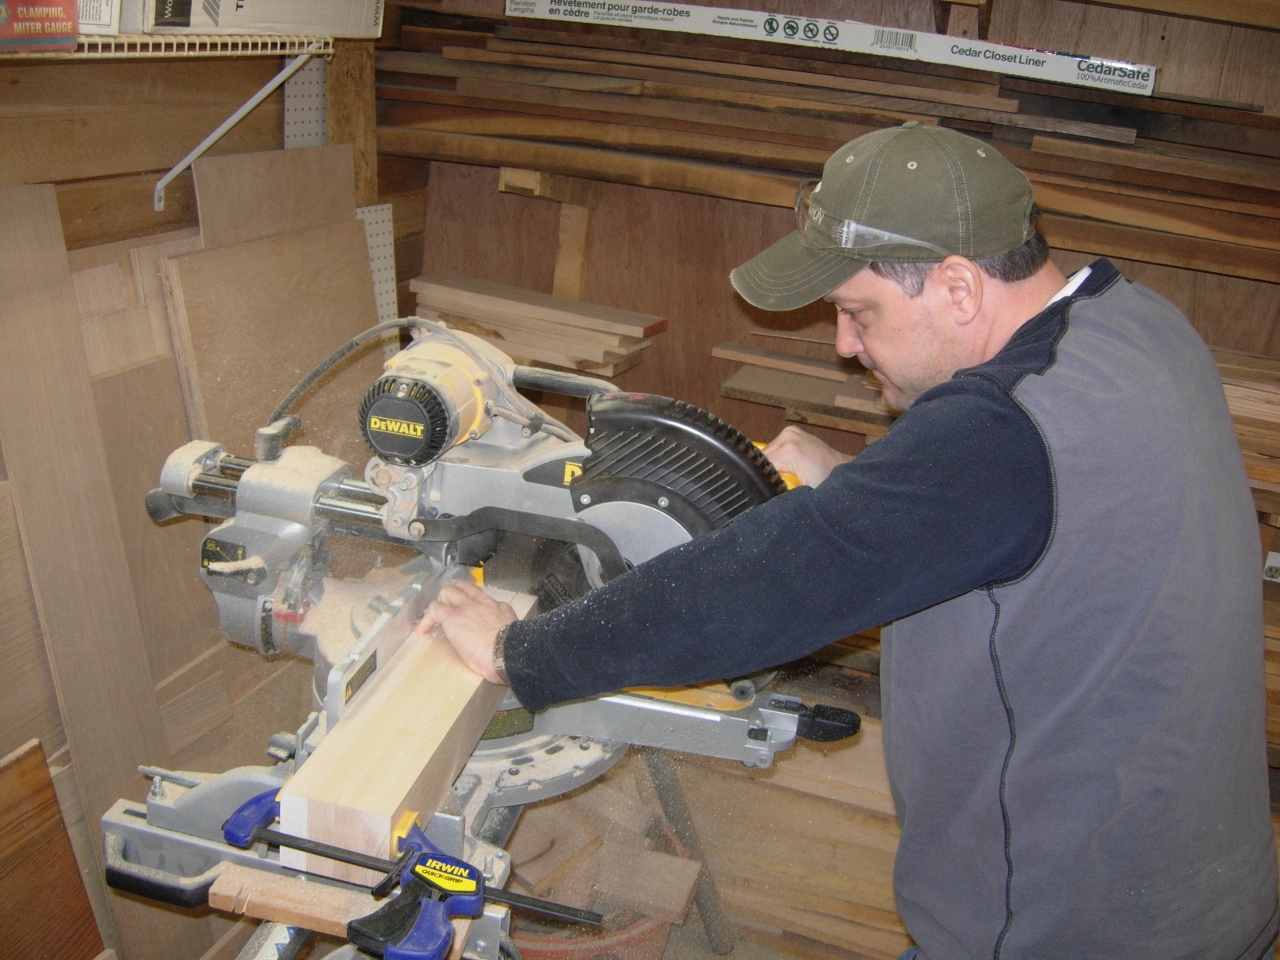
Cutting the skirts to length
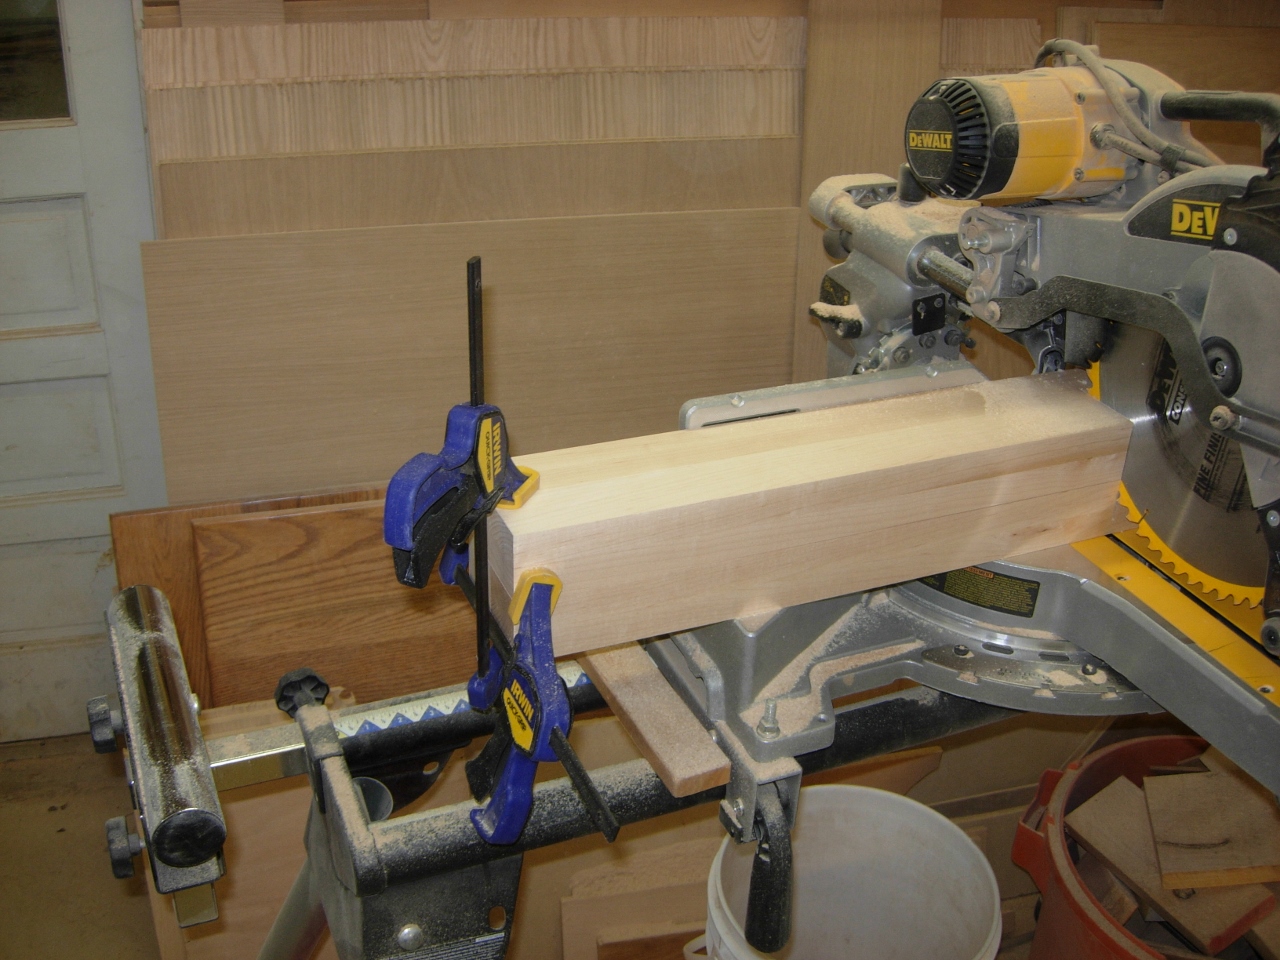
Cutting all four legs at the same time
I repeated the process with the legs, while Rob started drilling pocket holes in the skirt boards.
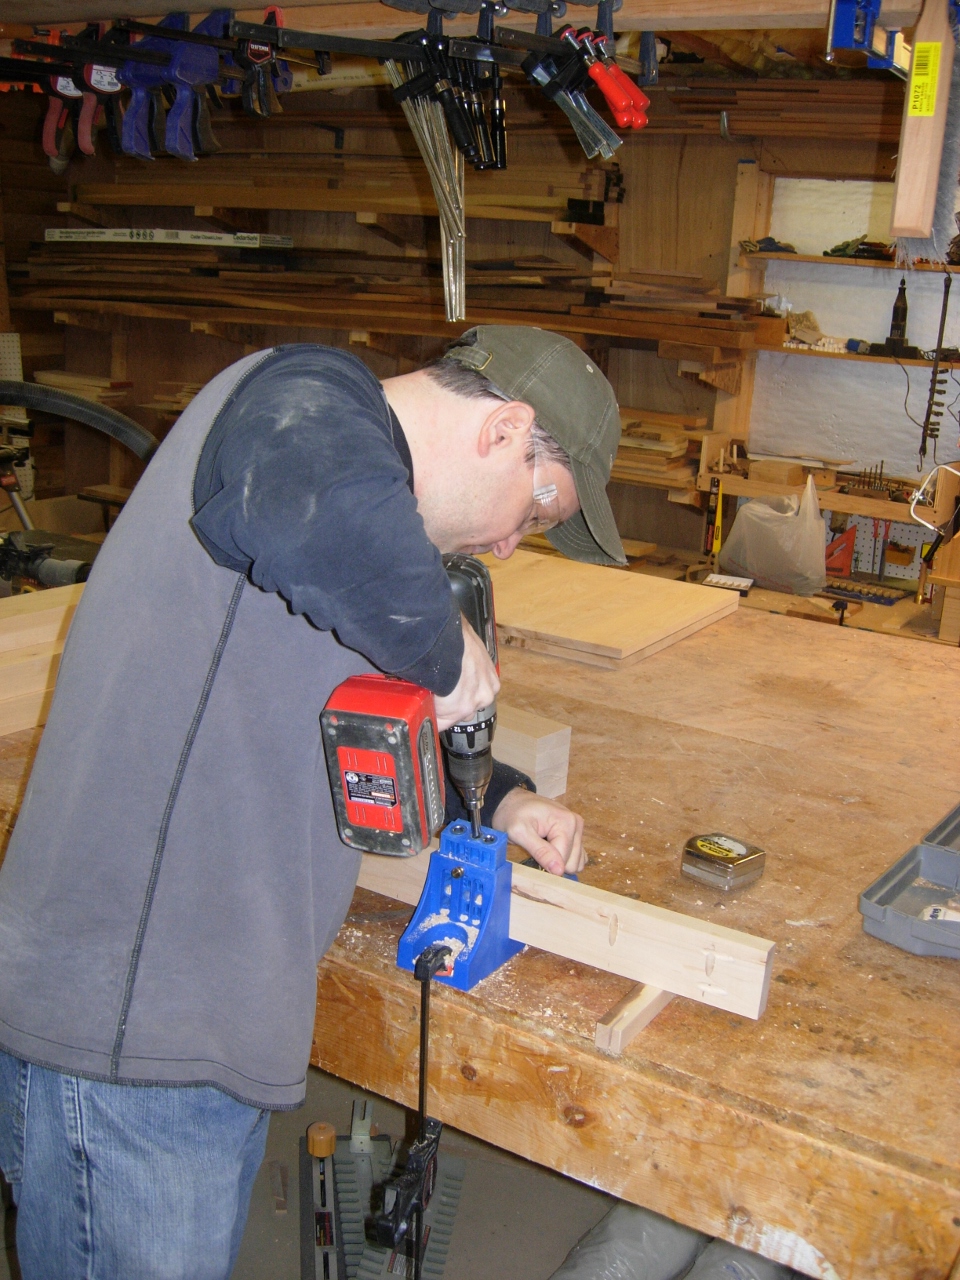
Drilling pocket holes along the top
The holes drilled in the ends of the skirt boards will attach to the legs, and the holes along the top edge will be for attaching to the table top.
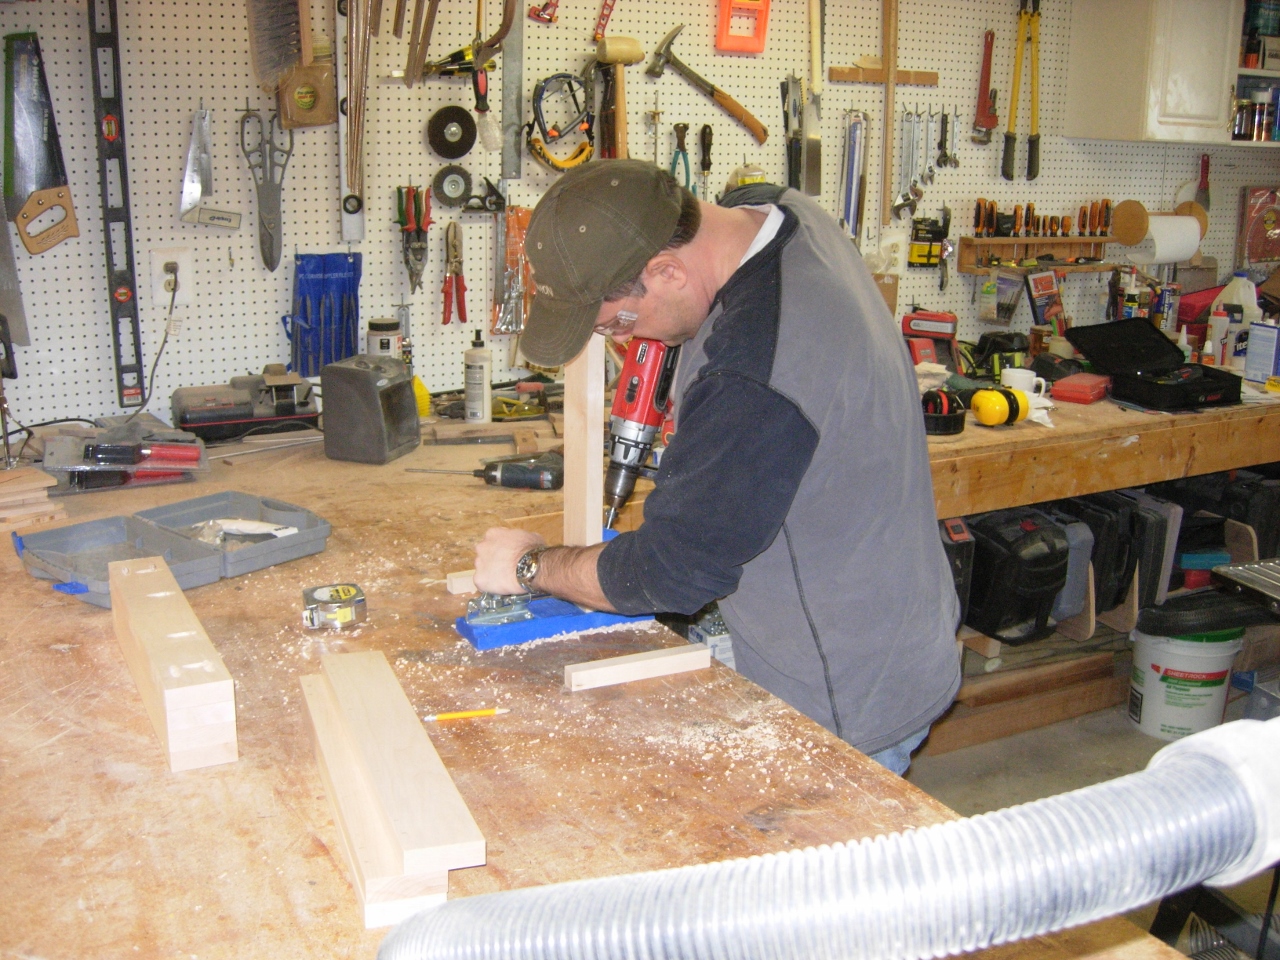
Drilling pocket holes to the skirt ends
Once all of the holes were drilled, we clamped the skirt and legs firmly down to a table. I placed 1/2″ spacers beneath the skirt board to offset it 1/2″ back from the face of the legs.
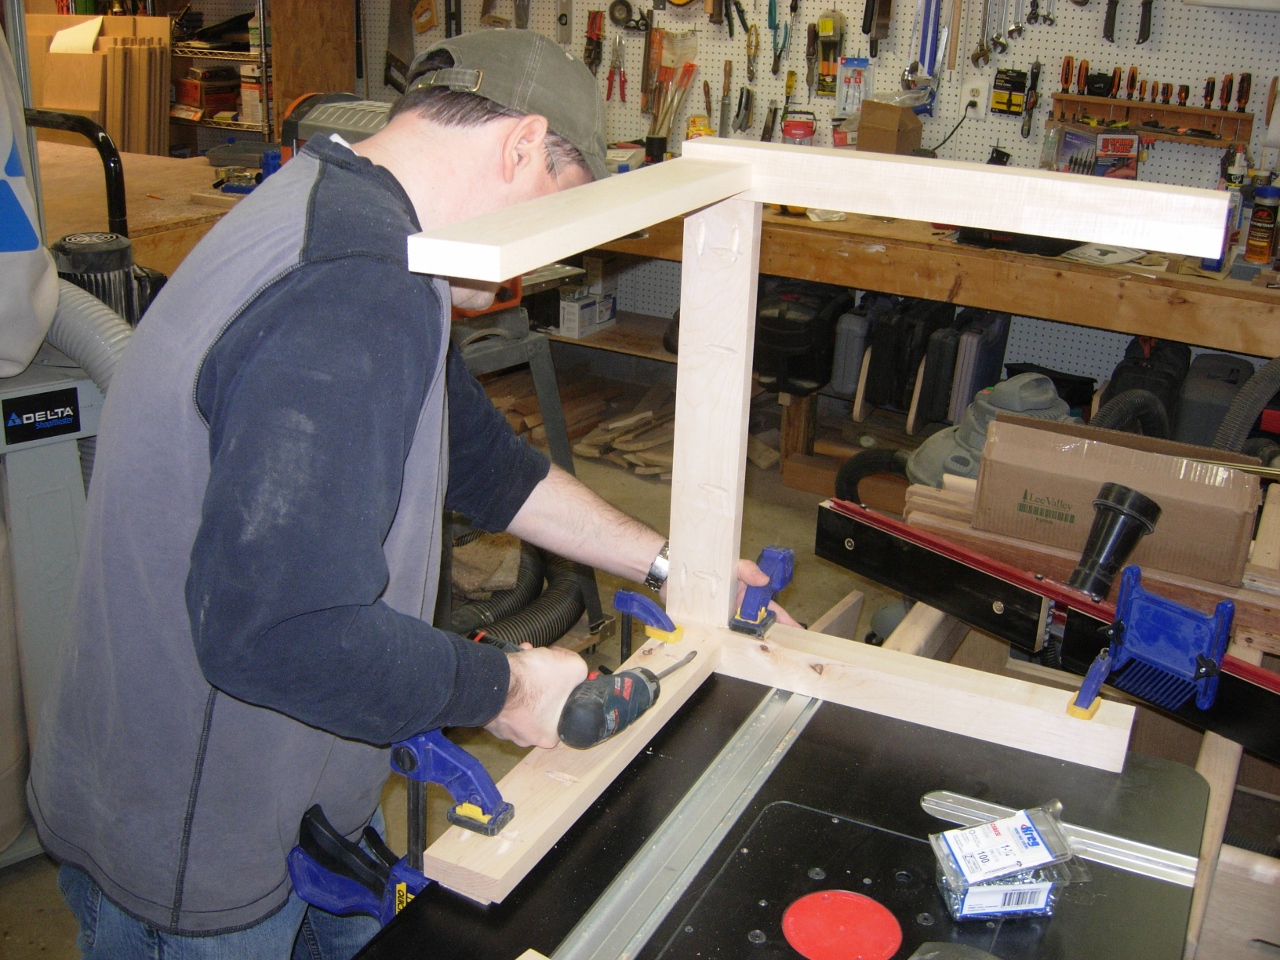
Tying the skirt to the legs with the pocket screws
The pocket holes were drilled in the skirt board at nice evenly spaced intervals. It became obvious that we should have compared our locations to the table top glue joints before drilling them out. Only one hit dead center on a glue joint. It did not seem to cause any real problems, but it did make a bit of a cracking noise. Hopefully it won’t be a problem on the next table.
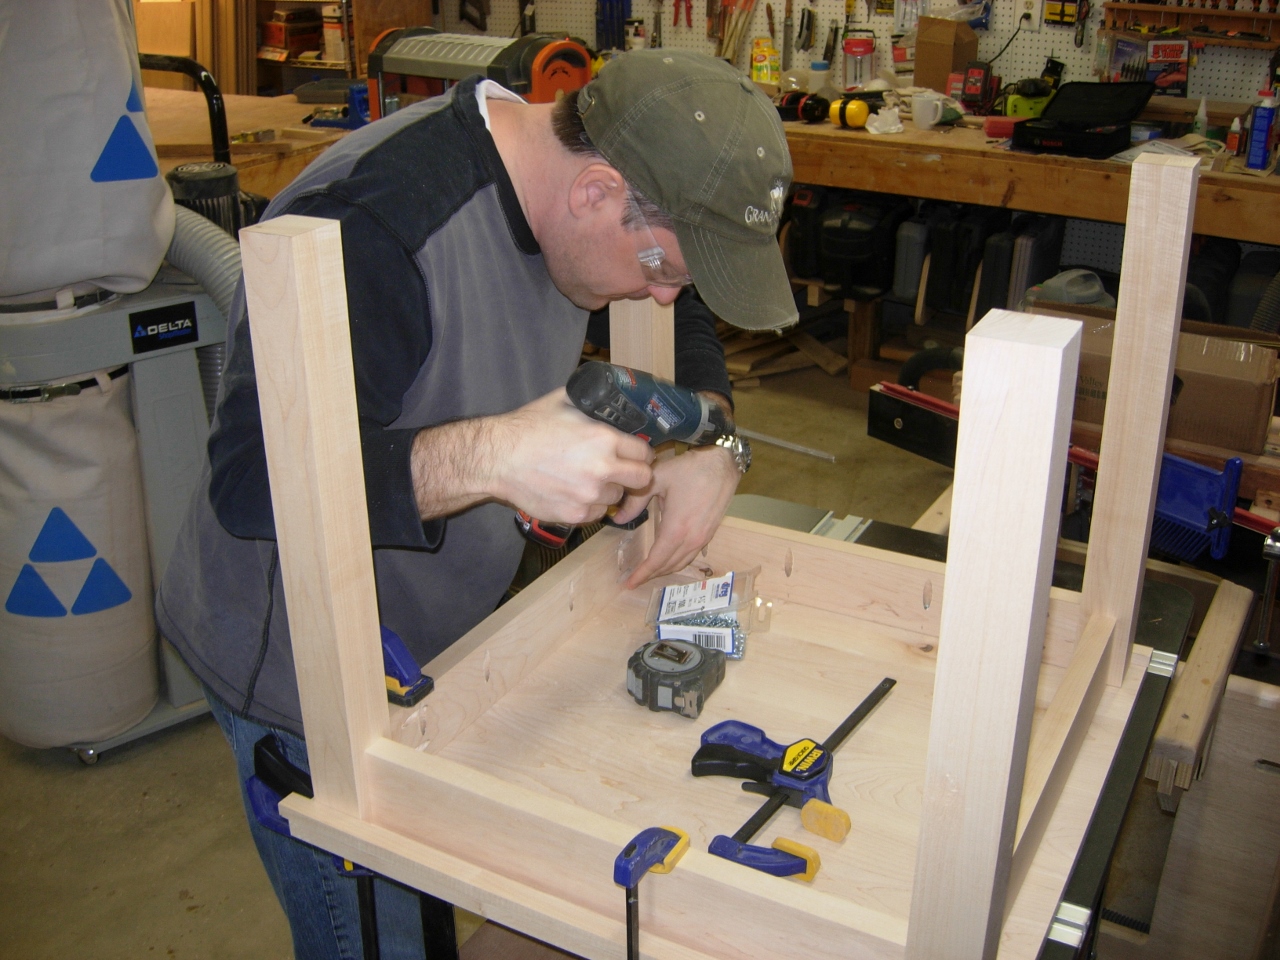
Attaching the legs to the top
Once the top was attached, we flipped the table over and tested it out. It sat pretty well on my shop floor.

Assembled and ready for finish
The only thing left to do was load test it…
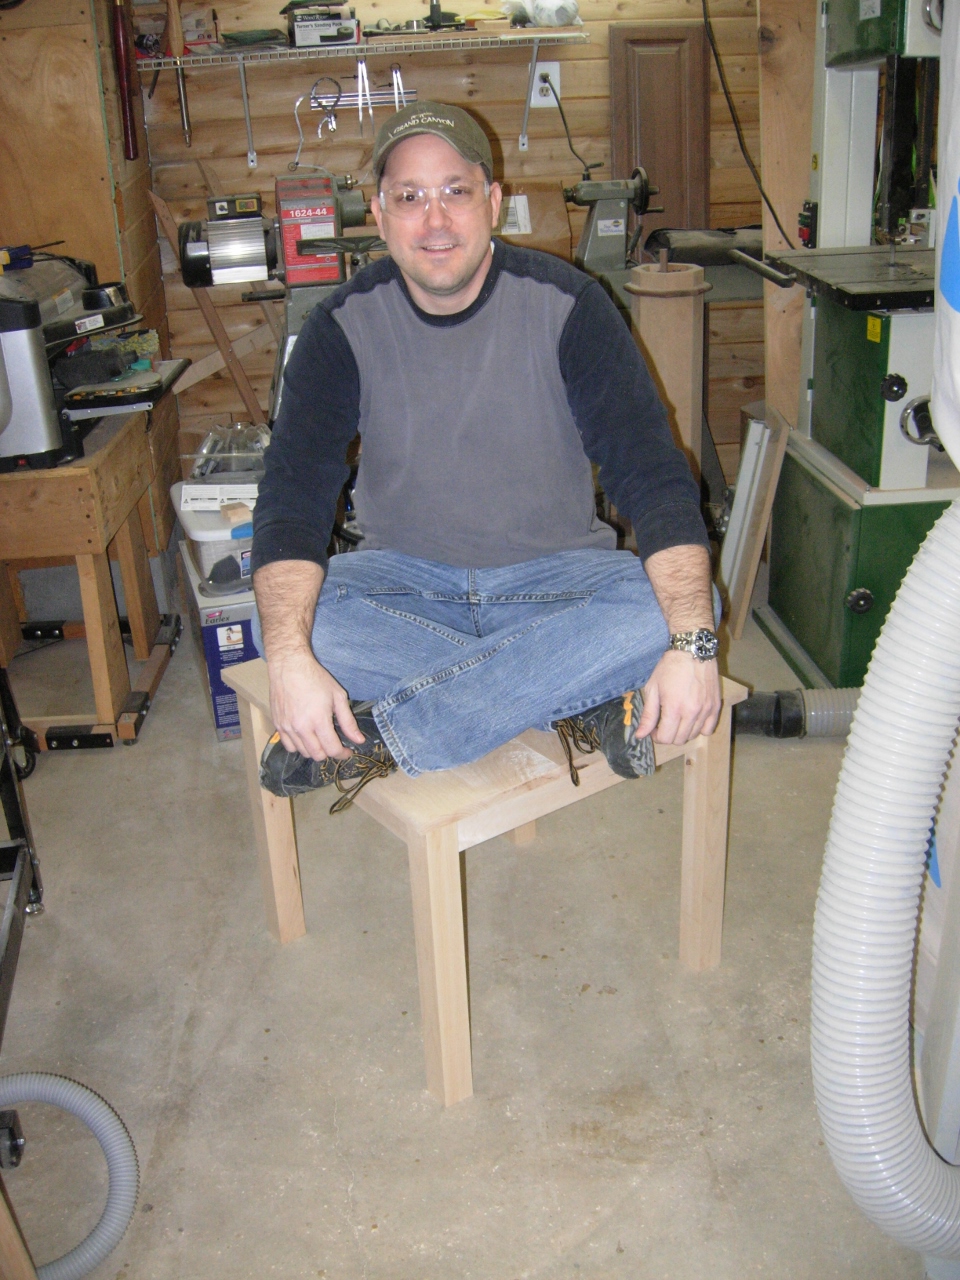
Load testing…
The next time Rob comes over, we will finish assembling the other table, sand everything down, then start applying the finish.
