
Dining room table extension rails – day 3
I finally got a time slot to install the rails for the extended dining room table. Things didn’t go as smoothly as they could have, but a little challenge is good for you. First hitch was the new table leaf. It was apparently from the same manufacturer as the table, but not for the same style table. The overall width, length, and thickness was the same, but the skirt pieces were too tall and in the wrong location. The pins and latches were also in the wrong location. I drilled new holes to locate the pins, and relocated the skirt pieces, but I was not equipped to cut down and repaint the skirts. The owner is fine with that, if they become a problem, they can always be modified later.
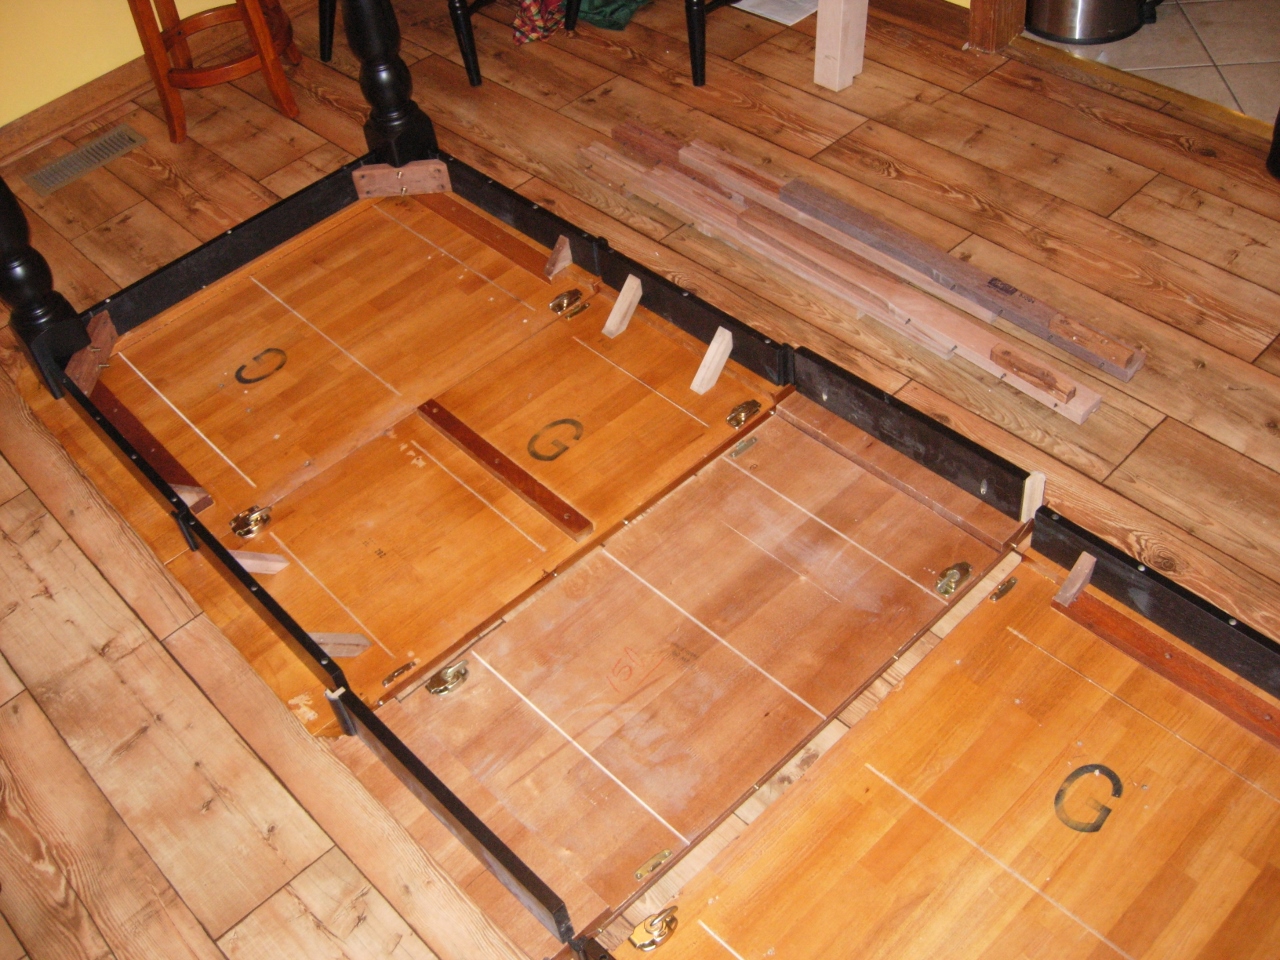
Adding the extra leaf
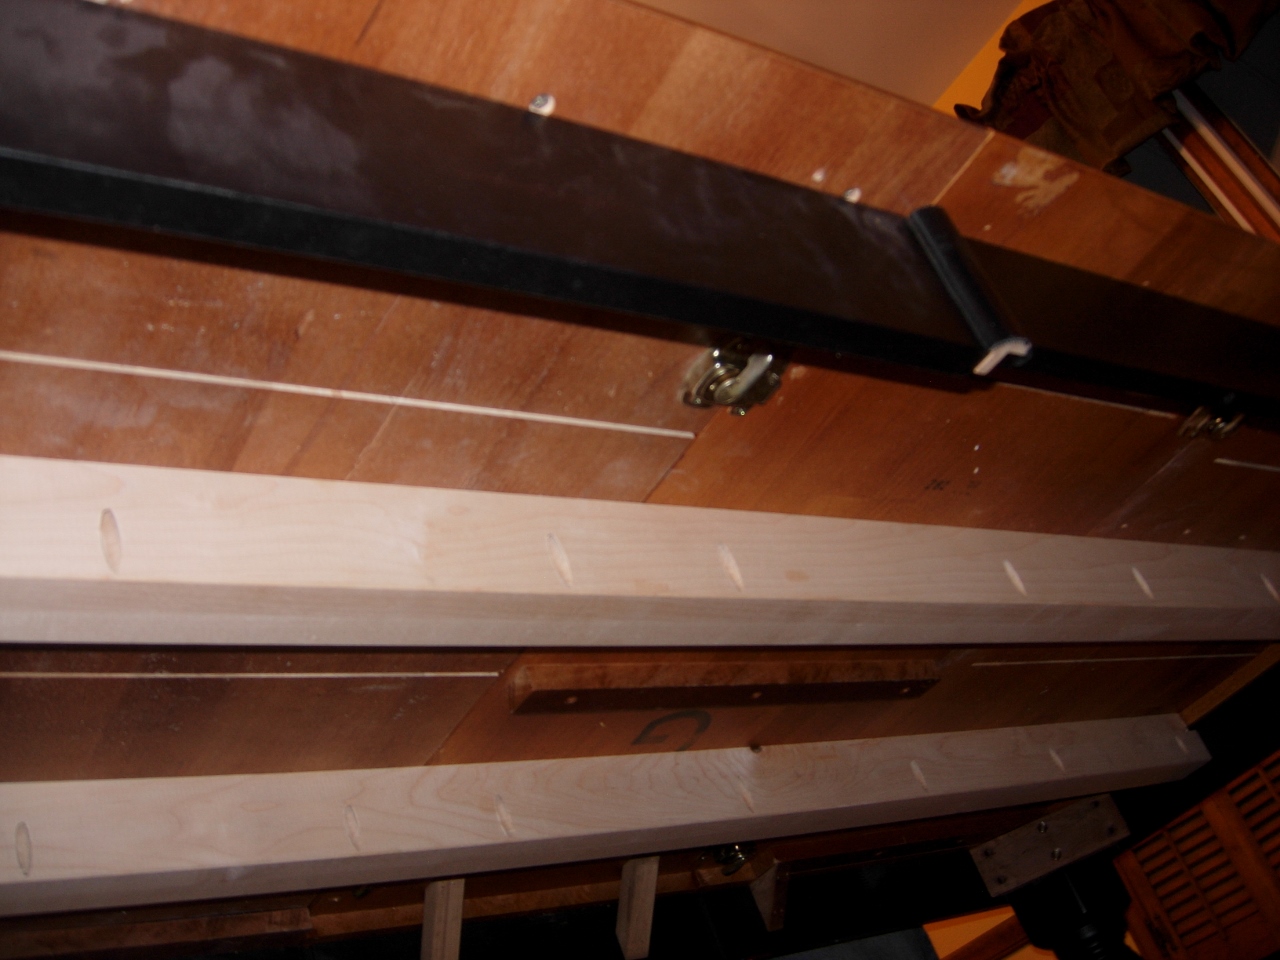
Once the table was modified, and the hardware relocated, it was time to install the rails. That was when I noticed the small step at each end…
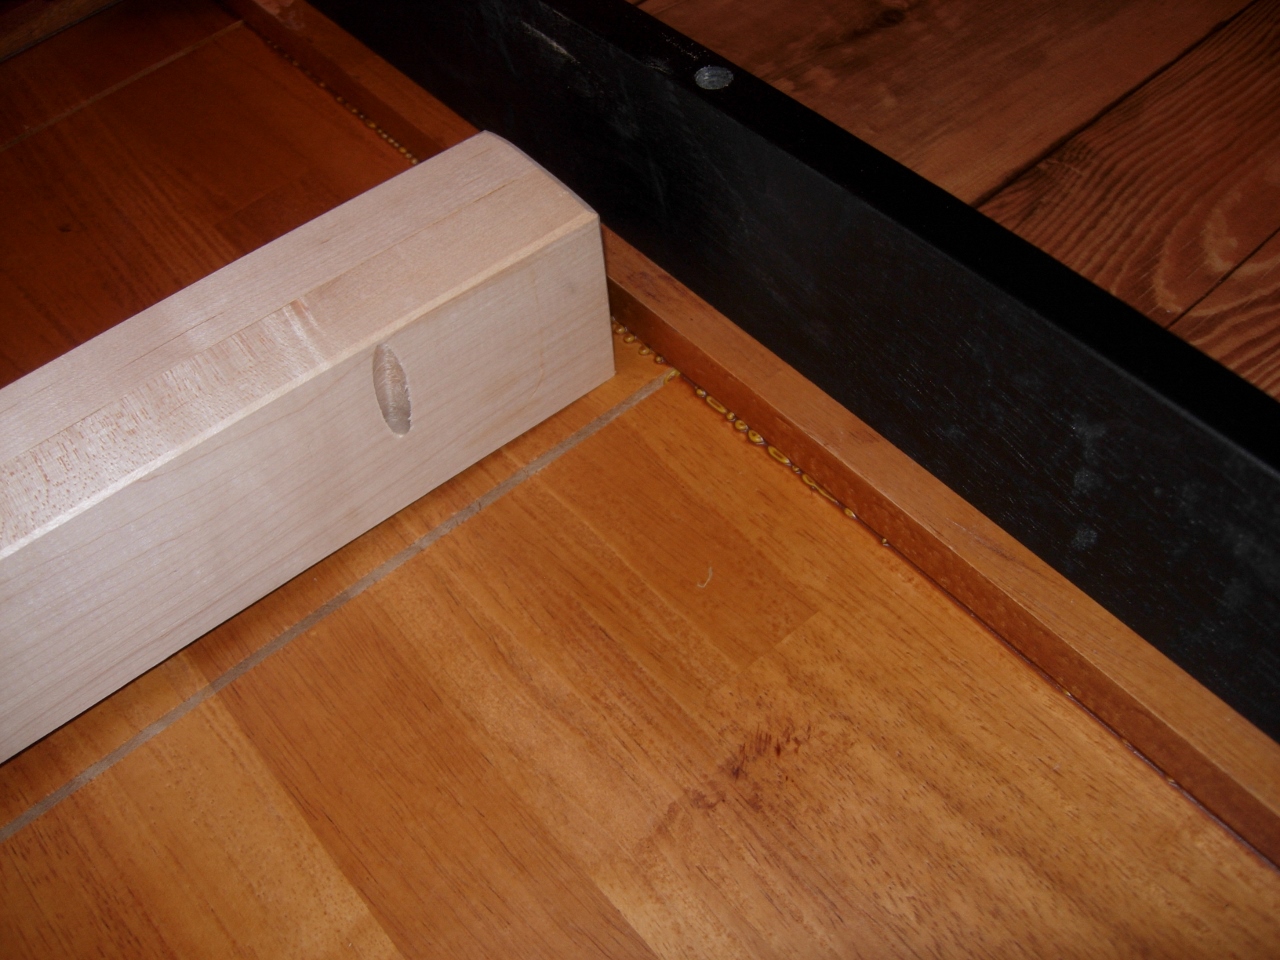
Need a notch
I brought my circular saw with me, in case the length dimension was off. The length was perfect, so all that I did was cut a 3/4″ notch in the ends of both boards. The notch was a bit oversized, but it is below the table, so not visible.
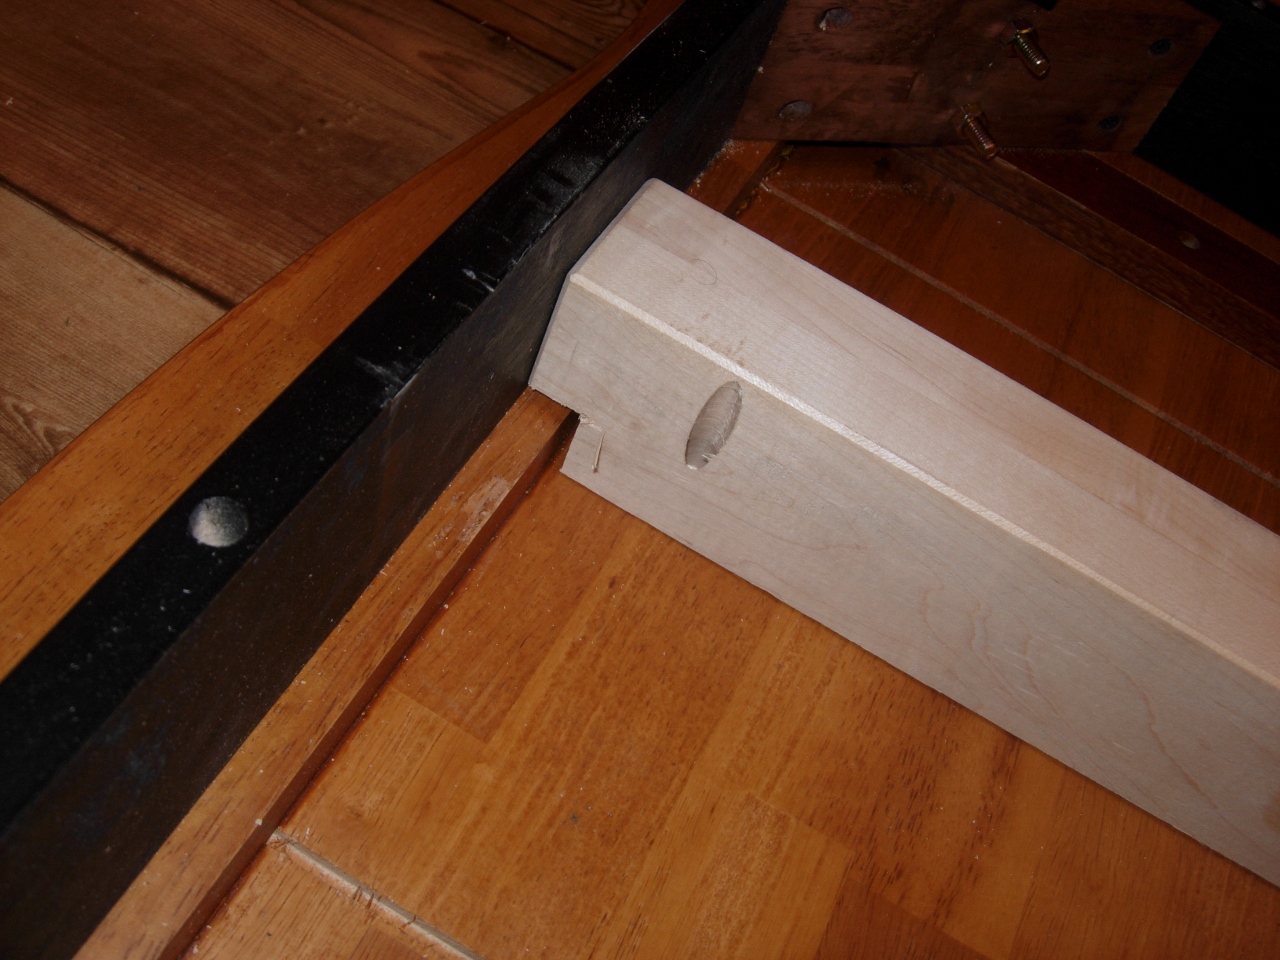
The notch is functional, if not pretty…
Once the notches were cut, everything fit perfectly. I attached all of the pocket screws, twenty per rail. I offered to glue the rails first, but the owner wanted the option to pull it apart if necessary. The rails can always be glued in later if more strength is required.
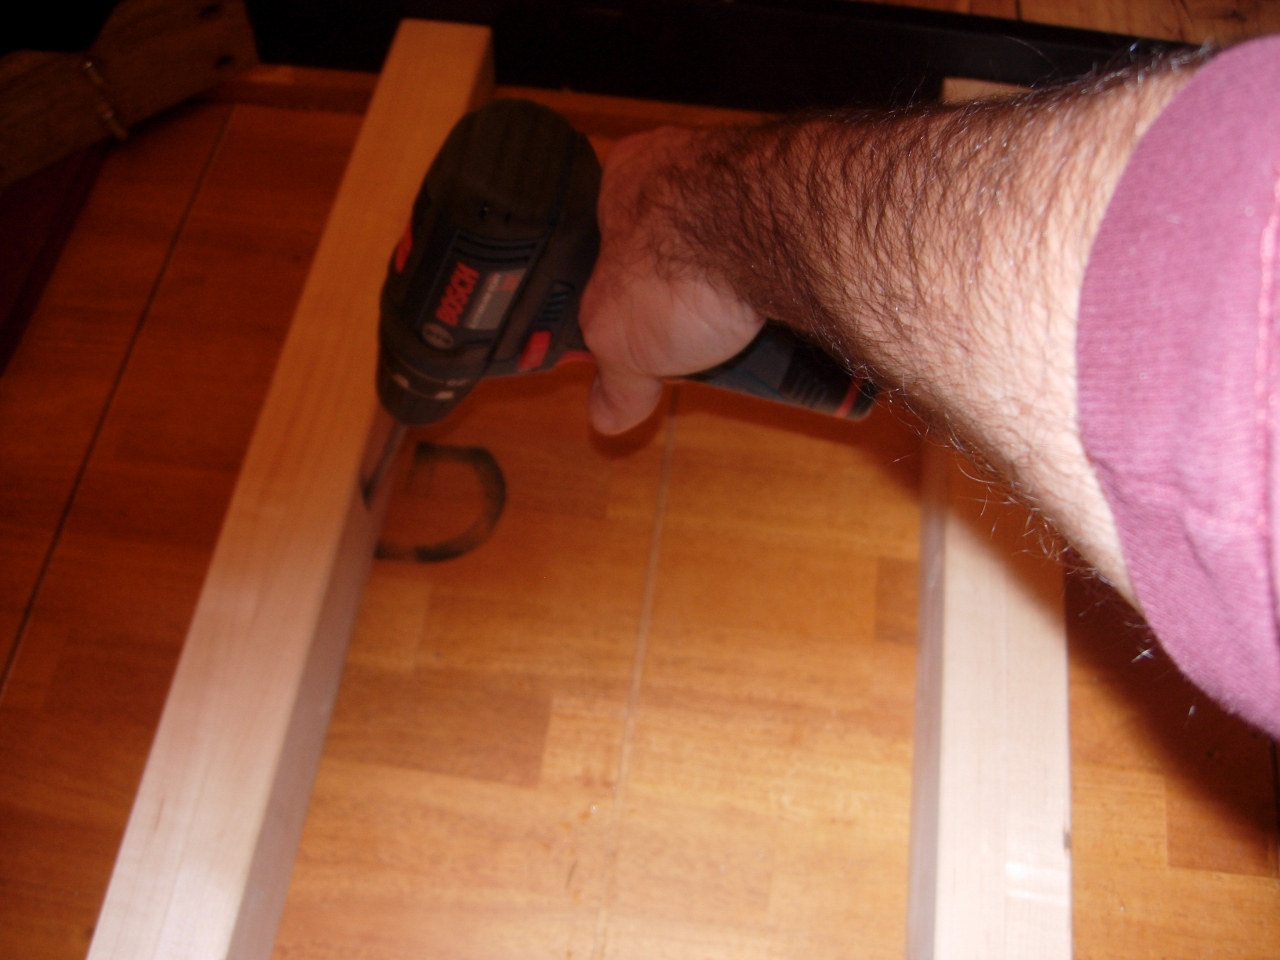
Attaching new rails
Rails installed
Both of the rails were installed, and the table was flipped. Everything was flush with no sagging, time for the load test…

200 pound load test
It supported my 200 pounds, so hopefully it will hold up to a couple of teenagers. I expected that there would be a bit of sag, but the hard maple rails worked really well. The table did not deflect at all when I sat on it.
