
Wall mounted file rack
Here is a quick project that I designed and built in just a couple of hours today. It is a wall mounted file rack for my mother. She has one mounted on the island cabinet in her kitchen, and she wanted a second one. She uses them to hold cutting boards and cook books, so they need to be fairly heavy-duty. Her plastic one broke, so I am making one from oak to replace it.
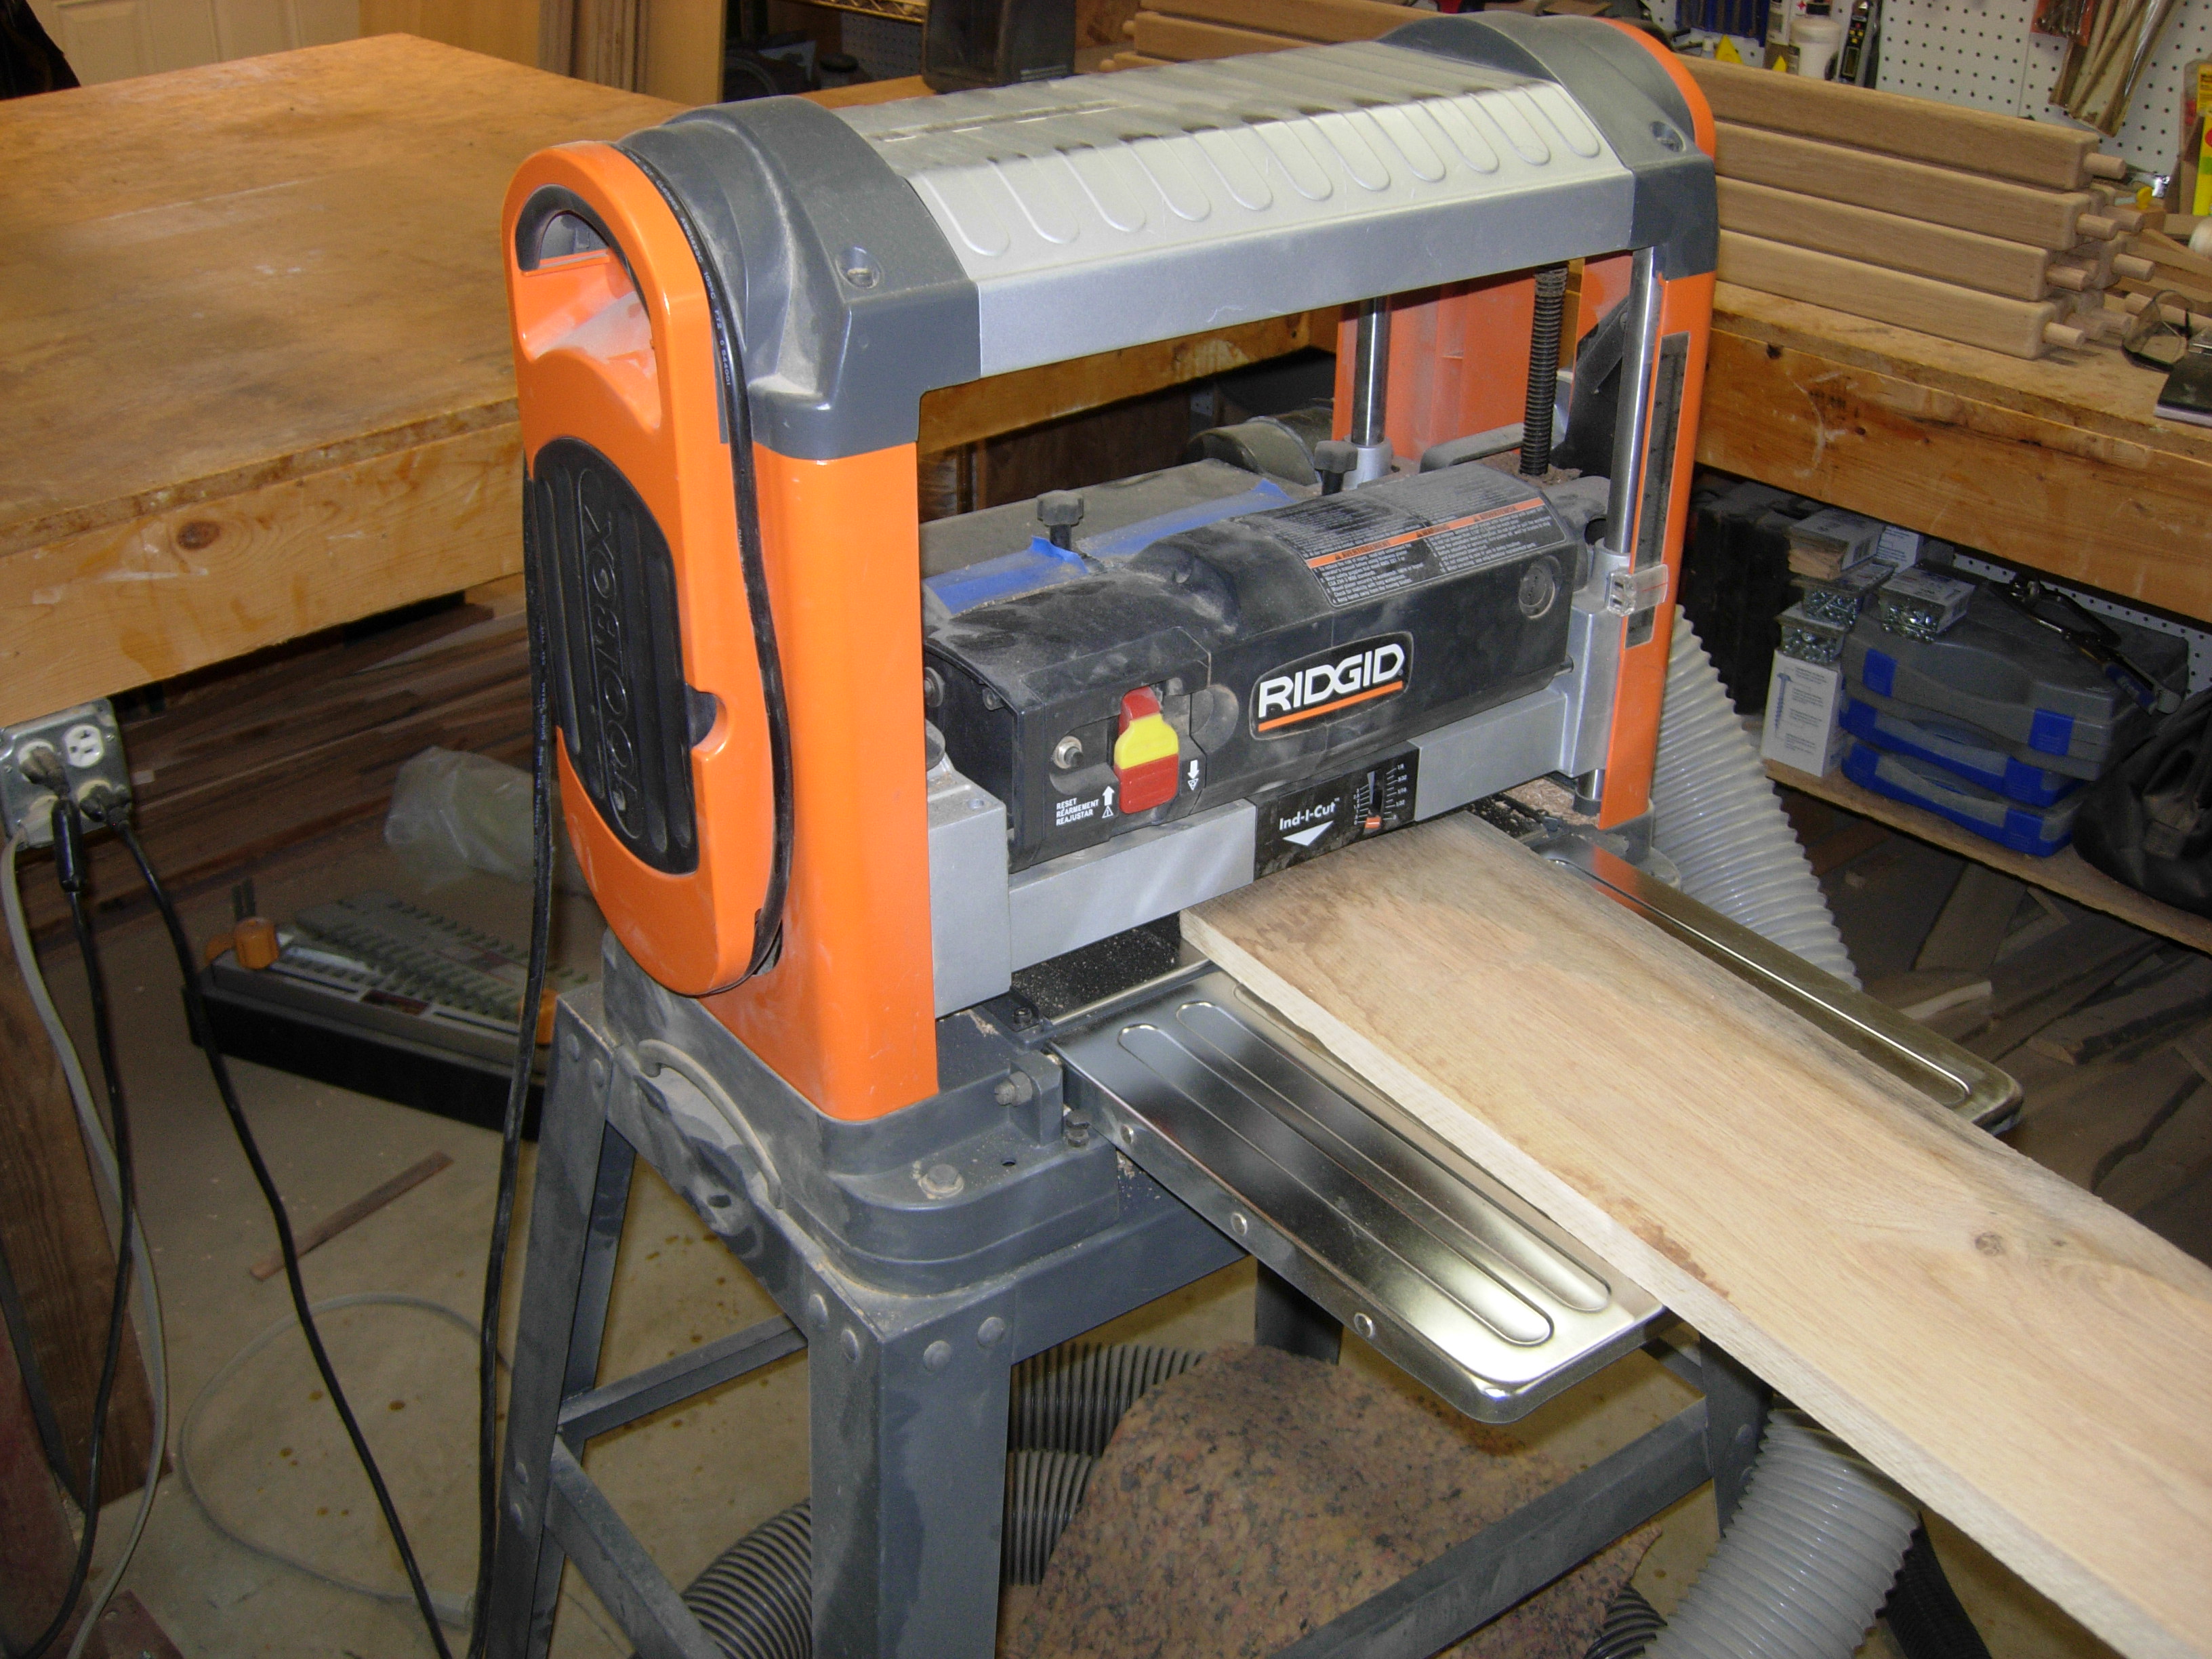
Planing down a piece of scrap
This project comes entirely from my scrap pile today. I started by finding a 2′ long piece of white oak, that was wider than 6″. I laid out the sides of my rack. 6″ wide at the top, 4″ wide at the bottom, and 9″ tall.
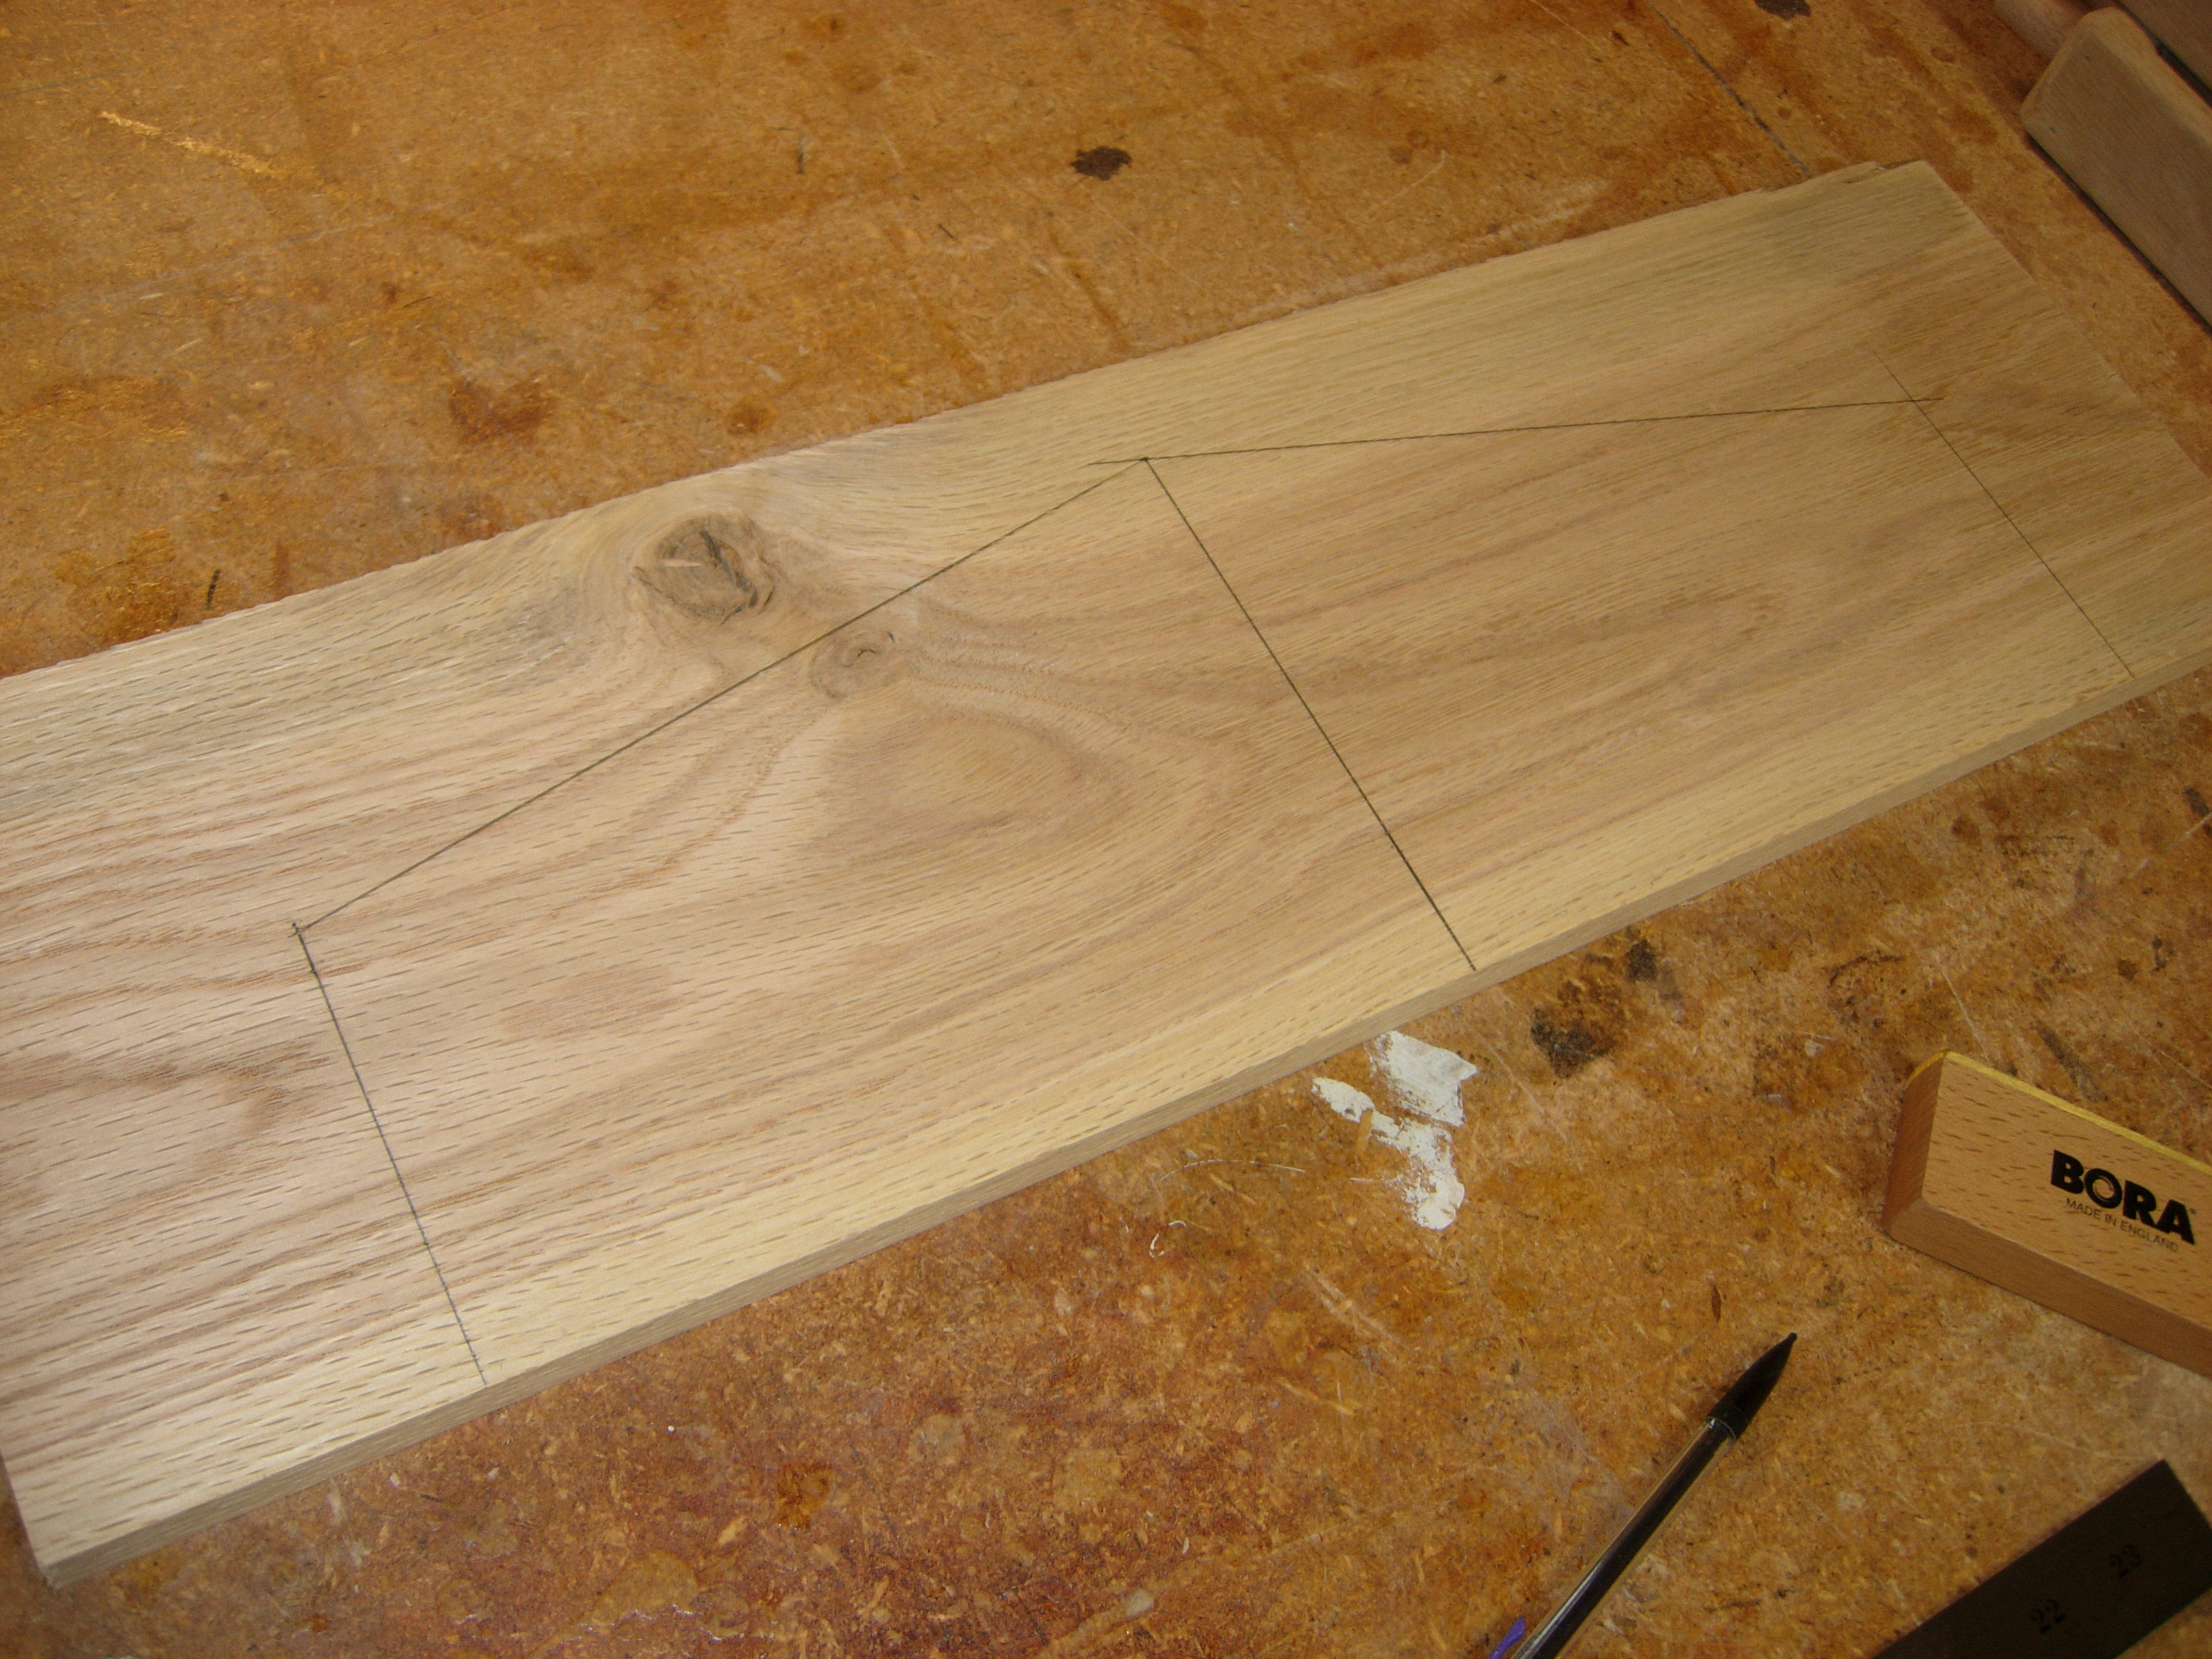
Marking out the sides

Match cutting for length
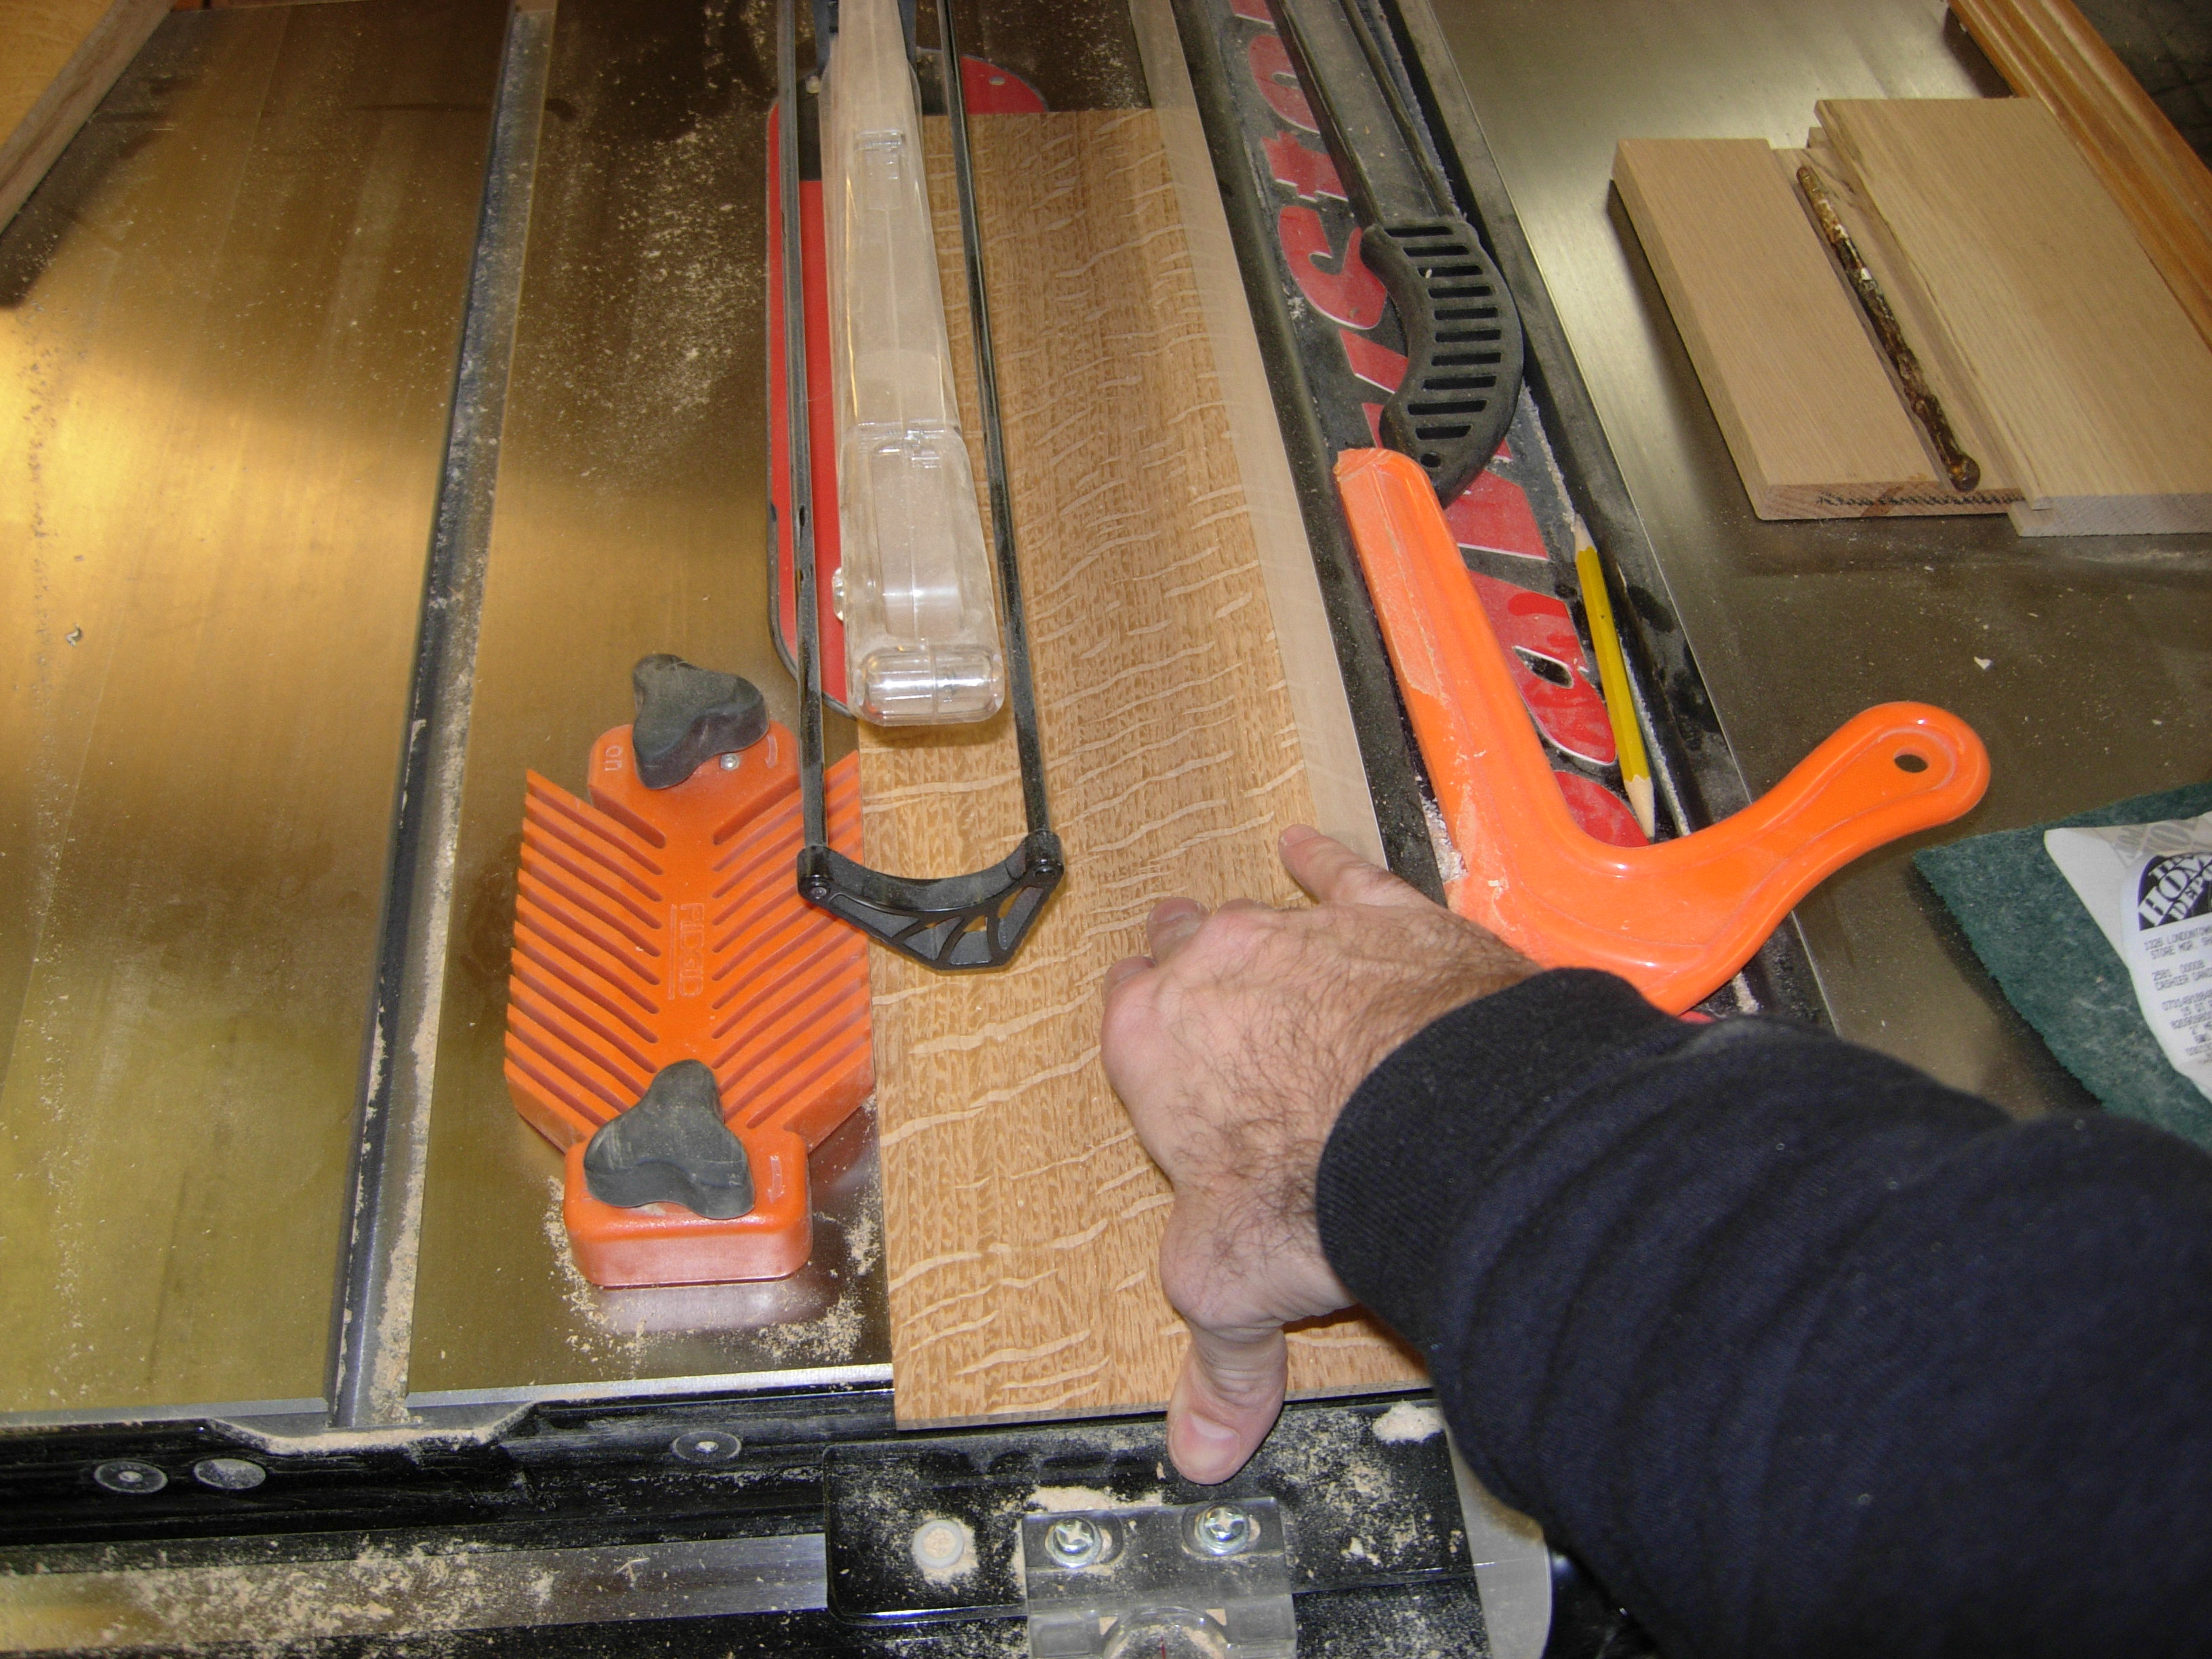
I cut the board in half on the miter saw, then stacked the two pieces and cut the other side, so they would be the exact same length. While they were stacked, I rotated the blade about 12 degrees and cut the angle as well.

Cutting the tapered angle

Re-sawn scrap for front and back panels
I grabbed some re-sawn left-over pieces, from my pub chairs, to be the front and back panels. These pieces are quarter-sawn and have some beautiful grain patterns.
Ripping to width
I ripped them to width on the table saw, then tried to match the grain a bit, and cut them to length on the miter saw.

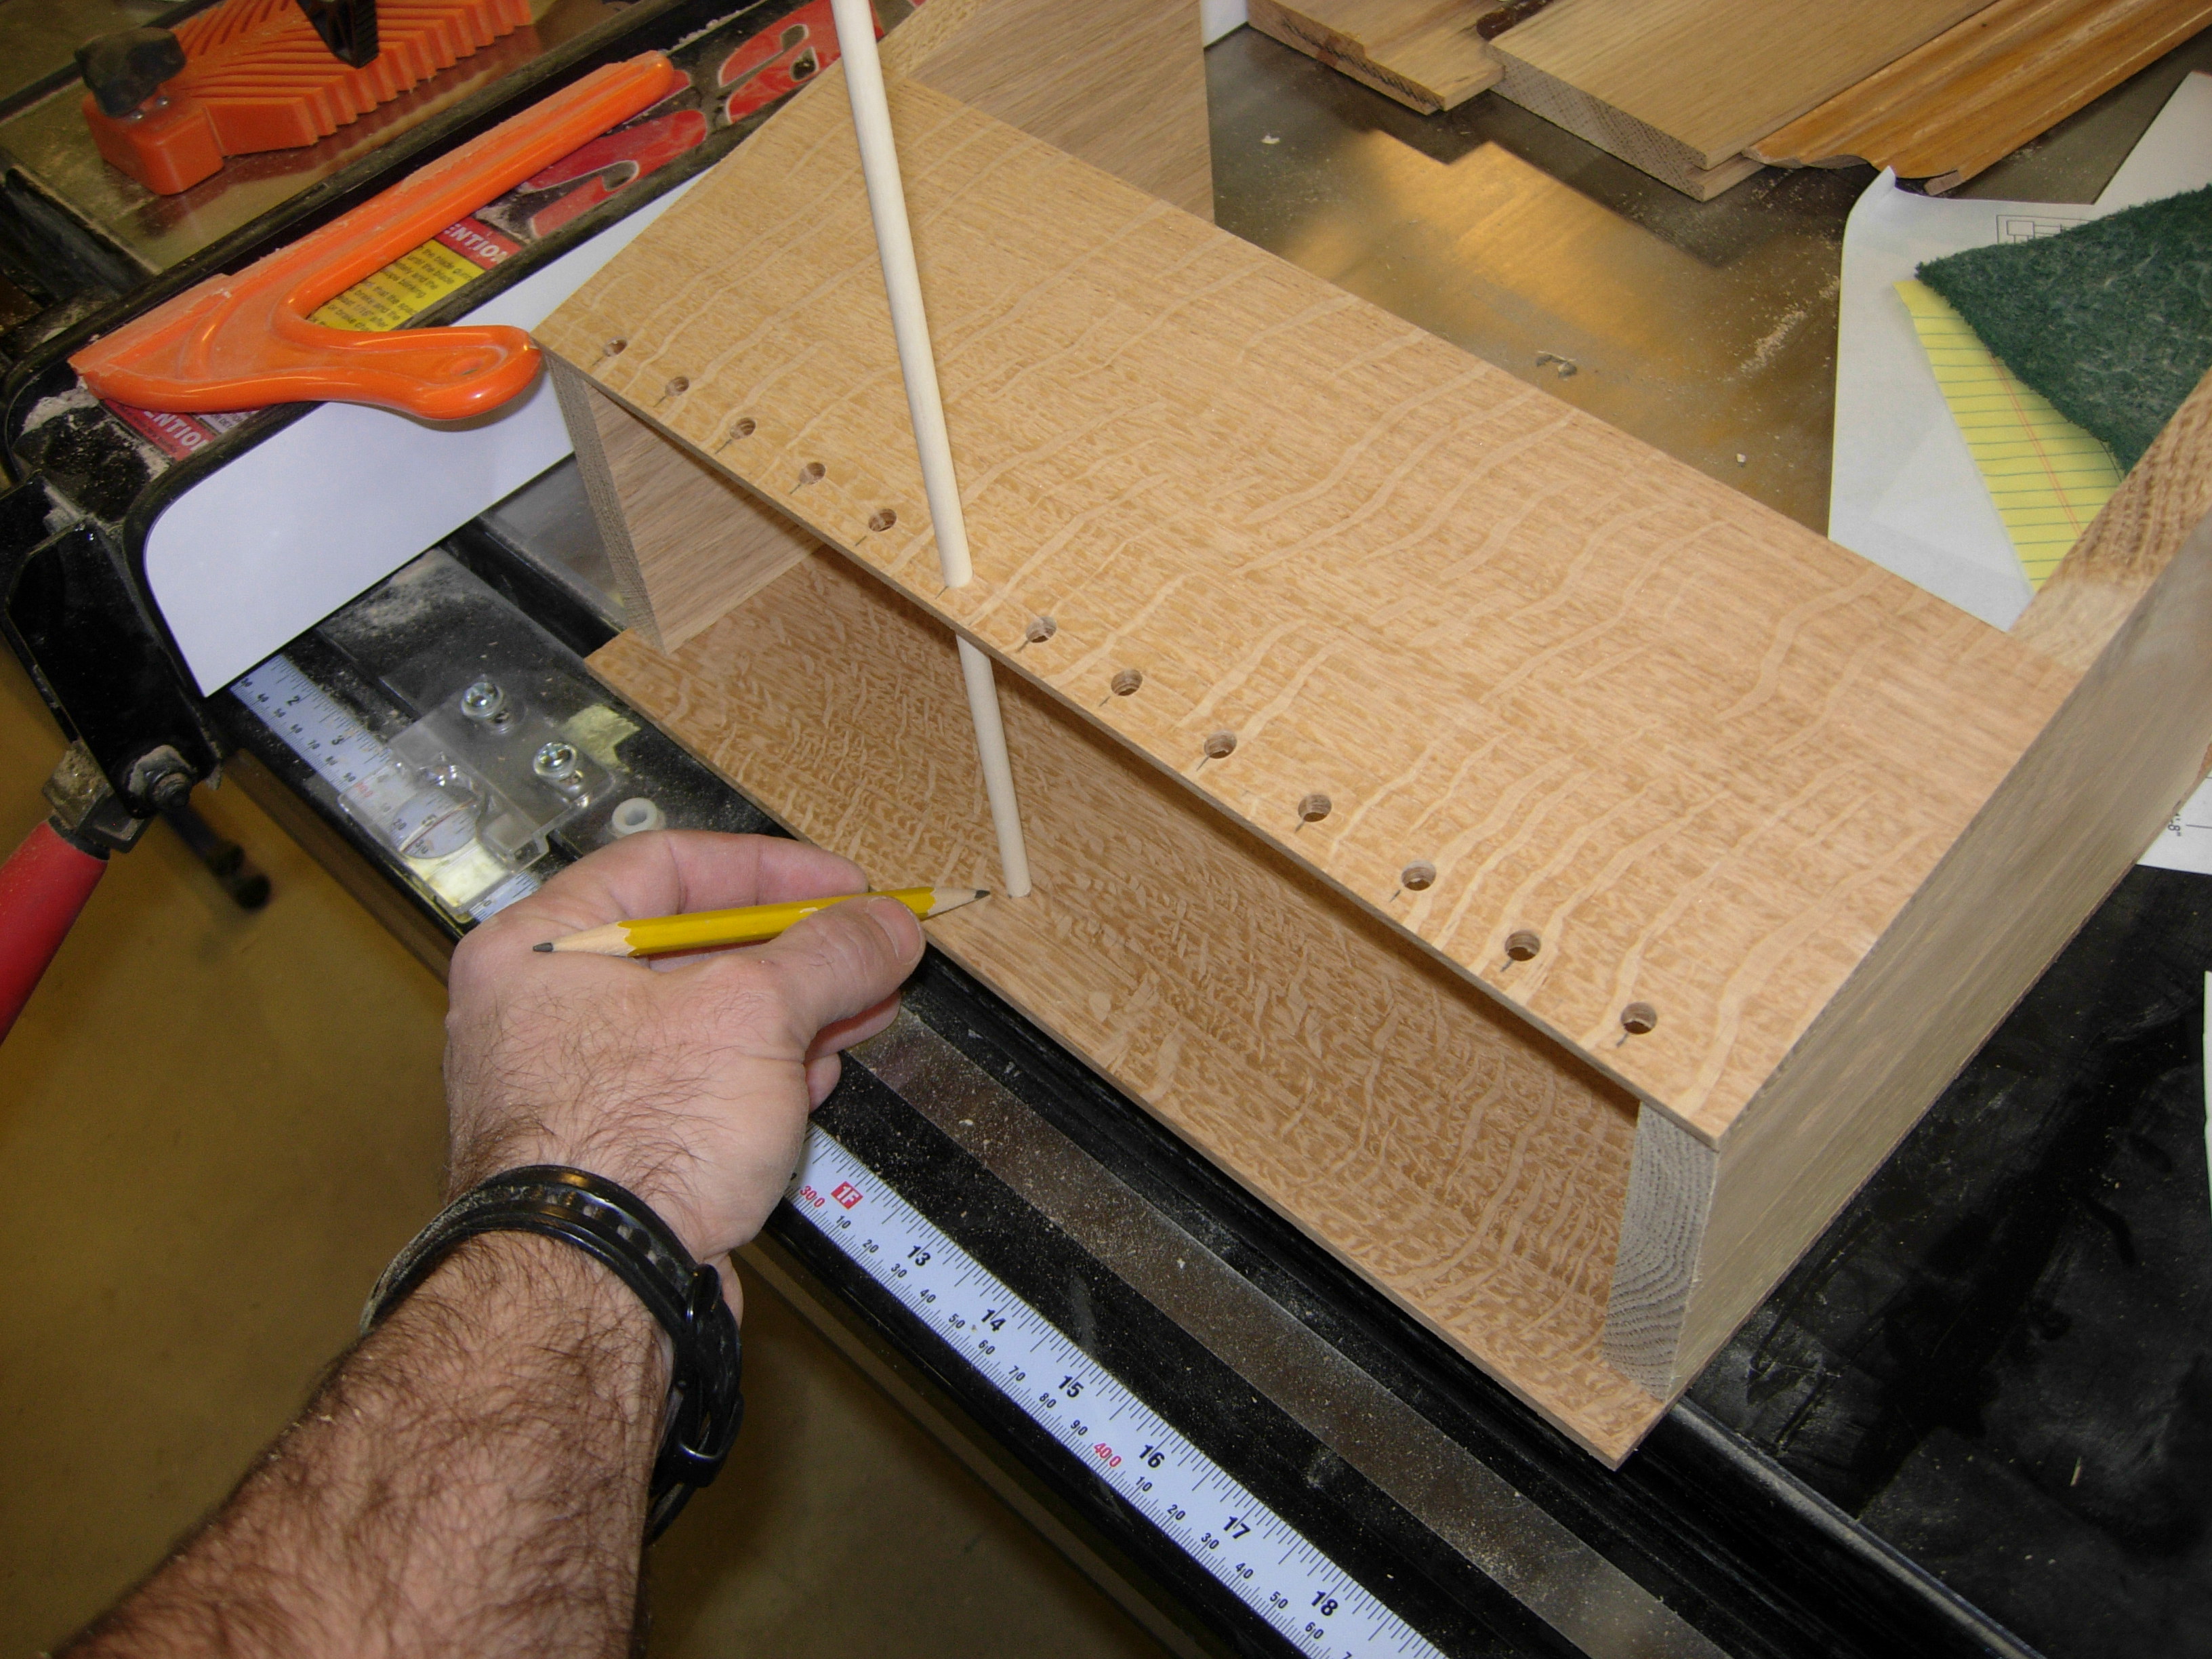
Drilling front panel at an angle
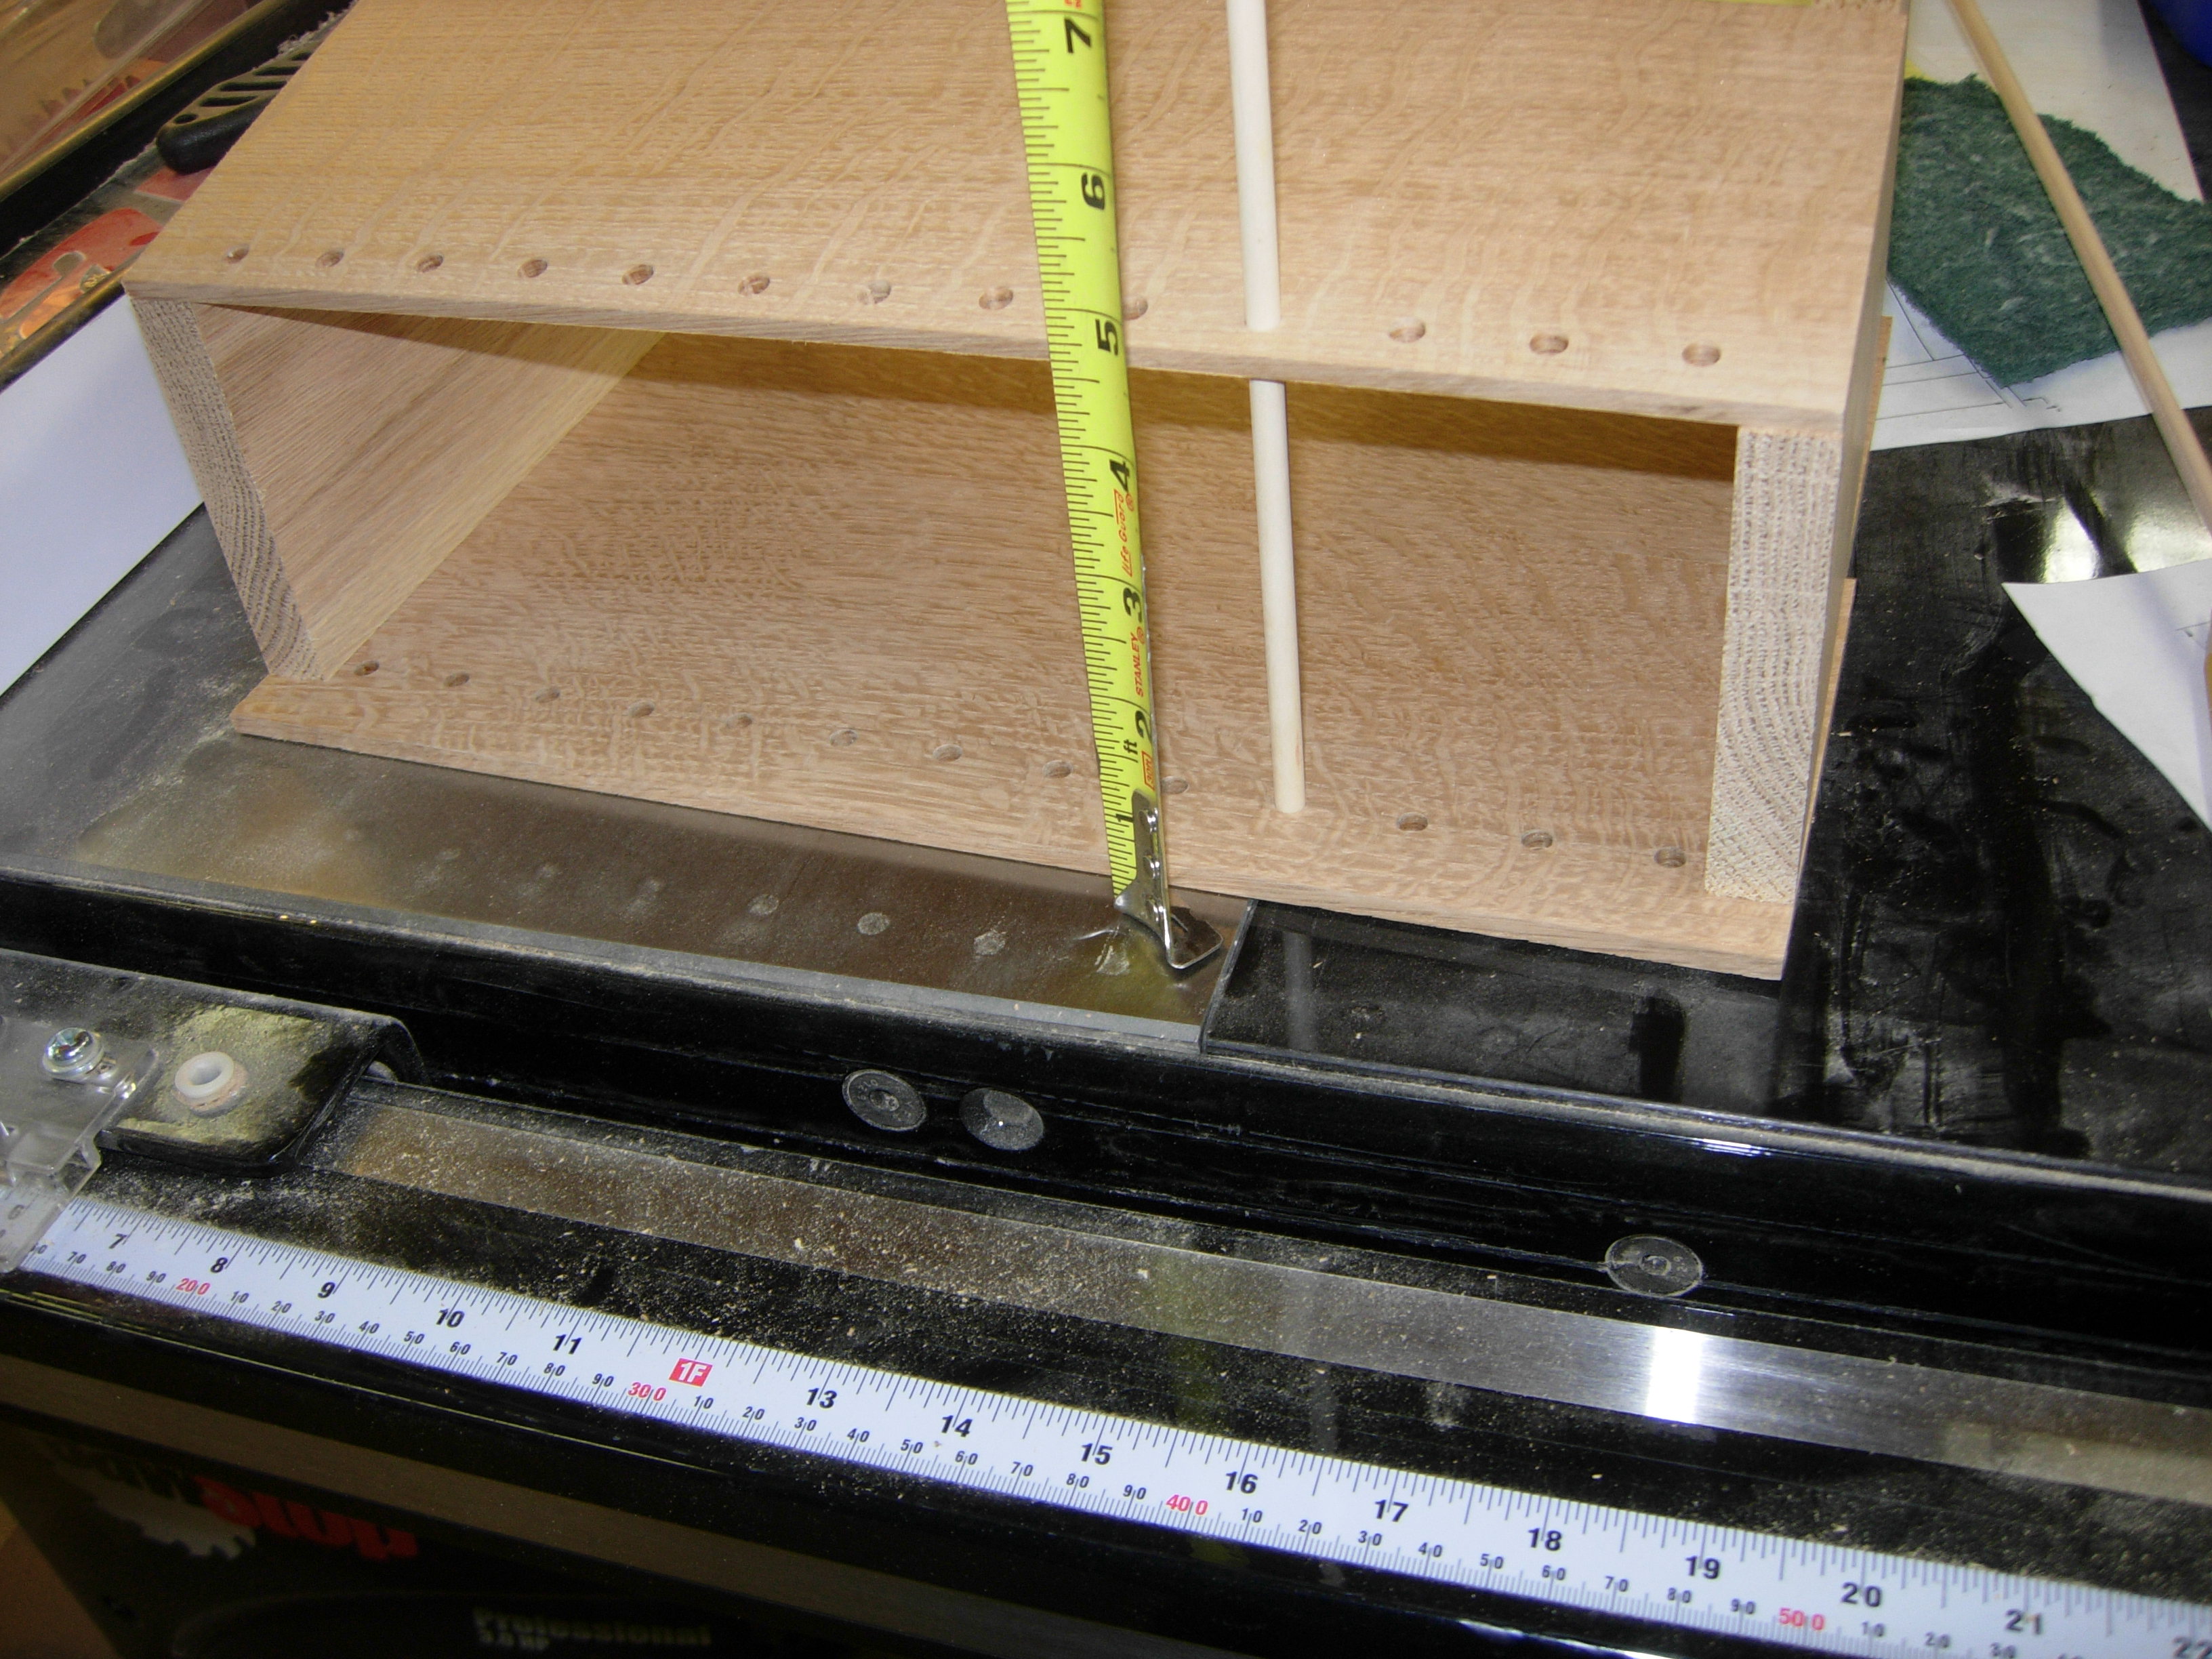
Since this rack will be for cutting boards and recipe books, I am anticipating that they will occasionally be put away with a few crumbs still attached. Since you don’t want a bunch of crumbs collecting in hard-to-clean places, I decided to use 1/4″ dowels for the bottom. I marked off a location for each dowel hole about 3/8″ up from the bottom of the front panel, and located one every inch. Since the front panel is on about a 12 degree incline, I used the off-cut pieces from the sides as a jig to set the angle of my board for drilling.
Locating holes in back panel
I set the sides on the back panel, leaving 1/2″ on the top and bottom for mounting holes, then placed the front panel on and dropped a dowel through to the back panel, to locate where the rear holes needed to be. It turned out to be almost exactly 1″ up from the bottom. I proceeded to lay out the holes every inch along the bottom, and drilled them with the board laying flat.

Drilling back panel
Estimating length of dowels
The next step was to get an estimate of the length of dowel, that I would need. I then cut 13 dowels about 3/8″ over-sized.
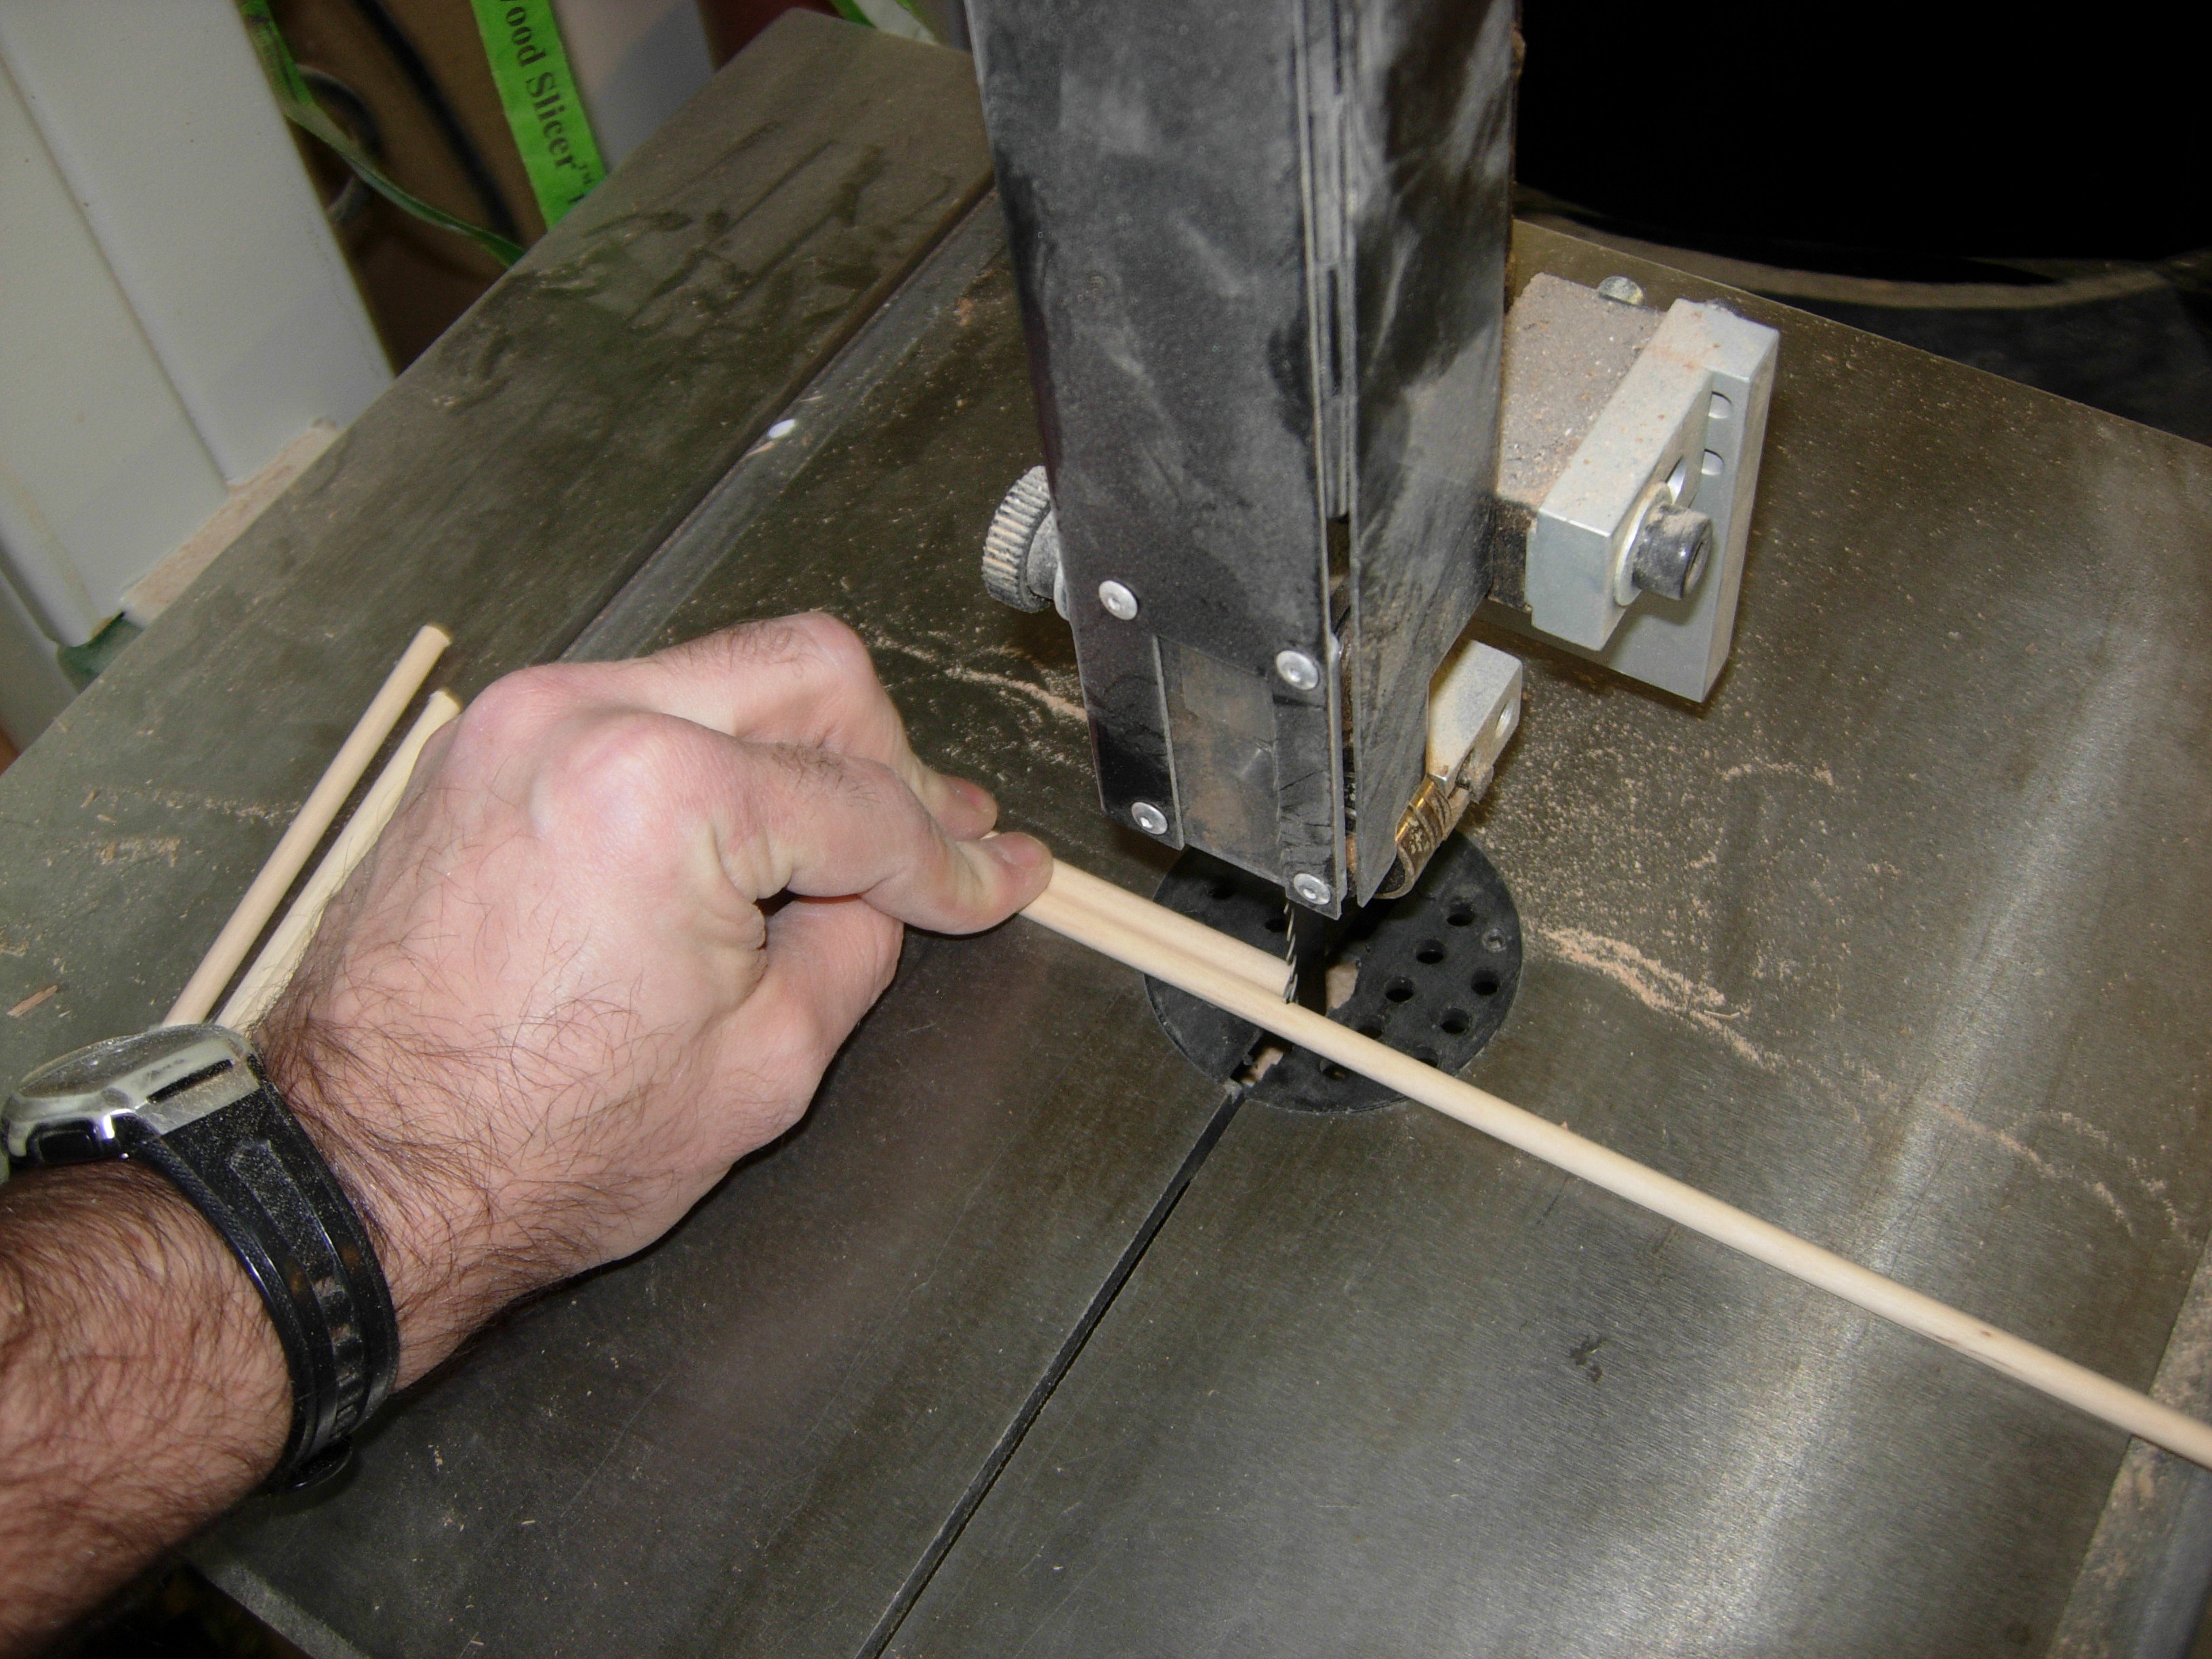
Cutting dowels to 5″ lengths

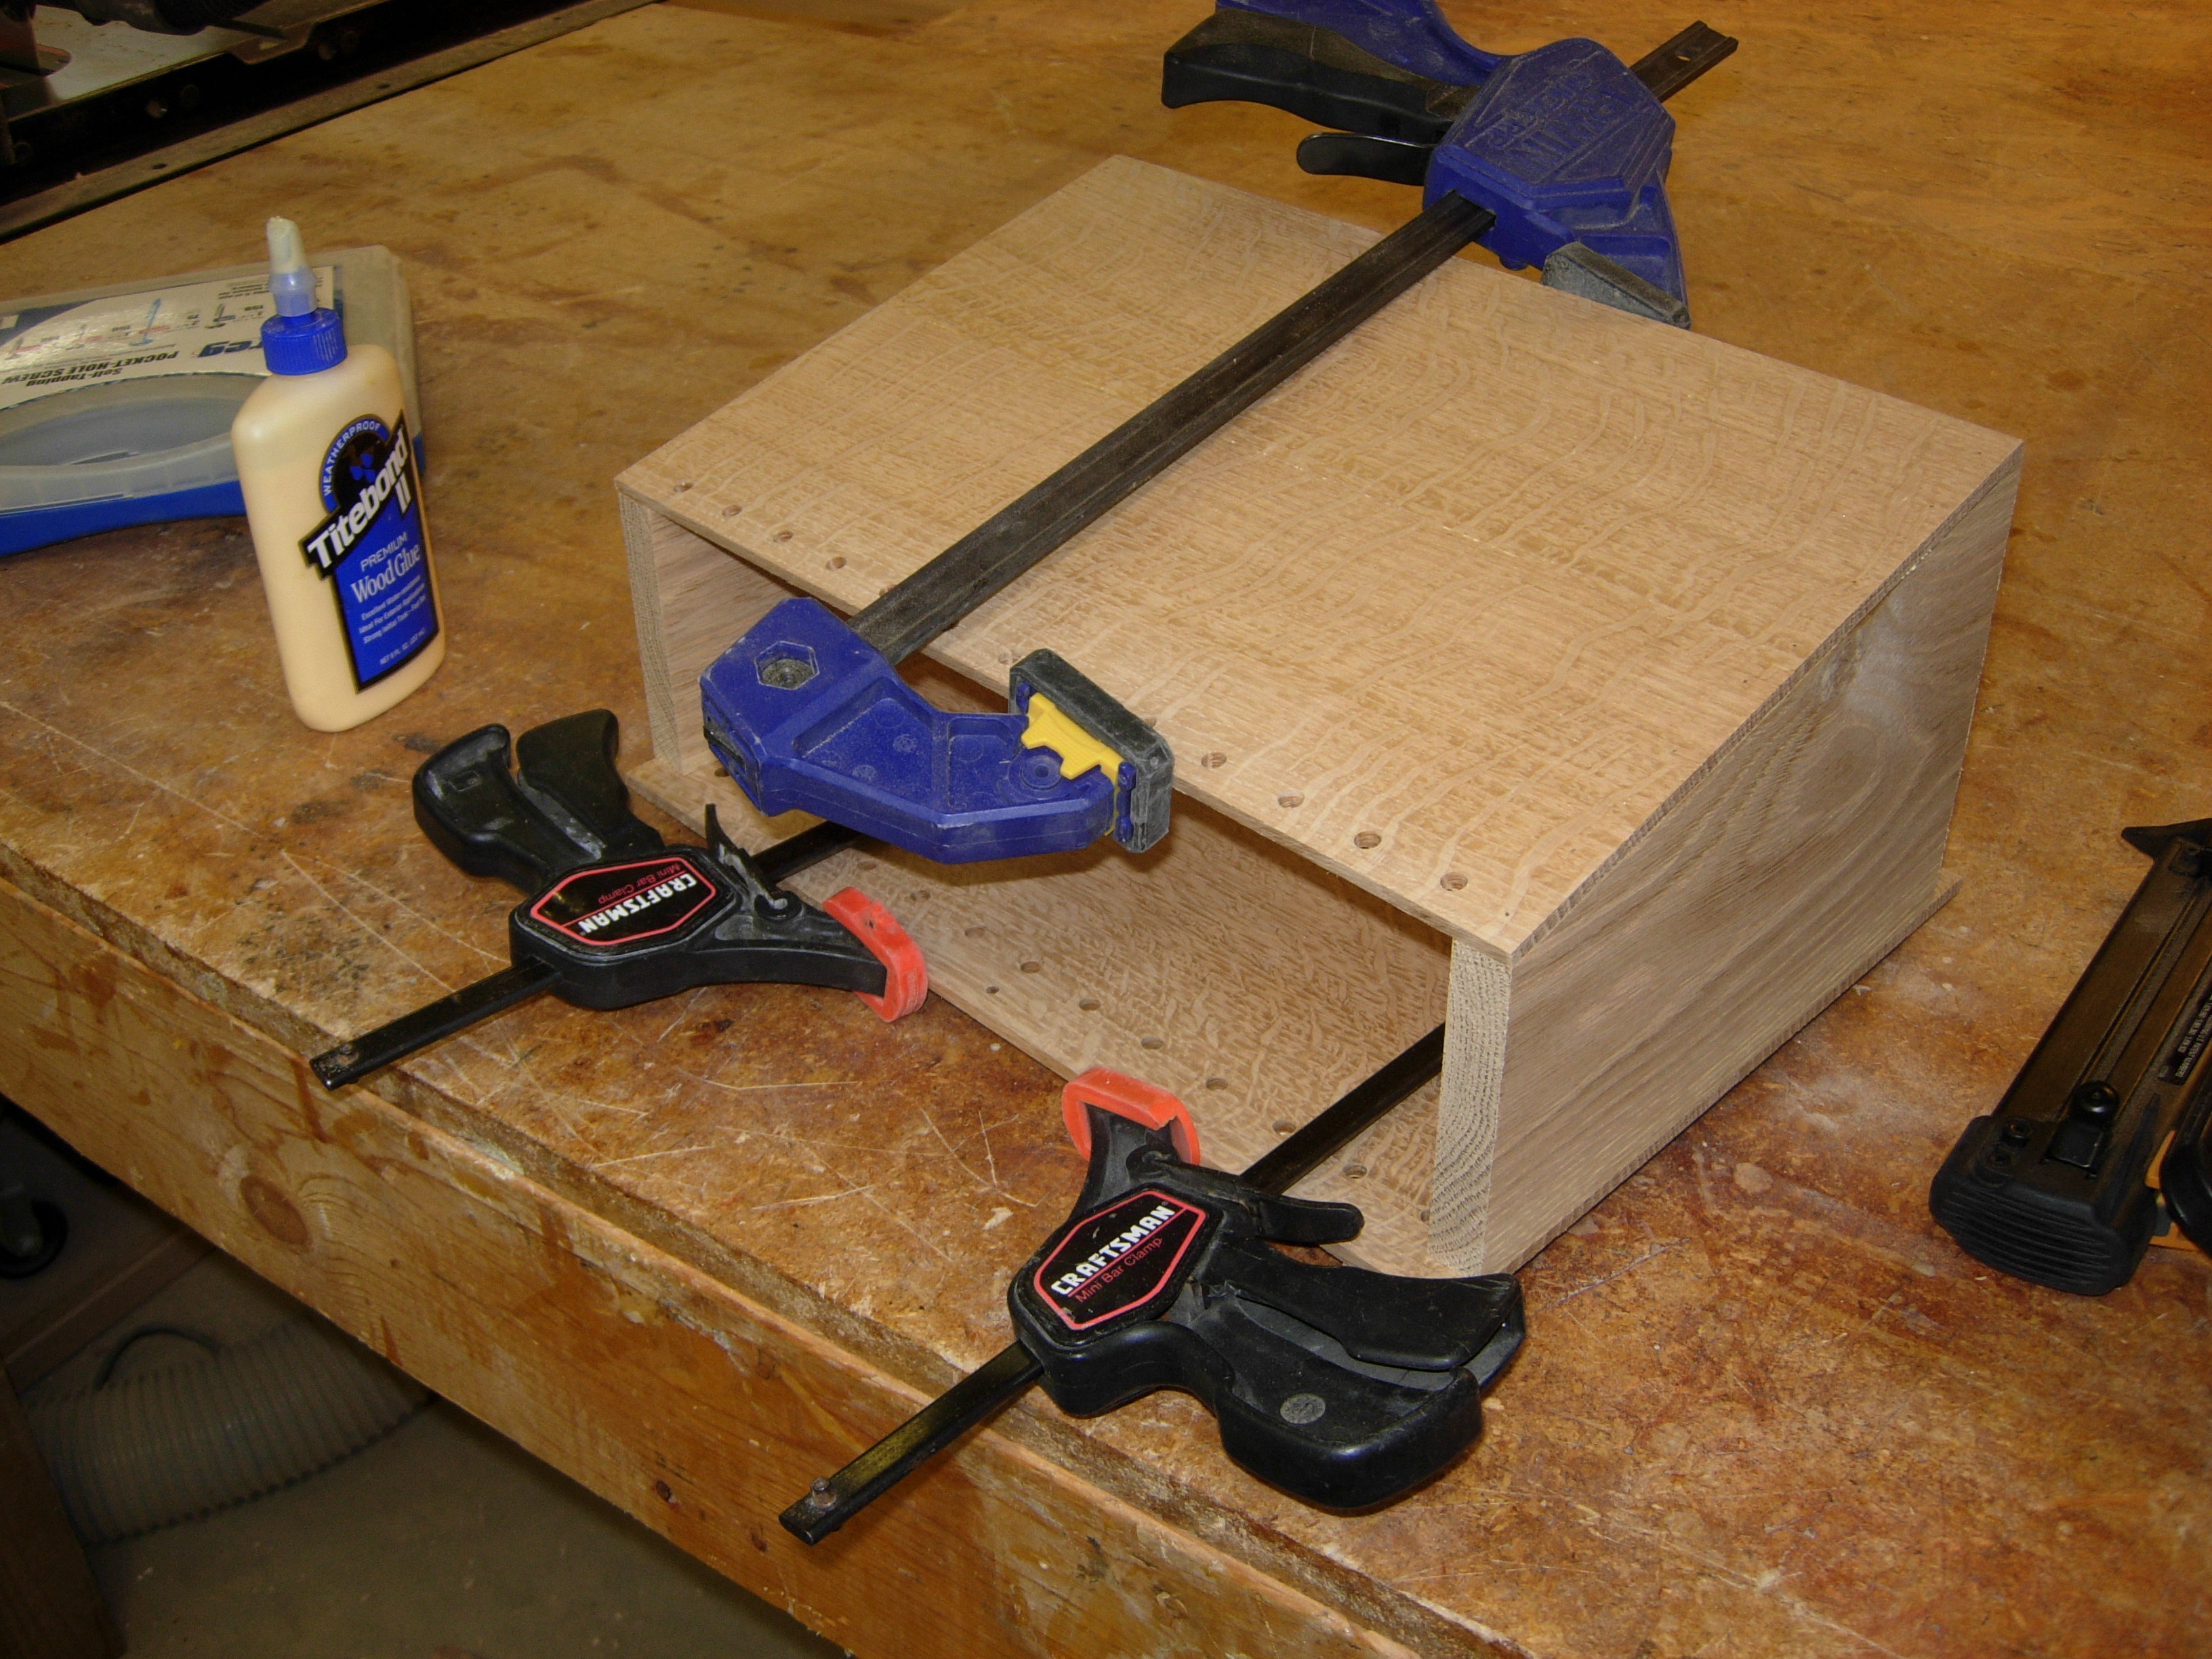
Applying glue to the back of the side pieces
I applied glue to the back edges of the sides, and also to the edges of the rear panel that met in the middle. I located and attached the rear panel with 23 gauge pin nails, to hold everything in place while the glue dried. I clamped the top and bottom panels together as well while they dried.

Pin nailing back panels
Flipping the rack over, I repeated the process on the front.
Front panels attached
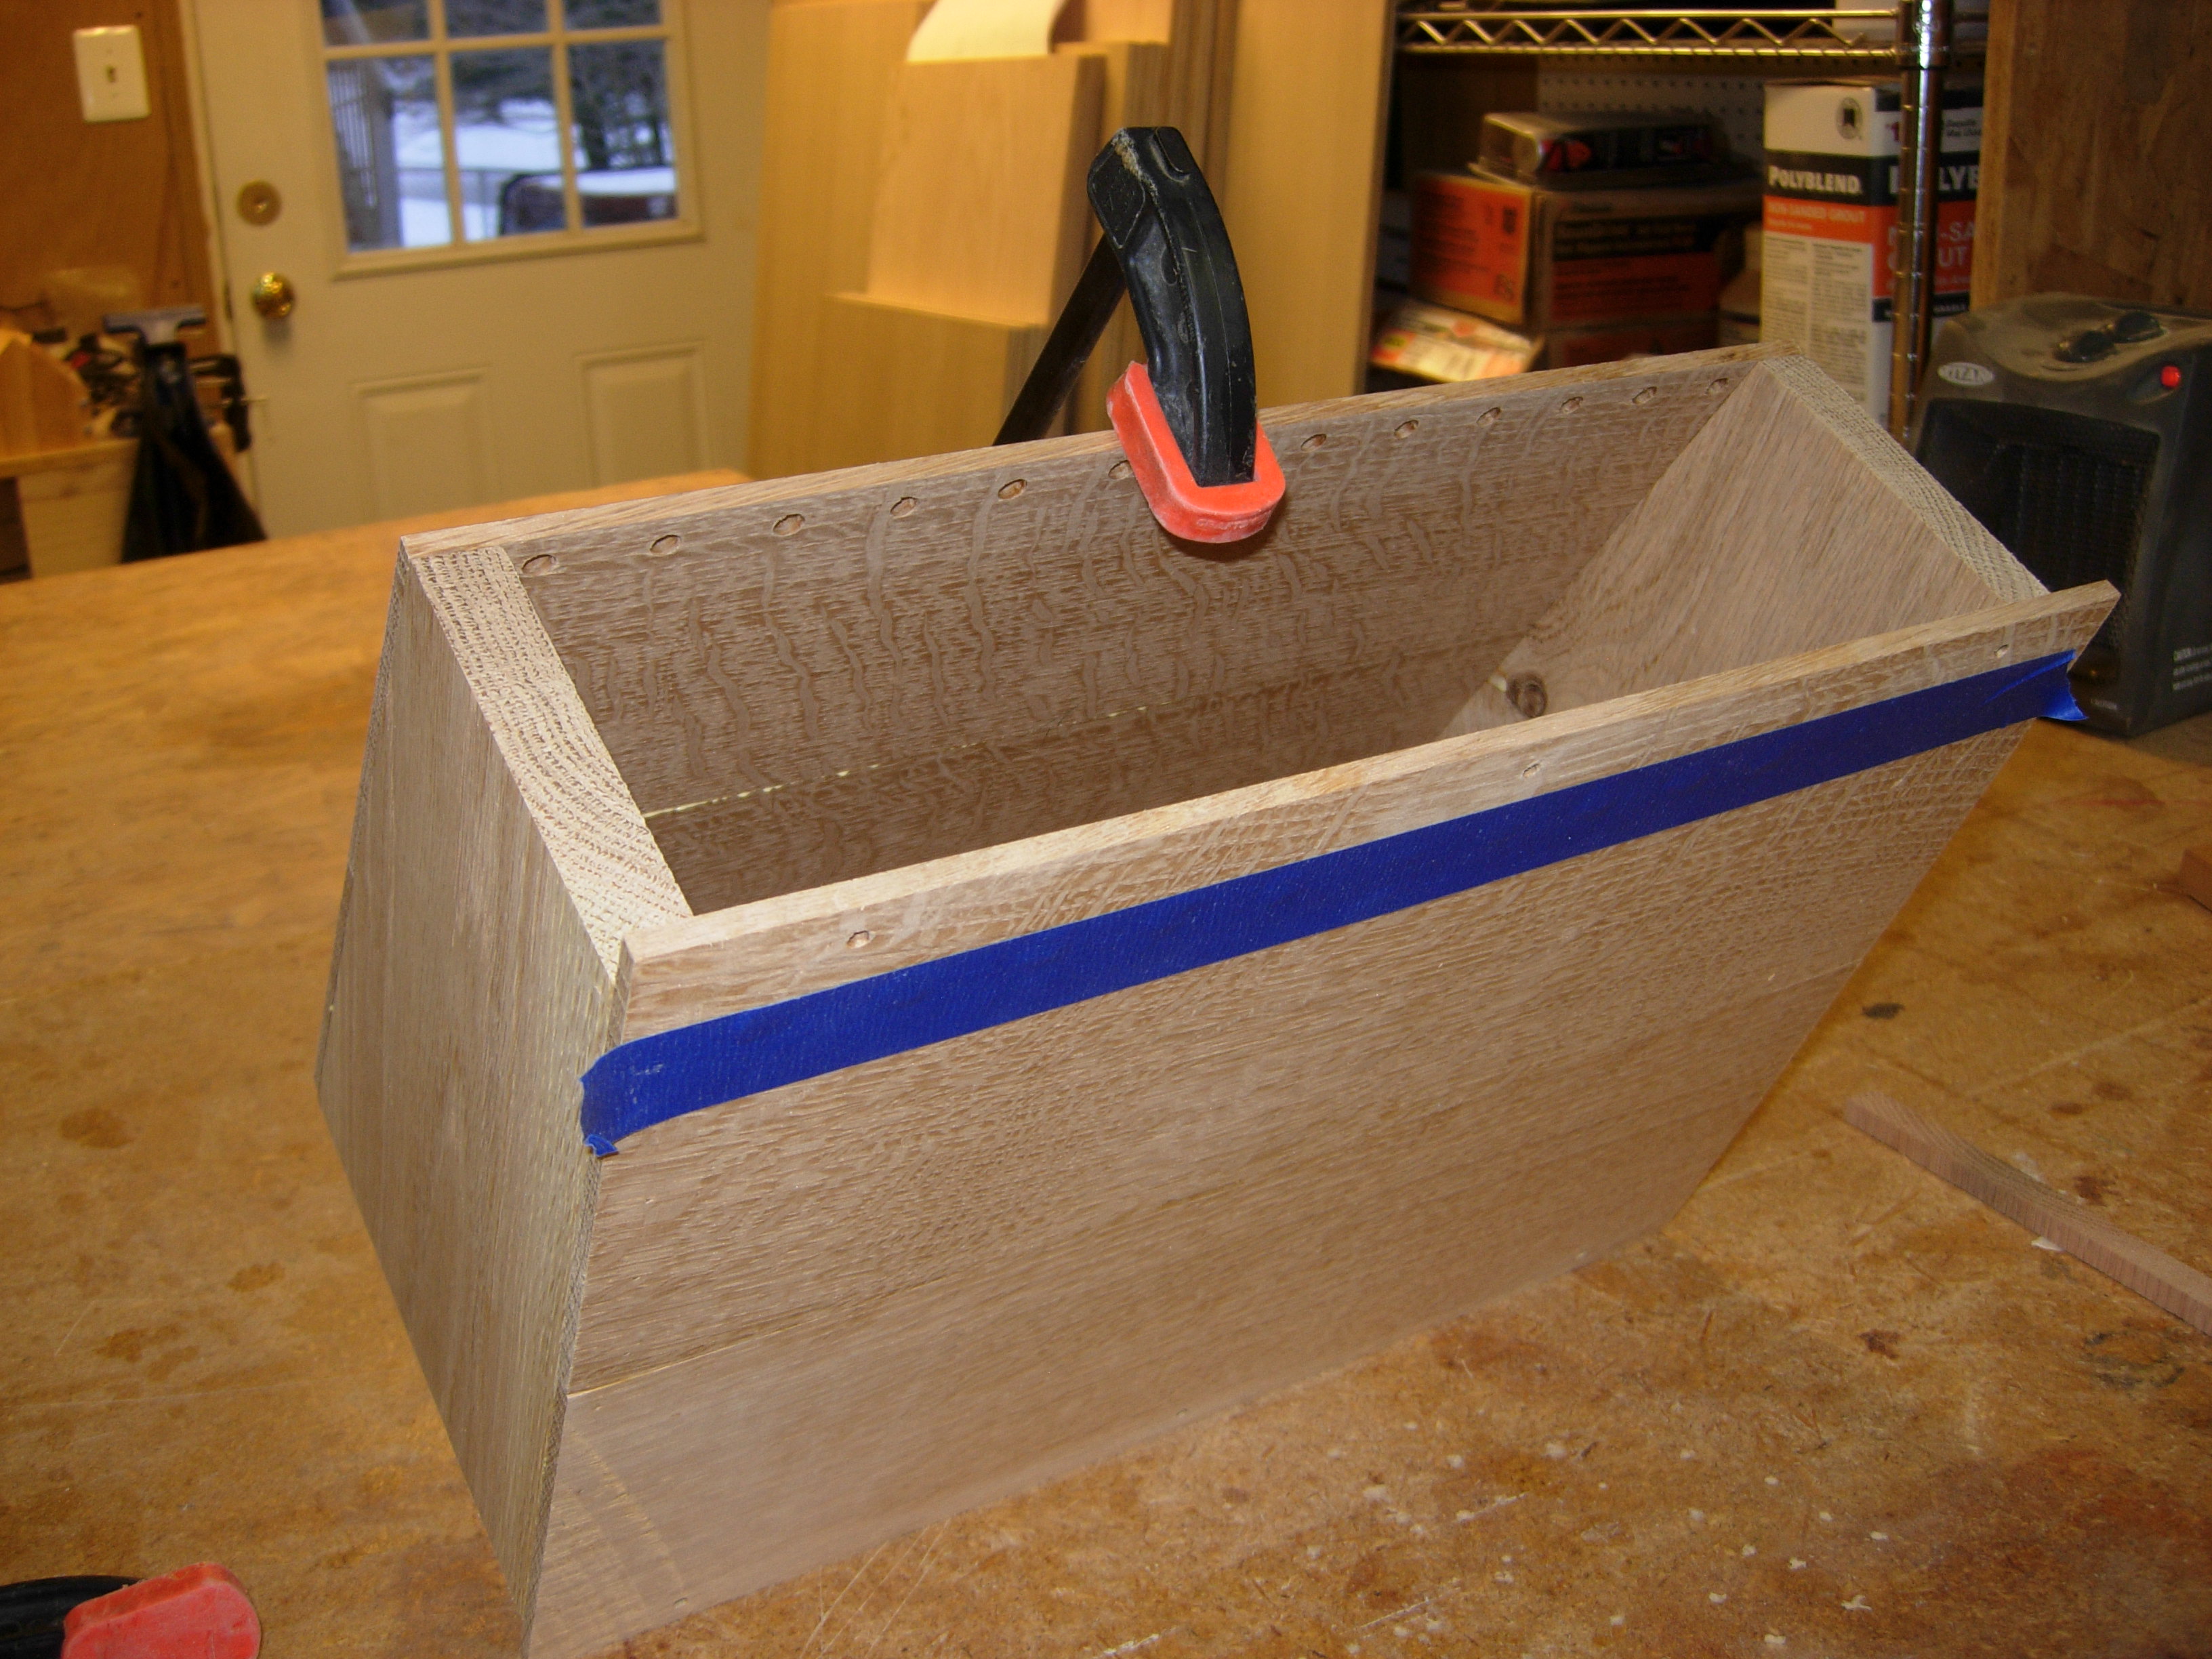
Taping off the holes
I attached a piece of painter’s tape to the rear panel to prevent glue from leaking out the back, then applied a single drop of glue to each rear hole. I swirled the glue around the hole, with a short pencil, to evenly spread it out.
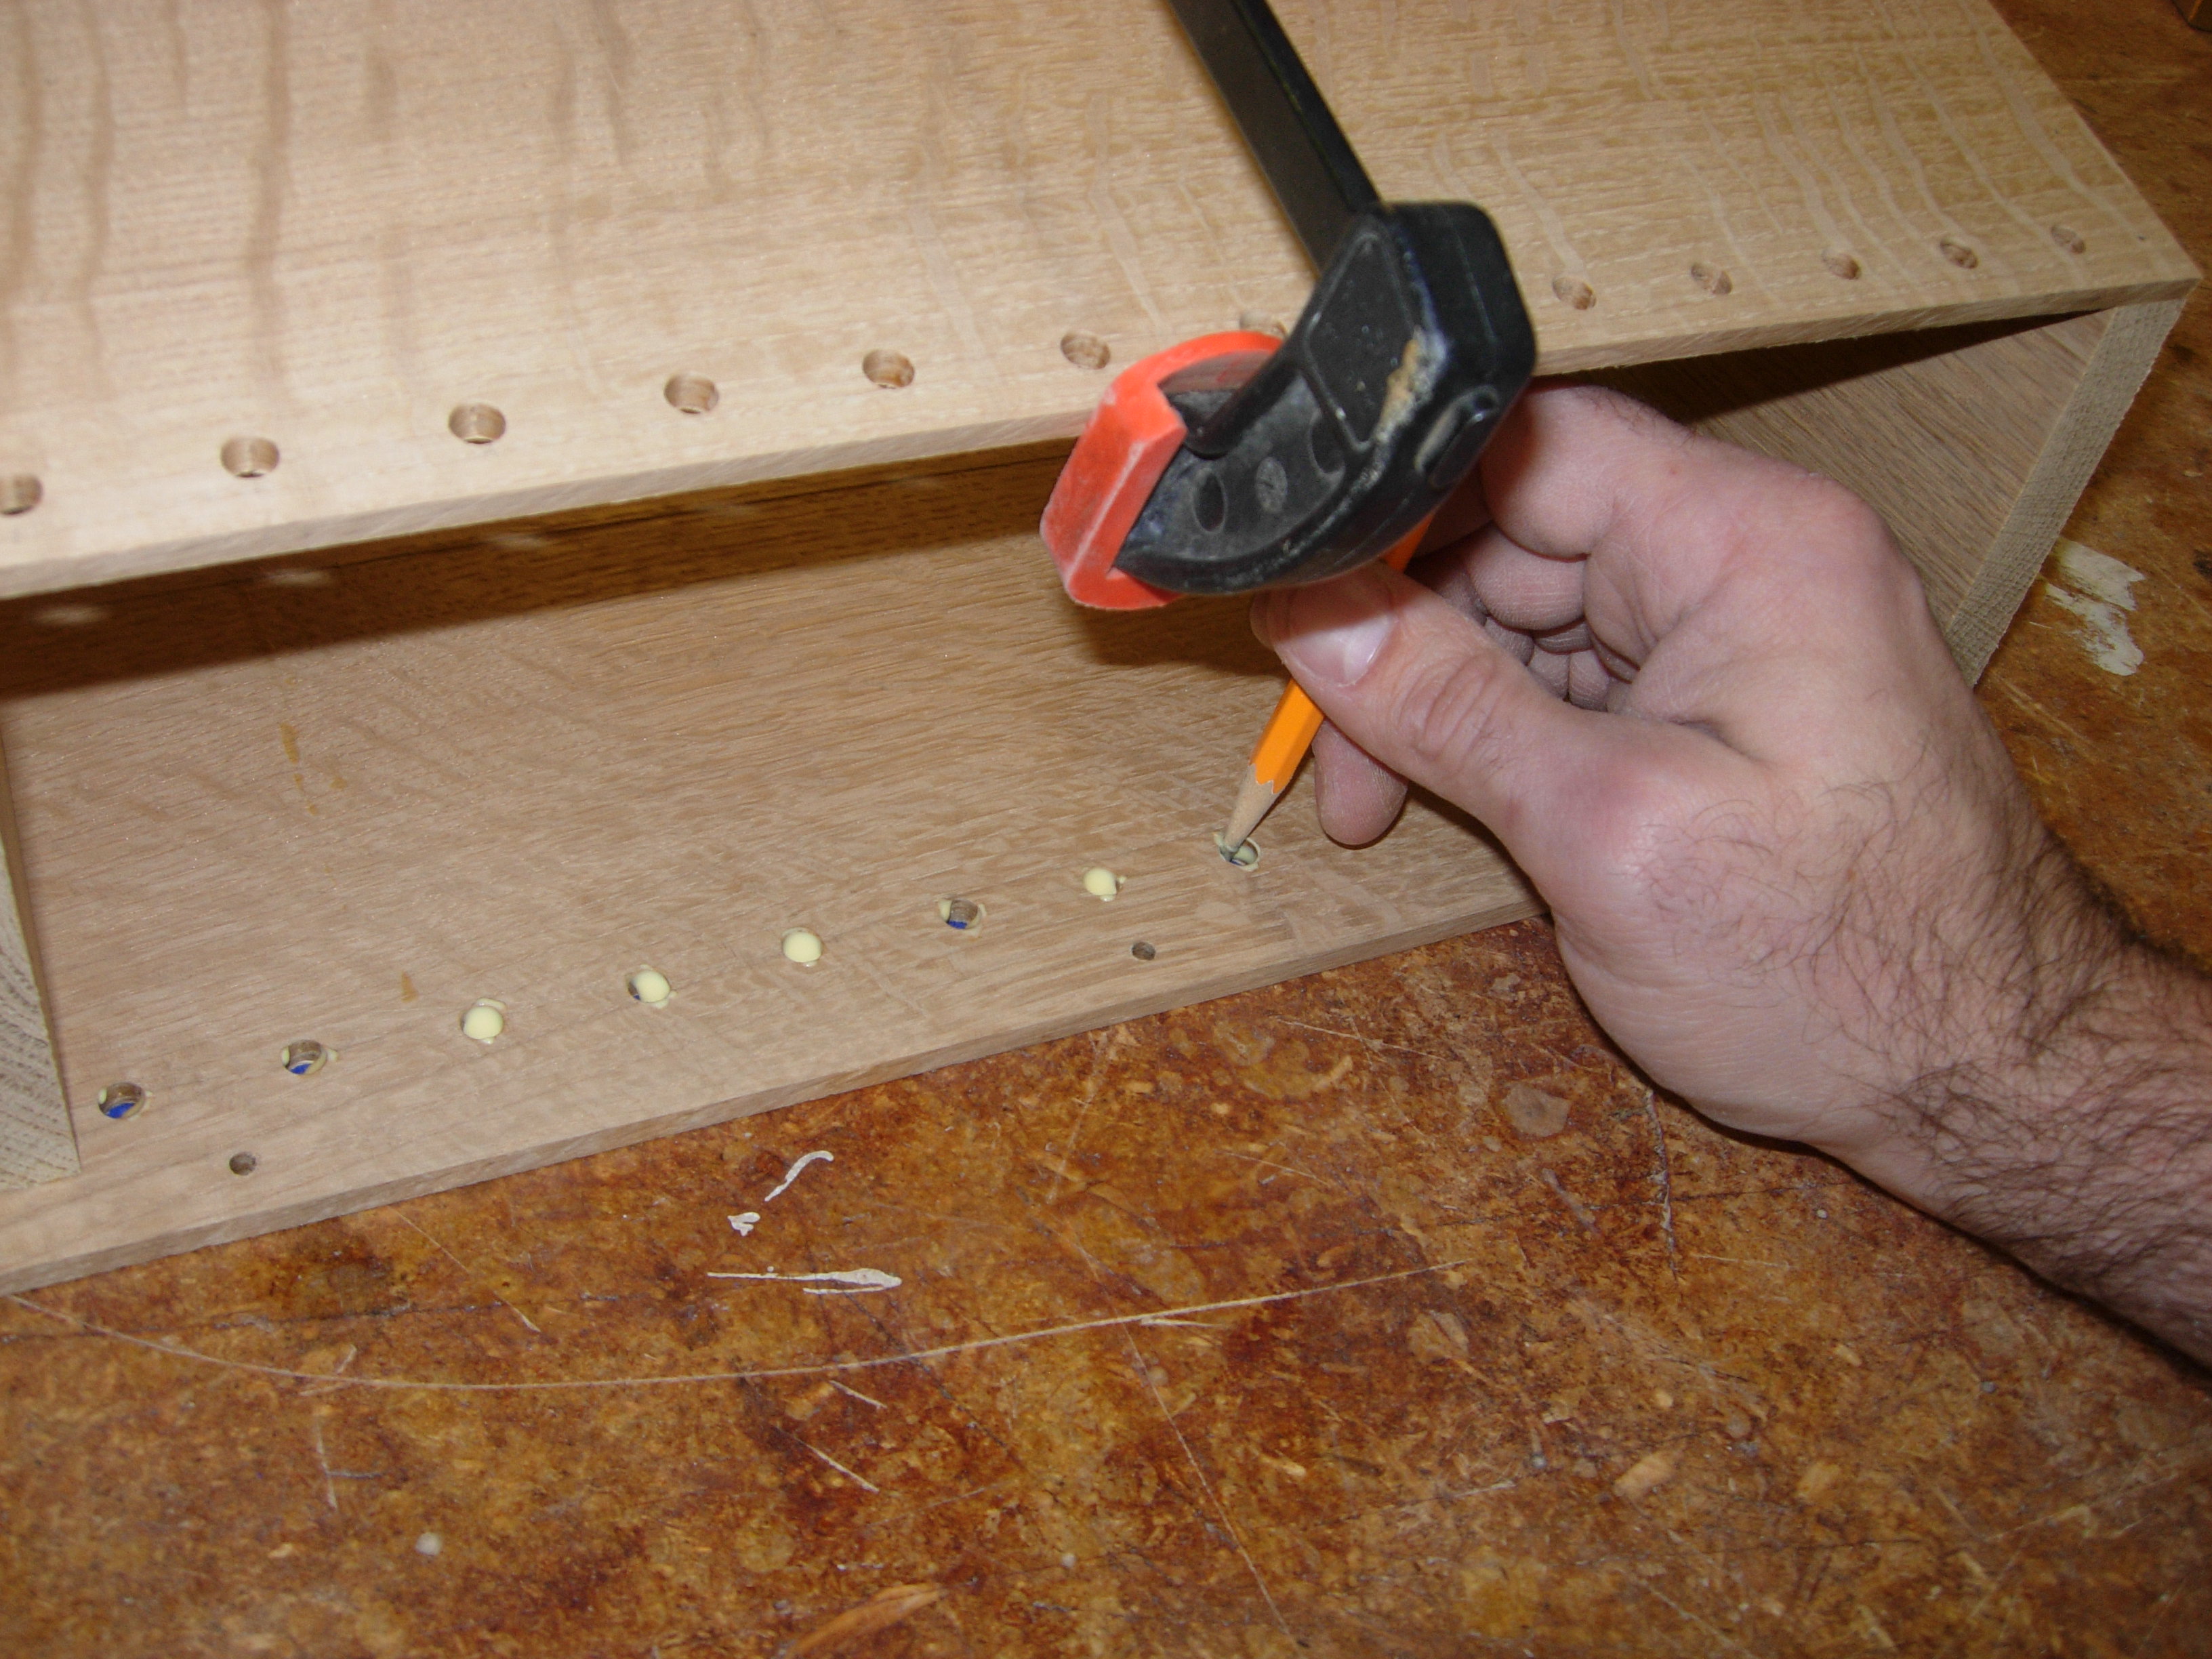
Spreading glue in holes
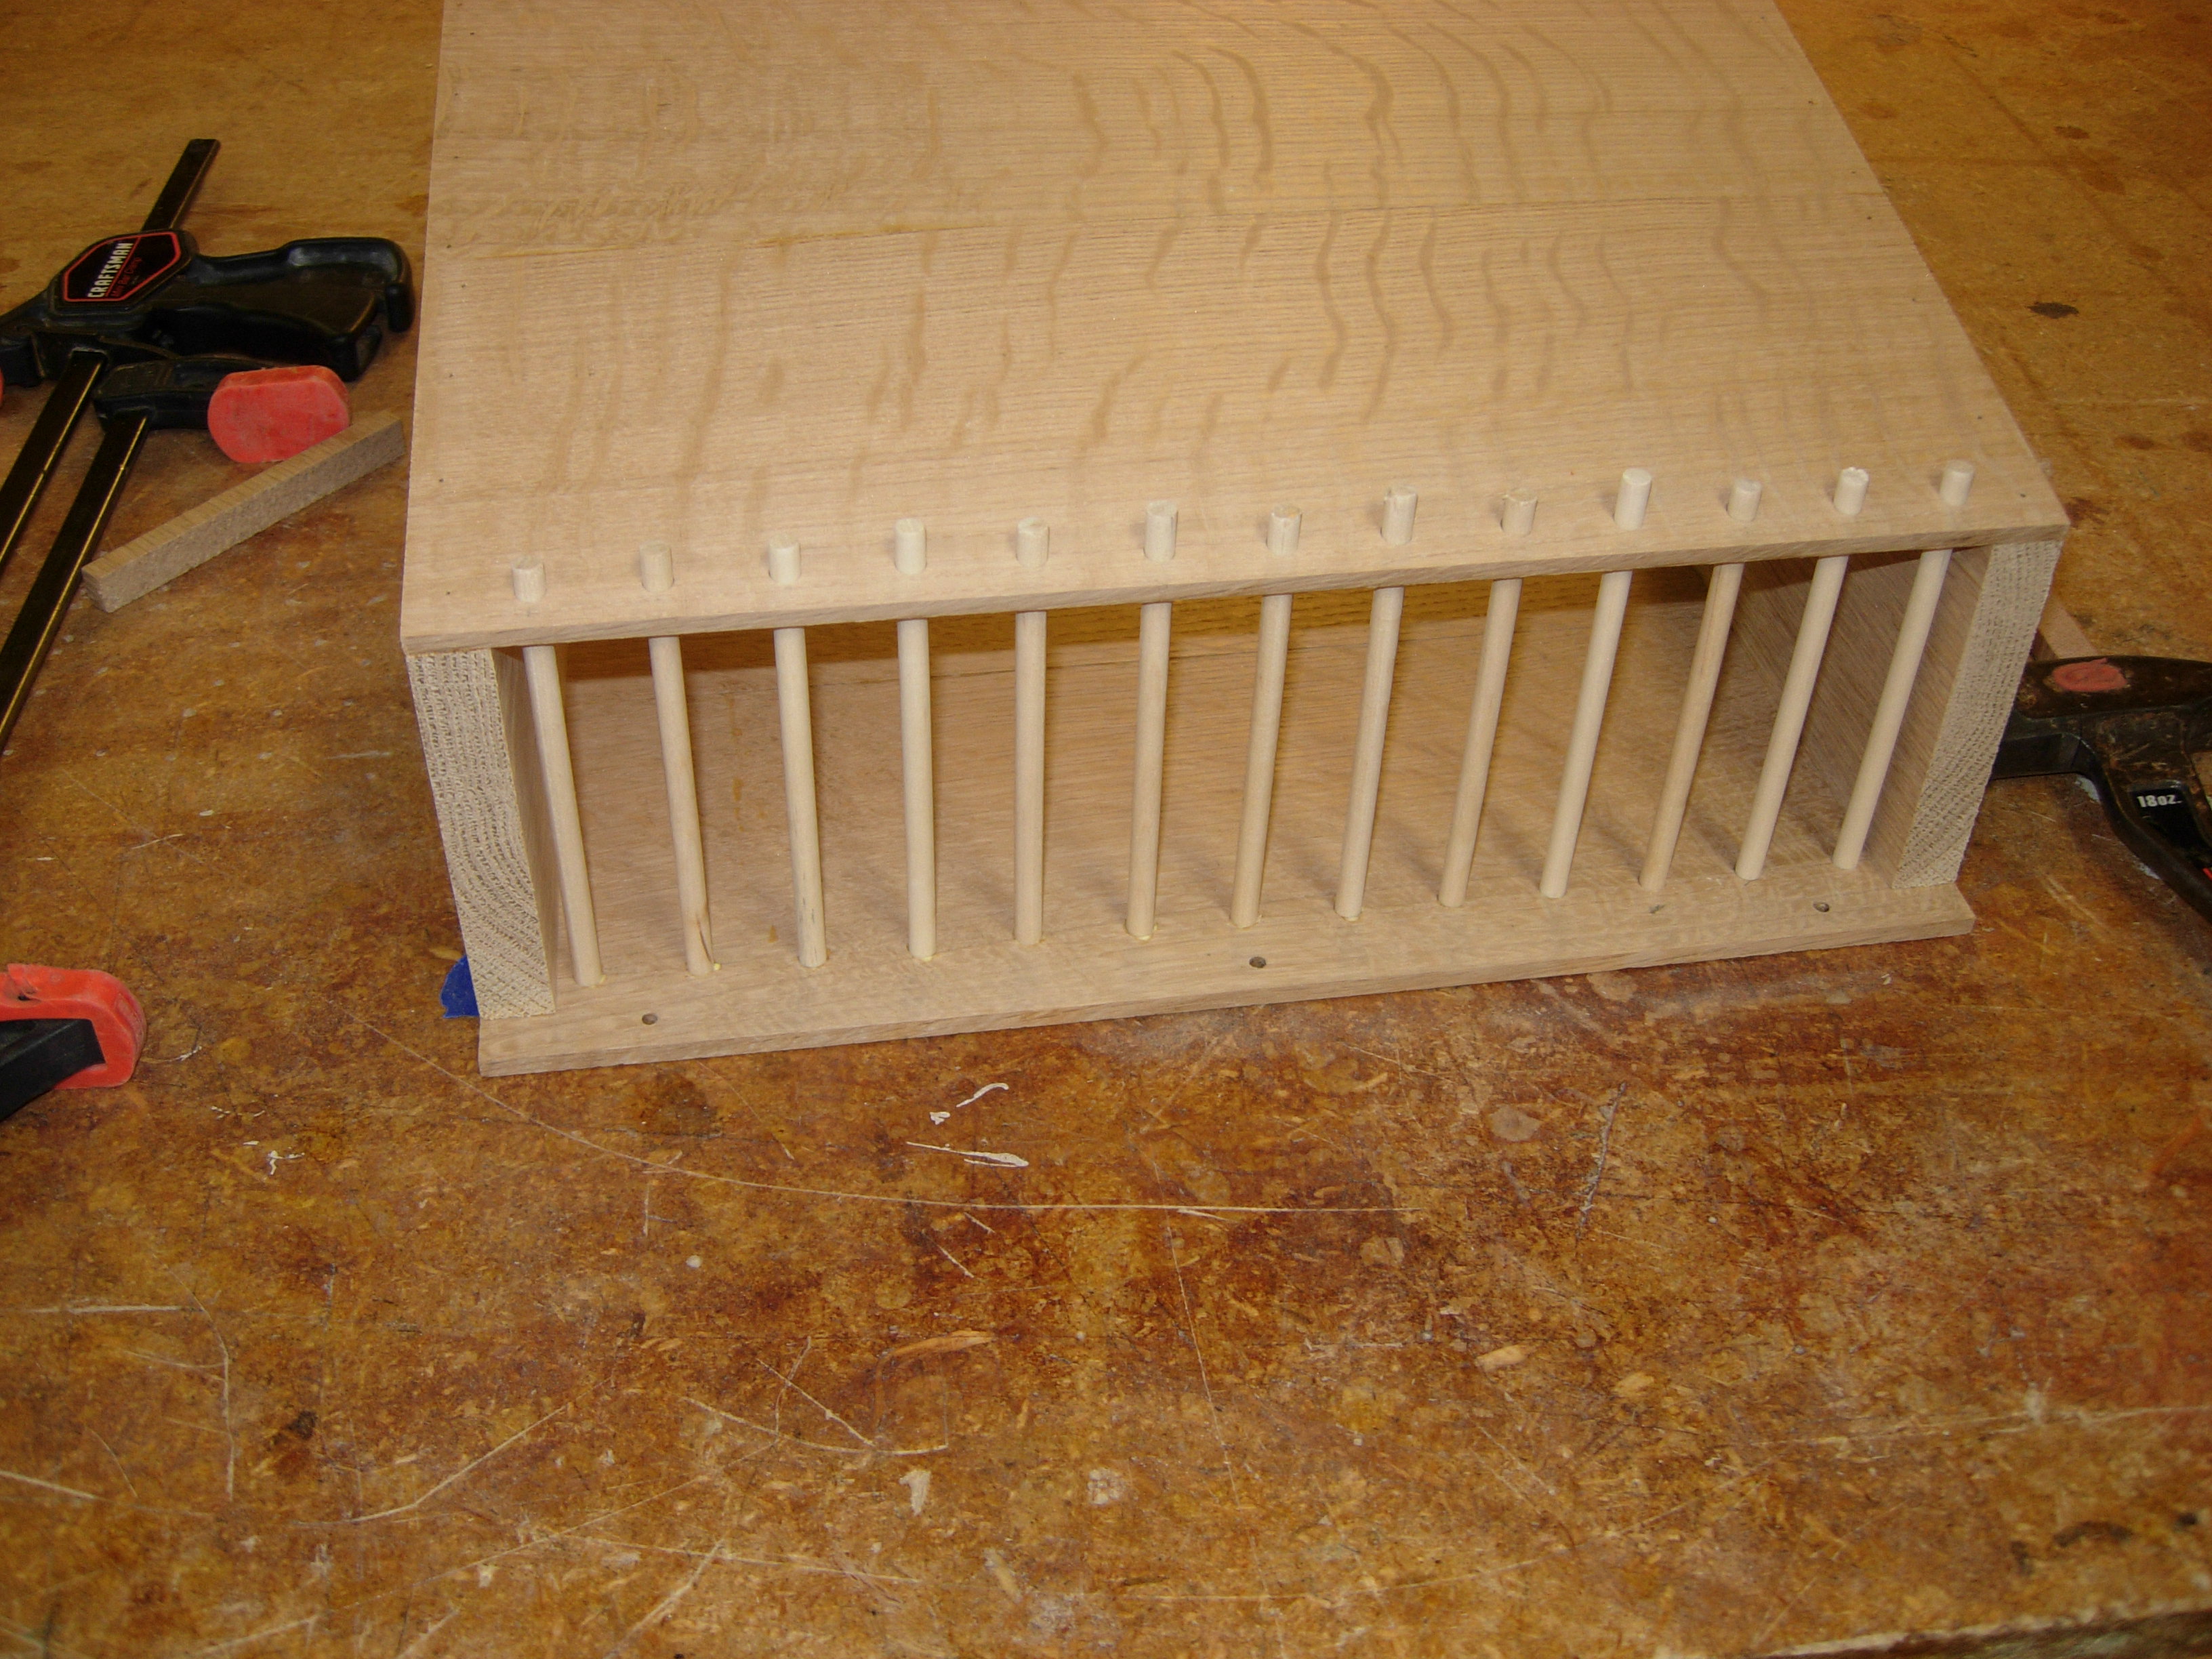
Dowels set in place
I tapped each dowel in place with my hammer, then attached the dowels in the front panel with my pin nailer. 1/2″ pin nails were just long enough to penetrate fully into the dowel.
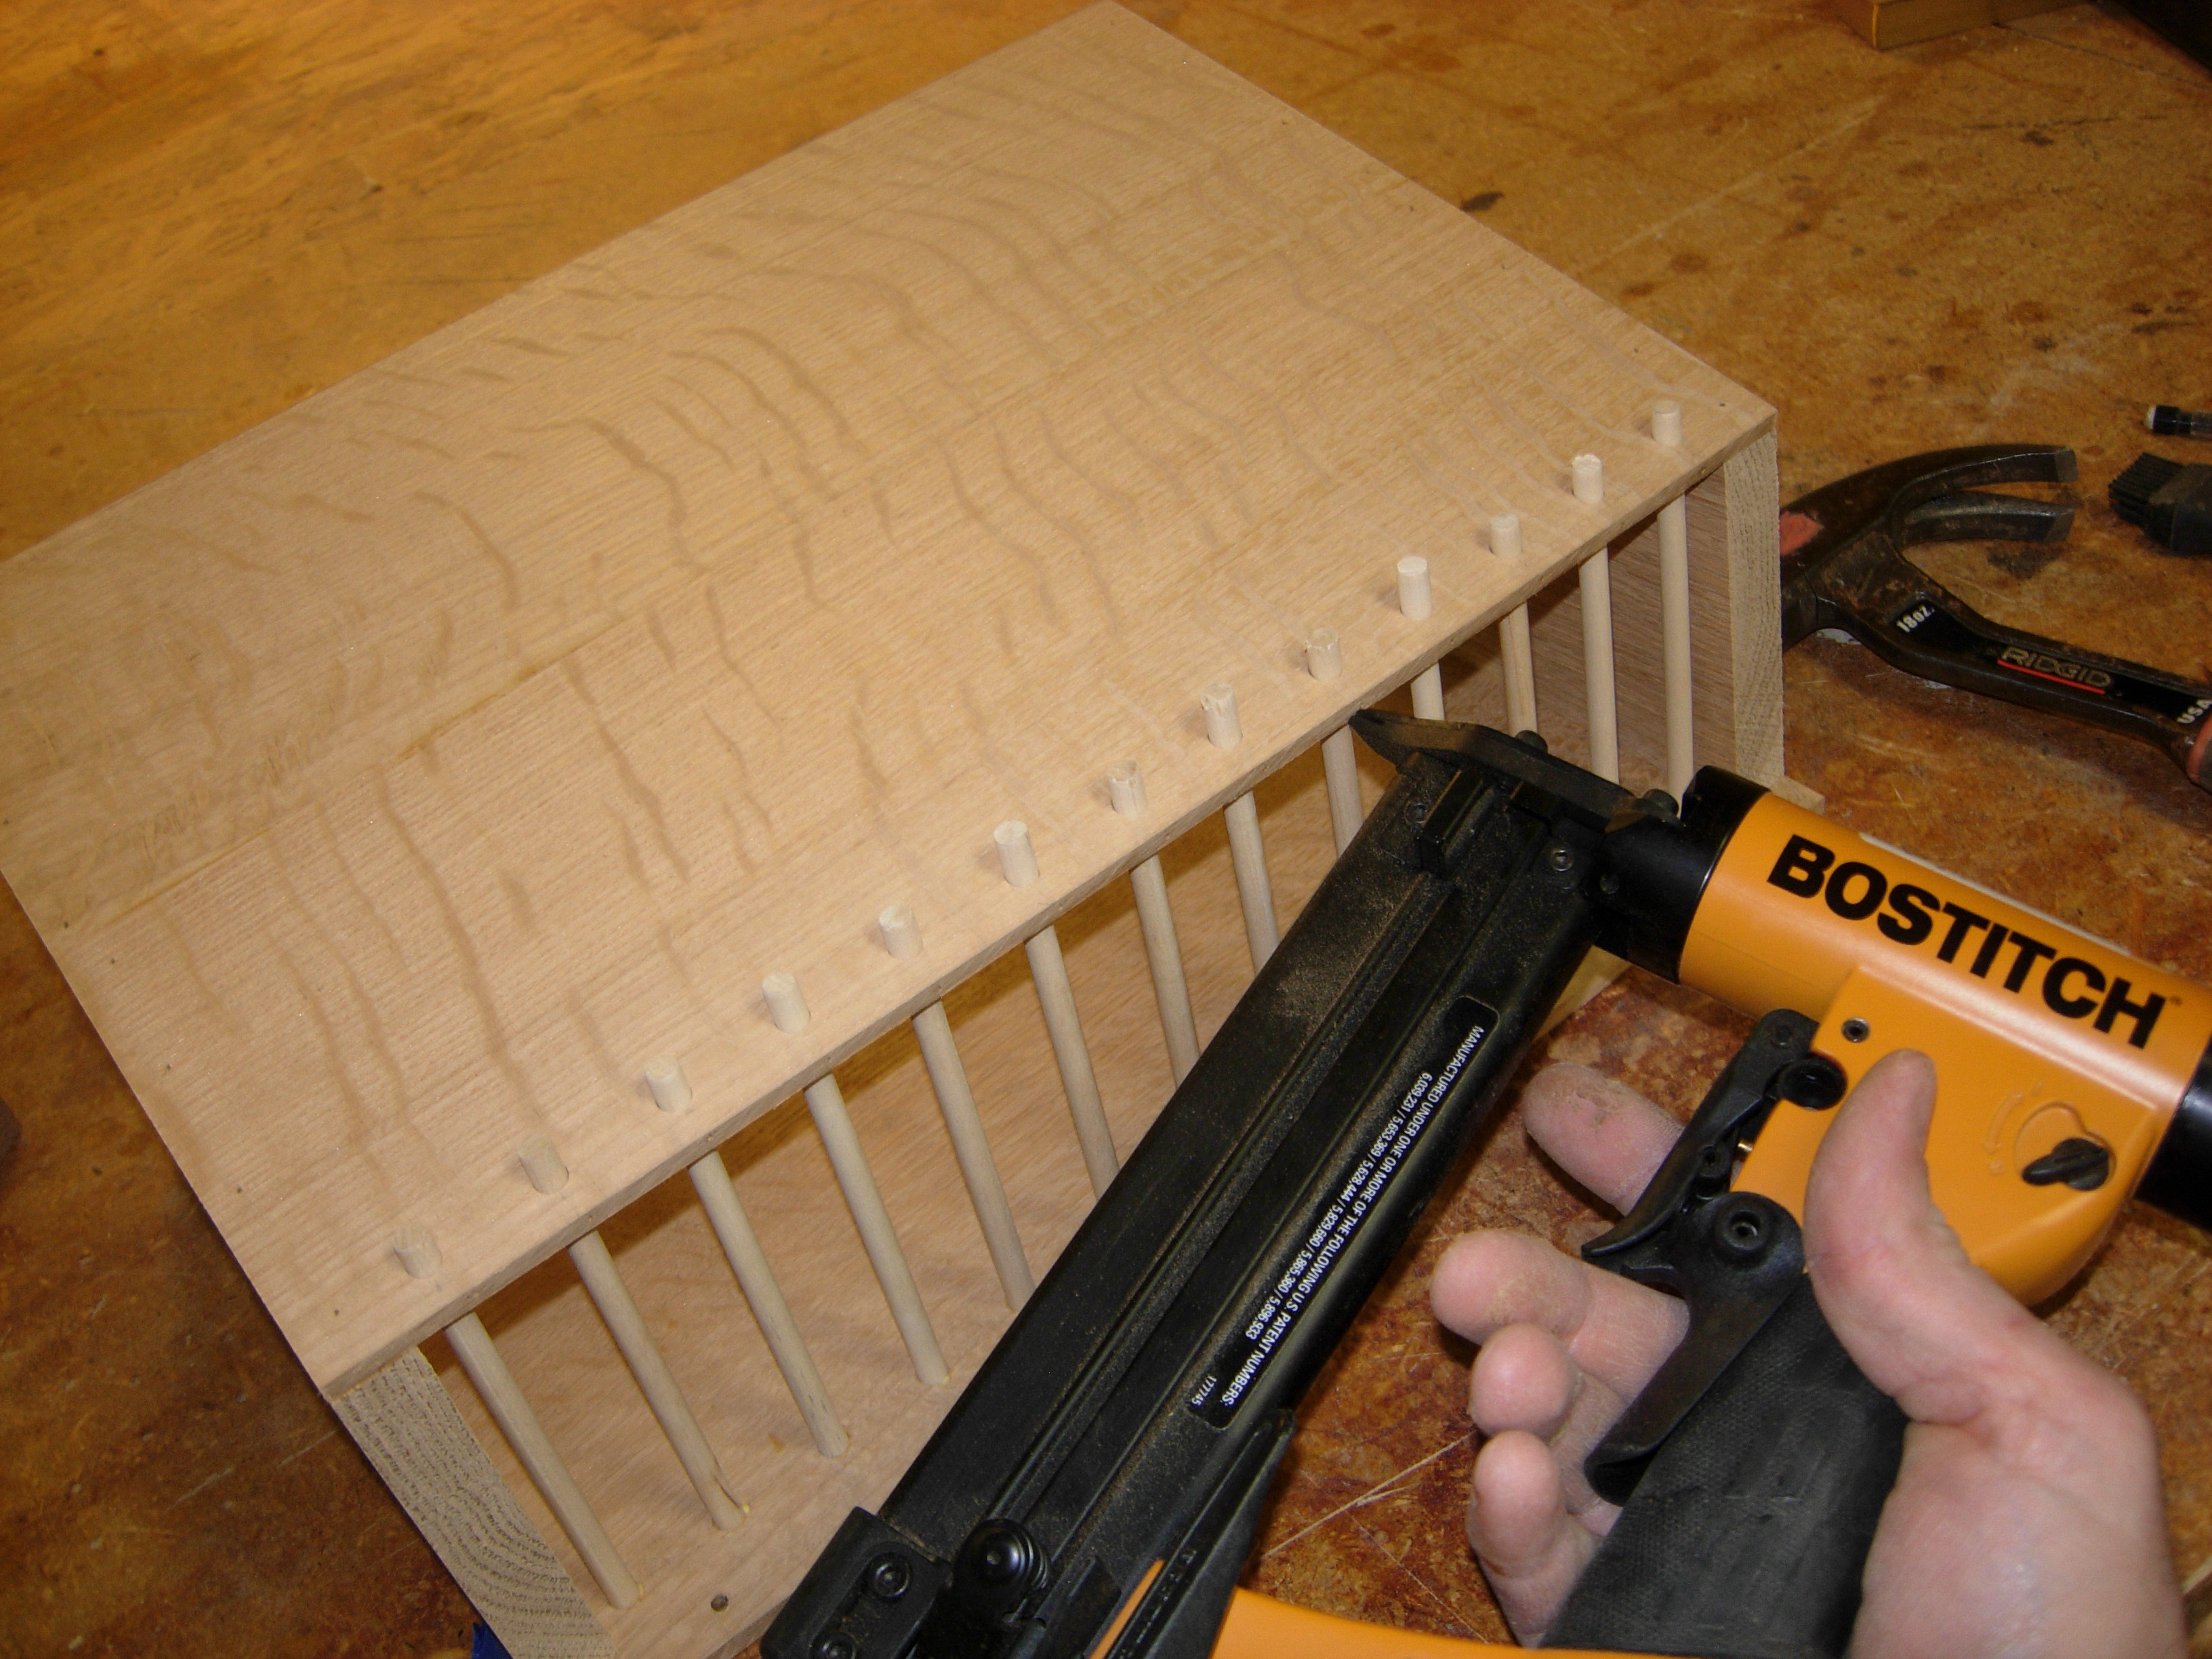
Pin nail in each dowel on front panel
I used my pull saw to cut all of the dowels flush, then sanded down the area around the dowels, and all of the edges and corners.

Flush cutting dowels
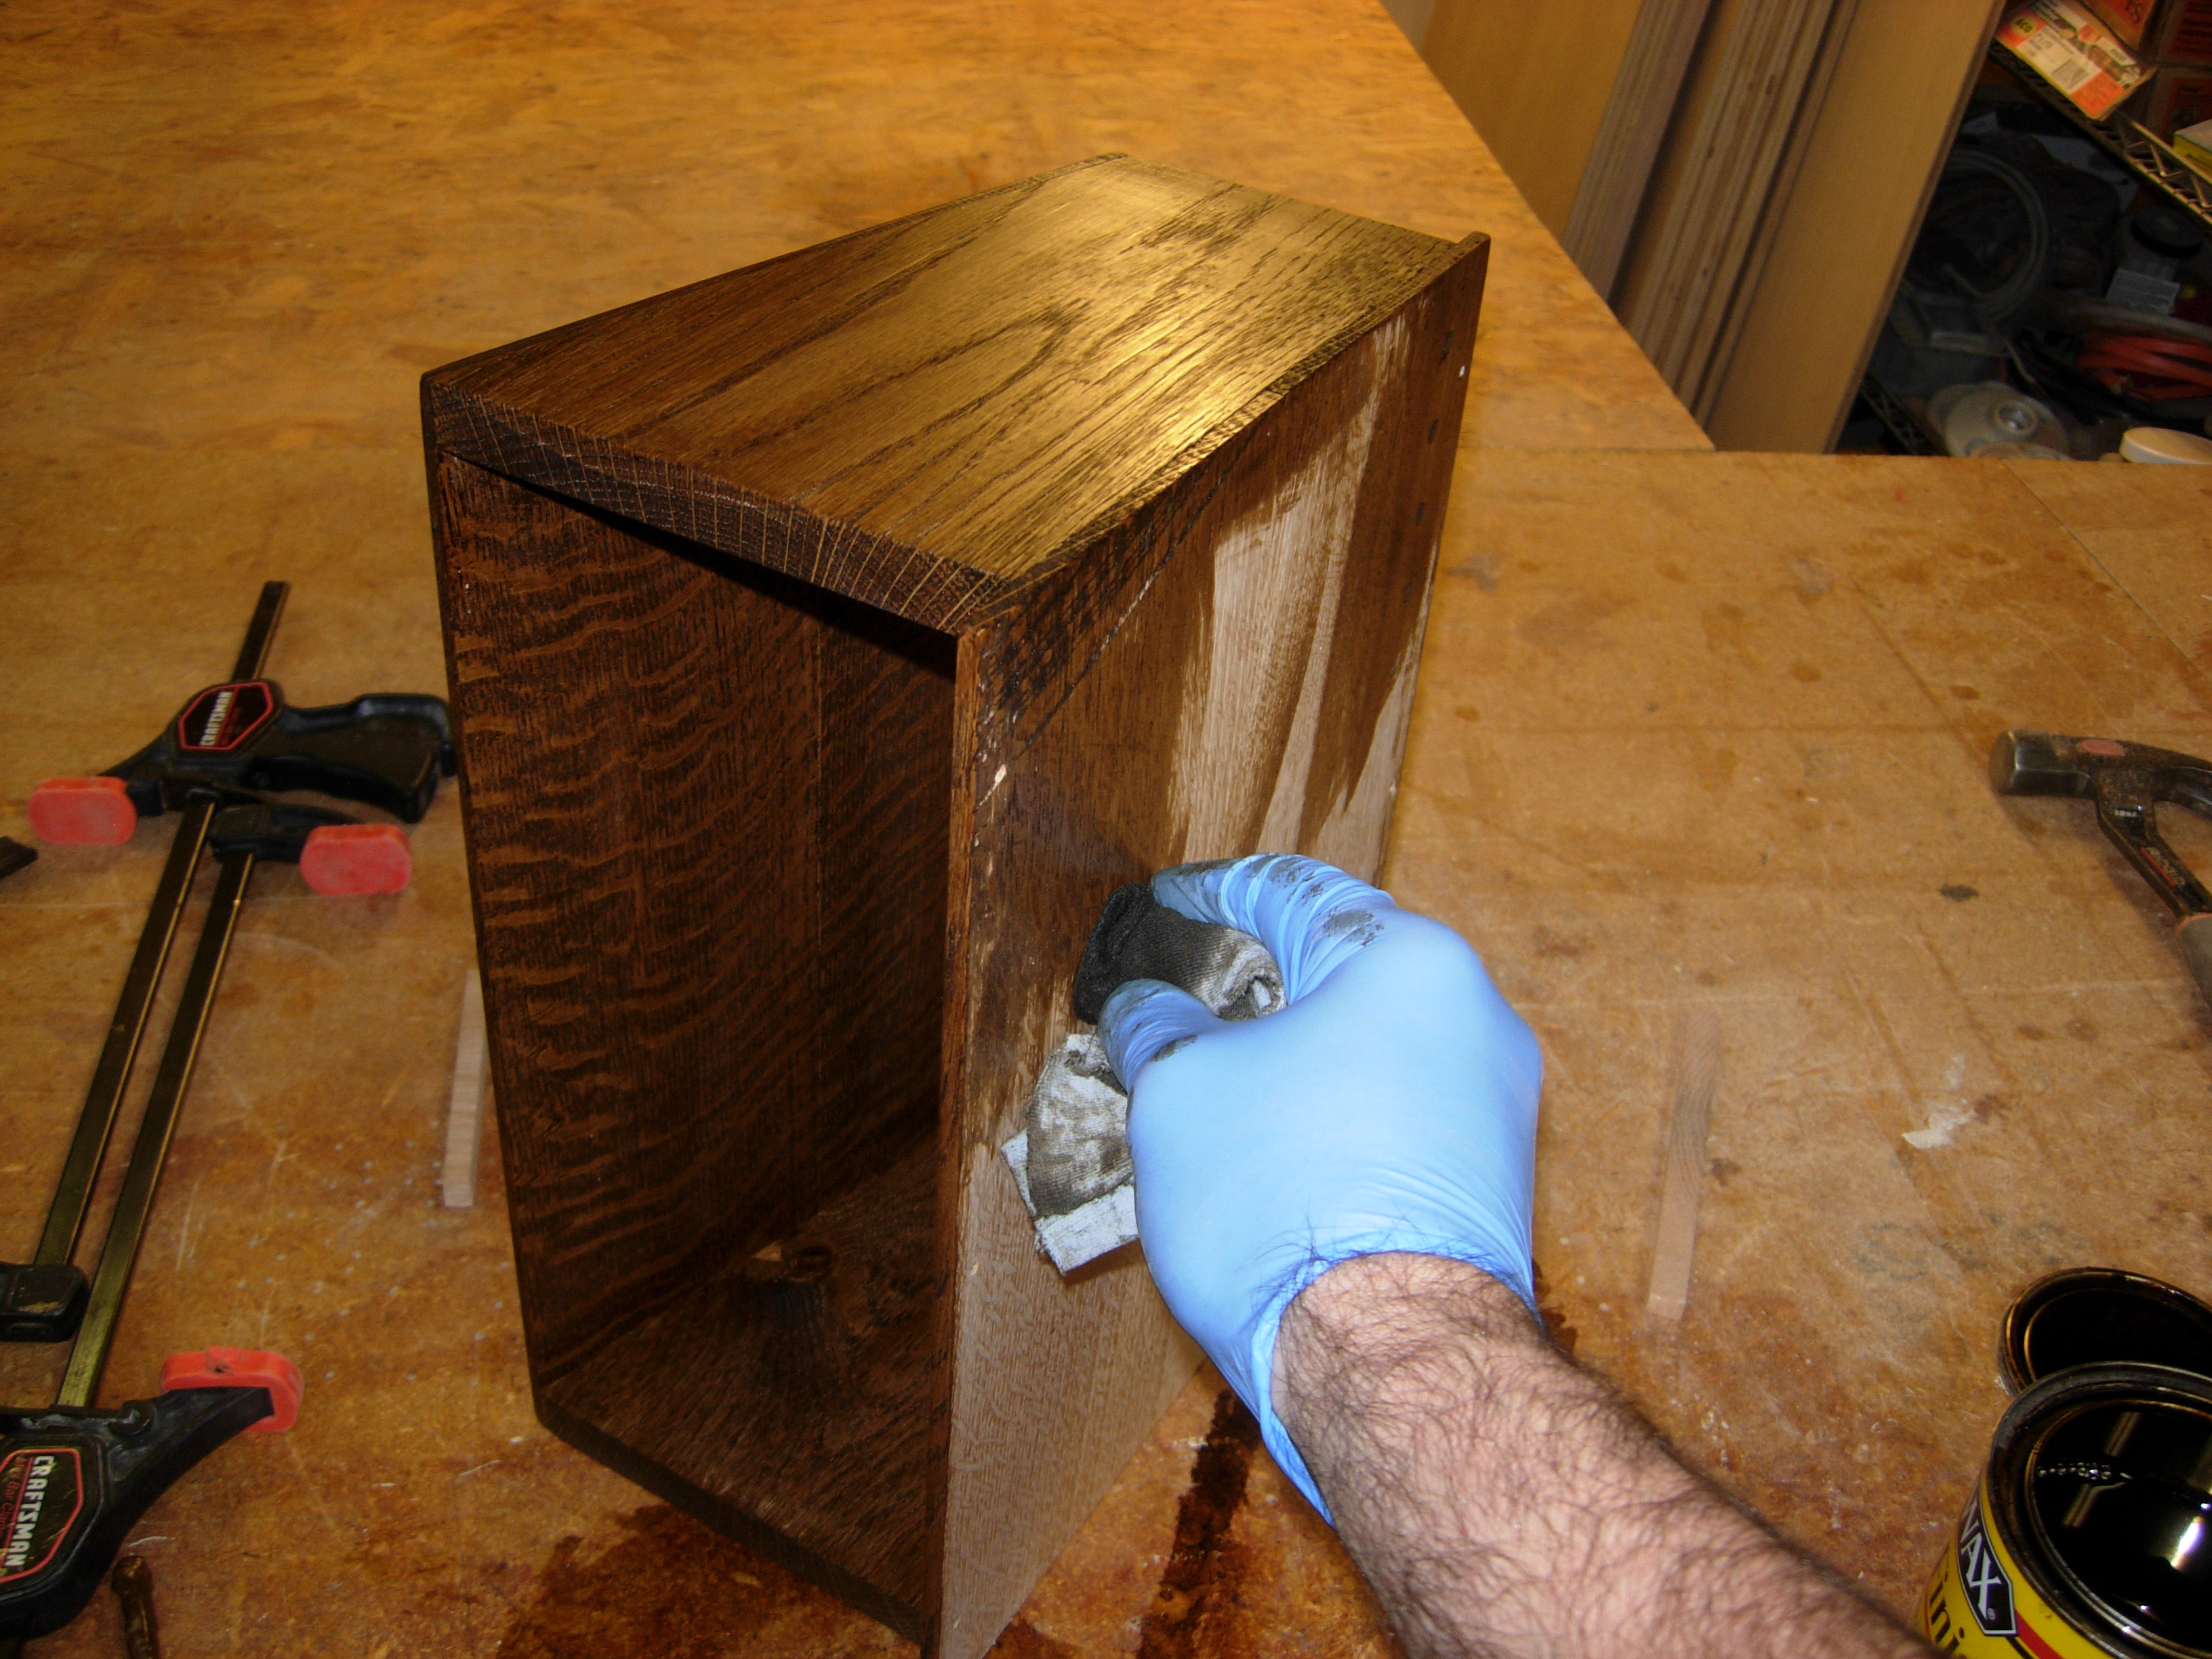
Applying stain
After letting the glue dry, I applied some dark walnut stain with a rag.

Stain applied
The stain really brings out the grain. Hopefully I will get a chance to spray on a couple coats of polyurethane, then I will be able to deliver the rack.
