
Altar cloth and storage cabinets – day 2
I had the day off due to snow, so I decided to spend the day working on one of the more tedious parts of this cabinet, the cloth spindles. The spindles are a fairly simple design, but there are ten of them, and they require a lot of attention.
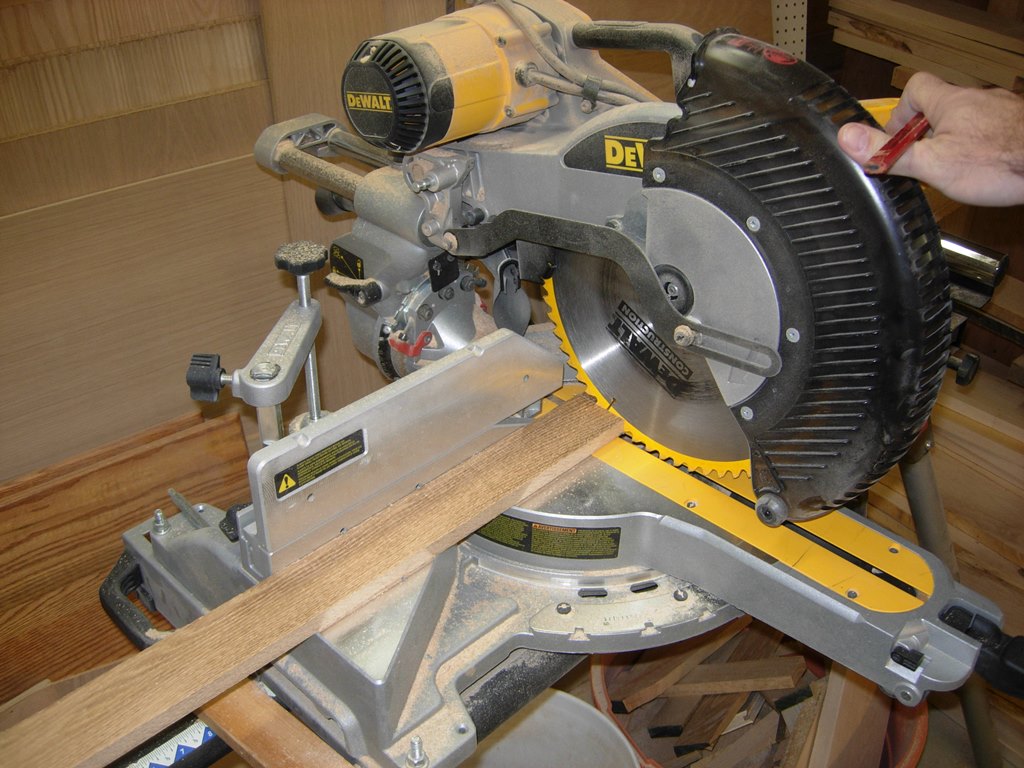
Cutting to length
I have a pile of 2-1/4″ x 11/16″ strips of oak, left-overs from another project. I cut twenty of them to length, then ran them through the planer to take them down to 5/8″ thick, and smooth them out.
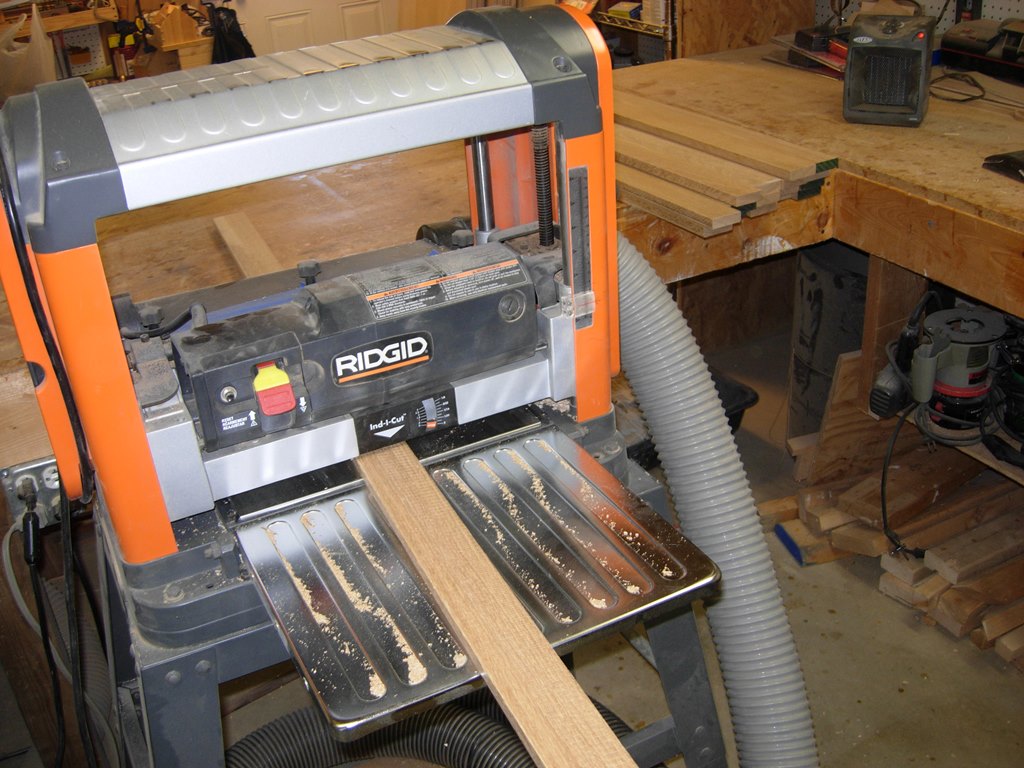
Planing strips down to 5/8″

Strips planed down
I also planed down a couple of shorter strips to 1/2″ thick, for spacers. Once everything was planed, I ripped everything down to 2″ wide on the table saw.

Ripping to width
I set up a stop block and cut all of my spacers down to 2″ squares.

Cutting 2″ spacer blocks
I ran all of the outside of the strips across my 1/4″ round-over bit on the router table.

Rounding over the outside edges
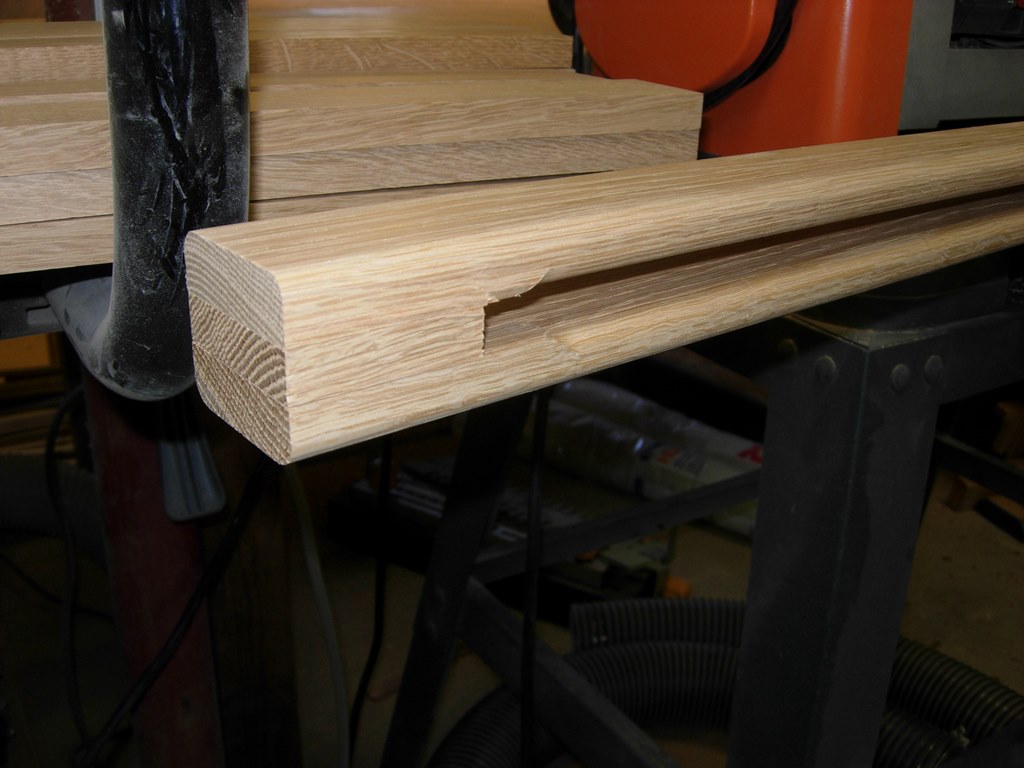
I placed some painter’s tape on the fence about 3″ from the bit in either direction. This gave me a start and stop point for routing the inside edges of the strips.

Rounding over the inside edges
I left a few inches on each end for mounting the spacers. As you can see, from the dry-fit, I will have to go back later and finish the round-over.
Dry-fit
I spent a lot of time sanding down the edges and surfaces of the strips. Fabric will be wrapped around these and I don’t want any of it to snag.
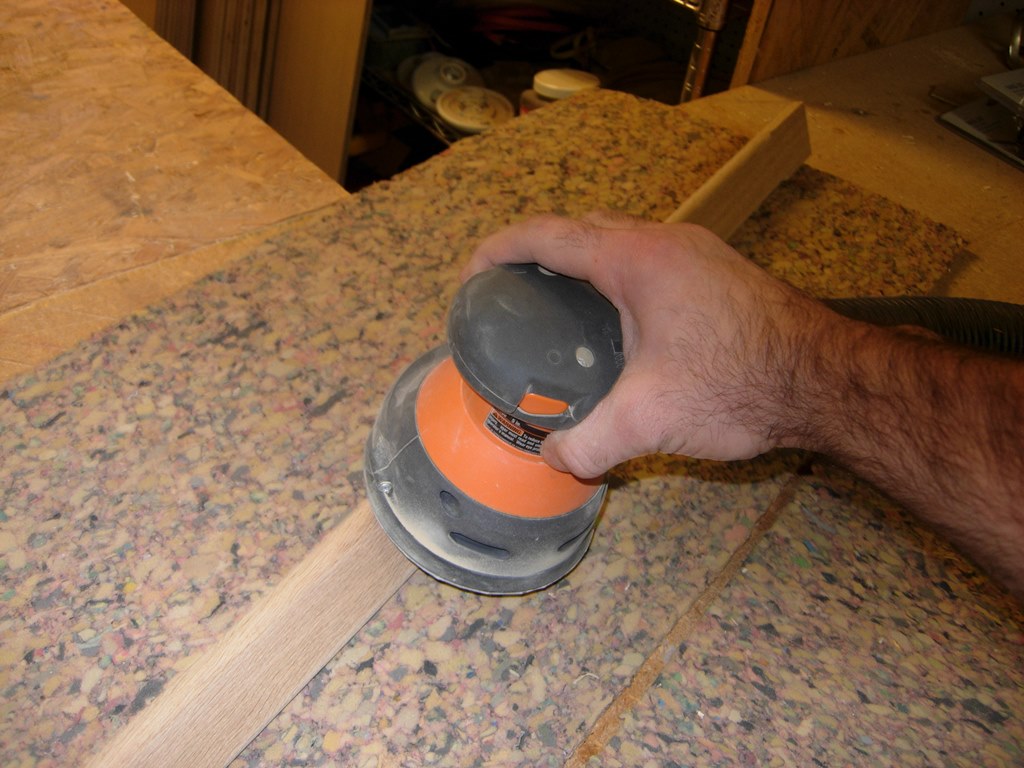
Sanding the strips down

Applying glue to the spacer blocks
I applied glue to both sides of the spacers and clamped them together. Since I don’t have the patience to wait for the glue to dry, I attached the ends with 18 gauge brad nails, making sure to leave a 1″ wide area in the middle with no nails.

Nailing spindles together
Apparently my 1/2″ wide spacer was just slightly smaller than the bearing on my 1/4″ round-over bit. It would not fit between the outer slats. Probably because that would have made things too easy. Instead, I had to resort to an old, slightly dull, router bit that left some burn marks, while it cut the round. Oh well, just a bit more sanding…

Rounding over the inside ends

ten spindles assembled
All of my spindles are finally assembled. Now I need to insert the 3/4″ dowel in the ends. To do this, I made a crude centering jig that clamps to the spindle.

Attaching drilling jig
I marked the desired depth on my drill bit, and drilled out the first spindle.
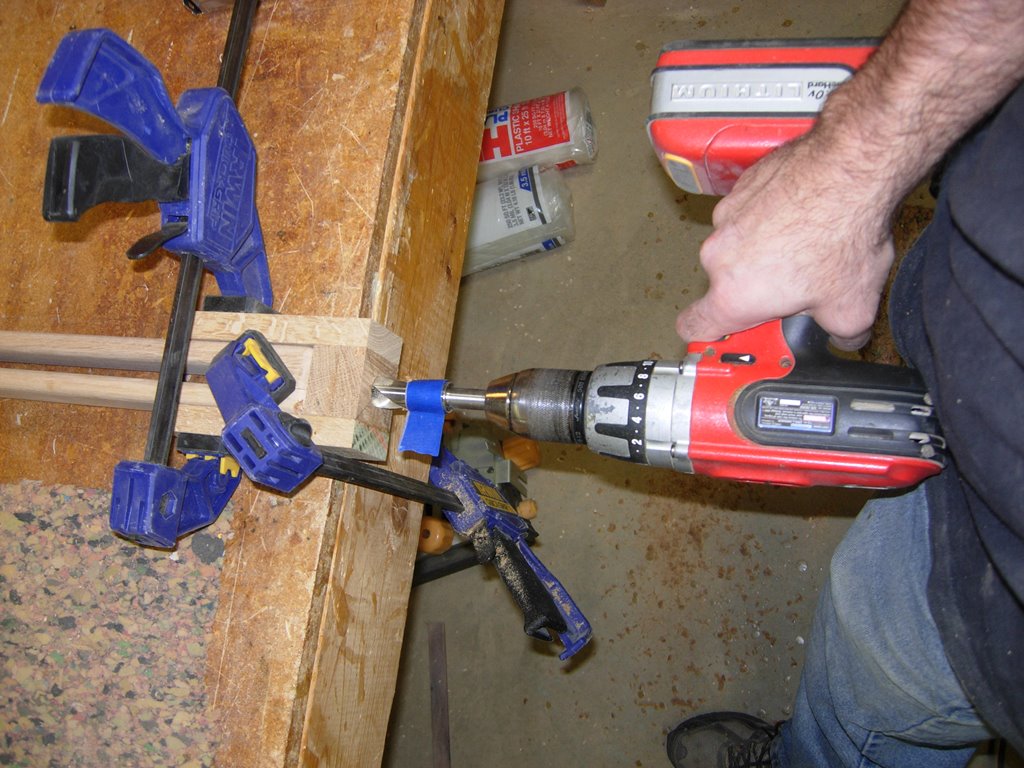
Drilling 3/4″ holes in ends
The jig worked perfectly, and I now have a 1″ deep hole in each end.

First hole drilled
I cut a 3/4″ oak dowel down to a pile of 2-1/4″ long pieces and sanded down the ends.

Cutting down 3/4″ dowels
I applied some glue and inserted the dowel, tacking it in place with a brad nail. I happened to glance at my drawing at this point and noticed something odd. The spindle body dimension was 4′-3″, but the outside dimension of the drawer was 4′ 2-3/4″. I am pretty sure that it will not fit. Before I continue with the other nine spindles, I decided to sit down at my computer and see how much trouble this was going to cause.
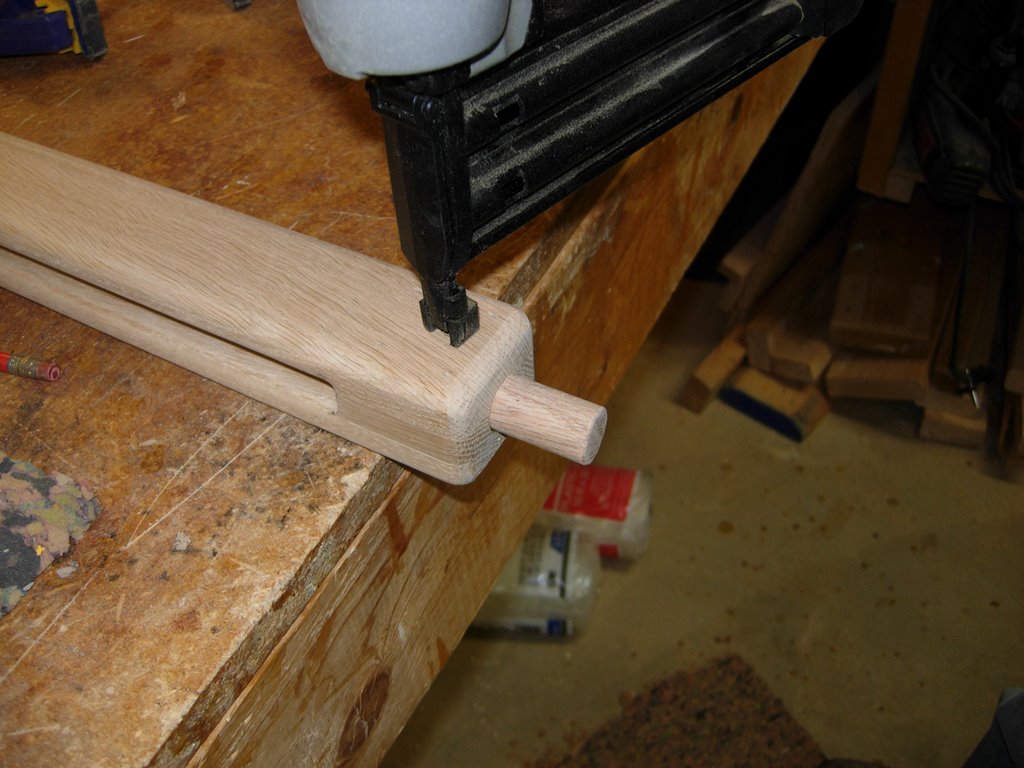
Glued and nailed
The overall design on this cabinet is similar to one that I did for Saint Peter’s.
This altar cloth cabinet is a bit wider and shorter. It is constructed with white oak plywood, my other one was constructed of solid red oak. But, while the carcass differs, the drawers and the cloth spindles are the same basic design. I made a small error when designing this new cabinet, I copied a few of the drawings from the previous design, then modified them to suit the new dimensions. The error that I made was in the spindle length. I knew the altar cloths were 3″ wider, so I stretched everything out to the new dimension. Later, I had to revise the cabinet width to fit the space better. I changed the design of the spindle in the overall drawings, but forgot to adjust the spindle detail, itself. My beautiful, nearly complete, spindles were 2″ too long.
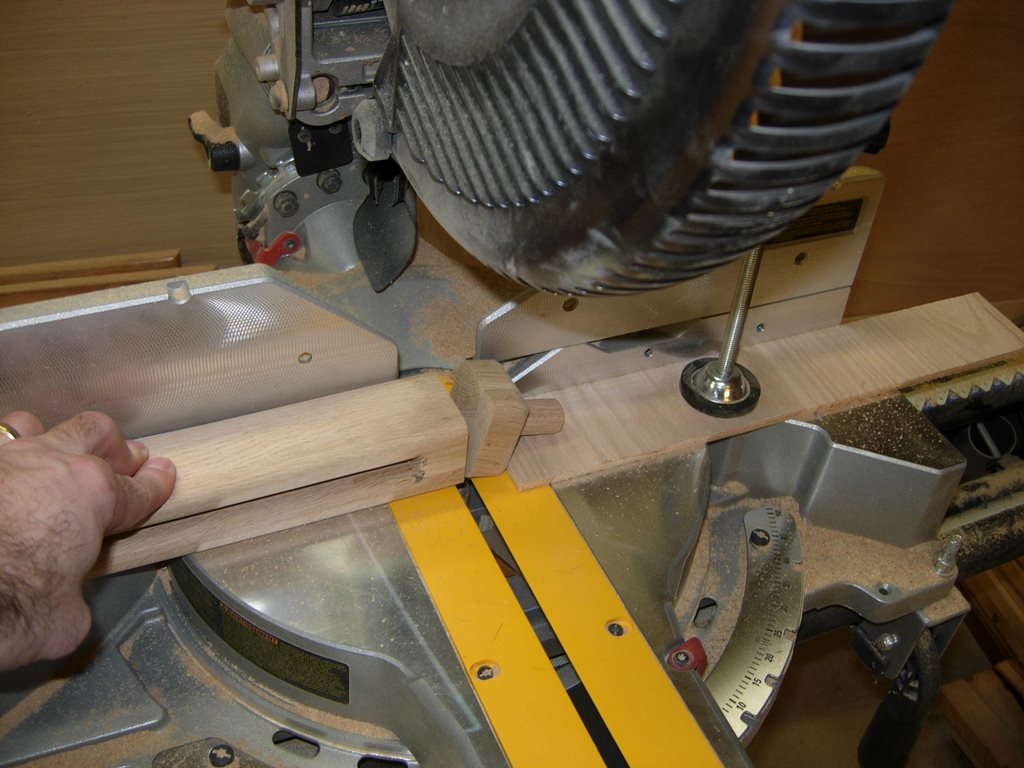
Correcting my error…
Luckily, I have a habit of over-designing things. The 2″ spacer could easily become a 1″ spacer, since my dowel is only penetrating 1″ anyway. I chopped 1″ off of each end of all of the spindles, then rounded over the new edges, and sanded them again.

Adjusted spindle with dowel installed
With that finished, I proceeded to drill and set all of the rest of the dowels. I would have preferred my dowels pocketed in the spacer, not through, but it really is just a personal preference. In the end, they will function exactly the same.

Half of the spindles completed
I finished attaching dowels to half of the assembled spindles. I noticed that it was approaching midnight, so I decided to shut down for the day. I should be able to quickly finish attaching the dowels tomorrow, and maybe even get a coat of polyurethane applied.

This was well written article on Storage in Red Oak. I was actually looking for something like this.