
Altar cloth and storage cabinets – day 1
I am starting another project this weekend. Two more cabinets for Saint Joseph’s in Emmitsburg, MD, to match the large storage cabinet that I finished last month. These two cabinets will be stacked. The bottom cabinet will contain drawers with spindles, that will hold the altar cloths. The top cabinet will be for storage. Here are the plans that I have so far:
Altar cloth & storage cabinets.pdf
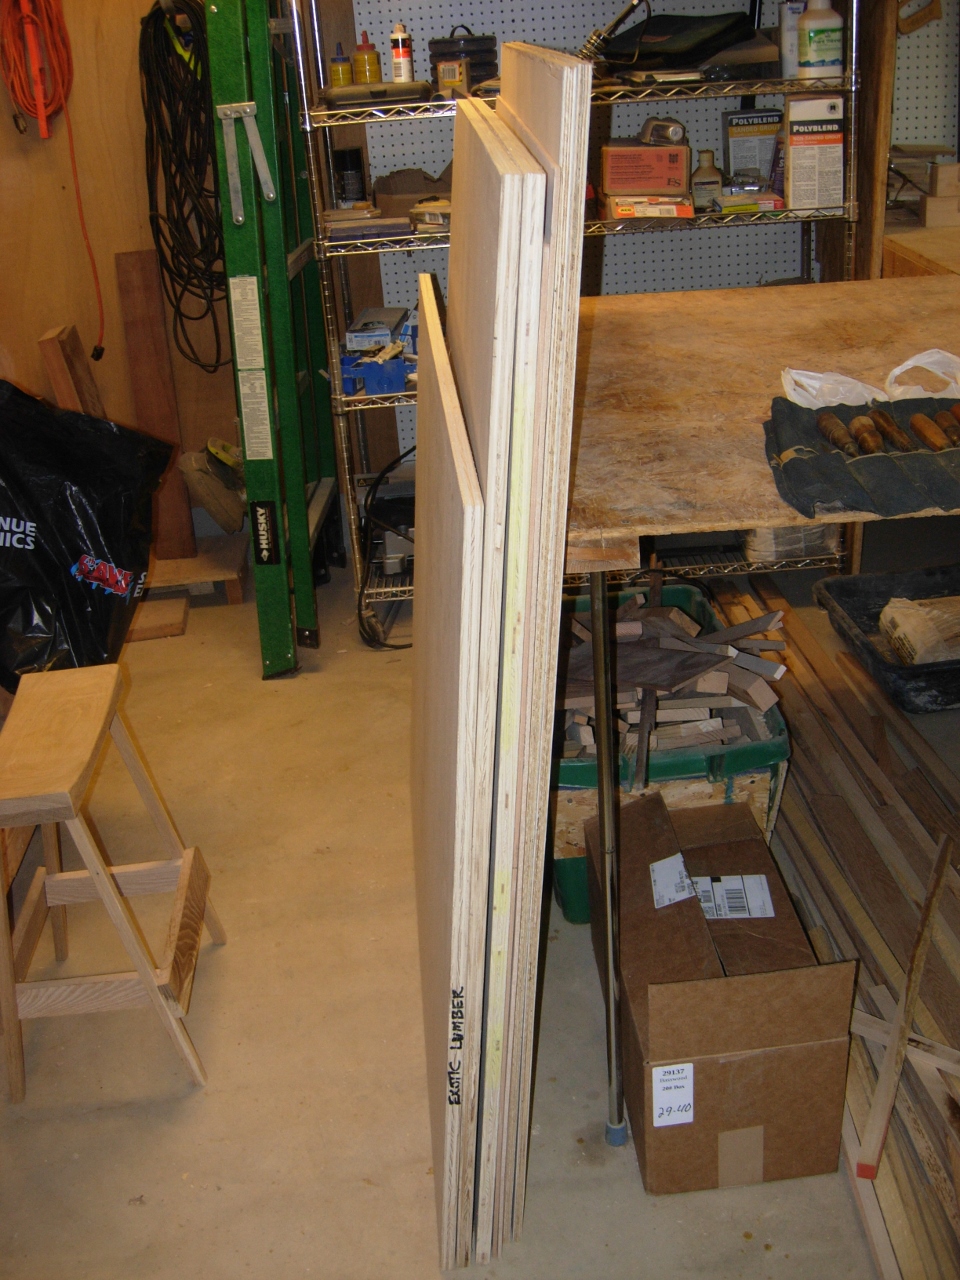
I picked up the plywood, for this project, yesterday, so today I am breaking it down. I won’t be using the full board, so I will start by cutting them all to length. I set up my knock-down workstation, then laid one of the 3/4″ plywood sheets on it, to give me a full-sized table to work from. Next, I laid the 2″ foam, that I bought for cutting plywood, on top of the 3/4″ board. Now I have a stable surface for cutting down the thinner sheets of plywood.

Setting up to cut
I placed one of the 1/4″ sheets on top and marked my cut line. I put an old piece of peg board down on the line, and clamped down my straight edge, so the circular saw blade would cut right along the edge of the hardboard. The board prevents the blade from pulling up splinters on my finished side. The straight edge gives my saw a guide edge to run along.

Reducing tear-out
One thing that I learned on the last cabinet was that the white oak plywood, that I get, is over-sized, and not always square. I assume that they worry that the edges will get busted up, so they give you 1/2″ extra to make up for it. That also means that they don’t have to be as precise with the squareness of the edges. Since you can get a perfectly square 48″x96″ piece from the board.

Plywood isn’t always square
I took this into account when laying out my dimensions. If it is a critical dimension, make sure the board is square.
Plywood cut to length
After cutting everything to length, I moved over to the table saw, and cut all of the shortened sheets into the widths that will be required. You may notice, in the plans, that the two shelf boards actually fell a bit short. I decided to make up the missing half inch with a thick edge banding, rather than buy another $120 sheet of plywood for just two shelves. This saves the client a bit of money, and it prevents a good deal of waste.
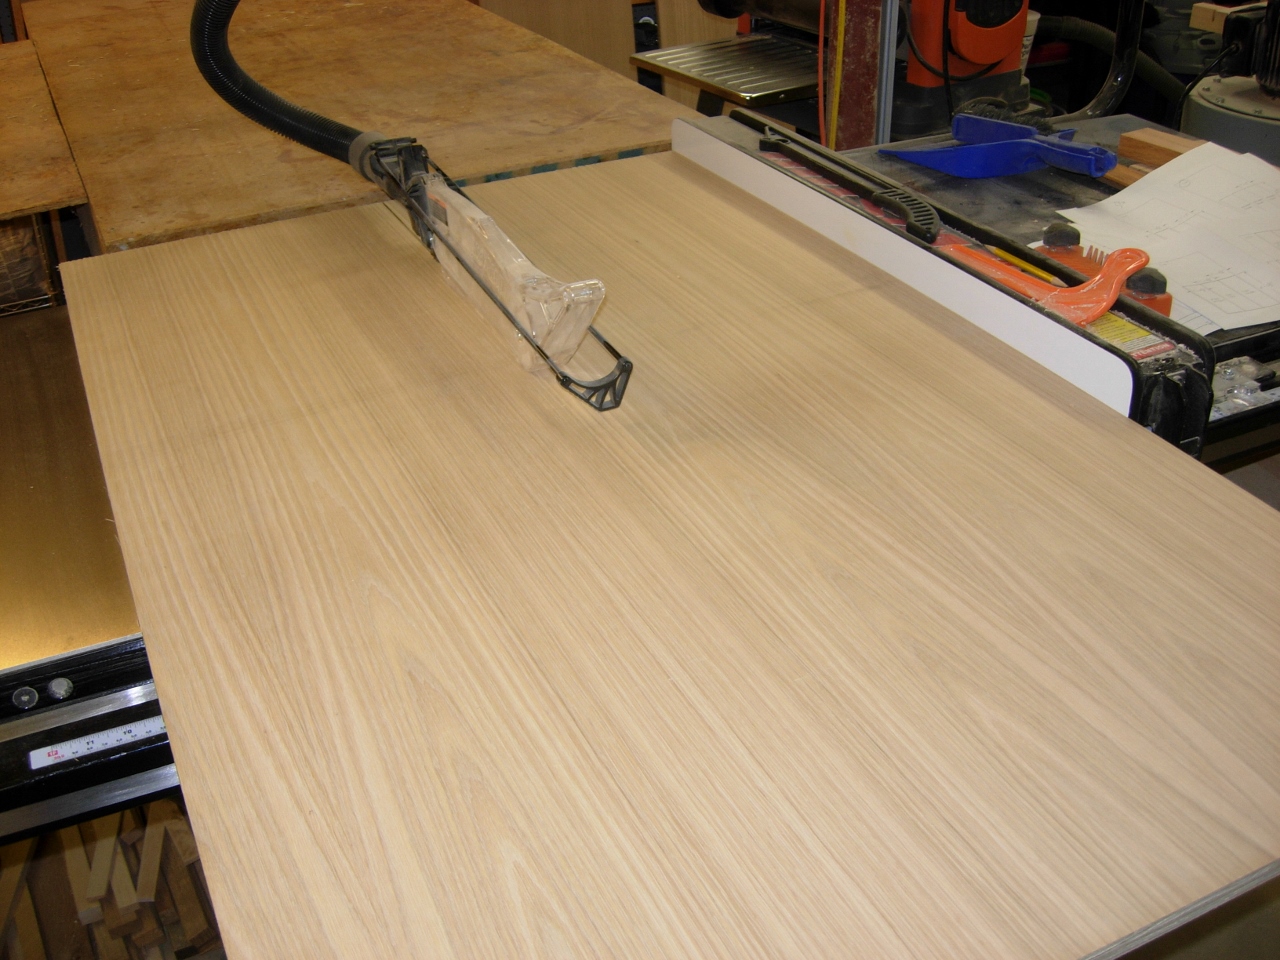
Ripping the width on the table saw

All sheets cut to width
All of my shelves, sides, tops, bottoms, and backs are now cut to size. I am waiting on the oak that I ordered. Hopefully I will be able to acquire it this week and keep rolling through this project.
