
Rob’s end tables – day 1
The next project, being built in my shop, is going to be a set of maple end tables. Unlike most of my projects, I will not be building them. My friend Rob asked if I would help him make them. So, one or two days a week, he will be coming over to make saw dust in my shop.
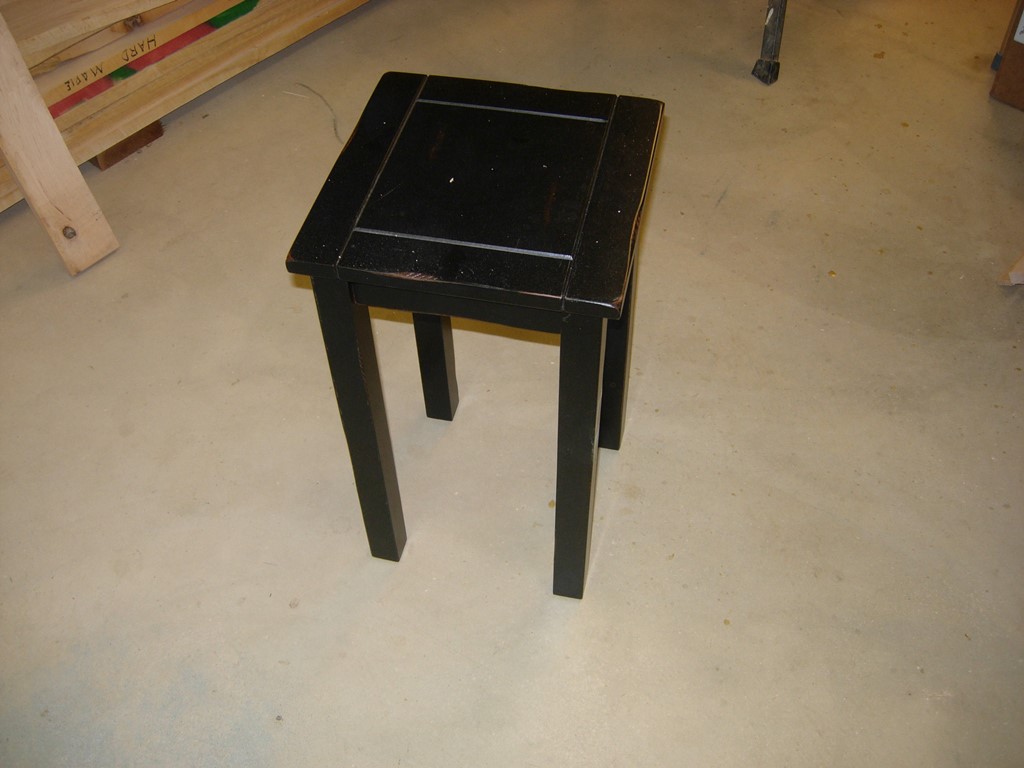
The original 12″ table
Our goal is for these tables to match the entertainment center, in his living room. He has one end table, that nearly matches, but is way too small. The existing table is 12″x12″. We will be making two 24″x 24″ tables, with slightly beefier legs. The 12″ table is distressed and has grooves cut into the top. We will be ignoring those features and creating a smooth top instead, to better match the entertainment center.

Measuring and marking
We will be using the left-over maple that I have from the blanket chests, that I built a few months back. We started by picking through the maple boards, finding some wide, straight ones. Rob marked the boards slightly longer than the 24″ we needed, then cut them to length on the miter saw.

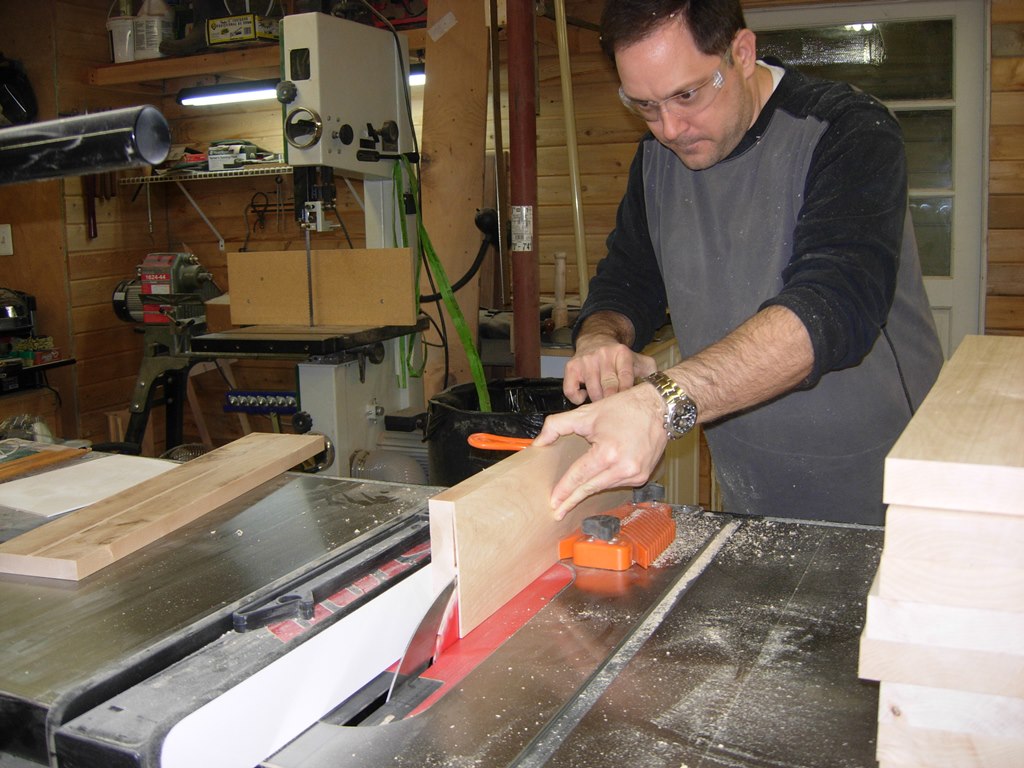
Ripping boards to width
Since all of the boards already have one straight side, we took them over to the table saw, and ripped them down to 5″ wide.
Gang jointing the edges
Ganging three or four boards together, we ran them through the planer to joint the edges. This will give us a nice smooth surface for glueing.
Re-sawing on the table saw
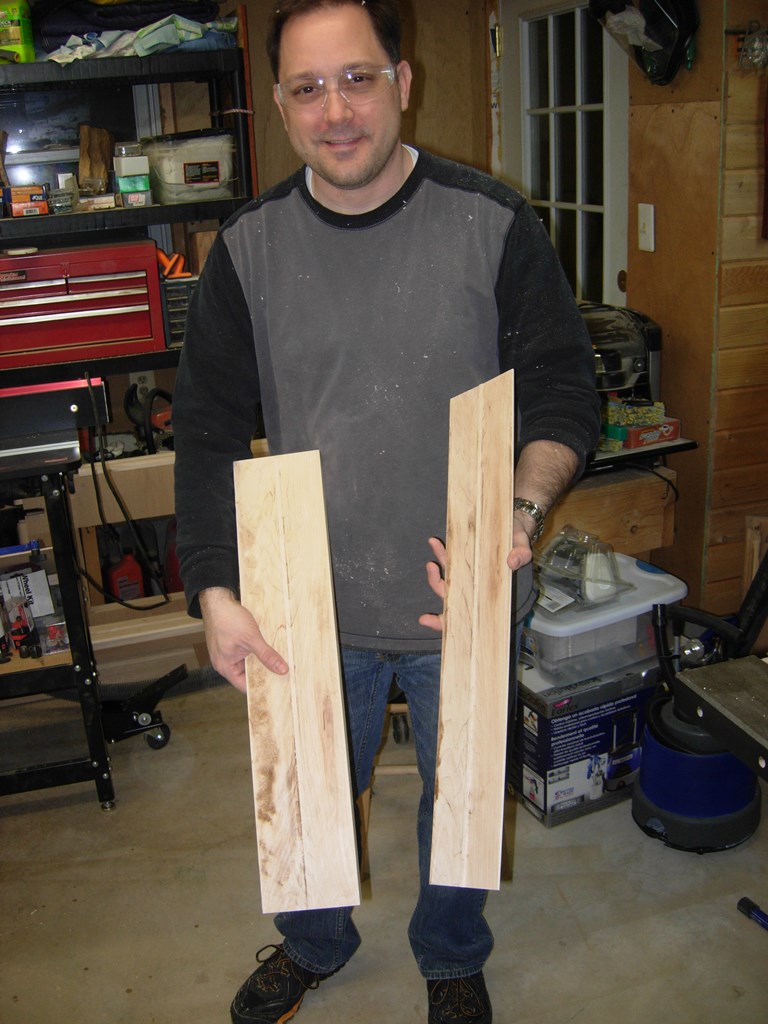
The finished table top will be 3/4″ thick. The boards are currently 1″ thick, so to save my planer blades, we needed to re-saw about 3/16″ off. While the band saw is capable of this, I prefer to do most of the re-sawing on the table saw. It is a lot faster. I set the blade height to just under half-way through the board, then Rob ran each board through. After he flipped them over and ran the other side through, we were left with a small rib down the center, holding the thin piece of left-over veneer.
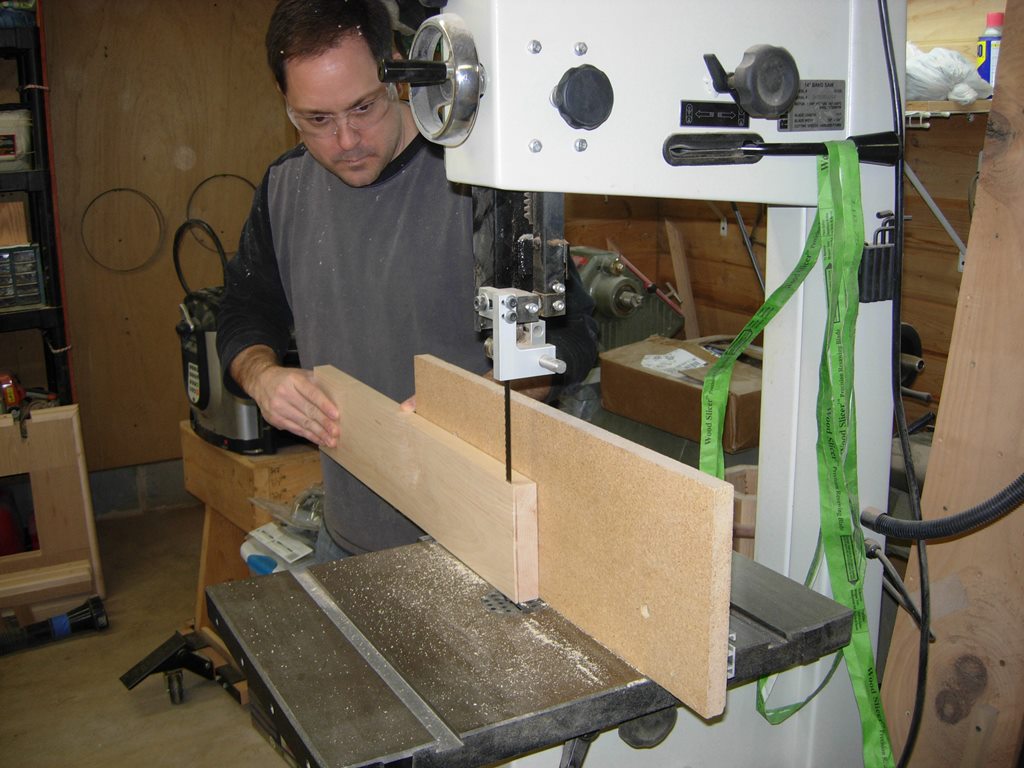
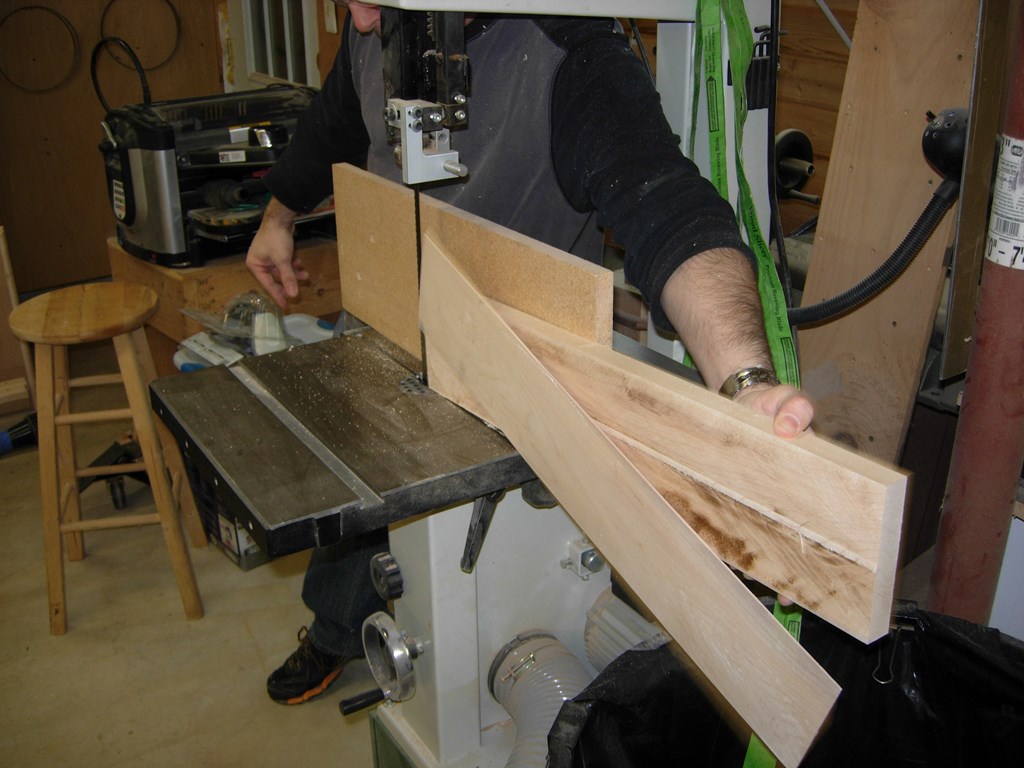
Finishing up on the band saw
We took the stack of nearly re-sawn boards over to the band saw, and quickly cut them the rest of the way through.
One down, nine to go
While the table saw was capable of re-sawing the boards completely, I find it a bit safer to leave the rib in the center. The piece of veneer is very thin, and I did not want Rob to press too hard and possible nick his fingers, on the blade, through the thin veneer. This also prevents the veneer piece from getting ruined by the saw blade. Since the veneer is waste for this project, I will set it aside. Later, it can be planed down to clean it up, and I will have several nice, thin slices to use as veneer on another project.
Another piece of veneer for my scrap pile
We left the main board about 1/16″ oversized, so it could be run through the planer and cleaned up.
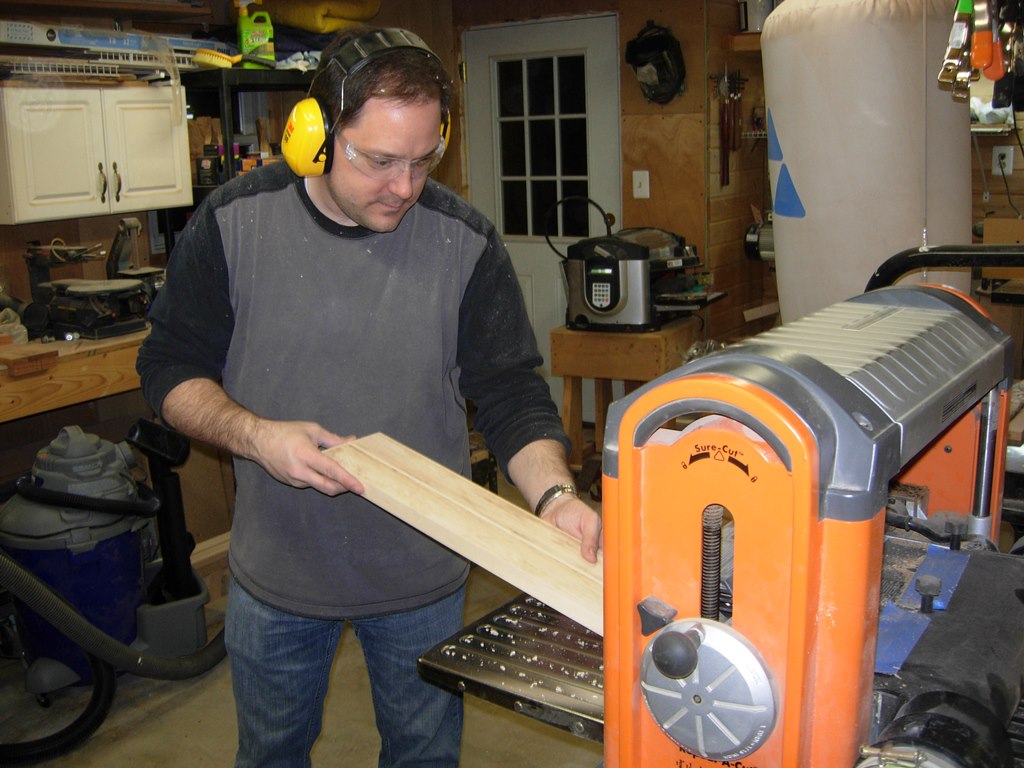
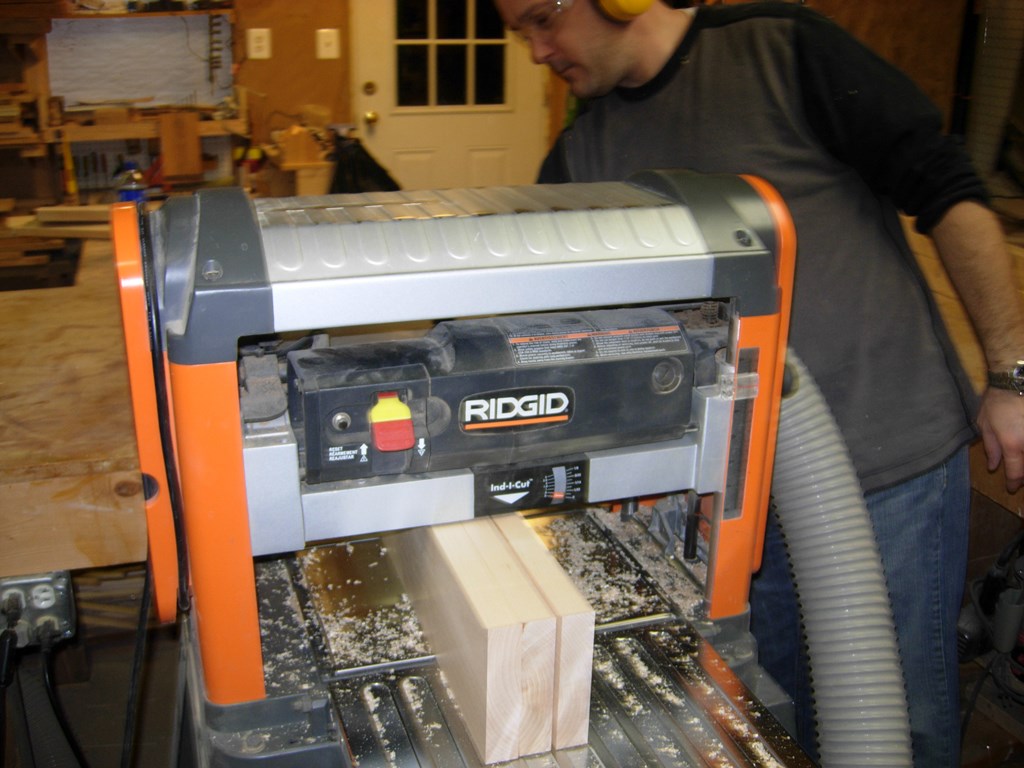
Planing down the boards
By the time we finished planing down the ten boards for the table tops, my planer started throwing out a lot of dust. This usually means the bag is full or the hose is clogged. In this case, both were true. The bag was less than half-way full before we started, and we filled it. That means we got about ten gallons of saw dust from ten boards. I am Glad we cut them down before we started planing…
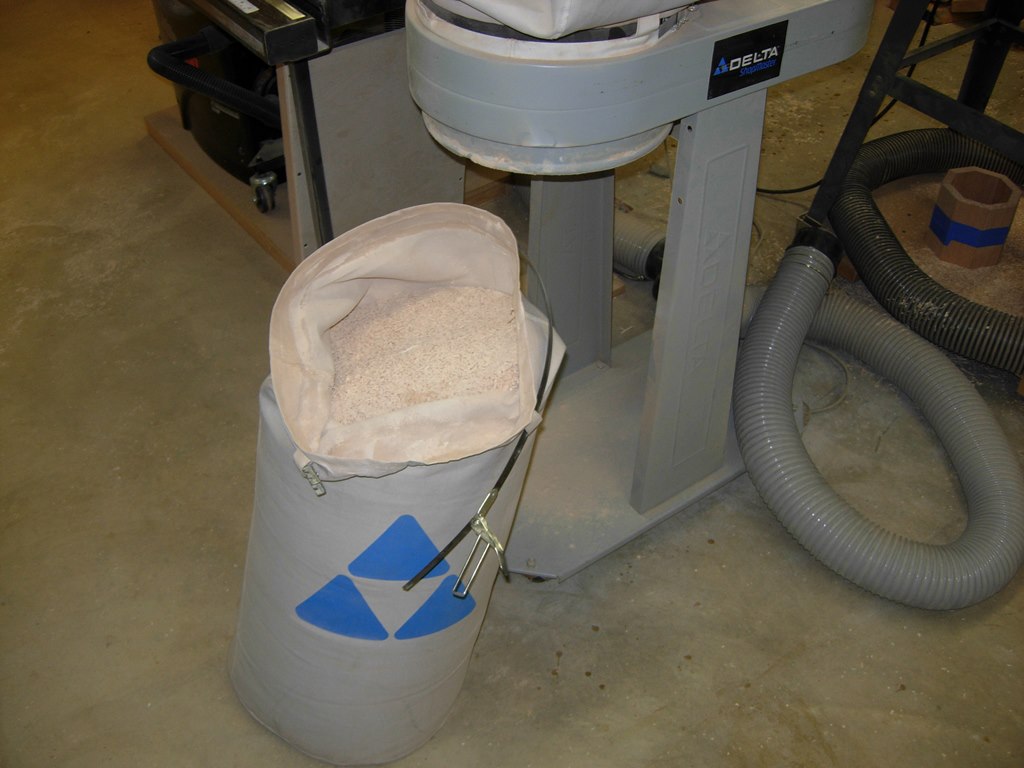
20 gallons of saw dust later…
Apparently most people don’t stay up till midnight working on things, and Rob was no different. He decided to call it a night around 10:00 pm. After he left, I went ahead and glued up the panels so they would be ready when he comes back, in a few days, to continue.
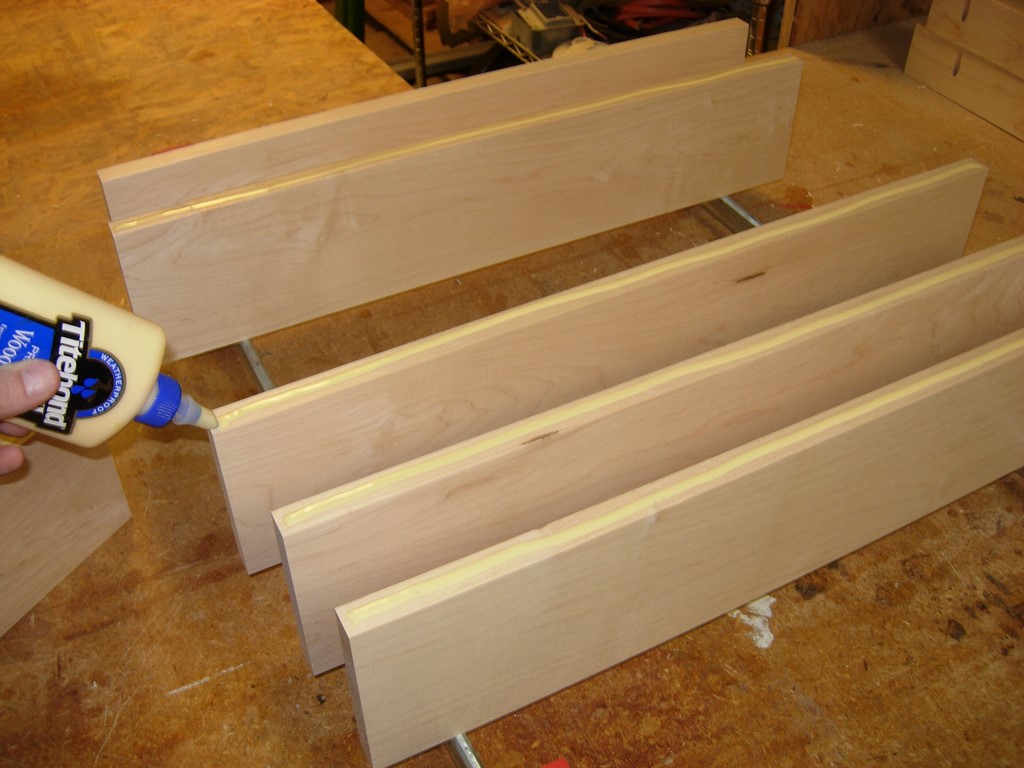
Applying glue
Glue-up is pretty straight forward. I placed a bead of glue down one side, and spread it evenly with a silicone brush.
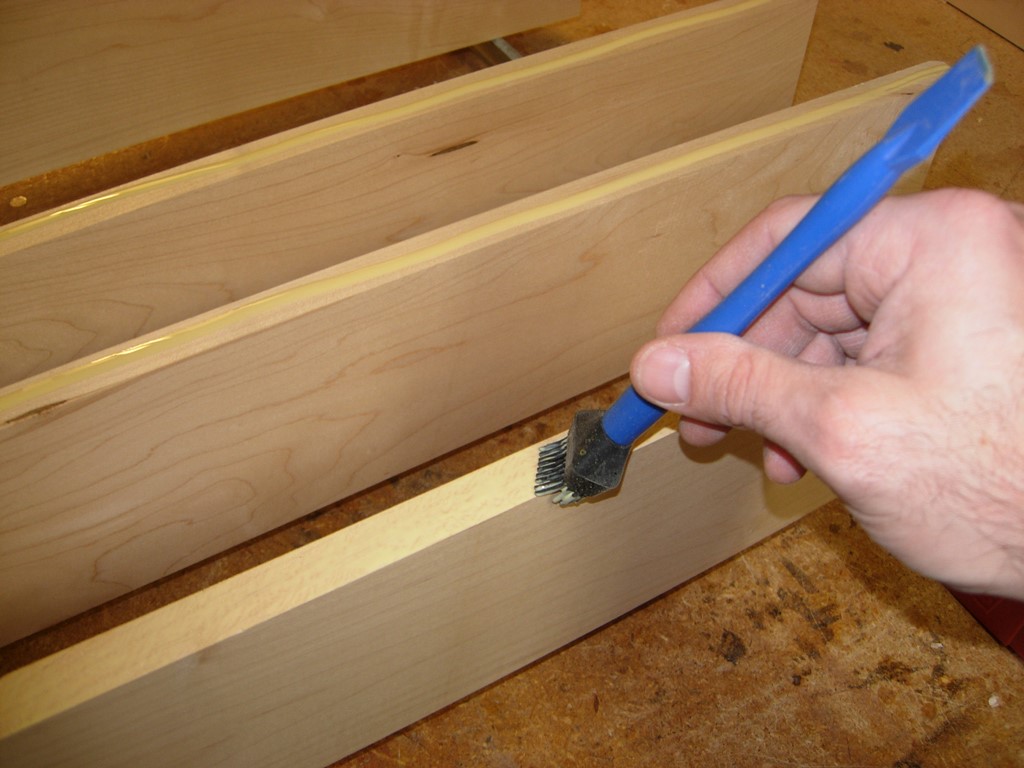
Spreading the glue evenly
I laid the boards across a couple of parallel clamps, then placed a small clamp at the end of each joint to prevent the boards from shifting, as much as I could. After tightening the parallel clamps, I threw two more across the top, to try to equalize the pressure.
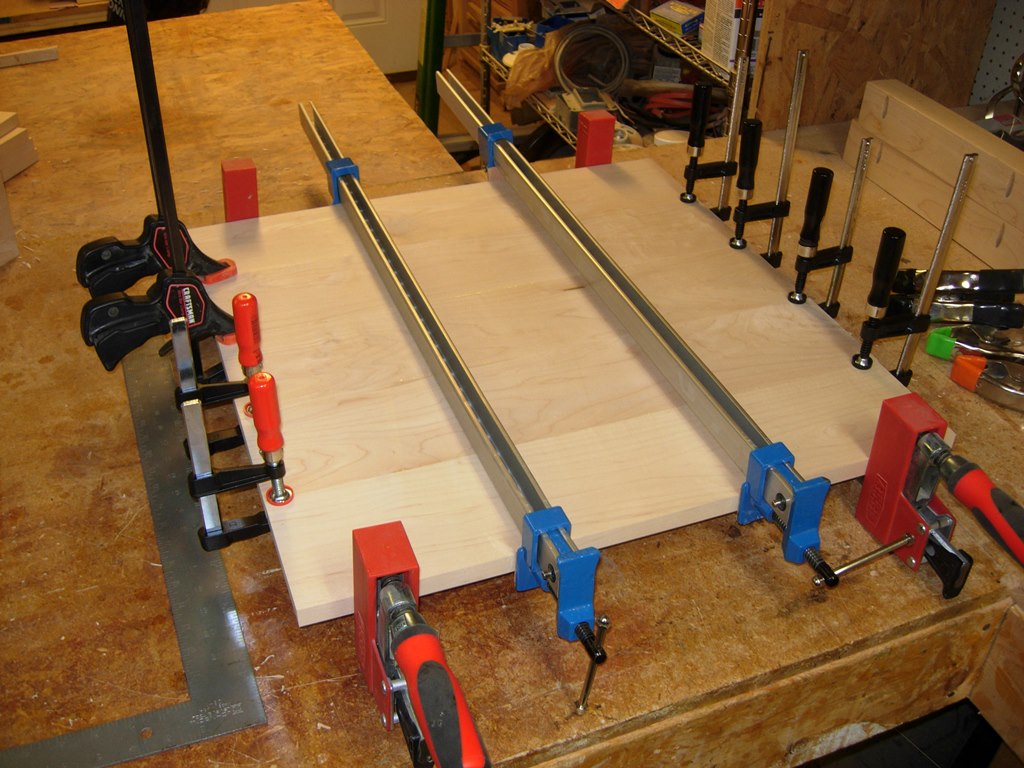
You can never have too many clamps
After about 20 minutes, I had both panels glued up, so I cleaned up a bit, and called it a night.
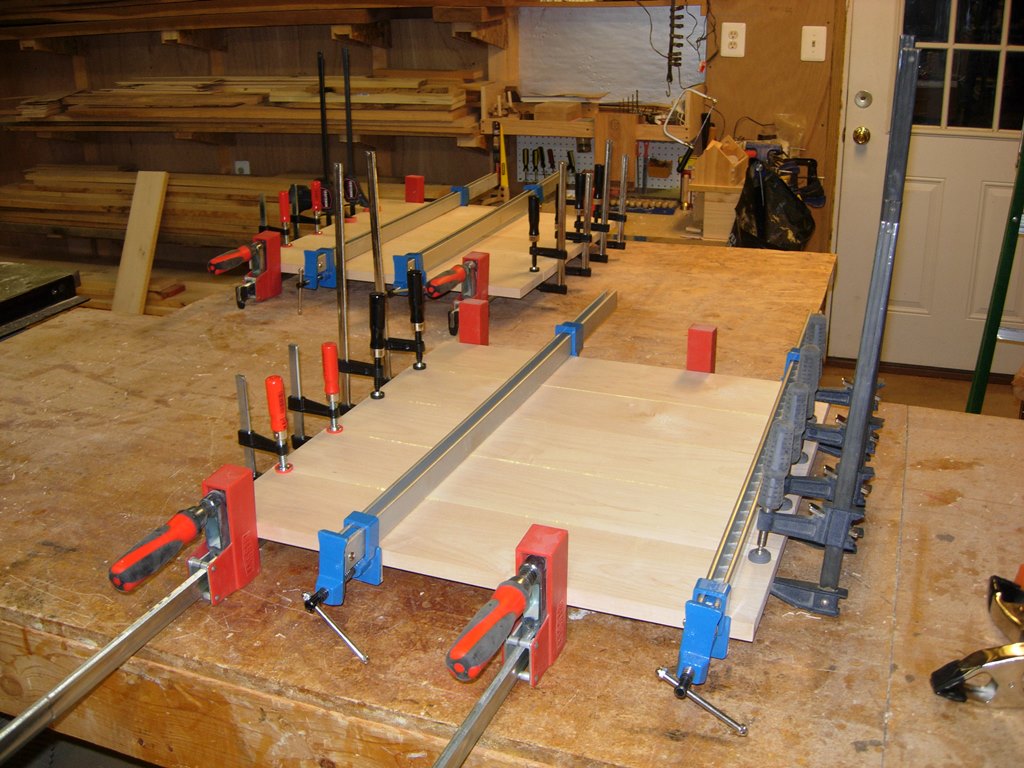
Both table tops glued up and left to dry
When Rob comes back, we will probably start by cutting and glueing up the legs, then move on to hand planes and card scrapers to clean up the glue squeeze-out on the table tops and smooth out the few joints that may have shifted.

You’re right about most people not staying up until midnight. If I were a skilled cabinet maker and had a blog like this, it would be called “9:30 pm Woodworking” or “Old man needs his sleep Woodworking” or something similar. Just sayin.