
Coin display – day 1
A friend of mine asked me to make her a coin display, that she can give to her husband for Christmas. He travels a lot and collects coins from each new location. They wanted a display that would be able to show off both sides of the coin, but keep it protected from dirty fingers… This is the concept that I came up with.
I started by picking a few pieces of nice quarter-sawn oak from my wood rack. They were re-sawn pieces that were too pretty to throw out, but too thin for most projects. They will be perfect for this project.
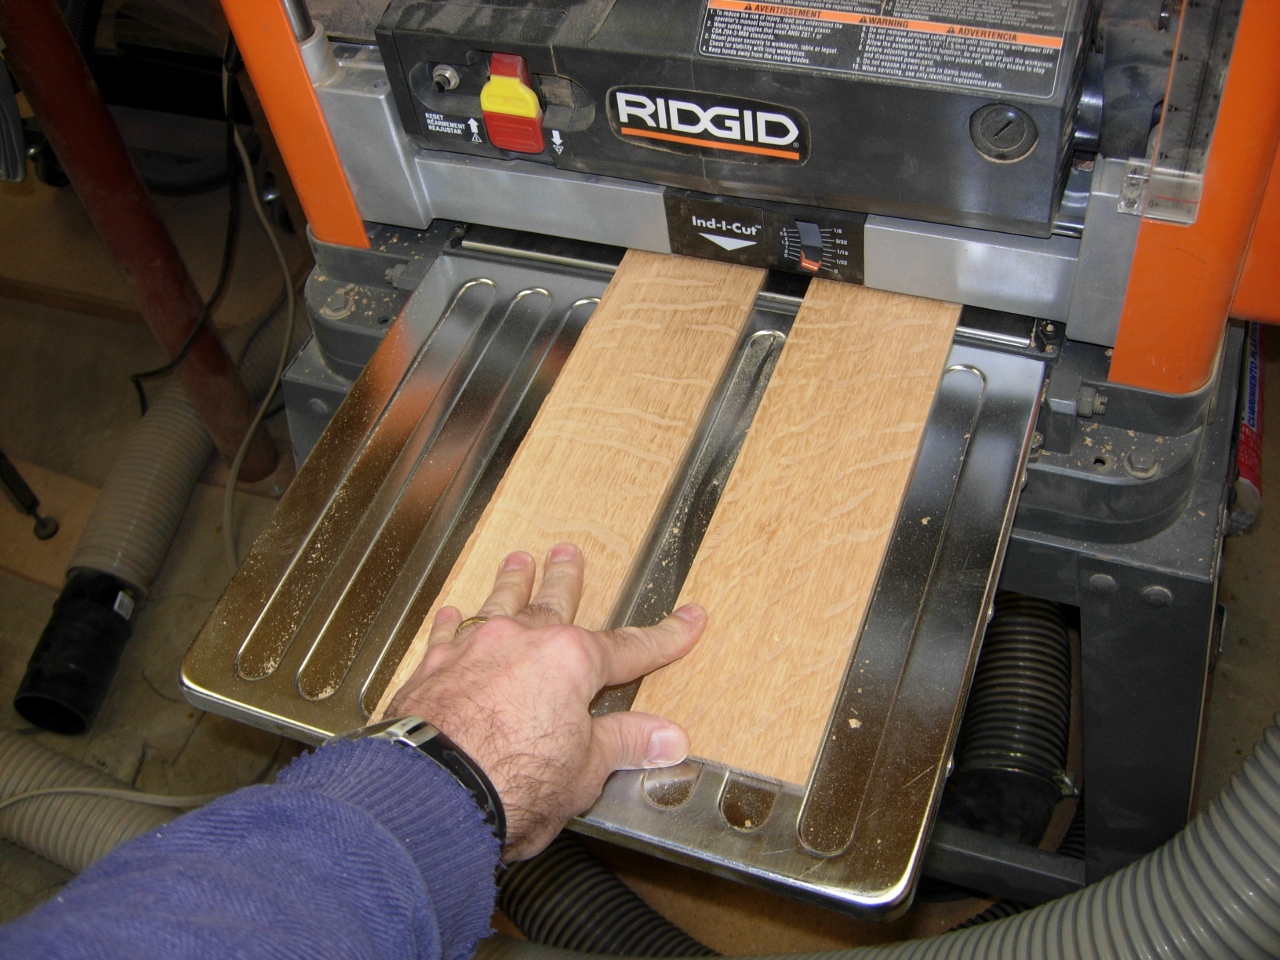
Planing down the coin holders
I planed down four pieces to about 3/16″ thick.

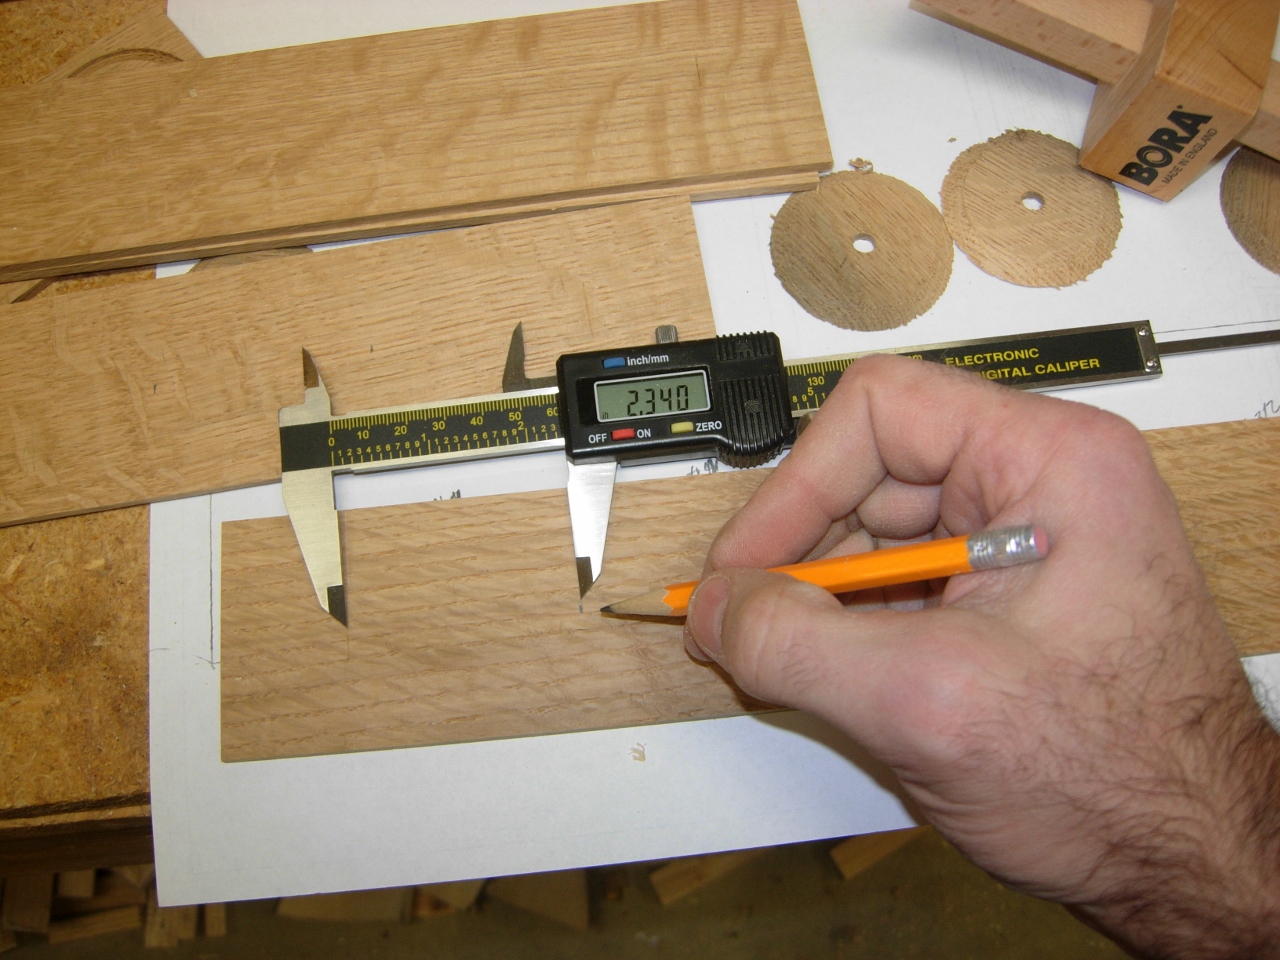
Cutting to size
I cut the blanks down to 12″ long and 2.5″ wide
Laying out the hole pattern

Trying my new adjustable hole saw
I bought a new tool for this project, an adjustable hole saw, made by General. Most coins do not come in standard 1/4″ increments like hole saws, so I needed a tool that I could adjust to about 1/16″ larger than the coins. I took my time laying out two of the blanks with 1-3/4″ holes and the other two with 2″ holes. They will be displayed side by side, so I lined them all up. The hole saw cut beautifully. As long as you take it slow, it cuts a nice crisp clean hole.

First frame cut

Planing down the side rails
To capture the coins, I plan on layering a piece of Lexan on either side of the wood frames and holding each side with a rail that has a groove cut in it. The groove is just larger than the layer-up. I cut and planed the rails down to size then set up the router table to cut the groove in two passes.

Cutting the groove

Test fit
With the test fit successful, I started cutting the 3″ long end caps.

Cutting the end caps

Drill jig for the end holes
I plan on screwing the end caps on, so I created a jig to allow me to precisely locate the holes for attachment to the rails.

Drilling the ends

Drill jig for the center holes
I am adding a 1/4″ dowel to the centers of each cap to act as a spindle. I flipped the jig around and set it up to locate the center for my 1/4″ hole.
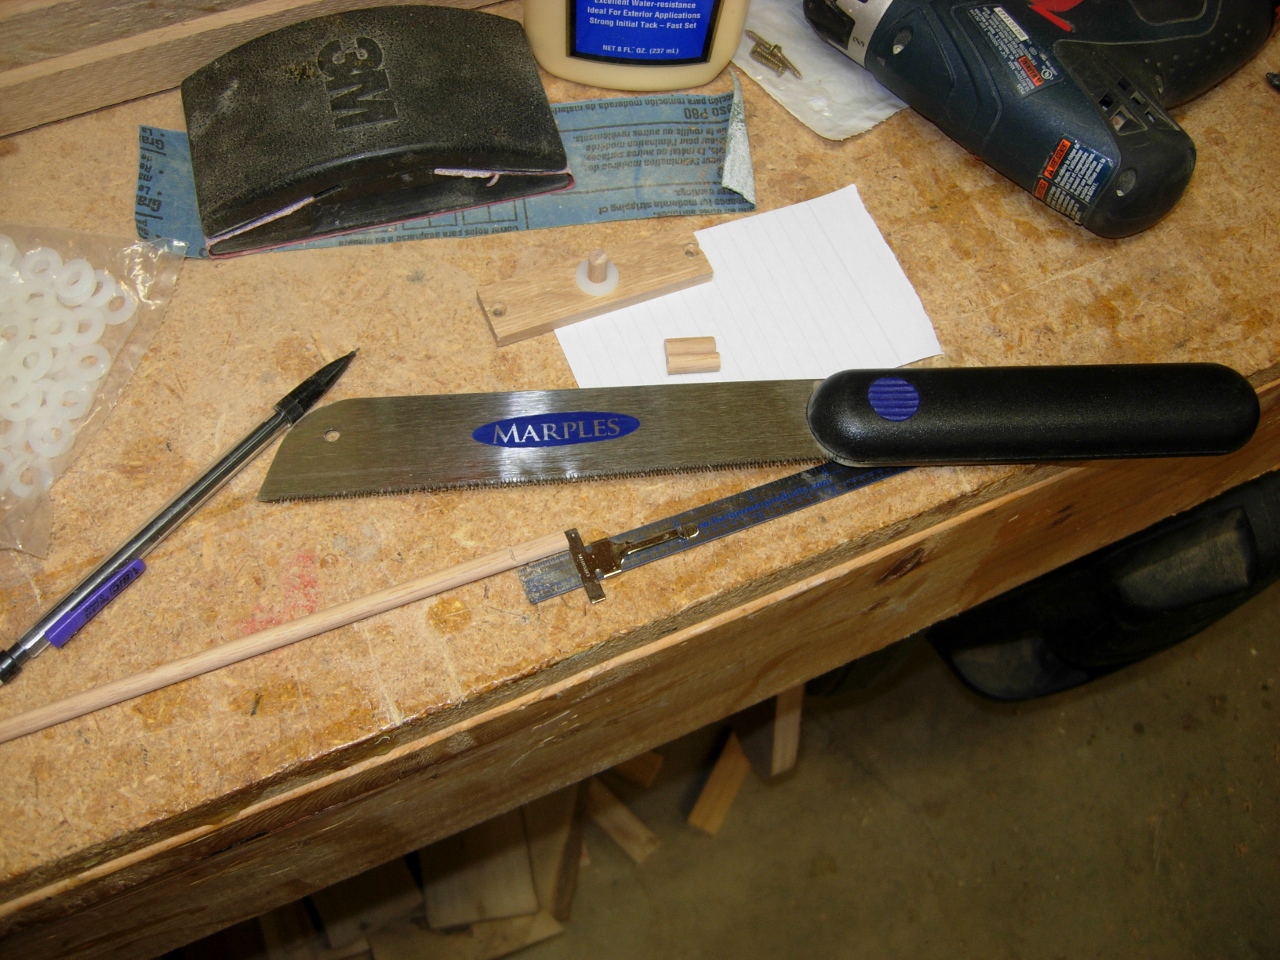
Cutting down the dowels
With the caps complete, I marked and cut my dowels with my small pull saw, then I sanded the ends with a slight radius.

End caps glued up
I glued in the dowels and added a nylon washer, as well, to act as a spacer and a bushing.

Cutting the Lexan
The Lexan was already the 12″ that I needed for the height, so I only needed to cut the 2.5″ width. I did this on the table saw. I found that I got a much nicer cut when I raised the blade up a couple of inches.
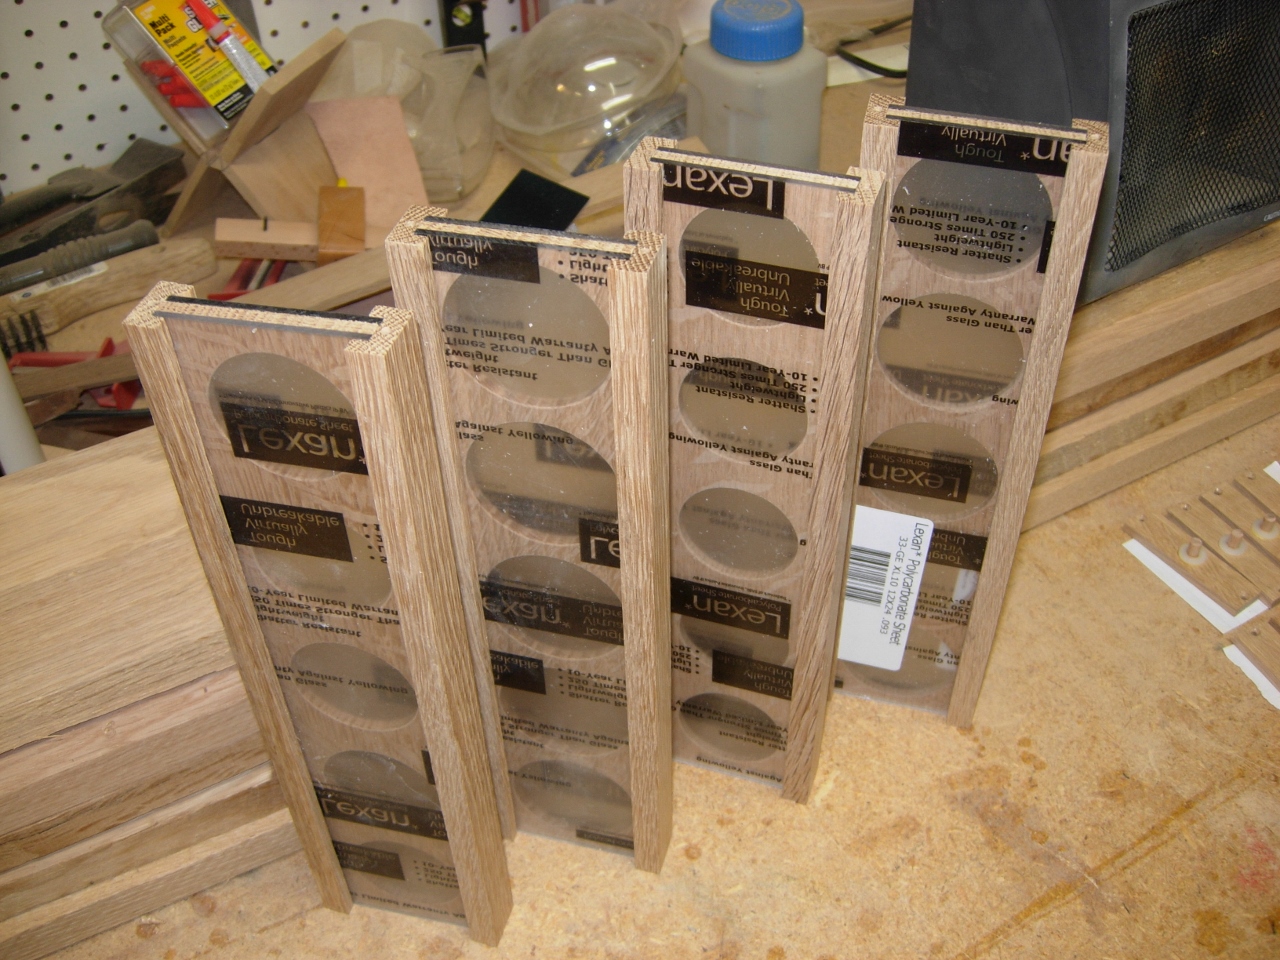
All four frames done
All of the frames are done and the Lexan cut, so I started working on the frame that will hold the displays.

Drilling the top and bottom together
I cut and taped together the top and bottom pieces, then marked the hole locations for the spindles. I drilled them 1/64″ larger that the dowels so they would spin freely. The boards were taped together so that the holes would be perfectly aligned when the frame is assembled.

Glueing up the bottom and pre-drilling the top
After cutting the side rails and notching them to receive the bottom piece, I applied a bit of glue to the notch and clamped it all together. While it was clamped up, I drilled and counter-sunk the holes in the top piece. These holes are for the screws that hold on the removable top.

Cutting the round corners for the feet
The only thing left to do is cut the feet. I wanted to cut some curves on them, so I decided to try clamping together the two feet, then clamping on some sacrificial end pieces. Next I used a large forstner bit at the intersection of all three pieces on each side, to drill a hole. When unclamped, that hole became the inside corner radius’ that I wanted.

Feet cut
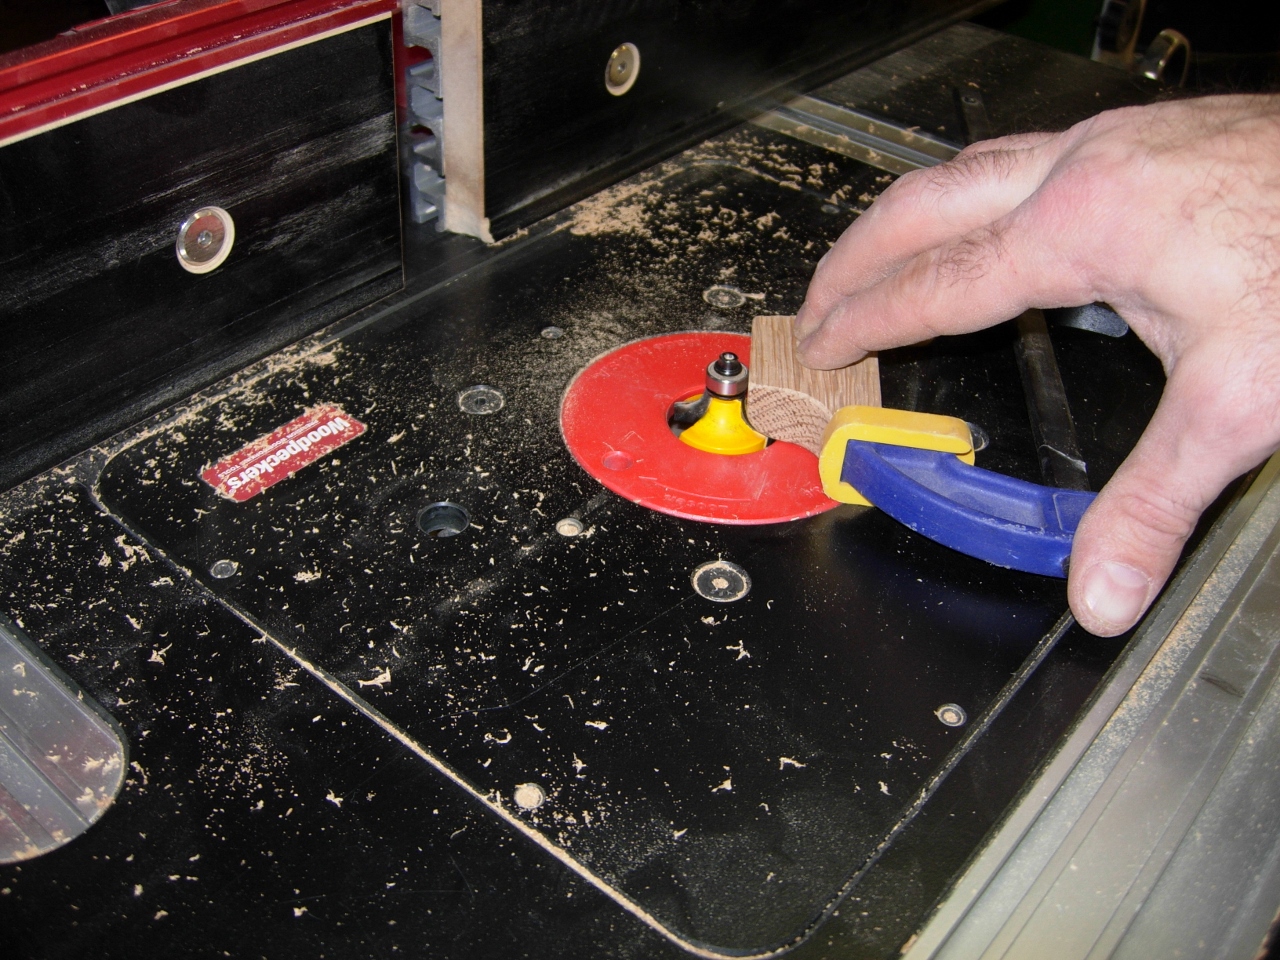
Adding a 3/8″ round-over
With the feet cut, I placed a 3/8″ round-over bit in the router table and cut a small radius along the top to smooth that top edge over. I then added a bit of glue to each side and clamped it up.
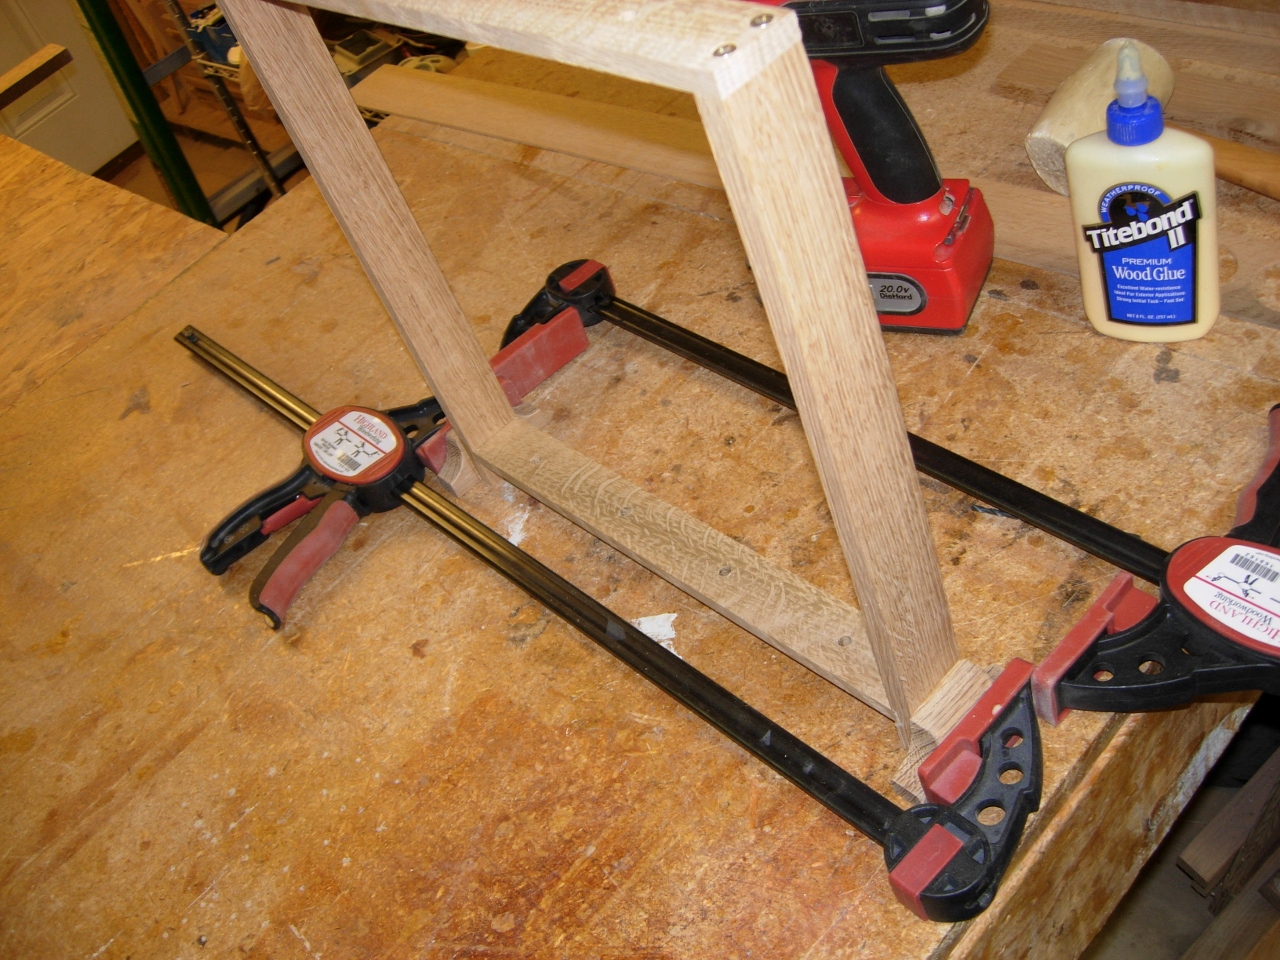
Glueing on the feet

Chamfering the side rails
While the glue dried, I took my tiny plane to the edges of the rails, to create a small chamfer. This keeps the rails from being too sharp.
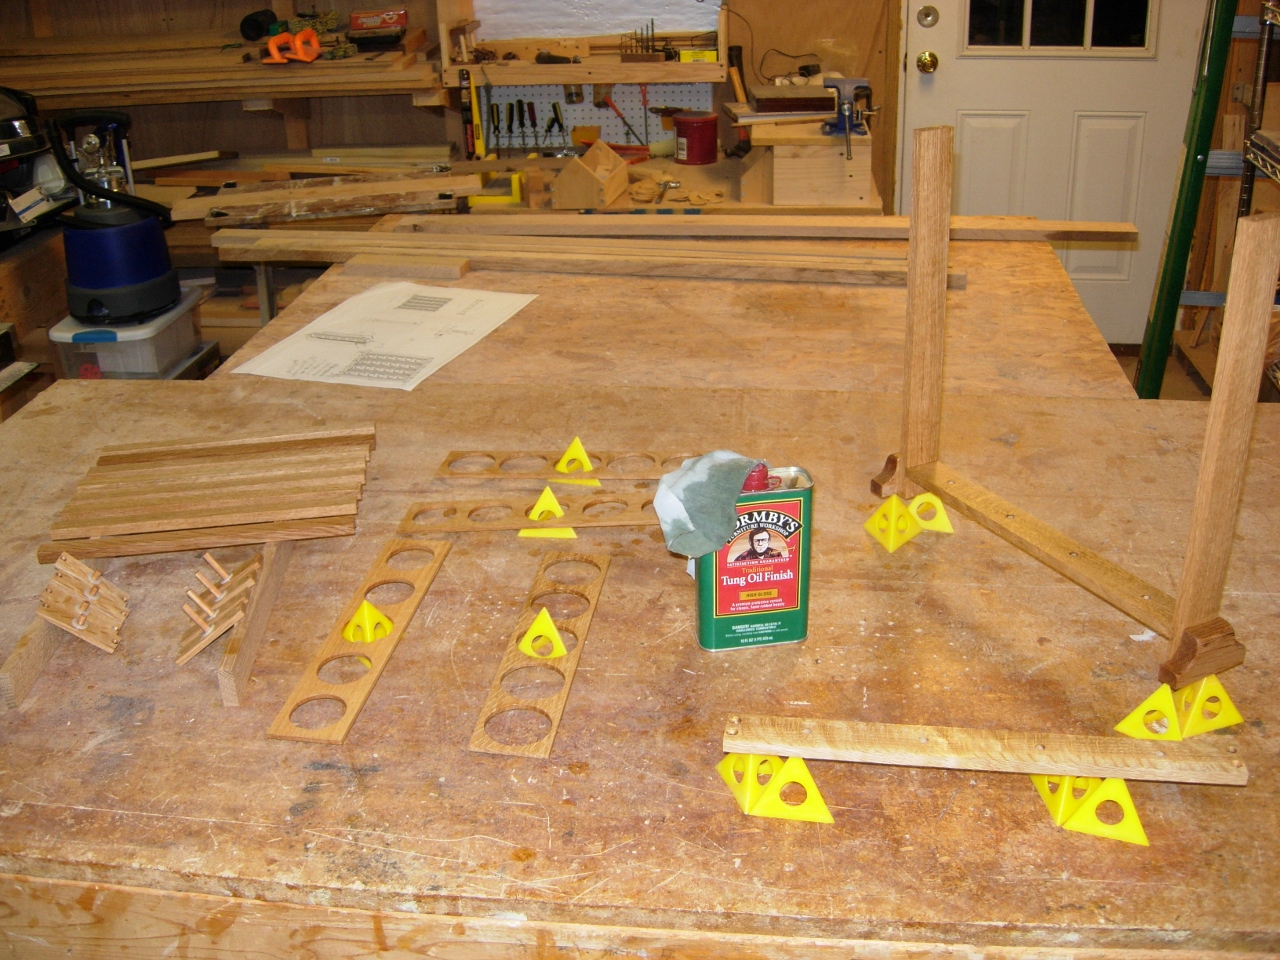
First coat of Tung oil applied
When the glue was dried, I applied a coat of Tung oil to all of the parts and left them to dry. Hopefully I will be able to apply two more coats tomorrow and deliver the display Saturday.
After midnight again, time for bed.
