
Oak storage cabinet – delivery and installation
Today is delivery day for the big oak storage cabinet. My garage is littered with the pieces of the cabinet, as well as all of the tools that I am taking.

I brought more tools than I needed because I was also removing a built-in corner cabinet before I could install the new one. I brought my older son, Eric, to help me today.

Existing cabinet, to be removed
When we got everything removed from the cabinet and surrounding walls, we found some wires run up through the bottom of the cabinet.
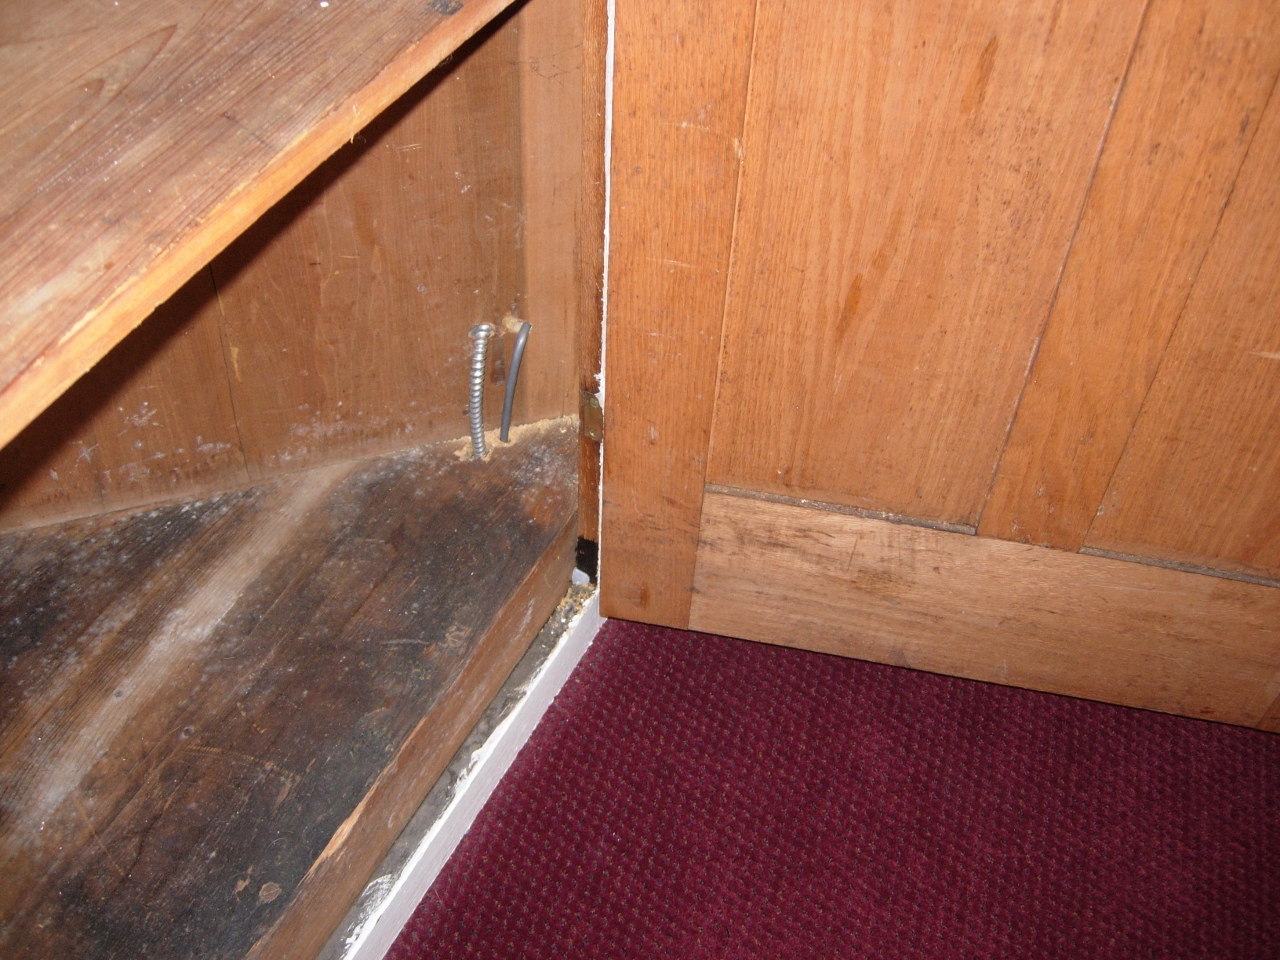
Of course wires are running through it…
I released the cabinet from the wall, and had my son hold it back at an angle so I could hack away at the bottom corner with my Reciprocating saw. Once the cabinet was removed, I carefully cut the chunk of wood off of the wires by hand, then notched the wall so I could tuck the wires behind the cabinet, not “through” it…

Easily fixed with a saw…
With the cabinet removed, I measured and cut away the base trim.

Cutting back the trim
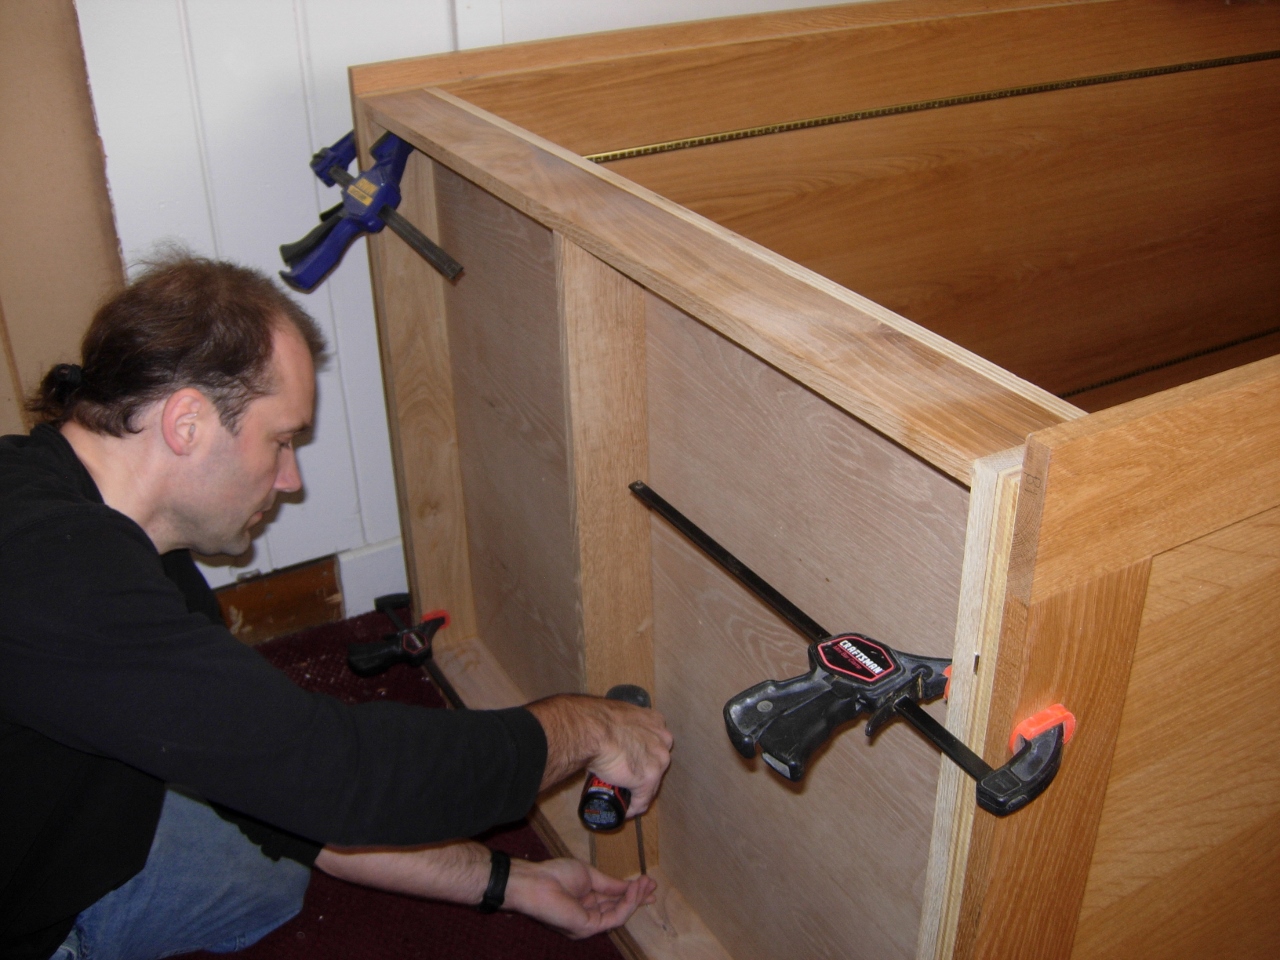
Attaching the base and sides
We laid the cabinet face on the ground and installed the sides with pocket screws, then attached the base, top, and rear. Everything was attached with pocket screws, so it is possible to remove and relocate the cabinet at a later date, if required.

Attaching the back

Attaching the top
Once the carcass was assembled, on the floor, my son and I stood it up and, with some effort, heaved it into the corner. Then I installed the last few screws to hold the top. We added the adjustable shelf brackets, and the shelves next.

Shelves installed
We had a little trouble with the doors. They installed alright, but since the floor and walls were not square and level, the cabinet shifted enough that the magnetic catches were not strong enough to keep the doors closed. My son and I ran to the local hardware store and picked up some spring-loaded retaining clips instead.

Replaced door catches
The new clips worked perfectly. Now the only problem is the right door is slightly taller than the left. I told father Holiday to give it a couple of months to acclimate to the room before I adjust the doors. If they shrink or swell, I will have to possibly trim the doors a bit anyway, may as well only do it once…

Cabinet installed!

Existing closet
With the wood that I had left-over from the cabinet build, I made up some pieces for a closet system. The current closet pole was too low for the taller albs, and much too high for the smaller albs. The black ones were dragging on the floor, and the younger altar servers couldn’t reach the white ones.
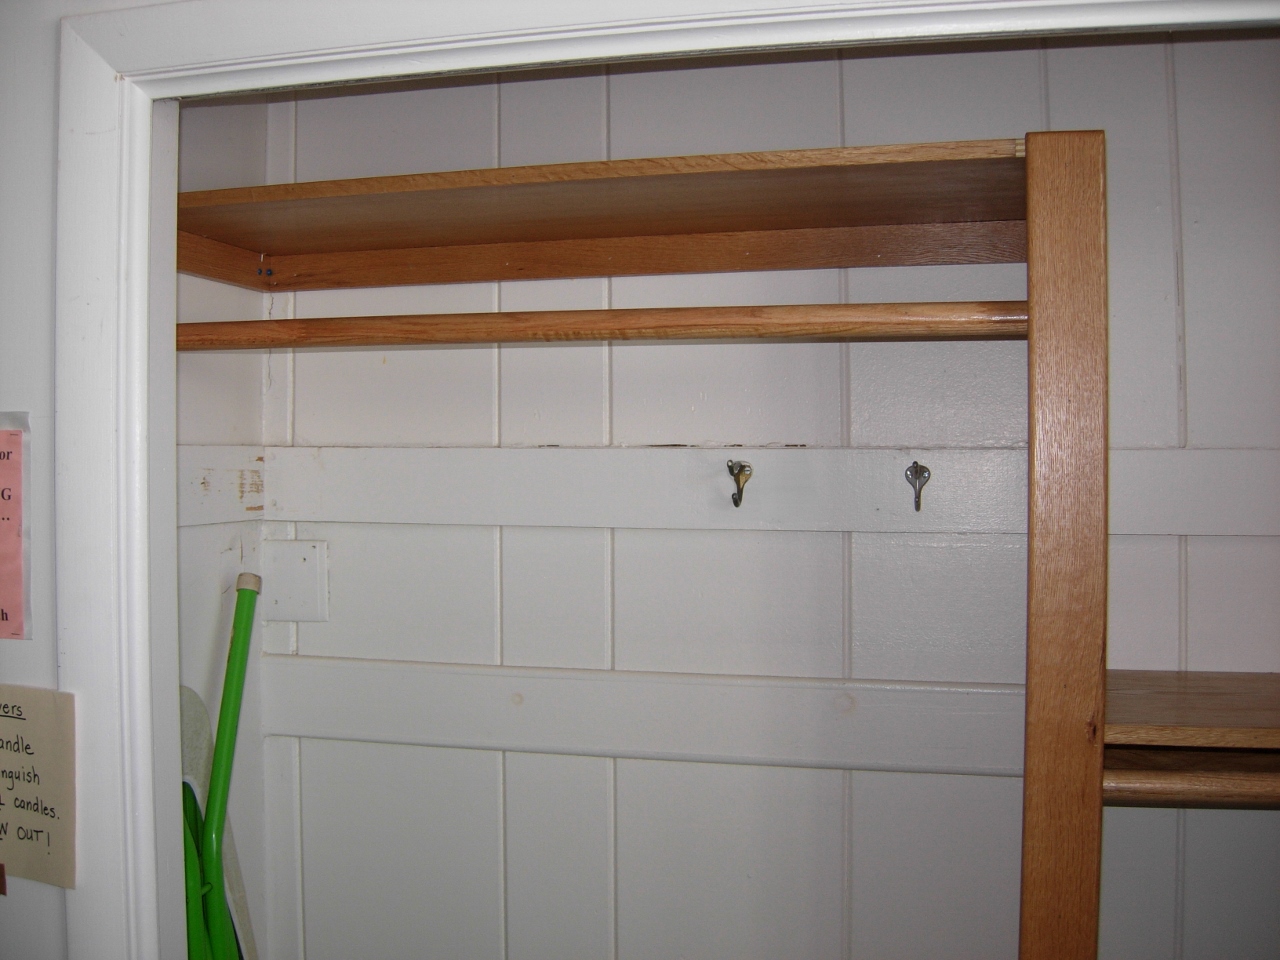
Left side of closet upgrade
I created a vertical section that had a hole located on each side. One at 6′ and one at about 4-1/2′. I attached the base of it to the floor, and ran strips along the wall to add a shelf to tie the top together. This had the added benefit of giving them two more shelves for additional storage.

Right side of closet upgrade
I repeated the process on the right side, adding a receiving hole piece at the outside ends to hold the other end of the pole. The right side of the closet bent out at a 45 degree angle making things interesting, but I made it work in the end.
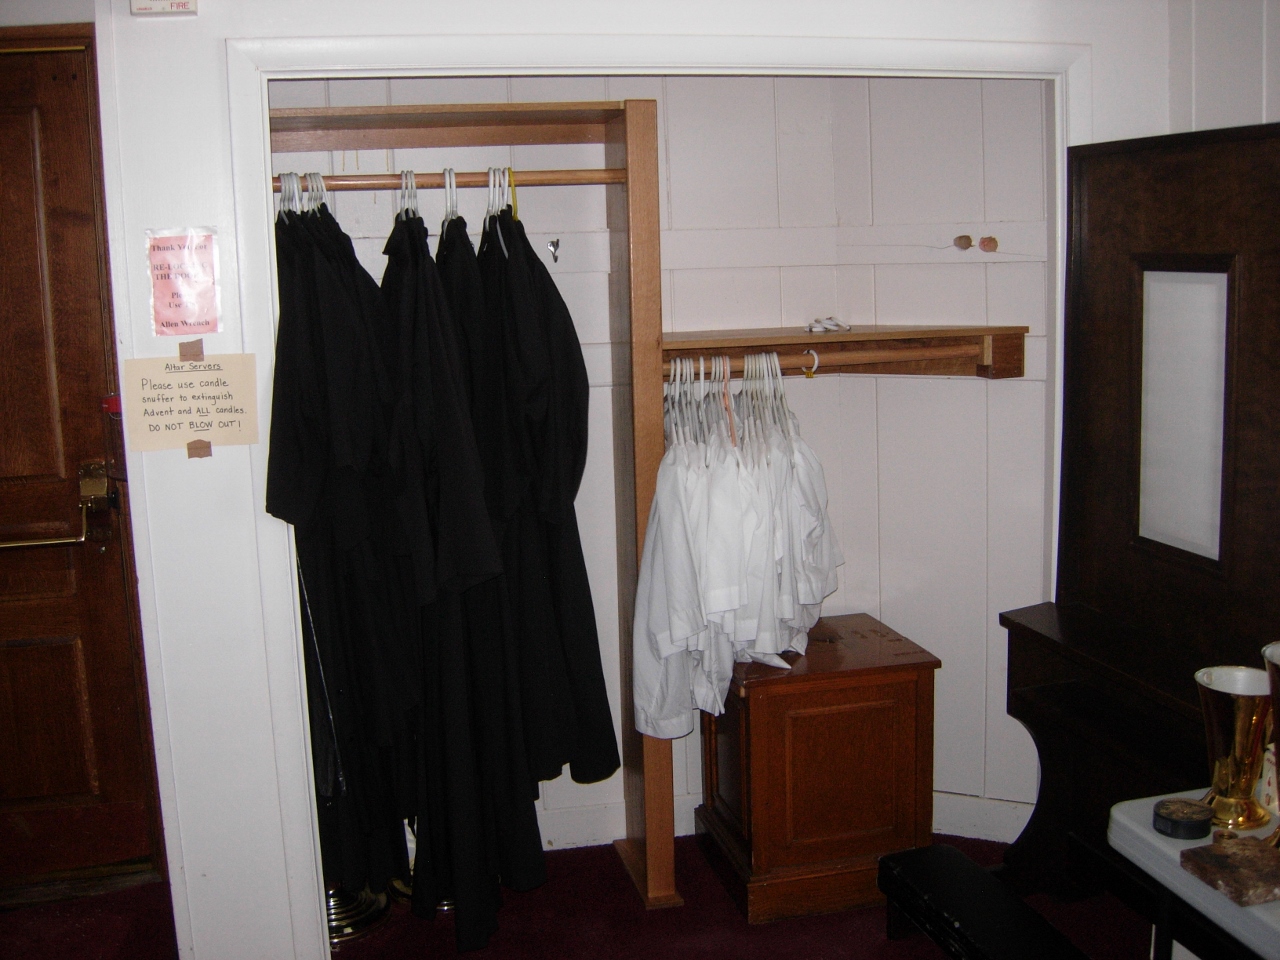
Closet finished
Hopefully everybody will be pleased with the new storage options. I have at lease two more cabinets to build that will go in a different corner of this room, but I will not start on them this week…
