
Maple and walnut blanket chests – day 7
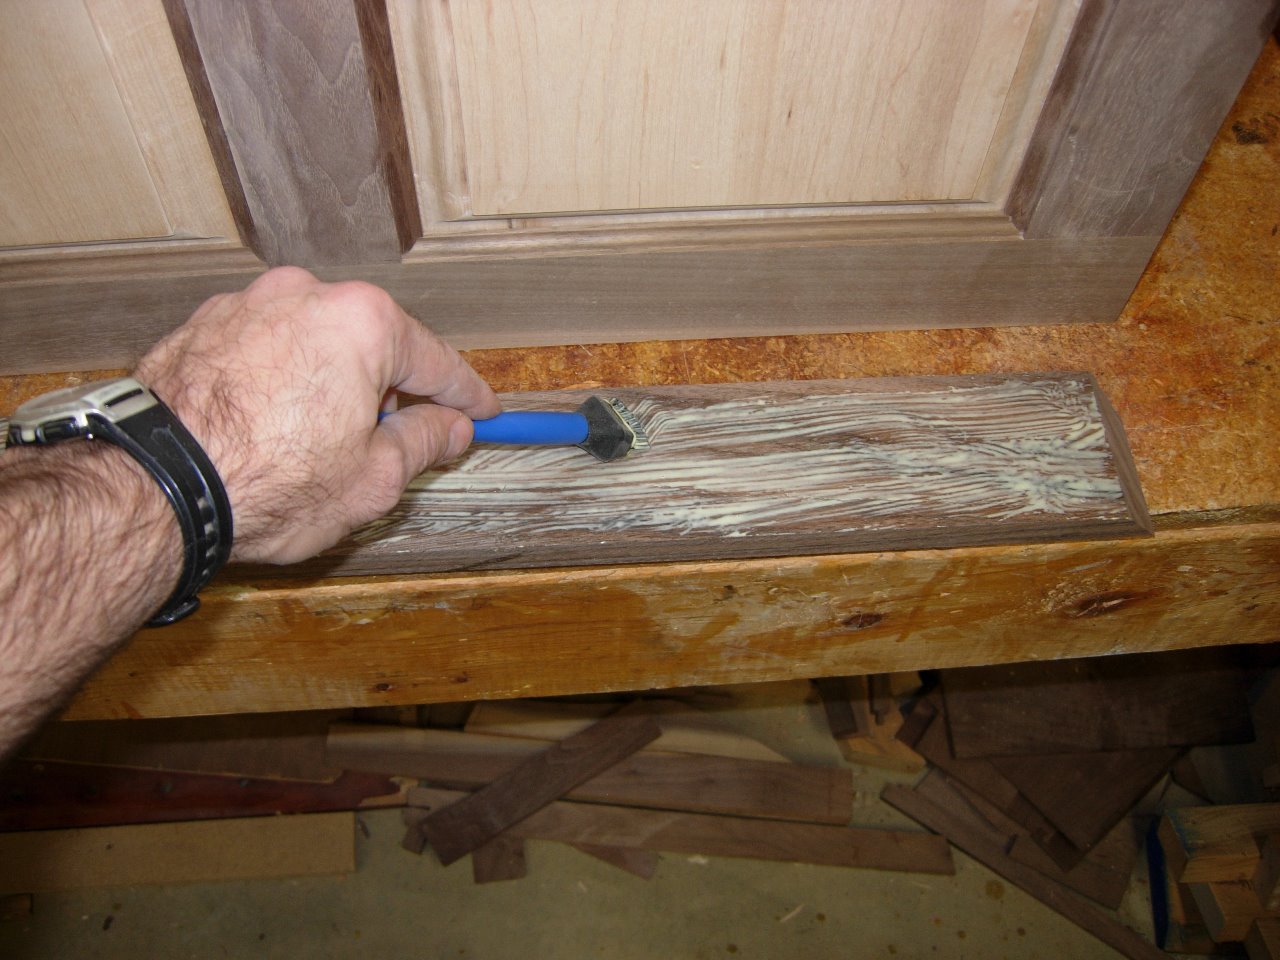
Ok, the goal today was to get the base skirt attached without placing any nails through the face of the trim. I started by trimming and attaching the first piece. Just measuring and cutting all the pieces never works.
Glueing on the first piece
With the first piece in place, I cut the matching miter, in the second piece of trim, and clamp it in place. Then I mark the other side of the second piece where it will need to be cut. When I cut it on the miter saw, I usually go at least 1/16″ past my mark. I take the piece back and clamp it up, then cut the first miter of the third piece and clamp that on as well. What that shows me, is exactly how much longer the last piece was, so I can trim it back gradually, until it is perfect. It is a time-consuming process, but it is the best way I have found to get everything to the correct length.
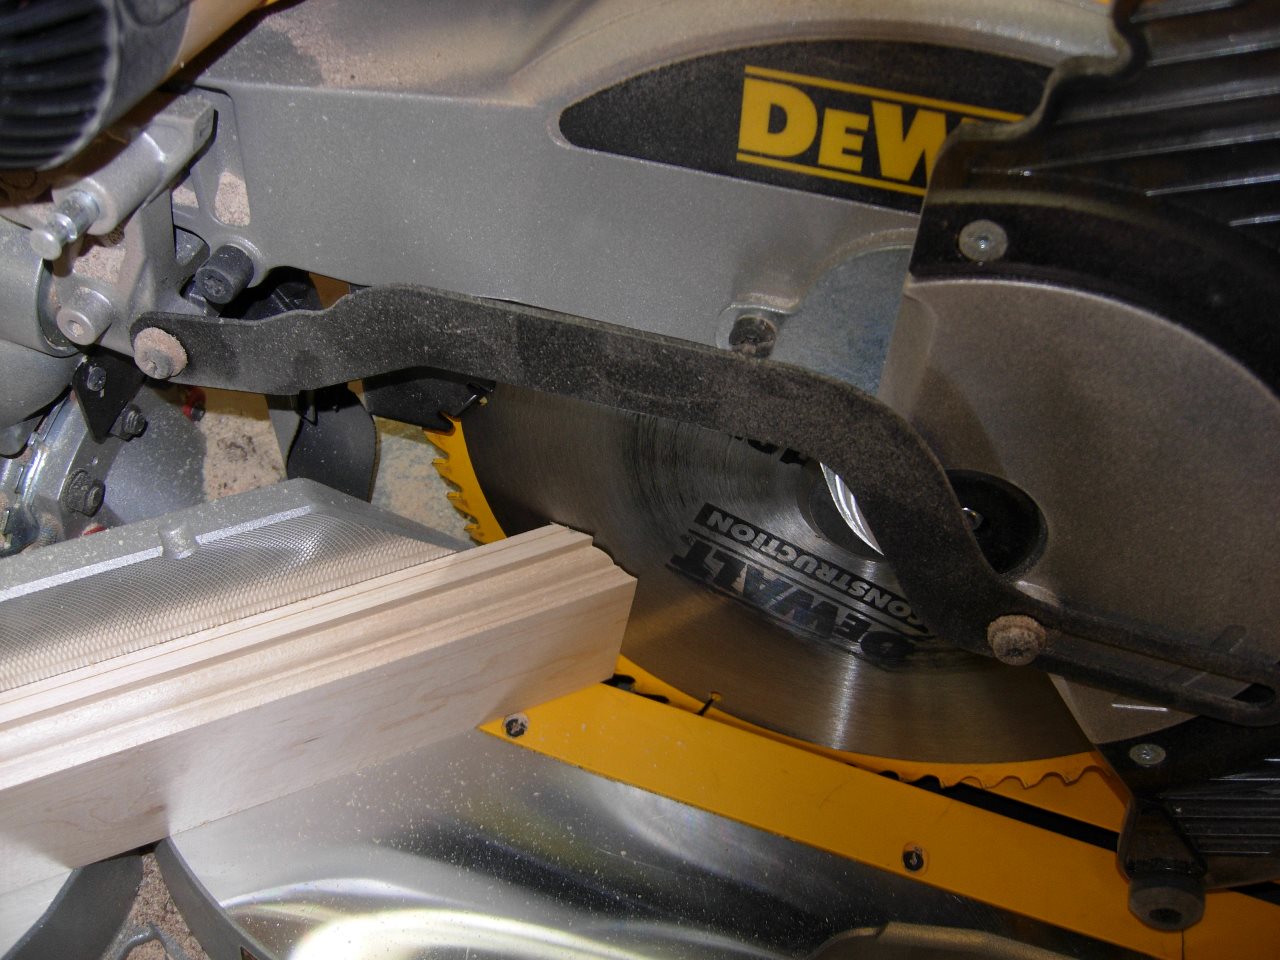
Cutting the miter (slightly long)

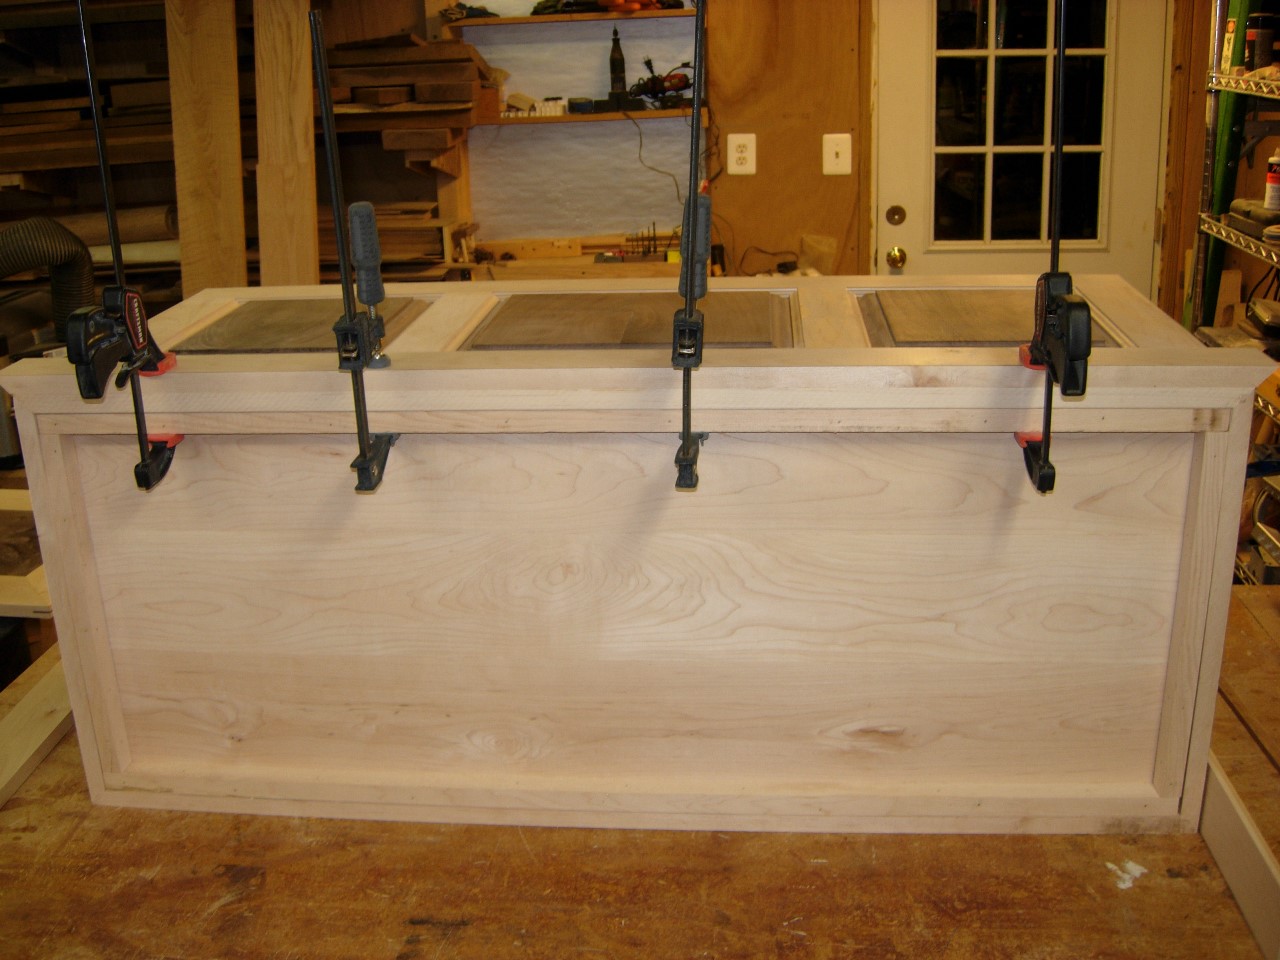
Maple one all glued up
My goal was to not nail the face of the trim. That means I needed a lot of clamps at every location possible. I decided to toe-nail the trim on from the bottom, angled back towards the middle of the chest. This is just a little back-up measure, in case the glue ever fails. It will insure that the trim stays in place. I set the nail heads down below the surface so the nails won’t snag the carpet or scratch the floor.

Adding a few brad nails
Starting on the walnut chest
With the maple chest done, I repeated the process with the walnut one. Once these are dry, the only things left to do will be the hardware installation and the finishing.

Walnut all glued up and drying
