
Adam’s piggy bank – day 1
So my 10 year old, Adam was rooting around in my shop and found a book that I bought years ago. It was a book about making toys out of wood. He fell in love with a piggy bank, and has been waiting for a lull in my projects so that he could work on it with me. I have a pile of short boards that I cut from a cherry tree about a year and a half ago. The tree was cut into chunks for fire wood. I saved a piece or two because it had a pretty grain running through it. I re-sawed it on the bandsaw and stacked it in a corner to dry.
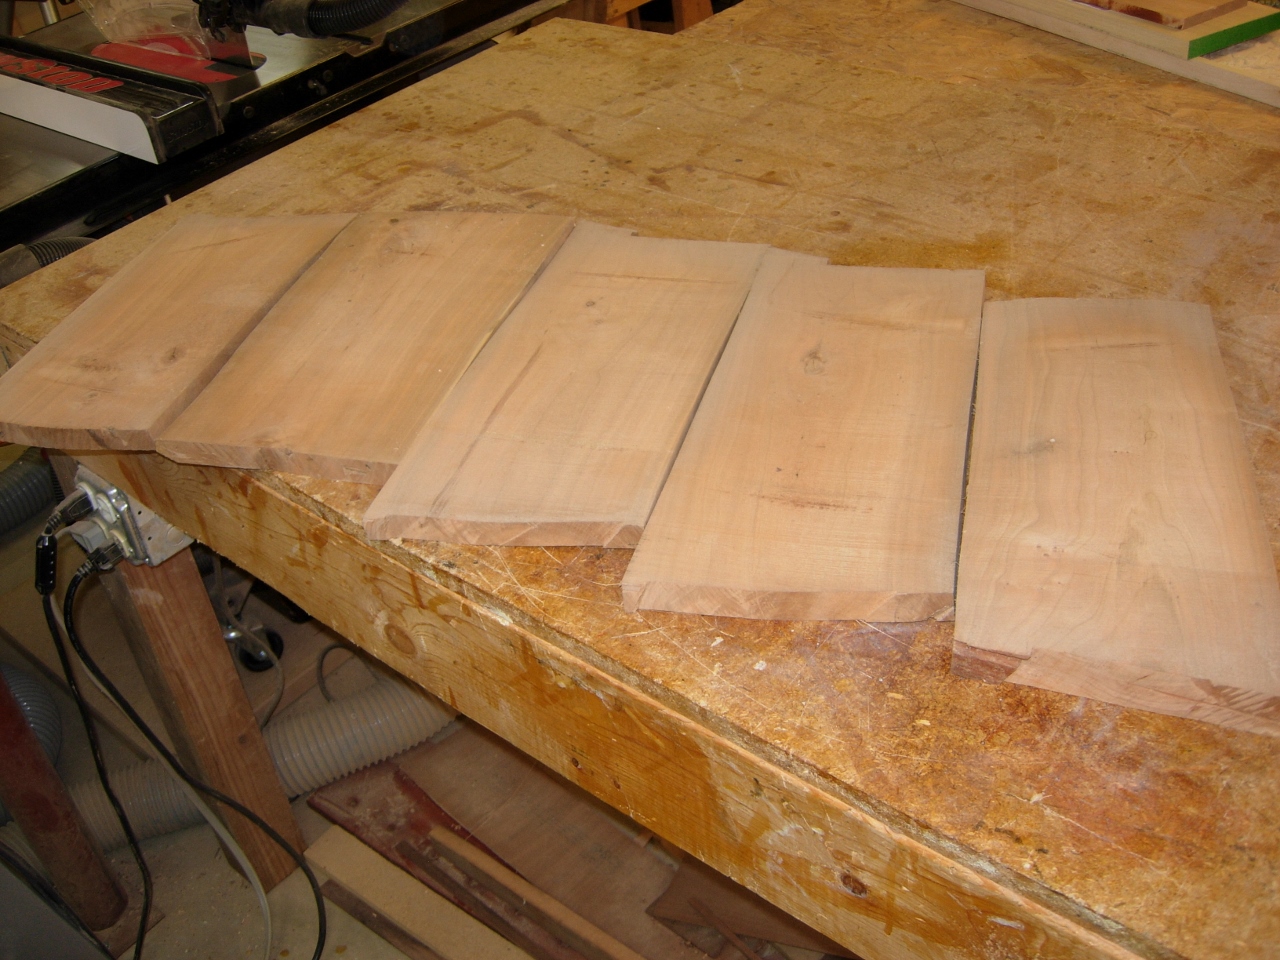
Rough sawn cherry
I pulled five pieces from the stack and ran them through the planer. The plan calls for five 3/4″ thick pieces. Some of the pieces are not quite 3/4″, but they will work fine. As long as they are flat, they will work.
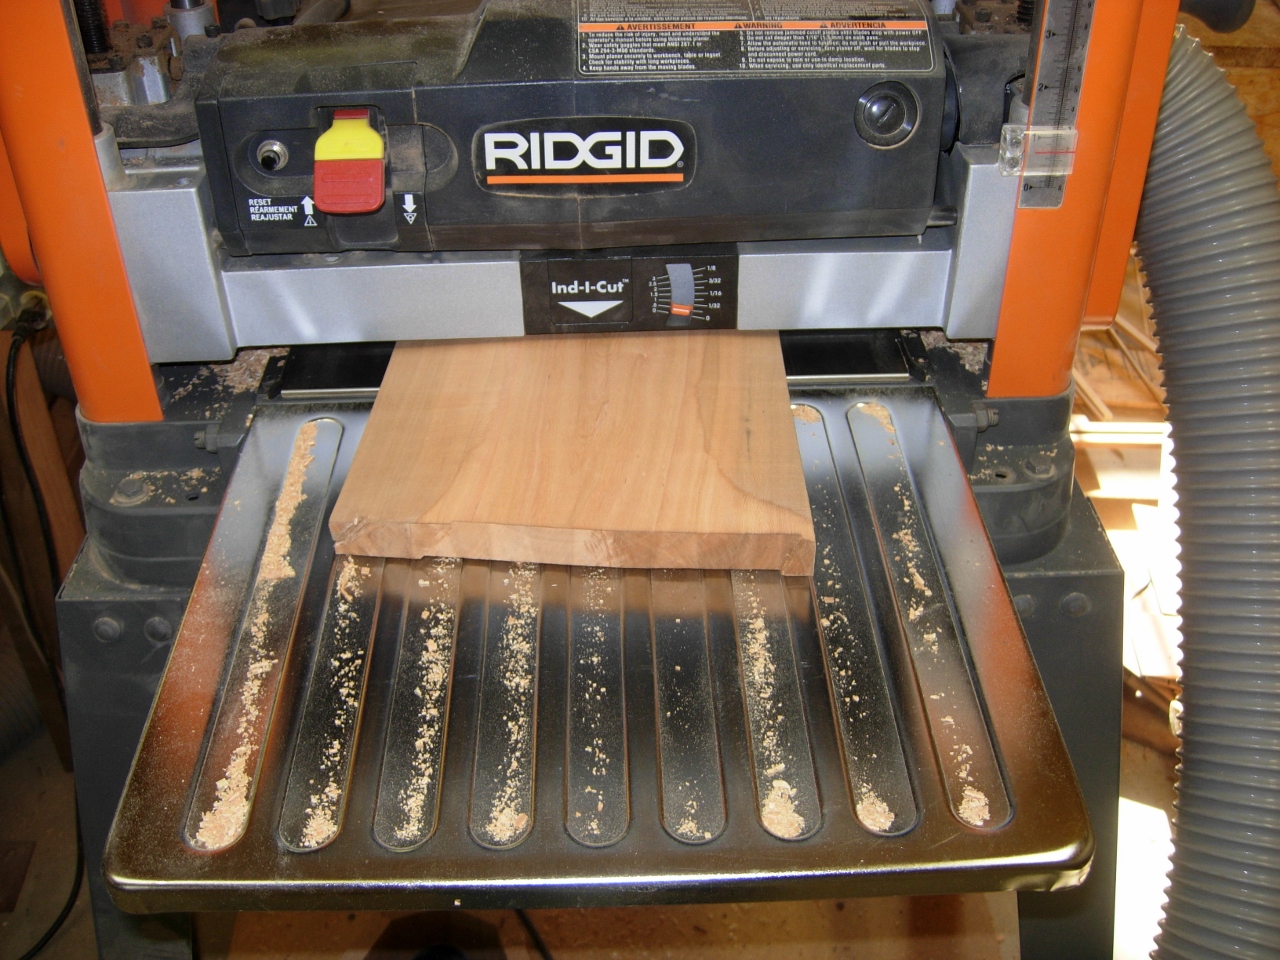
Through the planer

All cleaned up
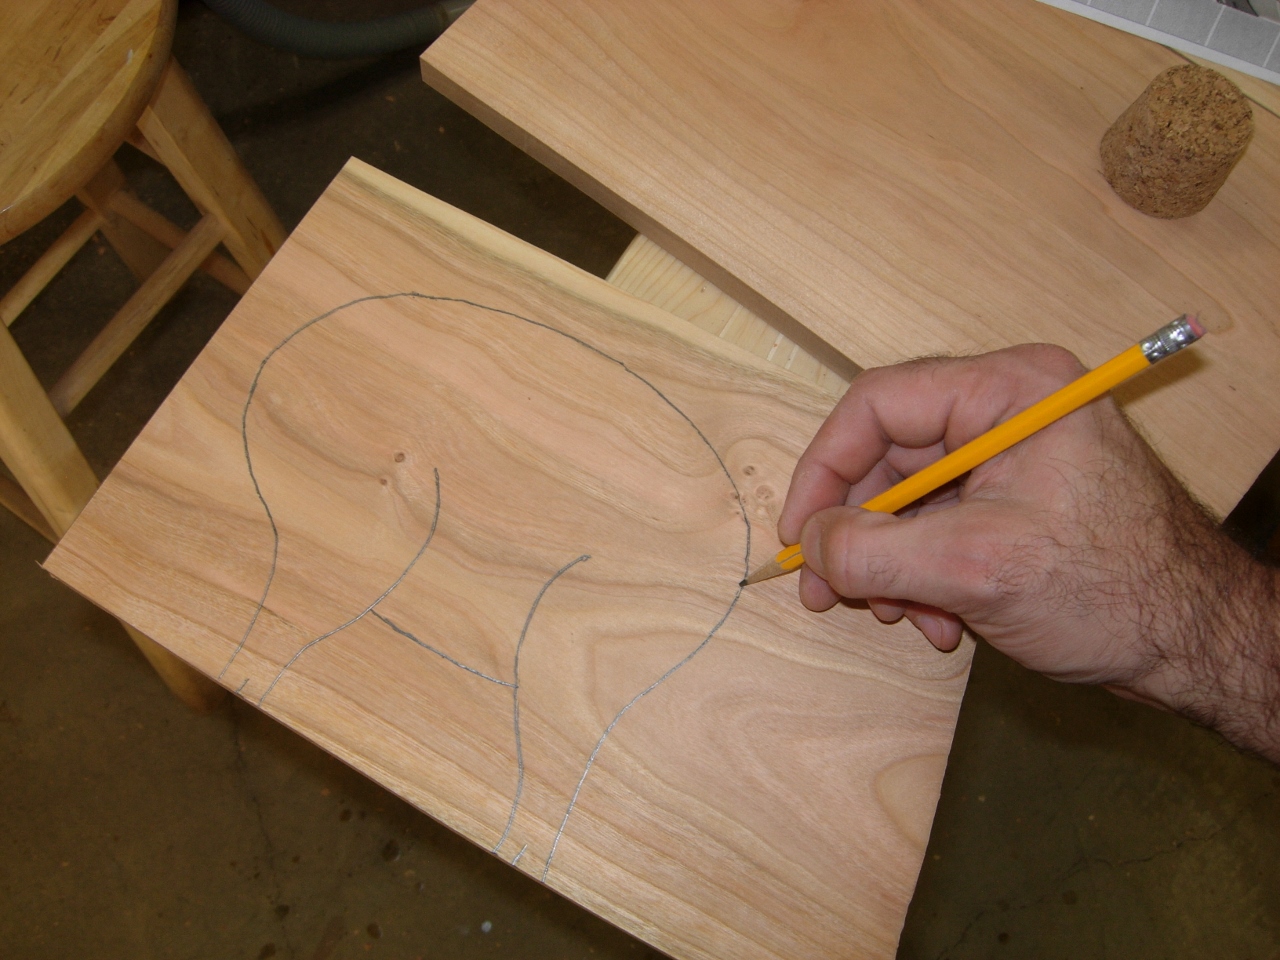
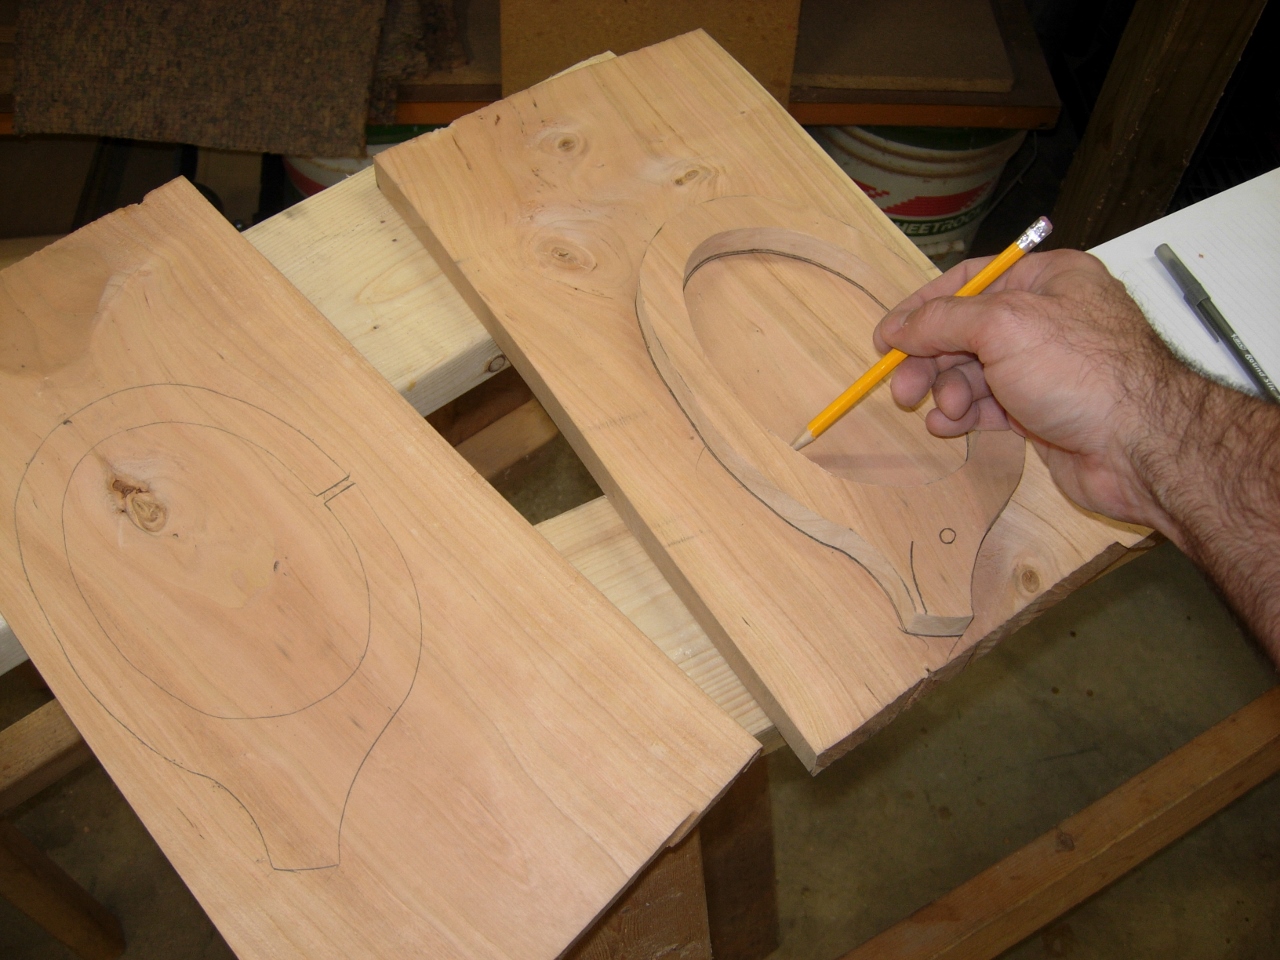
Once all the boards were run through the planer, I laid the pattern on the first board and traced the lines for the right side with a ball point pen. I could have printed five patterns and glued them to the wood, but this method requires less paper, and no cleaning off glue and paper.

Tracing the pattern
When you trace with a ball point pen and press firmly, it puts a slight dent into the wood. When I remove the paper, I can trace that dent with a pencil. This gives me the outline that I need to trim to.
Outlining with pencil

First three parts traced
I traced the left and right pieces, as well as one center piece. I wasn’t sure if the bandsaw or the scroll saw would be the best, but the bandsaw is faster, so I started there.

Cutting out one of the center pieces
A lot of relief cuts were needed since my smallest blade is 1/2″, so I think Adam will cut out the rest on the scroll saw.

A few relief cuts
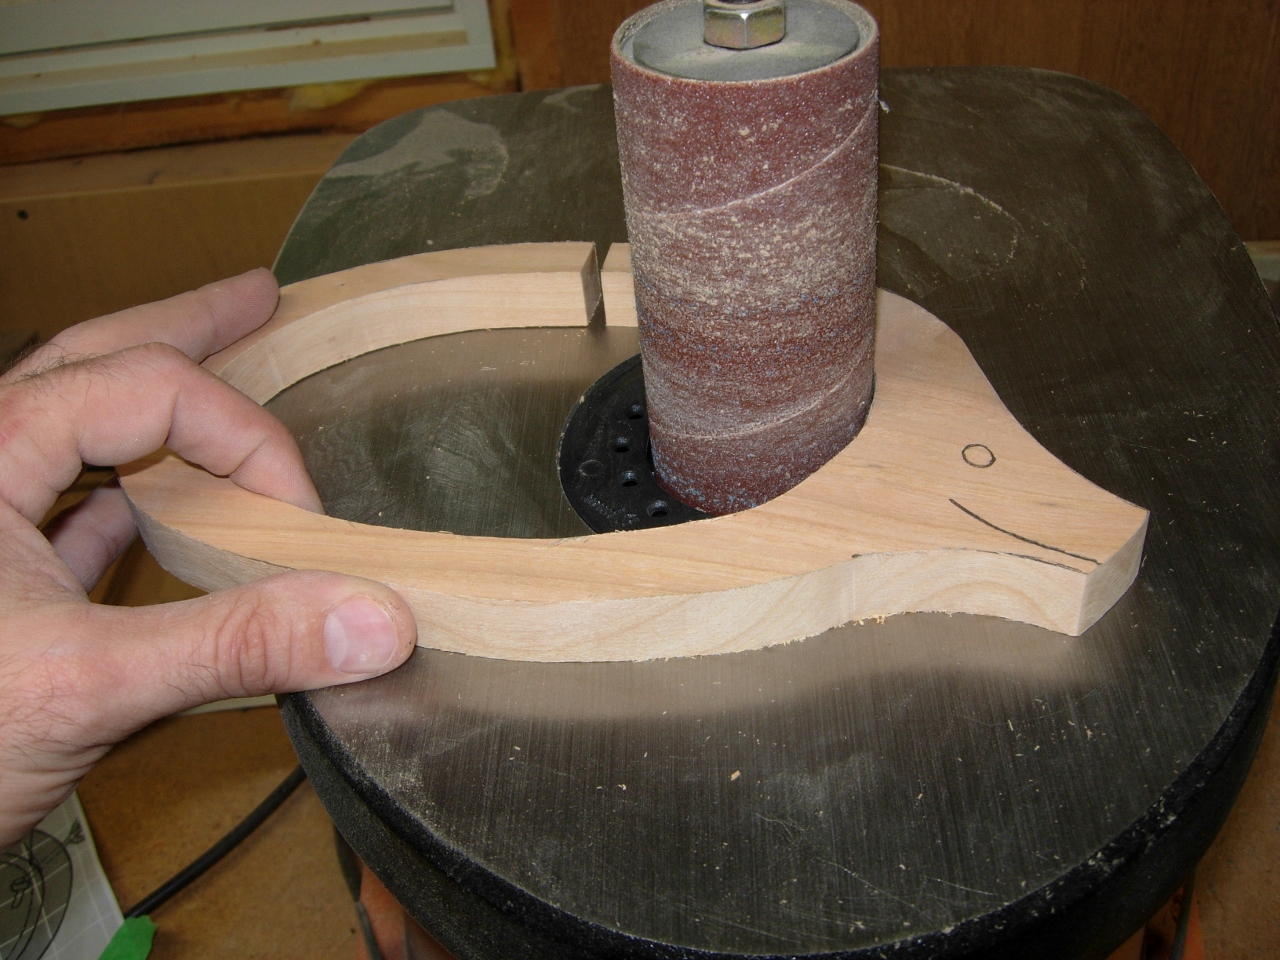
Cleaning up the edges with the spindle sander
I cleaned up all of the rough edges on the spindle sander, then I used that pig part as a template for two more. These three pieces will be glued together to make the center of the bank. The slot in the top will be for the coins to go in, and there will be a large hole in the bottom for a cork to hold the coins in. Adam and I will hopefully have time to get the pig cut out tomorrow and maybe glued up.
Tracing the other two center pieces
In case you hadn’t noticed, there are no annoying ads at the bottom of the post. I finally decided to upgrade my blog and get my own domain name. I am now officially at WWW.midnightwoodworking.com.
