
Adam’s piggy bank – day 2
Adam finally finished up his school work, so he had some time to work on his pig.

Adam’s first time on the scroll saw
He got to use the scroll saw for the first time. My scroll saw vibrates a lot, but he learned to press down firmly on the parts while pushing them through.

Cutting out the legs

Adam’s getting tired
His arms got tired after a while, so I helped him out a little. we didn’t do too badly, we didn’t break any blades… Adam sanded down the left and right sides of the pig on the spindle sander.

Sanding the pig parts
We didn’t bother sanding down the center pieces when they were cut out, we just spread some glue on each mounting surface and clamped them up.
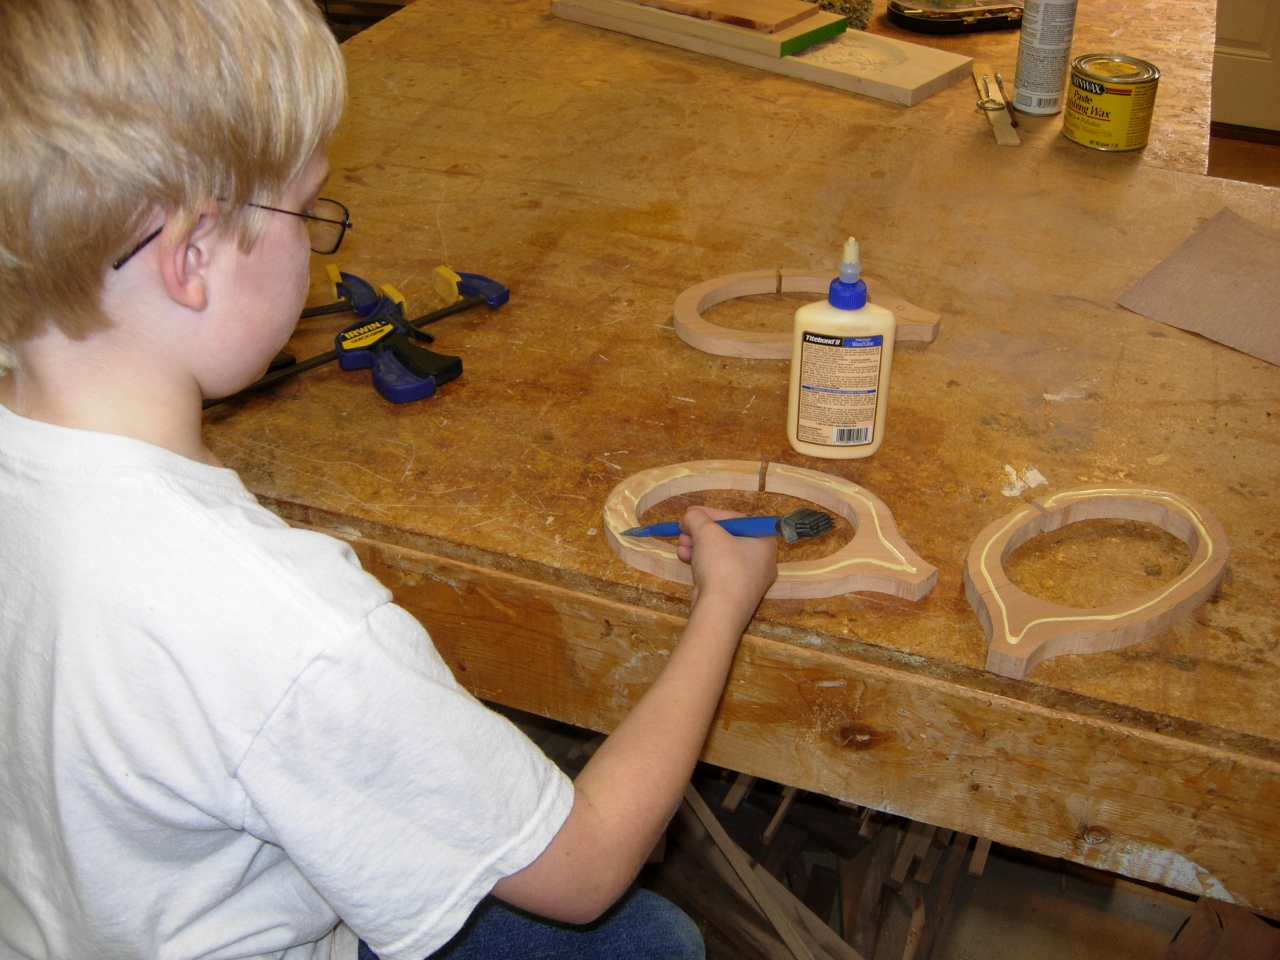
Spreading some glue
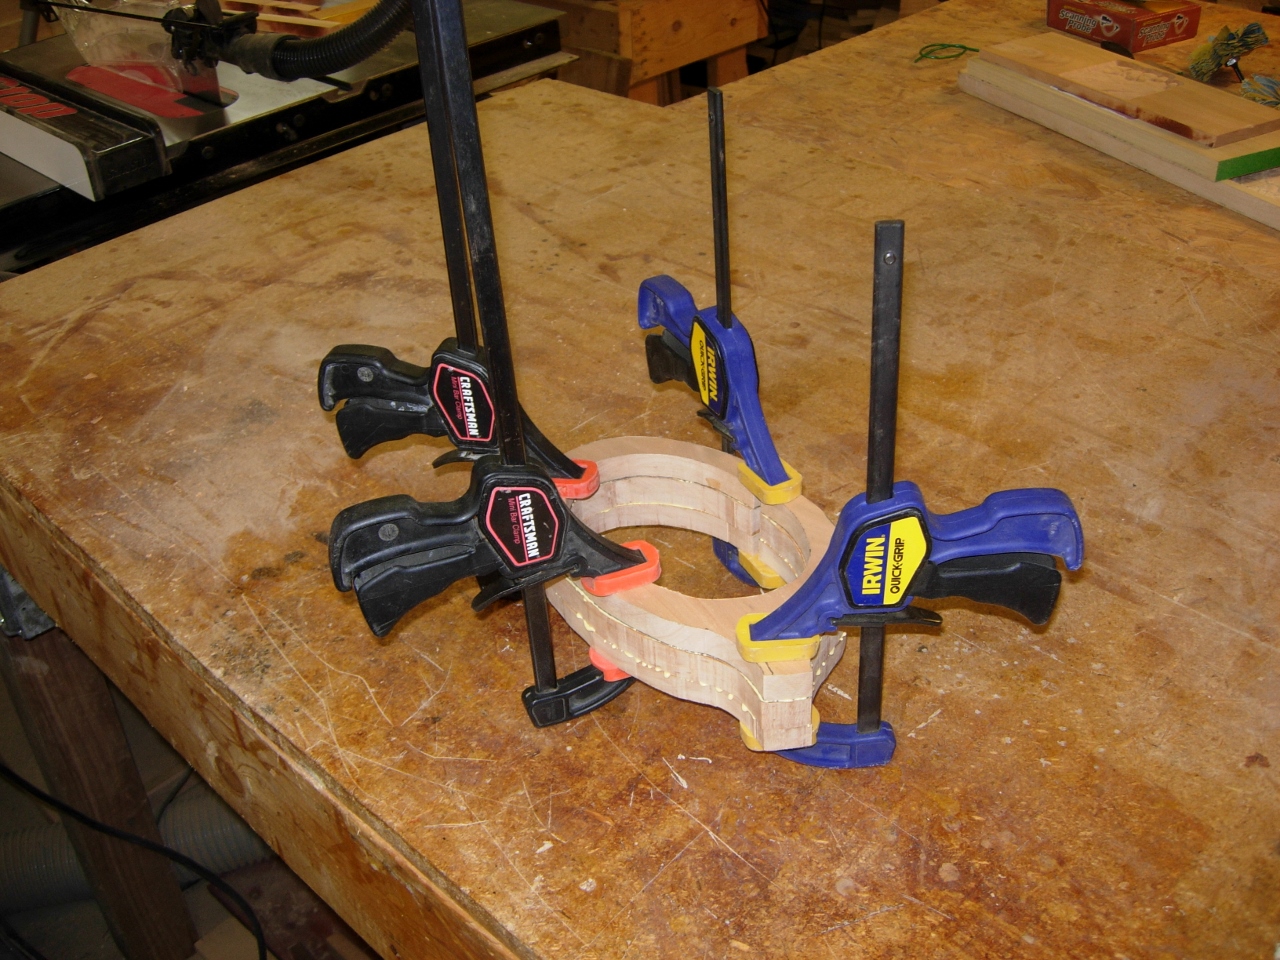
Clamping up the center
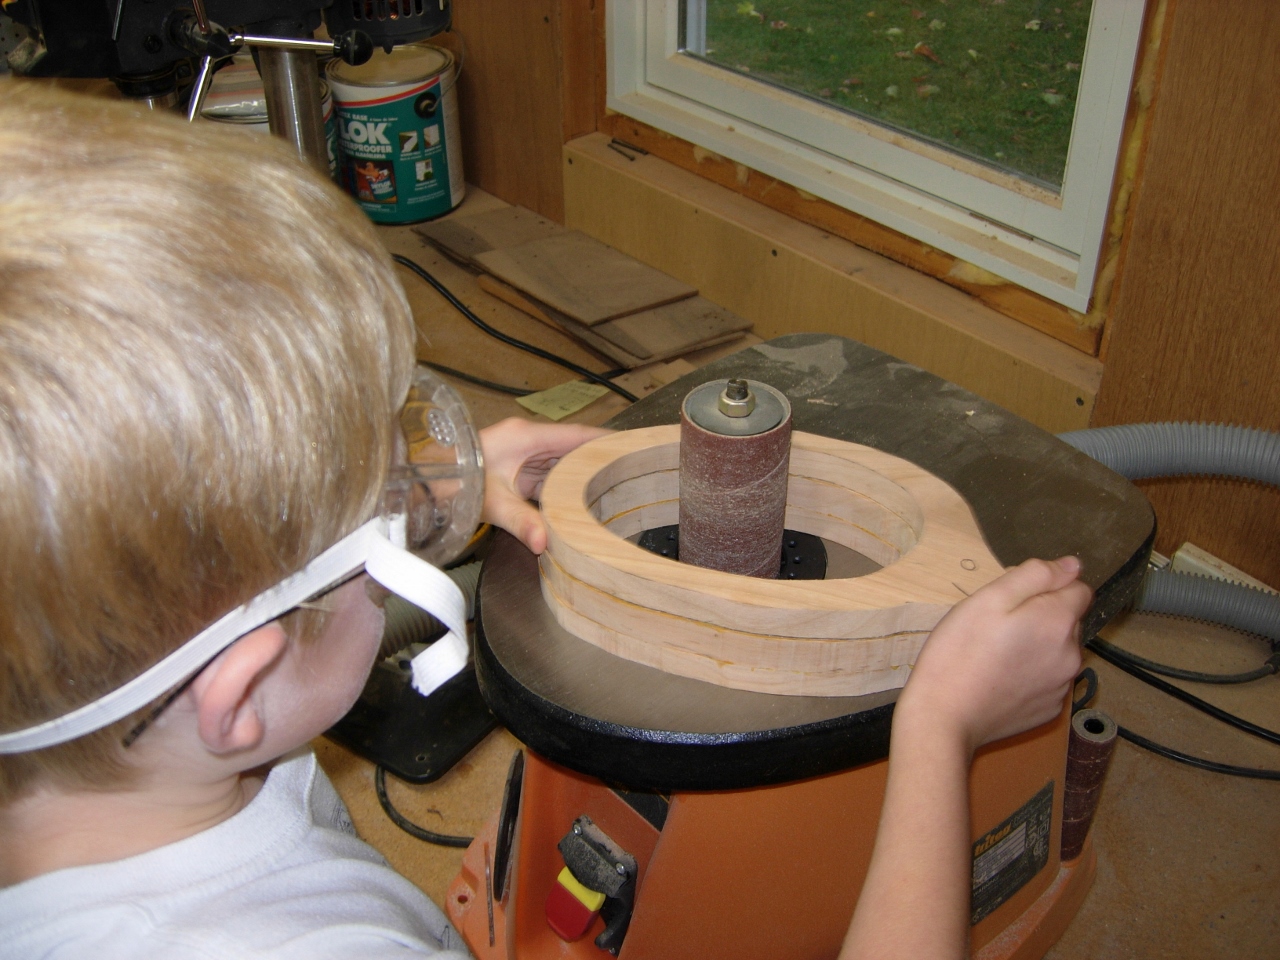
Sanding the glued up center
A couple of hours later, Adam got to use the spindle sander again to sand down the main body.

Drilling the cork hole
When the main body was done, I had Adam hand sand some of the corners that the spindle sander couldn’t reach. While he was doing that, I got out my hole saws, found one that fit the large cork we had, and drilled a large hole in the belly.

Doing a little hand sanding

Testing the cork
We did a successful test fit on the cork, then turned our efforts to rounding over the edges and sanding them down.

Rounding over the edges

Glueing in the tail
The plan calls for a leather tail and ears. The ears can wait until we are finished, but the tail had to go in before the glue up. Basically we cut a strip of leather, and drilled a hole in the pig’s rear end. Then we tied a knot in the leather and poked it through. I glued the tail in place with super glue. It bonds to skin instantly, so it should bond in a similar fashion here.

Mounting the sides with hide glue
Next, we mounted the sanded sides with hide glue. I used hide glue because it dries clear and won’t mess with the finish. I knew we would have a lot of squeeze out in hard to reach places, so the hide glue seemed the best option.

Clamped up piggy
I won’t be posting any more pig pictures for the next week, I am heading out of town. I am going to Woodworking in America, in Cincinnati, Ohio. Where hopefully I will learn a lot, and maybe find a good deal or two on some new tools…

Pretty cool! Lucky kid.!