
Laptop shelf for dorm bed – day 1
My son is studying at the University of Delaware as a freshman this year. He asked me to build him a shelf that can be added to the footboard of his bed so he can use his laptop while sitting in bed. I have attached plans and a 3D PDF file with the basic concept. Also I attached a basic set of plans. This one is sized for his dorm bed. I strayed from the plans a bit for his shelf. But, the plans should be adaptable to many different situations. Please leave me a comment if you find the plans useful.
laptop-shelf-for-footboard.pdf

Cutting the wood for the shelf
This project was supposed to take me all week, but the federal government has shut down for a bit, so I get a few days off… I started by cutting down a board to make the shelf. I applied some glue and clamped it up.

Applying some glue

Shelf board glued up

Programming the logos
Since I have some time to kill, I decided to exercise the Carvewright a bit. I spent some time redrawing a University of Delaware logo in 3D, in AutoCAD, then exported it to the Carvewright as an STL file. I found this method to be a lot cleaner then importing an image from the web. The CNC is not a speed demon, two 4.5″ logos took nearly an hour to cut.
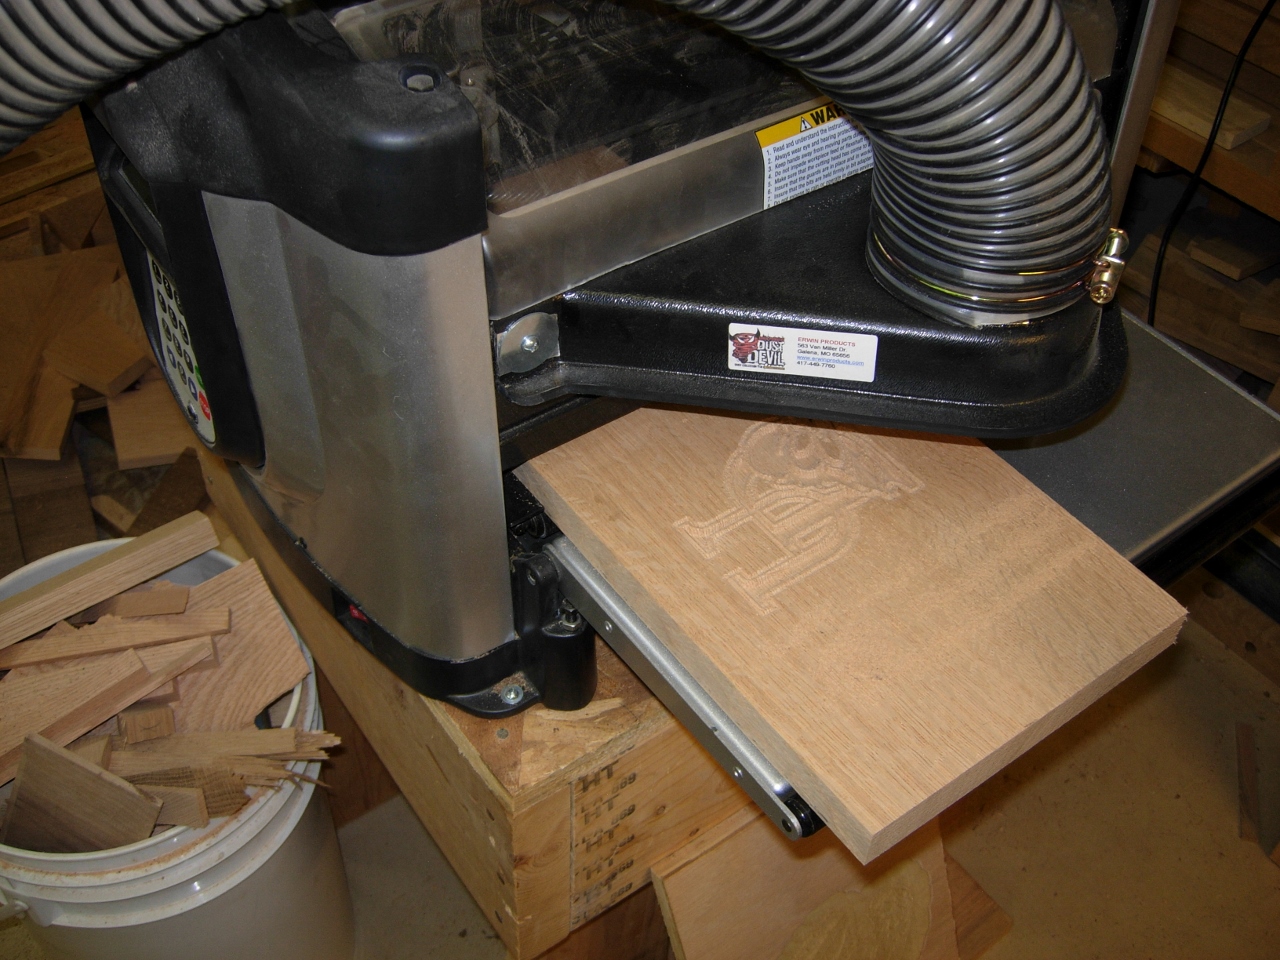
First logo cut
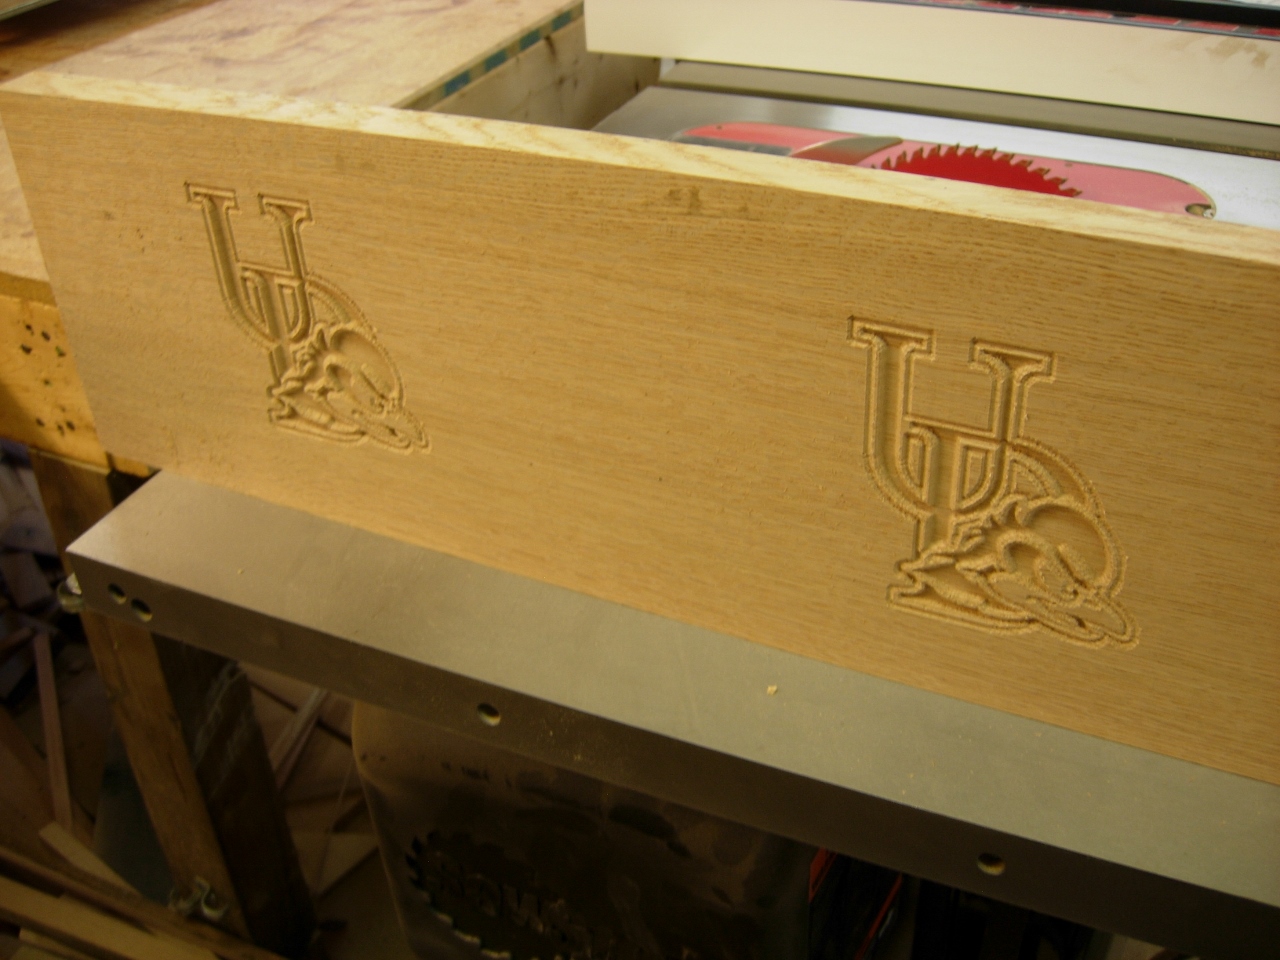
UDEL logos cut
I gave the logos a quick pass with the buff sanding wheel, then set them aside for a bit.

Sanding the UDEL logos
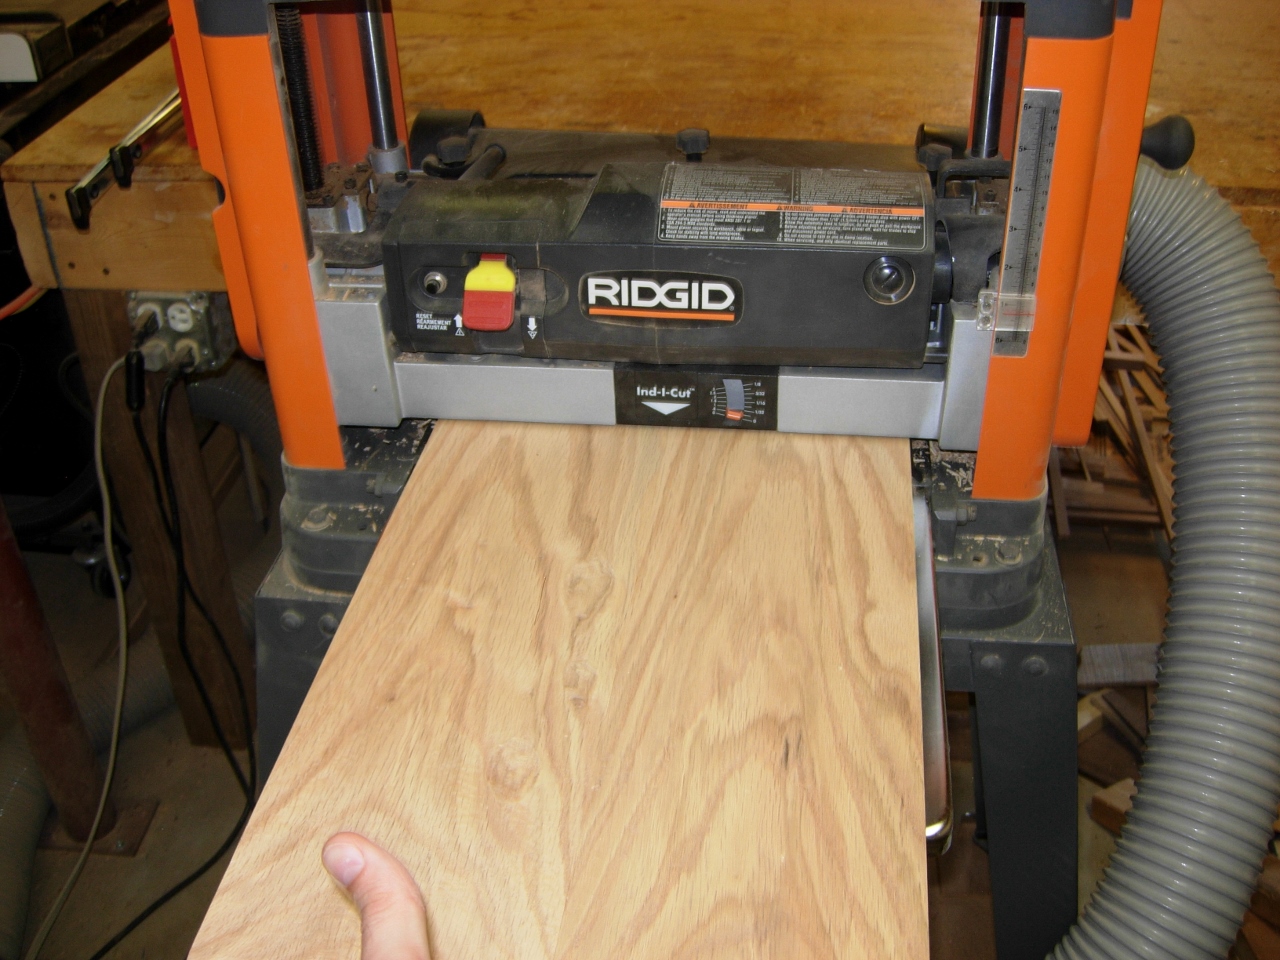
Planing the shelf board
I planed down the shelf board to 3/4″ thick, then set it up in the CNC. I programmed the vent holes for the CNC. I could have routed them out by hand in less than an hour, but I wanted to try double-sided carving on the Carvewright. The program took over four hours to run. I got a lot of work done on the rest of the project while that was cutting…
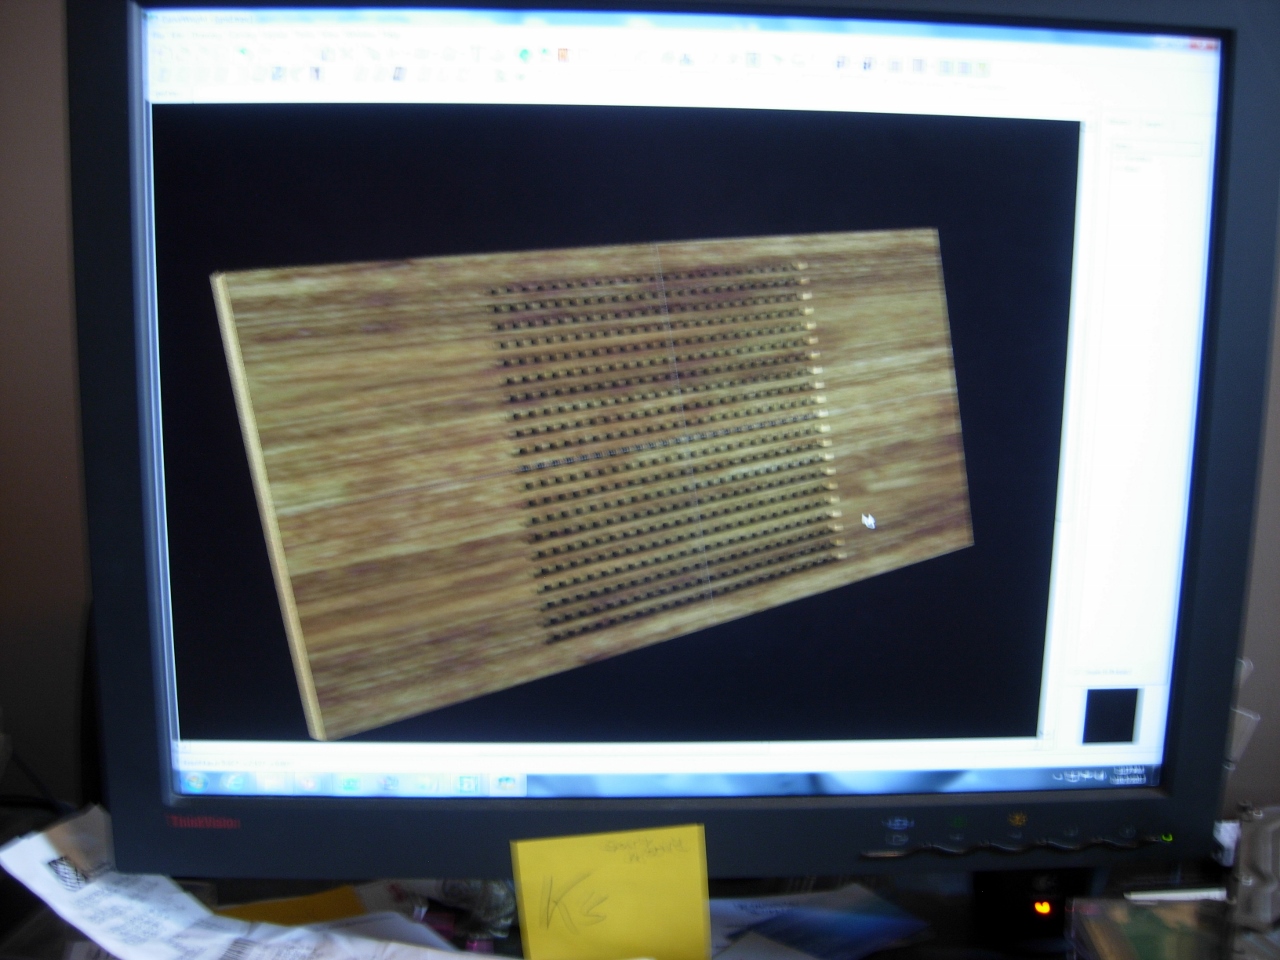
Programming the vent holes in the shelf
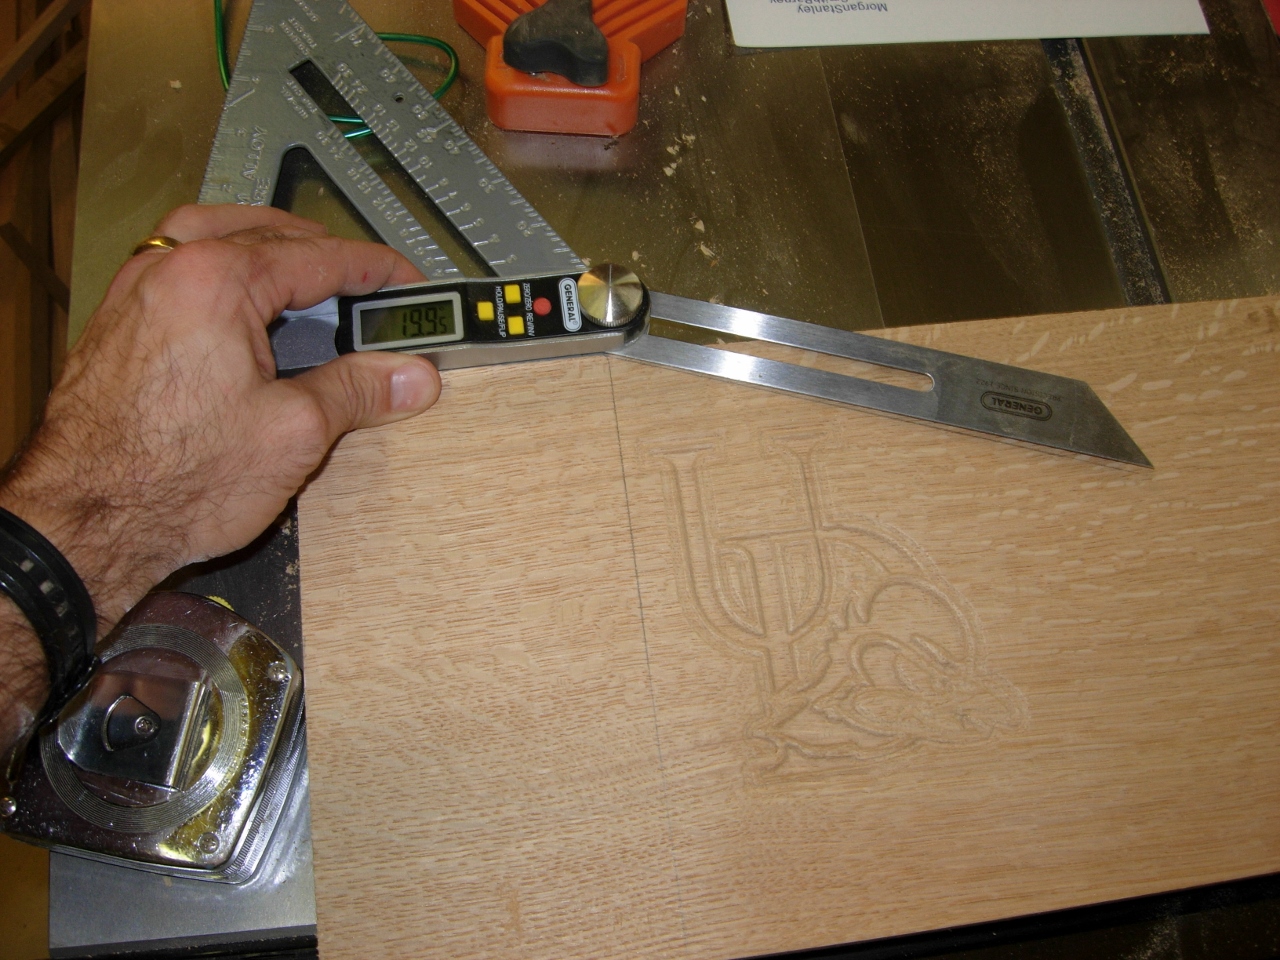
Marking the 20 degree angle
With that started, I grabbed the logos again, and laid out the gussets. I could have cut them out completely on the CNC, but I actually wanted to finish this project today… I laid out the vertical edge first, then laid out a 20 degree angle for the top, 8″ long. I then cut these two lines out on the miter saw, for each gusset.
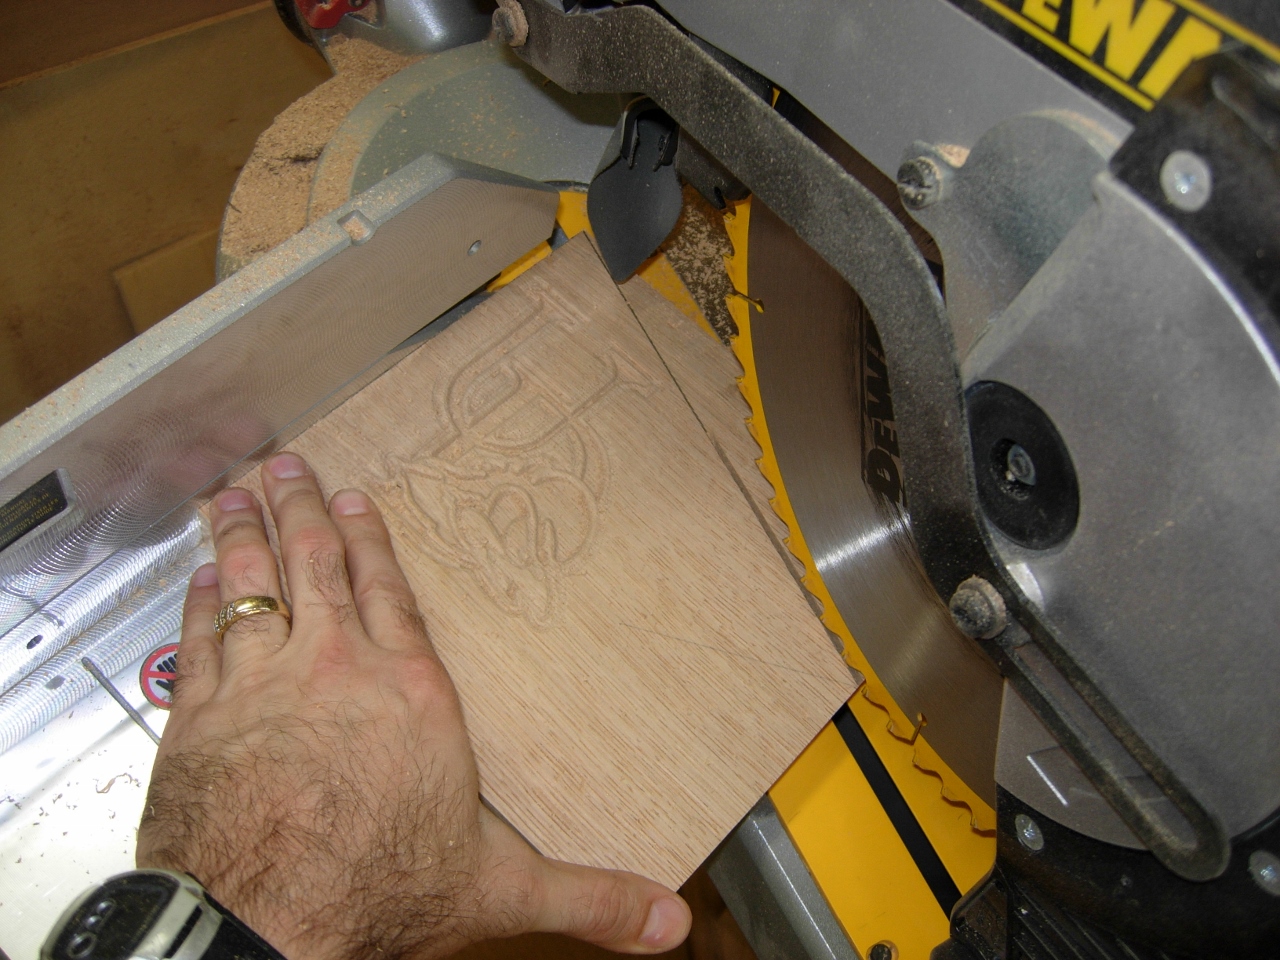
Cutting the gussets
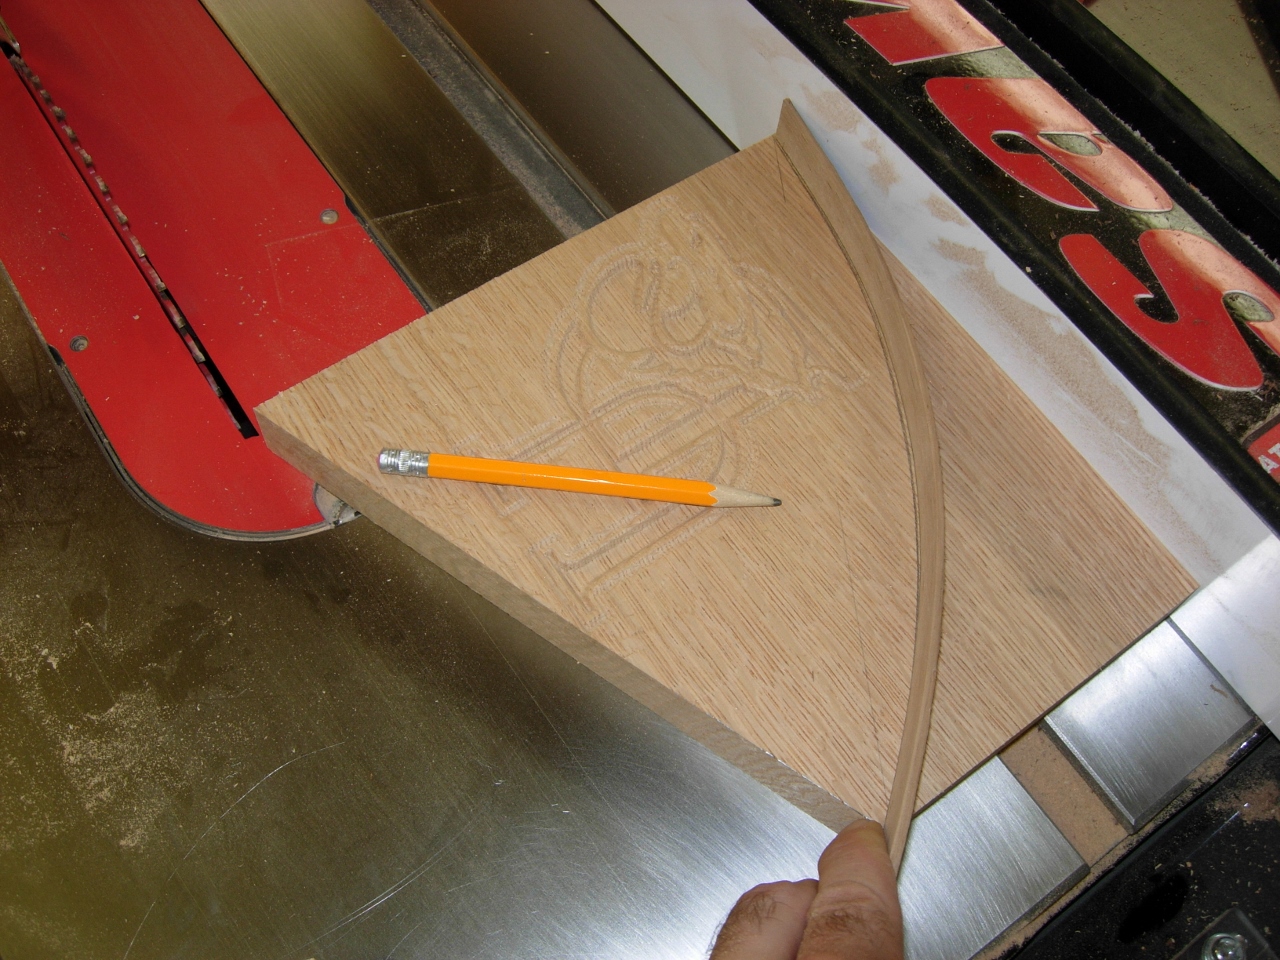
Creating the arc
The plans don’t have a logo, so they just show a straight cut to complete the triangle. Since I applied a logo, that isn’t an option. I decided to add an arc instead, to avoid the logo that I carved in. I used a flexible piece of scrap to create the first arc, then cut it out on the band saw.

Cutting the arc on the gussets
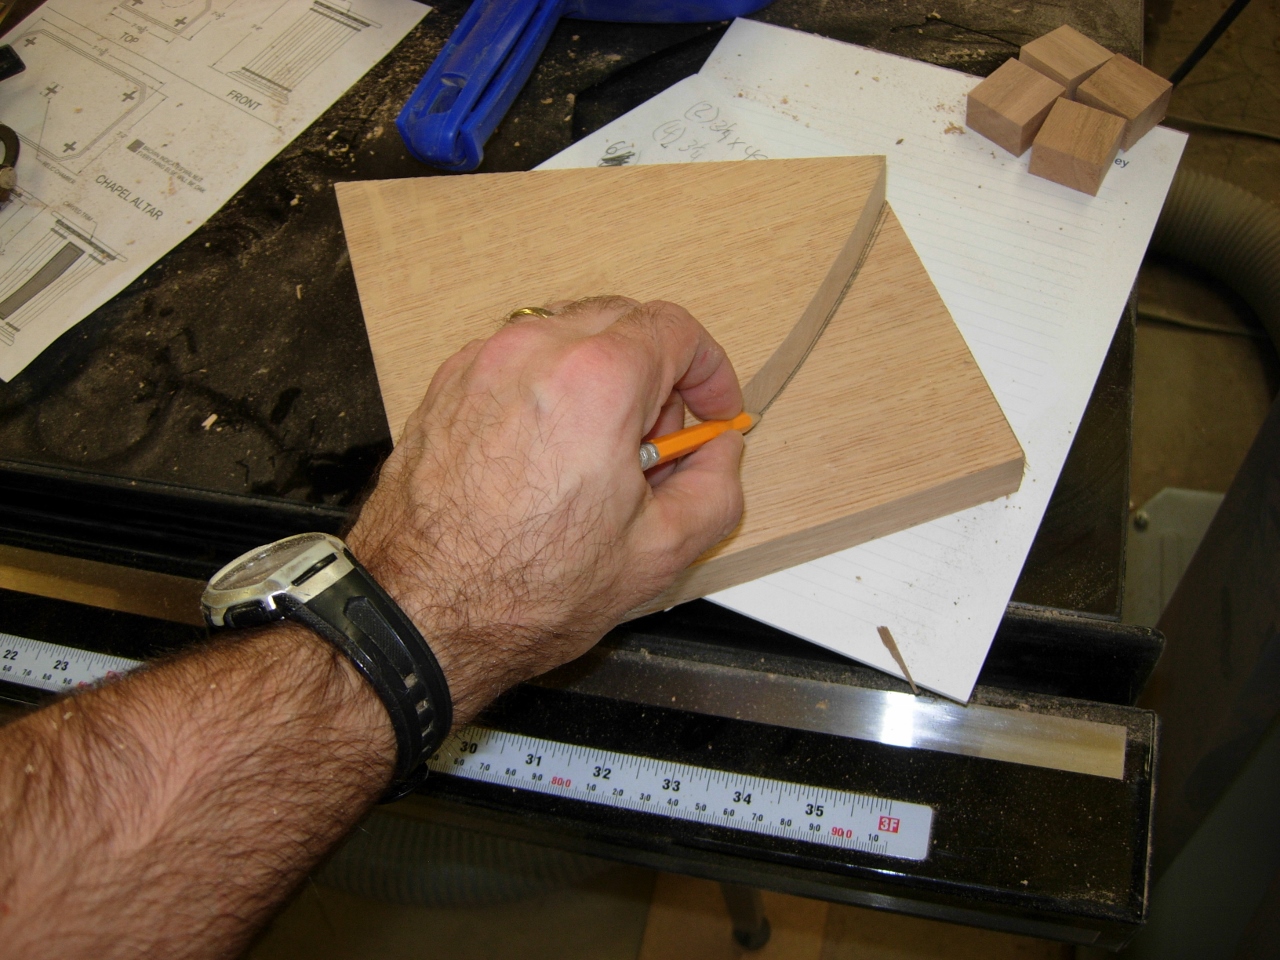
Transferring the arc
I transferred the arc to the second gusset, then cleaned them both up on the spindle sander.
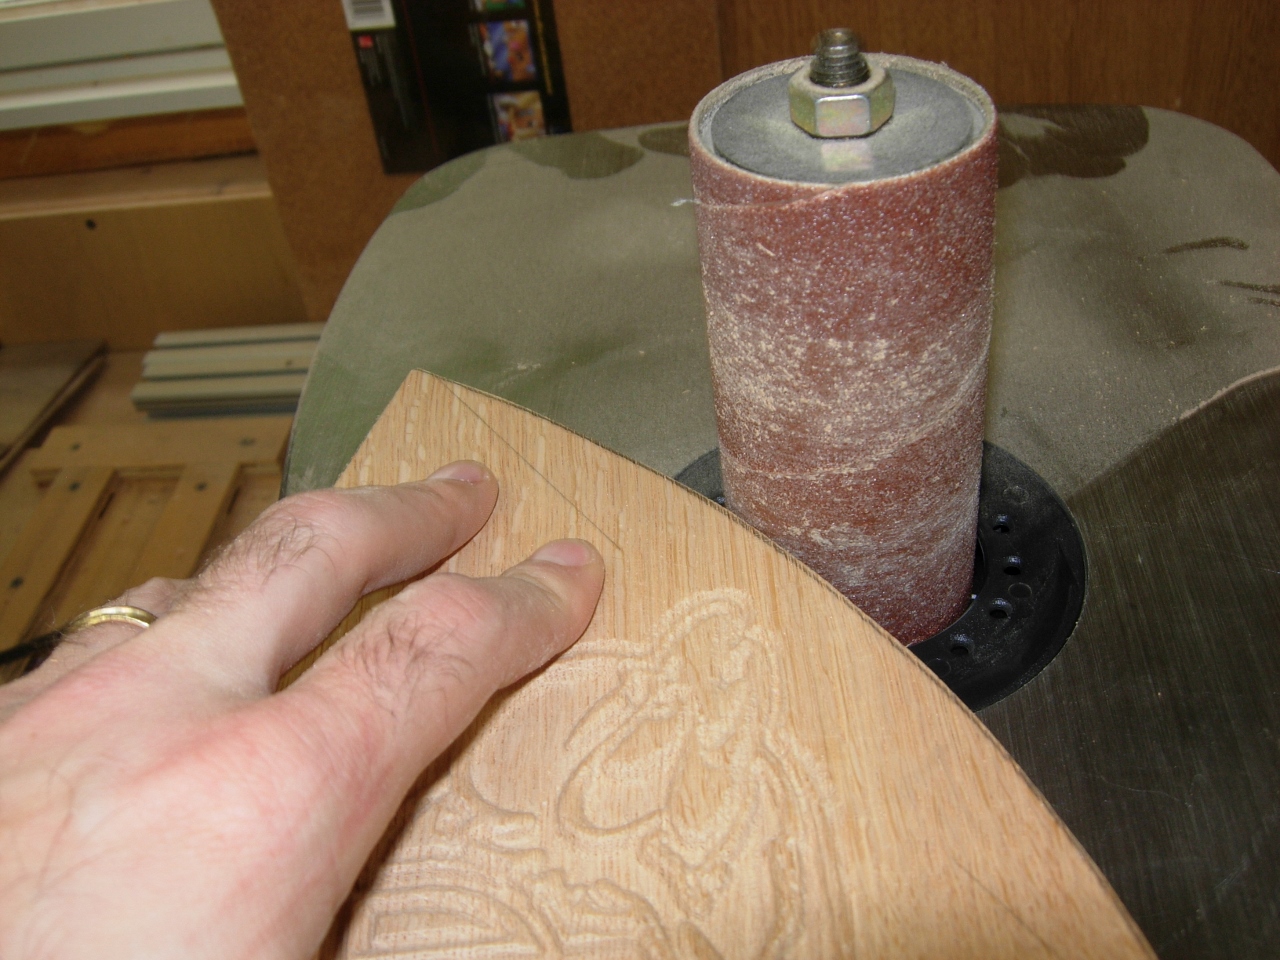
Sanding the gussets

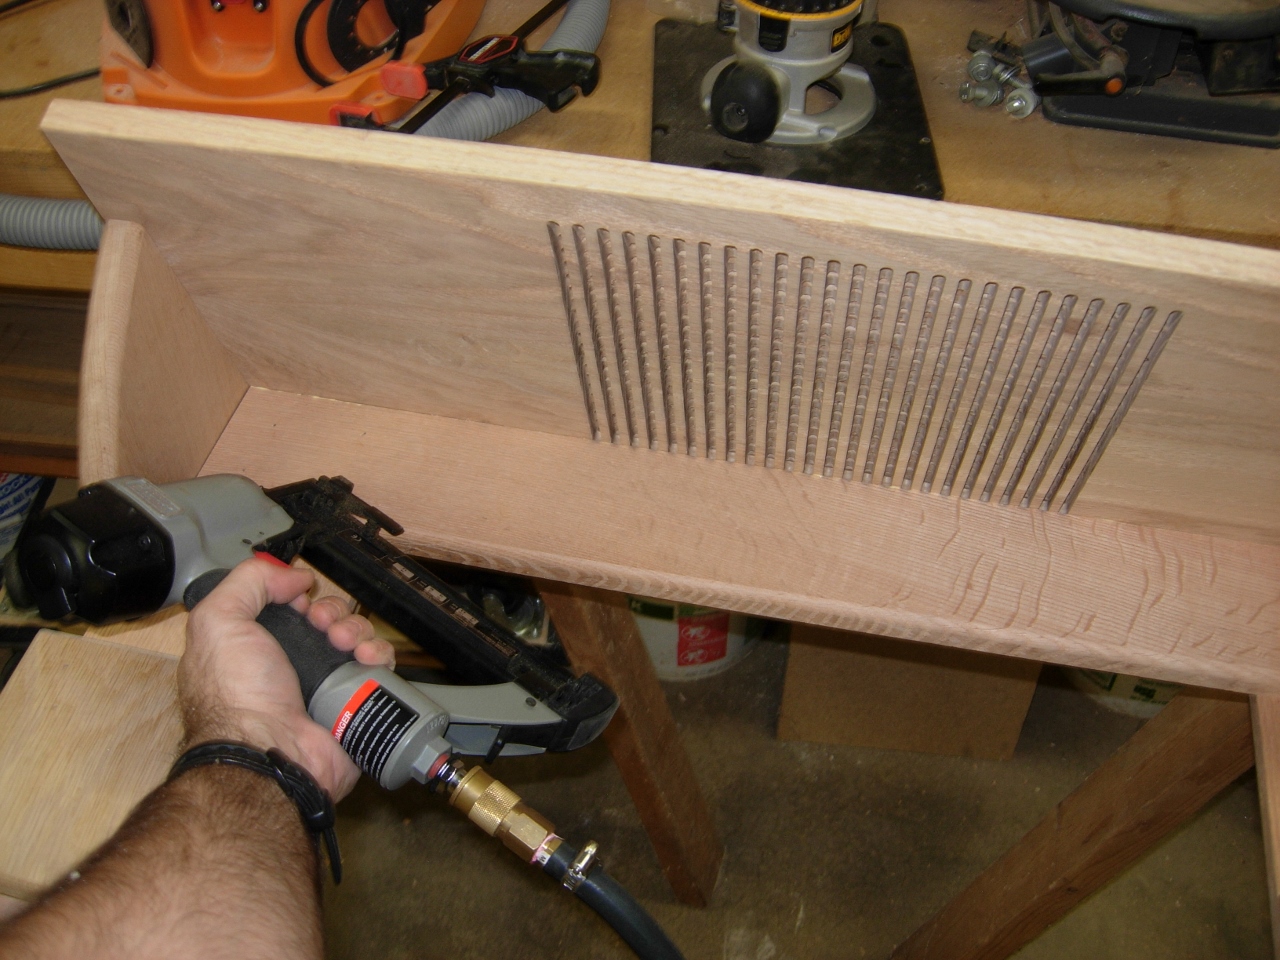
First side cut
Two hours into the program, the first side is done. I cut 1/4″ wide vertical slots, half way through the board on one side. Then I flipped the board and cut horizontal slits, half way through on the other side. I left 1/4″ between each slit. I used a 1/4″ ball nose bit for this operation, because it was the only 1/4″ bit that I had for the Carvewright. I think a spiral up-cut bit would have worked better, but that was what I had.

Cutting the legs
While the back side of the program was running, I started on the legs that will hold the shelf to the footboard. I cut the 6″x16″ boards first and added the 20 degree angle to the top for the shelf to set on.

Angling the top of the long legs

Cutting the lower leg taper
When that was done, I cut a small 5 degree taper on the inside surfaces of the forks that will straddle the bed.

Sanding the taper
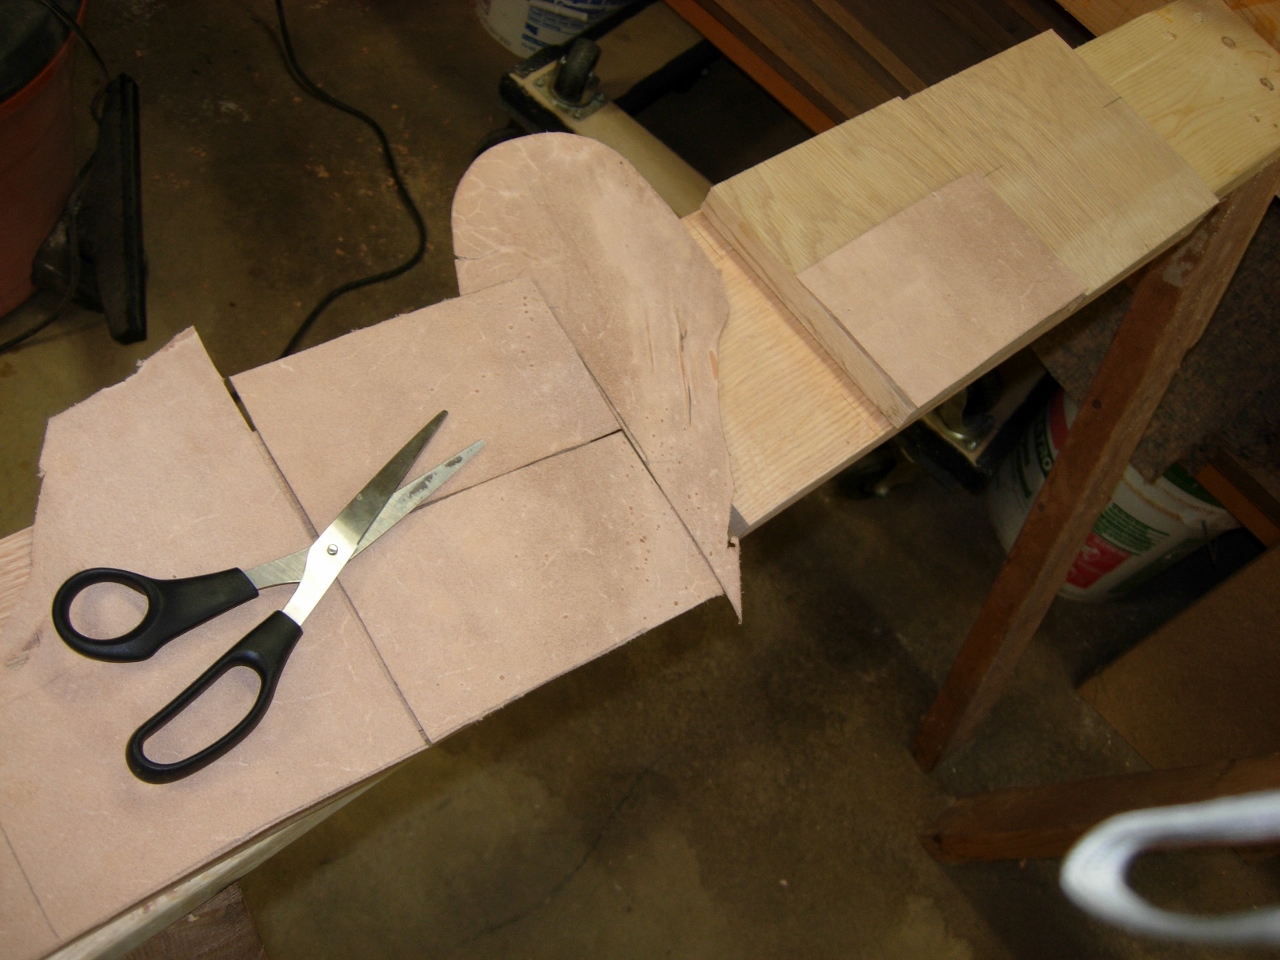
Cutting the leather
My plan does not call for that, but I decided at the last minute to add some leather to the inside of the fork. I increased the width of the fork spacers to accommodate the thickness of the footboard plus two pieces of leather, and about 1/32″ additional to ensure a slip fit. I cut the leather to the size needed with a pair of scissors.

Two part epoxy
I don’t know how glue and leather react, so I decided not to take any chances. I mixed up some two-part epoxy and spread it across the entire surface of the leather.

Spreading the epoxy

Clamping the leather in place
I placed some pieces of scrap wood on top of the leather and clamped it down until the epoxy had set.
While that was getting done, the CNC finished its program. The vent holes were successfully cut out. Very little sanding was required. I think it turned out quite nicely. It is also very strong. I laid it across two saw horses and pressed fairly hard without any bending or cracking. I figured that I may as well over stress it now, before it went to a college dorm. Who knows what will get sat on it there?

Top is finished on the CNC

Glueing up the back plates
When the epoxy finished setting up (about 10 minutes) I glued the short sides of the forks to the spacer block, then nailed them together.
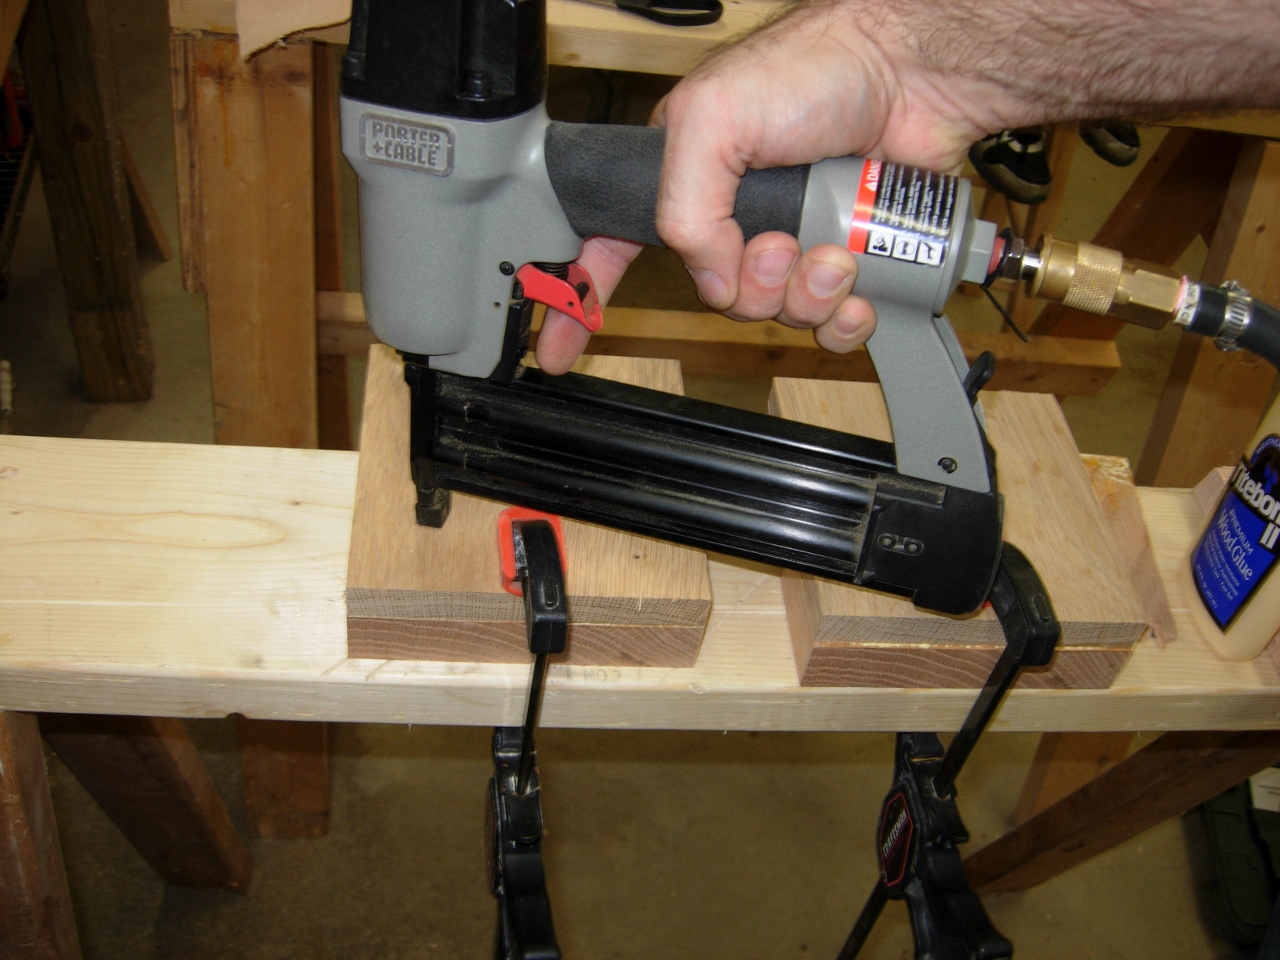
Glued and nailed

Assembling the legs
Next, I attached that assembly to the longer legs then rounded over the edges on the router table.

Rounding over all of the edges
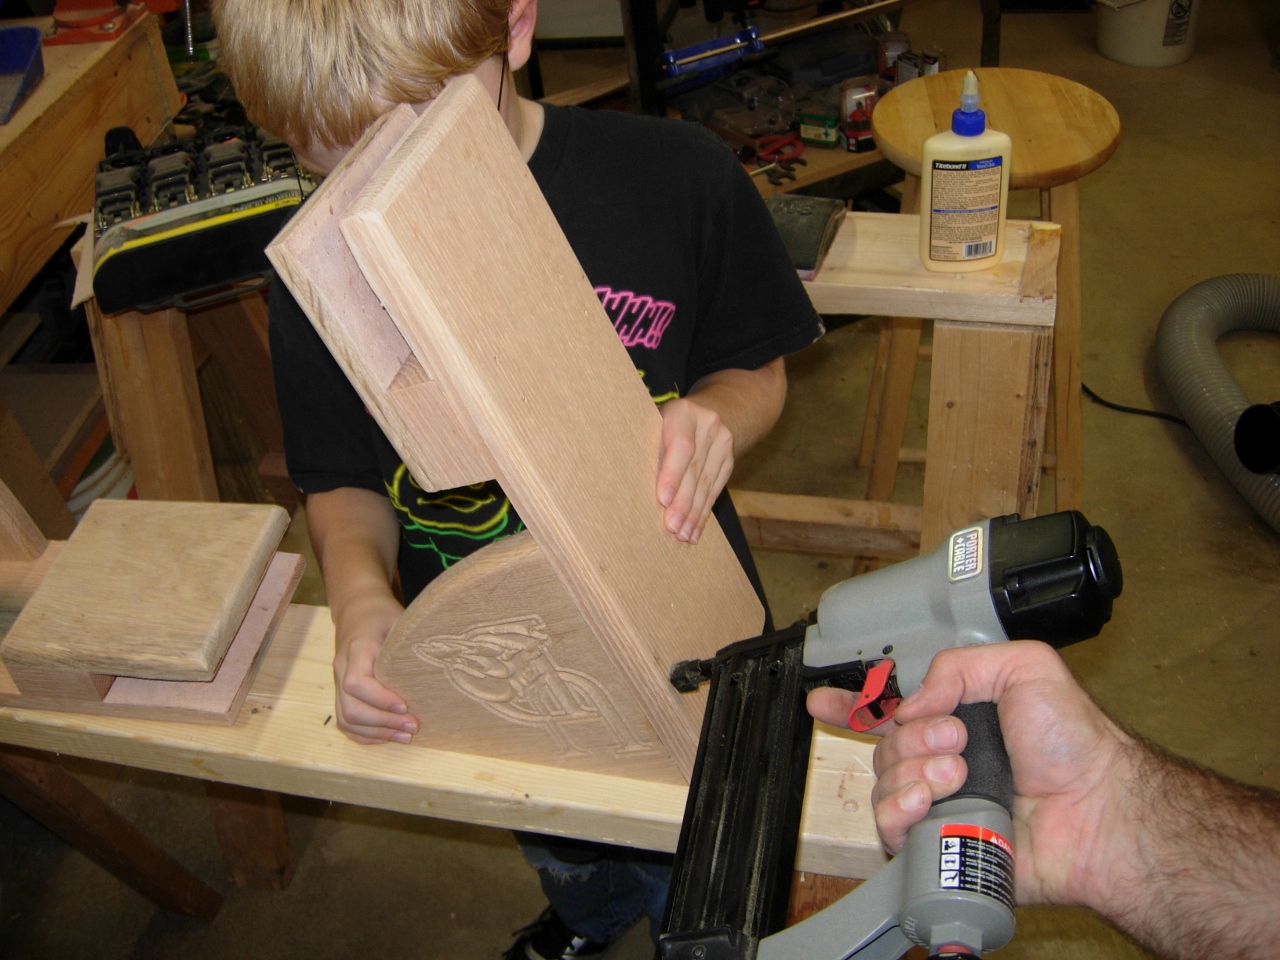
Assembling the shelf
My little helper dropped by so I put him to work as a temporary extra set of hands while I glued and nailed the gussets and shelf to the legs. Then I added a stiffener to the underside of the shelf. I don’t think it will be necessary, but I figured that it couldn’t hurt.
Adding a stiffener
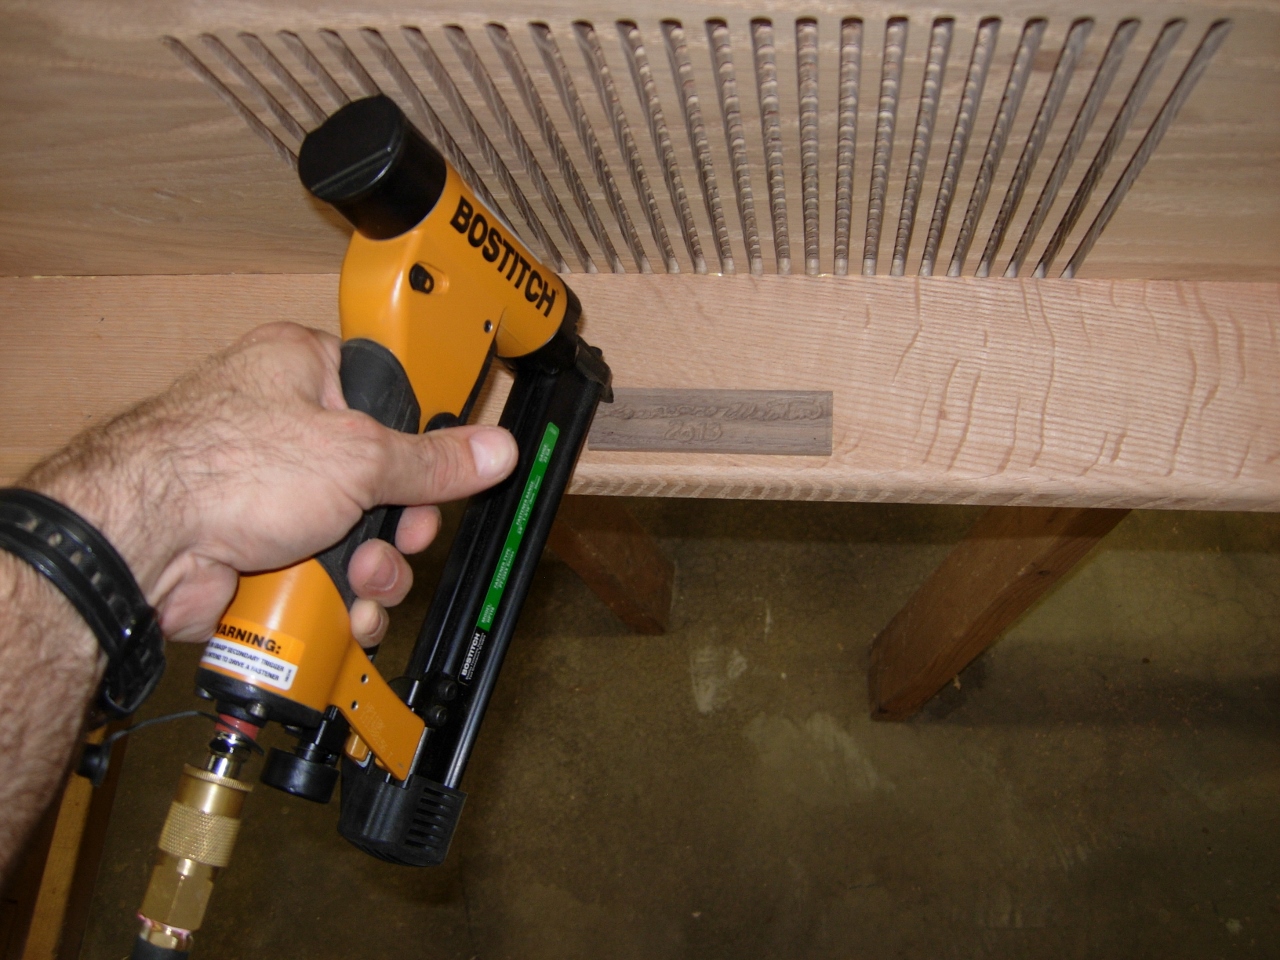
Signing my work
I attached one of the signature plates that I created the other day, on the CNC, then clamped a 1″ thick board to my saw horses and did a test fit of the shelf. The shelf fit perfectly.

Successful test

Rounding the corners
Just a few details left. I used my cabinet rasp to round the corners of the shelf to match the rounded edges on the legs. Then I added a 1/4″ thick strip to the bottom edge of the shelf to prevent the laptop or pens and papers from rolling off the edge. I put a 1/4″ round-over on the strip so it wouldn’t bother your wrists if you rest your hands there when typing. Tomorrow I will tackle finishing, this is enough for today.

Tacking on the last piece
