
Jack-O-Lantern, bean bag toss game
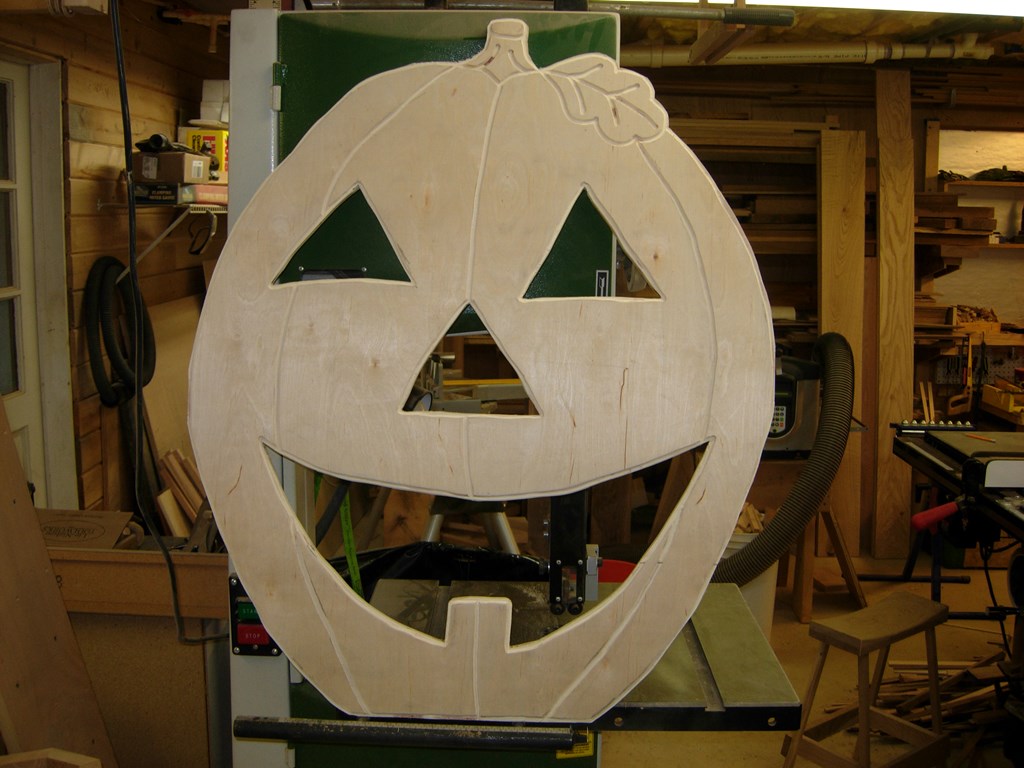
Here is a one day project for your fall festivities. A Jack-O-Lantern bean bag toss game. I started with a scrap piece of 3/4″ plywood. It was somewhere around 32″ tall by 26″ wide. I spent a few minutes sketching out a pumpkin with a big mouth, a nose and eyes that were big enough for a bean bag.

Sketching out the pumpkin

Tracing the lines with a router
The next step was to trace all the lines with a router bit. I used a 1/4″ core box bit to get a round bottom to the groove, but you could use a straight or vee bit as well.
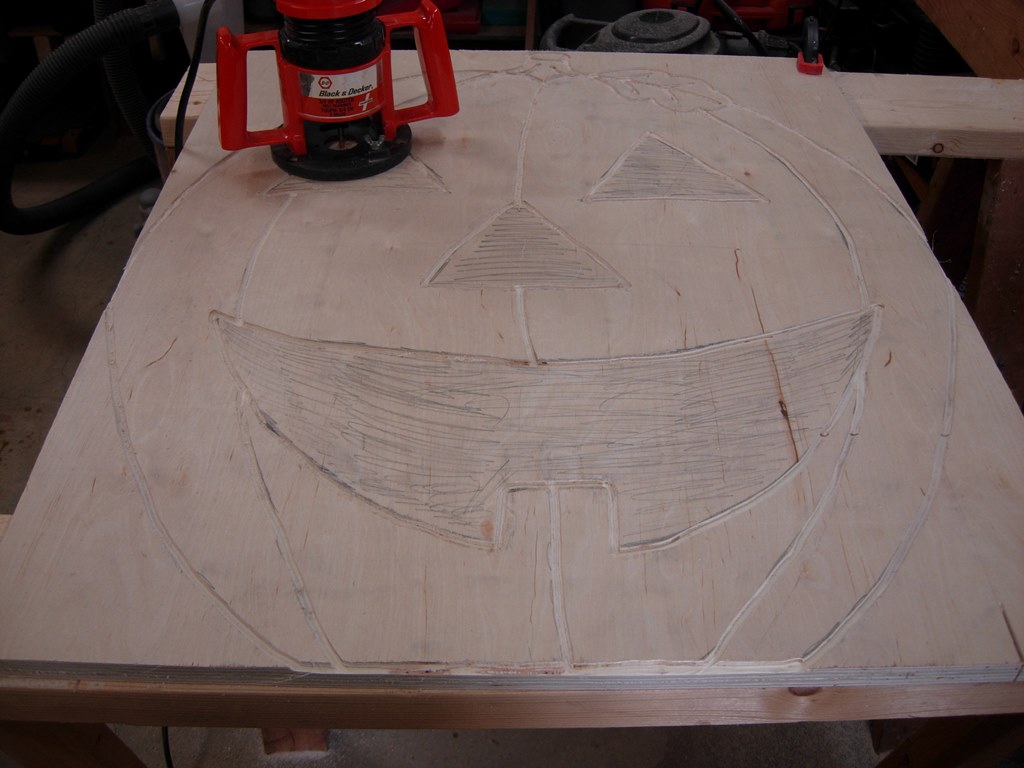
Lines routed

Drilling out the corners for the jigsaw
To cut out the openings for the mouth, I drilled a hole at each corner, then used a jig saw to cut out the openings.
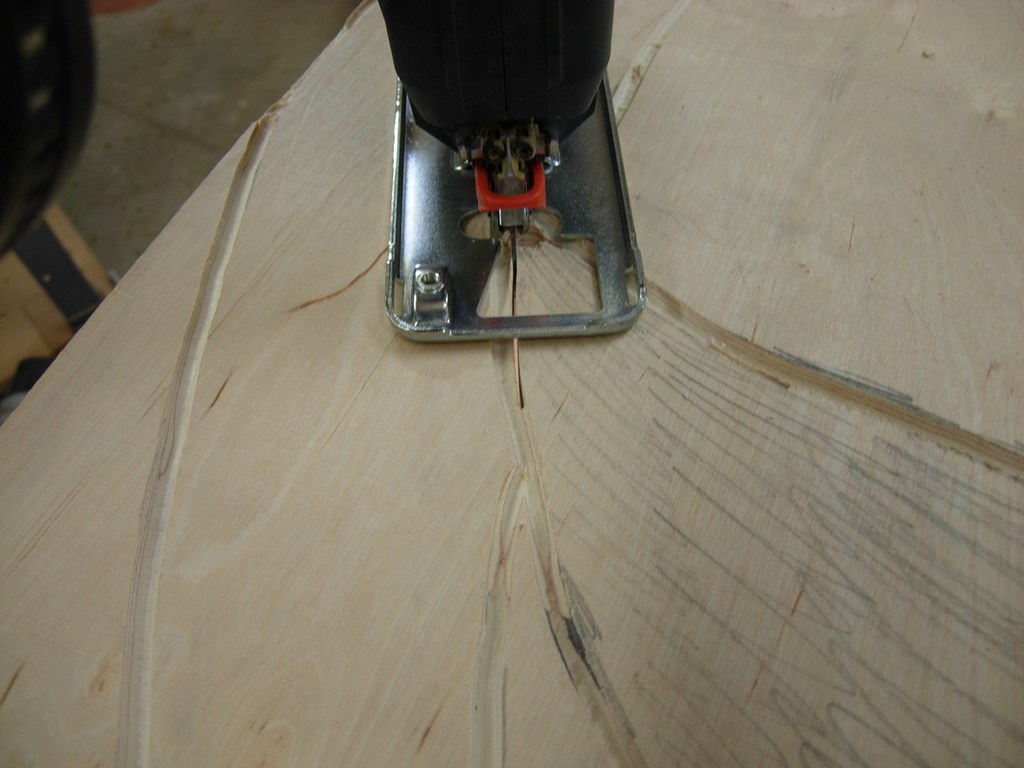
Cutting the openings
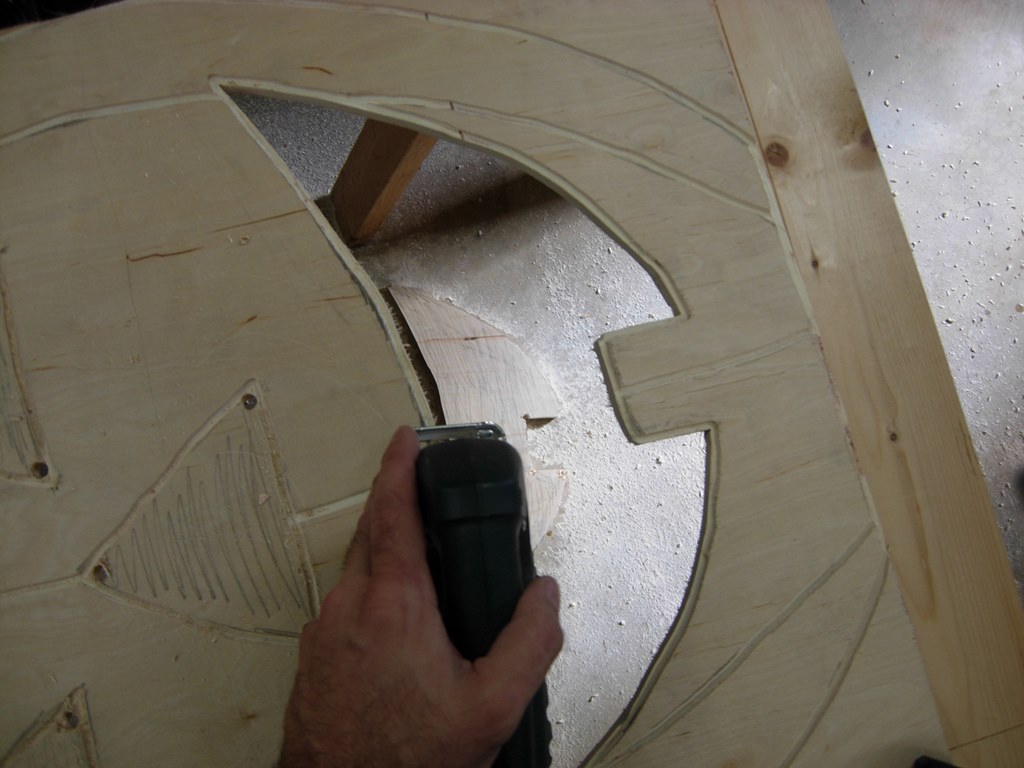
One down

Holes cut out

Cleaning up the edges
I sanded down the rough edges and flipped it over. I used a 1/4″ round-over bit in the router to take off the sharp back edge.

Rounding over the back side of the openings

Back side done
With the edges rounded, I used a rasp to clean up the corners.

Cleaning up the inside corners
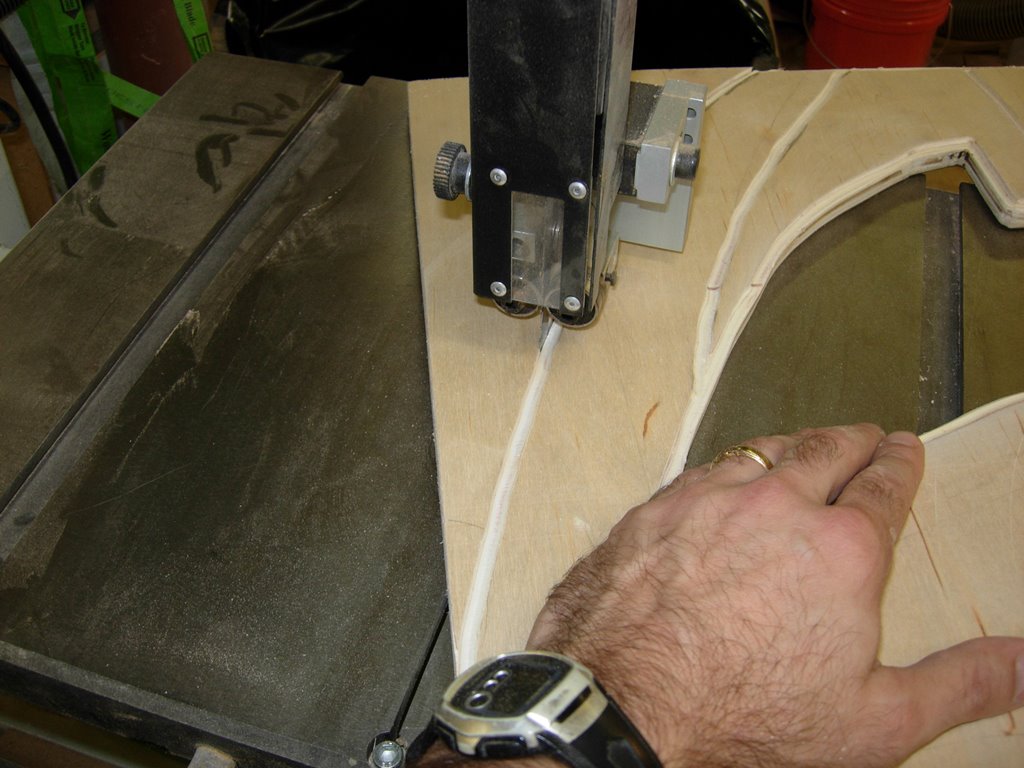
Cutting the outside with a band saw
The outside of the pumpkin was cut off on the band saw.
All cut out

Cleaning up the outside
I cleaned up the outside with a rasp and some sandpaper, then moved on to the stand.

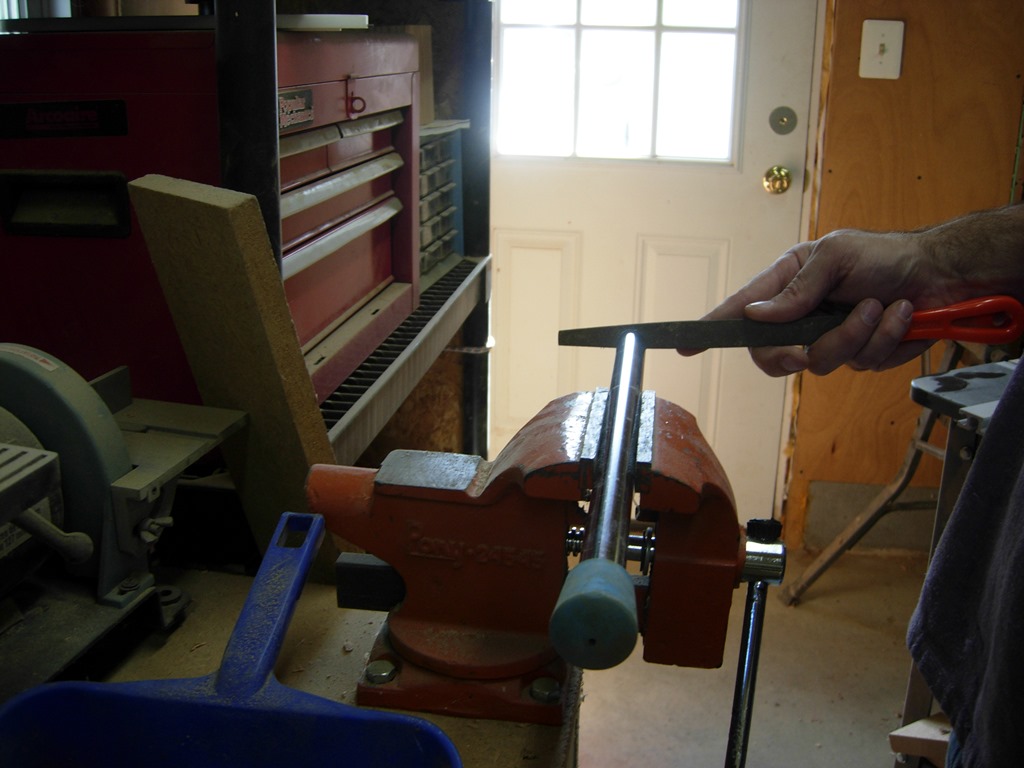
Cutting down some legs for a stand
I had a couple of legs from an old baby swing that have been sitting on the floor in my shop for about 15 years now. They looked like they would be useful, so I kept them until I had a need for them. Two of them are being used as legs for the drop-down outfeed table on my work bench. The other two will now become the support legs for the pumpkin. I put them in a vice and cut them down to about a foot long. You could use 3/4″ dowels for this, but I had the legs, I didn’t have any dowels…

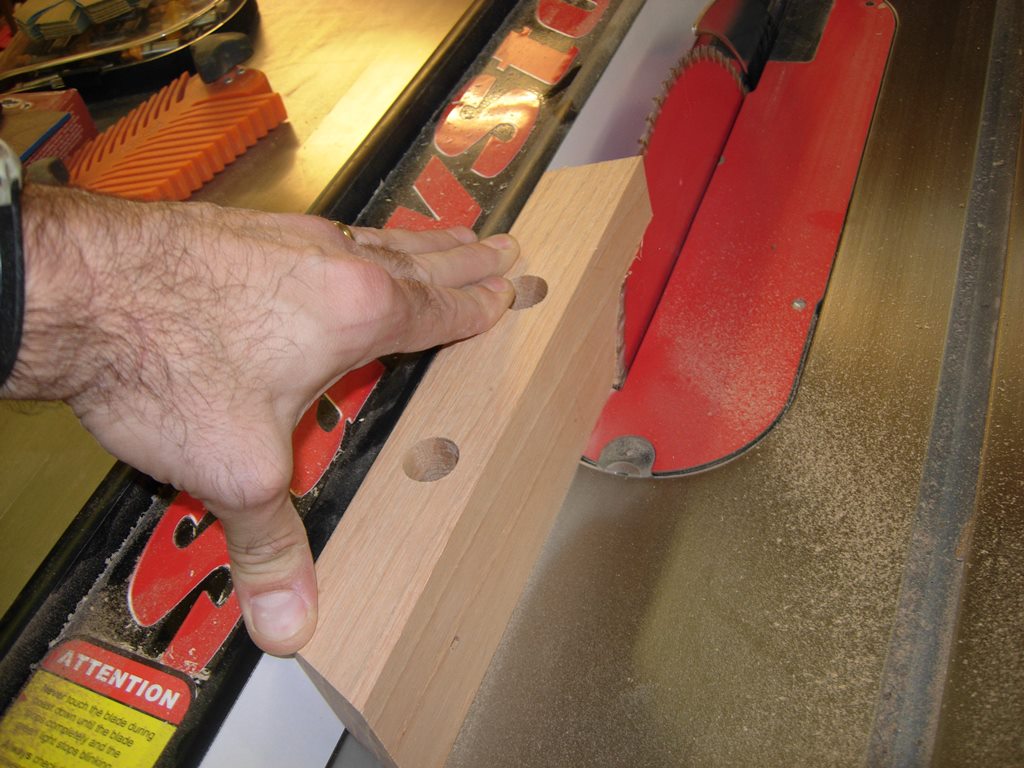
Cutting the leg mounting block
I grabbed a piece of 6/4 oak and cut it to size for mounting at the back on the bottom. Then I cleaned up the legs so there were no sharp metal burrs left to cut anyone.
Cleaning up the metal ends
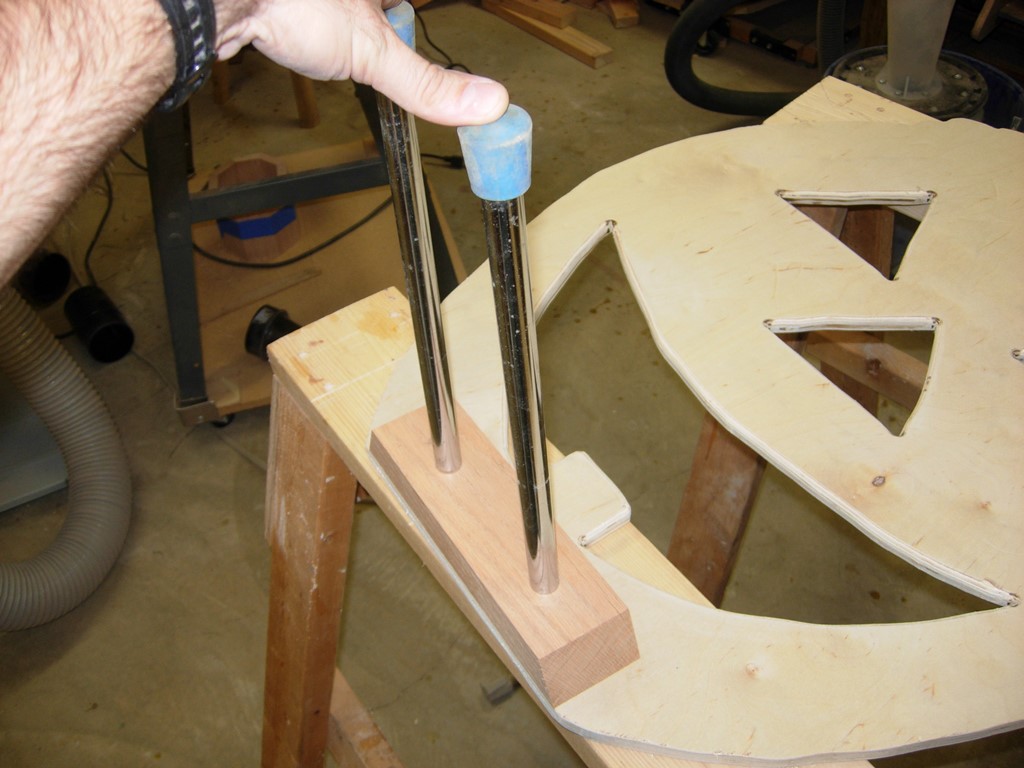
Locating the legs
After I located where I wanted the legs, I drilled two 3/4″ holes in the back.

Drilling mounting holes

Leg storage holes
I drilled two more holes in the top of the block for mounting the legs in a vertical position for storing flat somewhere. Then I cut a slight taper on the block so it would cause the pumpkin to lean back on the new legs.
Cutting a slight taper
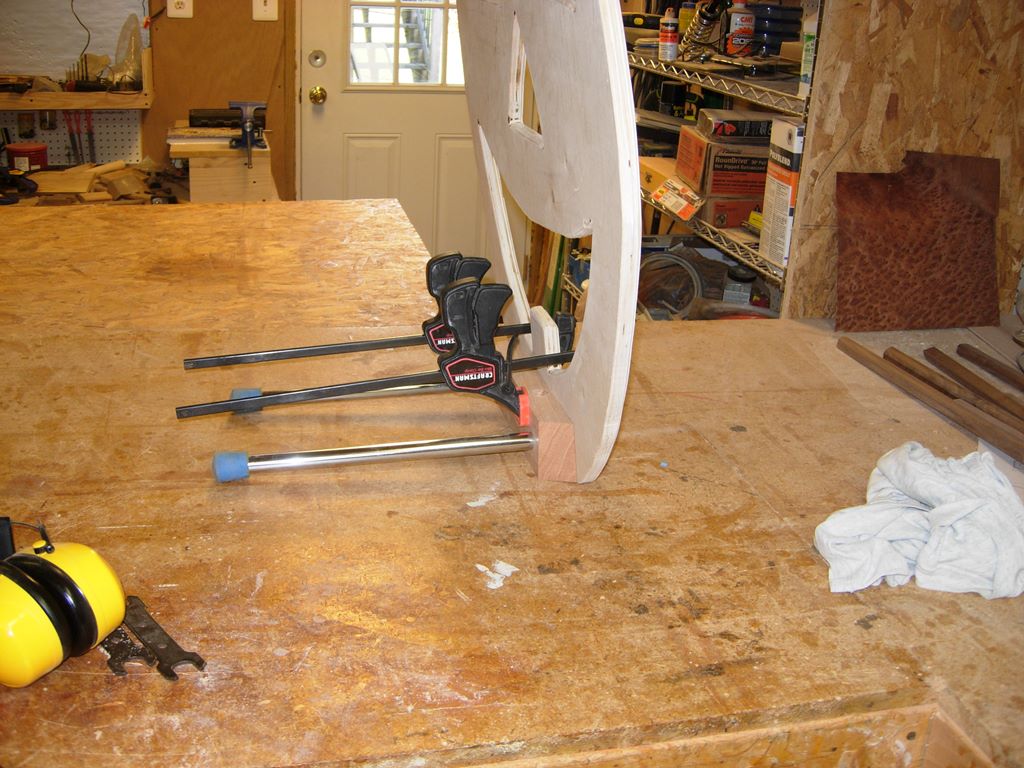
Dry-fit
After a dry-fit to test the angle, I glued and nailed the block in place.

Glueing the leg mounting block
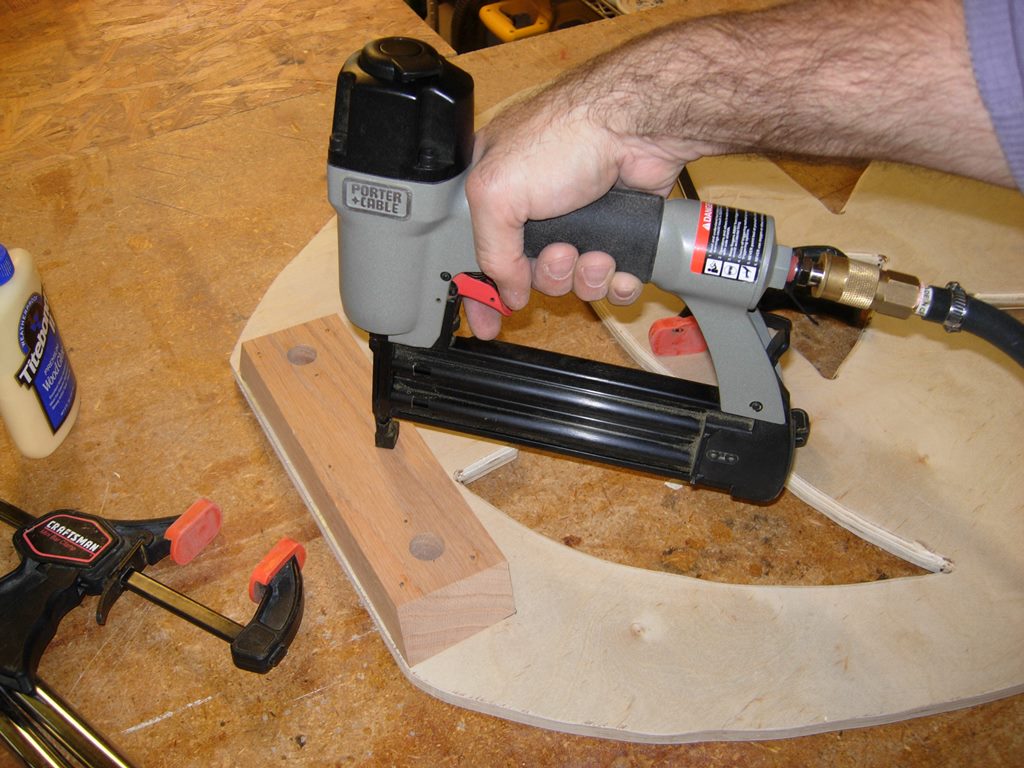
Brad nailing it in place

Legs installed and functioning
With the legs installed, I started painting the grooves of the pumpkin. You may notice that I cut grooves around the outside and the openings, this was so I could paint them and have outlines around the pumpkin and the openings as well.

Painting in the grooves
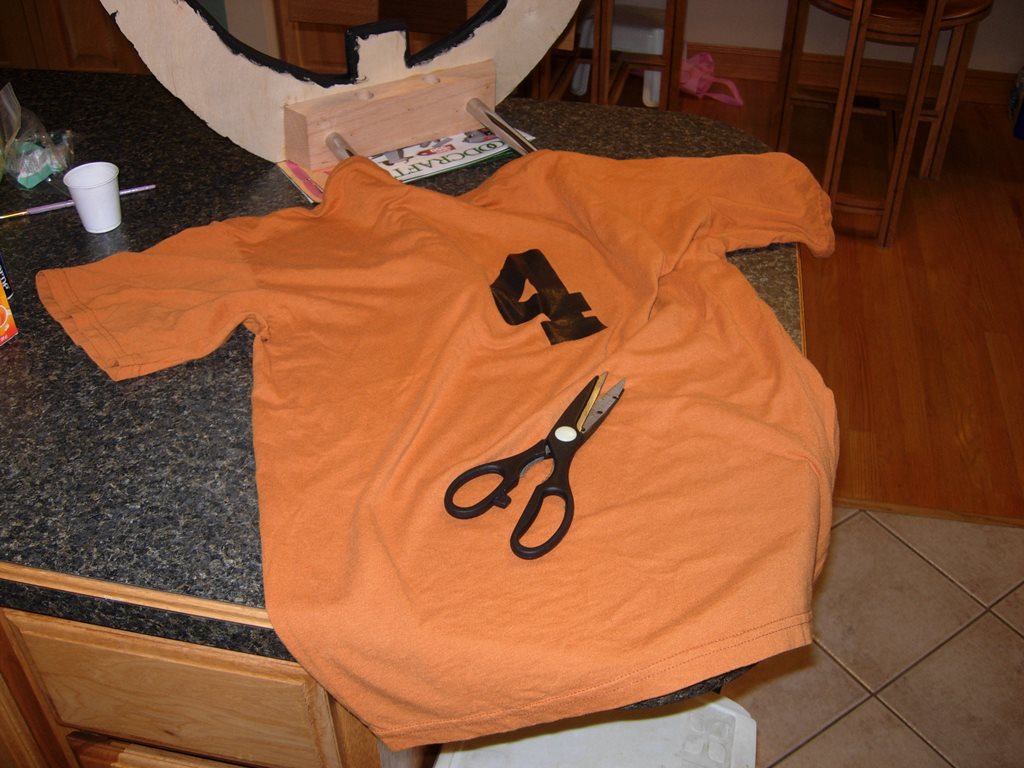
Making the pouches from an old tee-shirt
While the paint dried, My wife and I cut out an old kid’s tee-shirt and sewed it up into pouches to catch the bean bags.

My wife doing the hard part
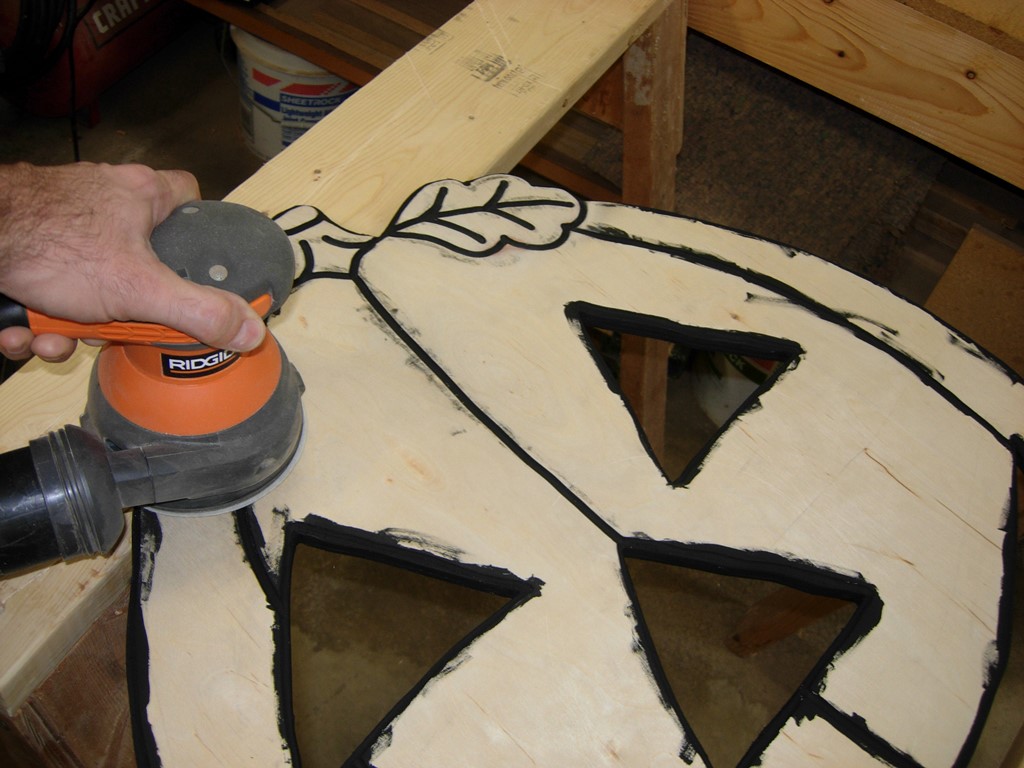
Sanding off the over-painted surfaces
When the black paint dried, I sanded down the over-painted areas with the orbital finish sander.

All cleaned up

Painting on the orange and green
I painted the stem and leaf green, and everything else orange. I used a black permanent marker to touch up any black when the orange dried.
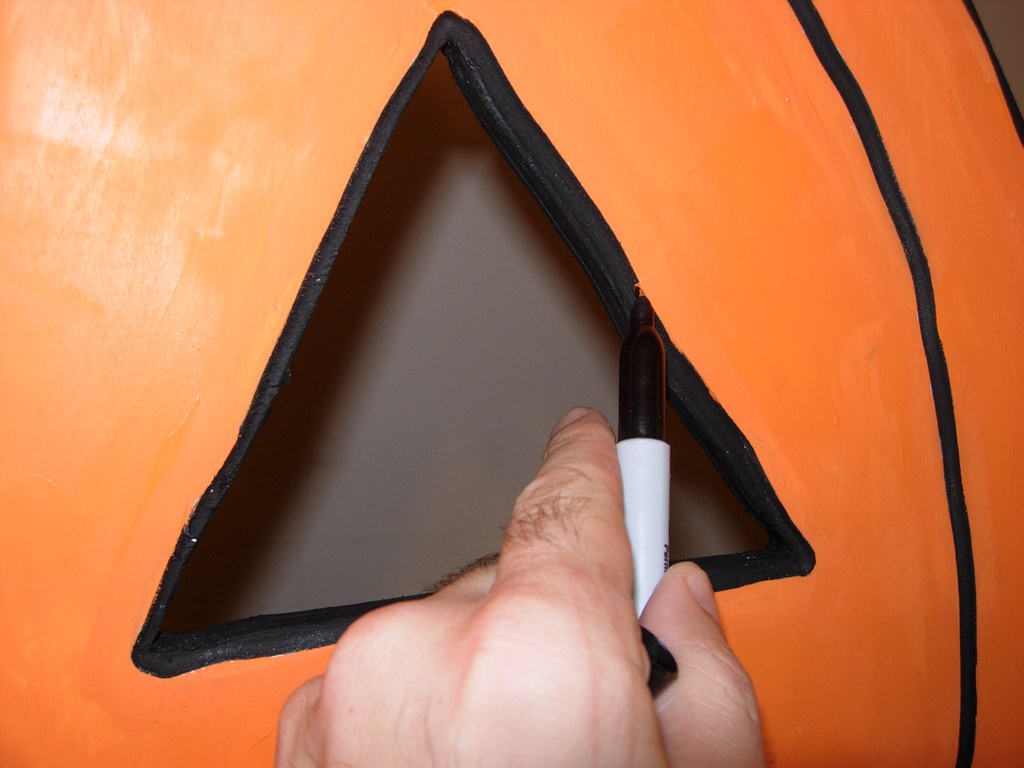
Touch-up with a marker

Pumpkin-head painted
When all the colors were dry, I gave the whole thing a coat of polyurethane for added protection.

Polyurethane for protection

Letting the pumpkin dry
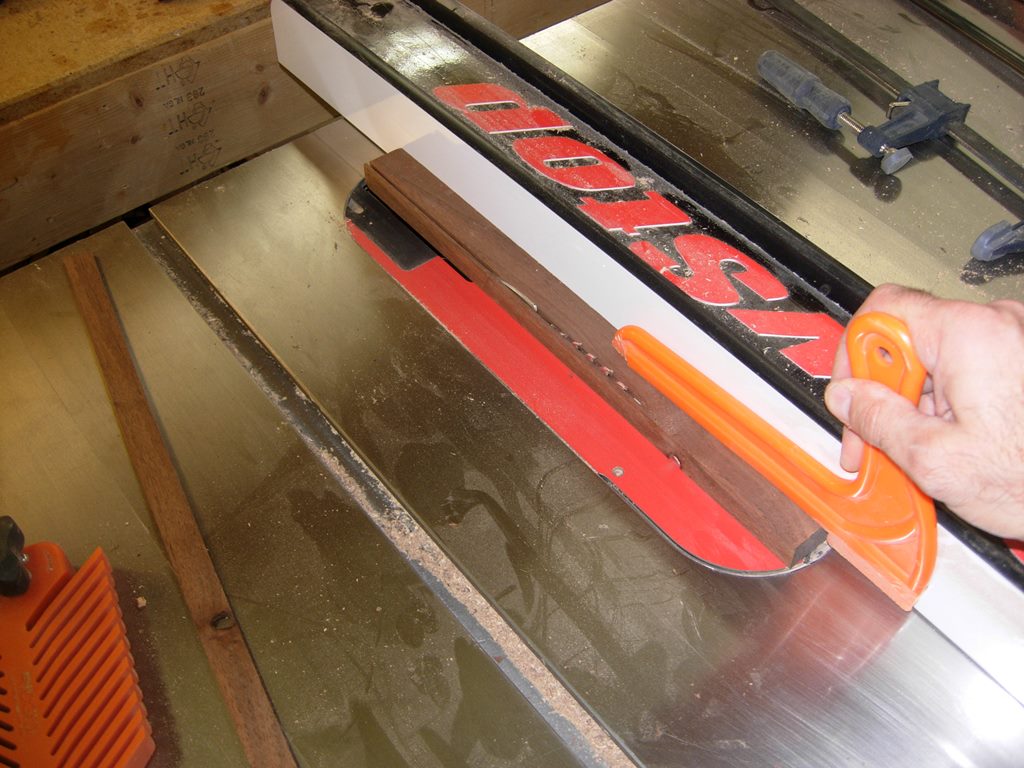
Cutting strips for the pockets
I cut a few thin strips of left-over walnut to roll into the edges of the cloth. Then I stapled the pouches, through the strips of wood, to the plywood back of the pumpkin.

Attaching the pockets

Legs in storage position (pay no attention to the monkey in the corner)
All said and done the project only took one day. I will leave it up to someone else to make the bean bags…
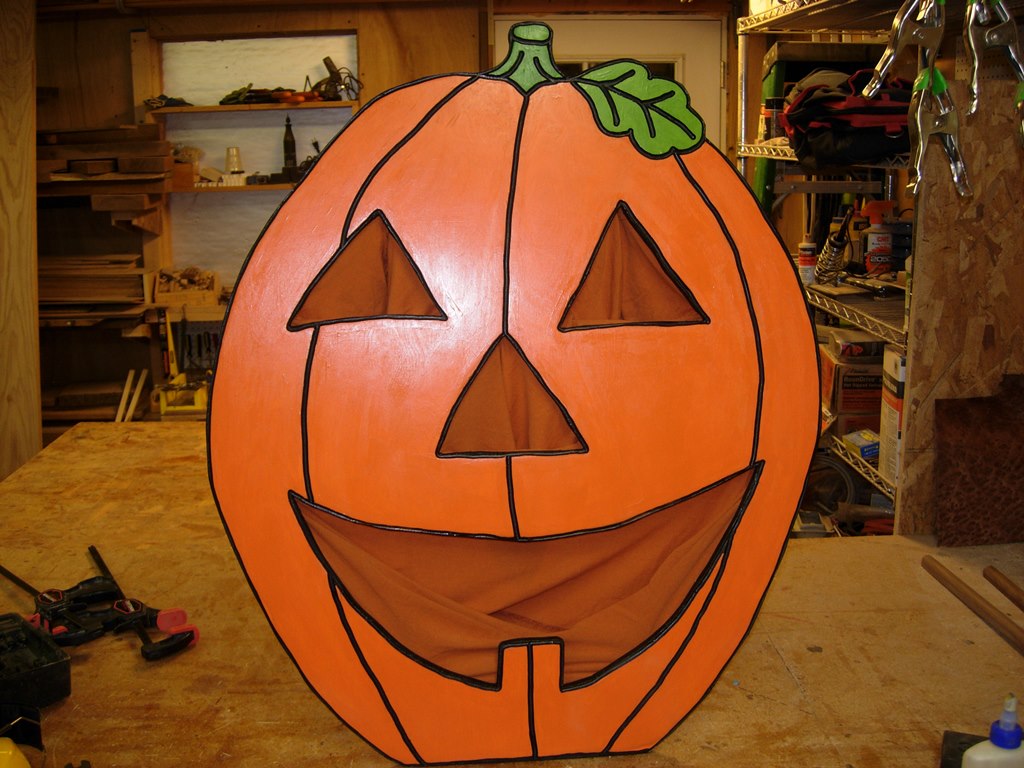
Jack-O-Lantern game complete
