
Church Altar and tabernacle stand – day 27
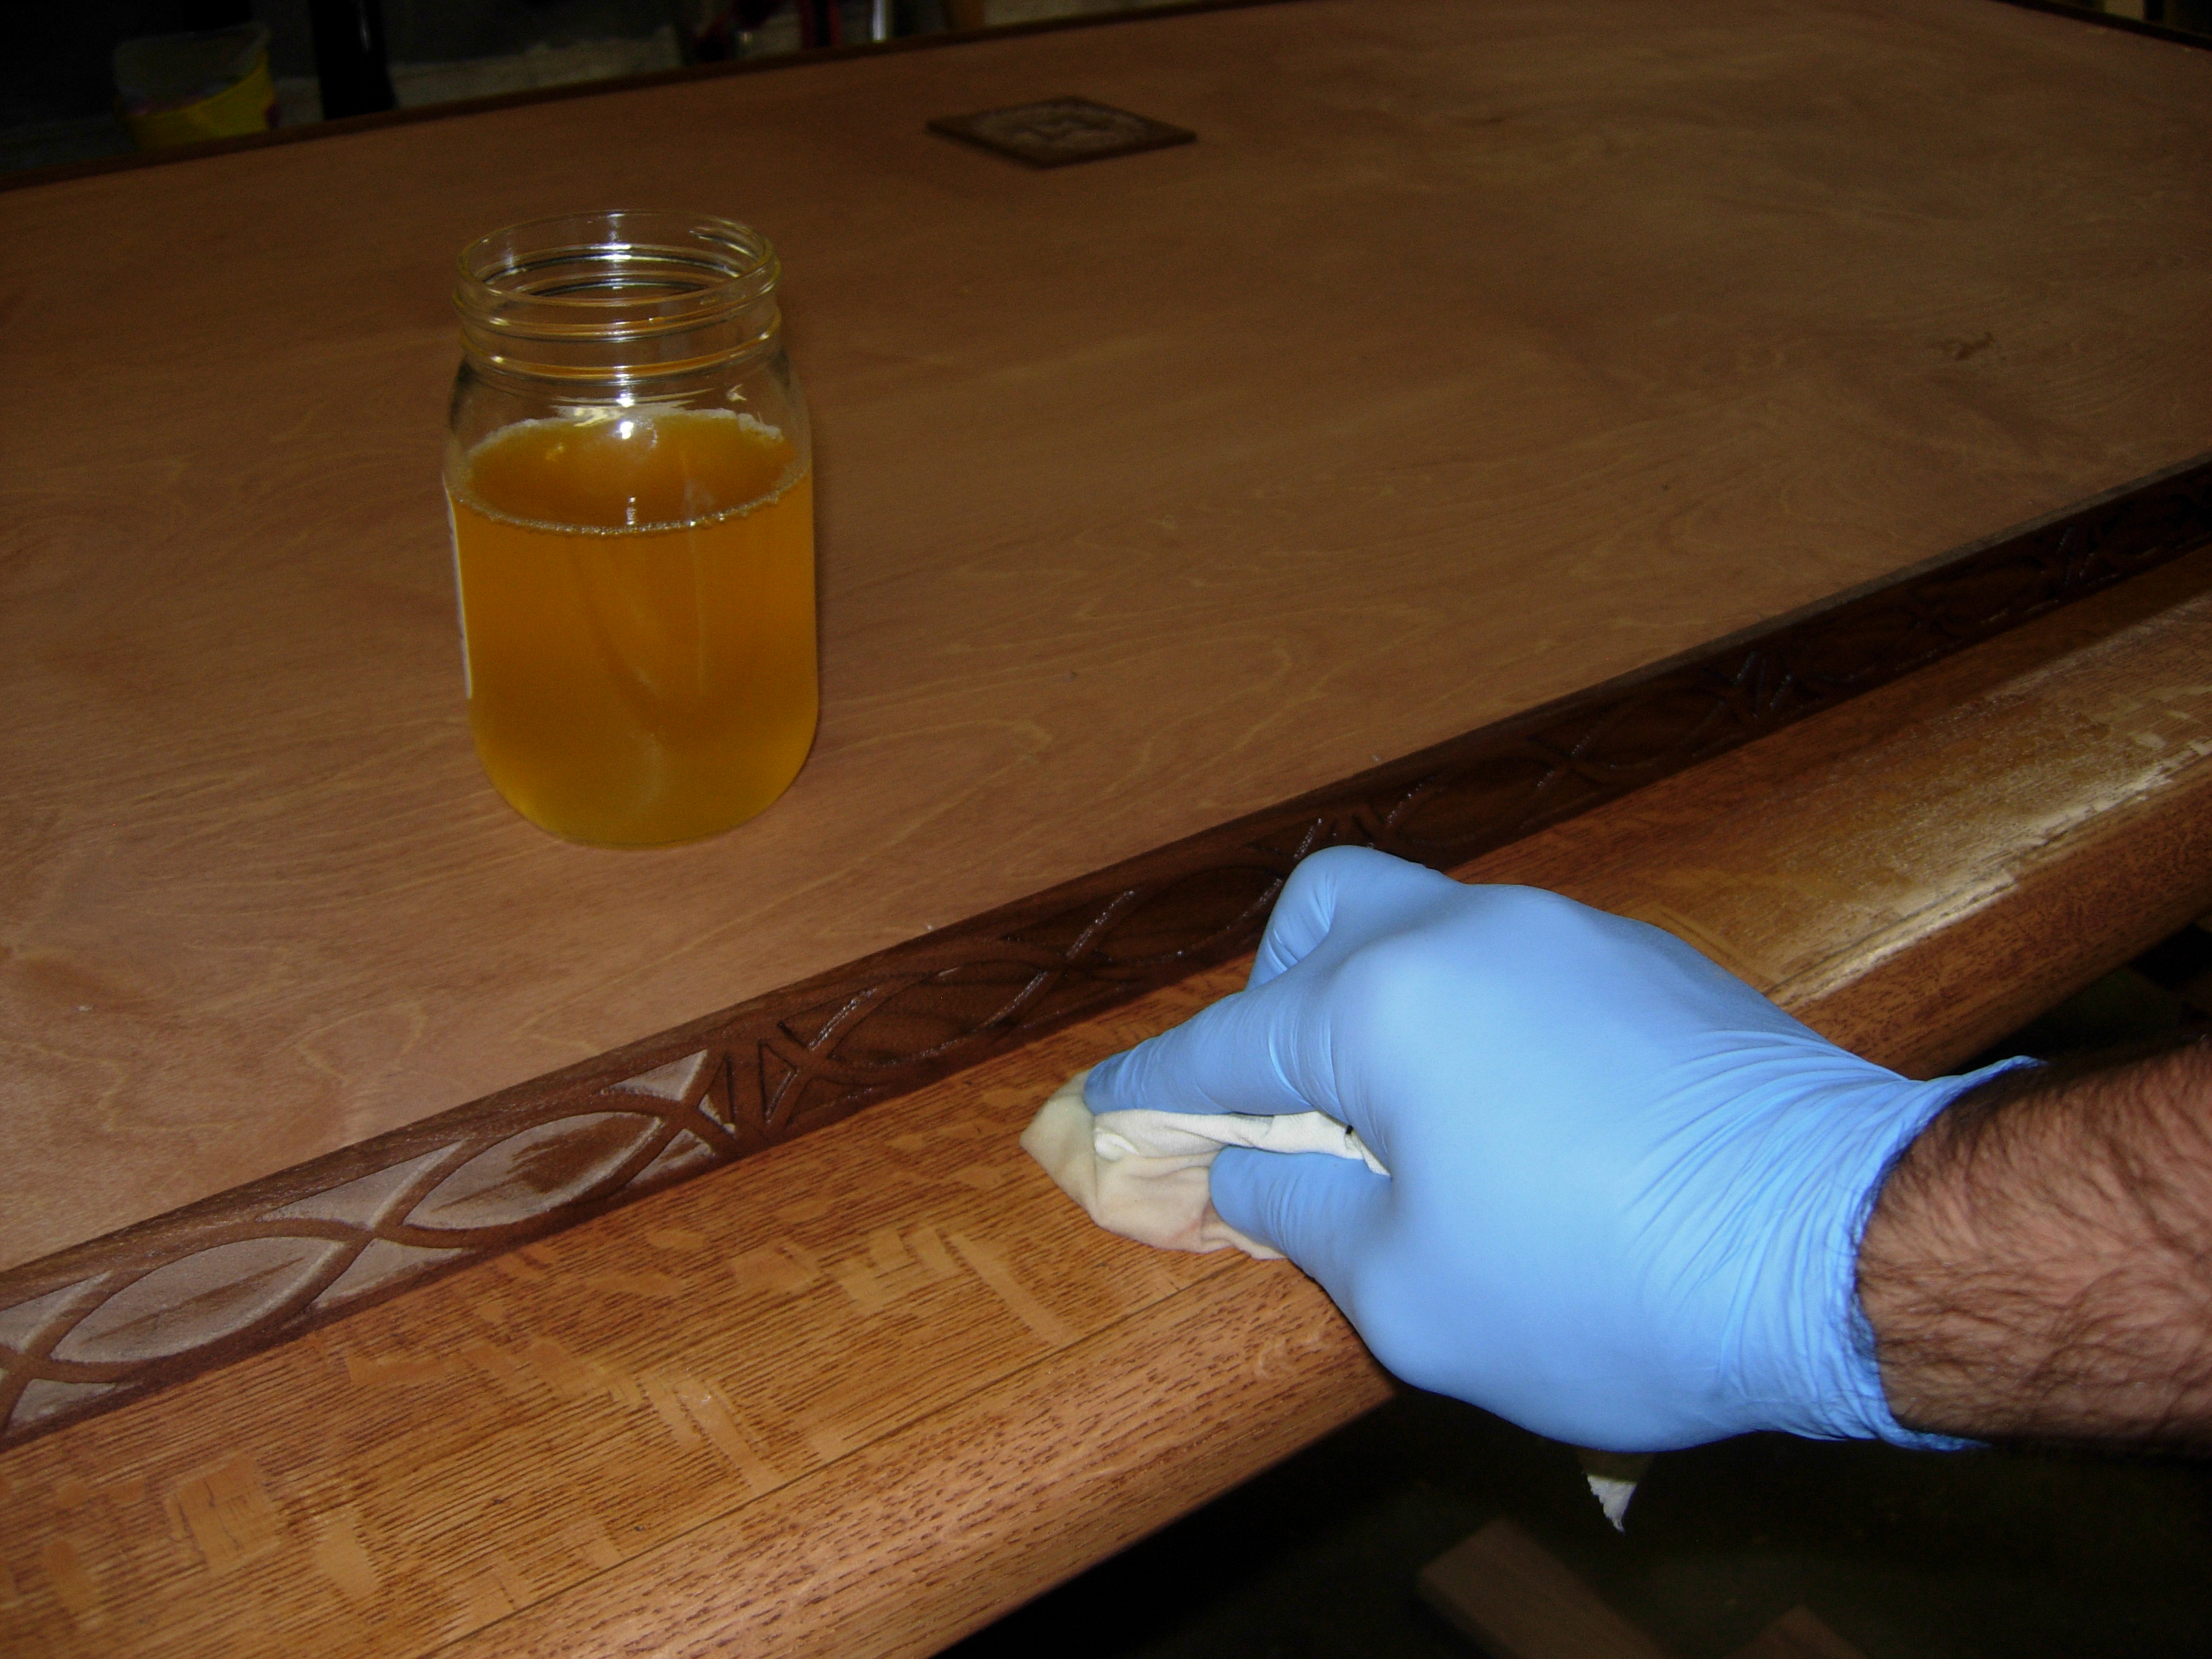
The thing I like the least about a project is the finishing. I decided to go with a wipe-on Polyurethane finish for this project. To create a wipe-on ploy, you thin standard polyurethane with lacquer thinner. There are a few benefits to using this finish. It wipes on with a rag, not a brush. You rub it into the wood, so there are no runs or drips. The thinner evaporates quickly causing the poly to dry in a few hours instead of over night. Faster dry-time means less dust can settle into the drying finish. This means a smoother surface. With the poly thinned, it also soaks deeper into the pores of the wood. That means less potential for peeling or chipping. The only draw-back is that you need twice as many coats since you apply half as much finish. In the end, I will have a nicer finish, but it means I spend twice as long on my least favorite part of the job. I decided to try splitting the difference. Instead of using half thinner, I opted to try 1/4 thinner & 3/4 polyurethane. This should thicken the mix, while also cutting down on the fumes from the thinner. One trick I have for dealing with fumes, is to burn candles near where I am working. This seems to cut down, dramatically, the amount of fumes that spread through the house. I haven’t had any problems with flammability because I keep the candles well away from the finish itself.

Mixing the wiping poly
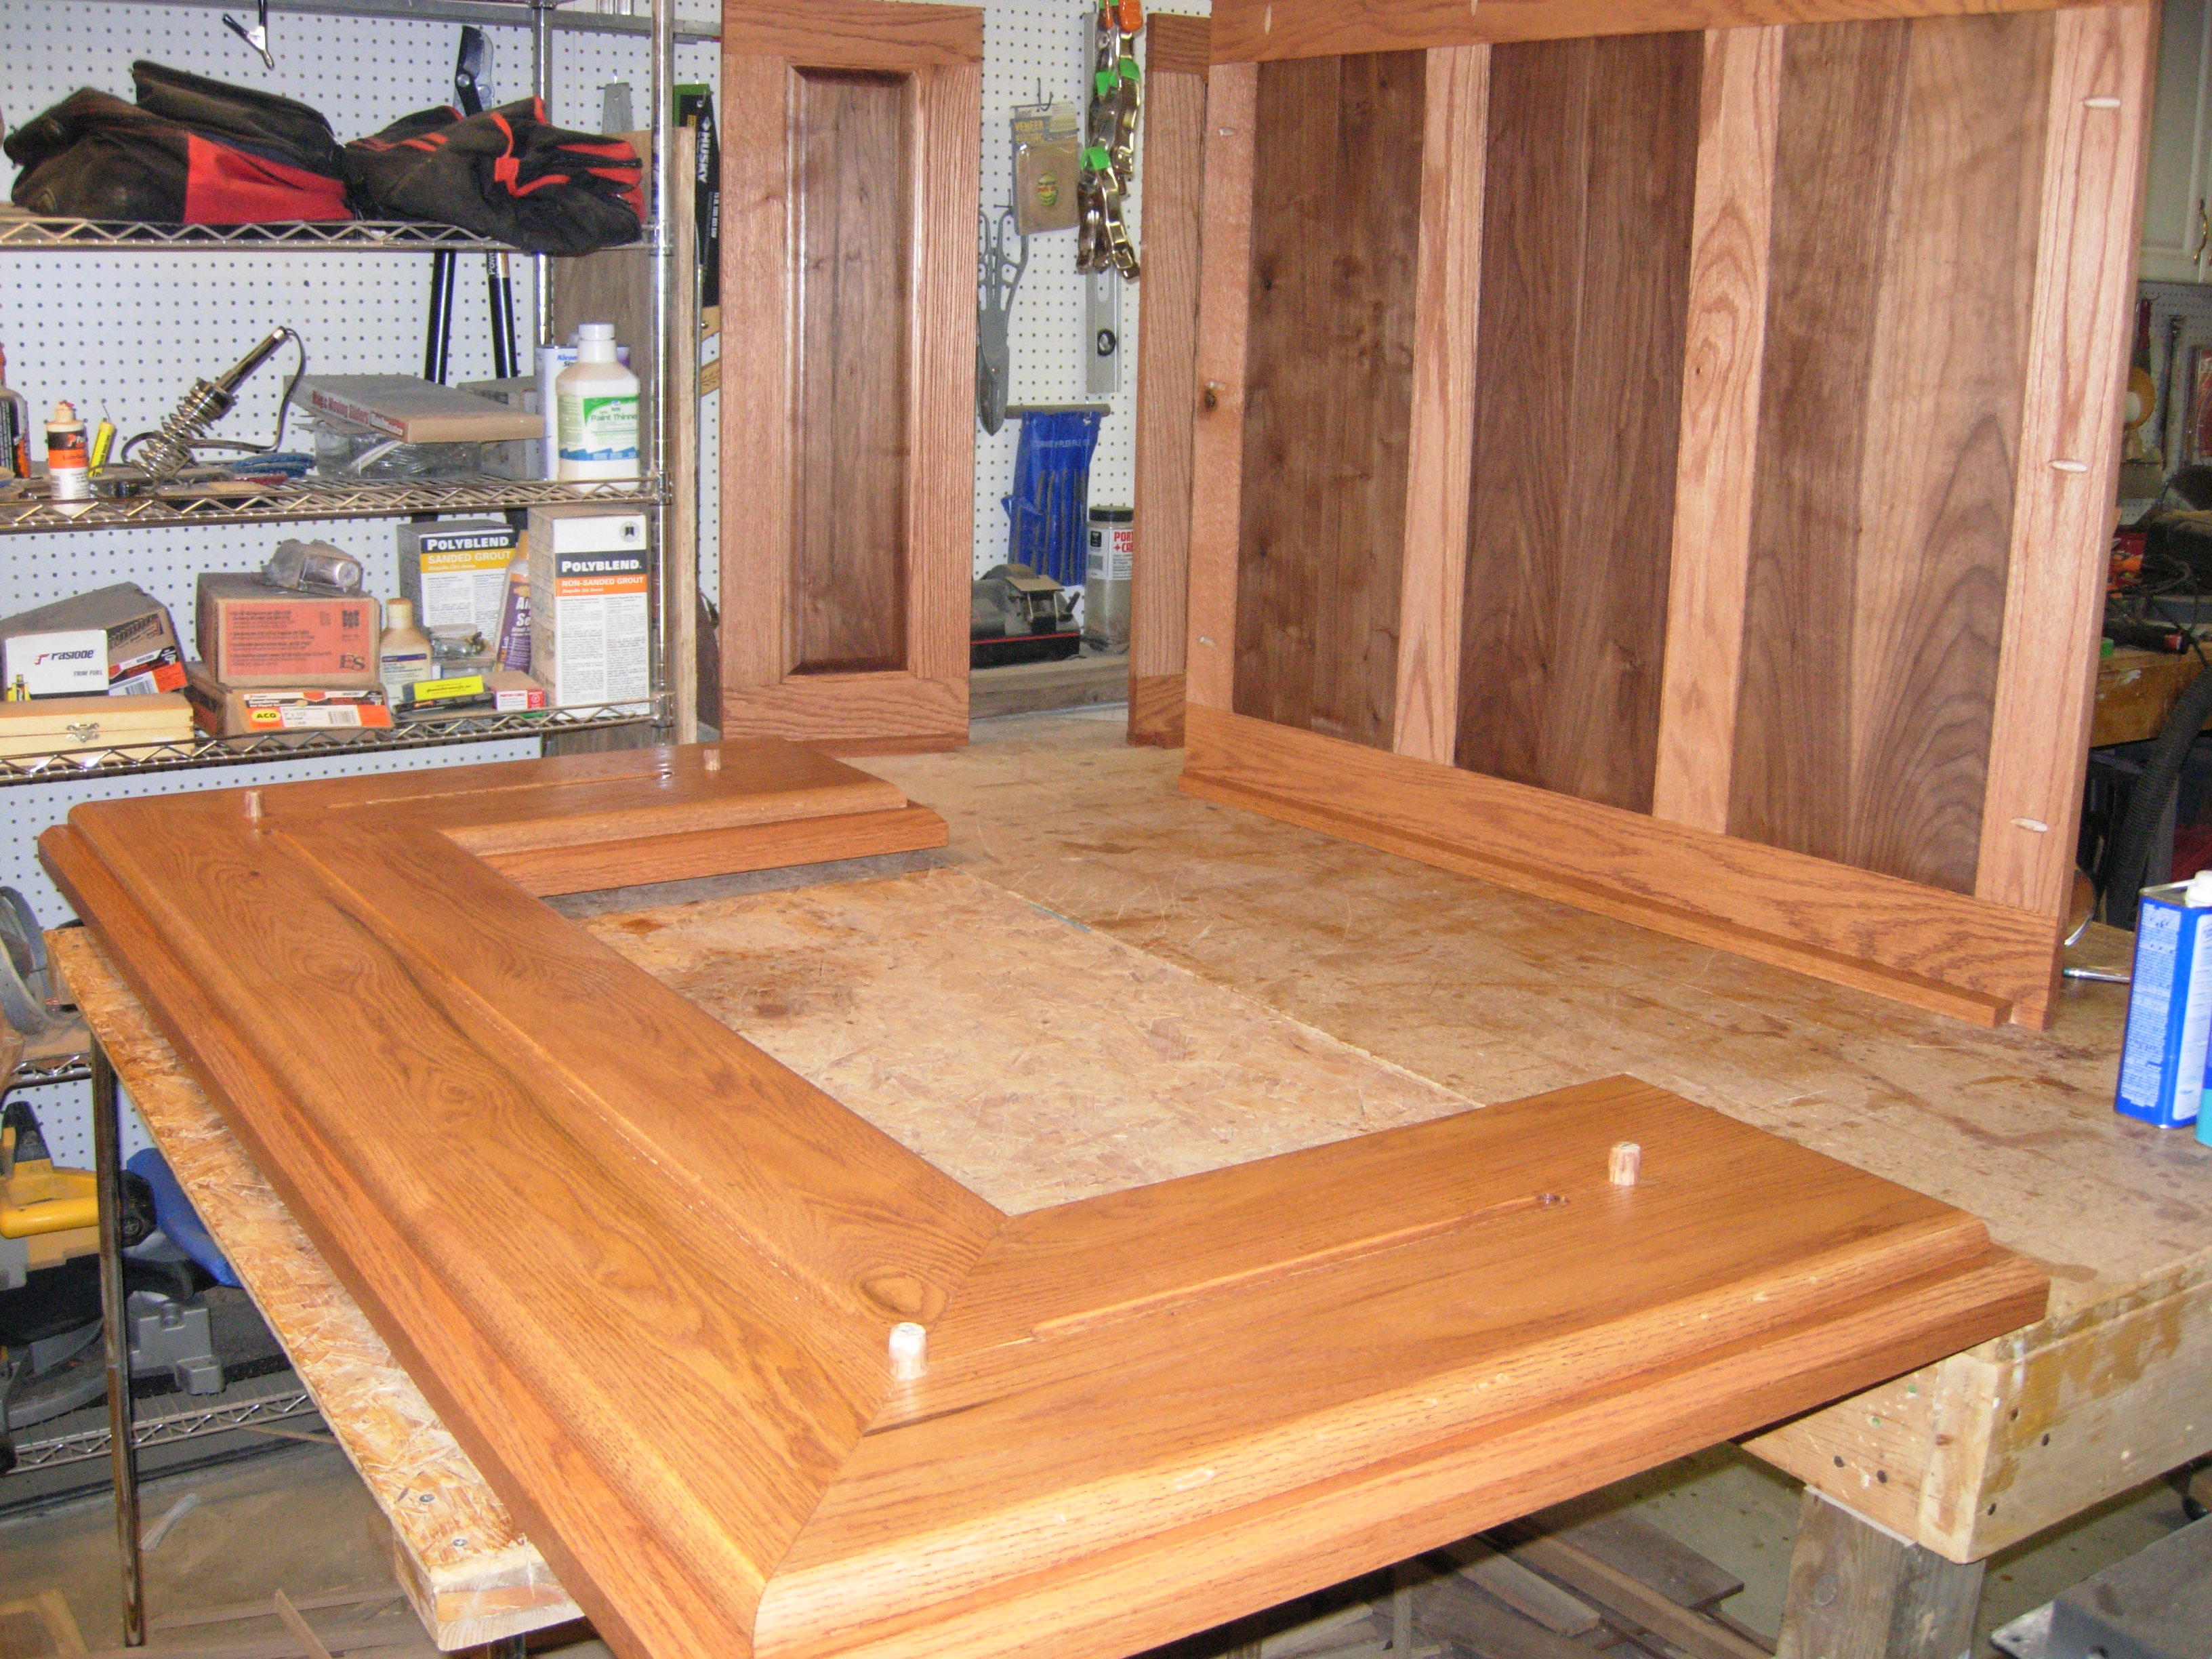
Starting on the altar top
I started out on the bottom side of the altar top. I was interested to see how the walnut looked with a coat of poly on it. I was surprised that the stain didn’t show up more. It seemed to just blend in with the chocolate color of the walnut. That’s ok, I really didn’t like staining the walnut anyway. It looks pretty on its own.


Tabernacle base

Columns

Front panels
I did use a foam brush to squeeze the poly into the grooves on the carved pieces, the rest was just rubbed down with a rag. Even doing the panels standing up, I didn’t see any drips or runs.
Side panels & altar base
One thing I forgot to do yesterday was stain the plugs for the pocket holes that I drilled the day before. Since the only stain I had left was a bit of sludge at the bottom of the can, I added a bit of thinner to it and stirred it up. This made a slightly thinner sludge which was enough to get some stain on the visible side of the plugs.
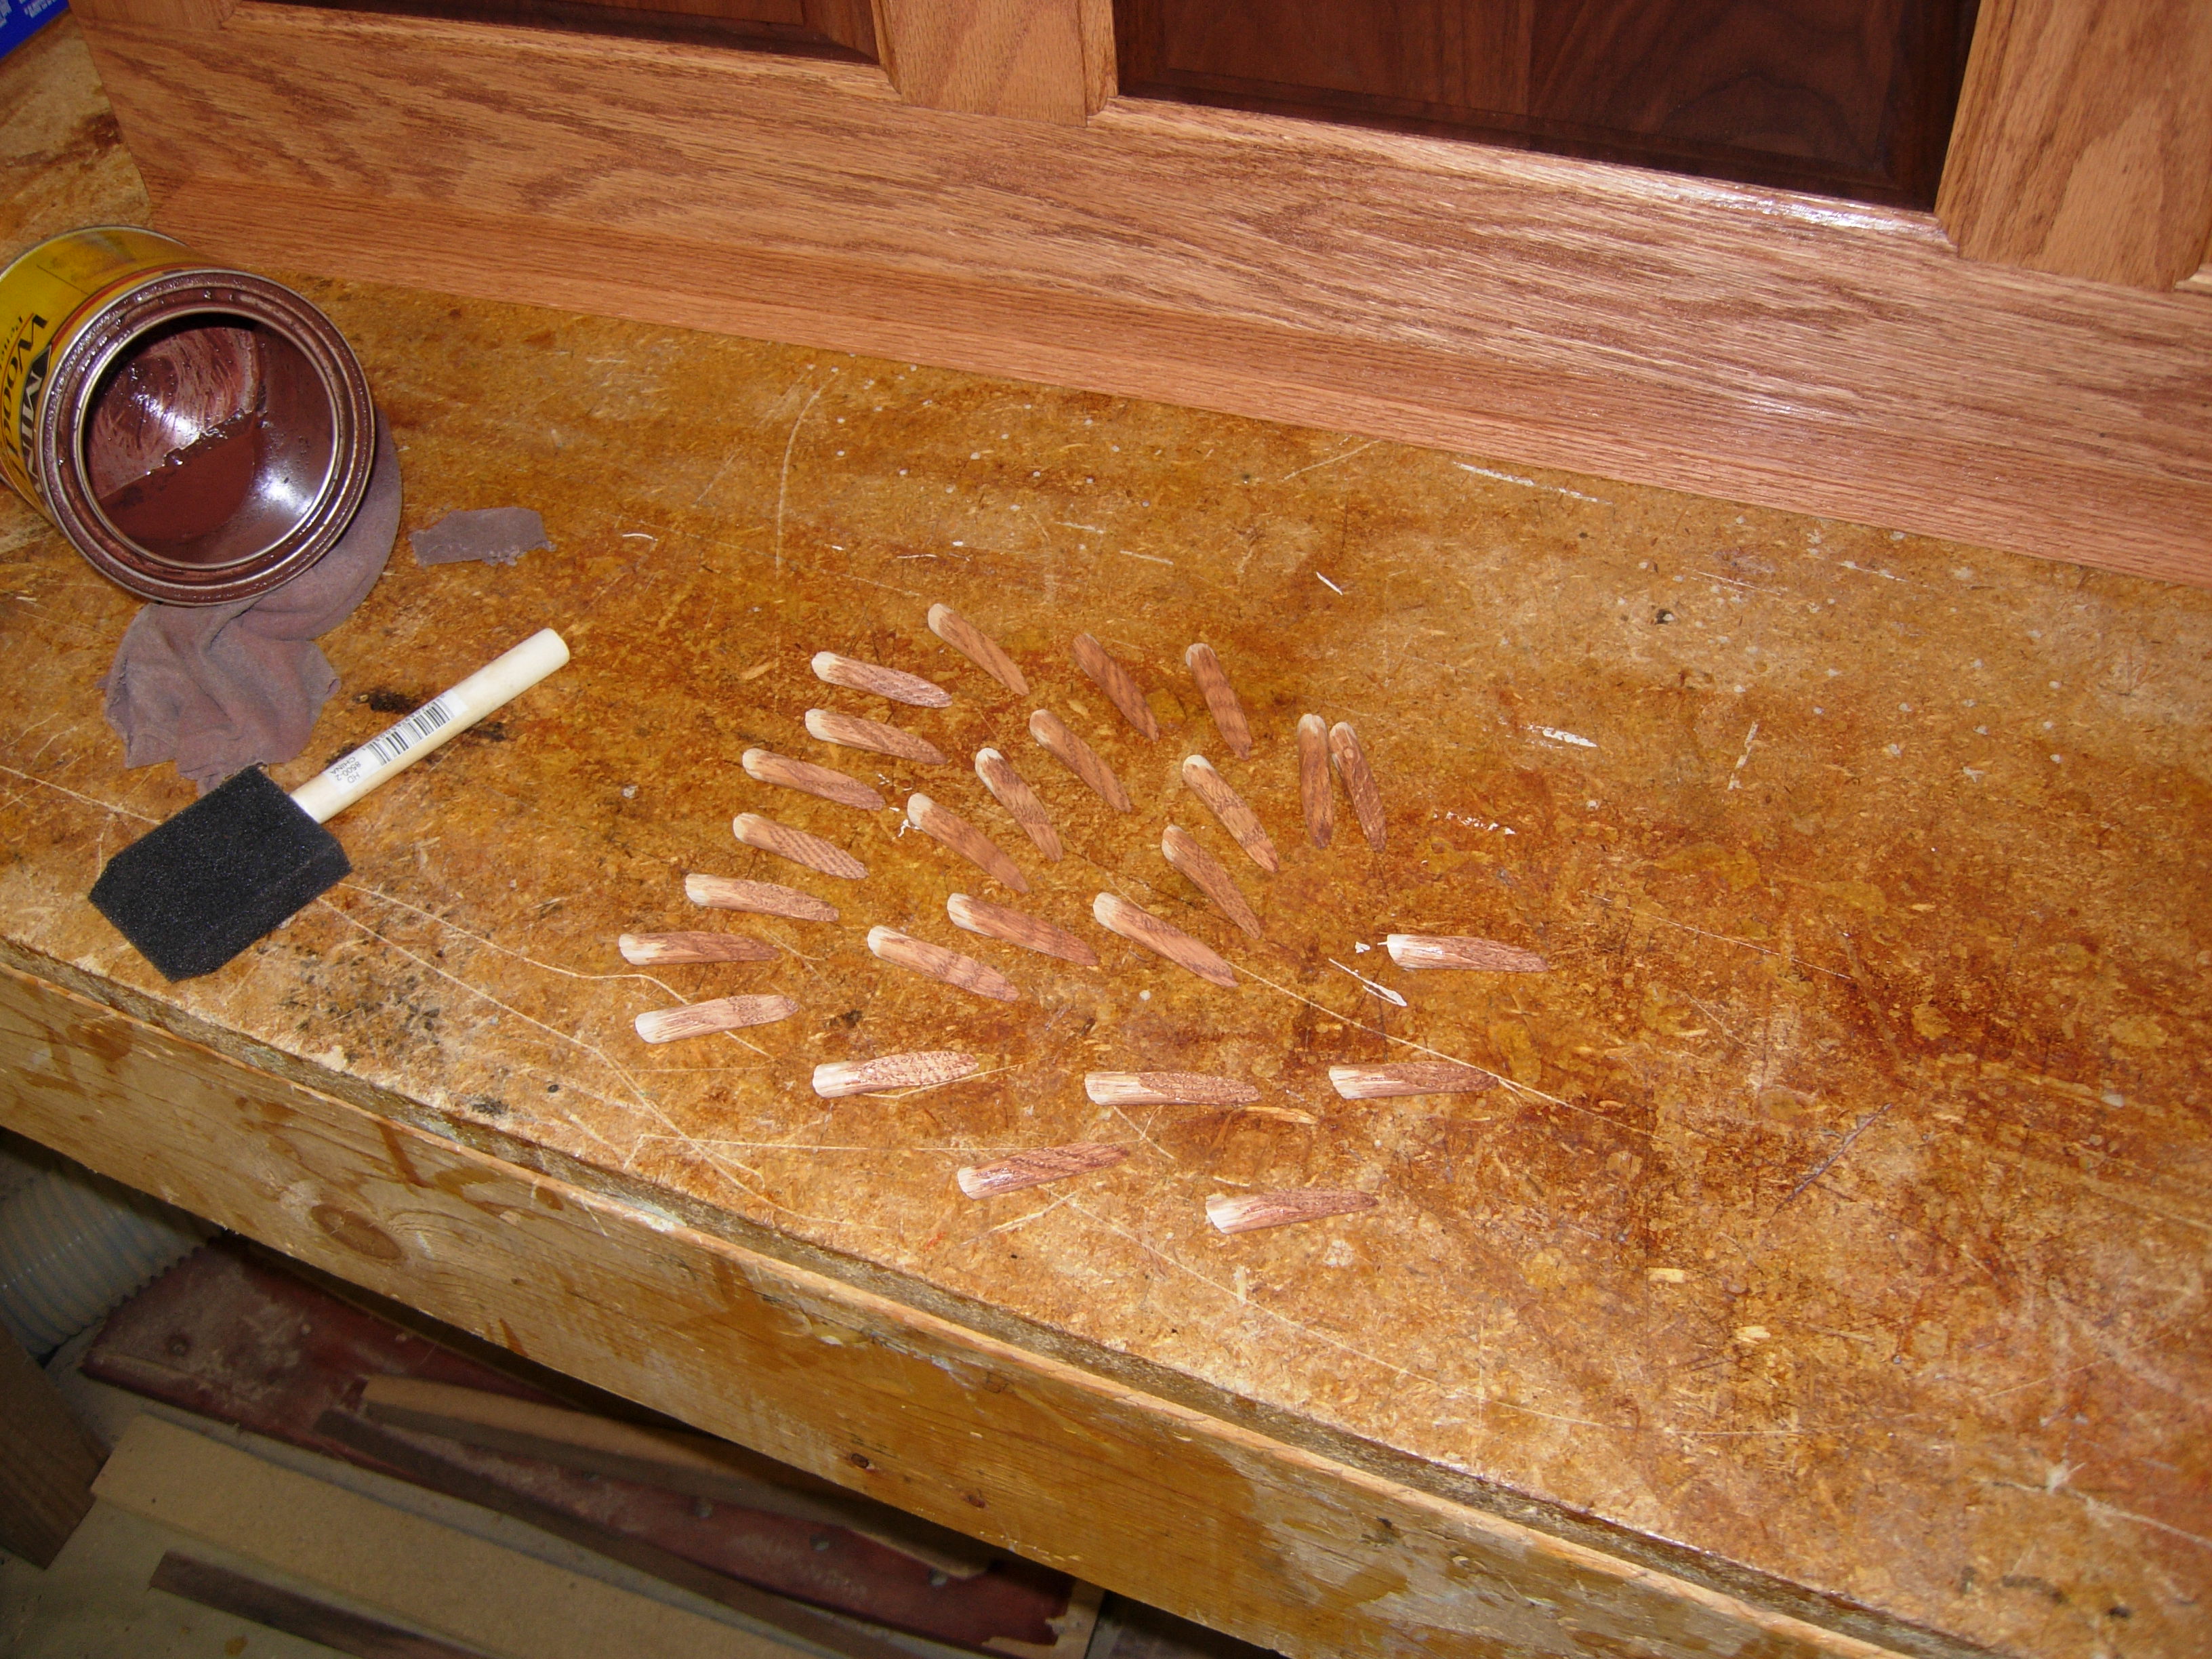
Staining the pocket hole plugs
