
Church Altar and tabernacle stand – day 1
I am starting on two new projects this week. This will be the new altar and tabernacle stand for the daily mass chapel at Saint Peter’s in Libertytown, MD. Here is the current design that I have come up with. It may change as I go, but I needed to start somewhere.
My intention is to build a fairly substantial plywood top, then veneer it with oak. I could buy oak veneered plywood, but the veneer is very thin and the boards are expensive. The thin veneer is easily ruined if you drop something on it. I plan to use at least an 1/8″ thick veneer. Step one is to lay out the plywood so I can cut it down. The sheets are too big to store in my shop, and my garage gets damp with all the rain we have had. So I figure I will get the top made then set it aside.
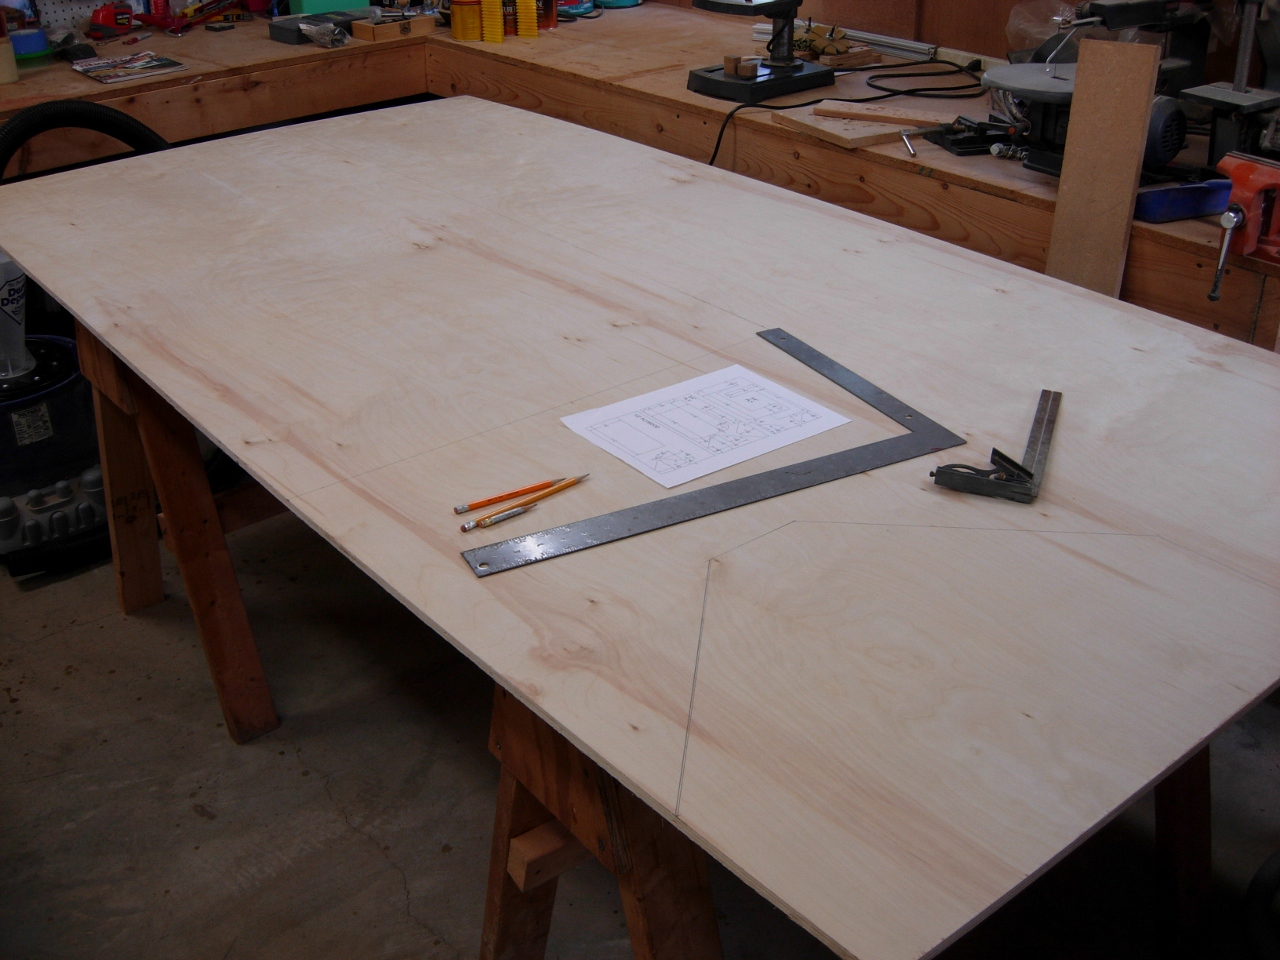
Laying out sheet 1
I started with the half inch thick sheet that will go on the bottom layer. The bulk of it can be cut with the table saw, so I cut the main shapes out, then cut most of the 45 degree angles out on my sliding compound miter saw. The miter saw cut all but the last 2 inches. I finished the 45 degree cuts on the bandsaw.
Cutting out sheet 1
Sheet 2 layed out
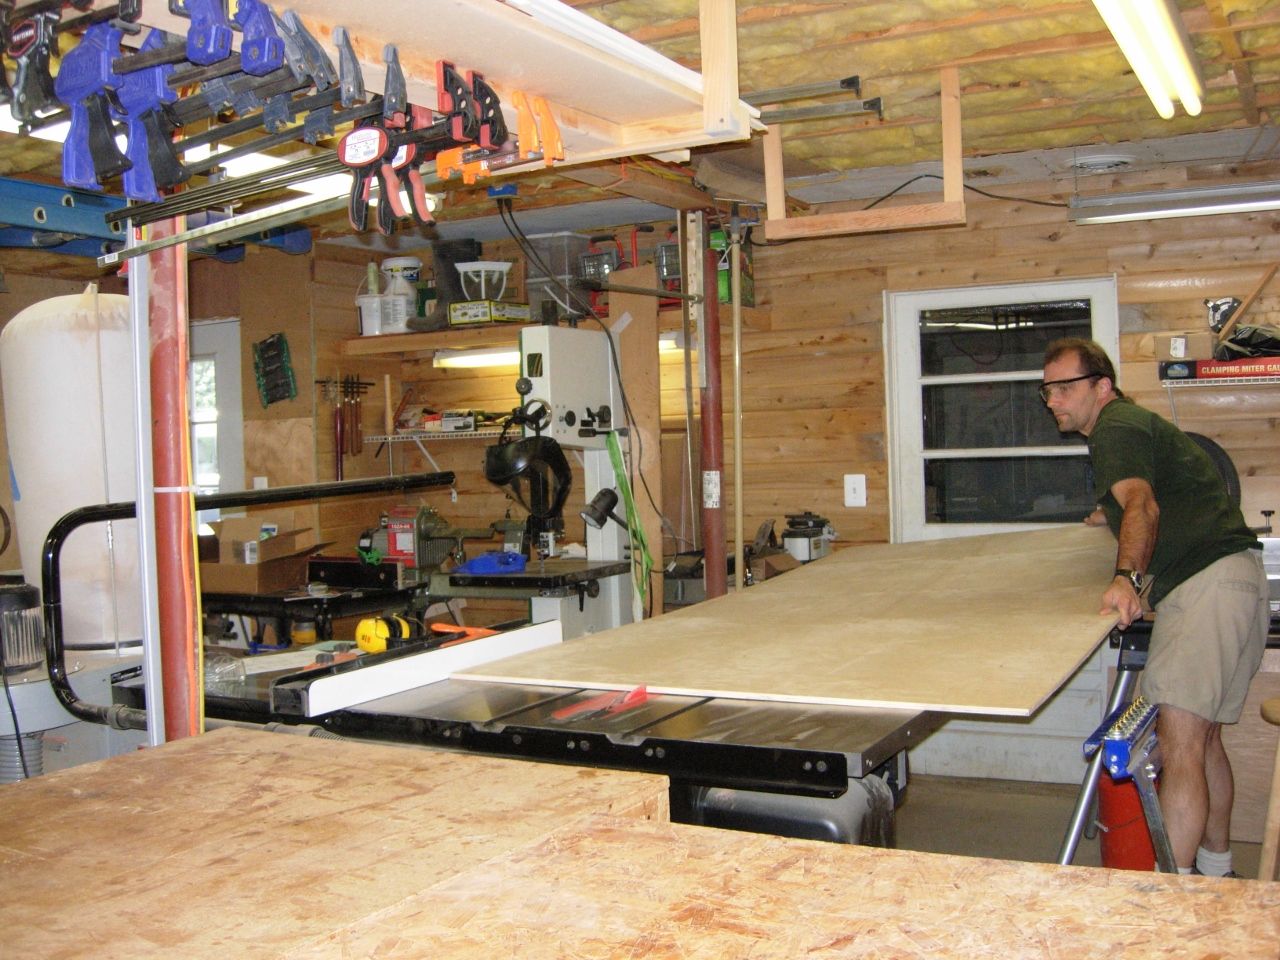
Sheet 2 was a lot more complicated, so it was cut out primarily with the circular saw. It was a bit awkward cutting everything on my saw horses, but that is what was available to me. I have seen a really good idea for cutting out sheet goods. You buy a 2″ thick 4’x8′ sheet of foam board and lay it on the ground with your plywood on top. You can walk or kneel on the board as you cut it, and it doesn’t hurt anything to cut through to the foam. But, a piece of foam like that costs about $40 and I am on a budget.

Cutting with the circular saw

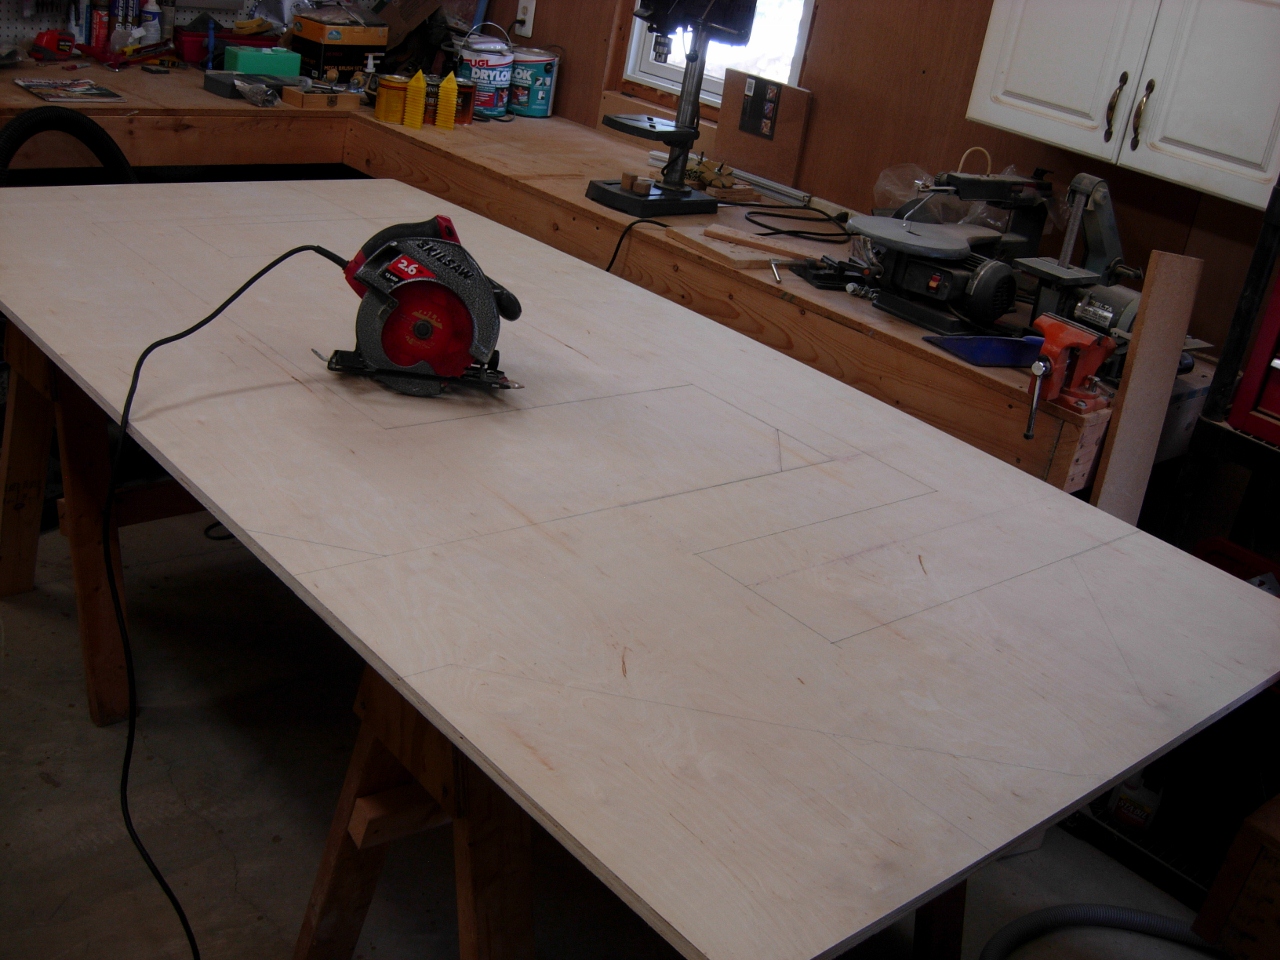
Getting the corners
When I completed all my cuts with the circular saw, I finished cutting the inside corners with my little pull saw. It has a thin kerf and cuts smoothly.

Sheet 2 cut out

Laying out sheet 3
Sheet 3 was not as complicated. I started by tracing the main top piece from the large piece on sheet 2. The rest of sheet three was the top two pieces of the tabernacle. I rough cut those then ran it all through the table saw and miter saw, repeating how I cut sheet one.

Sheet 3 ready to cut
When they were all cut out, I layed them together in their eventual assembly order to see how my edges lined up. They were close, but I think I will be doing some trimming with a flush trim router bit.

Plywood all cut and stacked
