
My Redesigned Roorkhee chair – day 1
I am not quite ready for my next big shop project yet, so I decided to put in some shop time modifying the design of the Roorkhee chair that I built a few months back. It is a comfortable chair, but the seat sits awfully low to the ground. The arms are leather so you can’t use them very well to help you get up out of the chair. Also when you really want to relax back into the chair, there is no place to rest your head. When my dad tested out the chair, he complained that it was too narrow, and I had to pull him up out of it. I haven’t drawn any plans for my redesign yet, I plan to actually design it on the fly. Perhaps I will draw it up when I have come up with an alternative design that I am happy with, and post it for everyone.
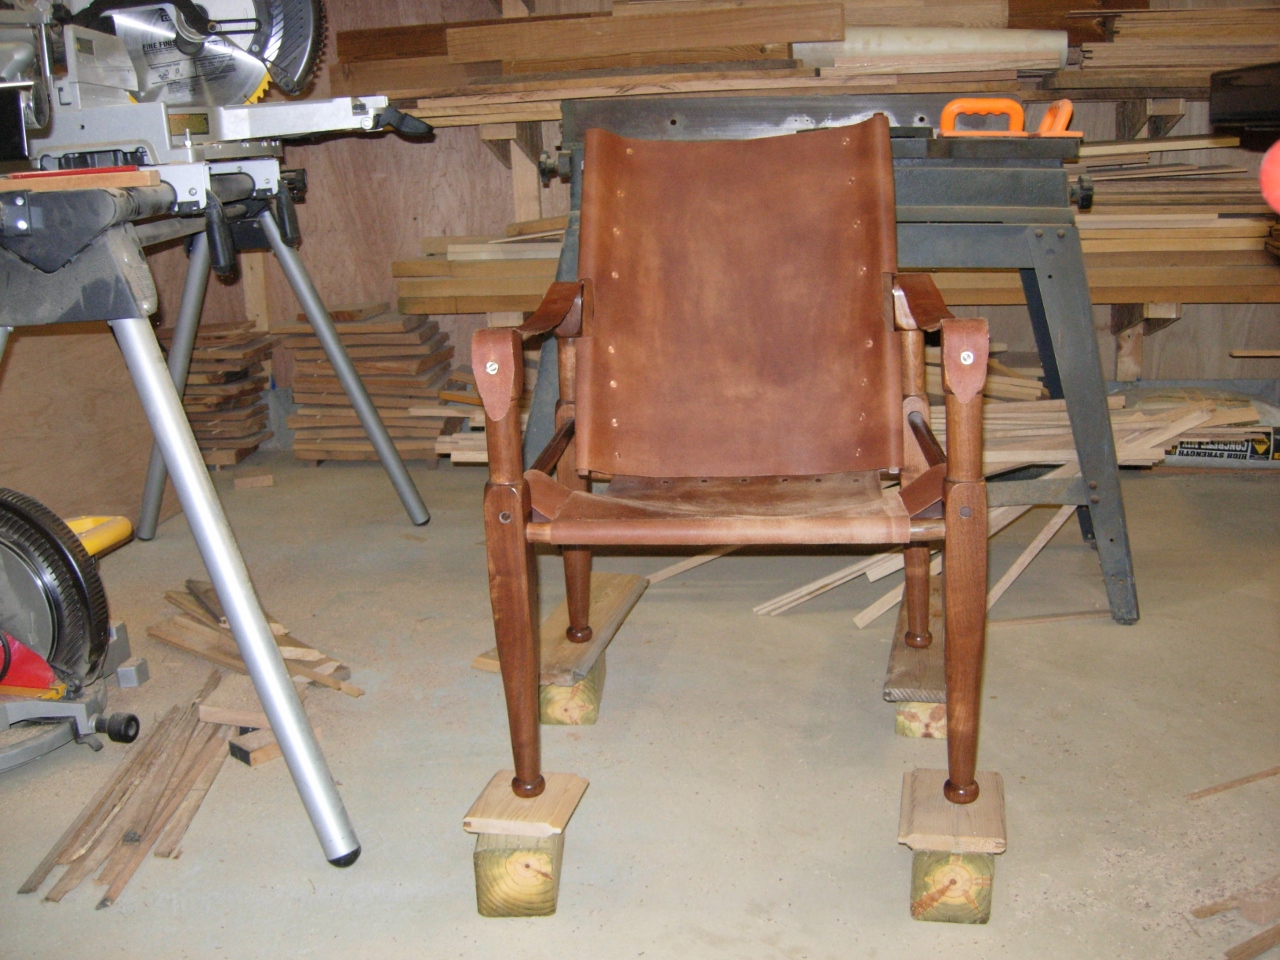
New elevation
Step one is to come up with a good height that is comfortable for everyone in my family, since we all use the chair. I figured the best way to determine that was to just keep blocking up the original chair till I found a height that worked well for my wife and I. She represents the shorter side of the family at 5′-2″ and I, the taller at 5′-11″. The magic number that we came up with is 16-1/2″ in the front. This is 4 1/2″ taller than the original. I decided to add 2″ to the width as well. To ensure that this will hold the weight, I am beefing up the support rungs to 1-1/16″ in diameter and making it out of white oak. The last chair used 3/4″ rungs and was made from walnut. I don’t really consider the oak to be a structural change, I just decided that it will look better in a living room that is mostly oak. The walnut chair kind of stands out…

Cutting the leg blanks
With the height established, I cut out and planed down the 6/4 oak, that I had, to make the legs. This time I remembered to leave an extra 1/2″ for waste, so when I am done cutting the legs on the lathe, I can cut off the ends. (I forgot on the last chair)
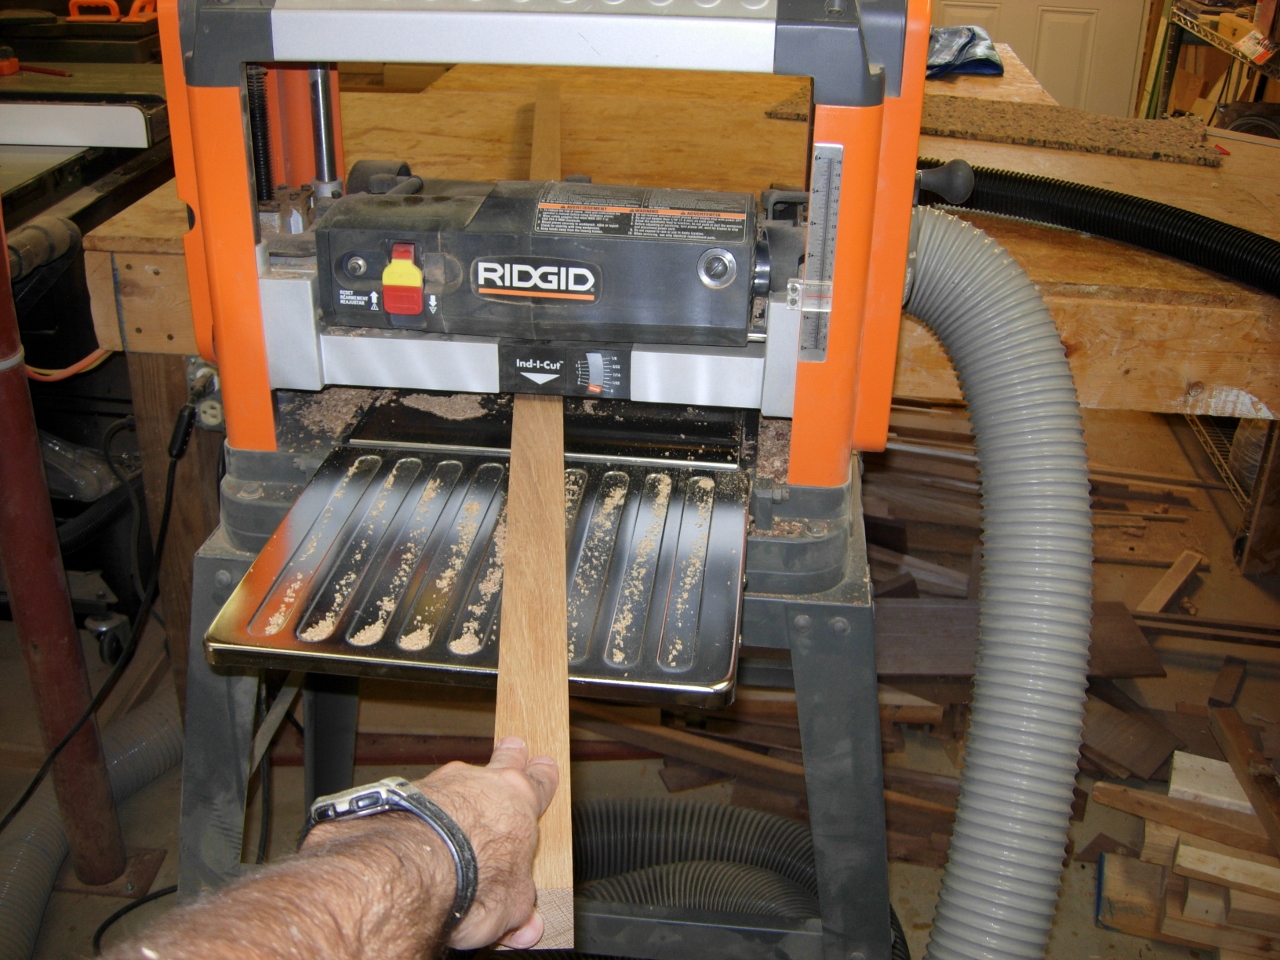
Planing the leg blanks

Cutting the blanks to length
After the legs were all cut to length, I marked them, highlighting the areas that would be turned down and locating where the tapered tenons would go.
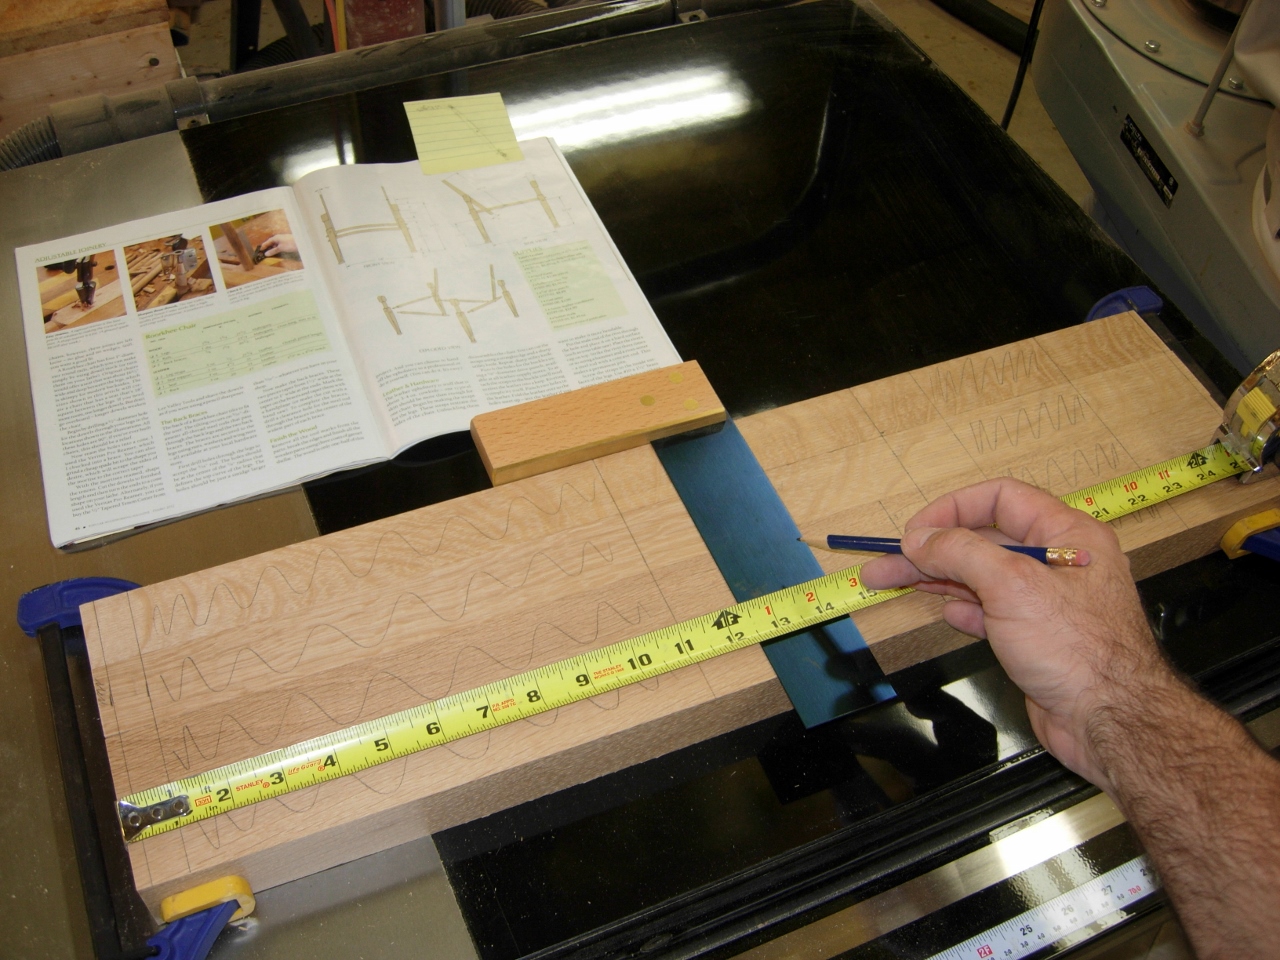
Marking them all
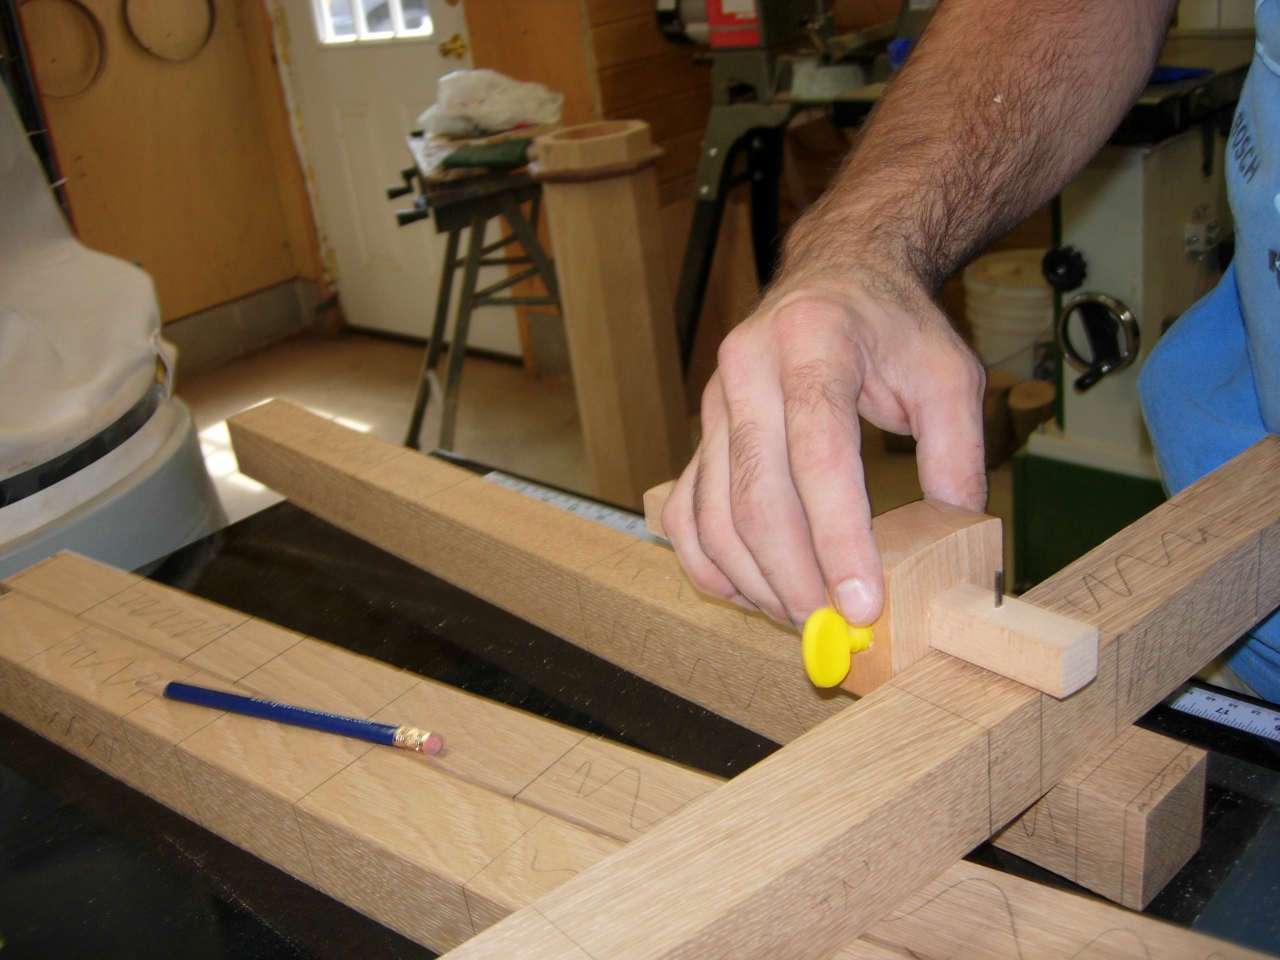
Locating the center of the holes
I used my marking gauge to locate the center of the hole, then punched it with a center punch. I located the sides of the legs that would receive the tapered tenons, then drilled out the holes with a 1/2″ pilot bit.

Drilling out the hole centers

Reaming the taper
Next, I set my tapered ream in the drill press, and ran it through as far as it would go. The ream is not a drill bit, and my drill press is not very powerful. The result is that halfway through, the ream stops. I have to pull the bit out and finish the hole with my hand drill, which has a lot more torque. The downside to using the hand drill is that it is harder to keep the holes perfectly perpendicular to the leg.

Finishing the ream by hand

Rungs cut to size
With the legs drilled, I set them aside to make the rungs. I cut down some 1-1/16″ square blanks and set them up in the lathe.

Set up in the lathe

Roughing out the rungs
I roughed them out fairly quickly then sanded them down.

Sanding the rungs

Taking the rungs down to 1″

Rungs and legs
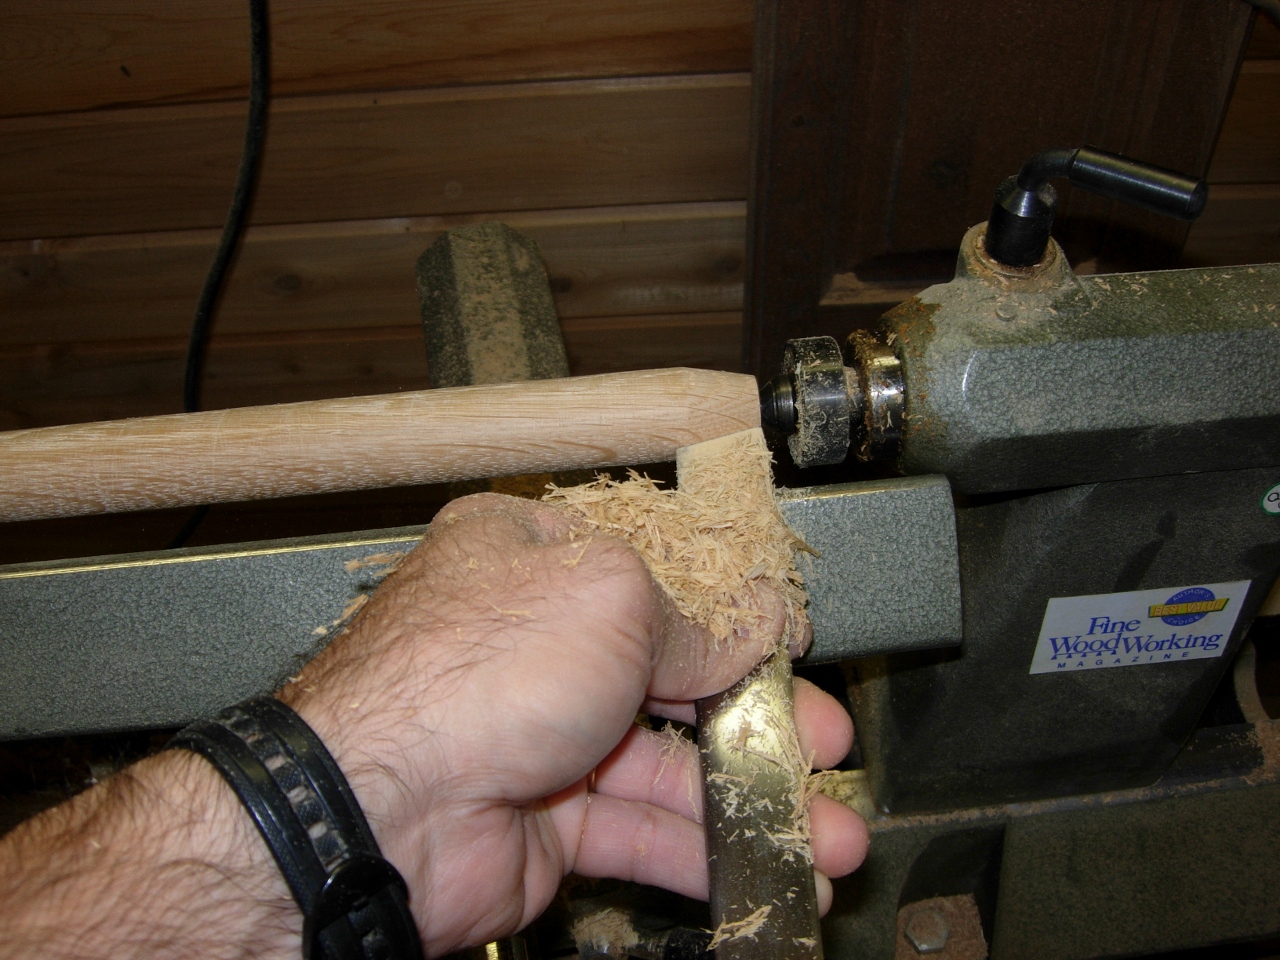
Starting the taper
Since my tapered tenon cutter is only 1″ in diameter, I marked and cut most of the taper on the lathe. This also ensures that the taper is symmetrical. Running the taper completely by hand can sometimes get shifted off-center and cause problems at assembly.

Hand cutting the tapered tenon

Taper complete
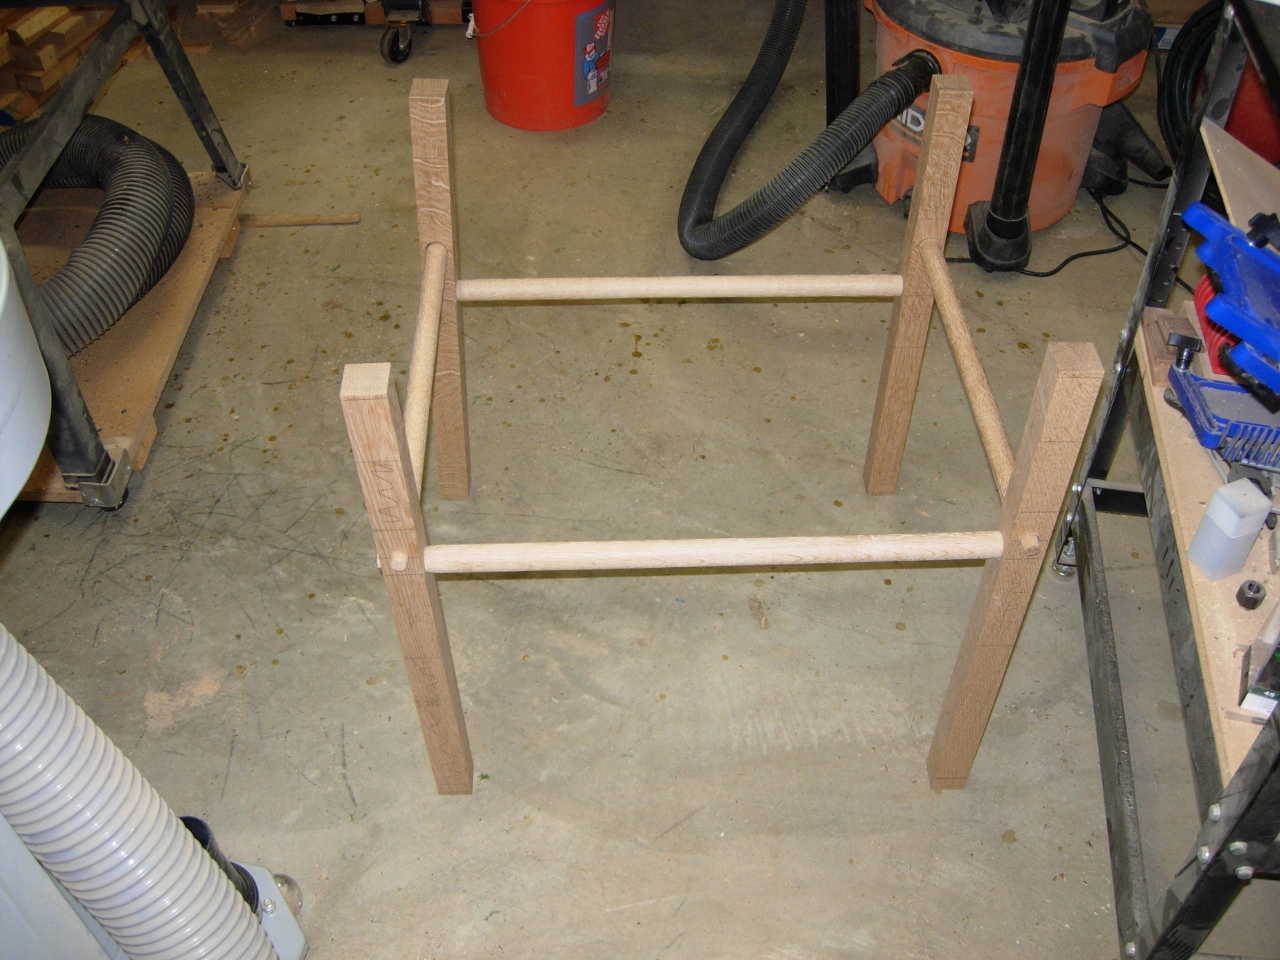
I dropped the first tapered rung into a leg to check for square. This was the best one, some of them were not as square due to reaming with the hand drill. I decided to assemble the base and see how it lined up.

Checking for square
One leg not quite square
The leg in the back left was way out of whack, so I decided to remake it. This, by the way, was why I hadn’t finished turning the legs yet. I feared that I would mess these holes up and didn’t want to waste the effort. I decided to attack the problem from a different angle with the new leg.

Trying a new technique
I set up a 7/8″ forstner bit in the drill press and drilled down part way. Next I stepped down to a 5/8″ bit and repeated the process. Finally I finished off the hole with the 1/2″ pilot bit. This created a stepped hole that will allow me to use the reamer in the drill press without having to finish up by hand.
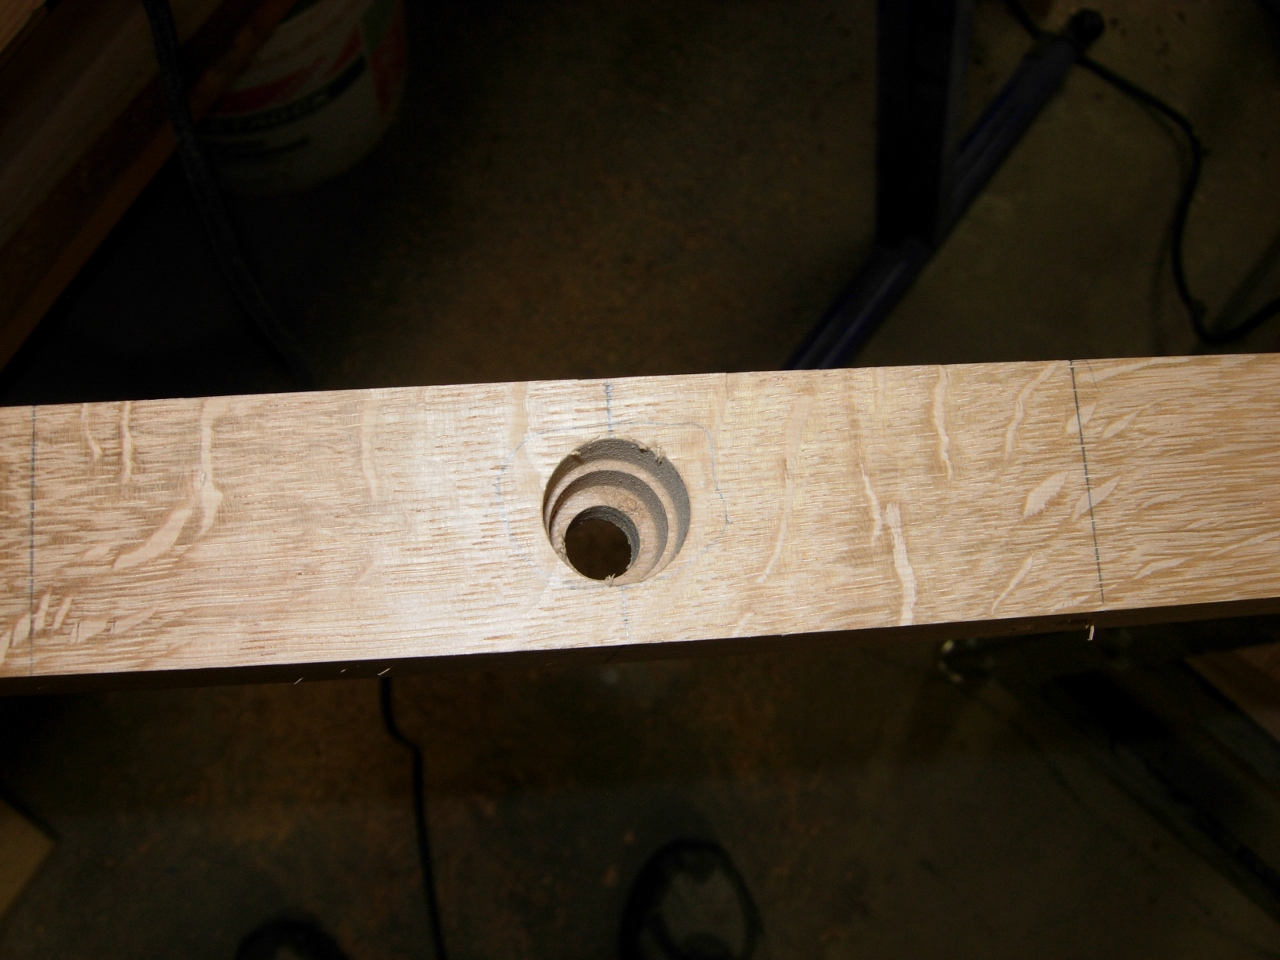
Step drilled hole
This technique worked perfectly. I now have one perfect leg, and three that are not too bad…

Reamed completely on the drill press
