
My Redesigned Roorkhee chair – day 2
I made some progress yesterday. I started out by laying out the rails for the seat back. The material that I will be using will be 5/8″ wide, so I planed down a piece of 3/4″ stock.
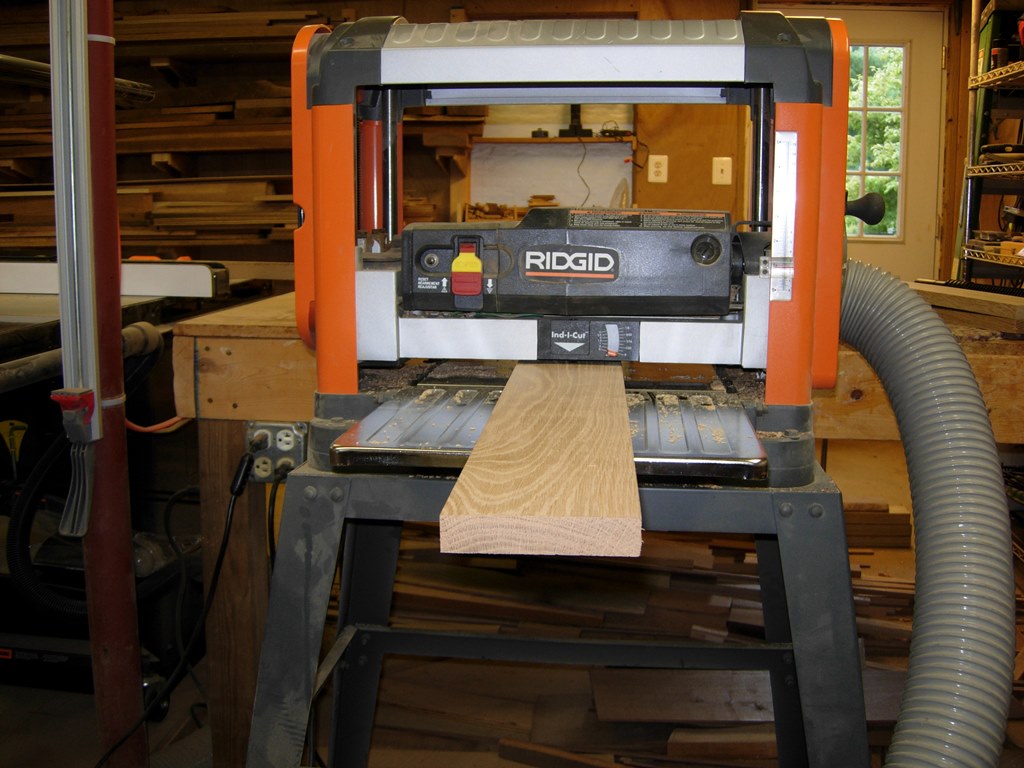
Planing down some stock

Laying out the back rails
I started with the original 20-1/2″ rails and added about 6″ curving it at the top for a head/neck rest. With the first one layed out, I proceeded to cut it out on the band saw, then sand it down on my spindle sander.
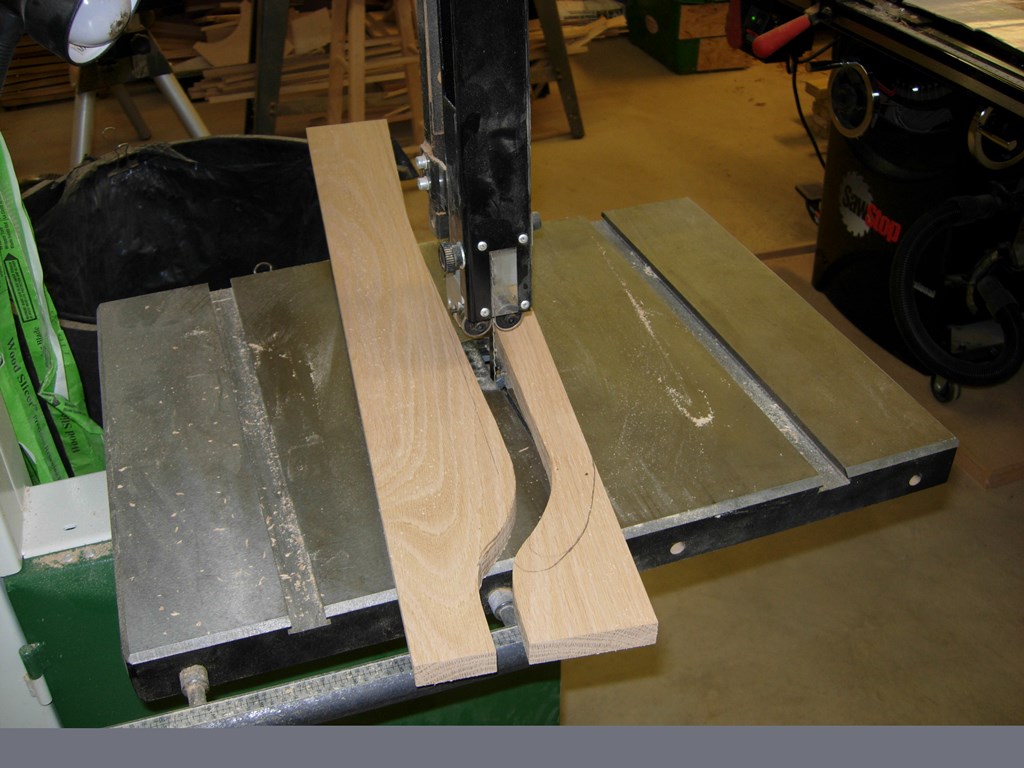
Cutting the first one

Using the first as a pattern
Cut and sanded, the first rail then became the pattern for the second. After the second one was sanded to match the first, I clamped them together and drilled out the pivot hole. The pivot hole is no longer anywhere near the center of the back so I expect the back to be very top-heavy. I will eventually be adding some kind of weights to the bottom of the rails to counter-balance the back, but that will come later.
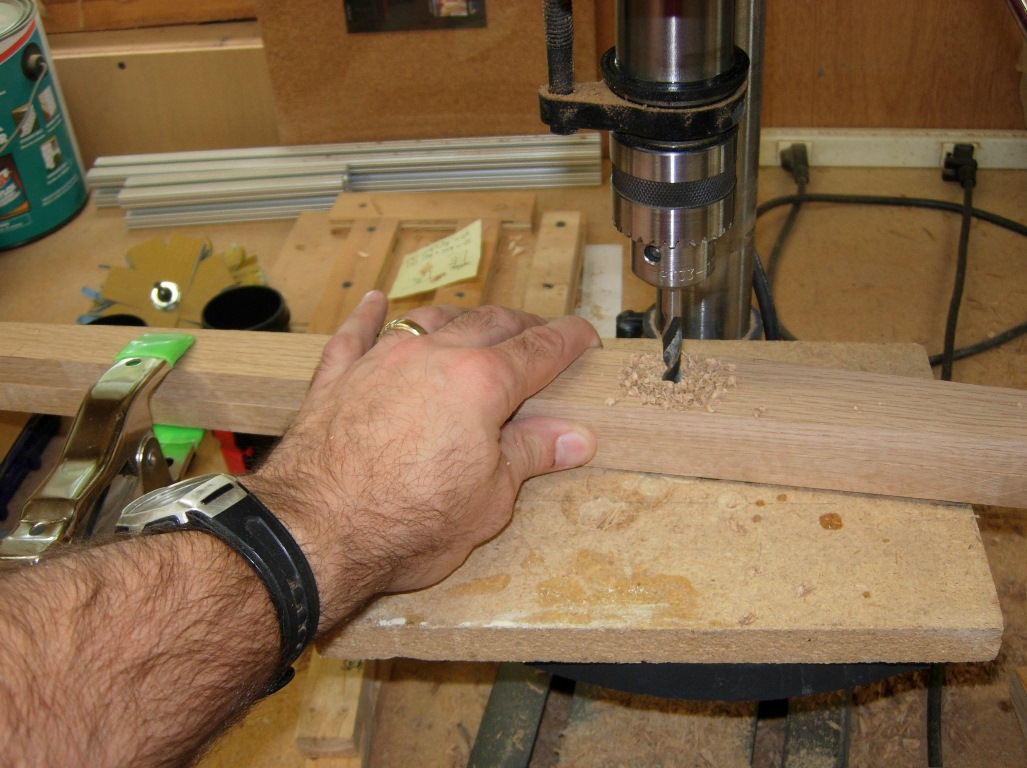
Drilling out the pivot point

Laying out and cutting
With the wooden frame all roughed out, minus the arms, it is time to move on to the fabric for the chair. I started with my original pattern from the leather version of this chair, and made a few modifications. I decided to get rid of the buckles because I don’t expect the fabric to stretch as much. I attached the pattern that I will be using here:
I Purchased 2 yards of duck cloth from a local fabric store. The dimensions were 60″x72″, Just large enough that I can double up the material and fill it with a thin filler. My wife had a couple of yards of felt lying around, so I snagged some for filler and doubled that up as well. I took my time laying out the pattern with my framing square, then cut it out. I did manage to start laying out the big piece in the wrong orientation (twice!), so just ignore the lines that don’t look like they belong…
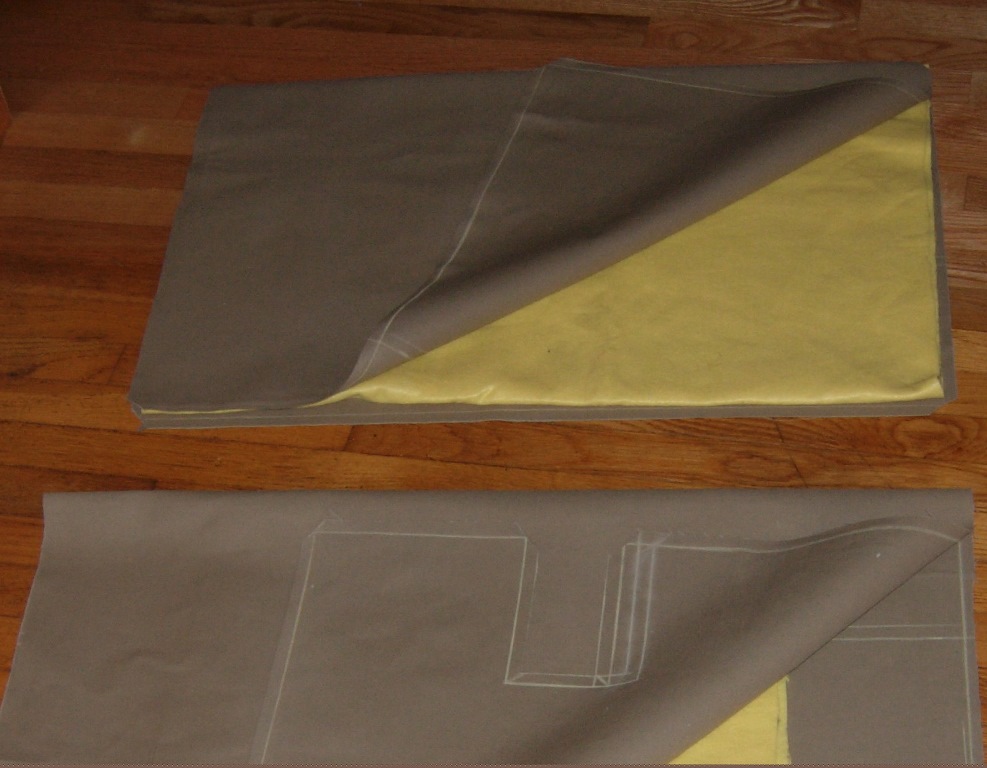
Felt backer
I folded in the 1/2″ seam allowance and pinned the fabric together, then handed it off to my wife to sew up the edges. With the three blanks sewn up, I wrapped them around the chair rungs and pinned them in place. After carefully disassembling the chair, my wife sewed the loops for the rungs. Everything seems to fit fairly well, but I can’t test it out too well untill I pick up the right length bolts to hold the back on. I have some short bolts holding it up at the moment.
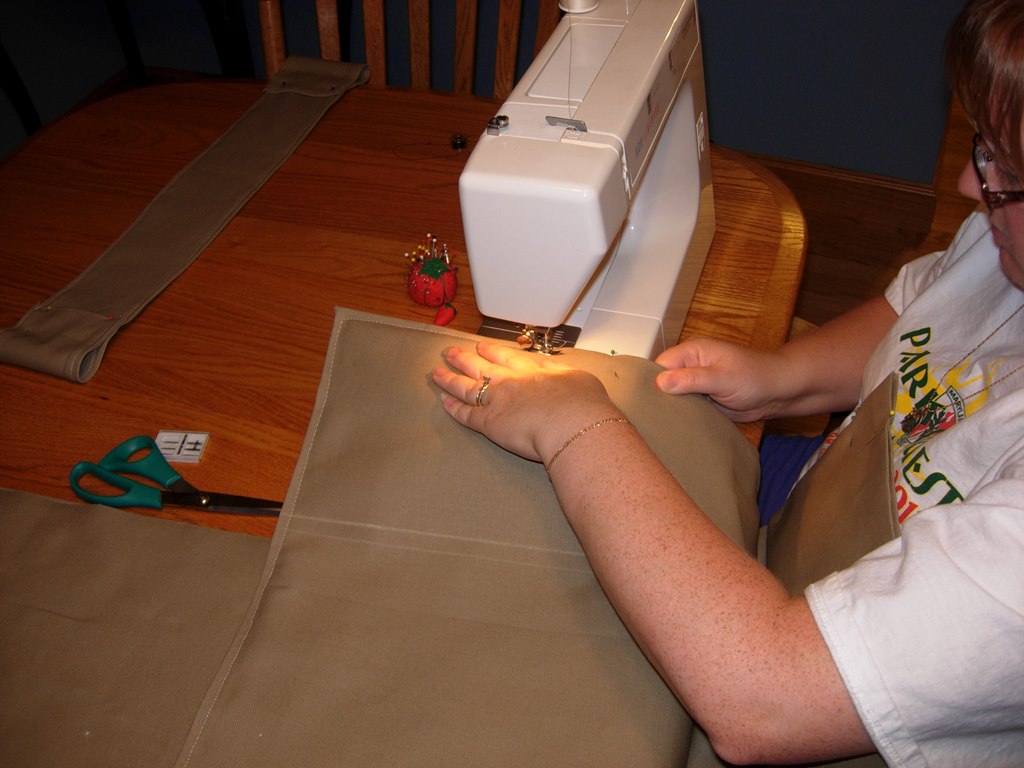
Sewing it all together
The new chair is definitely bigger than it’s predecessor. Hopefully it will be just as comfortable when complete. Tomorrow, I will probably start on the arms. I am not entirely sure how I will do them yet…
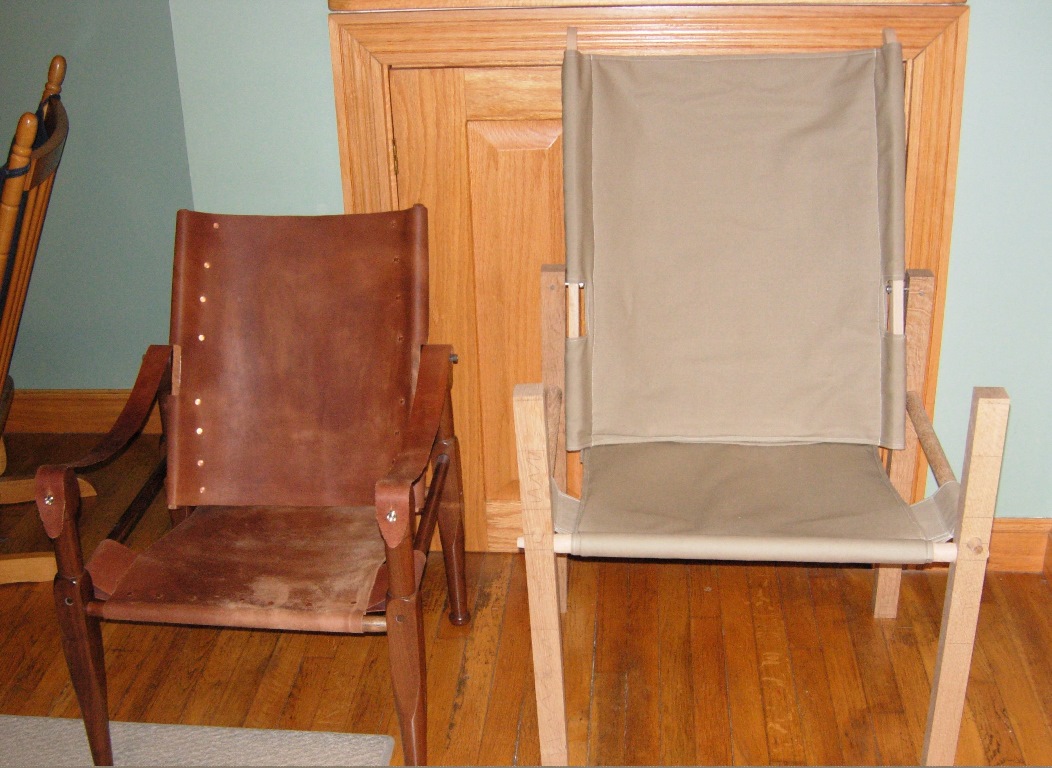
Side by side
