
Octagonal column prototype – day 2
Well, the glue is cured so I removed the tape today.
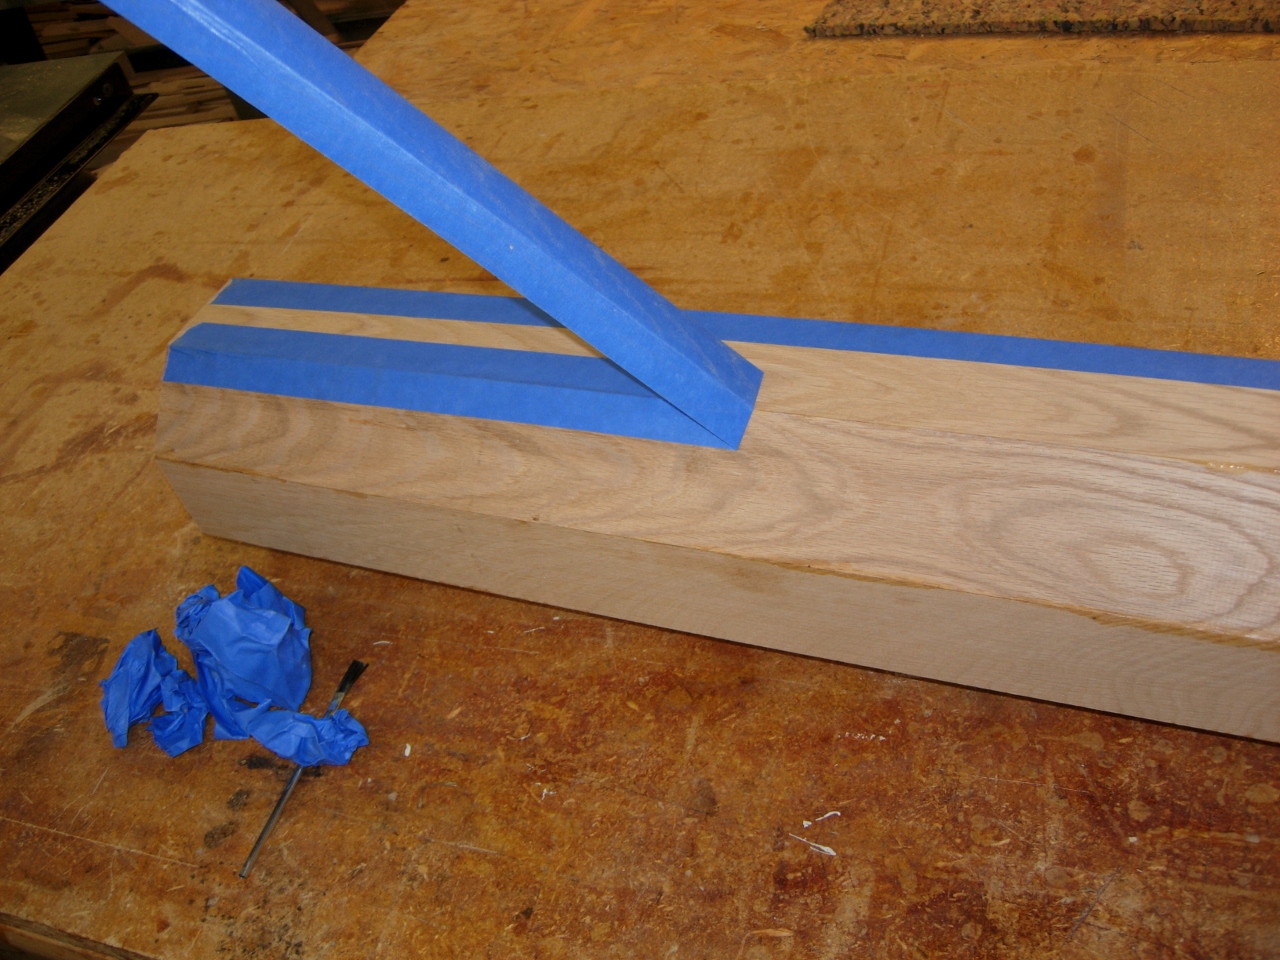
Removing the tape
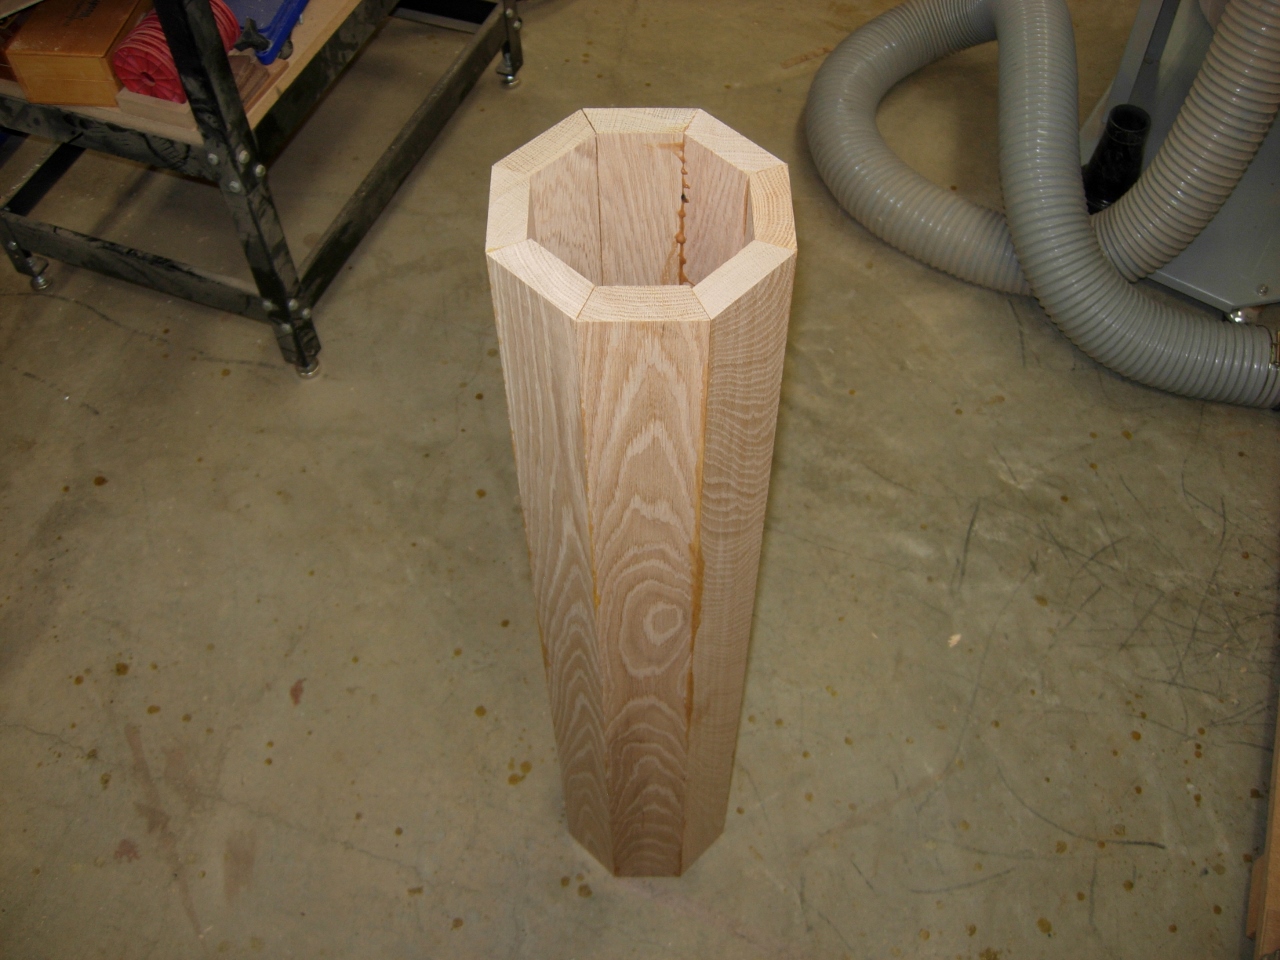
The naked column
There was a fair bit of glue squeeze-out so I took my block plane to it.
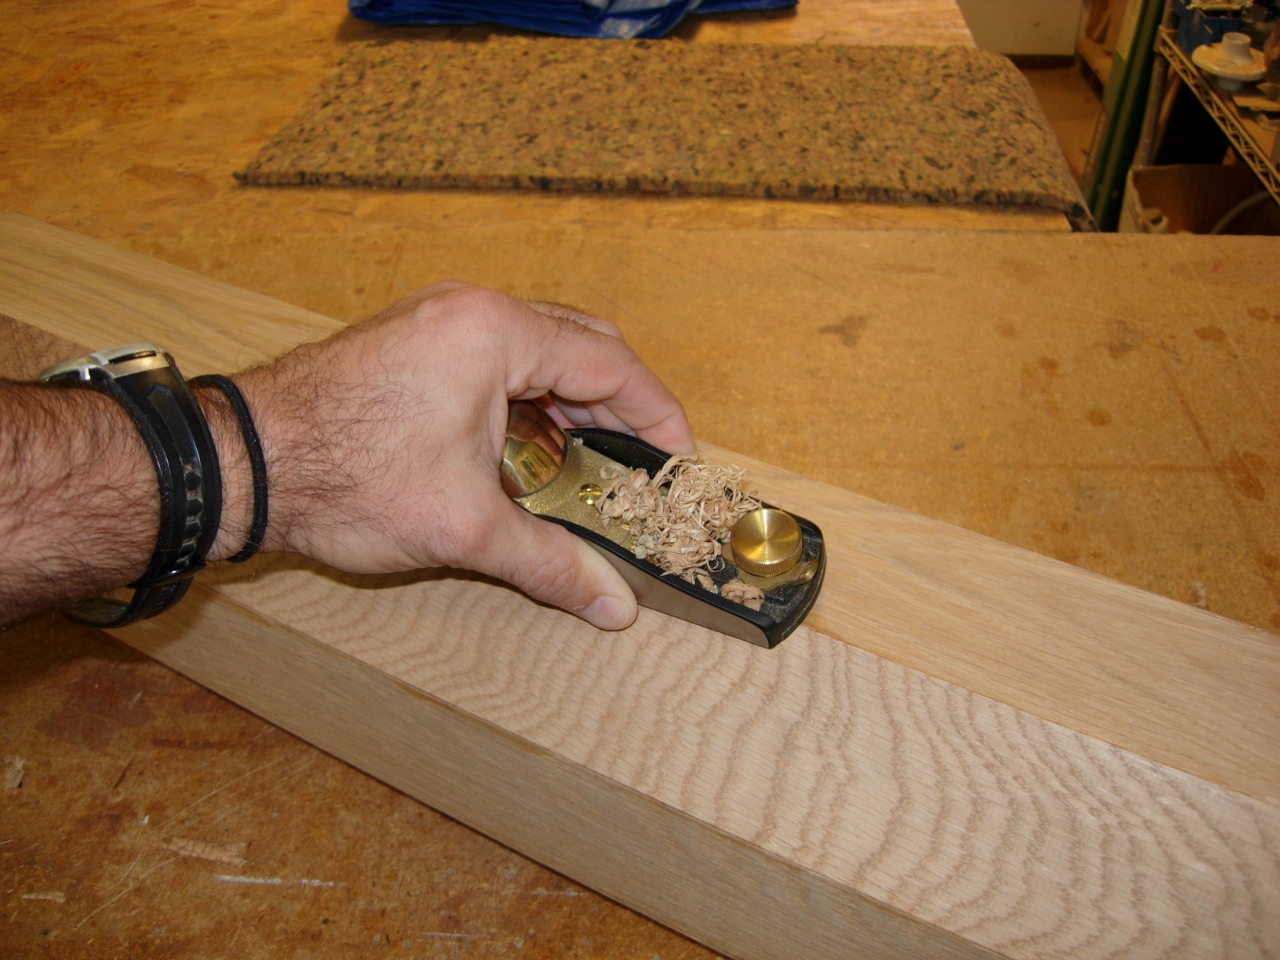
Planing off some of the glue
Once I planed off the chunks of glue, I sanded it down with my random orbital finish sander. I was careful to preserve the sharp edges at the joints. so there will be no gap when I attach the walnut beading.

Sanding it down
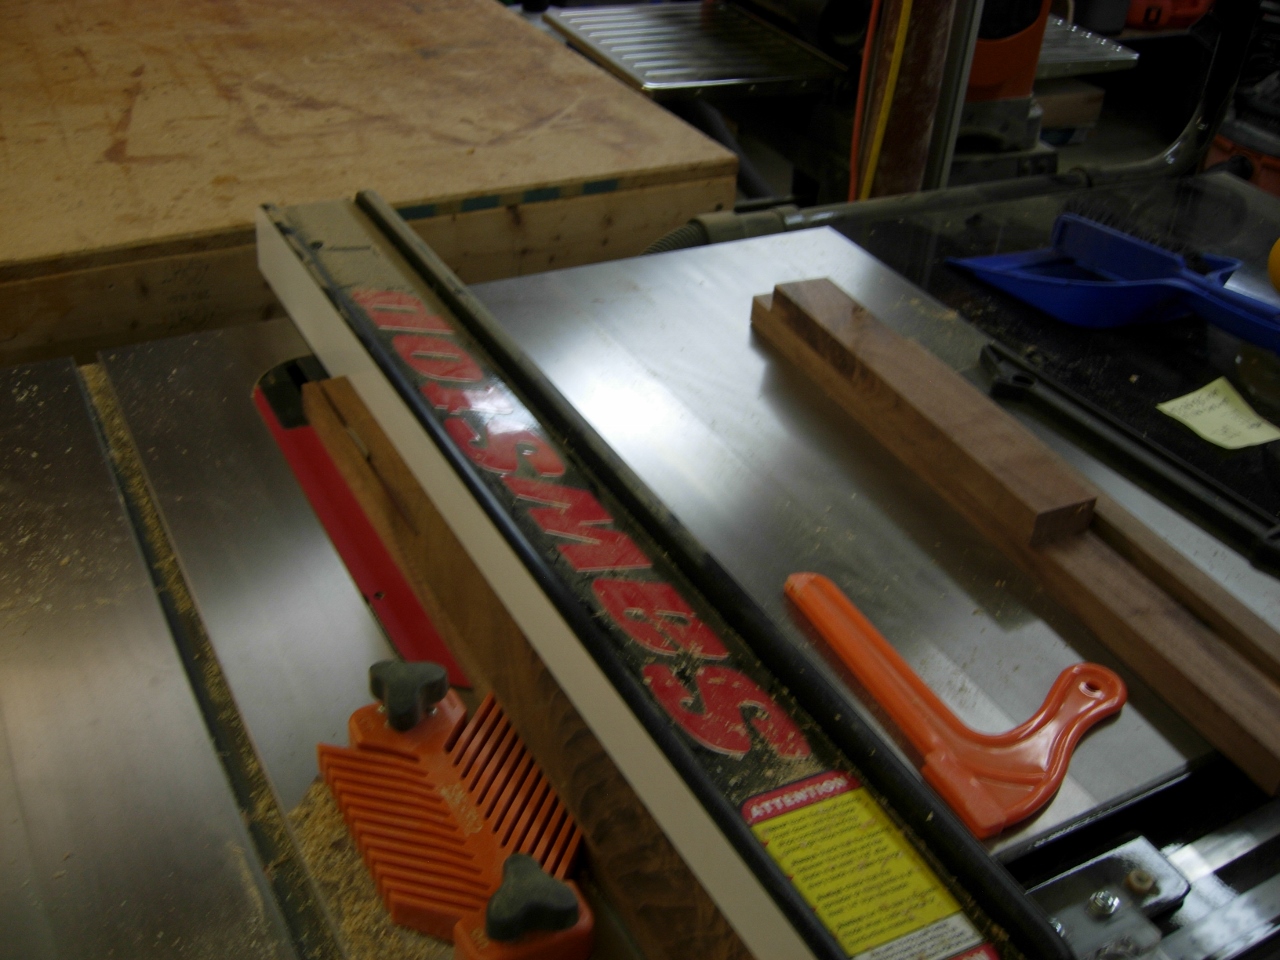
Ripping some walnut
To create the walnut beading, I pulled some 1″ walnut from my scrap pile and cut it down to 7/8″ square, then took it over to my planer to finish it out at 3/4″.
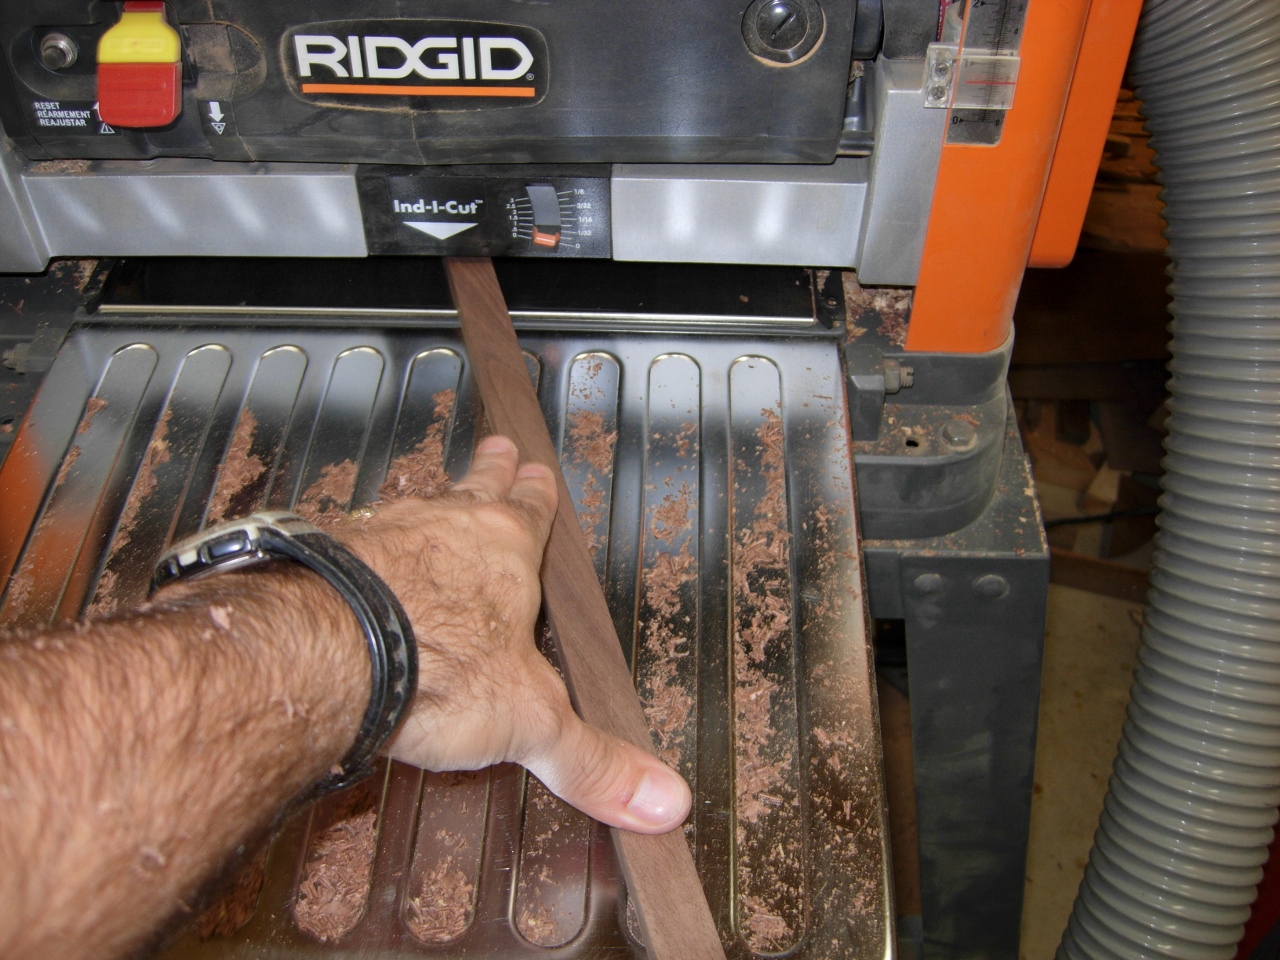
Planing it down to 3/4″
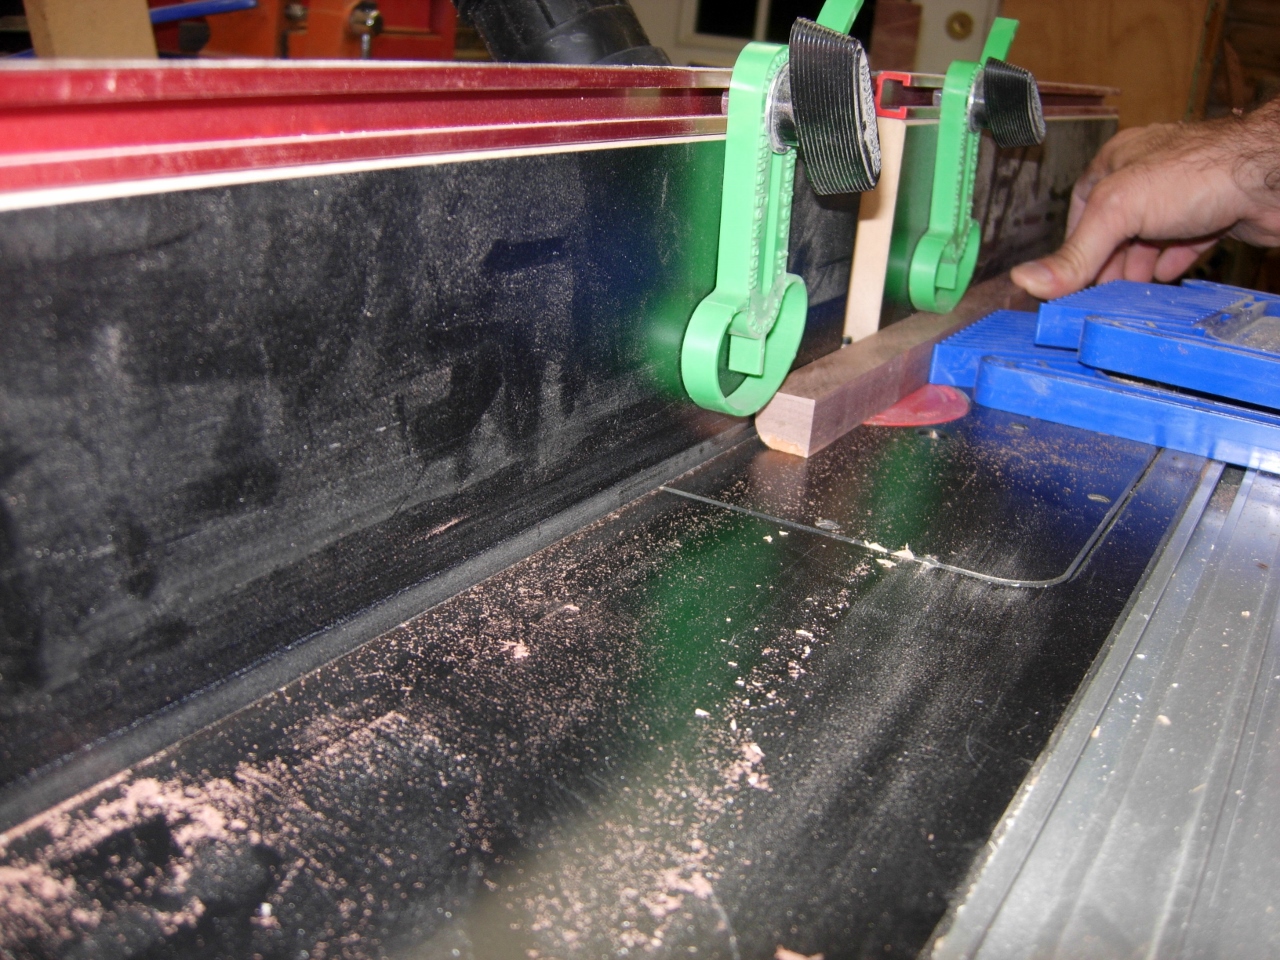
Rounding side one
Next, I carried my new pile of sticks over to my router table and set up my 3/8″ round-over bit. I ran each stick through twice to create a full round on one side.
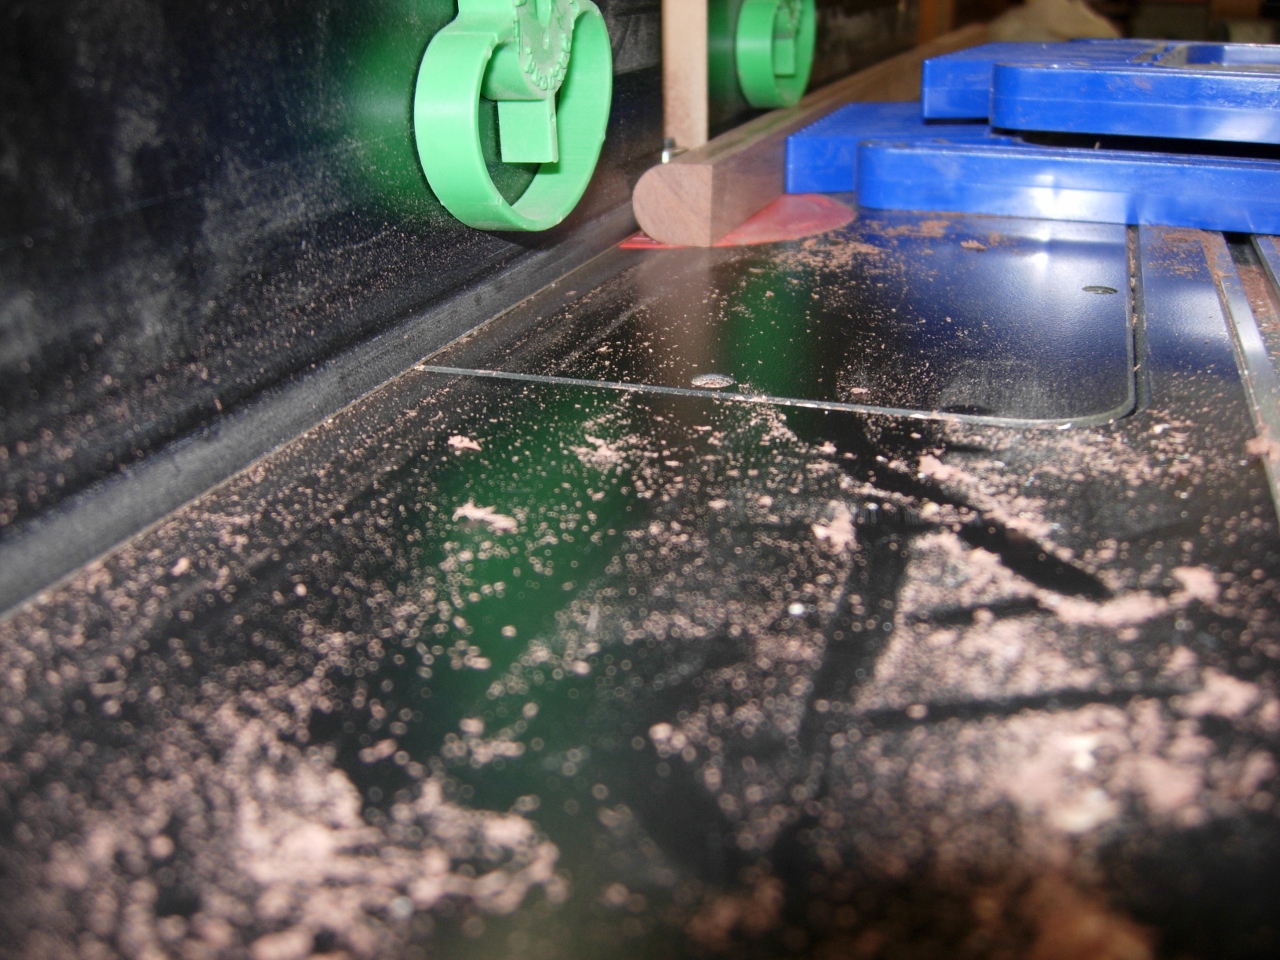
Rounding side two
I took off any burn marks or high spots with the sander.
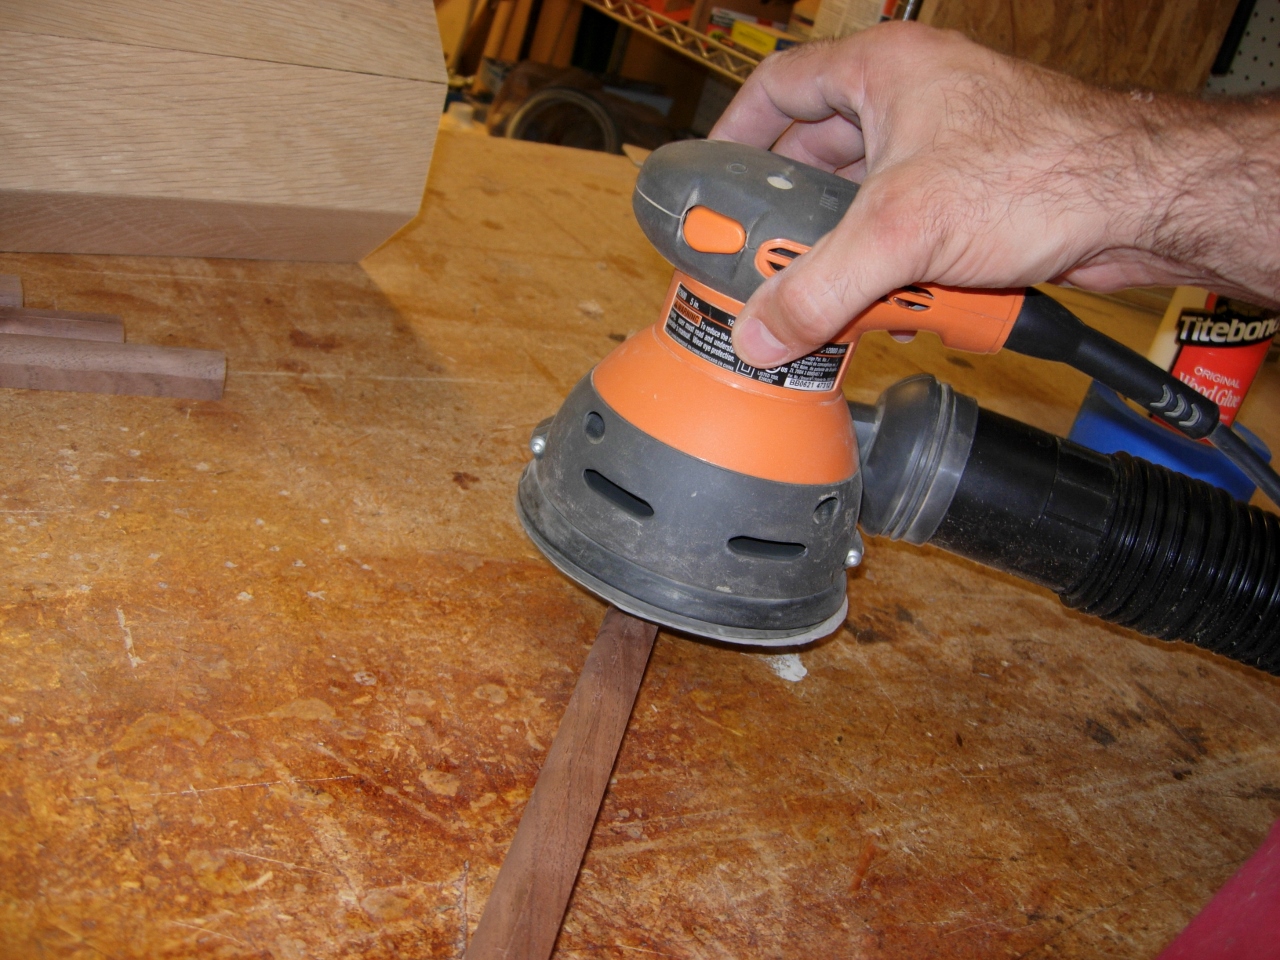
Sanding the trim pieces

Mitering to 22.5 degrees
Next, I set my miter saw to 22.5 degrees and cut my first piece of beading. I also took a moment to mark a line all the way around the column about 1.5″ from each end.
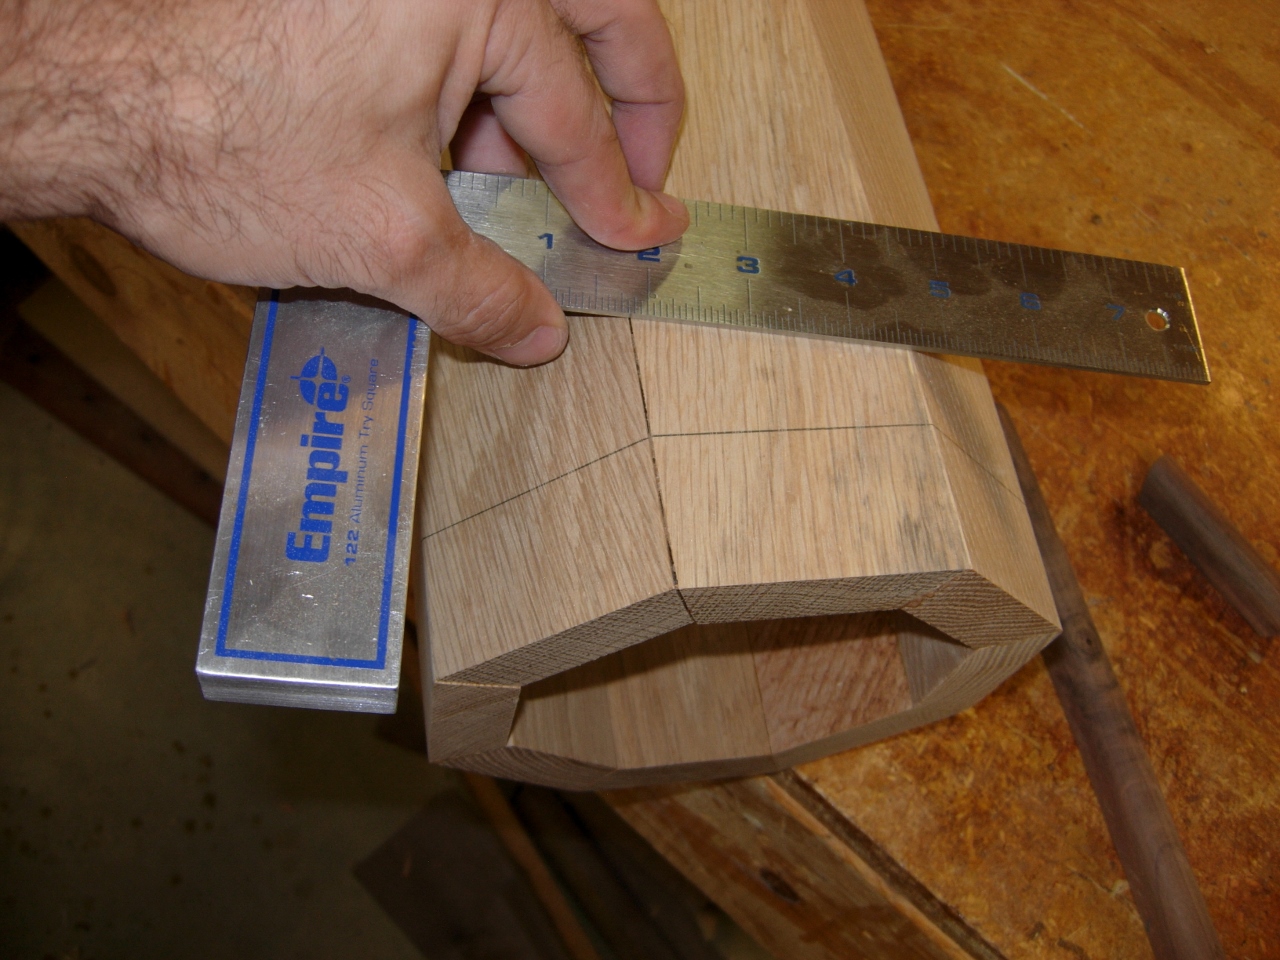
Marking the column

Glueing and pinning the trim on
I attached the trim pieces with glue and my pin nailer. I carefully marked and cut each piece of trim one at a time.
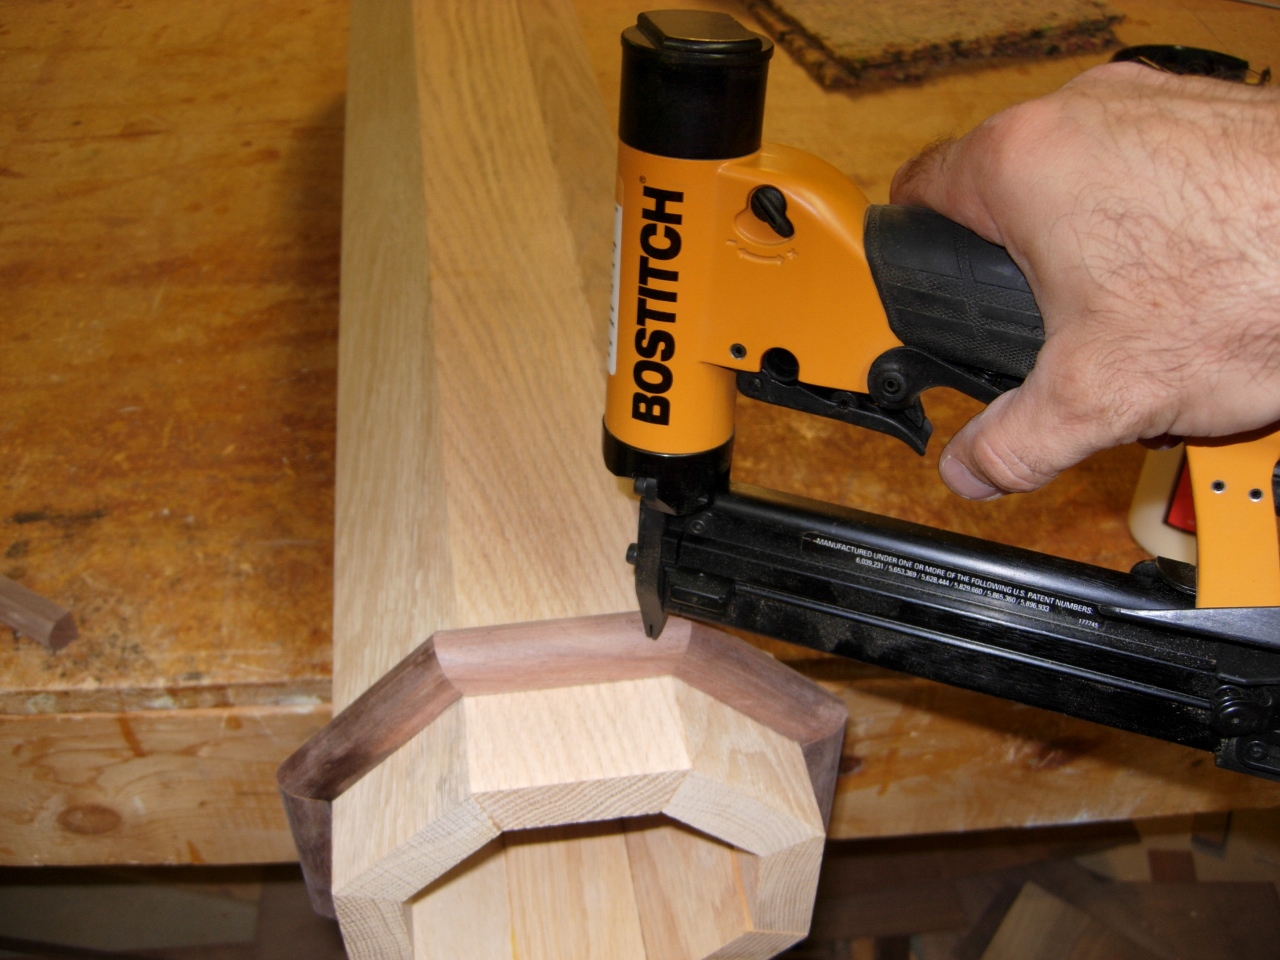
Pinning the last piece
It took a while, but turned out nice. It was exactly the accent I was looking for.
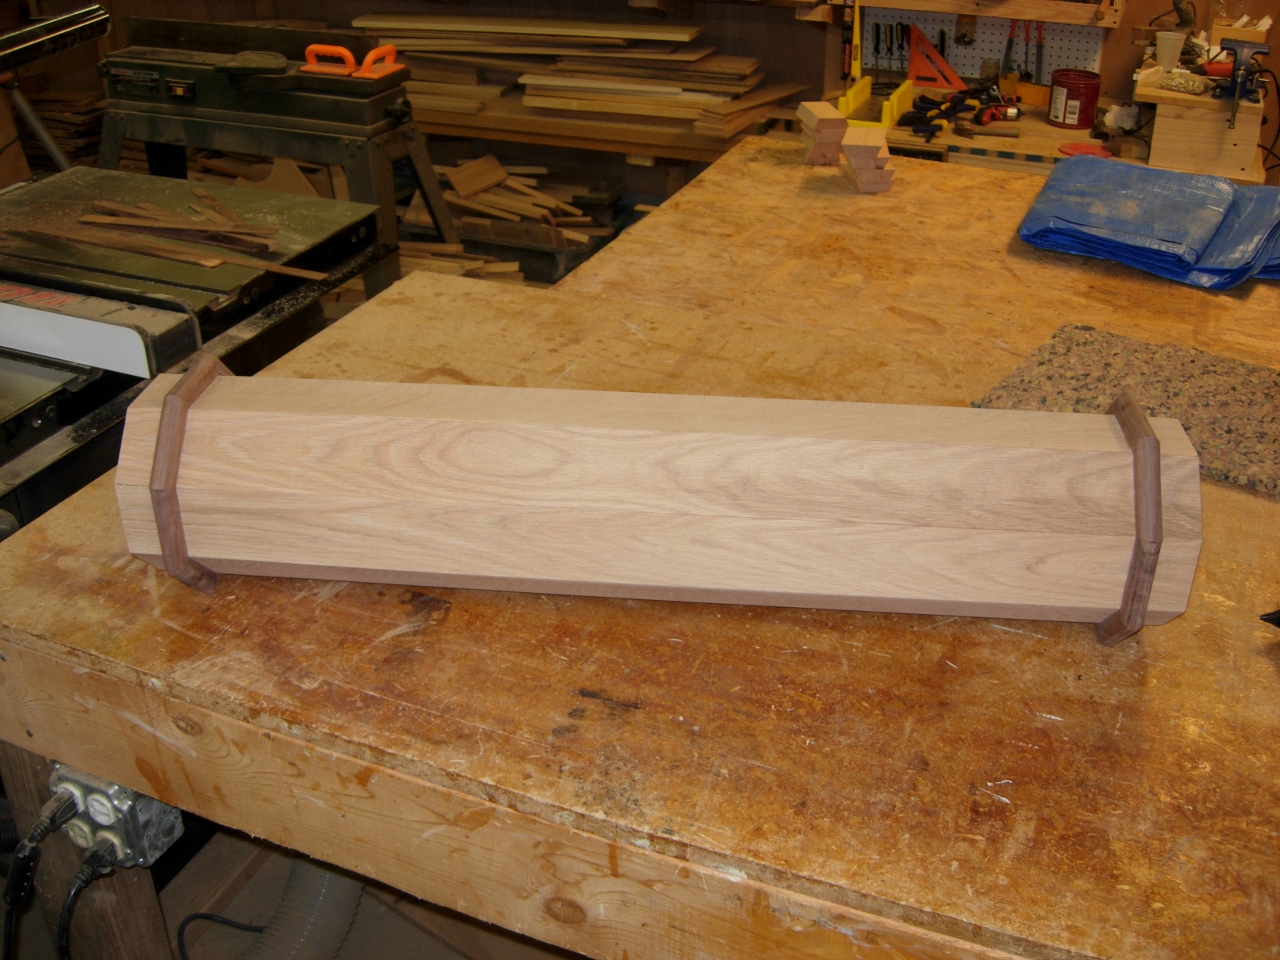
Both ends done
