
Octagonal column prototype
My next big project, coming up, is a new altar for the chapel at my church. I have a concept that I am working from, but the design is not yet complete. I need to make a couple of mock-ups to test the feasibility of a few items. The first item that I am going to tackle is the columns. I will need seven 36″ tall, 7″ diameter columns. Four for the corners of the altar and three for the matching stand for the tabernacle. After the last column test, a few posts back, I have decided not to do round columns. Instead, I am going to do octagonal oak ones, hopefully with a bead of walnut accenting the top and bottom.
Cutting to length
My test column is going to be 36″ tall. I start out by cutting down some 3/4″ white oak to the required length.
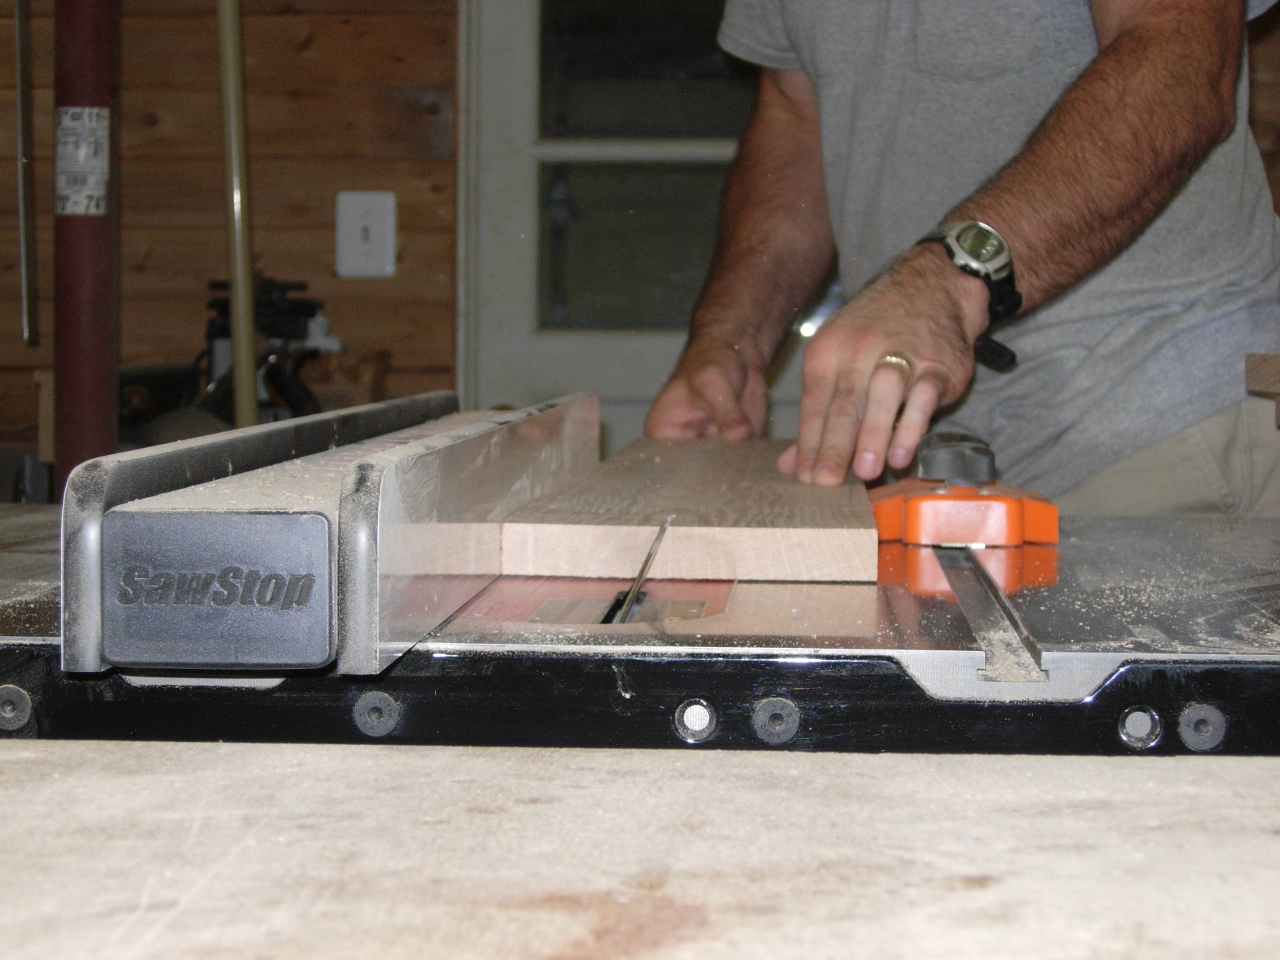
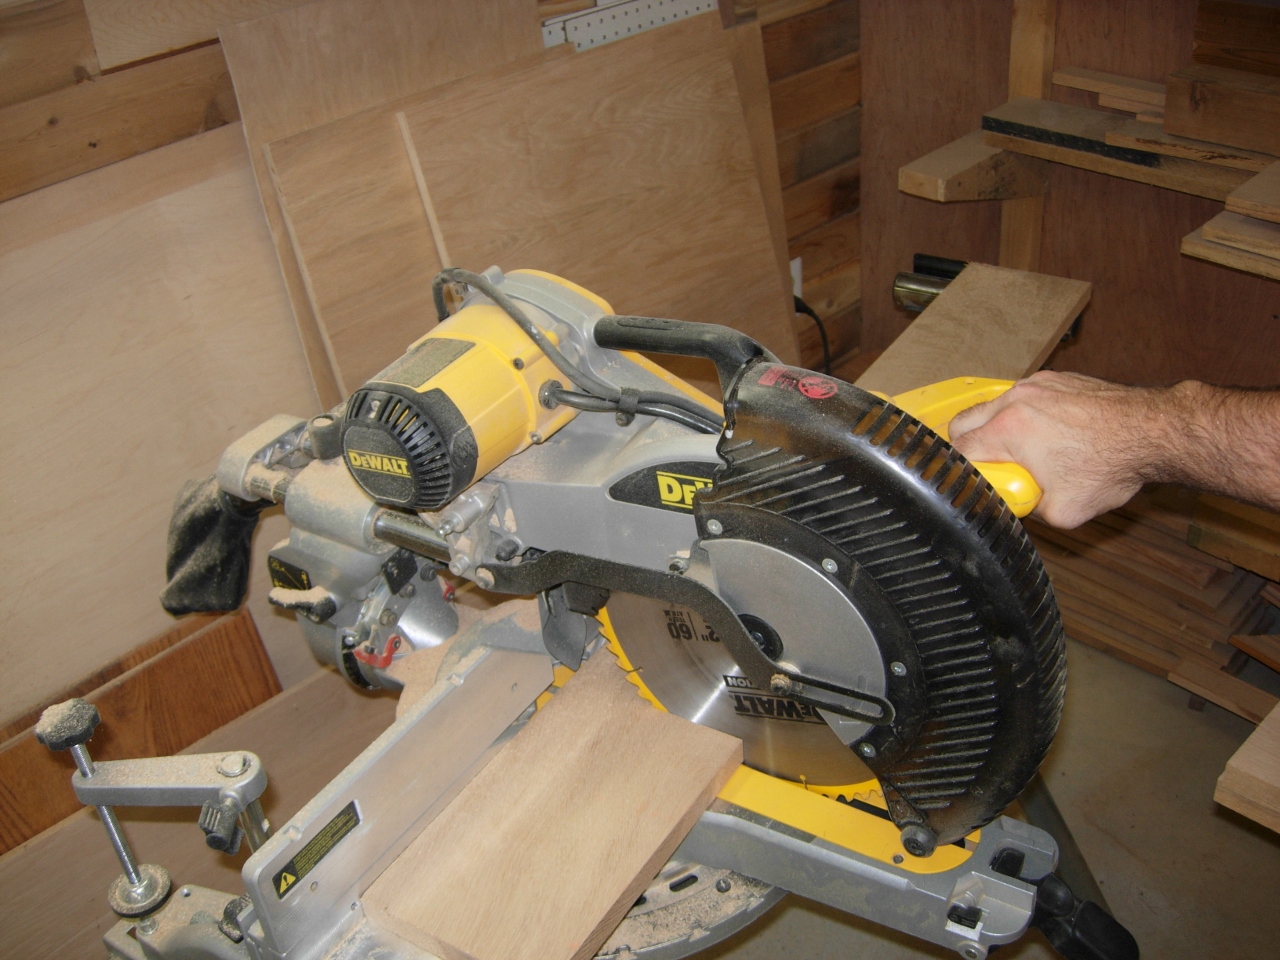
First 22.5 degree cut
Next, I rotate the table saw blade to 22.5 degrees. I set the fence so that it was 2 3/4″ away at the top then take the first cut. When done, I flipped the board around and cut the same angle on the other side. This gave me my first slat. I proceeded to make seven more.
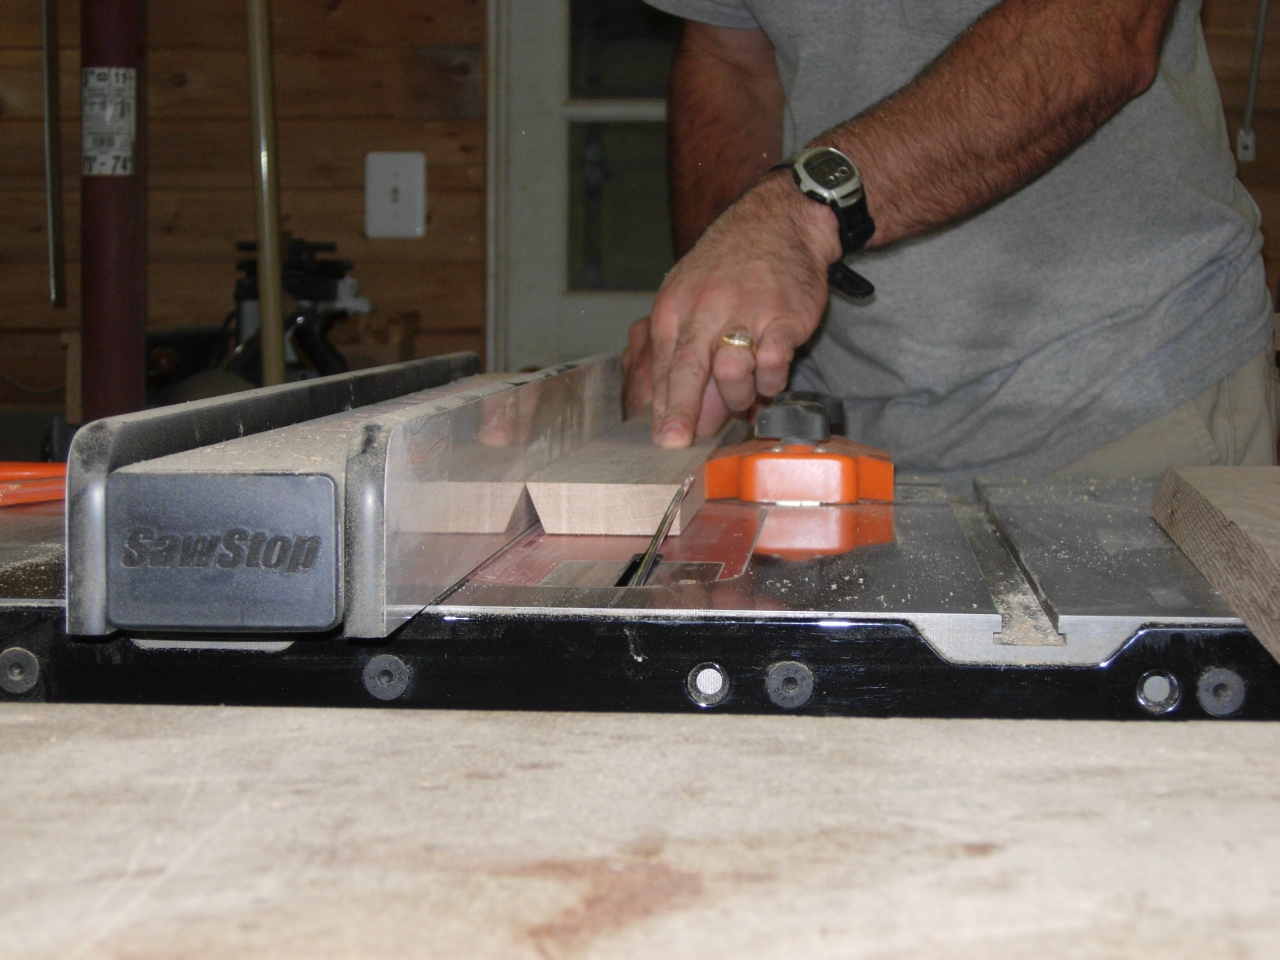
Second 22.5 degree cut
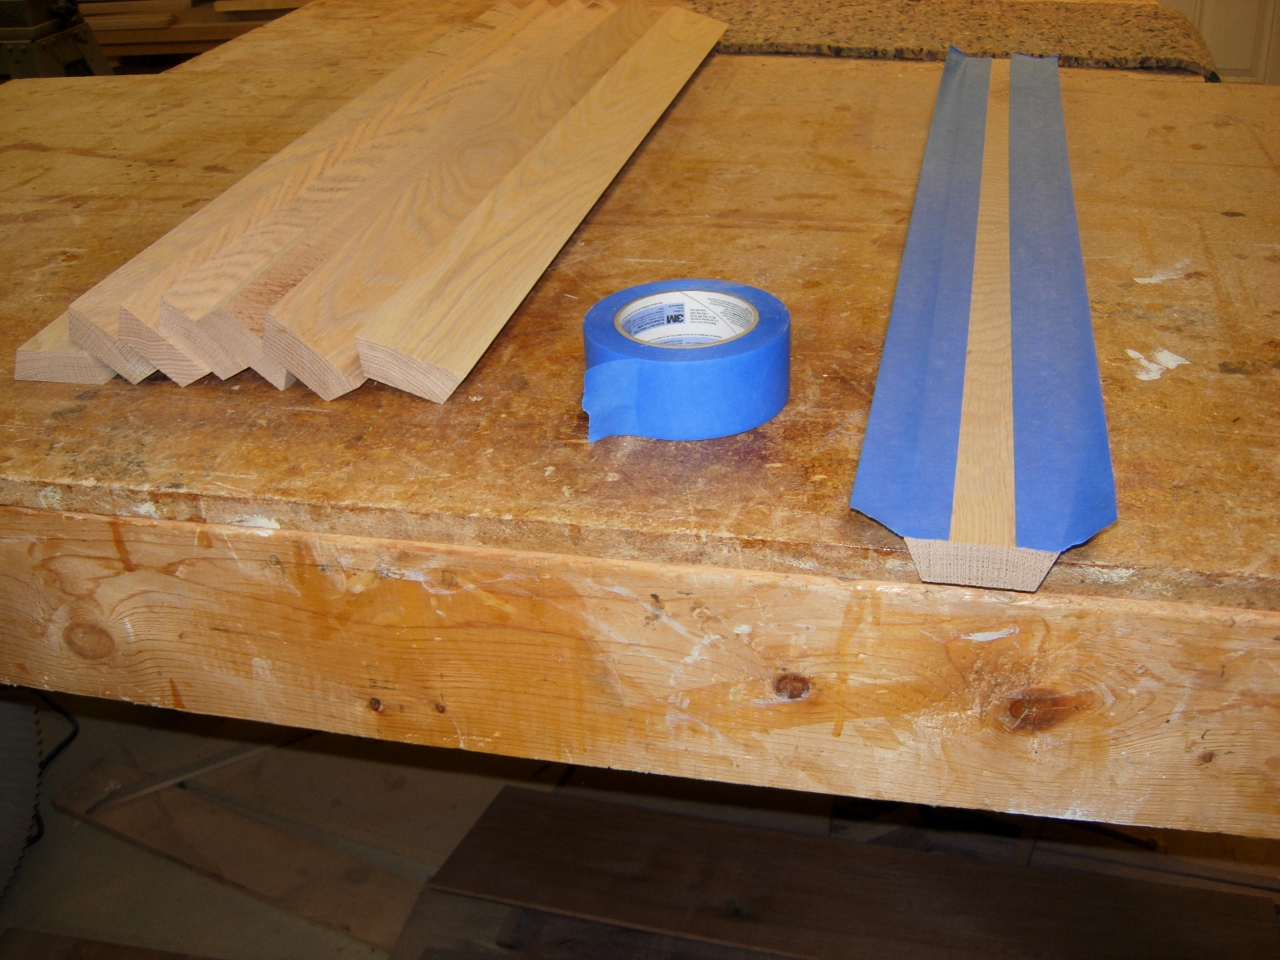
Painter’s tape on the back
After sanding down any rough edges, I applied a 2″ wide piece of painter’s tape to each side of the board, taking care to center the tape over the edge. I only needed to apply one piece of tape to each subsequent board and stick the other side down to the previous one.
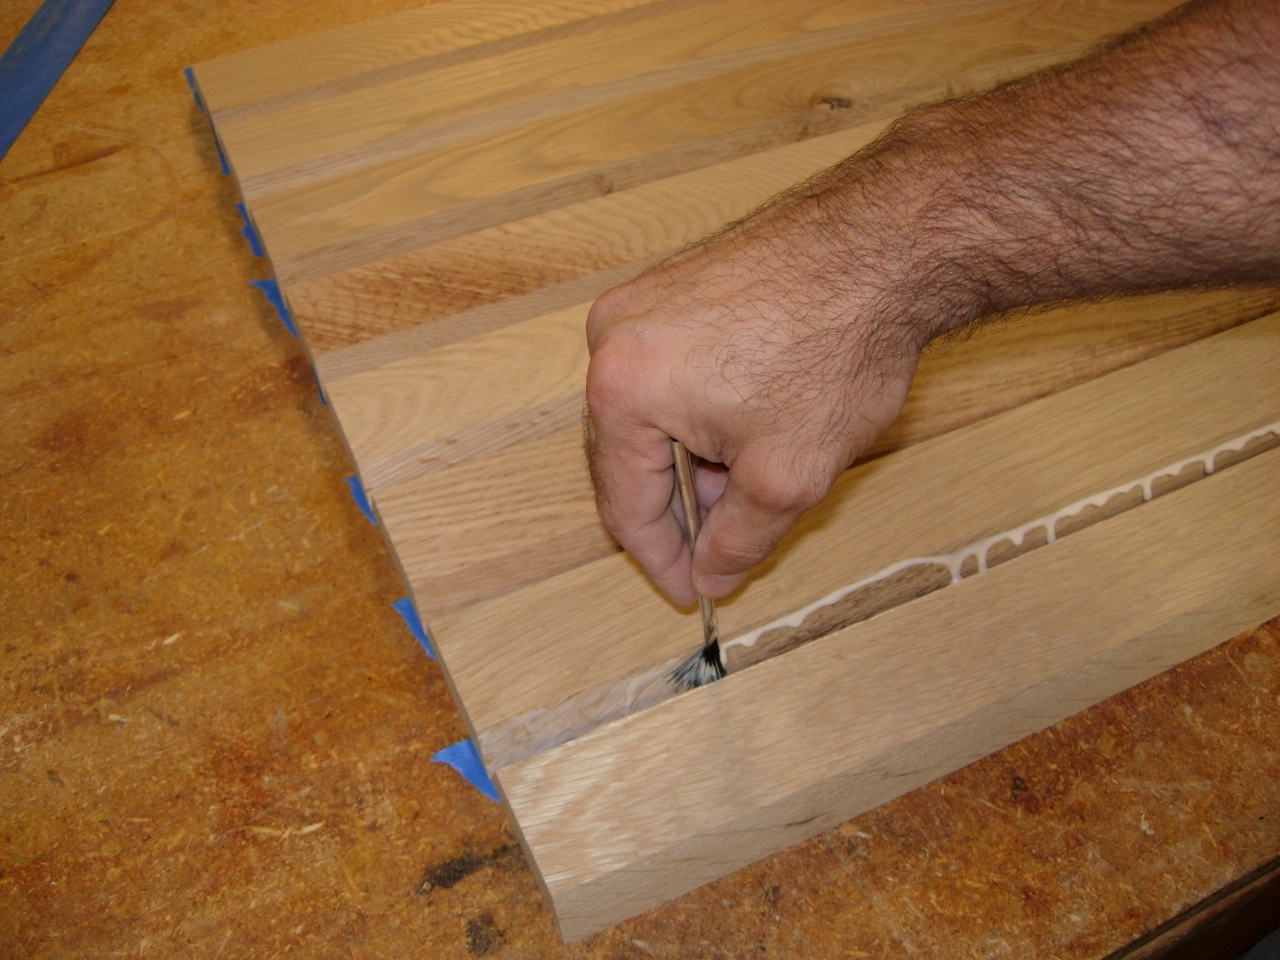
Spreading the glue
When all the slats were stuck together, I spread wood glue along each inside faces. Since this is a time-consuming process with the little brush, I started rolling up the slats that I already applied glue to, just to prevent them drying out on me.

Roll it before it dries
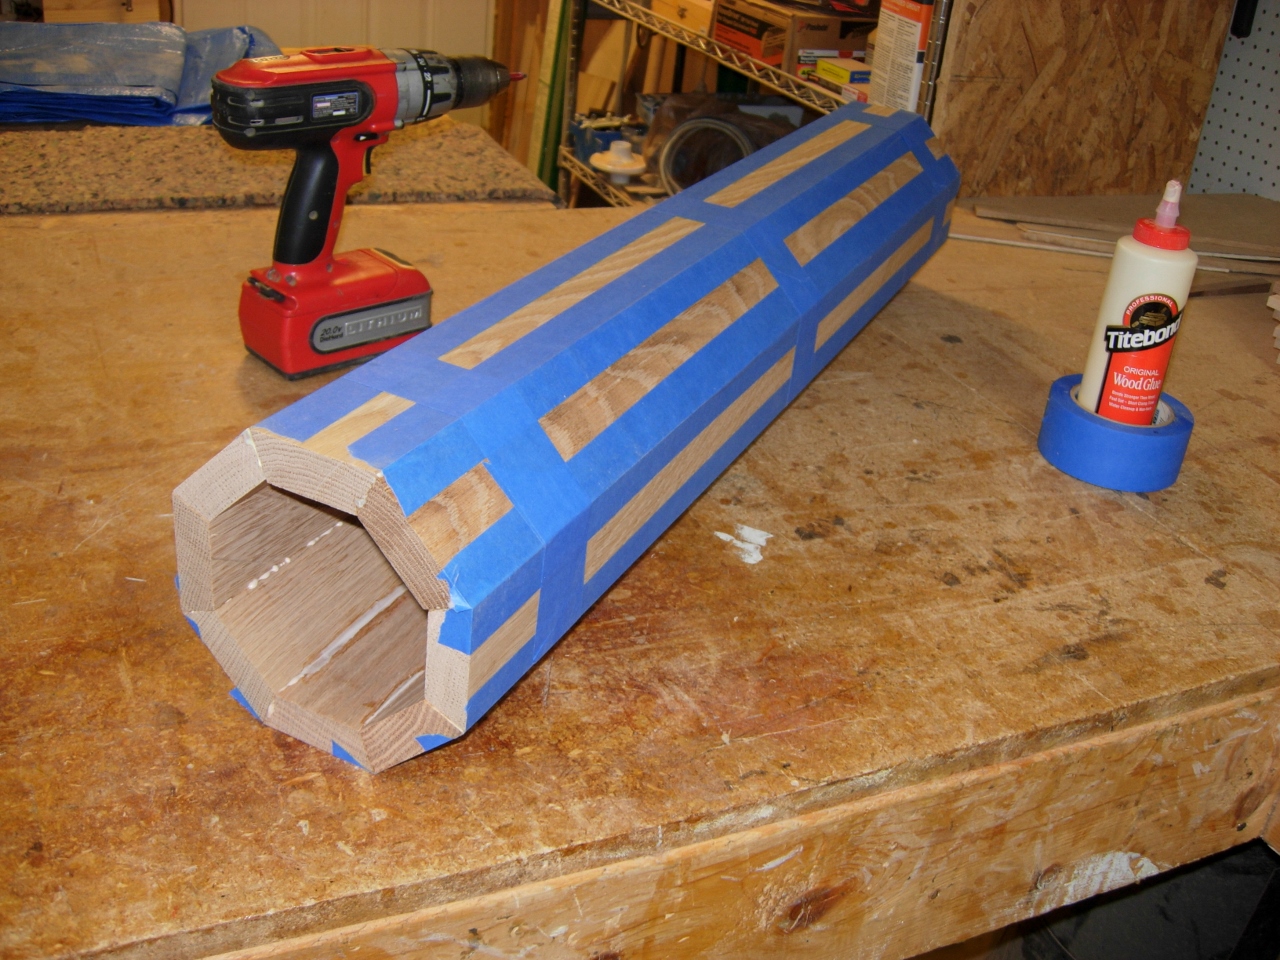
Rolled up and taped
With all of the glue applied, I rolled it together and sealed it up, applying additional strips of tape around the body at the middle and on the ends. It seems to have gone together well enough for my purposes. Since it is nearly midnight, tomorrow will be soon enough to un-tape the column and see how it did.
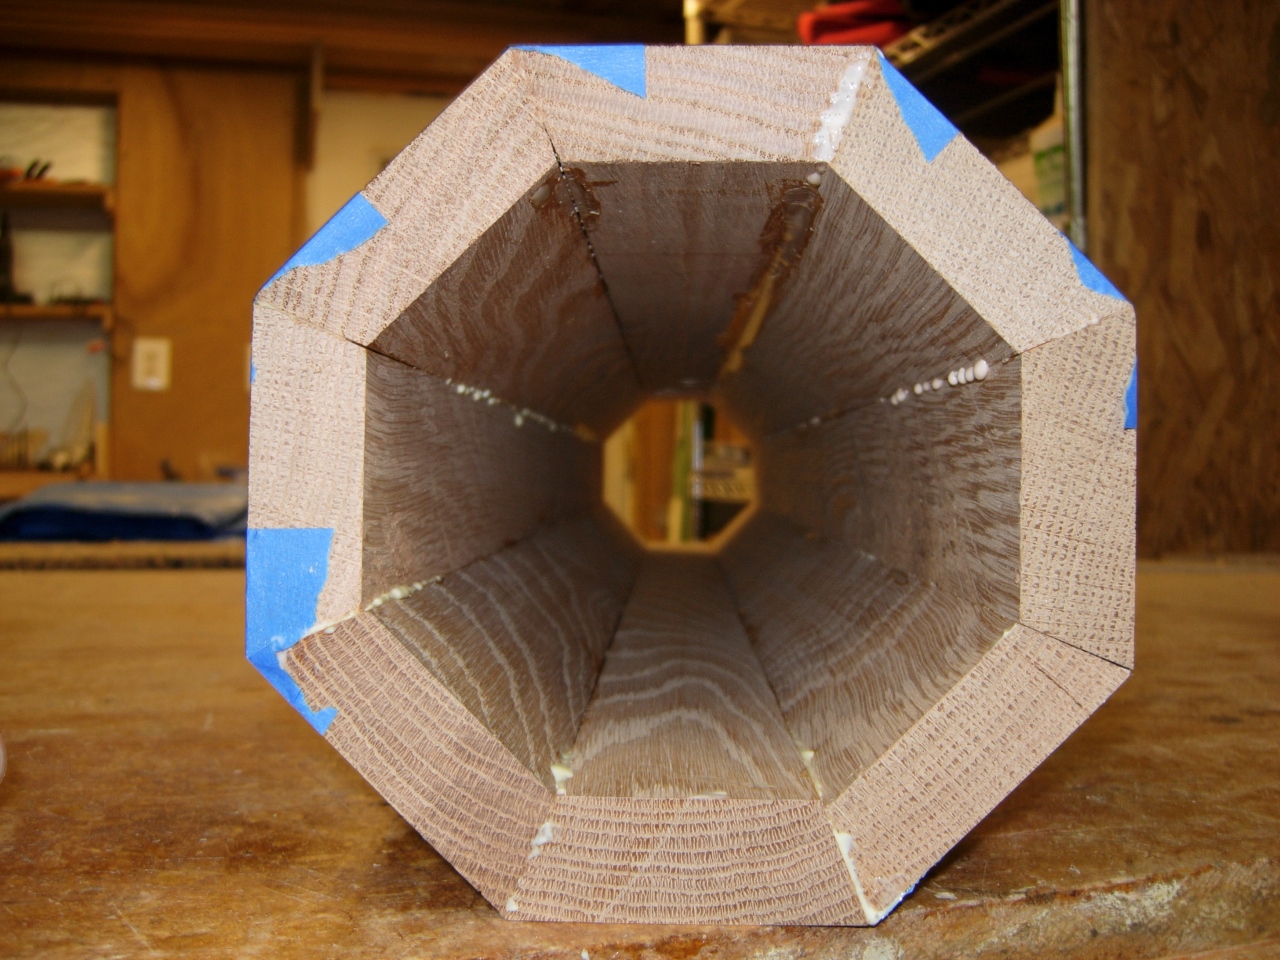
End shot
