
AJ’s custom Stratocaster – day 7
I wanted to finish the guitar, but I don’t have all the purchased components yet. The main item I need now is the neck. I have an Ibanez neck that is sized differently than the Gibson neck that I intend to use. So I compared it to my son’s guitars. The Ibanez neck was wider and a little deeper, so I planed down the sides a little at a time until I achieved the same width. I am only using this neck to size the width of the pocket so I am not worried about the depth. I can always remove material later, when I get the new neck. My mock-up neck showed me a few areas that needed a little wood removed, so I planed and sanded till it was acceptable.

Fitting the neck
With the pocket sized, I proceeded to finish sanding the horns of the guitar by hand then I went back over the entire guitar, hand sanding down to 400 grit. The body is now silky smooth and ready for finishing.
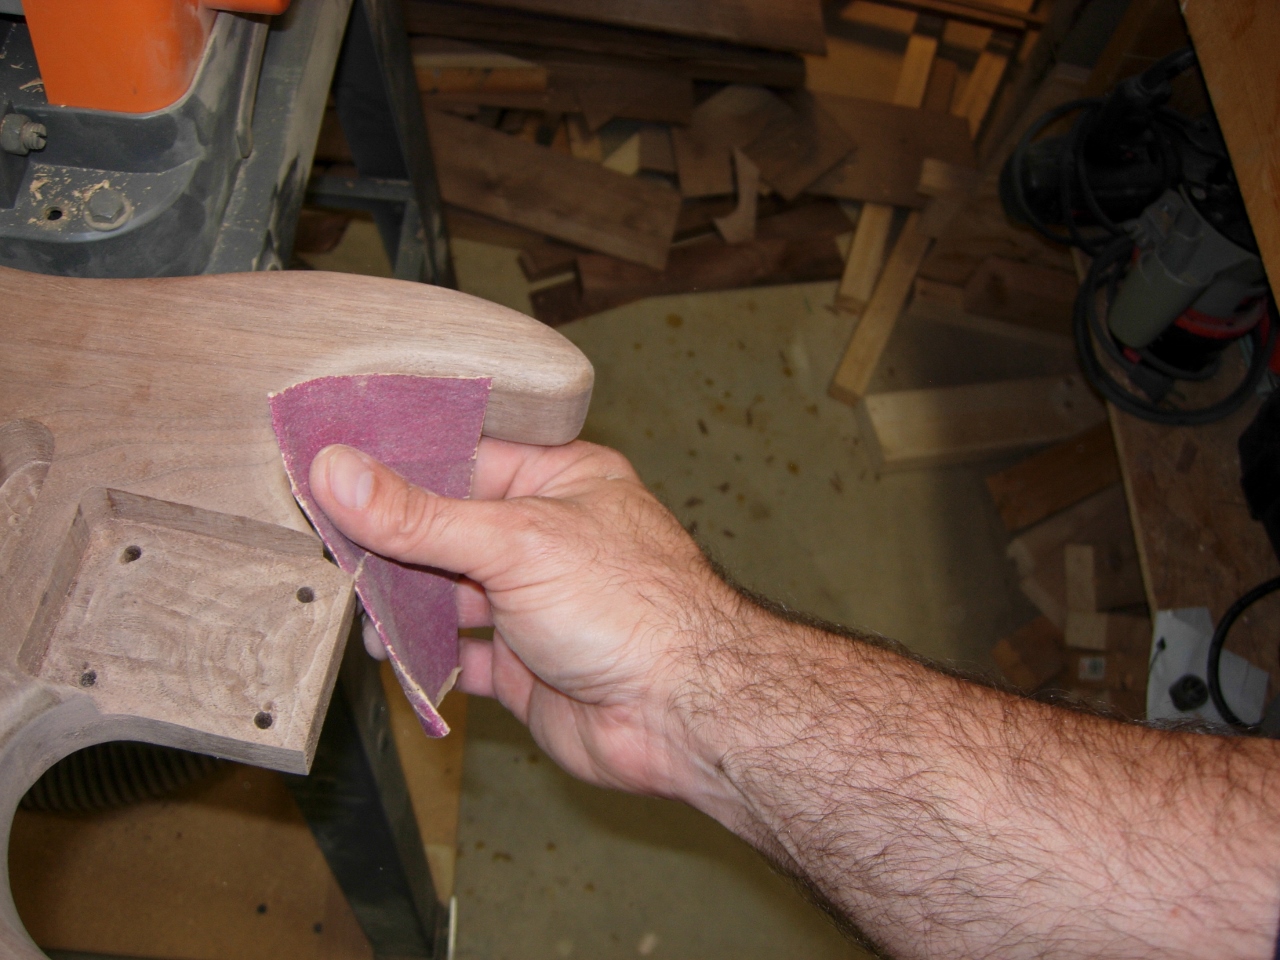
Sanding the horns

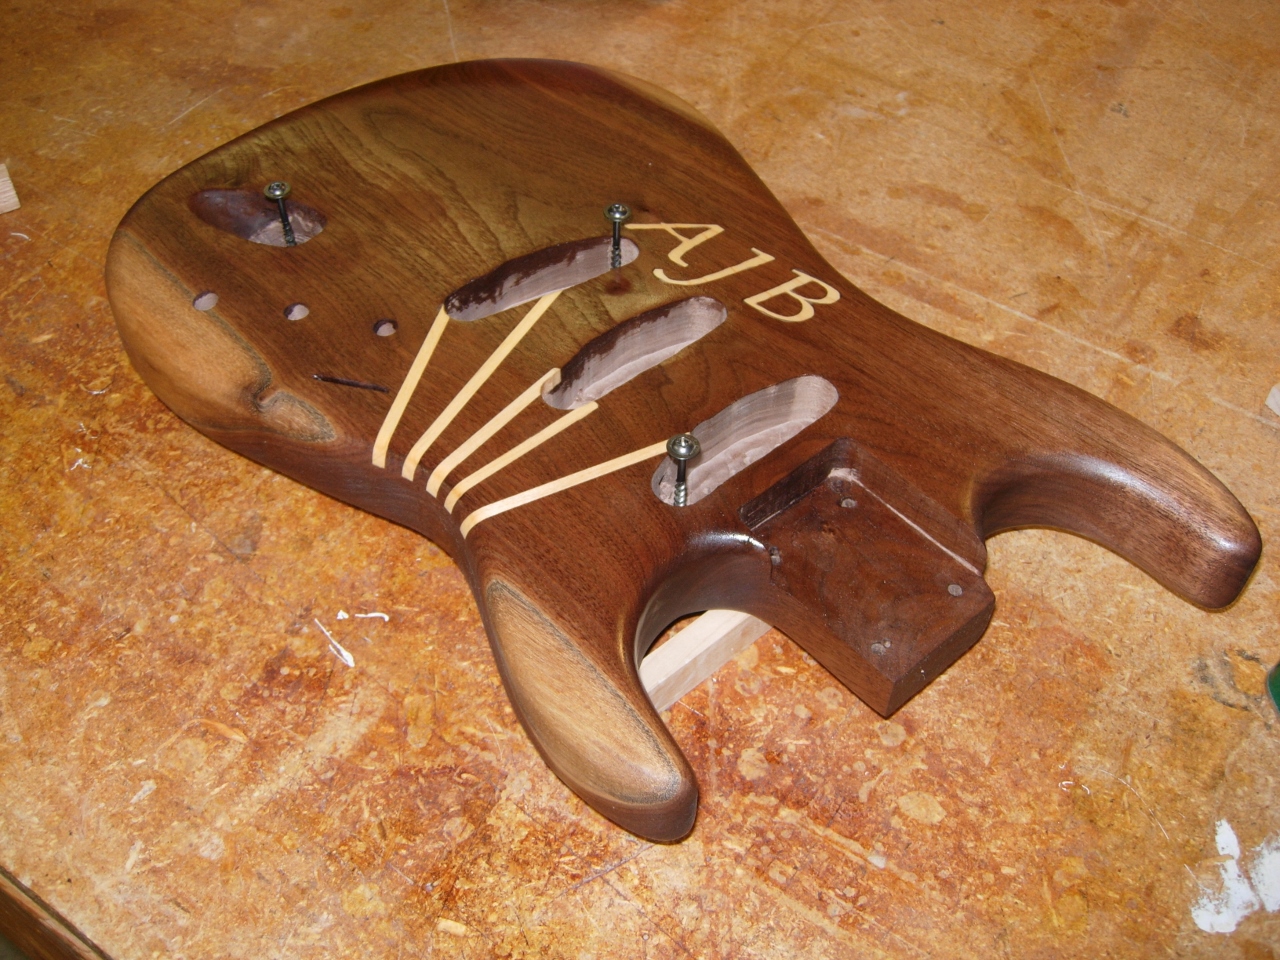
Cabinet screws for stand-offs
I enjoy building these projects, but my least favorite part is the finishing. I tend to try to hurry the process along. In order to speed things up, one thing I do is figure out a way to finish both sides at once. When I cut out the pockets for the jack and the pick-ups, the forstner bits left behind some holes from the pilot point on the bit. I utilized some of these holes to set some cabinet screws to use as stand-offs.

Close up

First coat of Tung oil
The finish I am using is Tung oil. I like to use it on the guitars because it soaks into the surface of the wood before hardening. This leaves a protected glossy surface, but you can still feel the grain of the wood. It doesn’t feel like a piece of plastic when you are finished. I simply pour out a small amount on the guitar or old piece of t-shirt and spread it around. After a minute or two, I wipe off all of the excess.
Top finished
When the front is done, I flip the guitar body over and stand it on the screw heads, then finish the bottom in the same manner. I can do two to three coats a day in this fashion, if I have the time. I plan on applying six coats just to have as much protection as possible without achieving the plastic feel it would eventually get if I kept applying. You may notice that I left all of the pockets unfinished. This was intentional. The control pocket on the rear will be lined with adhesive copper shielding, and I know it sticks to wood, but I don’t know about the Tung oil. The pockets on the front are left unsealed so that the wood of the guitar can continue to dry out. This will cause the guitar to get a little lighter and mellow its tone over time. The walnut I have chosen for this project has been air-dried in a barn for over ten years, but it doesn’t hurt to let it dry out a bit more.

Back side finished
