
AJ’s custom Stratocaster – day 6
I found some time to play down in the shop last night. I was determined to make some headway on AJ’s guitar.I started by locating the centers of the holes for attaching the neck. I center punched the holes to make sure I drilled at the correct locations.
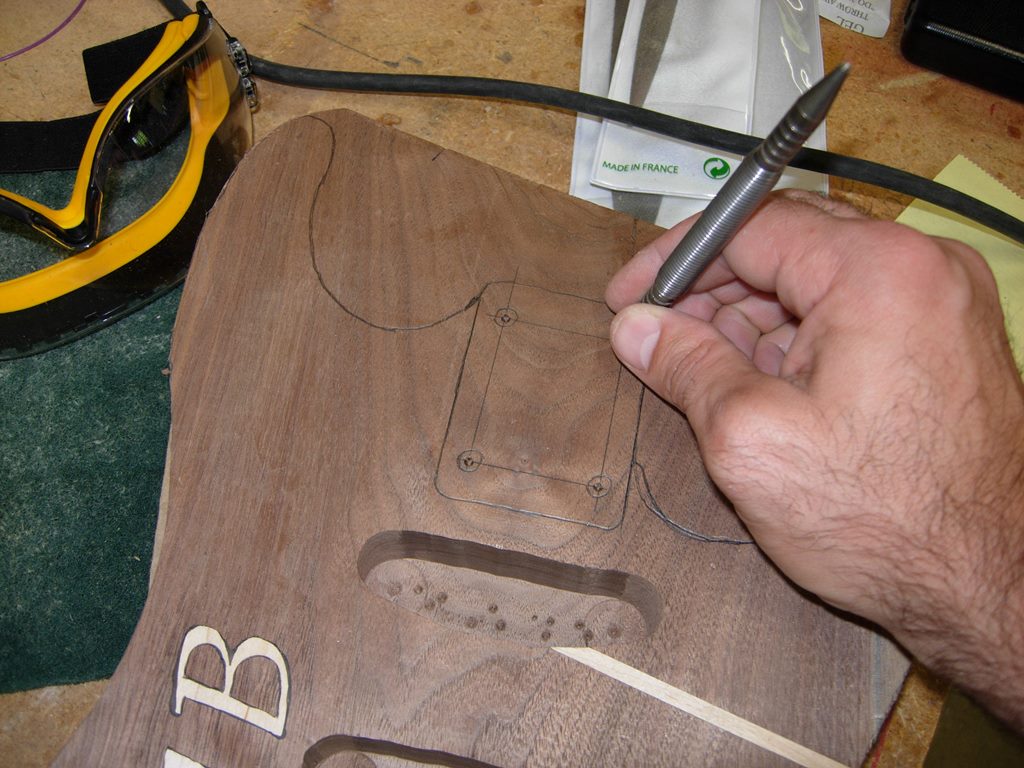
Center punching screw holes
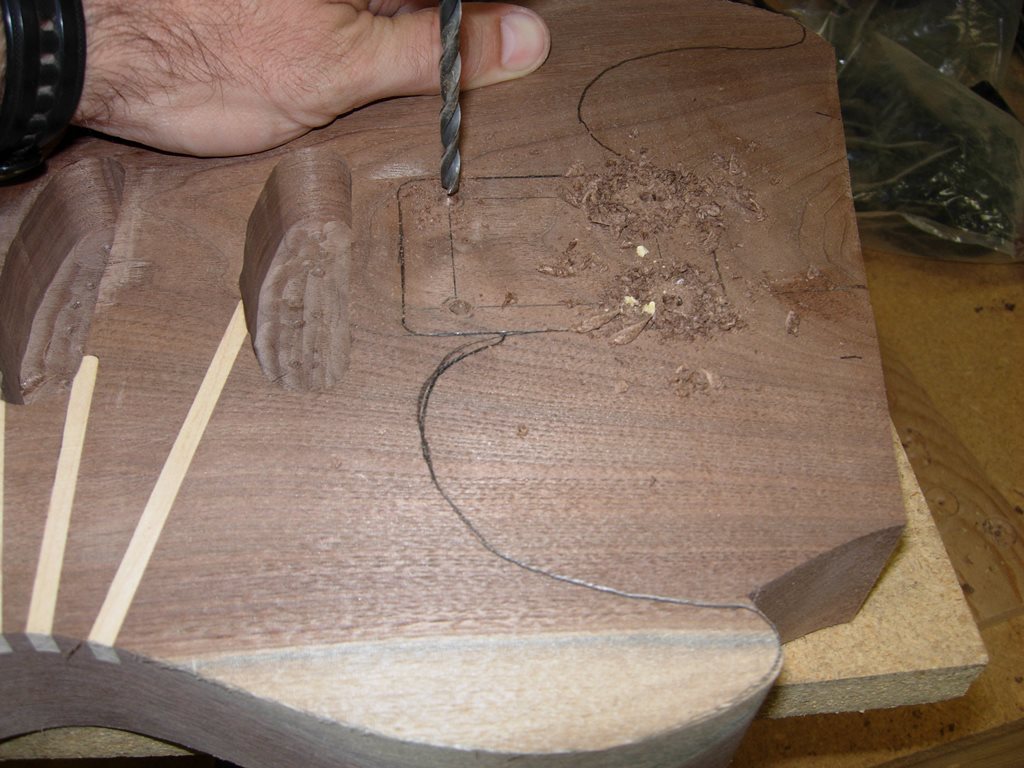
Drilling the screw holes
I used a bit just slightly larger than the screws I would be using and drilled all the way through the body. I used the drill press so the holes would be perfectly perpendicular to the surface of the guitar.
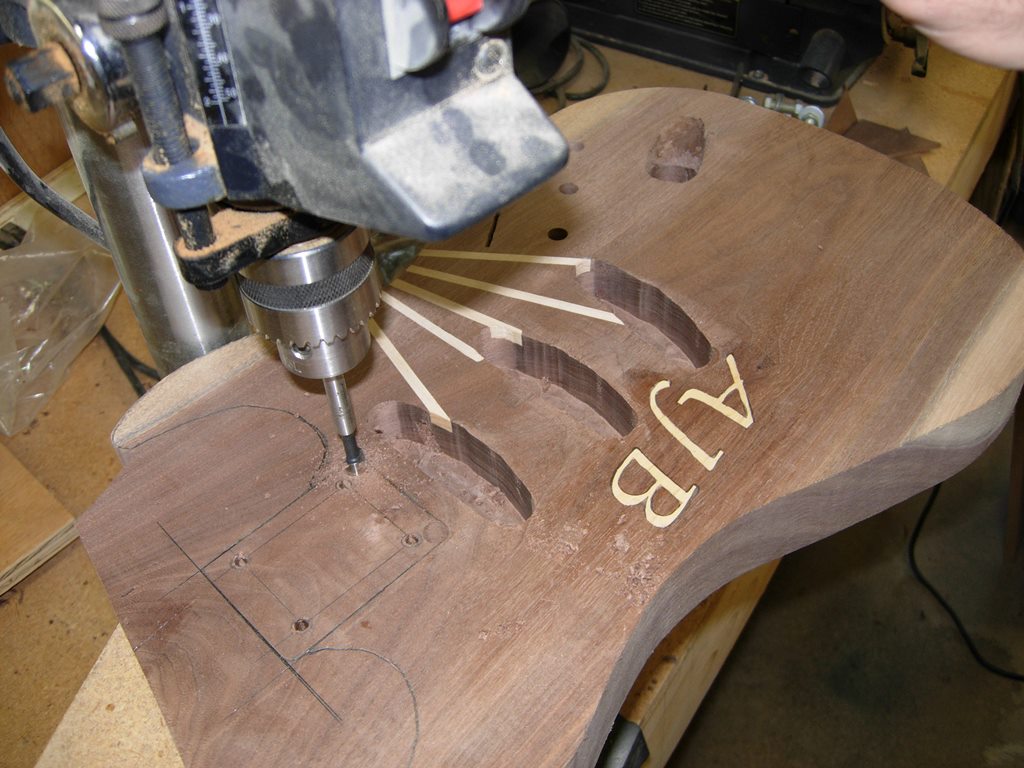
Cutting corners
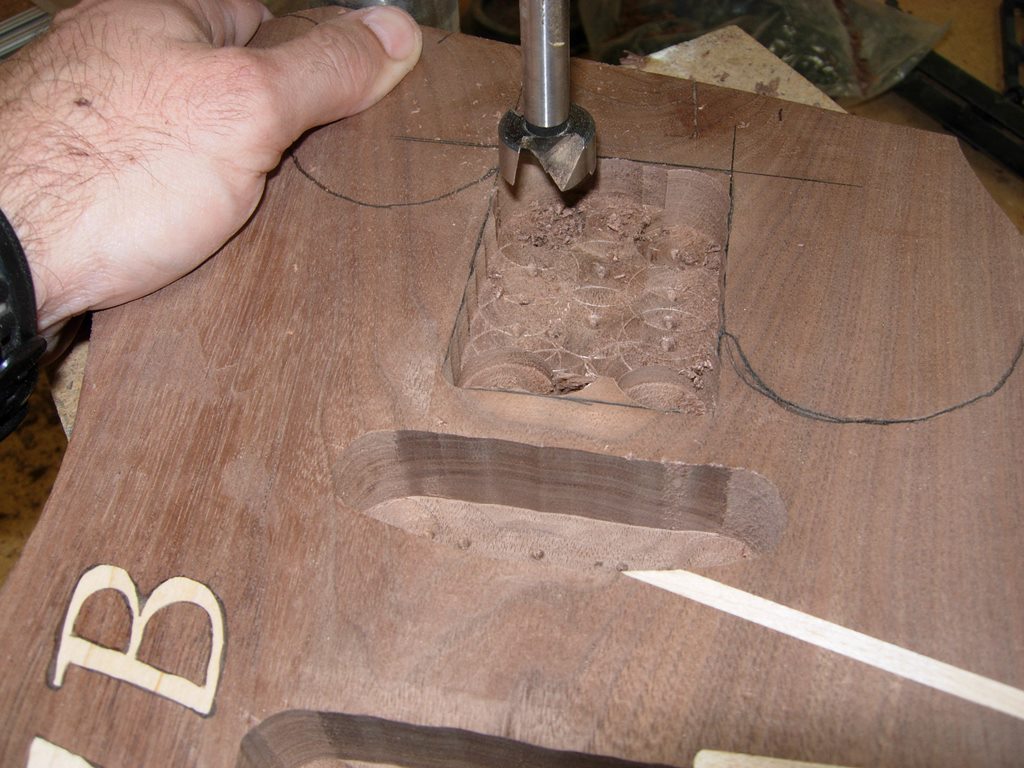
Next I switched to my forstner bits to drill out the inside corners and hog out a majority of the material in the neck pocket. I have already broken one router bit, I didn’t want to break another so I am trying this method to remove waste material.
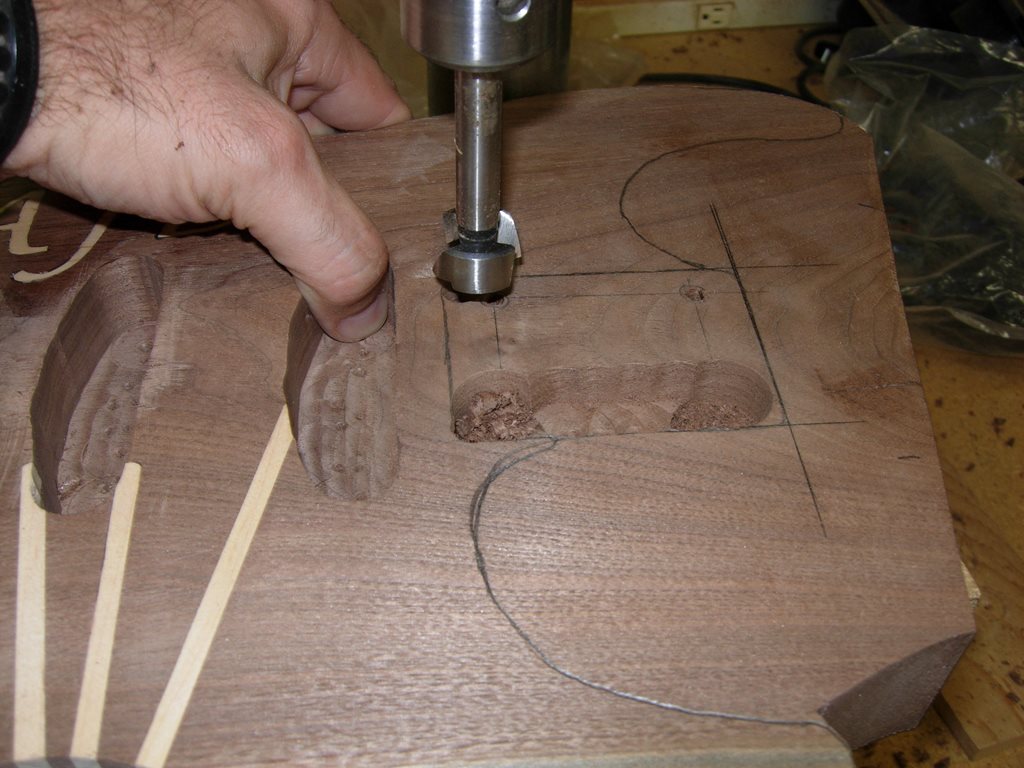
Hogging out material
Neck pocket roughed out
With the neck pocket roughed out, I switched back to a router to clean out the rest of the pocket.
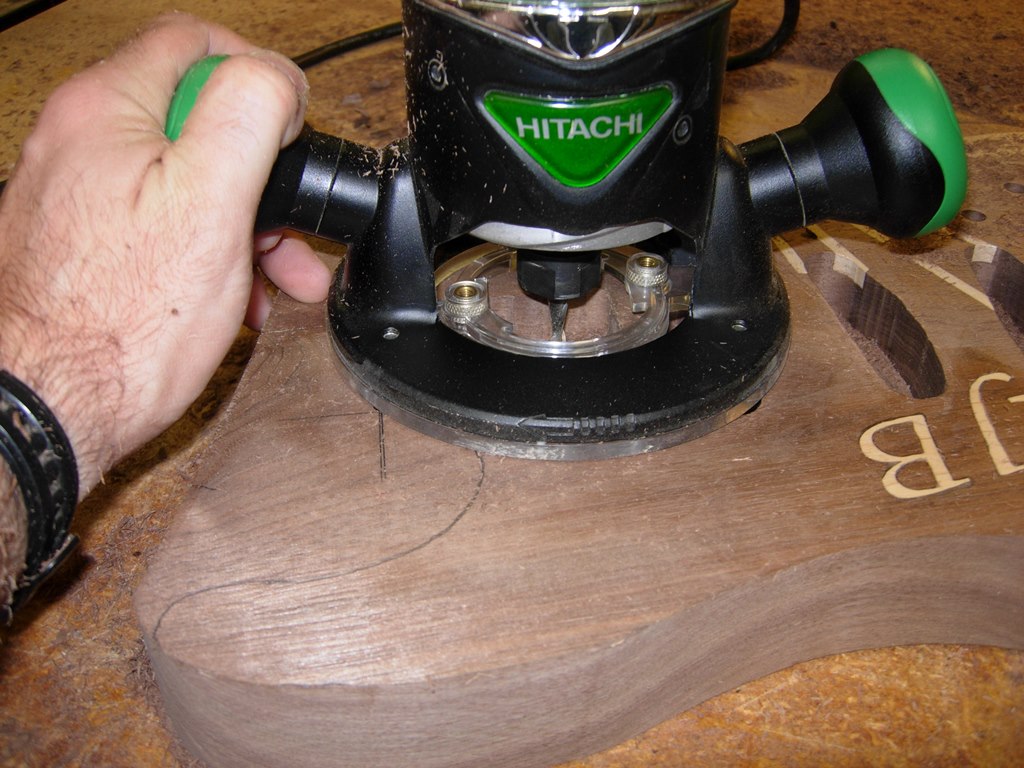
Routing the rest of the neck pocket
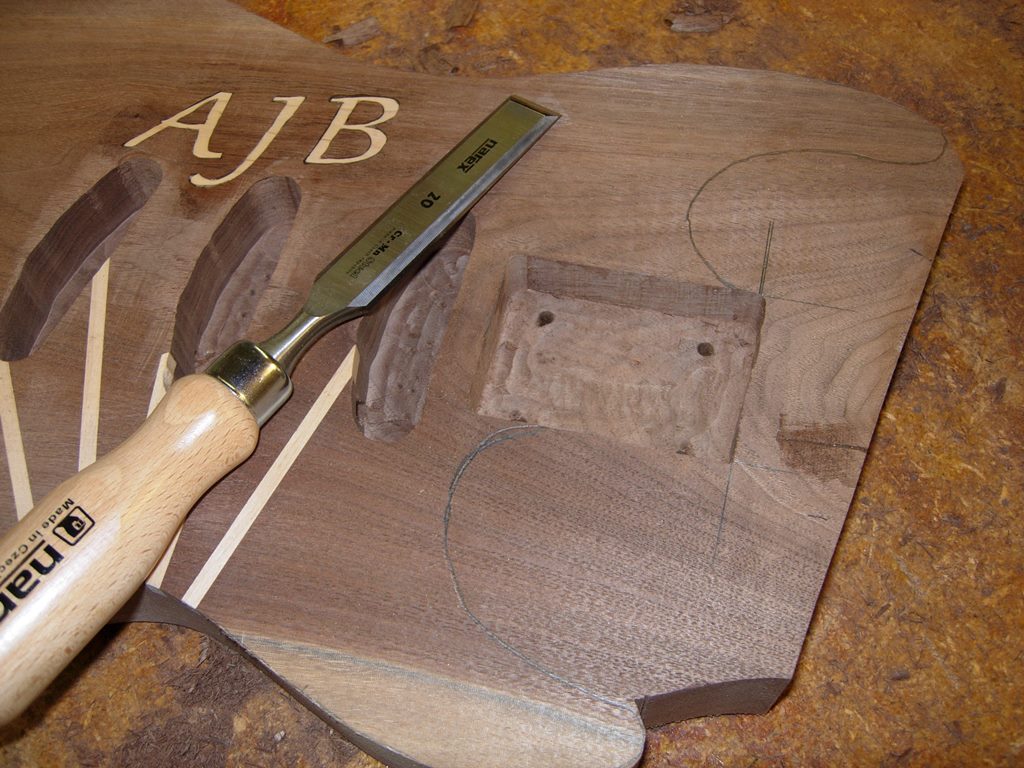
Pocket finished
Now that the pocket is cut out, I can remove the rest of the material at the top of the guitar. I left it there so I had a stable base for the router. You can’t cut a flat pocket without a flat surface the set the router on.
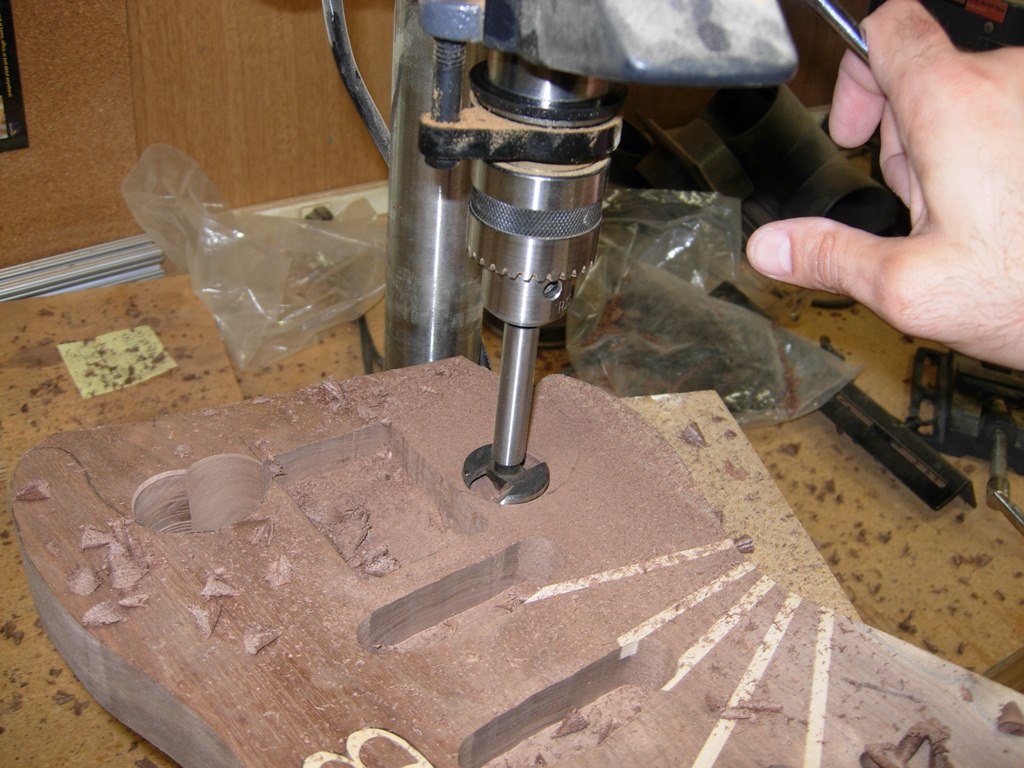
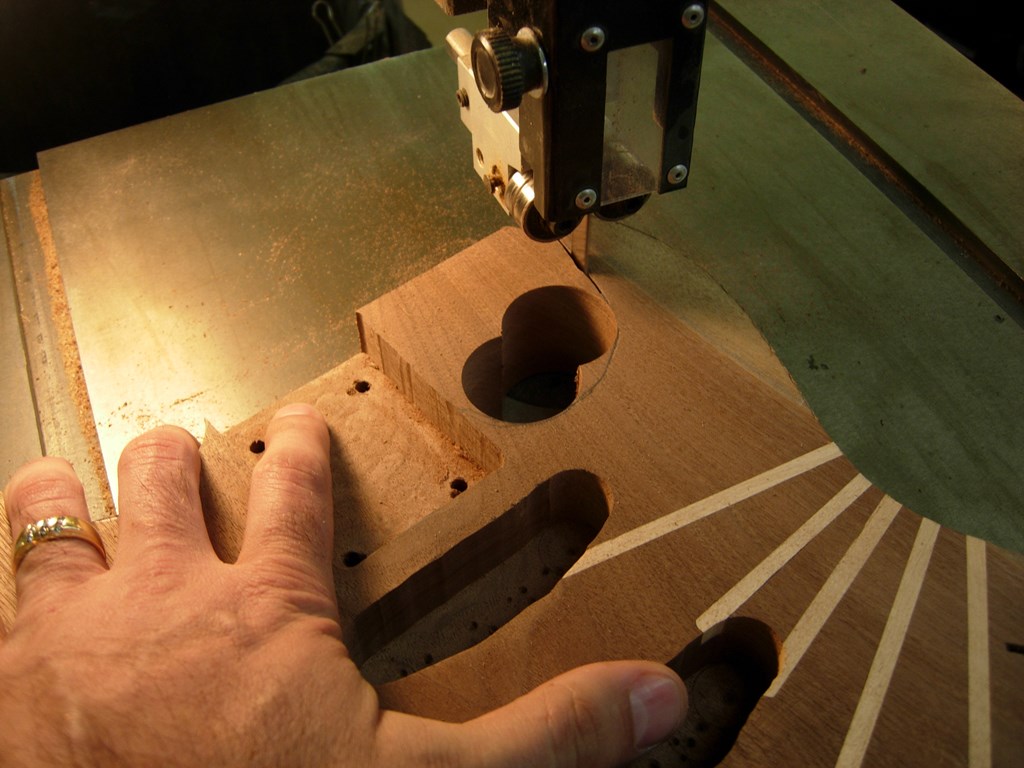
Relief cuts around the horns
In the past I have cut multiple relief cuts into the coves between the horns, but I am trying something different today. I used my largest forstner bit to place a few large relief holes along the radius instead. This gives me a lot of room to reposition the bandsaw blade. It worked really well and should reduce cleanup time with the sander. No little kerfs from the relief cuts to sand past.
Cutting out the horns
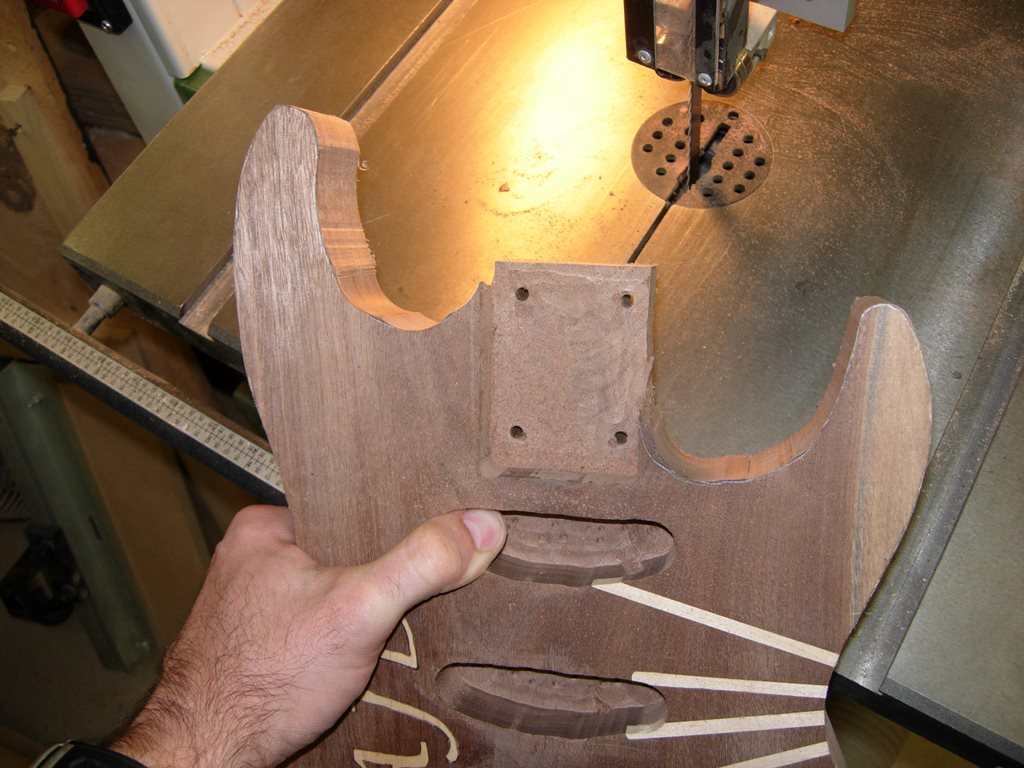
Top of guitar roughed out
Once the top of the guitar was cut out, I used the spindle sander to clean it all up.
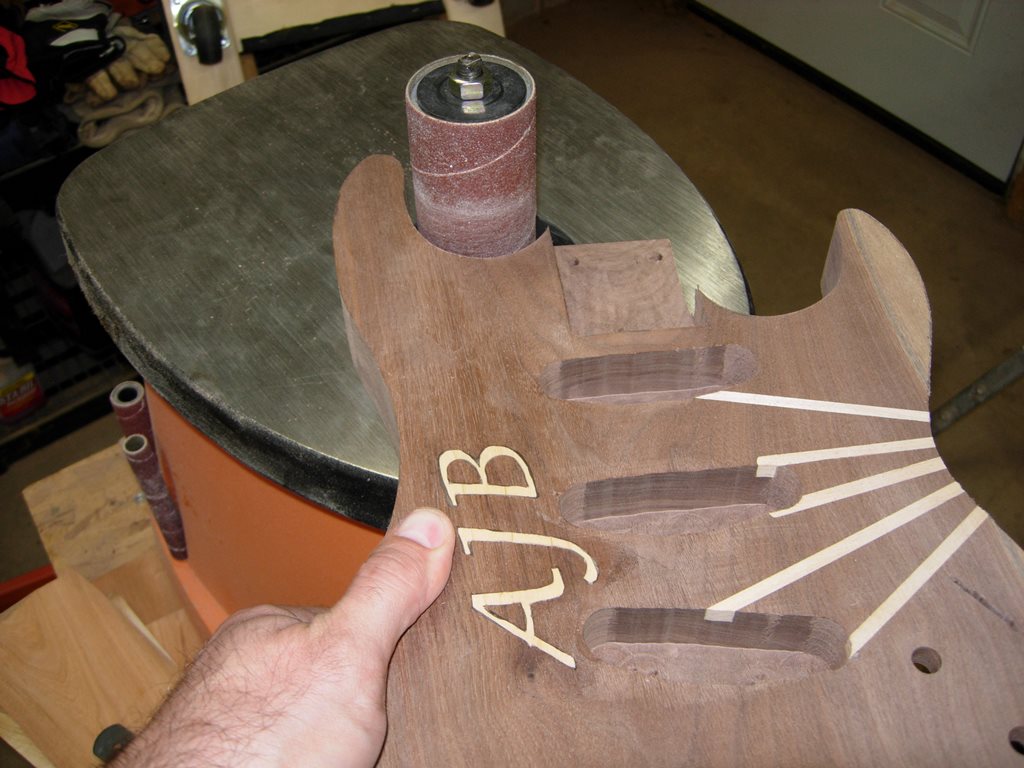
Shaping with the spindle sander

Rounding over the edges
Next step is contouring the edges. I start by sketching the top and side of the rounded edges on the body, then I run my 3/8″ round over bit around the edges in the router. This is all most of the edges need.
Edges rounded
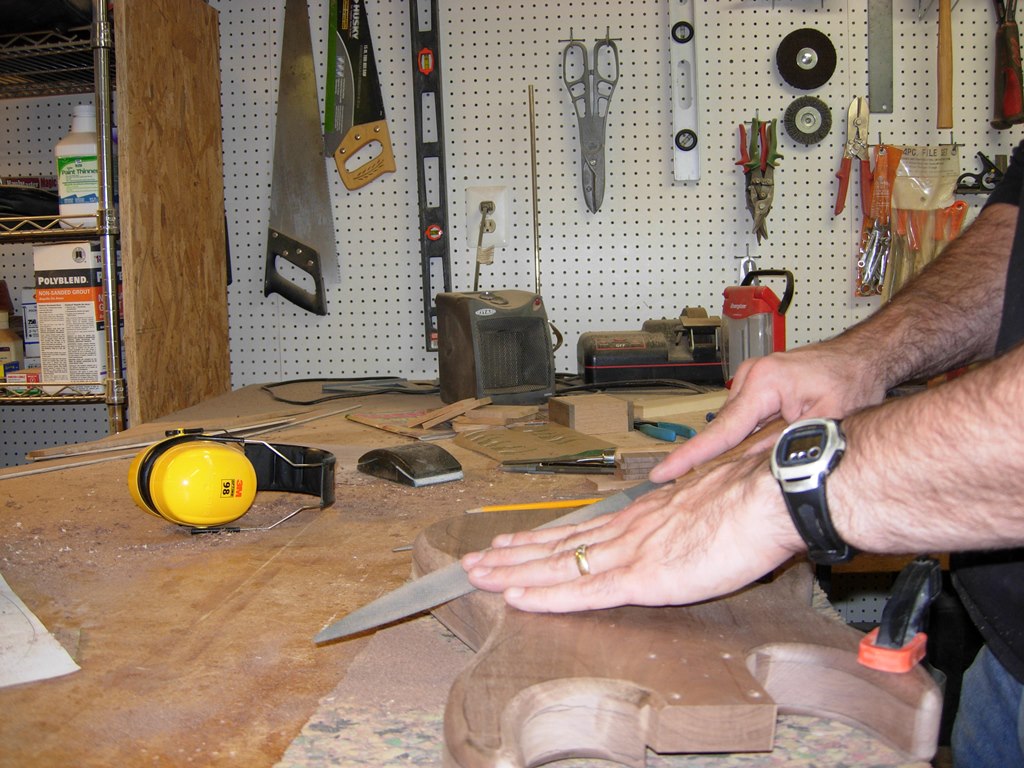
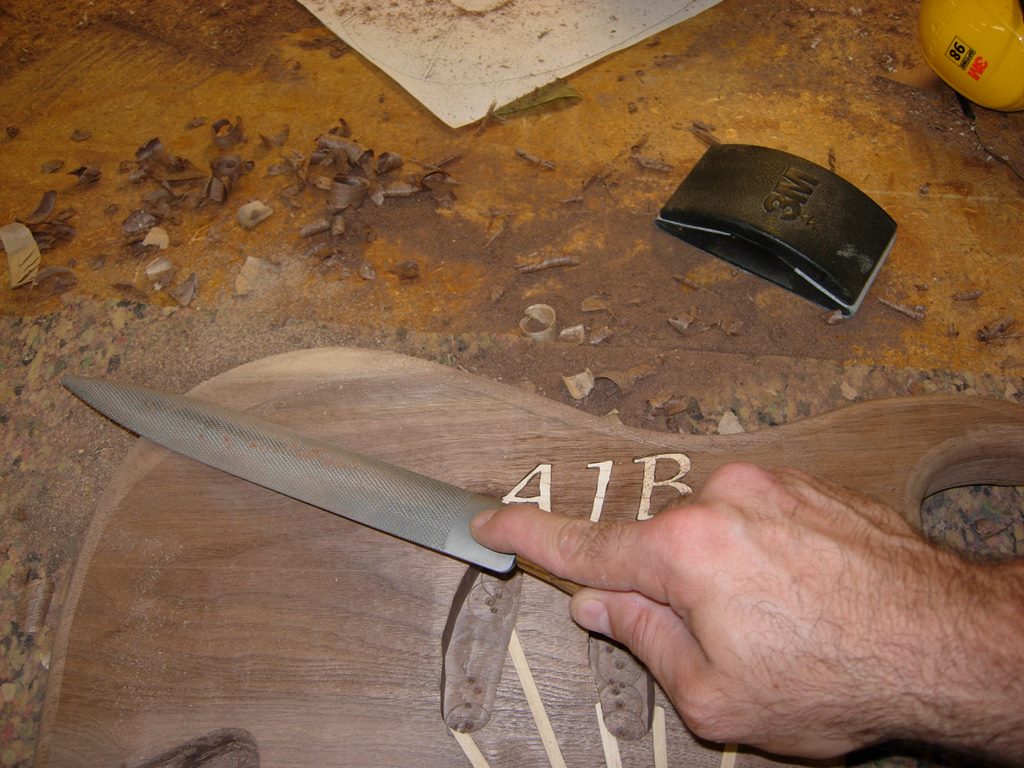
Shaping the back with a hand file
There is a large section on the back and a smaller section on the front that will need considerably more attention. I start the large section on the back with my cabinet rasp. It doesn’t go as fast as I would like, so I switch to a sharp chisel to quickly remove a good bit of the waste. With that area removed, I switch back to the cabinet rasp then step down to my finer modelers’ rasp.
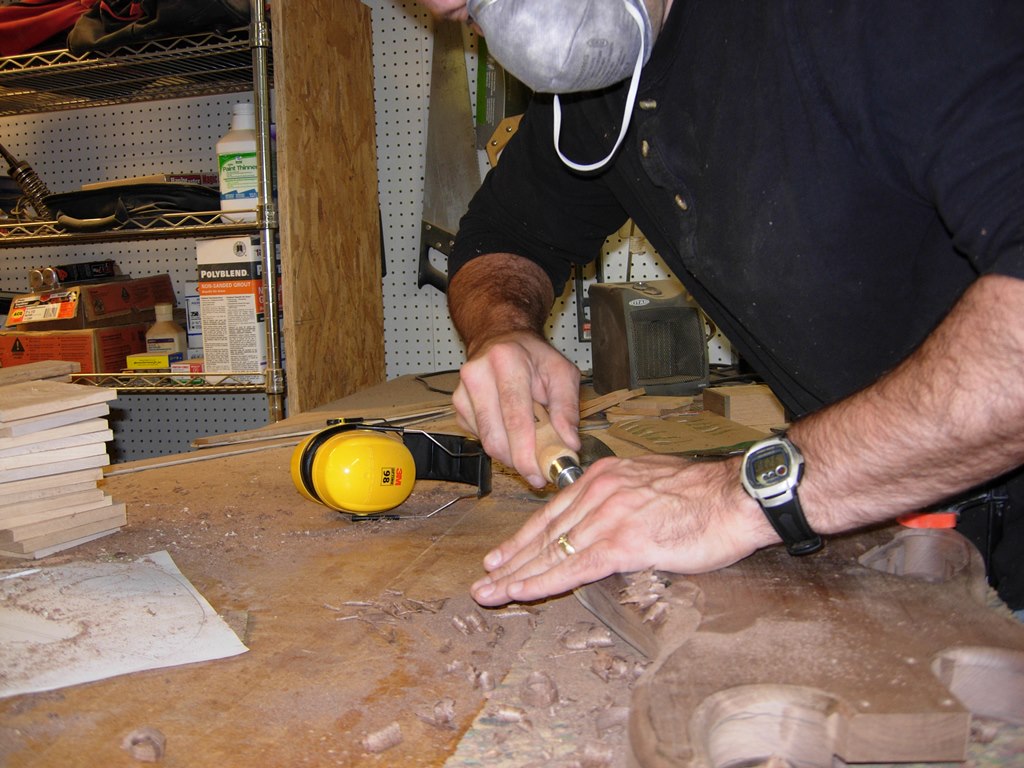
Removing wood with a chisel
Shaping the front
The back side is roughed out, and I flip the body over and start on the front. The chisel first this time then the rasps.
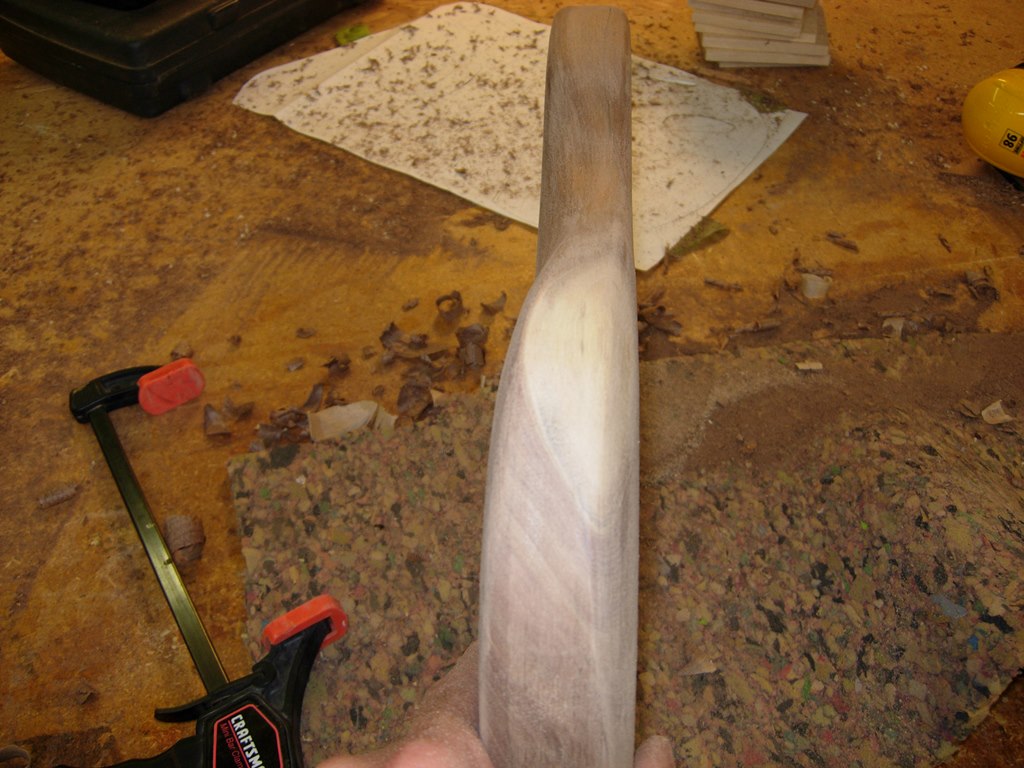
Body contoured
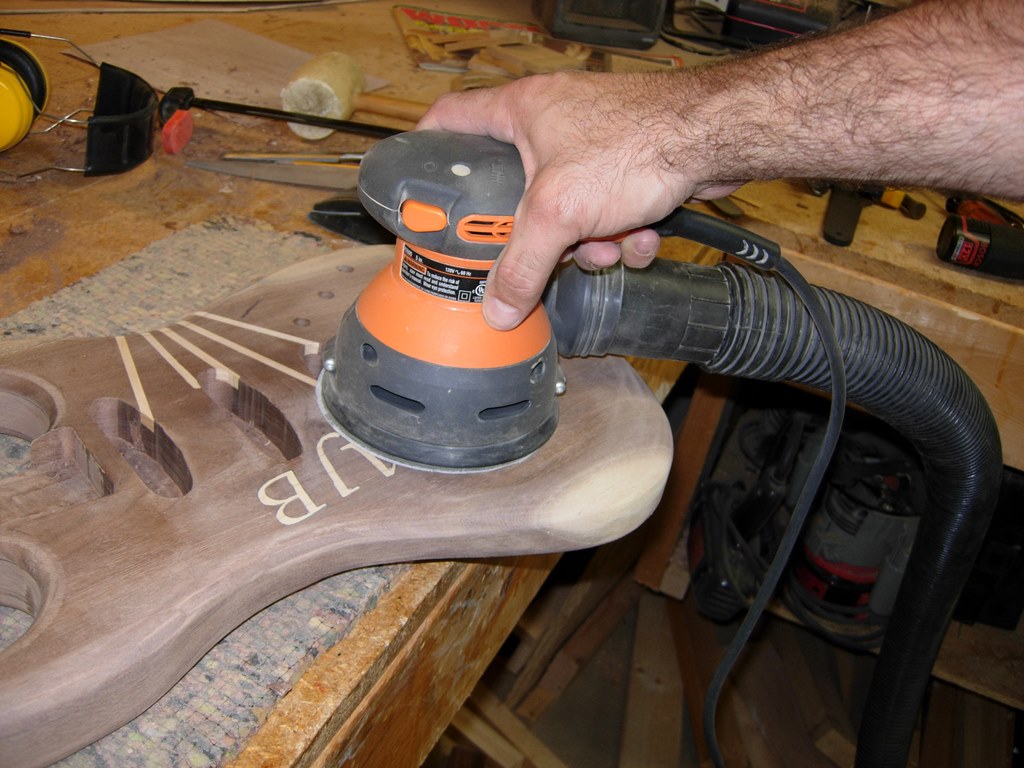
Finish sanding
With the body shaped, I get out the orbital sander and work my way from 80 grit down to 220 grit paper until the body is smooth and flowing. There will need to be a bit of sanding done by hand inside the horns, but that will be a project for another day.
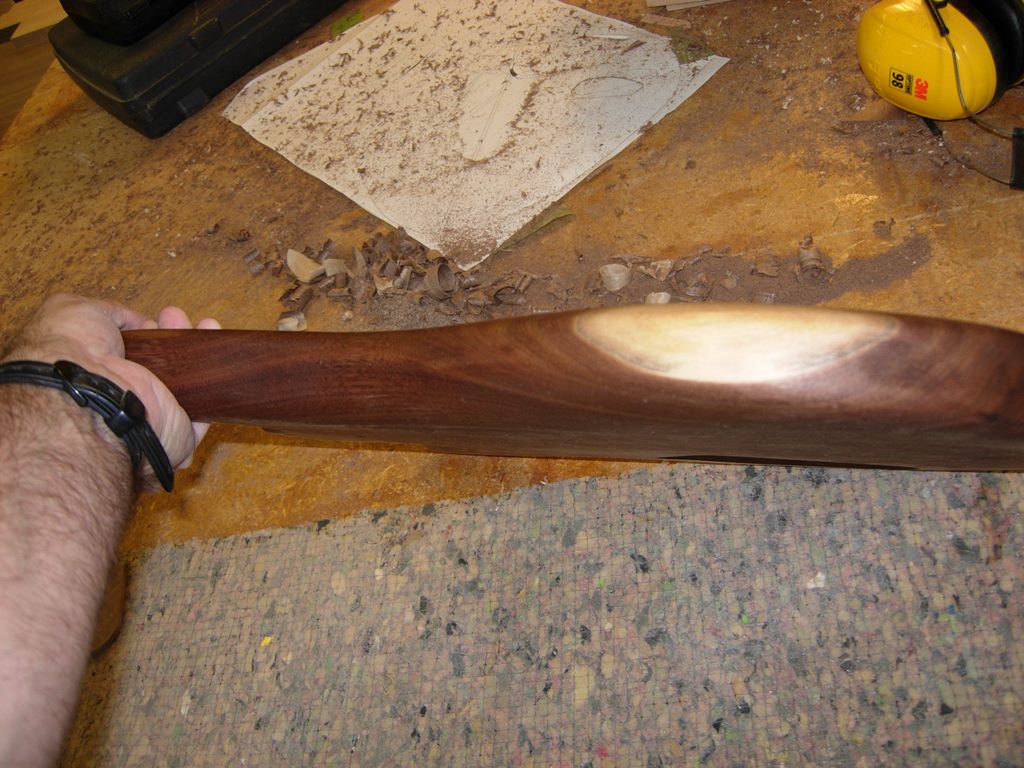
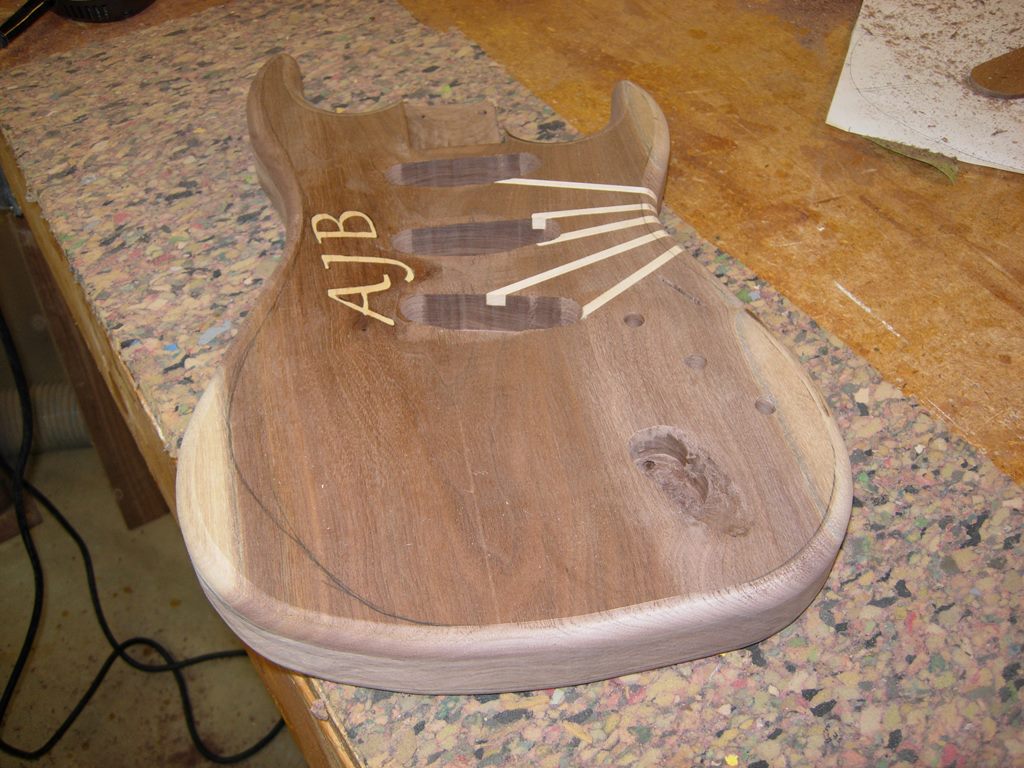
Edge shot
I wipe down the body with some Naphtha to remove all the dust and give the body the illusion of being finished. This also helps me locate any areas that need further sanding. I discover a few nicks that had filled with dust and address them.
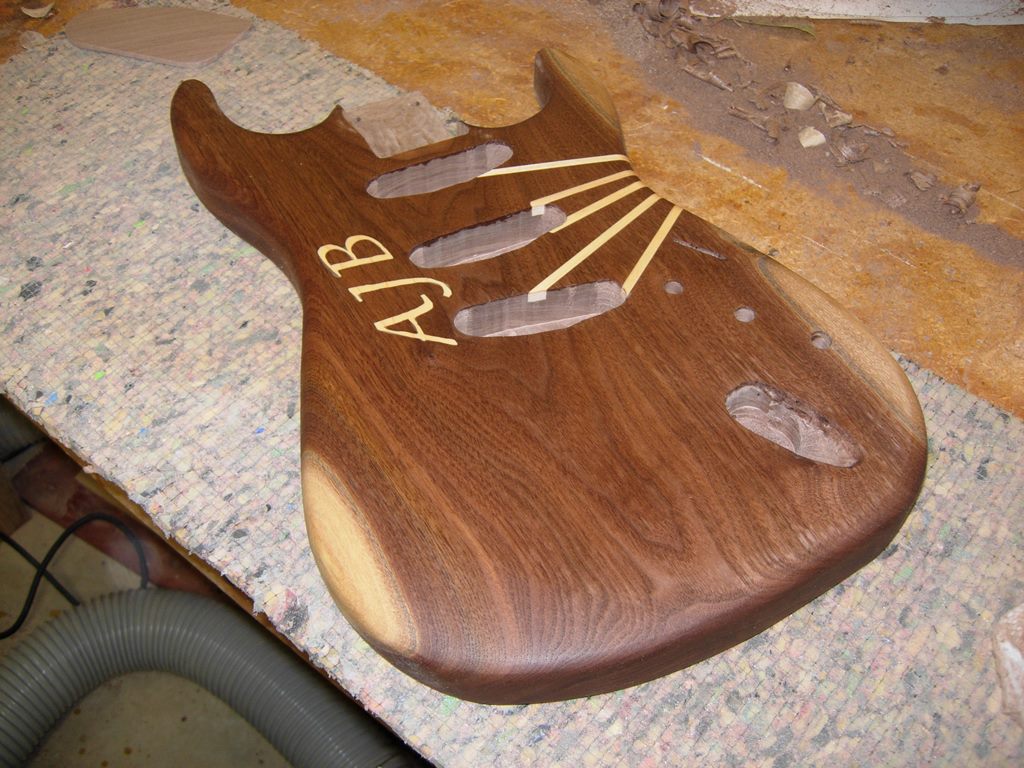
Cleaned up
Ready for finish
All in all, I think the body turned out nicely. The neck area will need a little tweaking when I get the neck, but for the most part, I am finished with the body.
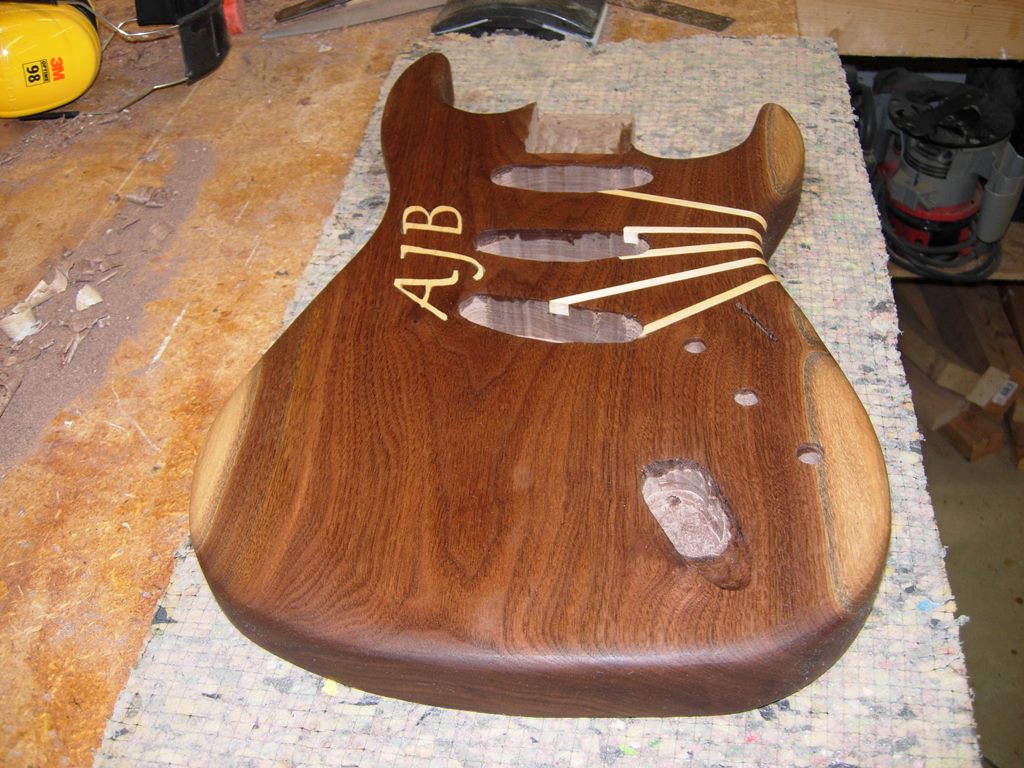
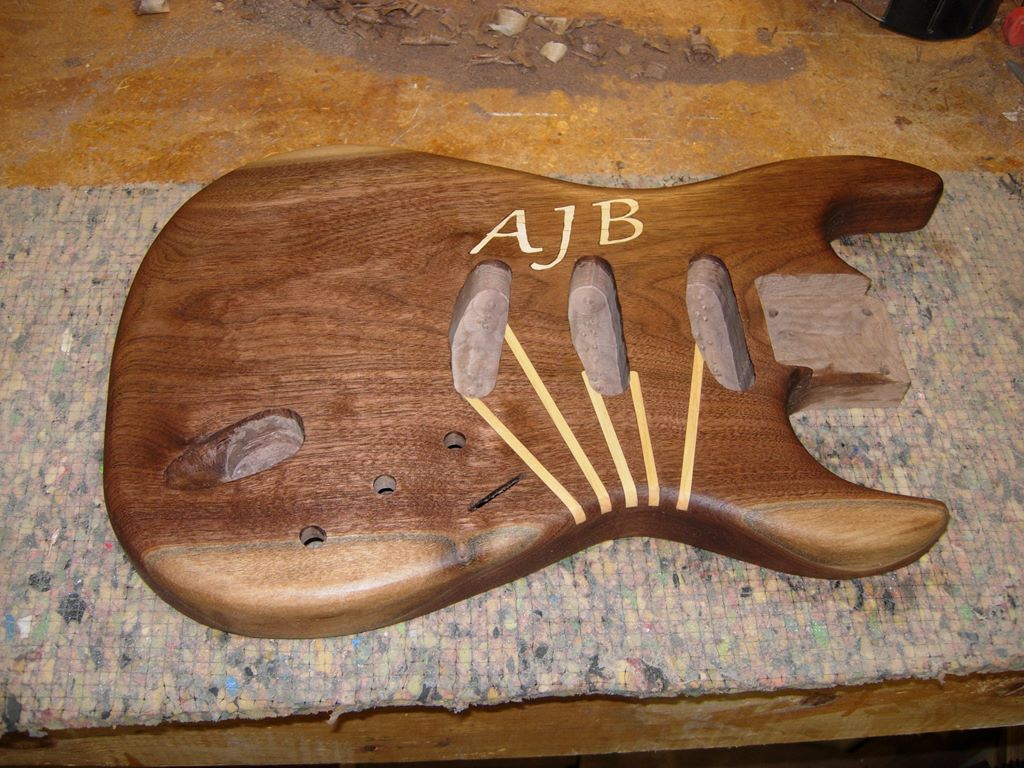
End shot

Looking very good. Has AJ seen this yet? This is truly a “Lifetime” gift.
Thanks Dave. He has seen the pictures, but wound up at the hospital this week with a blood clot. Please say a prayer for him if you are so inclined.
You can bet I will.