
Pub chairs – day eight
It occurred to me that the people from wood magazine may not have measured my kitchen counters when they put the plans for this chair into their magazine. I thought it might be a good idea to bring the stool upstairs and set it at the counter, just to test the height. I am glad that I did. My existing stools are a good 8″ shorter.
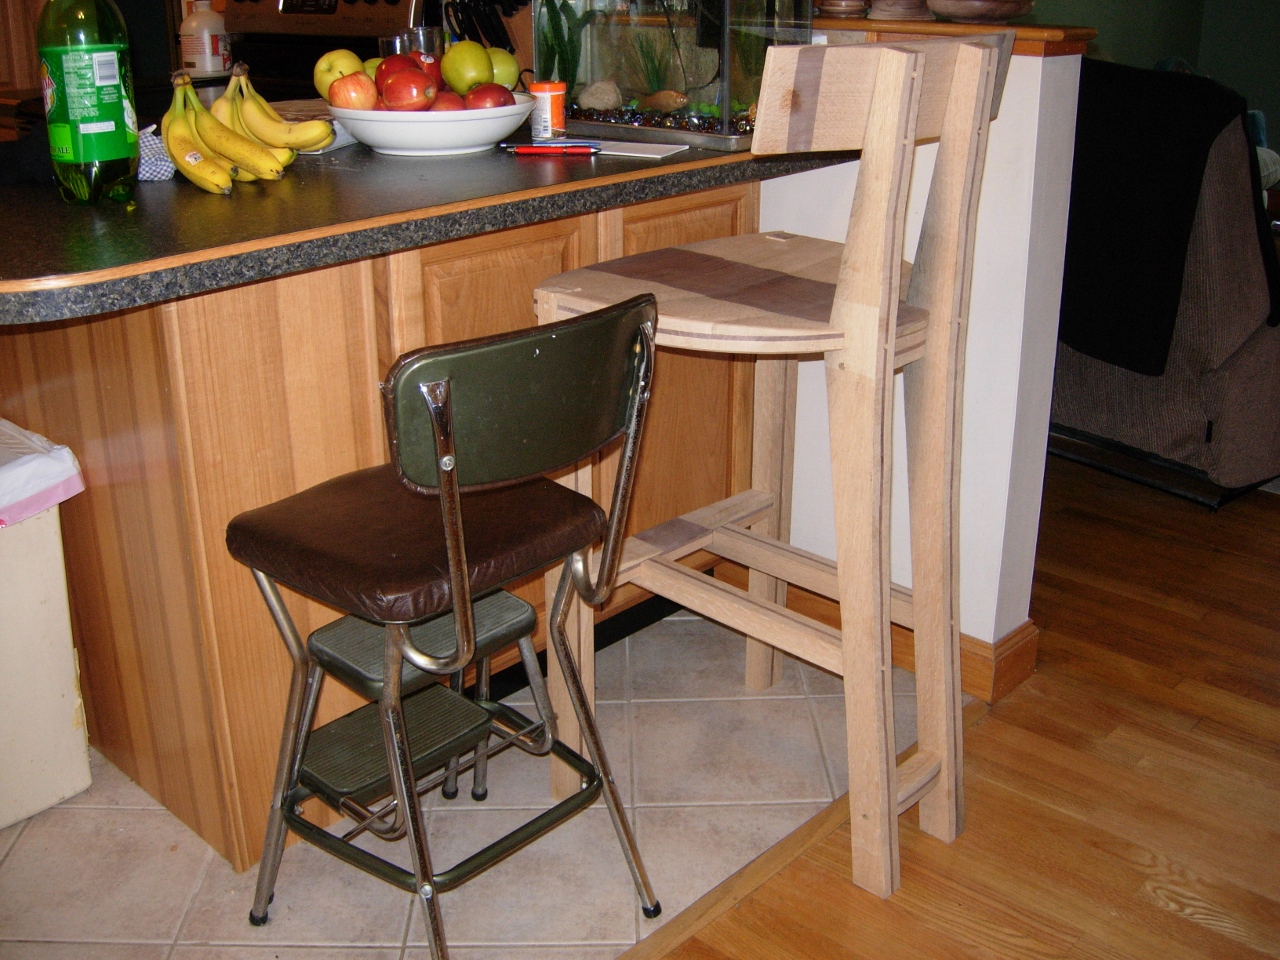
Huh, too tall…
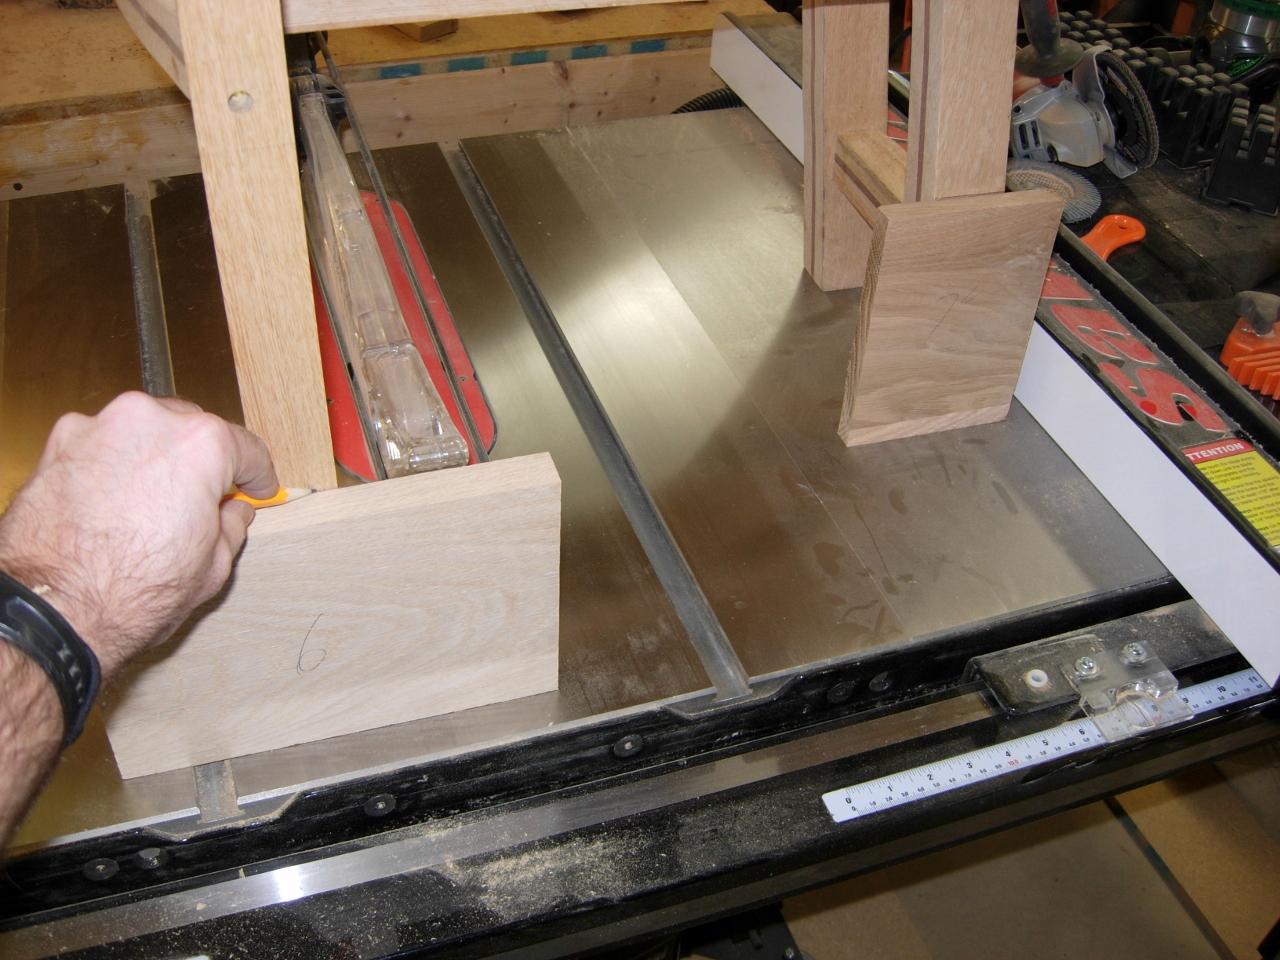
I decided that they needed to be at least 6″ shorter to be comfortable. The plans call for me to take an inch off the back legs to tilt the chair back a bit, so I cut a block at 6″ and one at 7″. I set the chair on my table saw. This is the flattest surface in my house… I marked the front legs at 6″ and the rear at 7″.
Marking the legs for cutting
I broke down the chair so that I could cut the legs.
Disassembly
The front legs are straight so I cut them down on the chop saw. The back legs are at an angle, they got cut down on the bandsaw.

Cutting down the legs
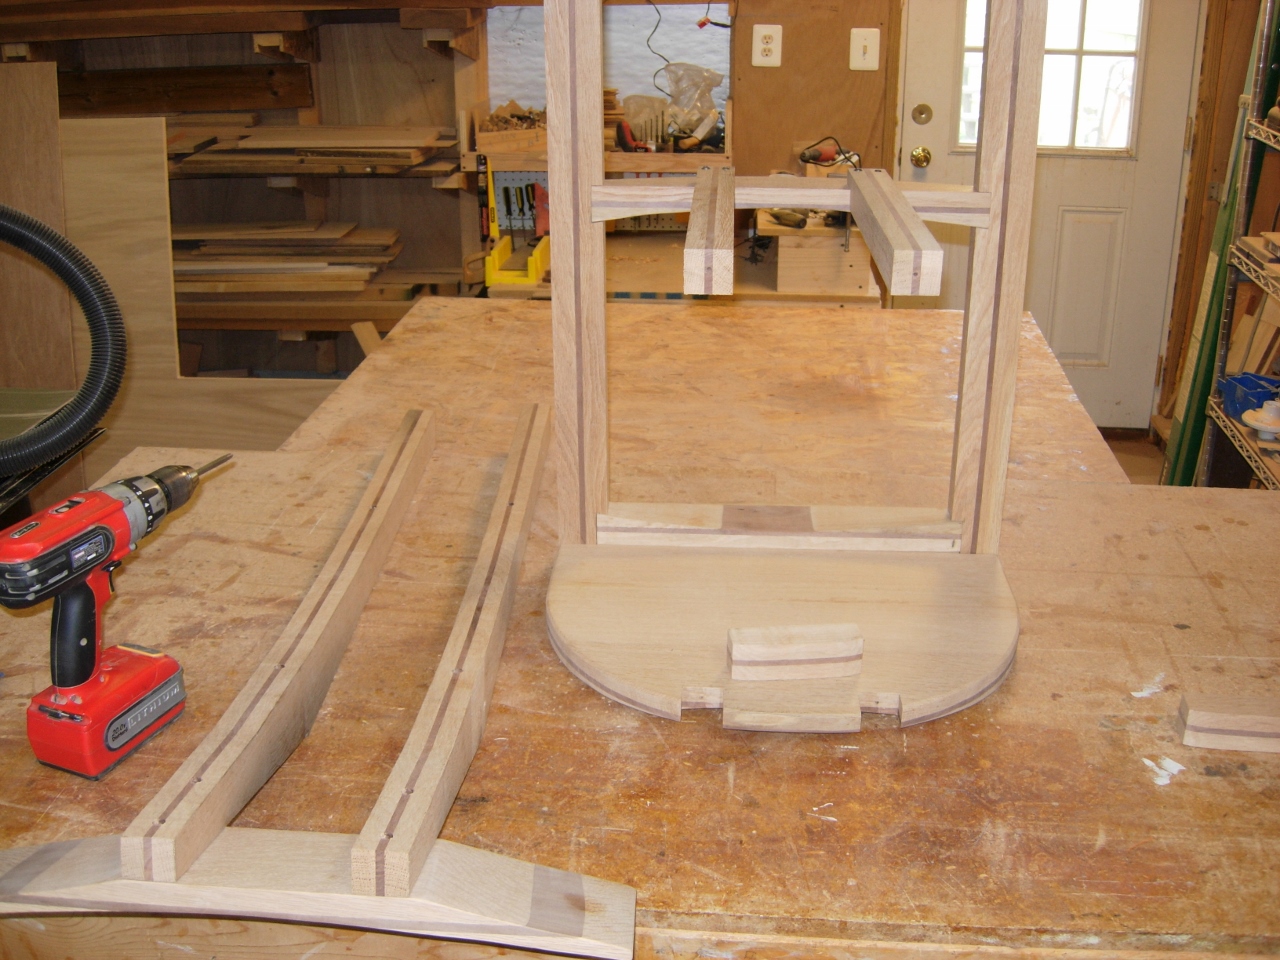
I glued and reassembled the front leg assembly.
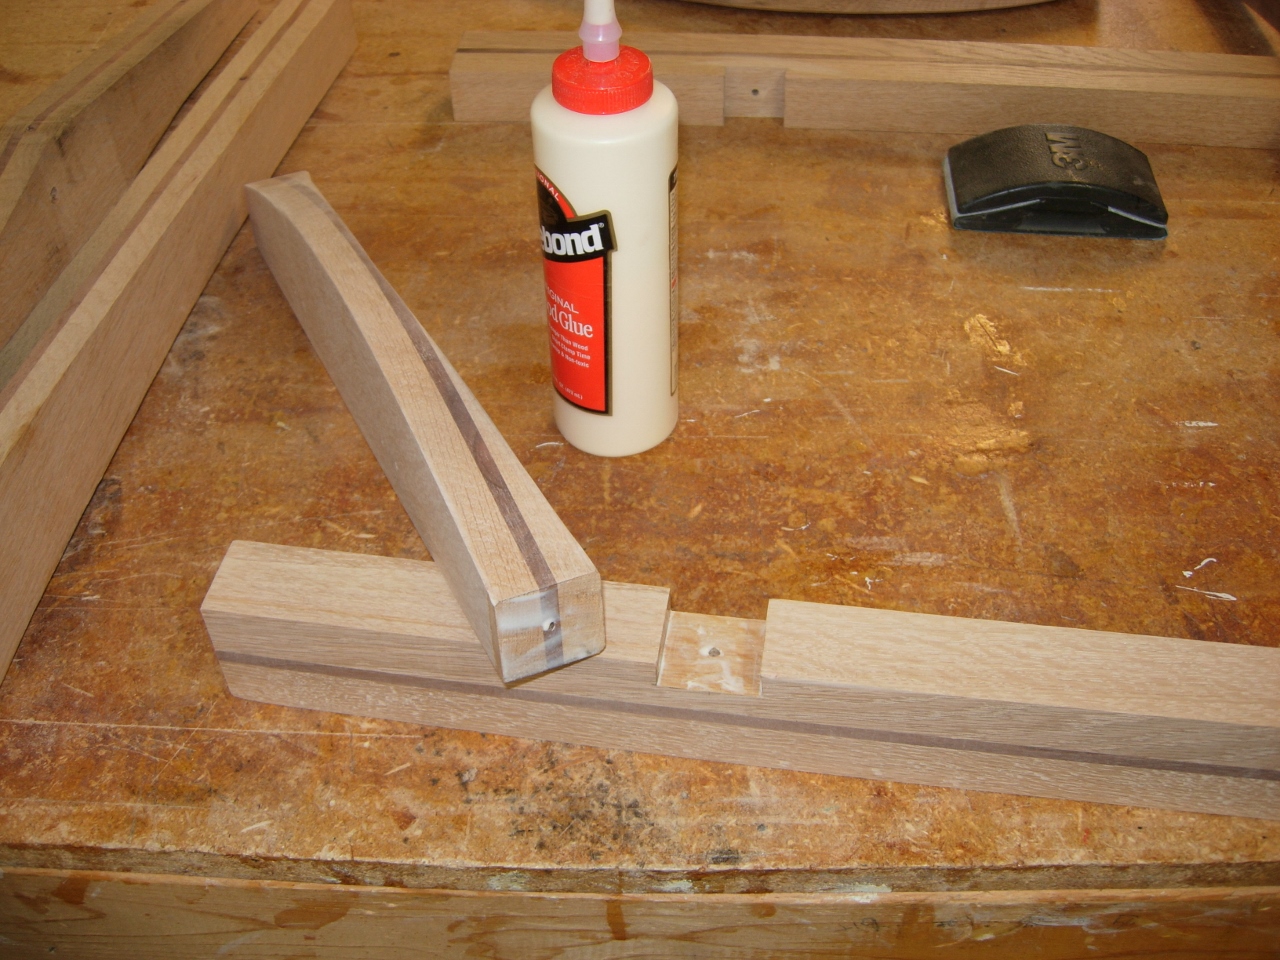
Glueing of the front leg assembly
I also took the time to finish sand all of the individual pieces while they were all separated.
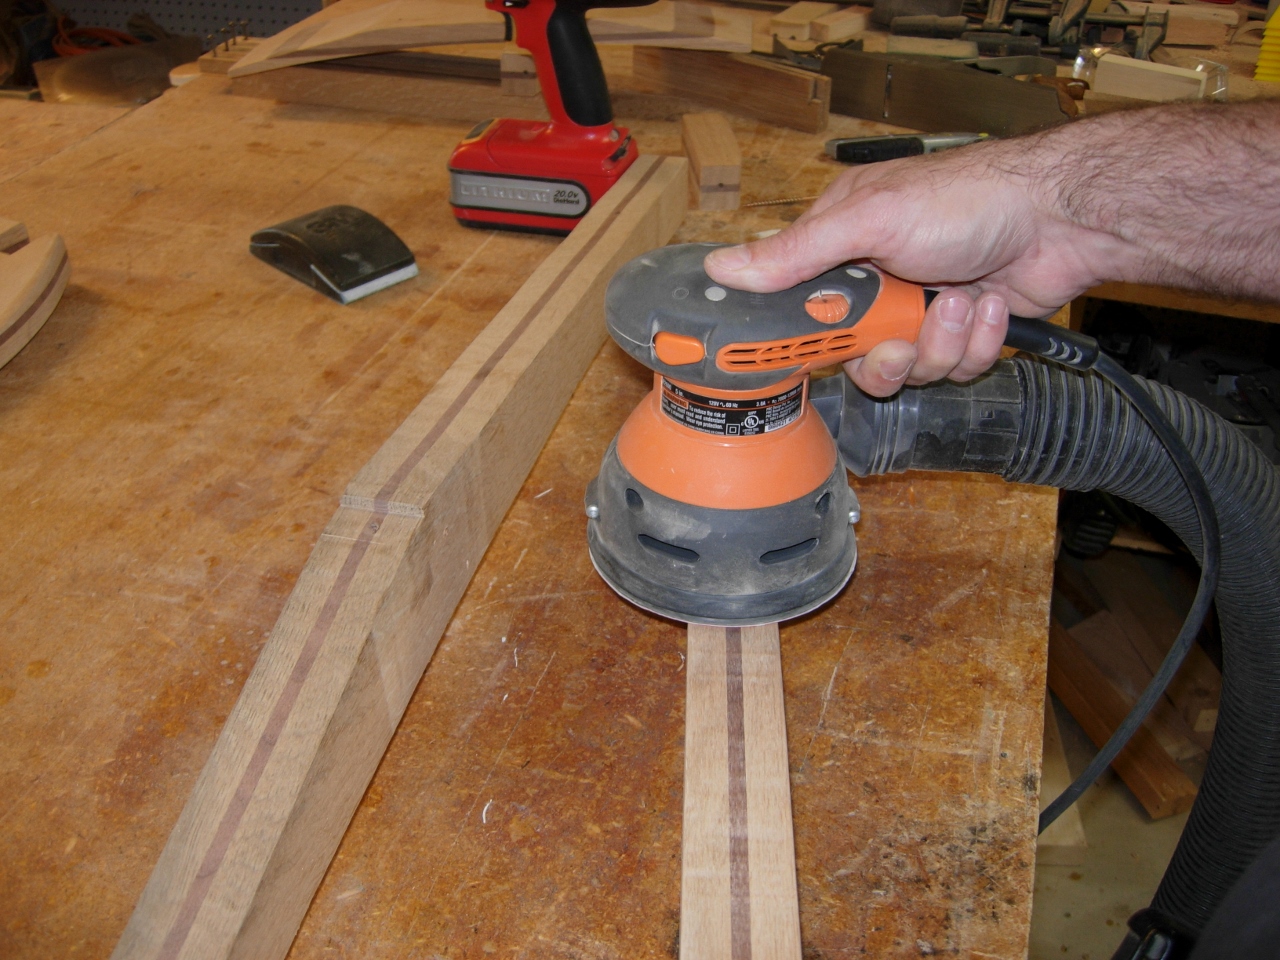
Finish sanding
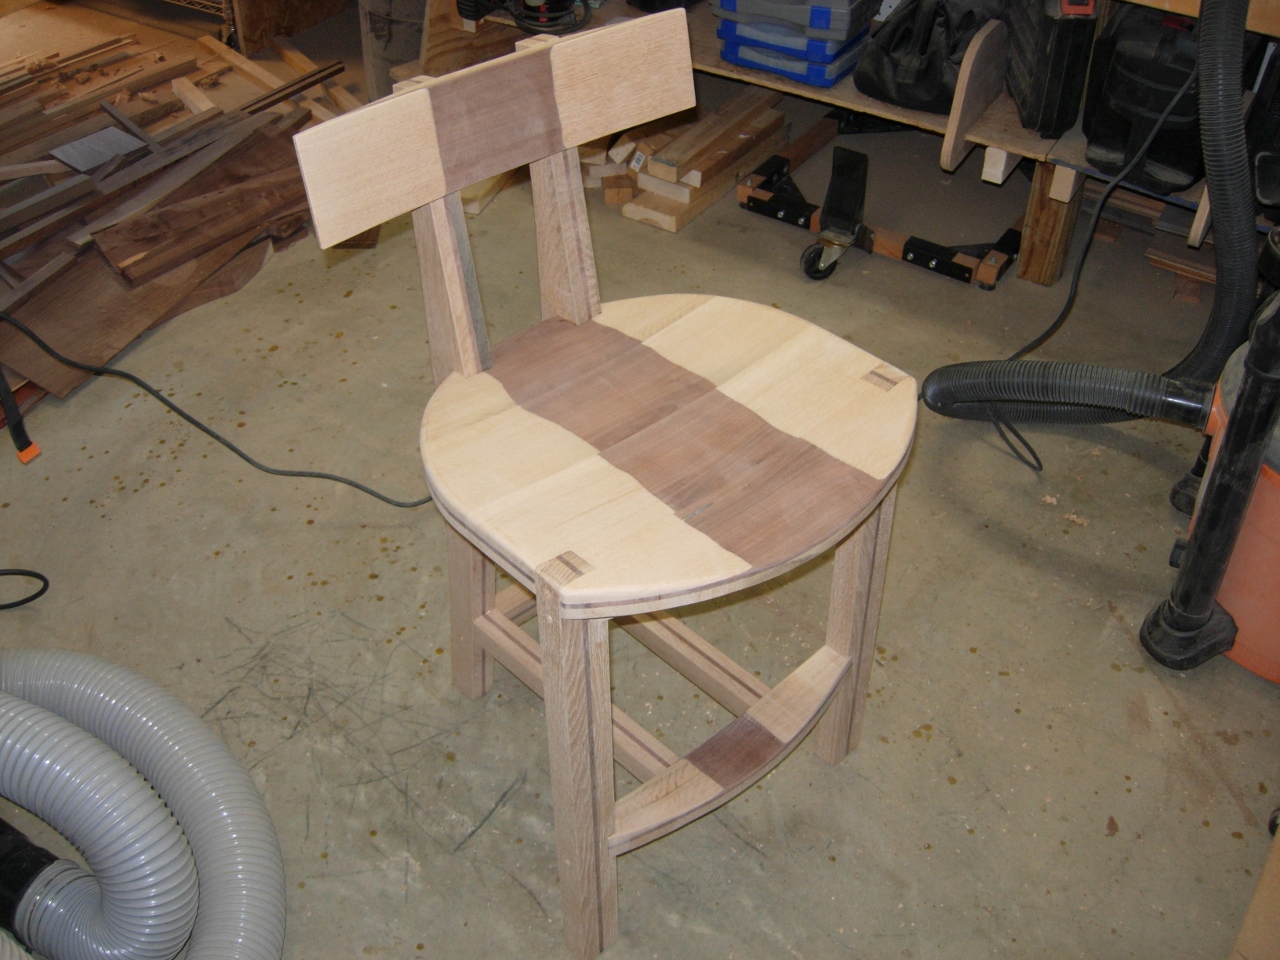
Sanded, glued, and reassembled
With the chair glued and put back together, I carried it back upstairs. It fit much better at the counter.
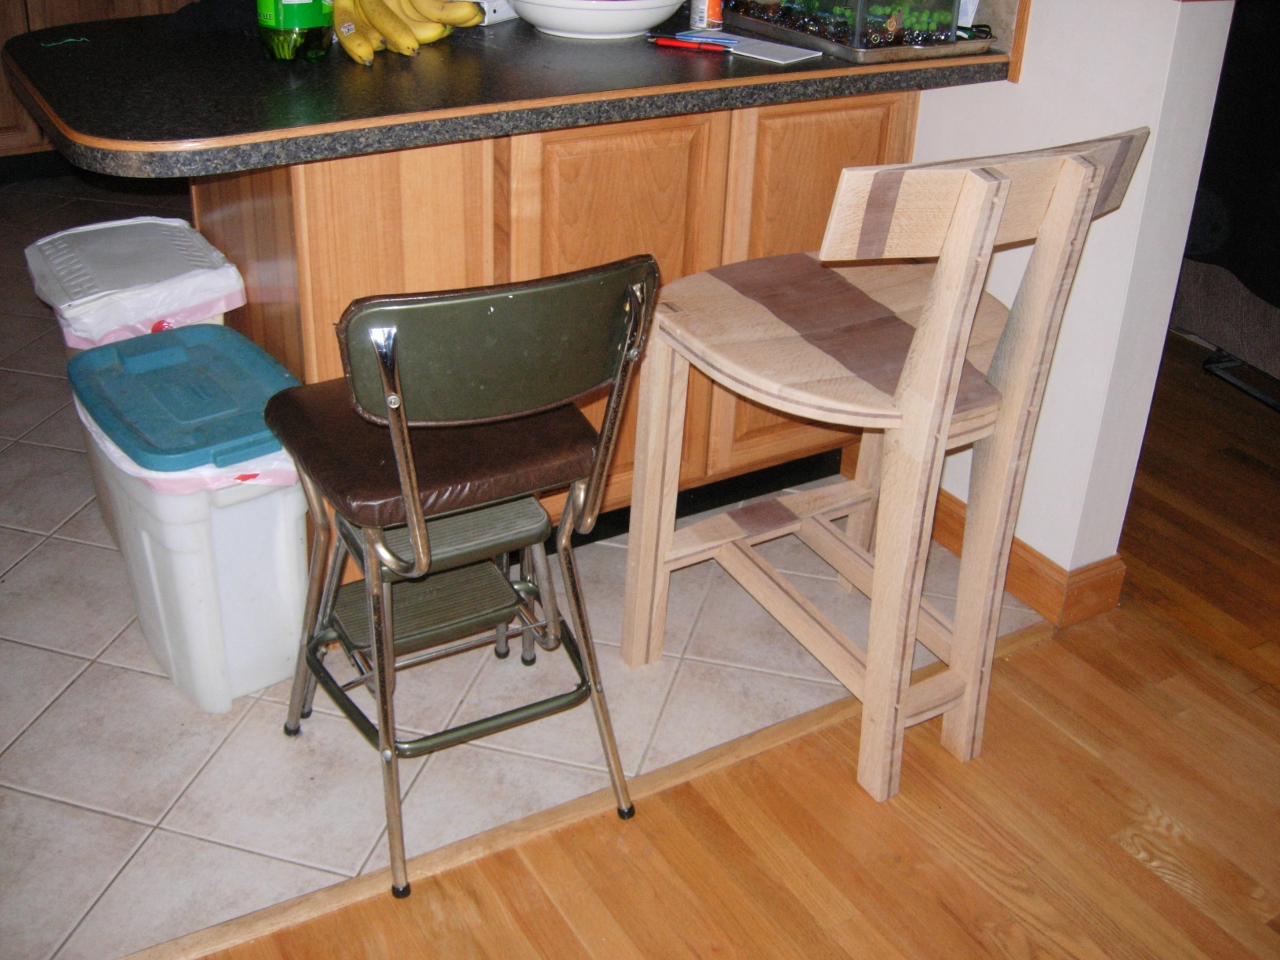
Just the right height
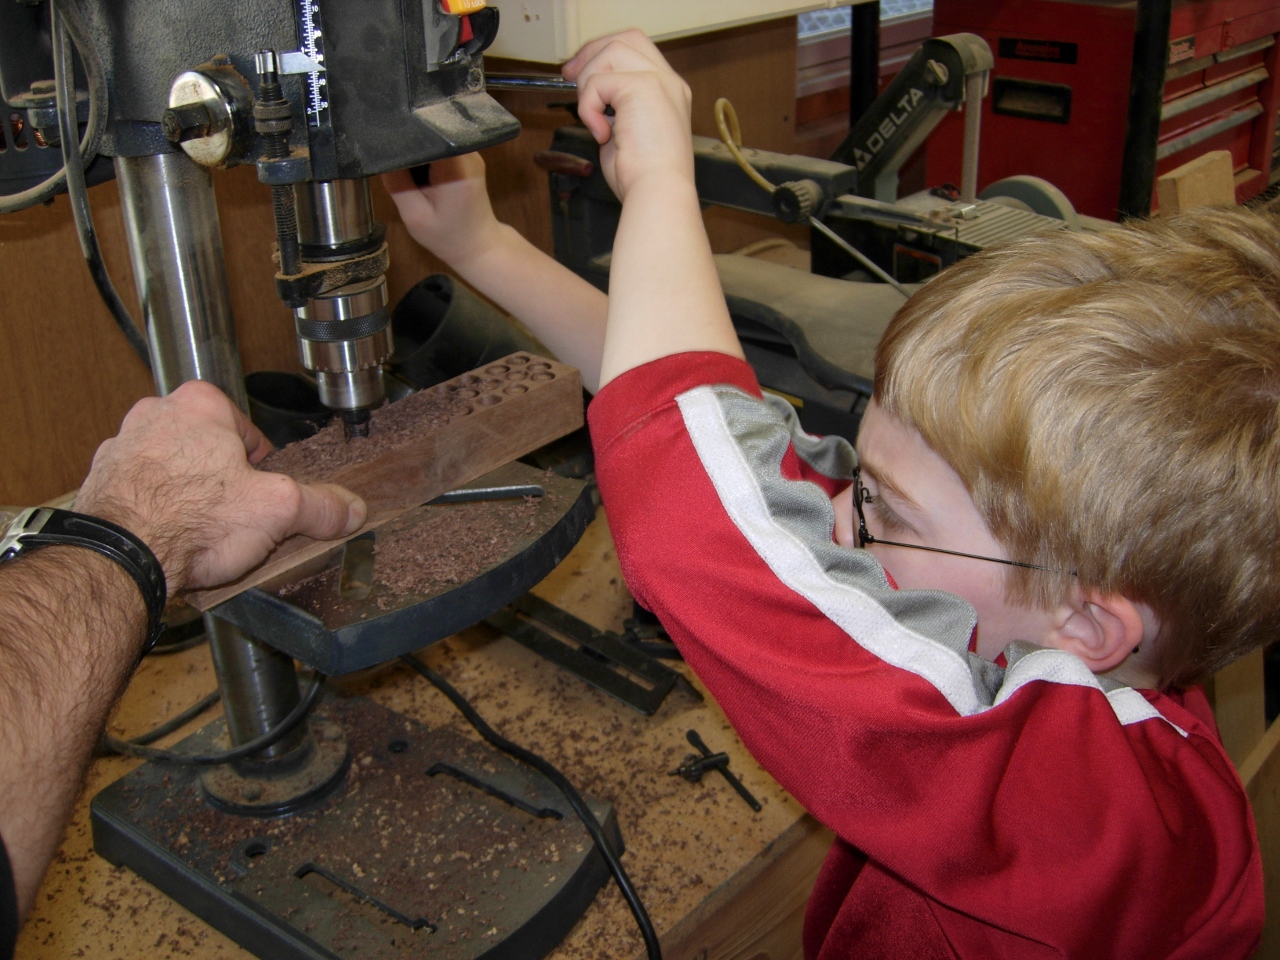
Adam drilling the walnut plugs
The last thing to do is cut the plugs and install them. I subcontracted the job to my assistant Adam.
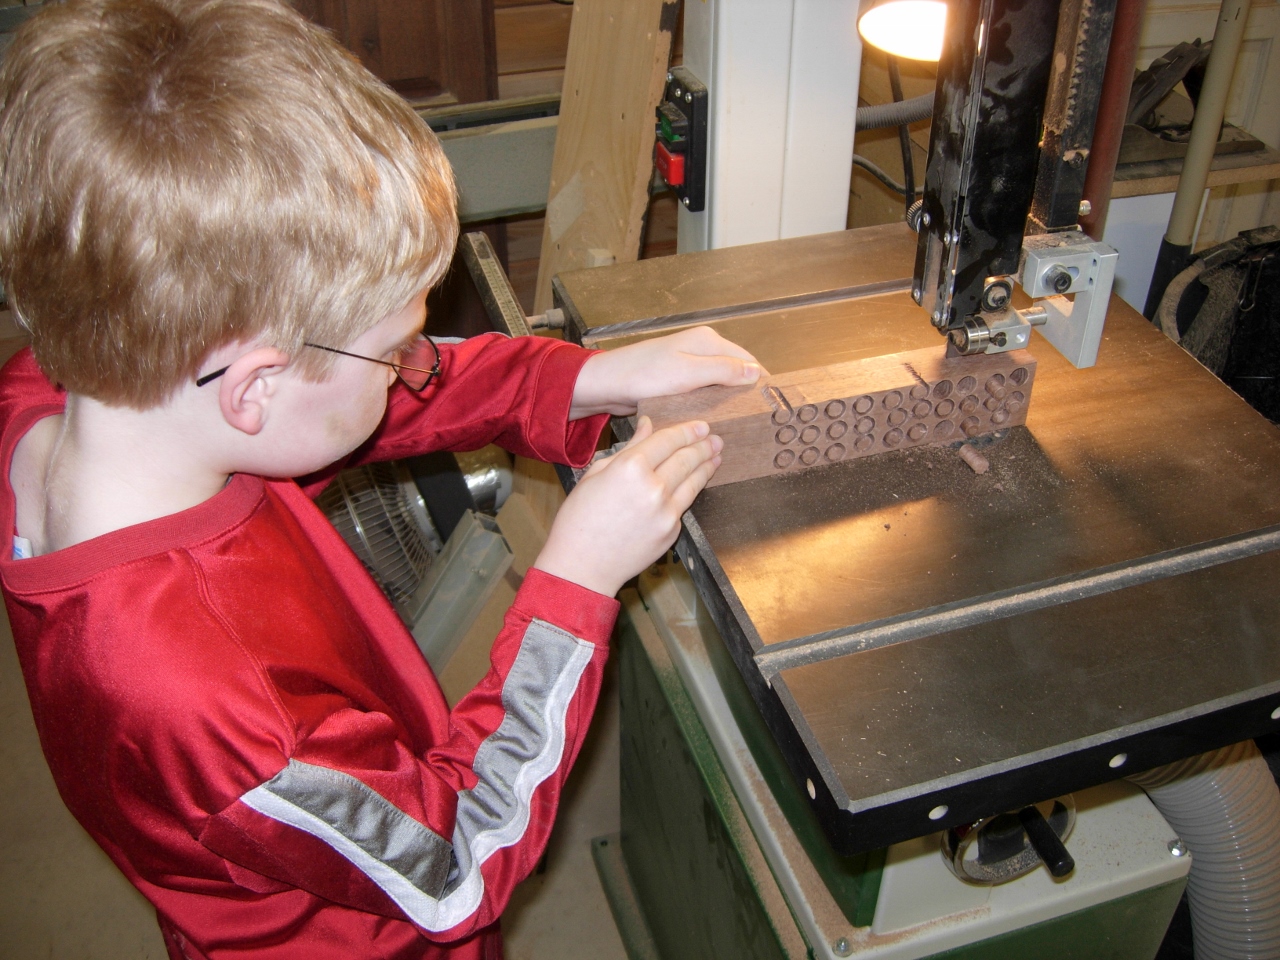
Adam cutting out the plugs
After Adam got tired of helping me, I started the plug installation. I started using a rubber mallet, but after breaking the first two plugs, I switched to my regular hammer. No more broken plugs.
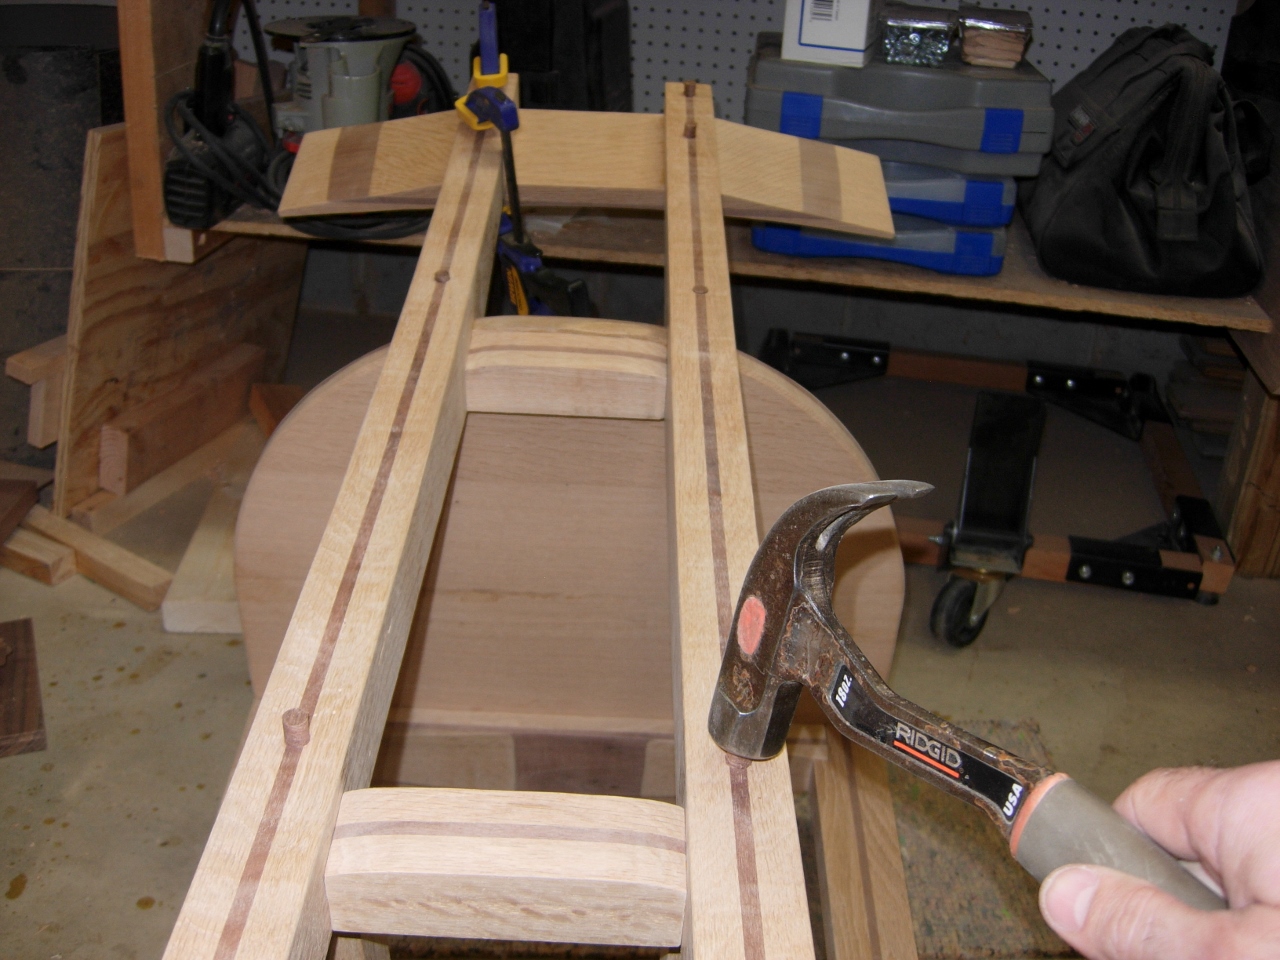
Plug installation
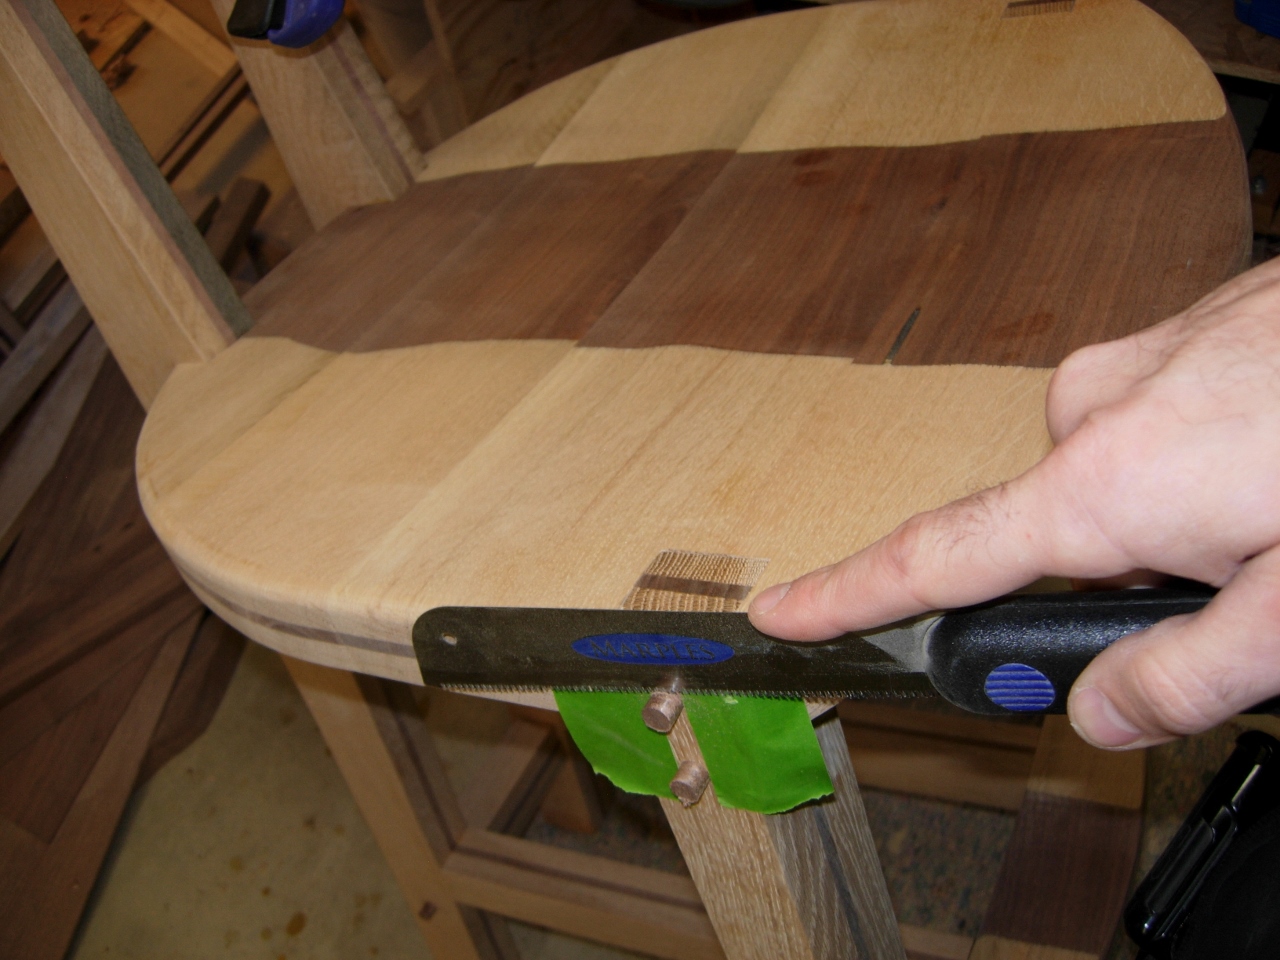
Cutting the plugs down
With a little painter’s tape on either side of the plug, to protect the wood, I cut off the excess plug material.
Plugs cut
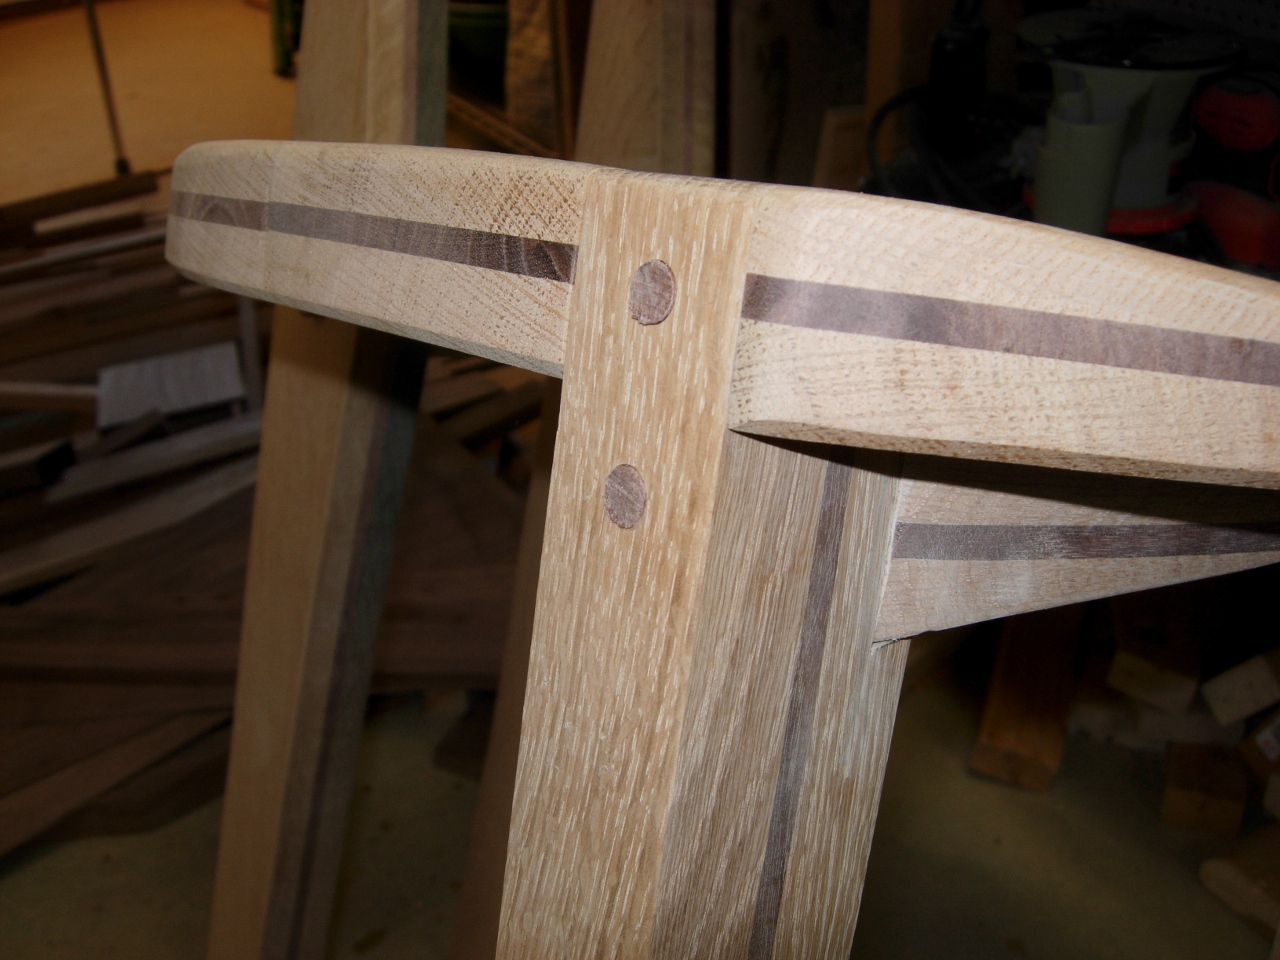
A quick hit with the orbital sander and all the plugs were sanded flush.
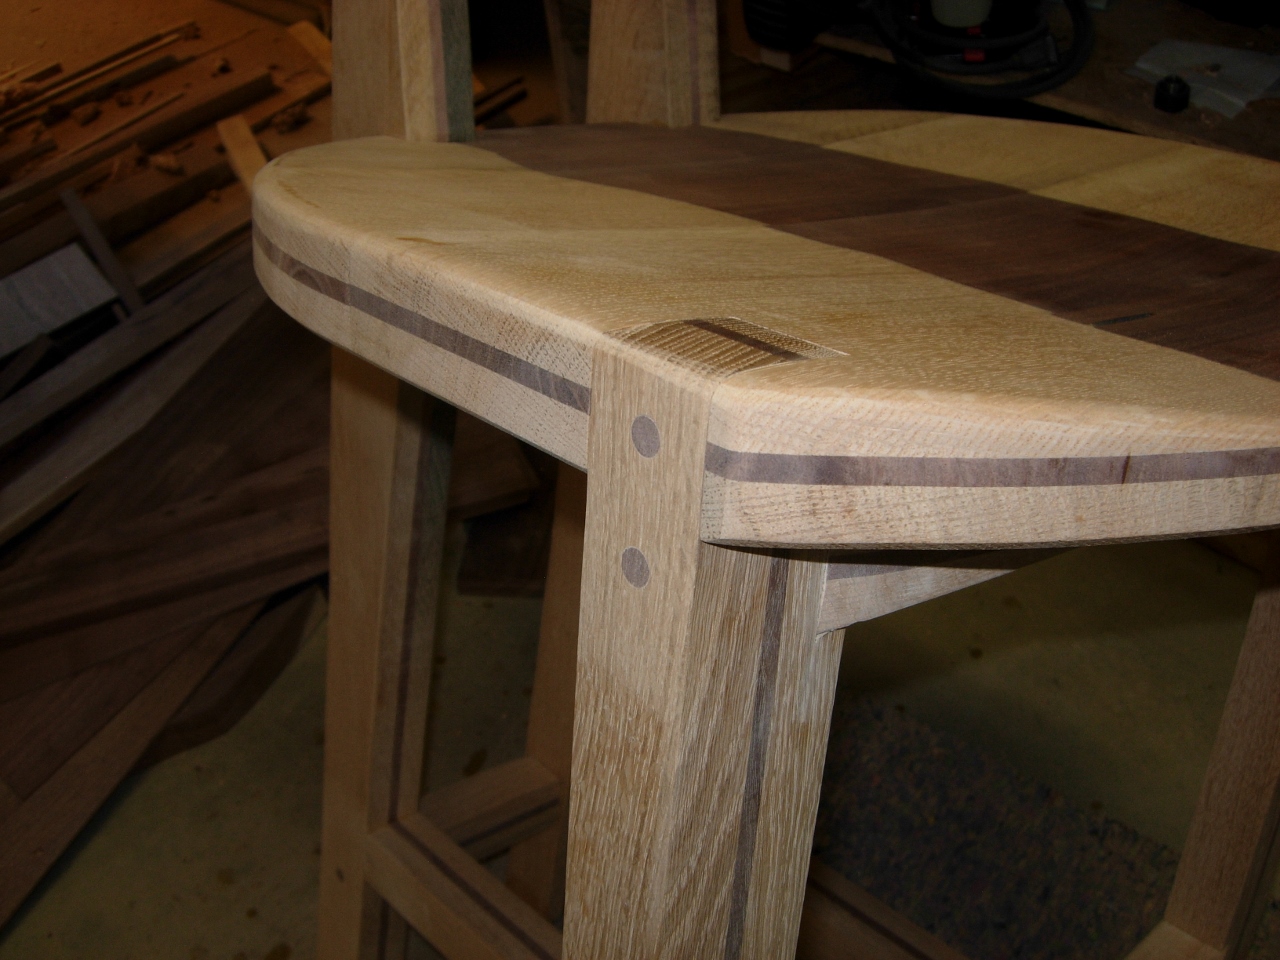
Plugs sanded
Done and ready for finish tomorrow.
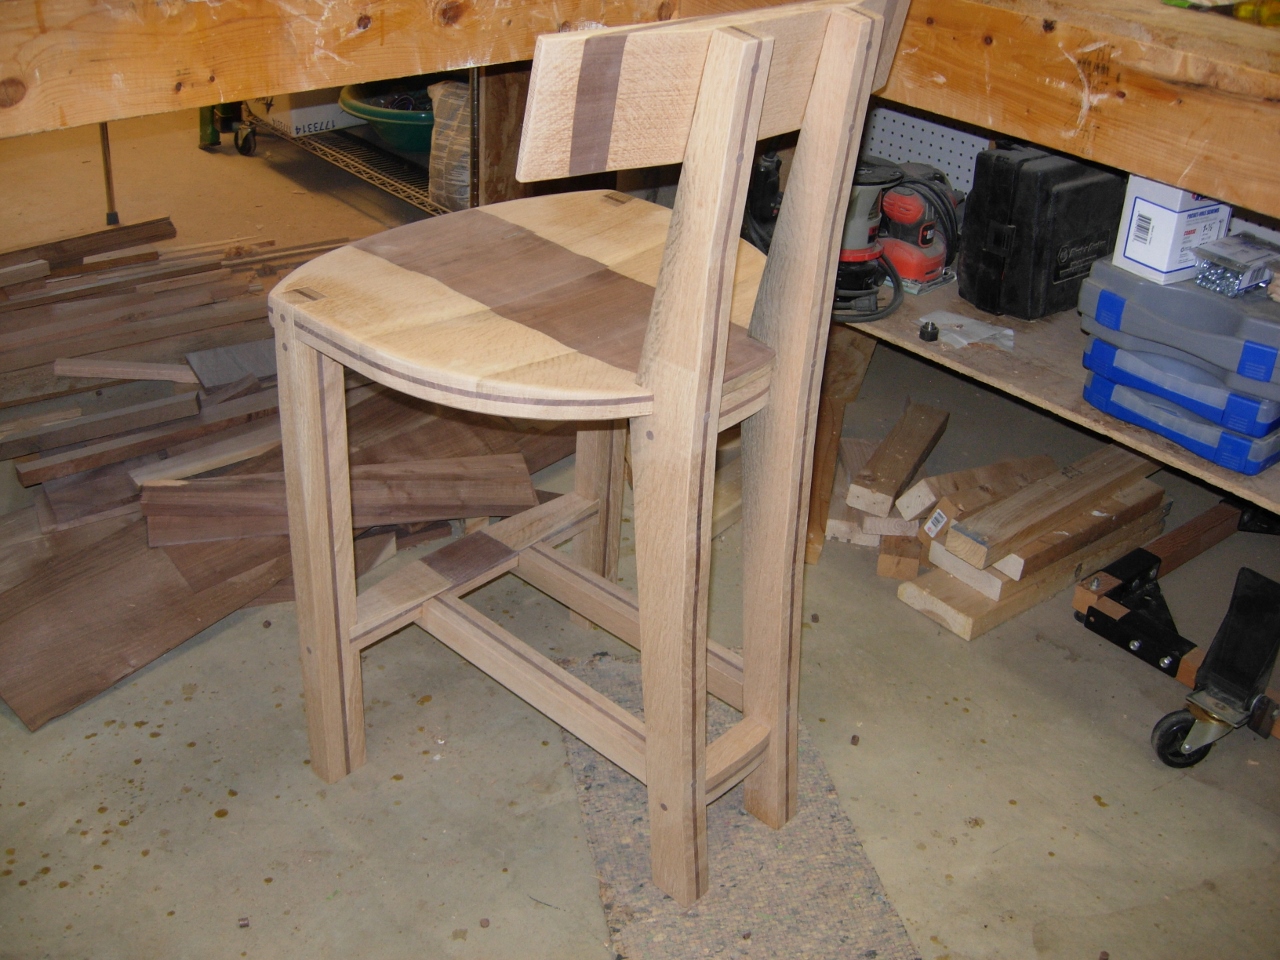
Done and ready for finish
