
Ironing board storage cabinet – day 9
I finally received my hardware to finish the cabinet. The first thing I did today was install the hinges. As I have discovered in the past, reading directions can often lead to problems. I decided to create a mock-up of the hinge installation because the installation directions said to drill the 35mm hole in the exact same location on the door whether you were doing a full overlay or a half overlay of the door face. Since there should be at least a 1/4″ difference between the two, it did not seem likely that the hinges would adjust that far. As I suspected, the mock-up showed me that the door panel would be nearly 1/4″ off. Since I expected to leave a 1/4″ reveal all the way around the door, this would have been a problem. I shifted the hole in towards the center of the door and tried again. The second attempt worked perfectly. It was actually a good thing that the holes needed to be moved. If you read my previous entry about thickening the raised panel door, I was afraid the bit would come through the face: https://lwroten.wordpress.com/2013/03/30/ironing-board-storage-cabinet-day-7/ As it turns out, the pilot point on the bit still would have come through the face had I drilled it where the instructions said. Shifting the hole more towards the center of the door pushed me back to the thicker portion of the raised panel and prevented it from breaking through. With the new improved dimensions, I laid out the door, then drilled the large 35mm holes.
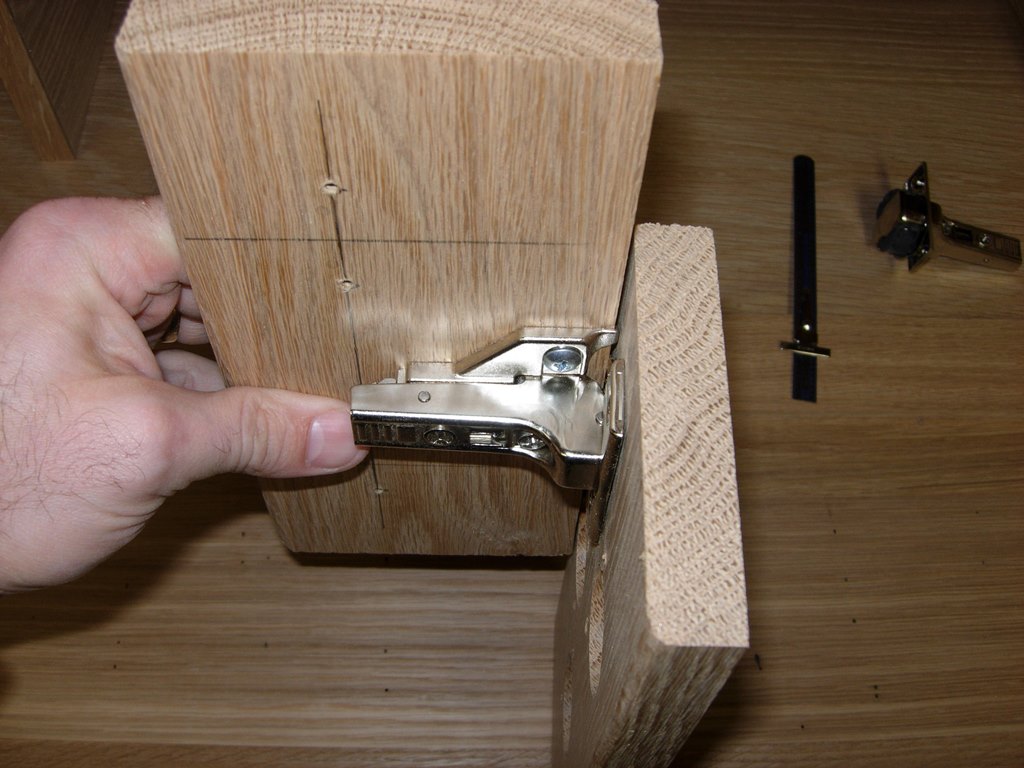
Hinge installation mock-up
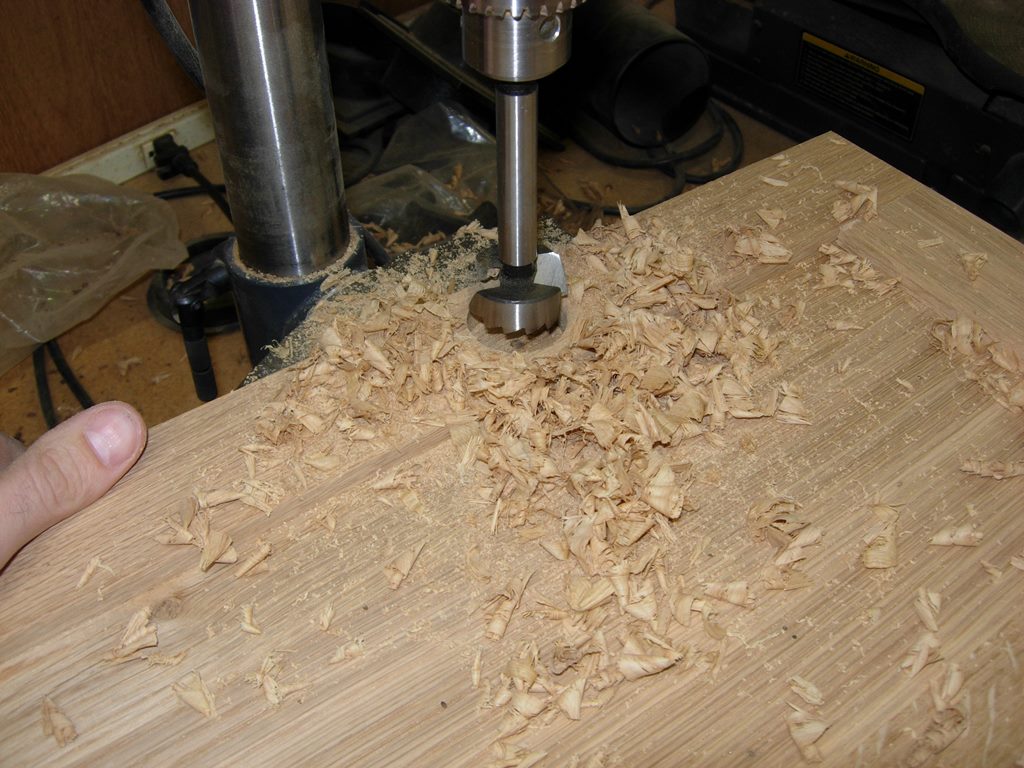
Drilling out the hinge pockets
You may have noticed that I haven’t installed the top of the cabinet yet. There are two reasons for this. The first was the fact that there is to be a 1/2″ overhang on each side. That would have made it difficult to lay out the hinges with one side of the cabinet 1/2″ up off the bench and the door laying flat. I would have had to put blocks under everything. Easier just to lay it all flat on its side. The second reason was that I had broken my pocket hole drill bit and couldn’t attach it… My new bit came with the hinges so I will be drilling out those holes soon. It is actually going to be a bit easier to do the staining and finishing without the top installed anyway so the cabinet shall remain topless for a while…

Cabinet side hinges installed
I laid the door up against the cabinet where it would ultimately be located. I lined everything up and laid out the cabinet-side hardware, drilled out my pilot holes, and screwed it all down. Next I installed the door-side hardware.

Pilot holes drilled for the door-side hardware
It all went in without much fuss, and when I connected the two sides together, the door closed nicely with a 1/4″ reveal down both sides.

Hinges installed and tested
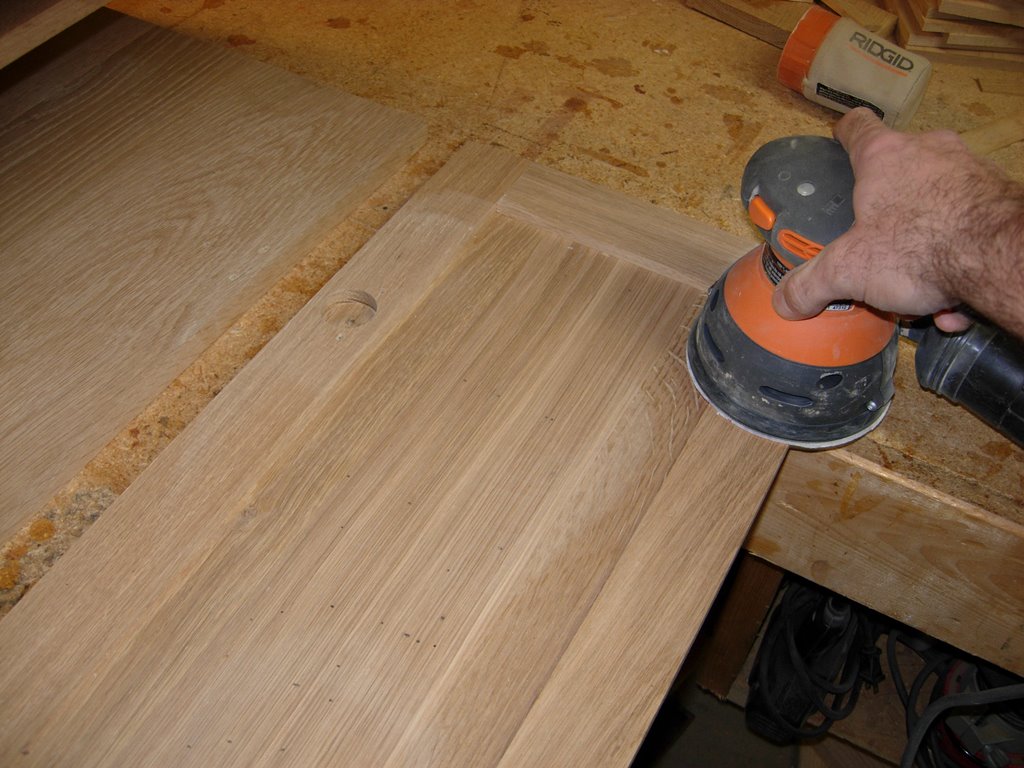
Give everything a good final sanding
I removed all of the hardware and gave everything a once-over with the orbital finish sander. With everything sanded and brushed off, I applied a coat of stain. I used Minwax Cherry 235, the same as the sacristy cabinet that it will sit next to.
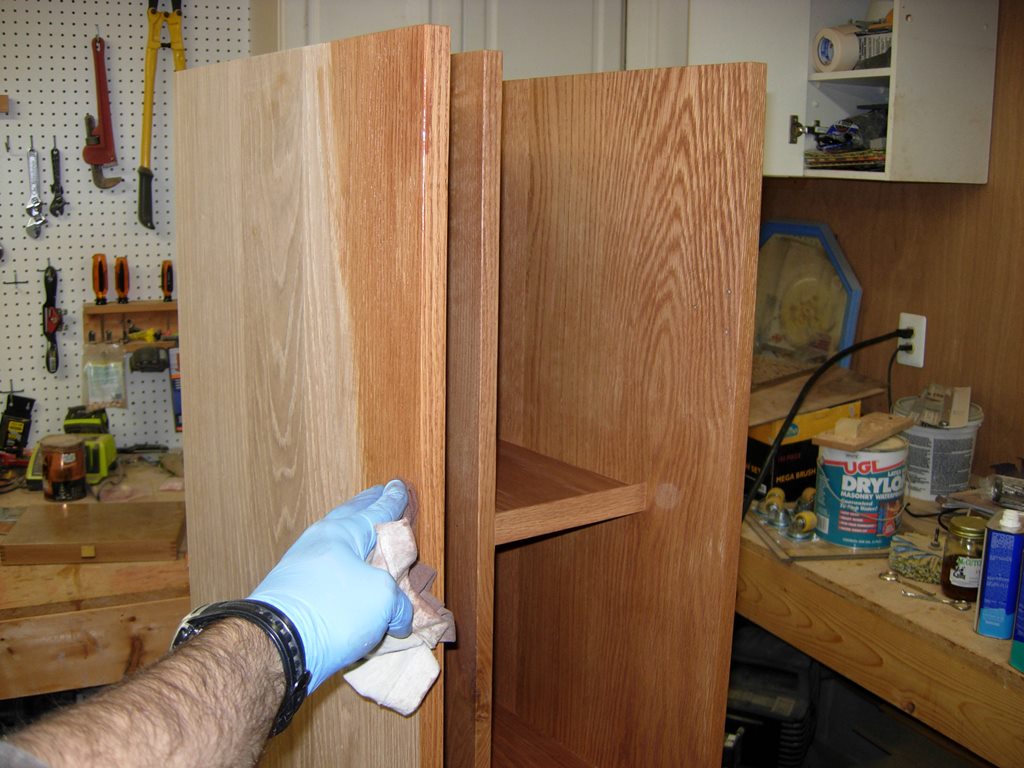
Staining the oak
With everything stained, I will knock off for the day and let it dry. I should be able to get the polyurethane and the remaining hardware on this weekend and be able to deliver it early next week.

Everything stained
