
Turkey fan mount day-2
With the glue dried, I traced the patterns onto the wood heavily with a ballpoint pen, then removed the patterns and traced over the dents left behind in the wood.
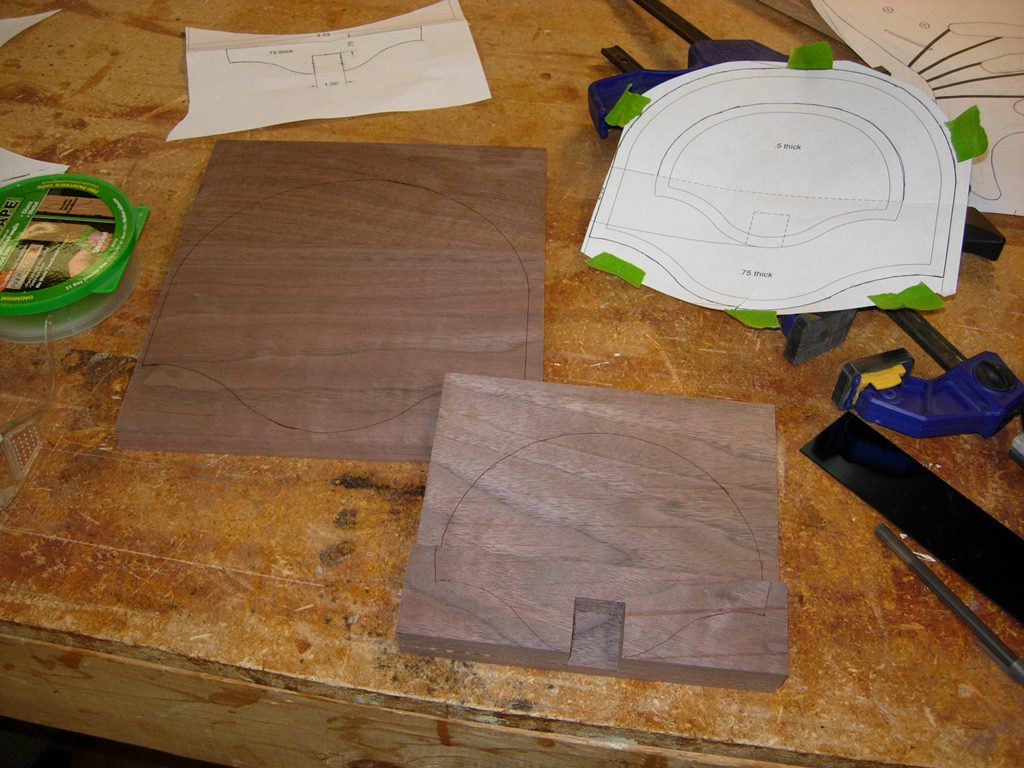
Pattern traced for cutting
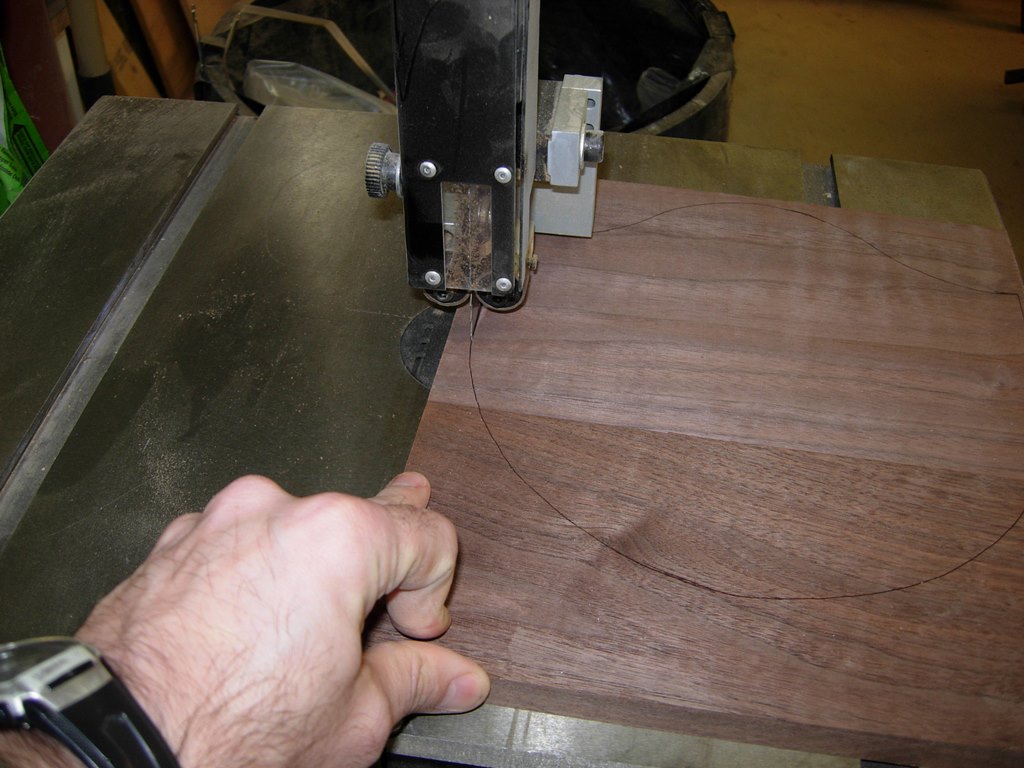
Cutting with the bandsaw
I have a 1/4″ blade for my bandsaw for cutting curves like this, but currently I have my 3/4″ blade installed for re-sawing. Since this is a small project, I didn’t bother with the trouble of changing the blades. Instead, I placed a series of relief cuts around the parts and cut a series of straight lines around the curves, giving the boards a polygon-like shape.
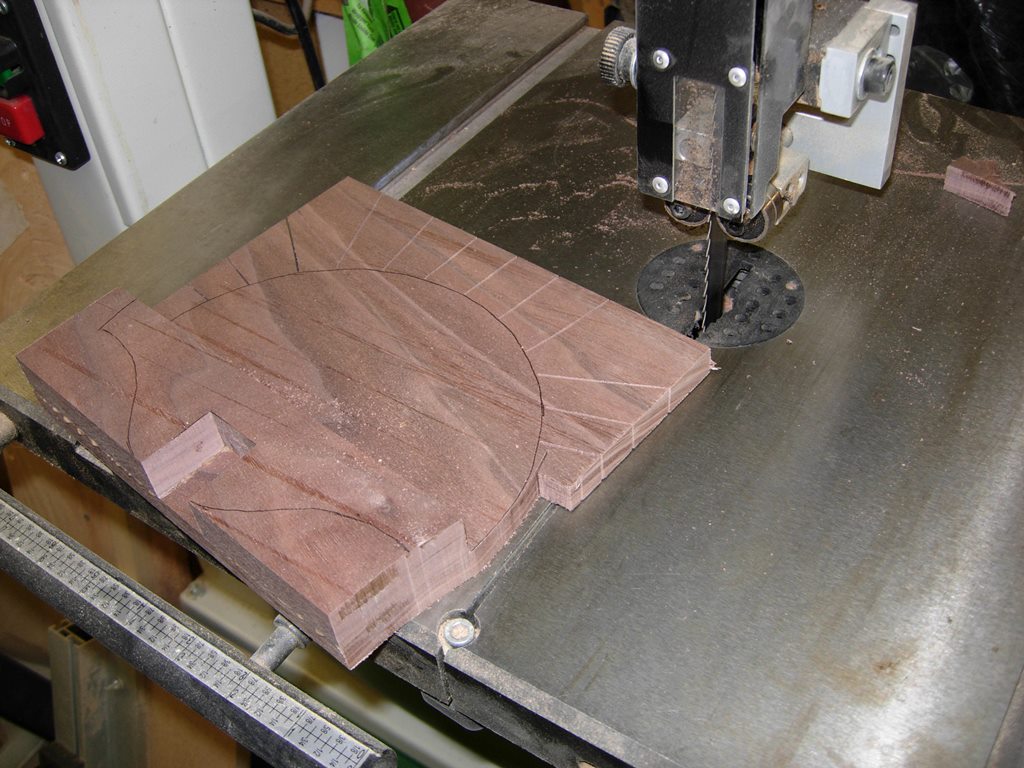
Relief cuts
This was easily smoothed out with the 3″ drum on my spindle sander.
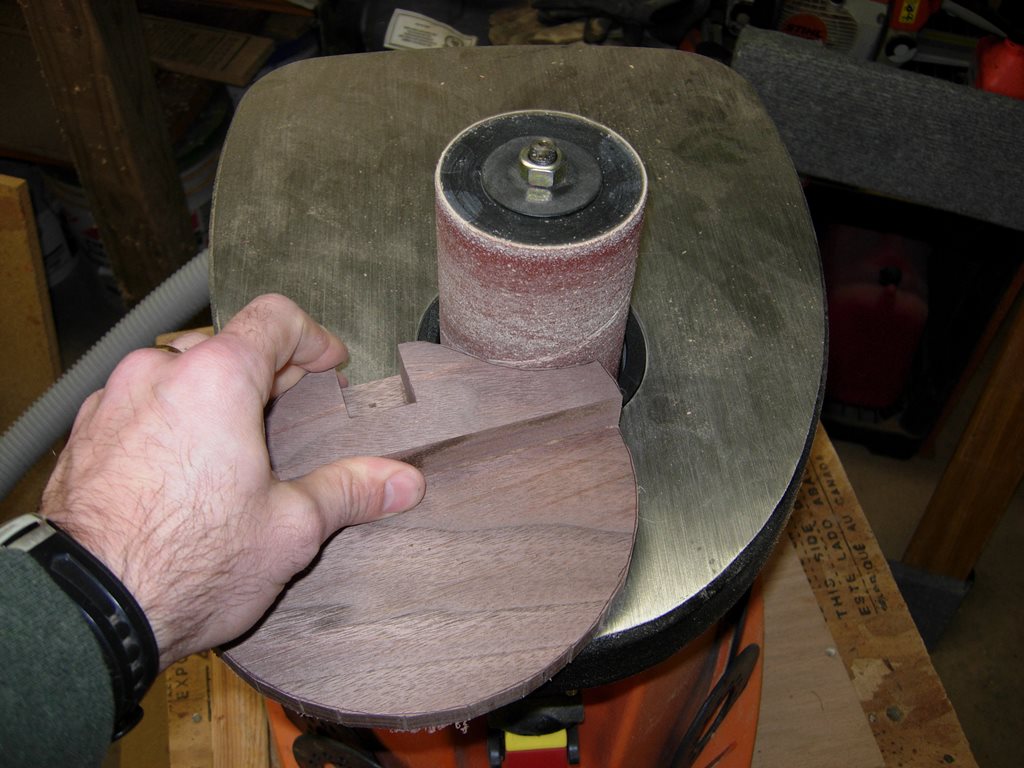
Sanding the rough edges
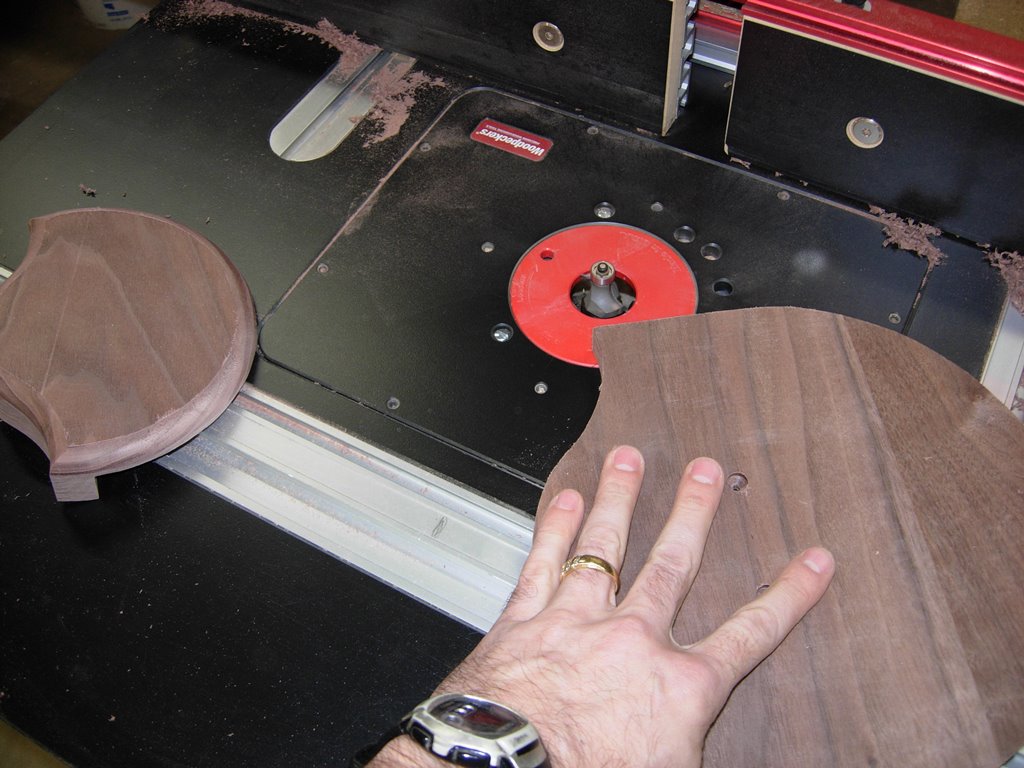
Rounding over the edges
With all the edges smooth, I clamped the two plates together in their proper orientation and drilled two counter-sunk holes in the rear panel to attach the front with wood screws. After testing the assembly, I removed the screws and went to the router table. Next I installed a 3/8″ round-over bit in my router, set just high enough to leave a small bead along the face, then ran both plates along the bit. With the edges rounded, I again assembled the display mount. I used a keyhole bit to create a mounting hole in the back. Now it can easily hang from a screw in the wall.
Here are the plans in case you anyone did not find them on the previous post.

Routed and sanded
And here is the finished mount:

Finished and mounted

Thanks for plans very helpful. How did you attach the feathers to back plate?
I make these for a friend of mine. He says that he runs a single screw through the base of the fan, into the back plate, before attaching the front part. He gets the fan from his Taxidermist with a clump of epoxy holding the ends of the feathers together. That is where the screw goes through. Glad the plans were helpful. I hope this helps as well.
Helloo mate nice post