
Shadow box – day 3
Well, I hadn’t really planned how the glass would be held in place yet. After thinking about it for a bit, I decided to route a 1/8″ groove down the two sides and the bottom.
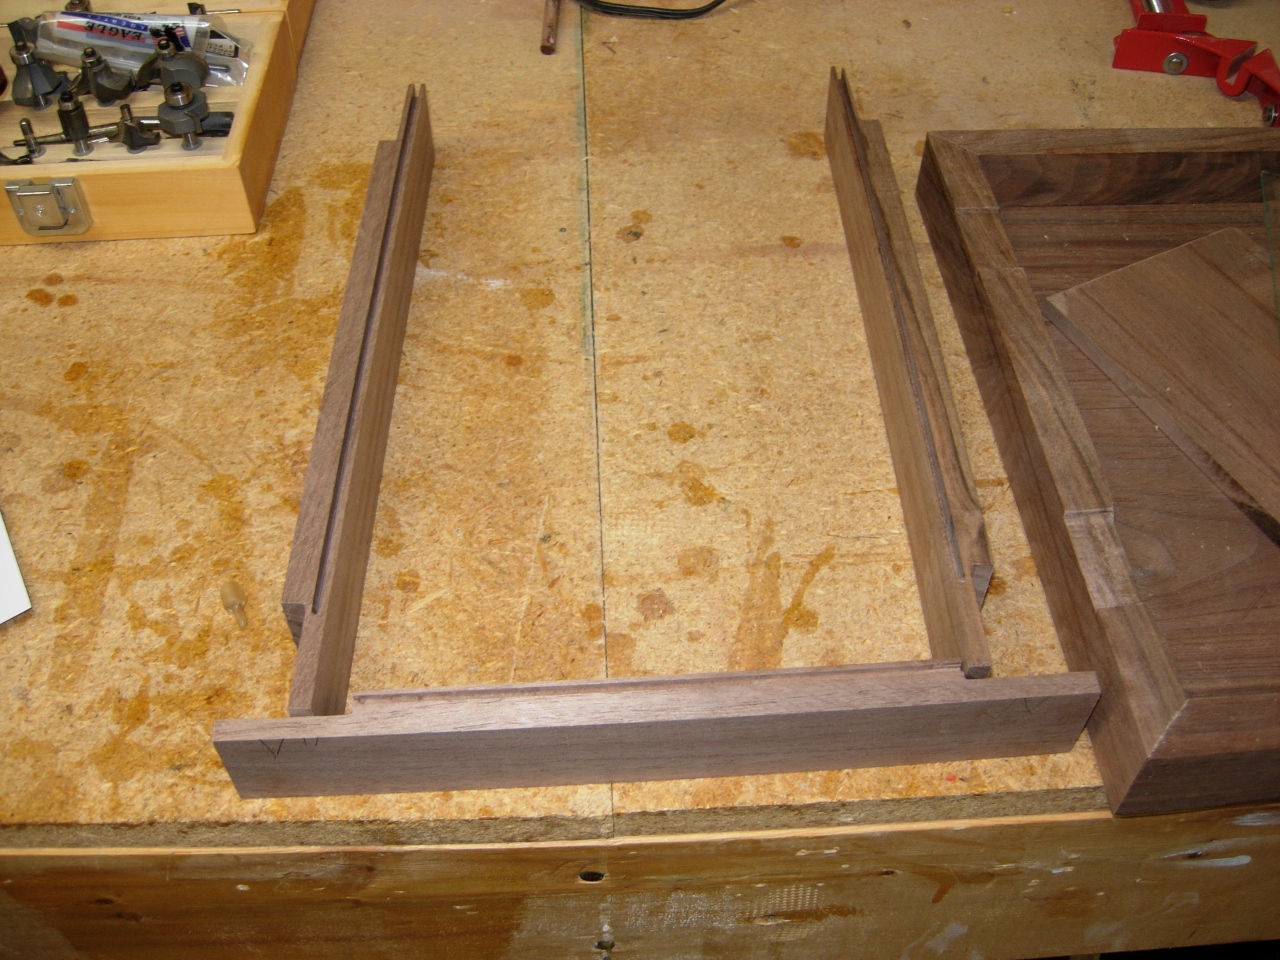
Grooves cut for the glass
I cut 1/8″ off of the back of the top so the glass could slide in.
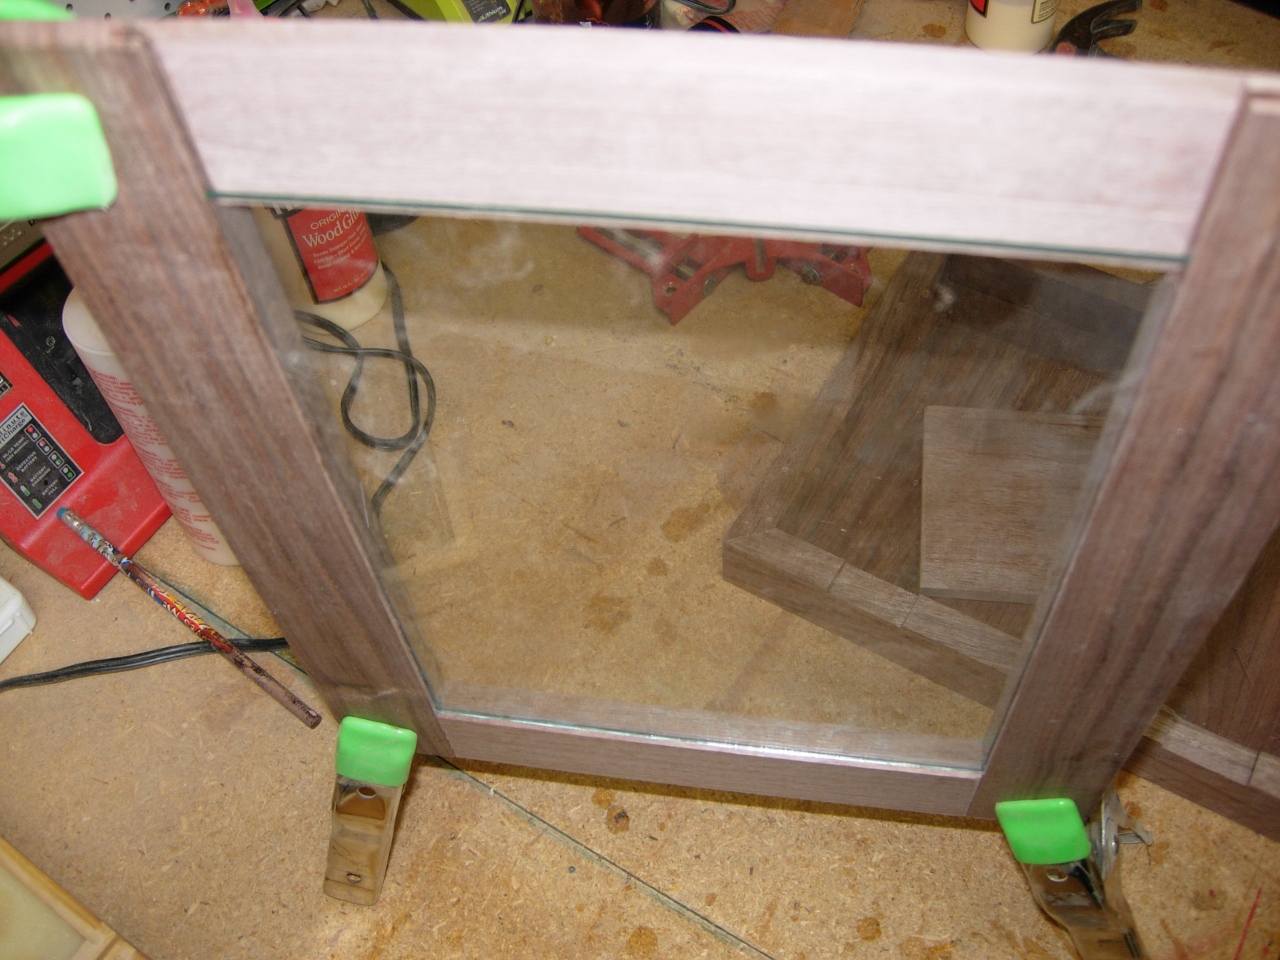
Glass installed
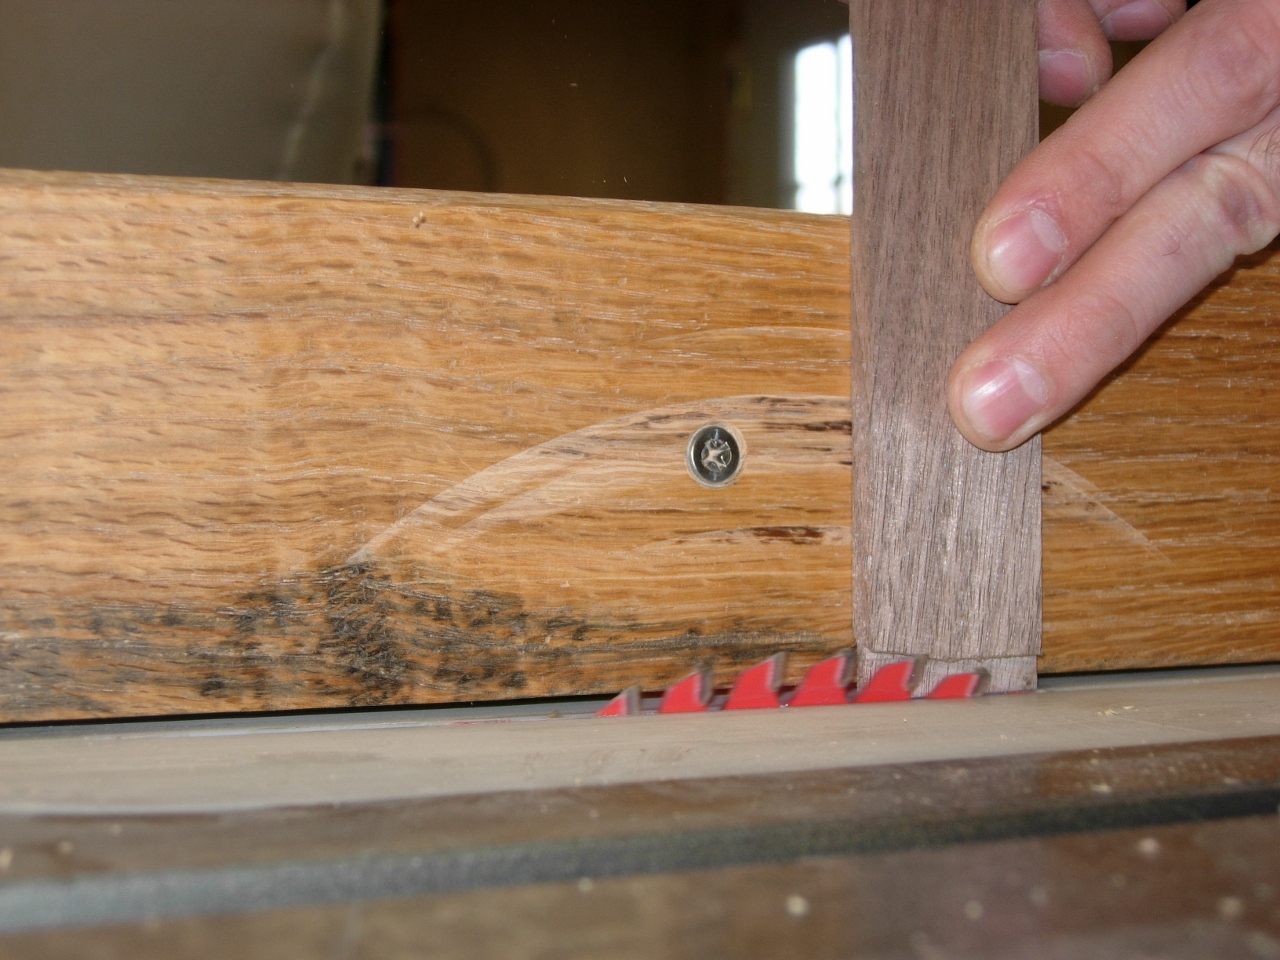
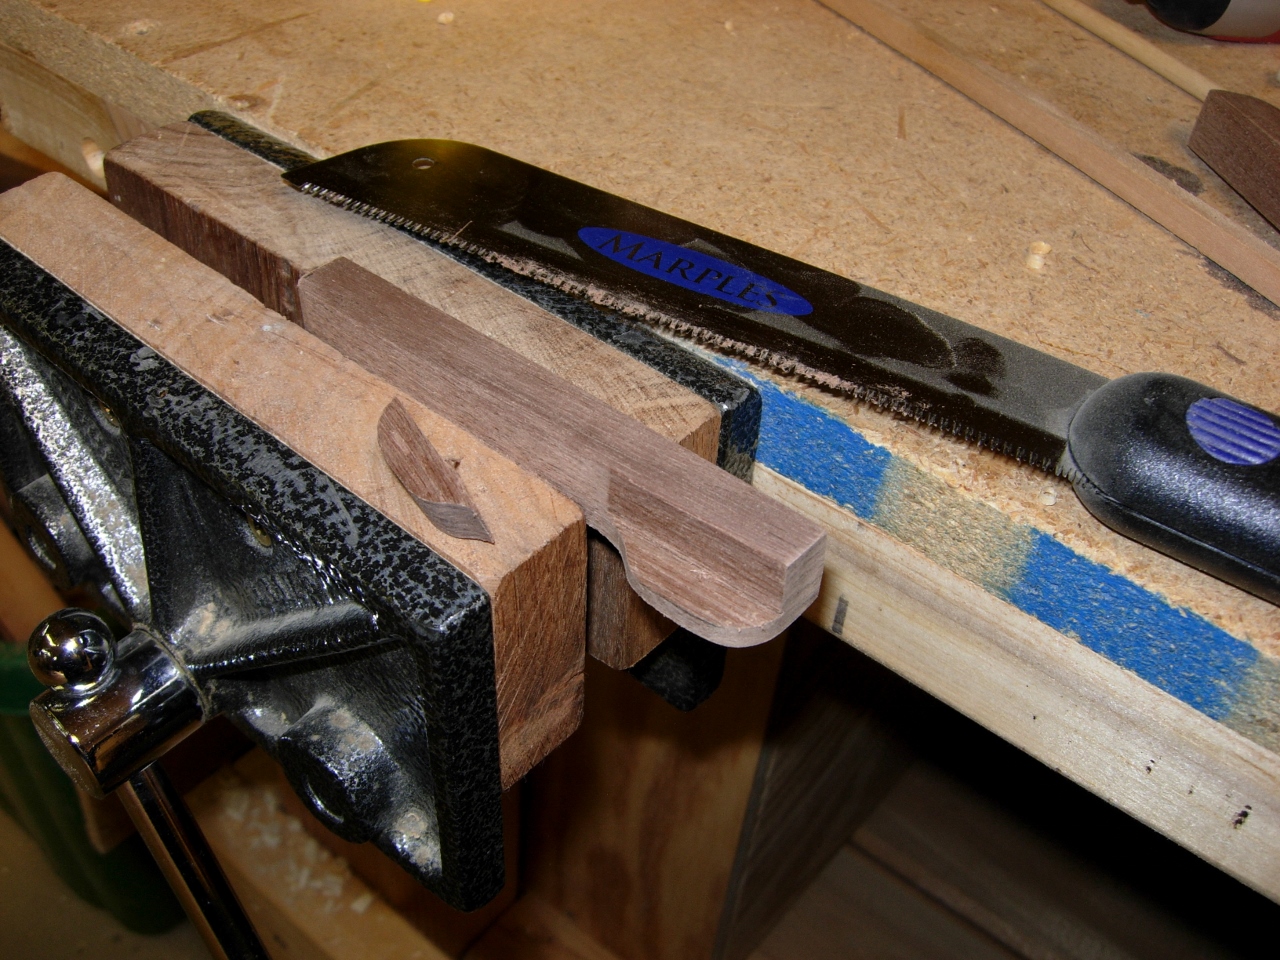
Cutting the tounges on the retainer blank
Then made a 1/8″ piece that would slide into the grooves and be held in place with a single screw. This piece will keep the glass in place.
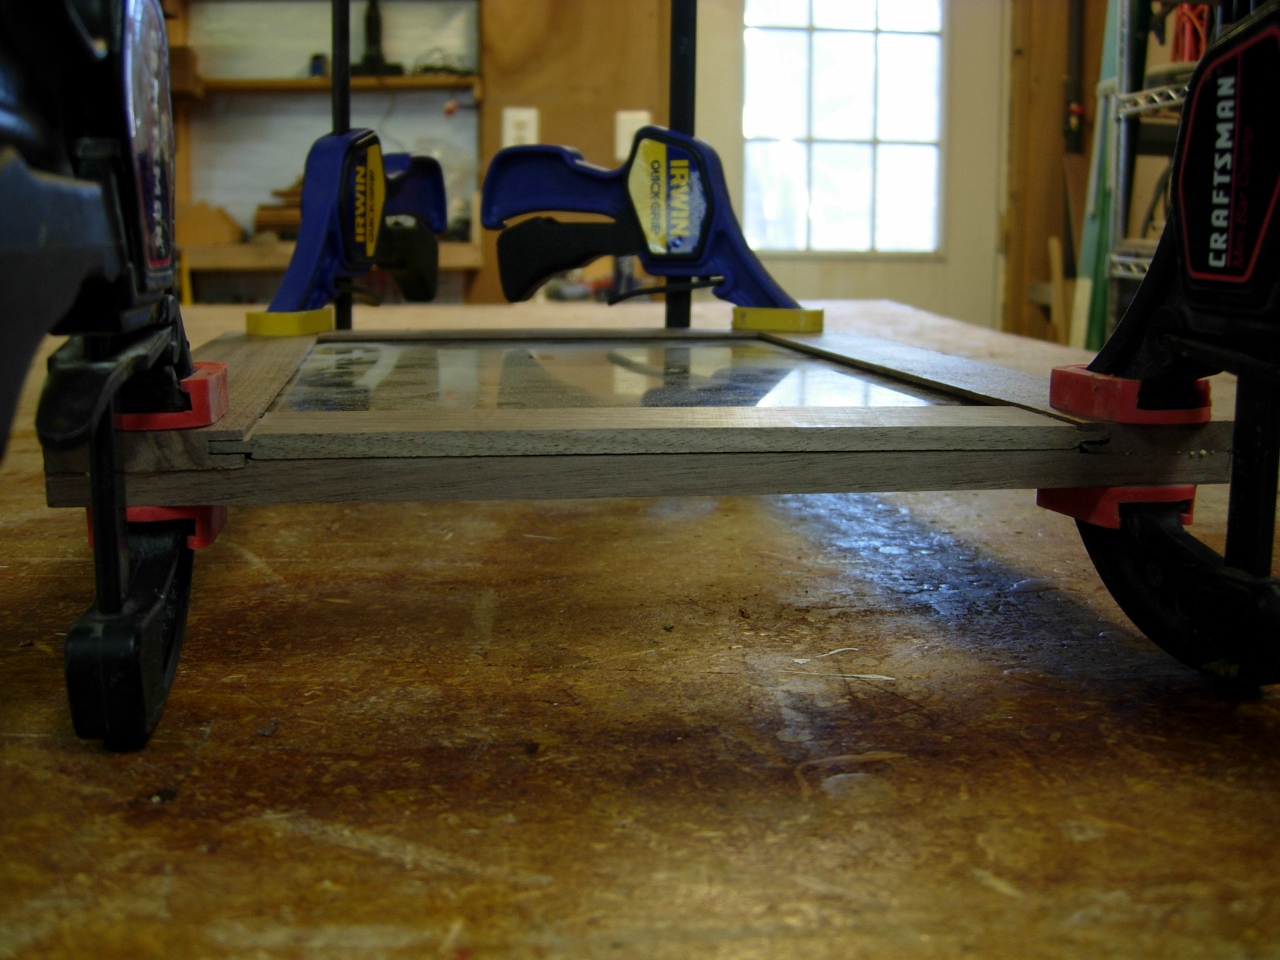
Retainer blank installed
Next I installed the hinges on the box. I butted them up to a board that I ran parallel to the side of the box. This kept them lined up.
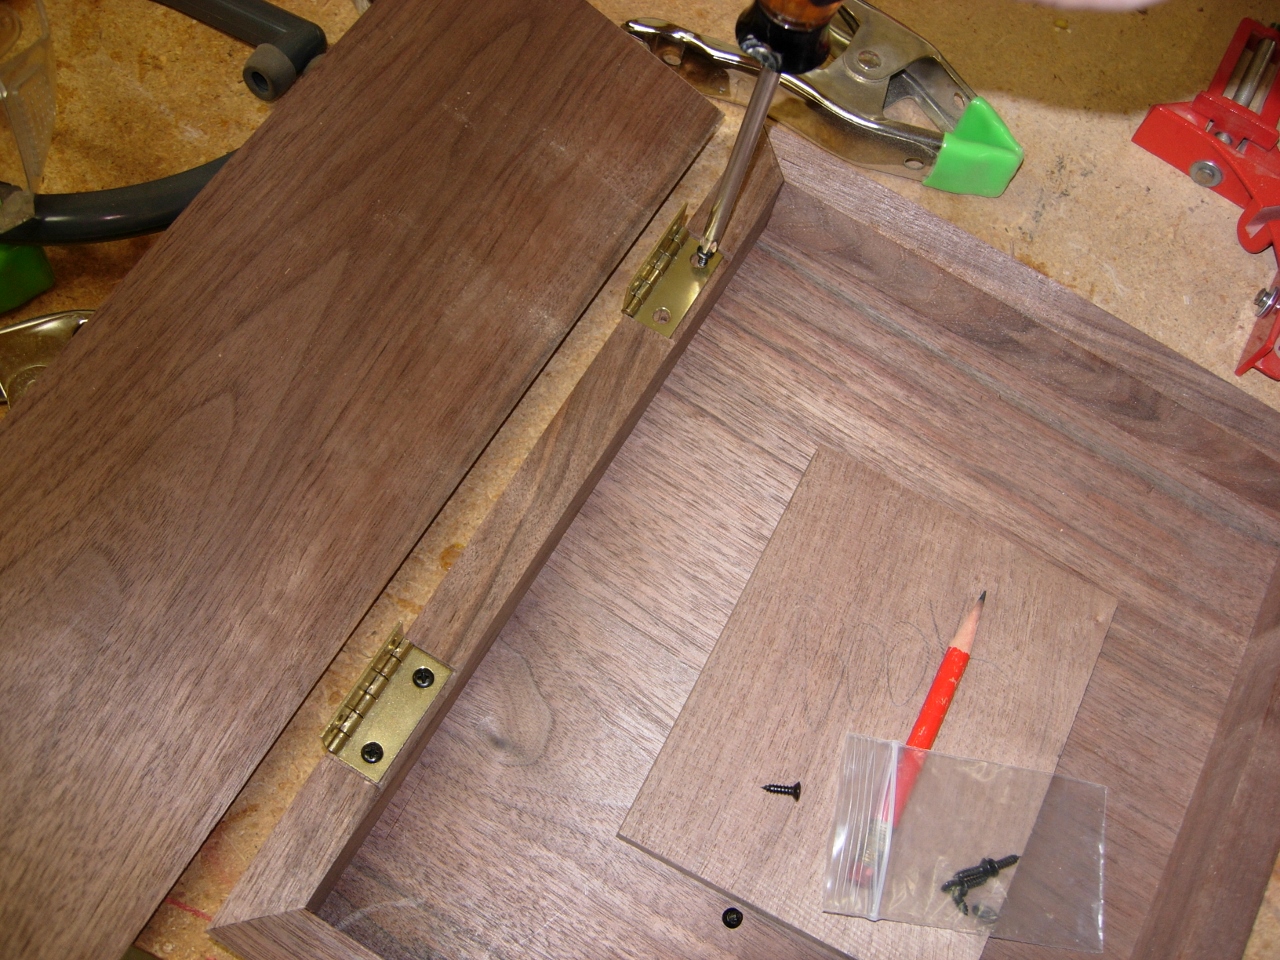
Hinges installed on box
I placed two strips of double-sided tape on the hinges and centered the frame over the box. The double-sided tape held the frame in place so that I could drill the pilot holes and get a couple of screws on to hold everything together. After testing to see if it would close properly, I ran a knife along the side of the hinges to mark the mortise locations in the frame.
locating hinges with double sided tape
With the mortises located, I used a 3/4″ forstner bit to hog out most of the material.
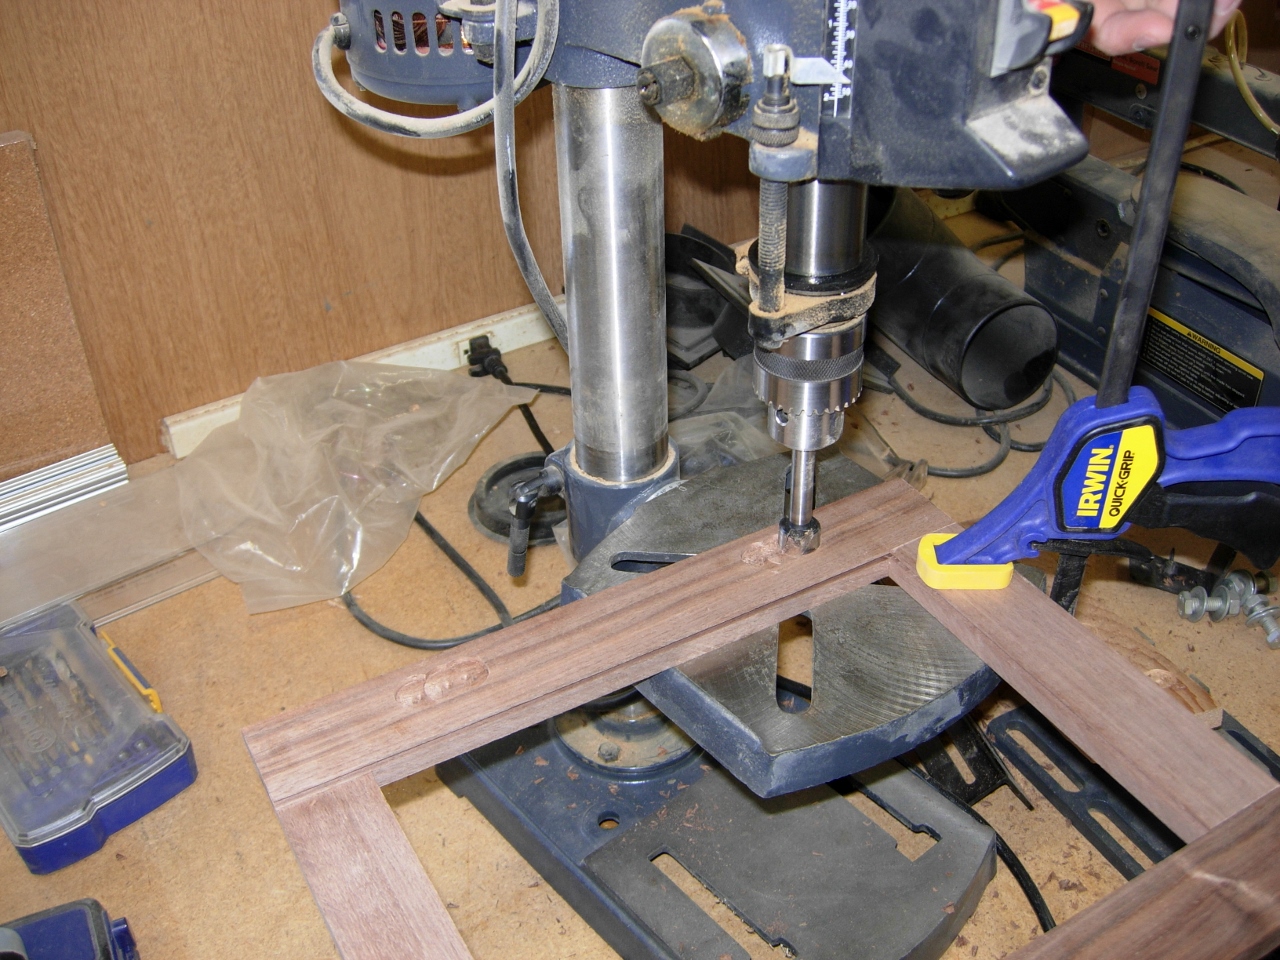
Cutting the bulk of the mortises

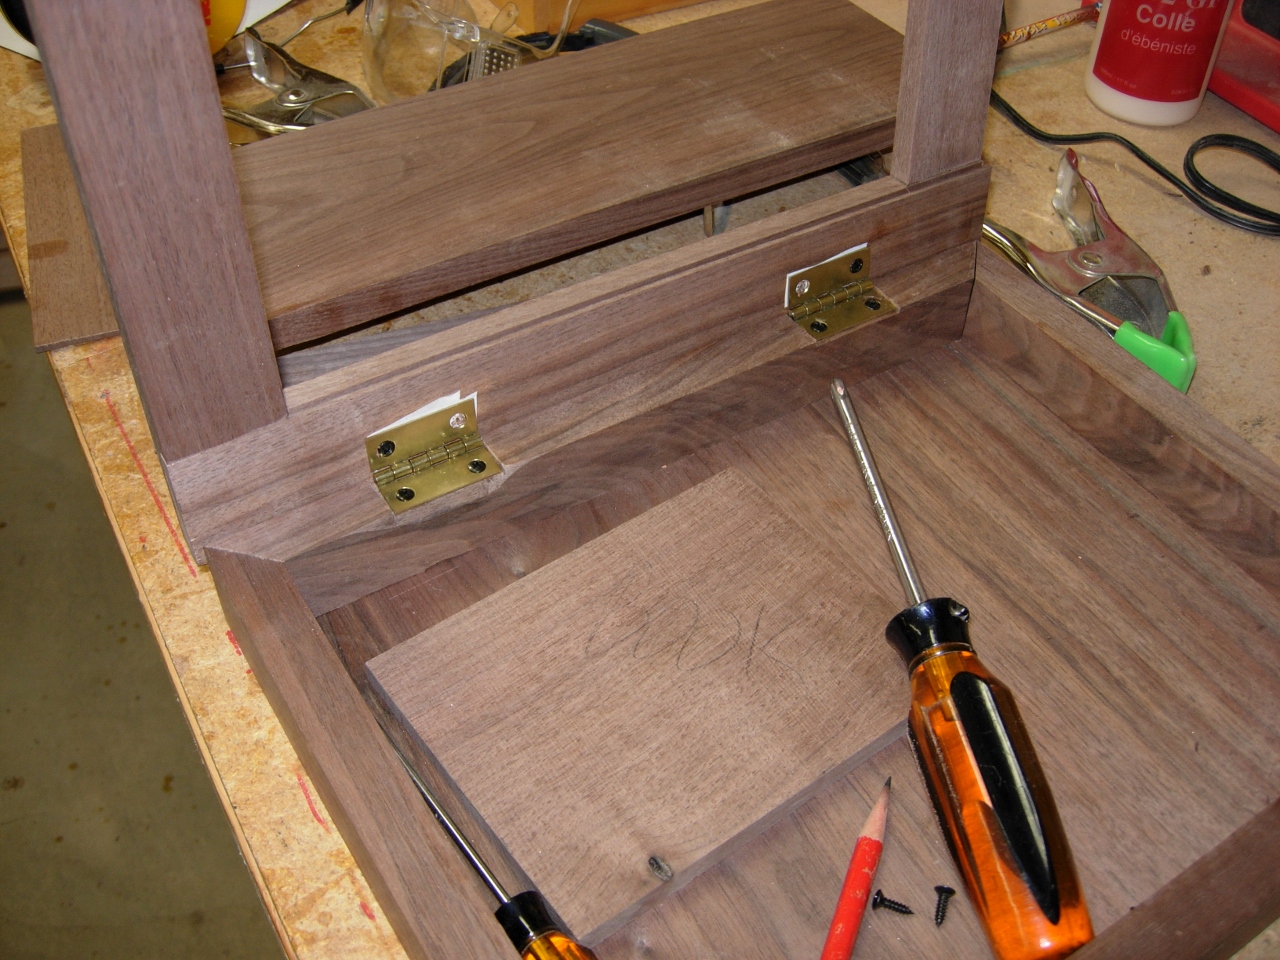
Cleaning mortises on the frame
I used my chisel to cut in the square corners then clean the pocket out.
Hinges installed
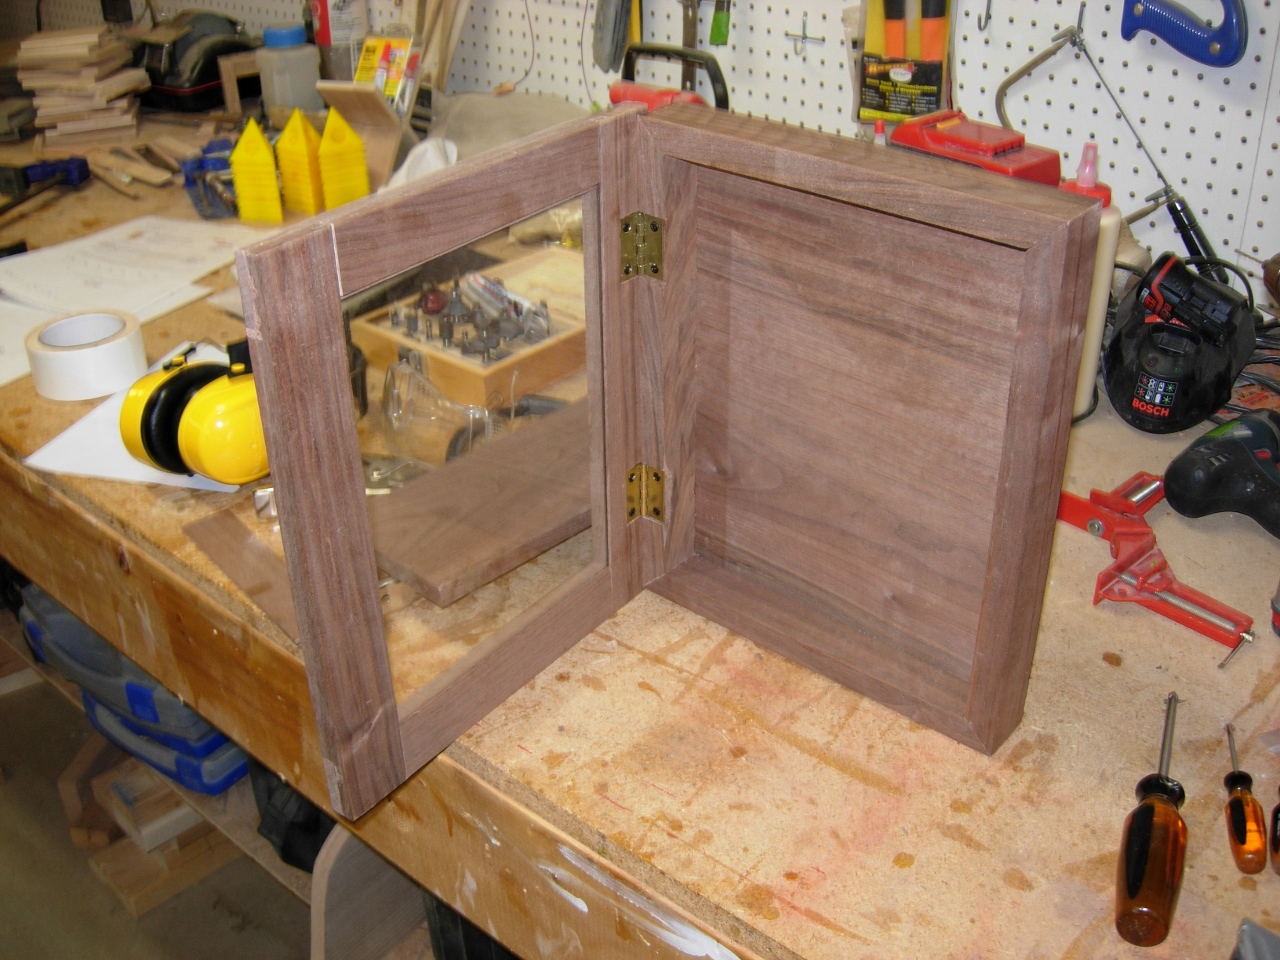
I reinstalled the screws for the hinges and tested it out.
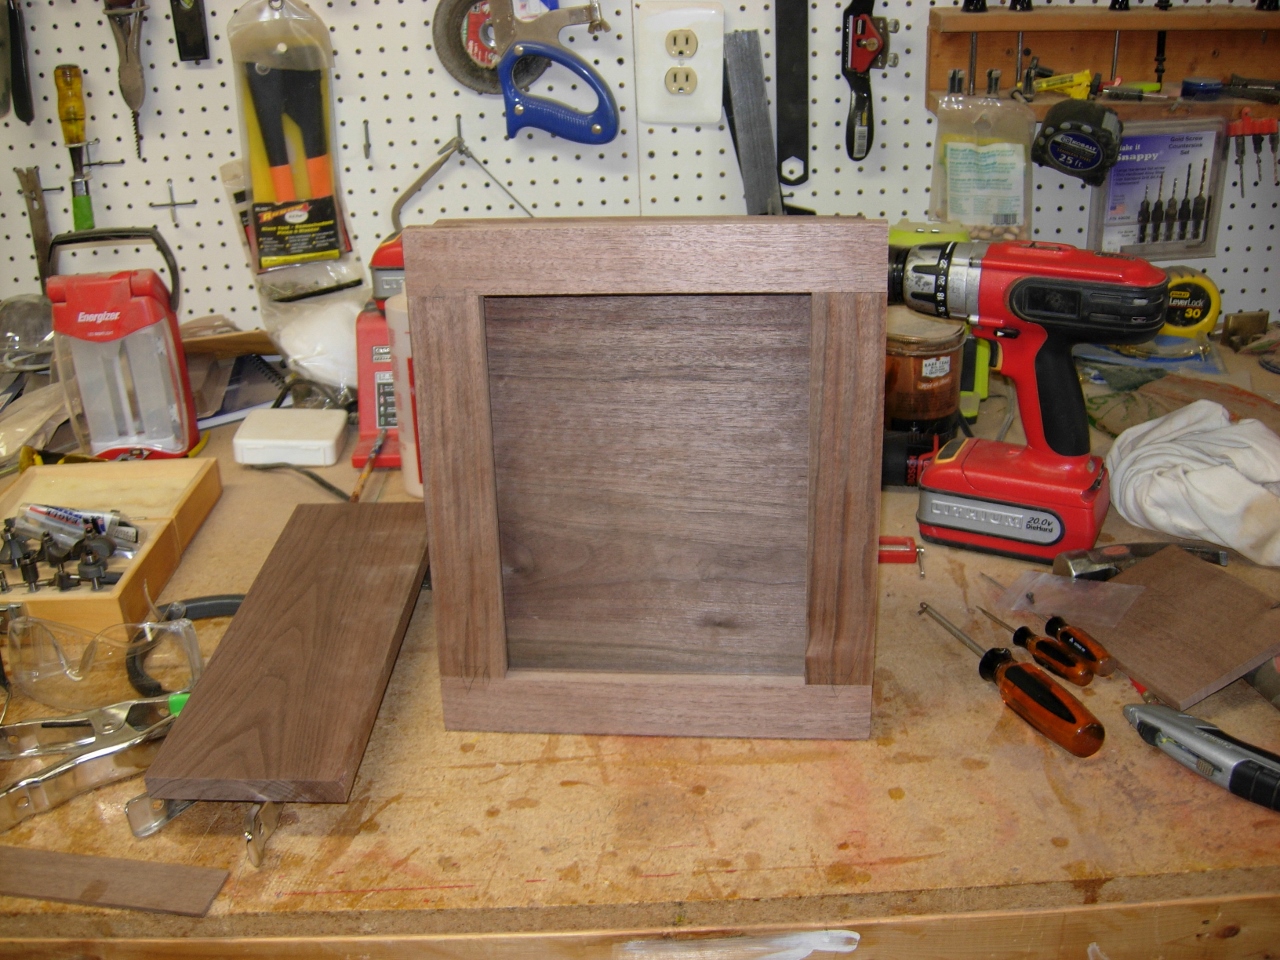
Frame attached and closed
With that finished, I needed something to hold the book in place.
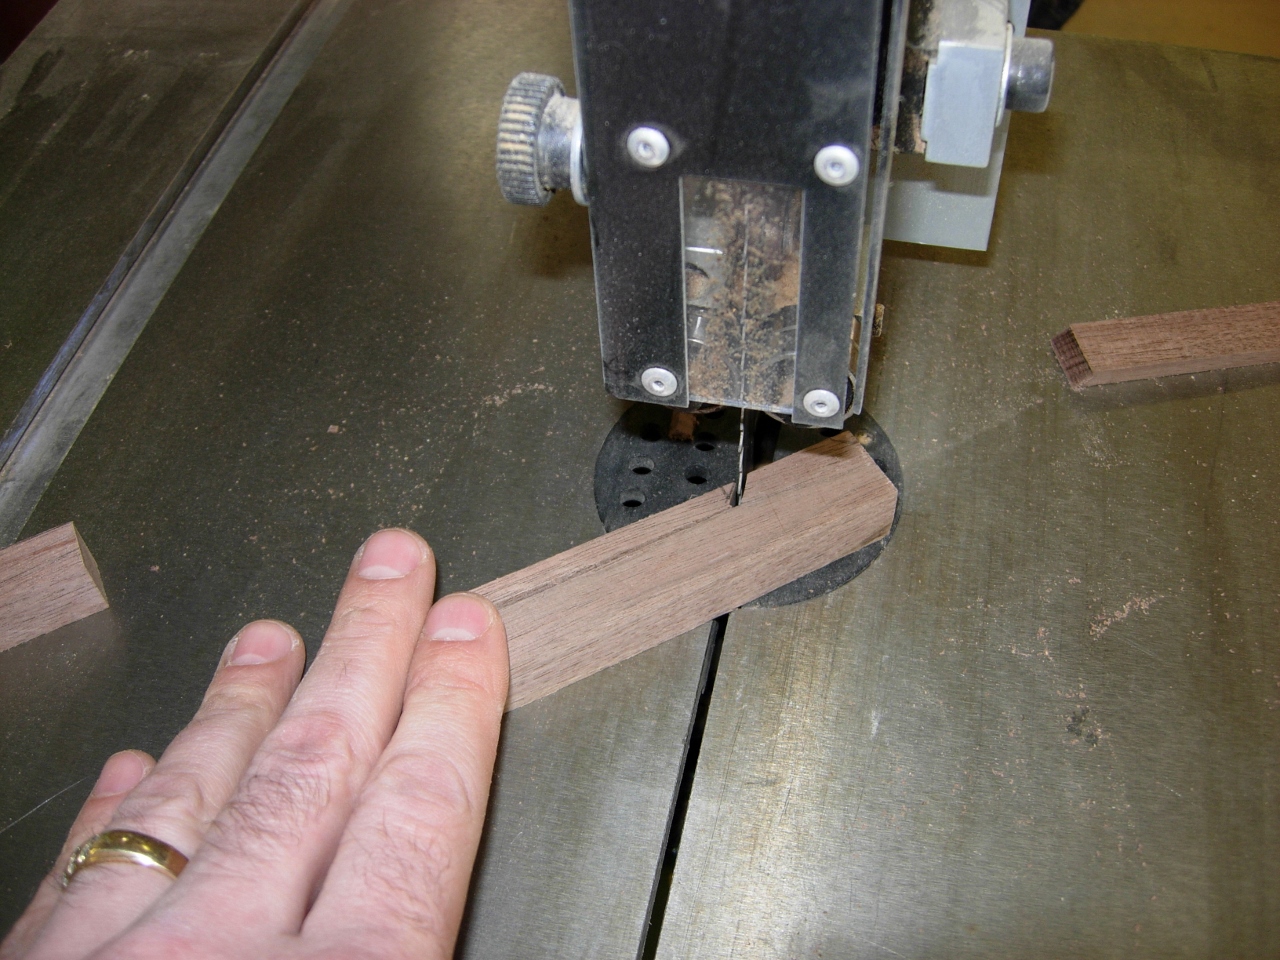
Roughing the shape of the book retainers
I decided on a couple pieces of walnut with ears sticking up to catch the corners of the book.
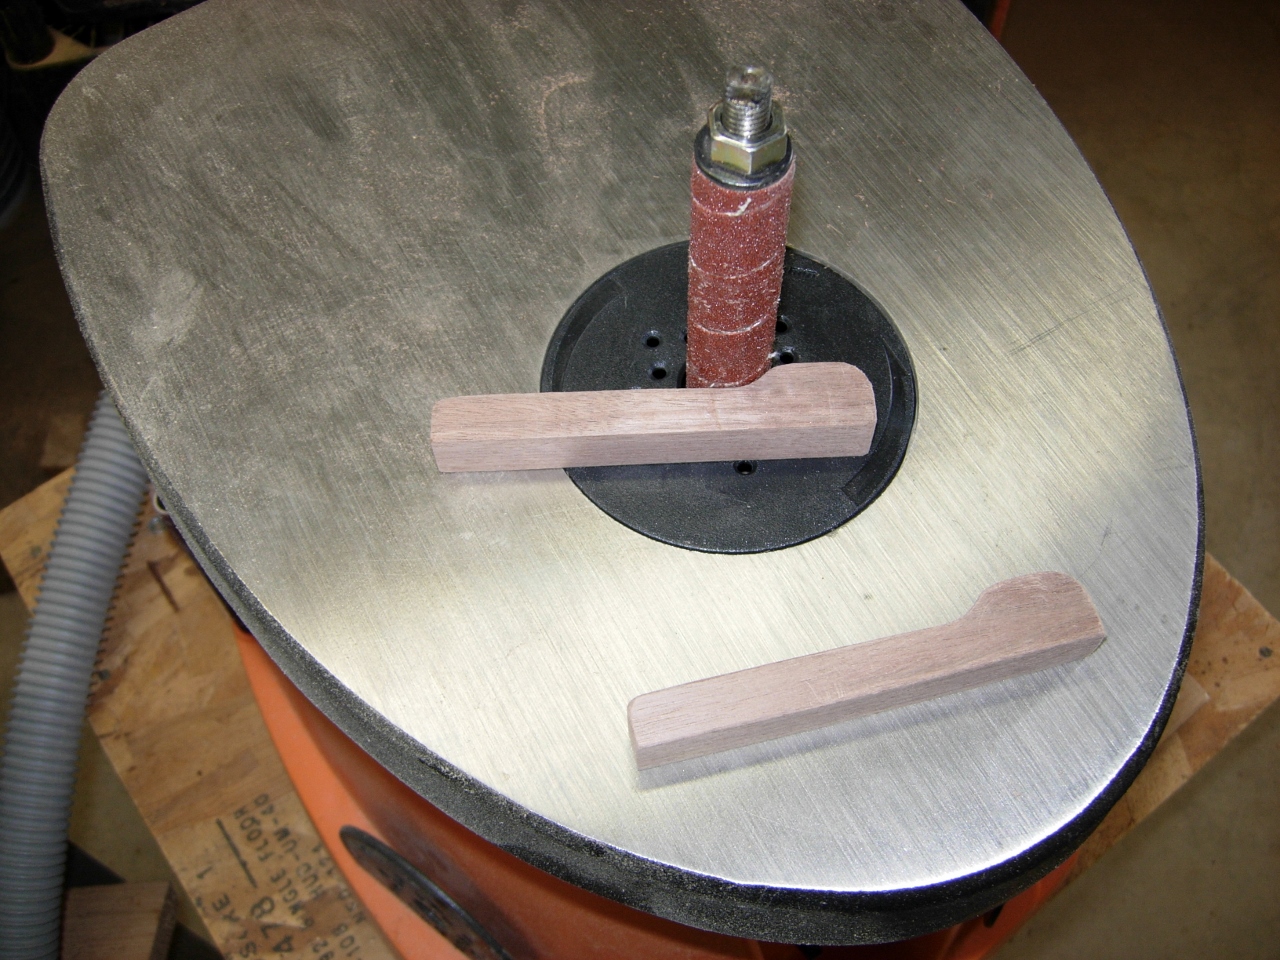
Shaping the retainers on the spindle sander
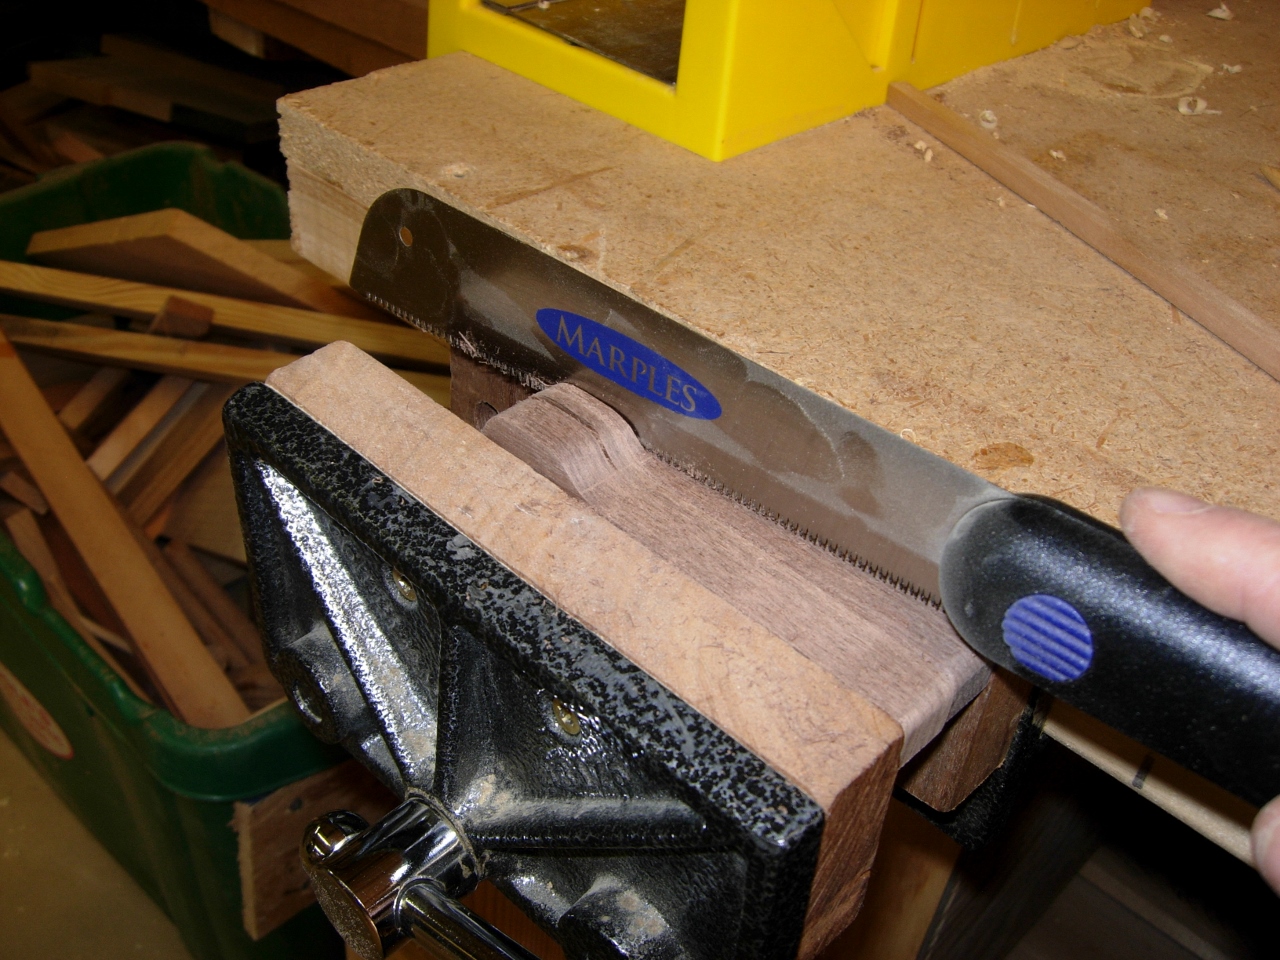
Cutting away the waste
I cut away the small waste piece by hand and sanded the ear.
Waste piece removed
Using the book, I centered and located the retainers.
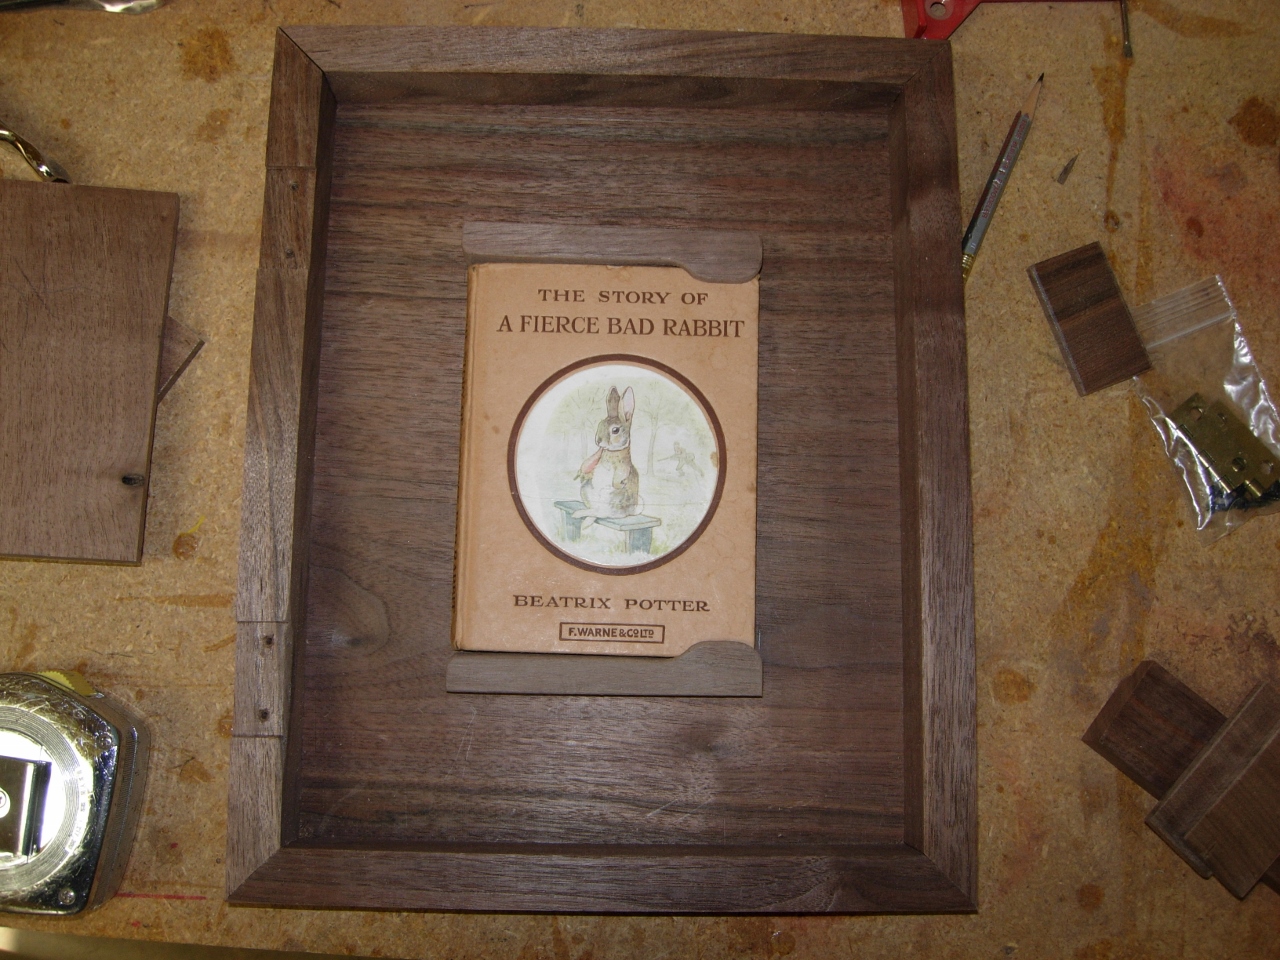
Locating the book retainers
I decided to put a 1/4″ round-over on the inside and outside edge of the frame. This was most accurately and safetly attained on the router table. Freehanding the router on such a narrow piece would have been a little wobbly.
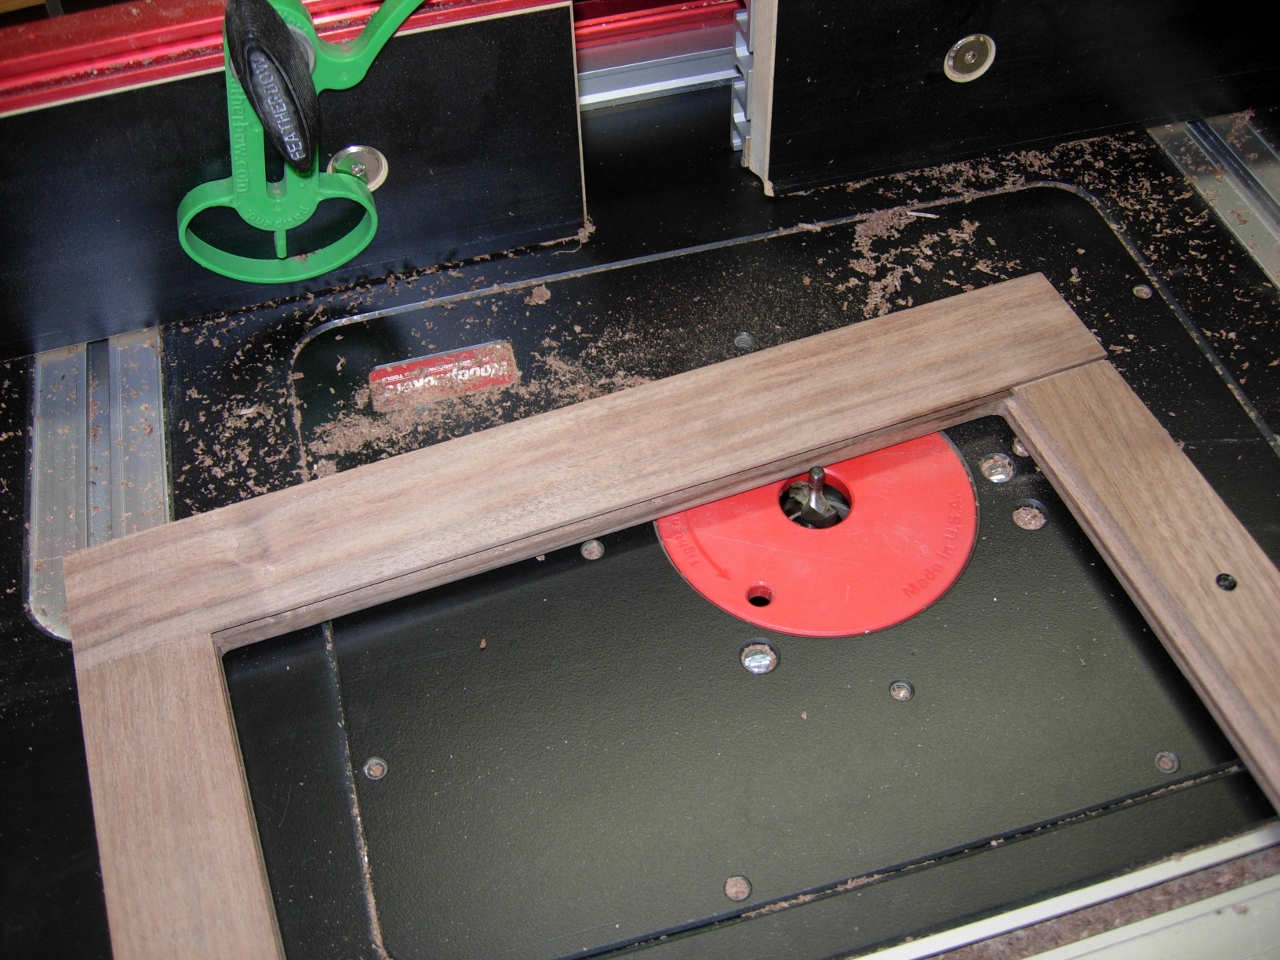
Rounding over the inner and outer edges of the frame
With the book retainers glued in place then held with a couple 3/4″ pins, I sanded everything down smooth.
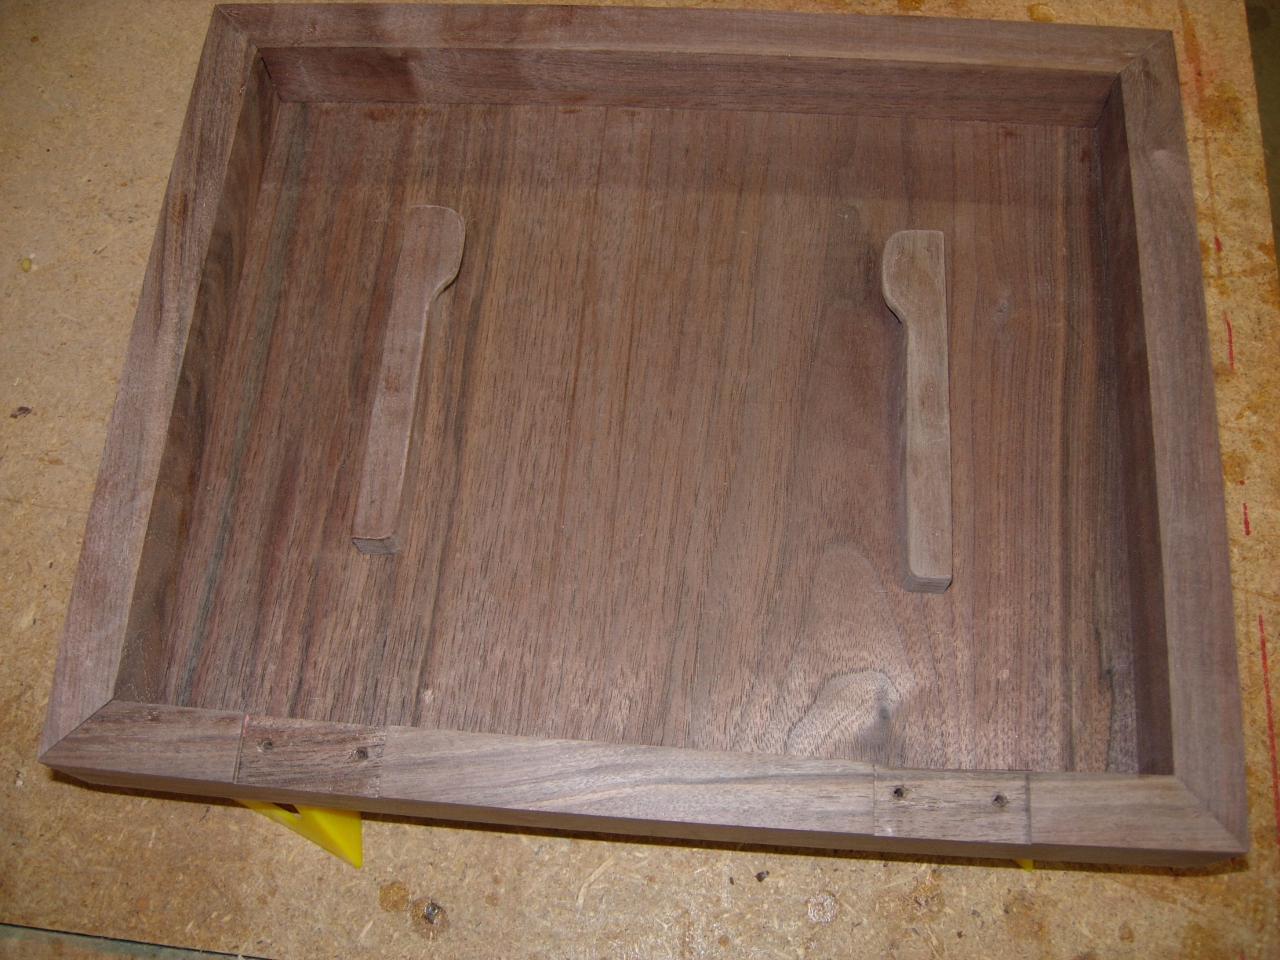
Book retainers installed
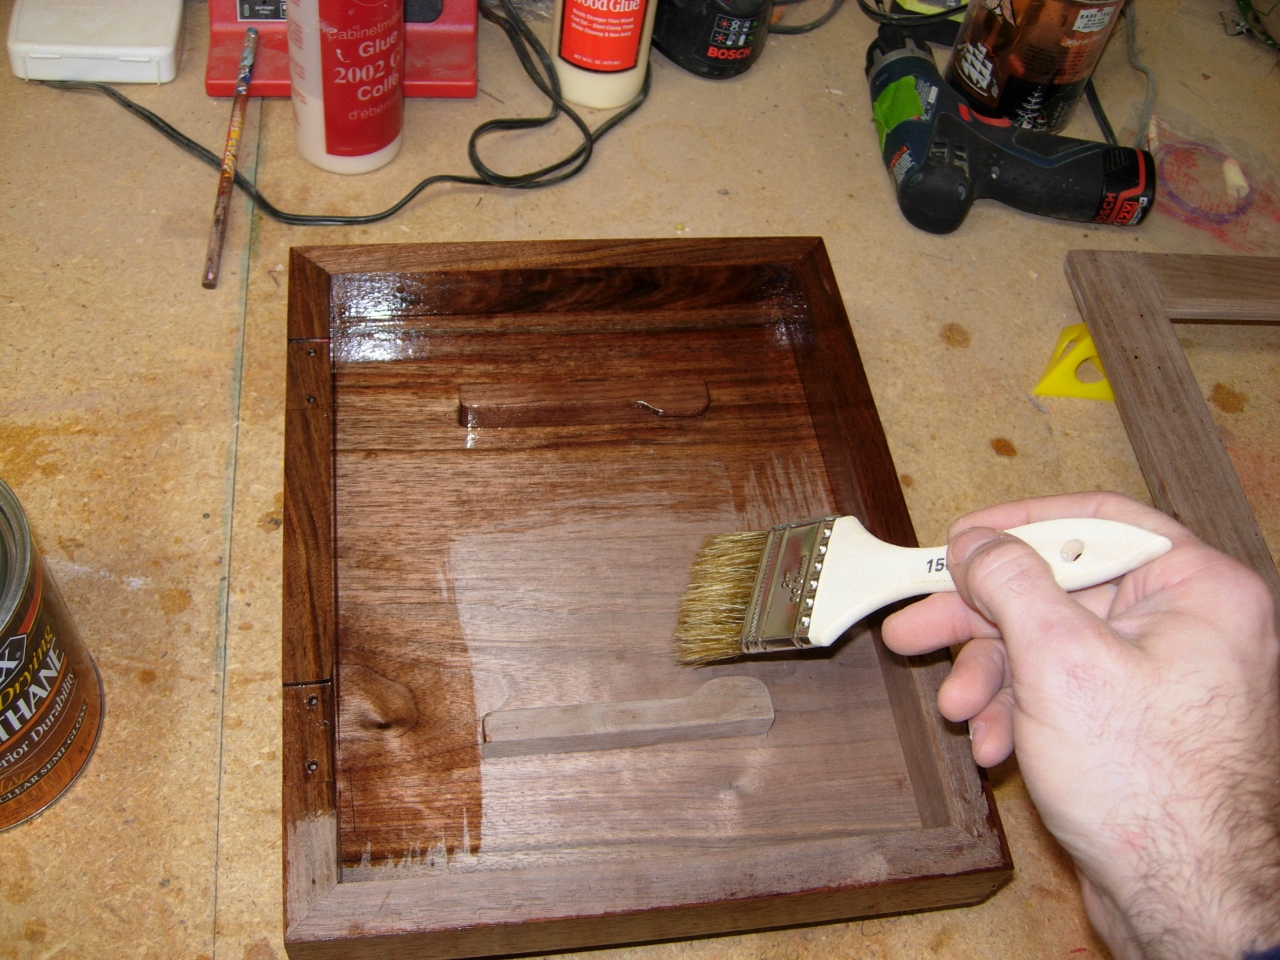
Applying the first coat
I applied the first coat of polyurethane, then left it to dry over night.
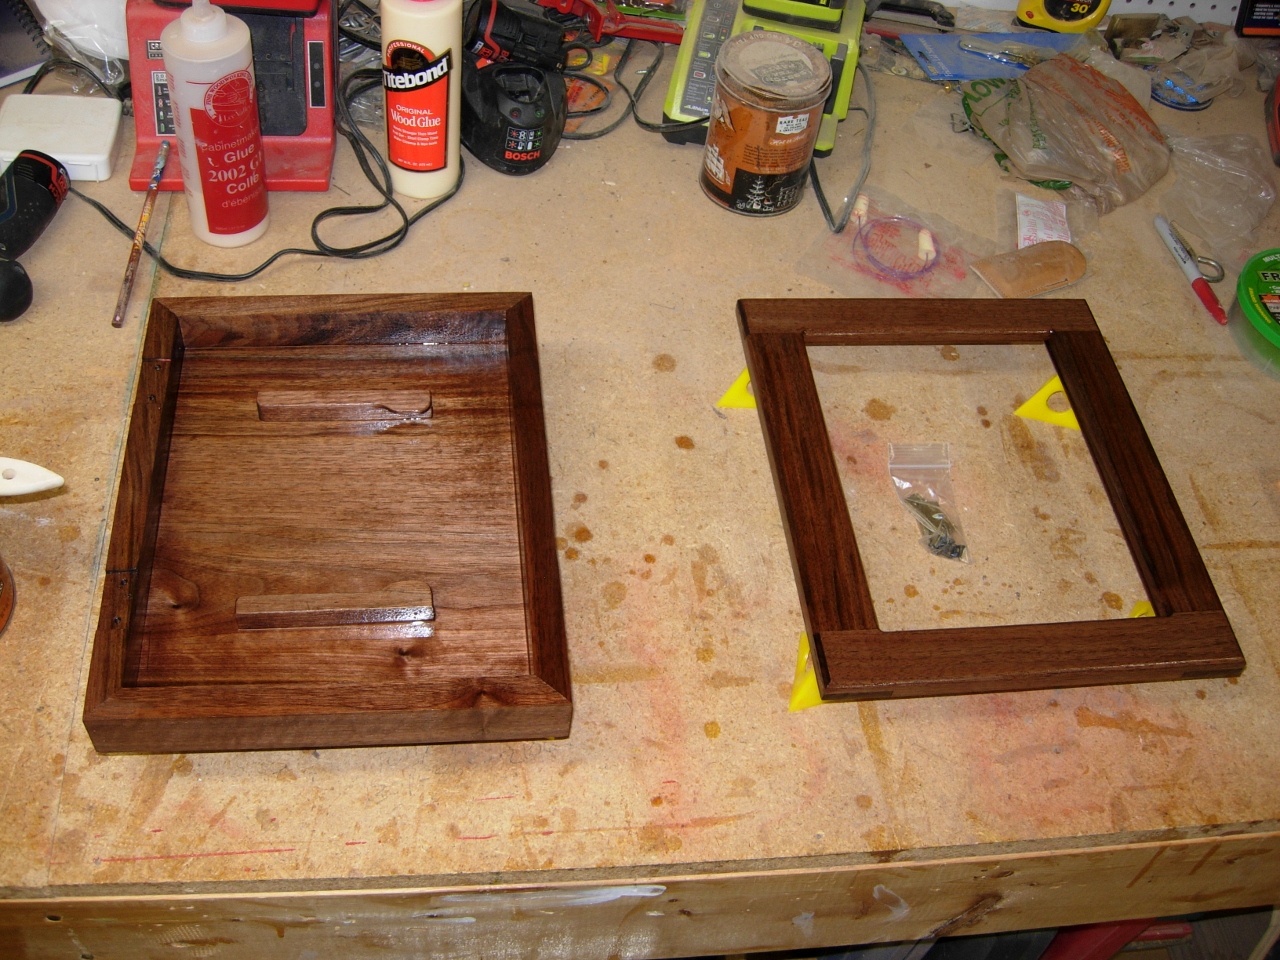
First coat applied
