
Day 16 – Sacristy cabinet
Finished up today. I had help so it all went faster… Before we could get started, Adam had to test the lock just to make sure that it worked ok. It did and we were able to move on to the finishing touches. He seemed a little perplexed when I handed him half of a brown paper bag, but I showed him how it worked. I told him to just rub all of the freshly urethaned surfaces vigorously. It knocks down all of the dust nibs and leaves behind a smooth surface. He was amazed and continued happily rubbing down the cabinet on his side. That reminds me, I never did check his side… Next I installed the drawer pulls. All of the pre-drilled holes lined up perfectly. The card frames went on next This is actually a three hand operation, so Adam was in charge of holding the frame still while I nailed it on. They only moved a little… I used a piece of cardboard to hold the tiny nails. This did two things for me. First, it saved me from smashing my fingers. And second, it protected the surface of the frame from hammer damage. That complete, Adam reminded me to put the last four screws into the bottom of the rear panel. With that done, We loaded the spindles in the drawers and took a few pictures. Maybe I will find some time this week to haul the cabinet to Saint Peter’s and see how well it fits into its new home.
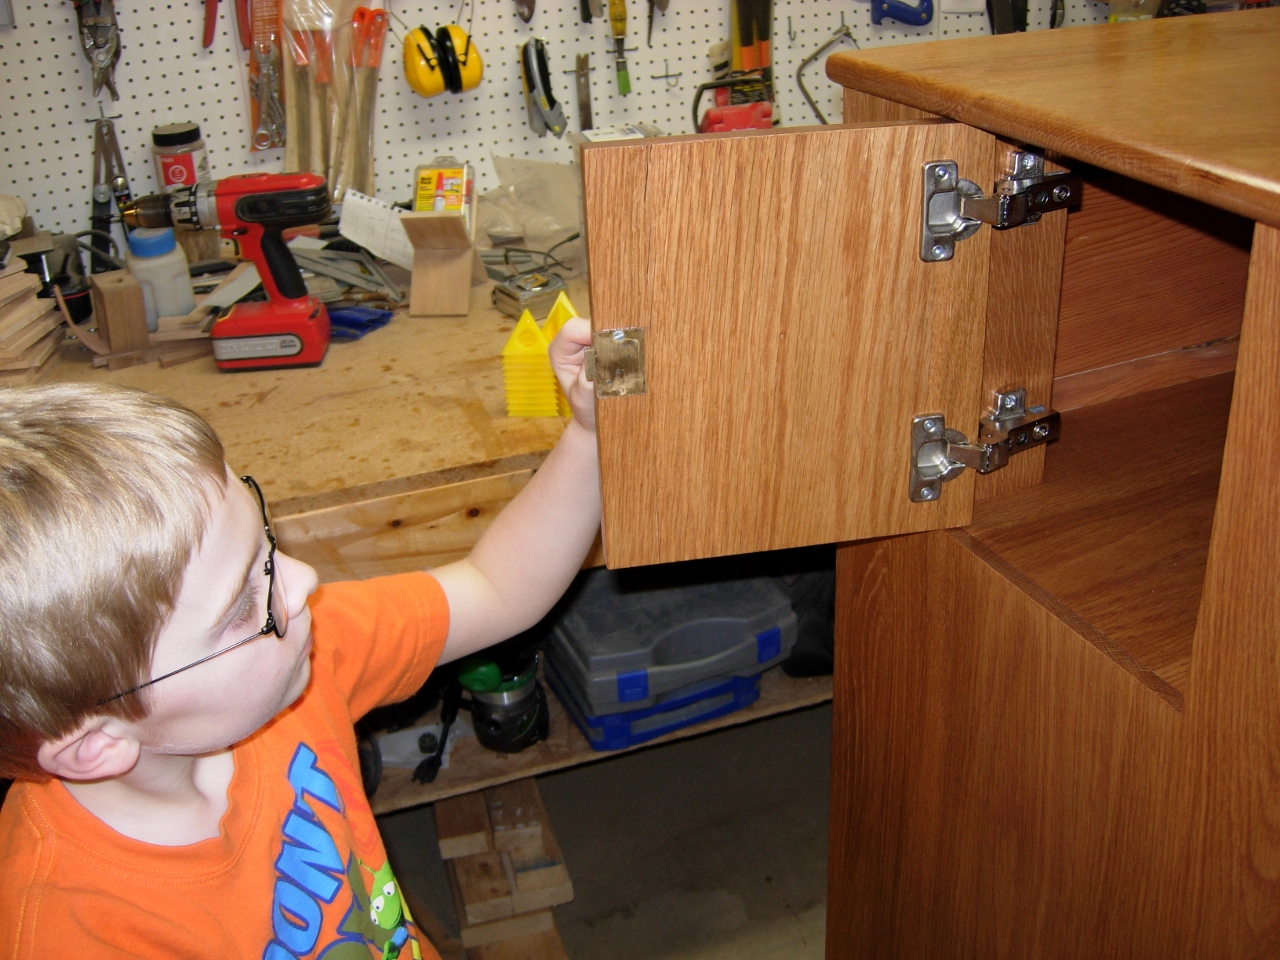
My helper needed to test the lock
Yep it works
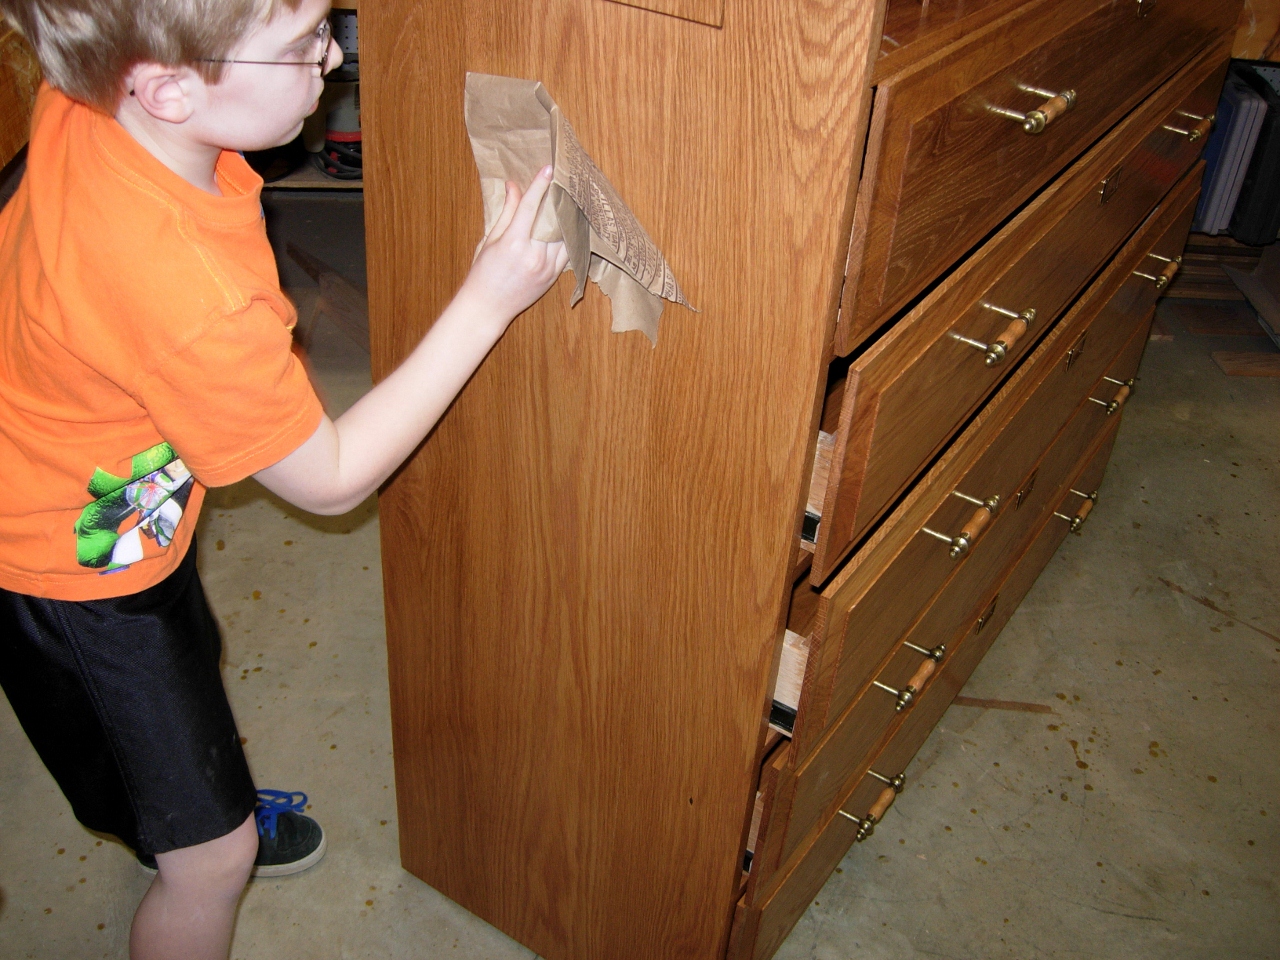
Adam polishing
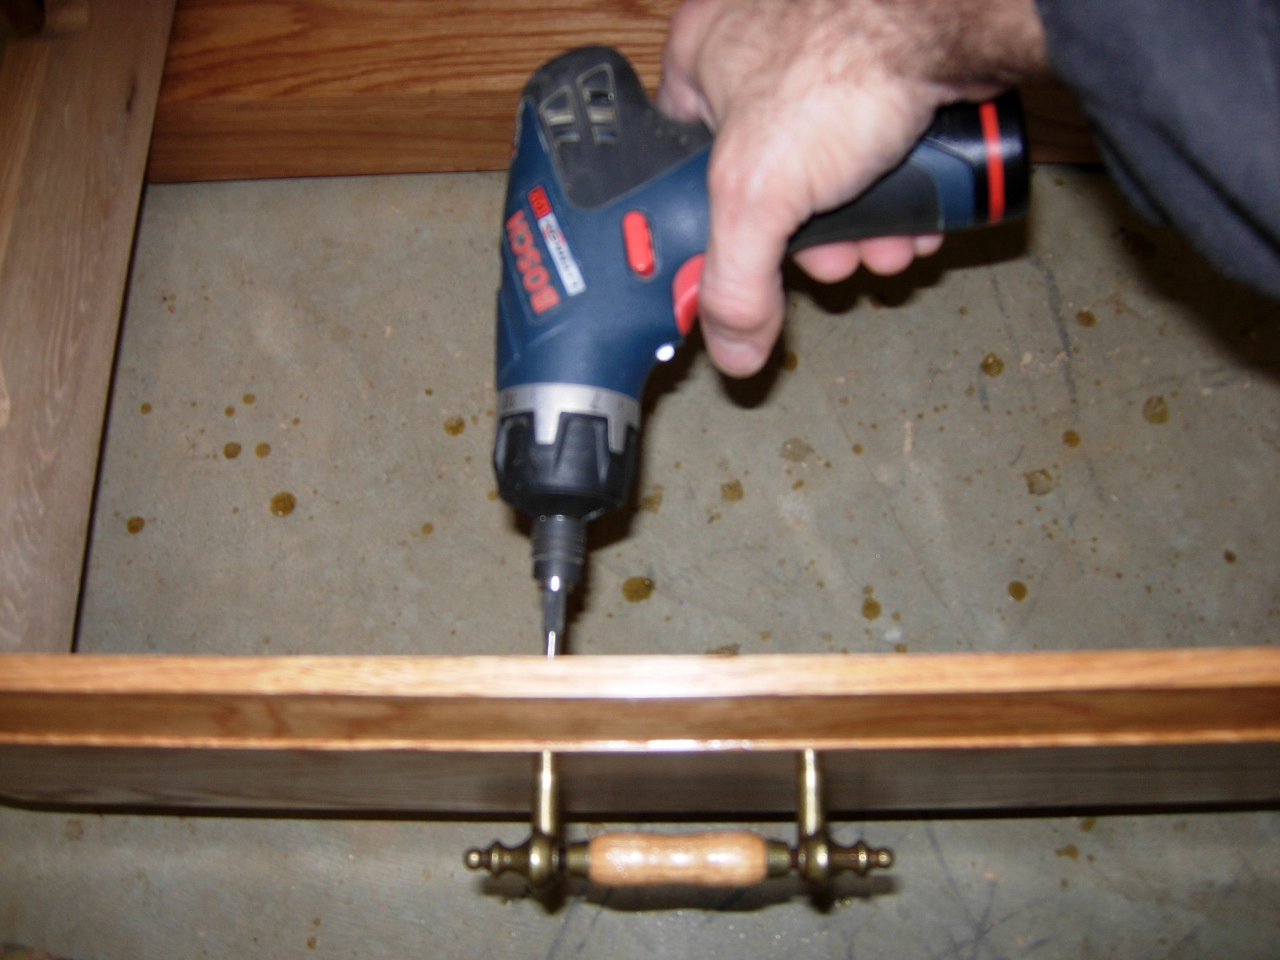
Screwing on the drawer pulls
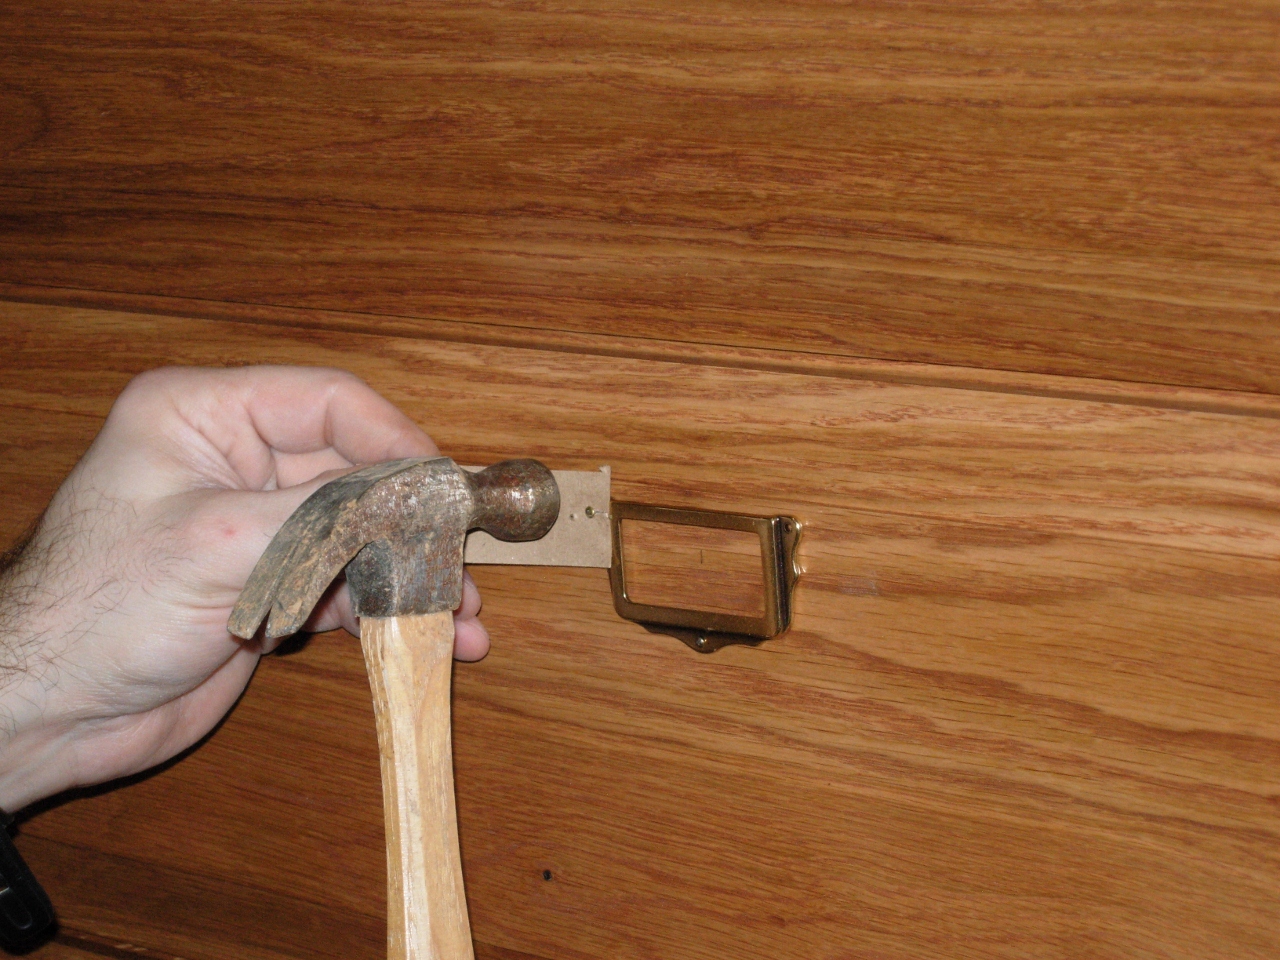
Installing the card frames

Attaching the last few screws
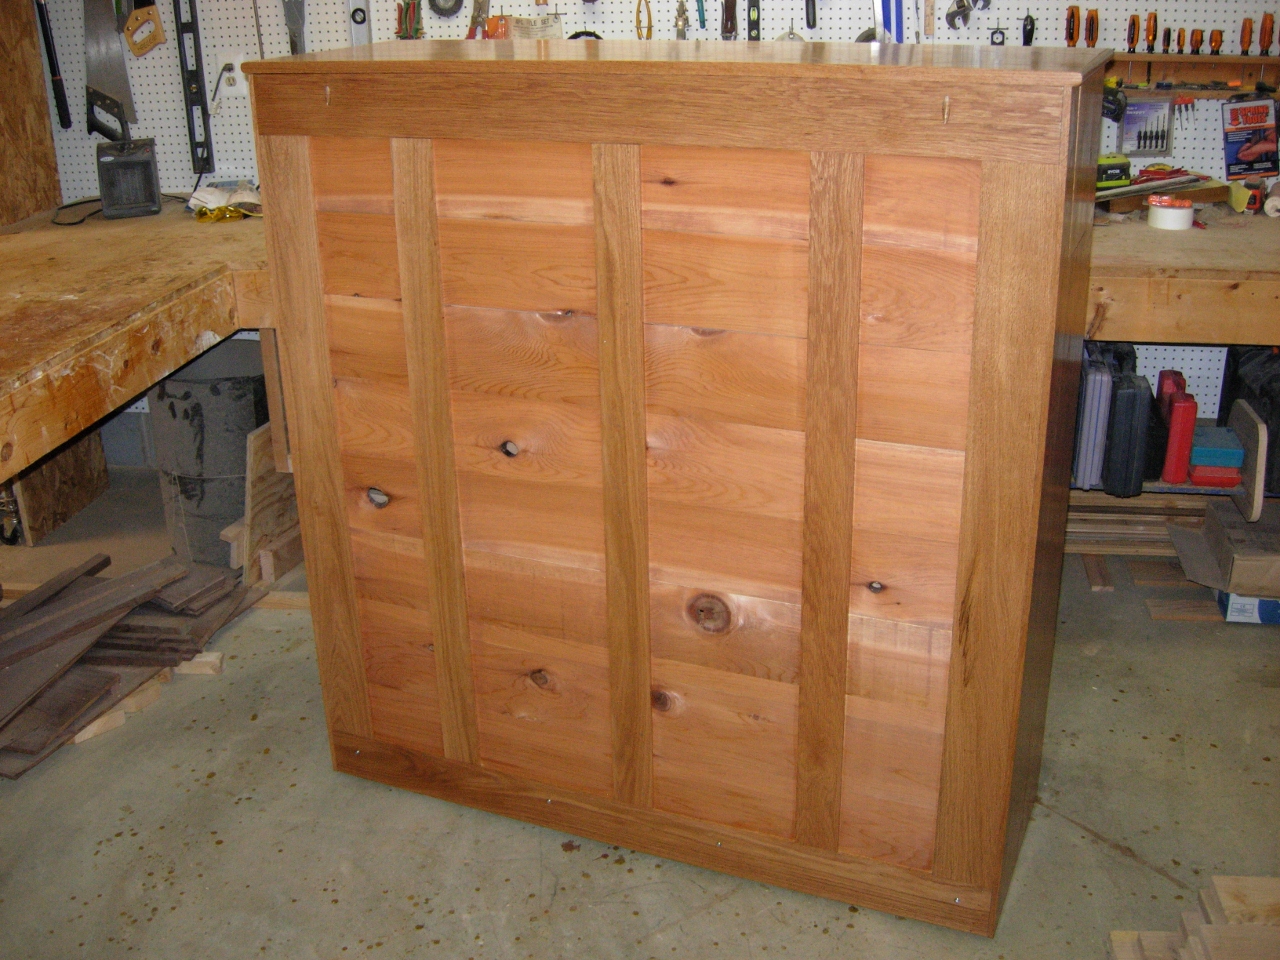
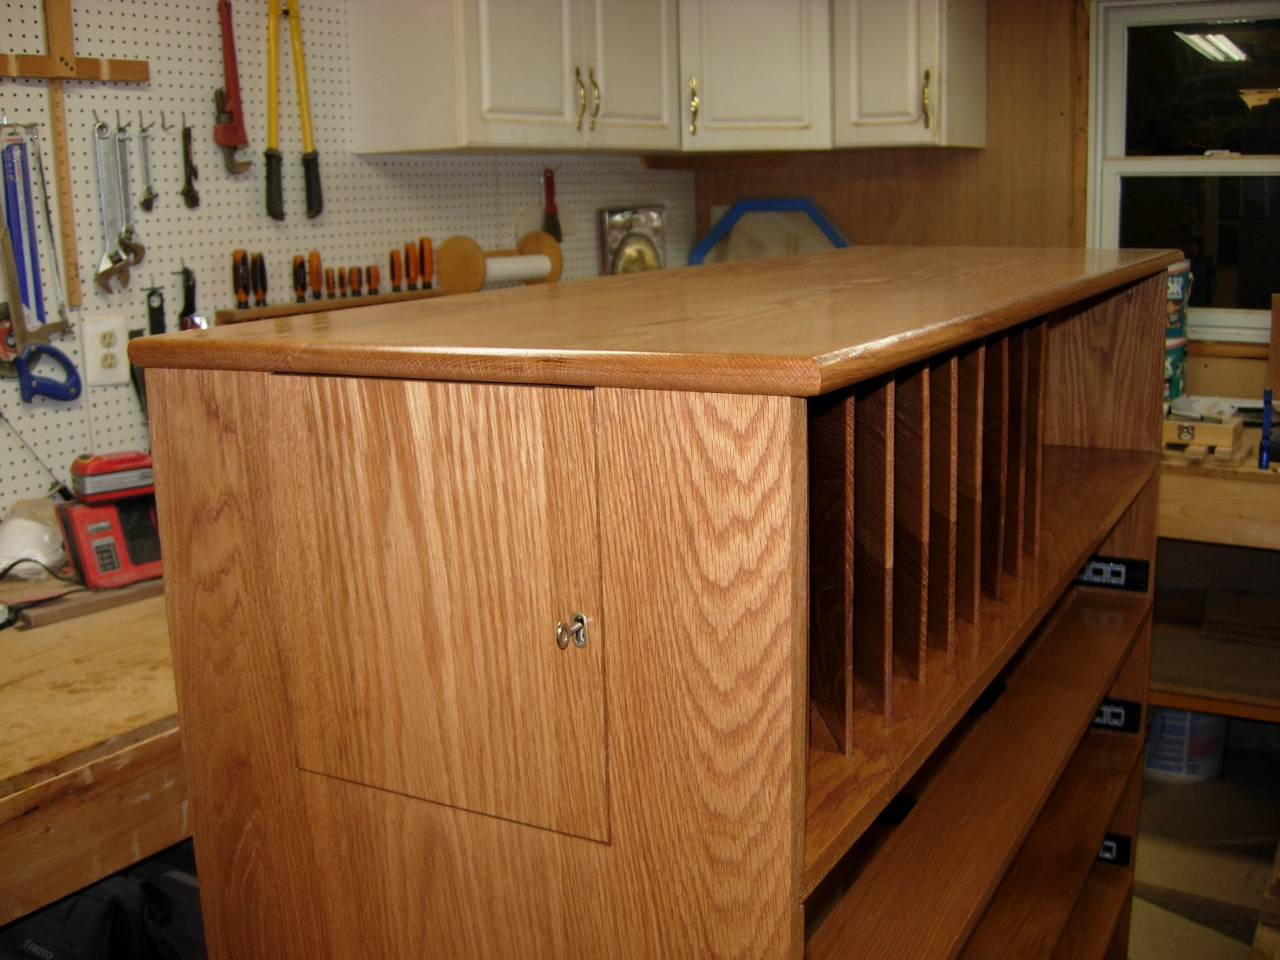
Finished rear
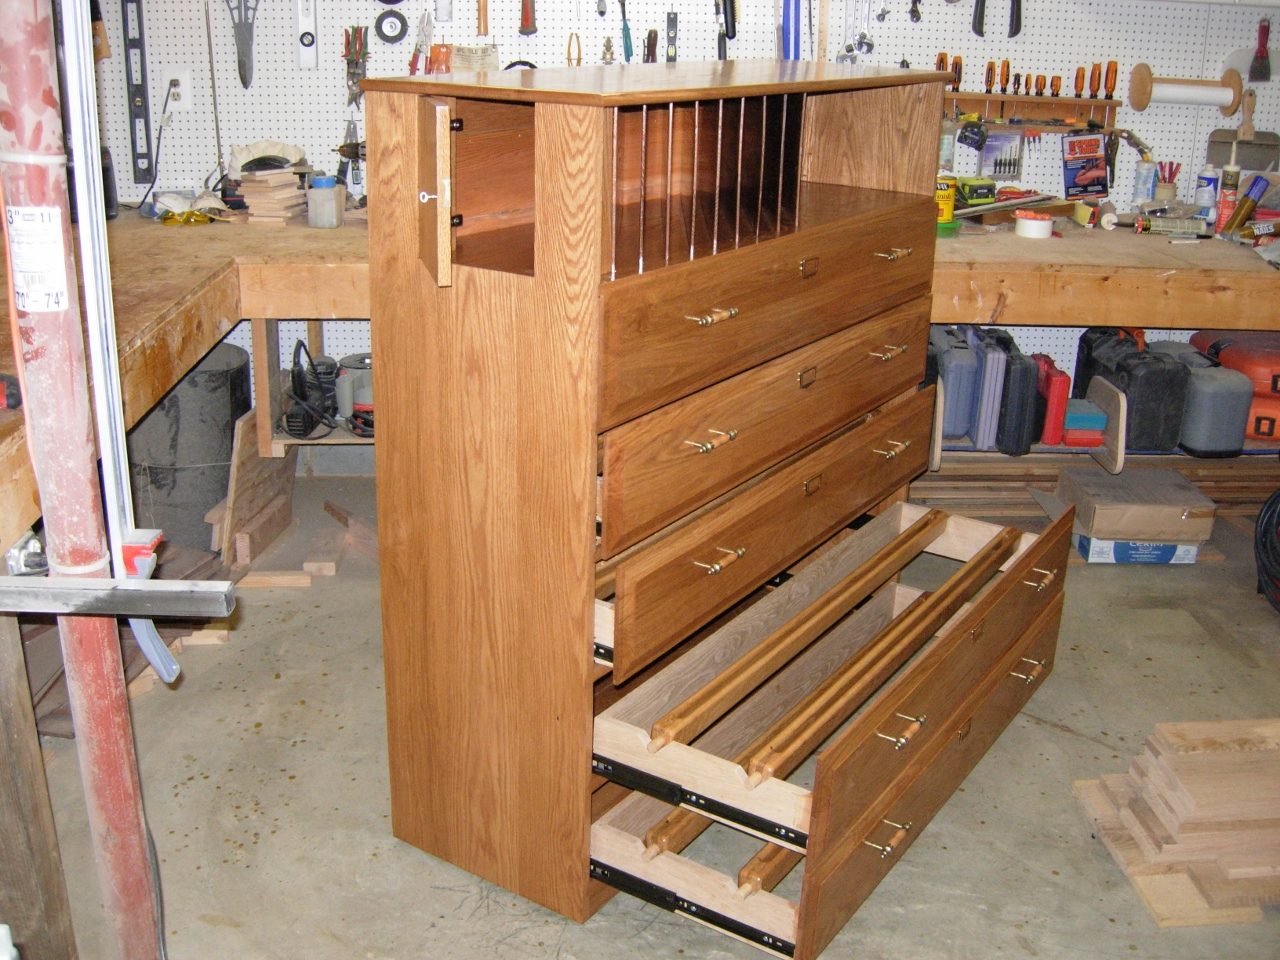
Spindles laid in
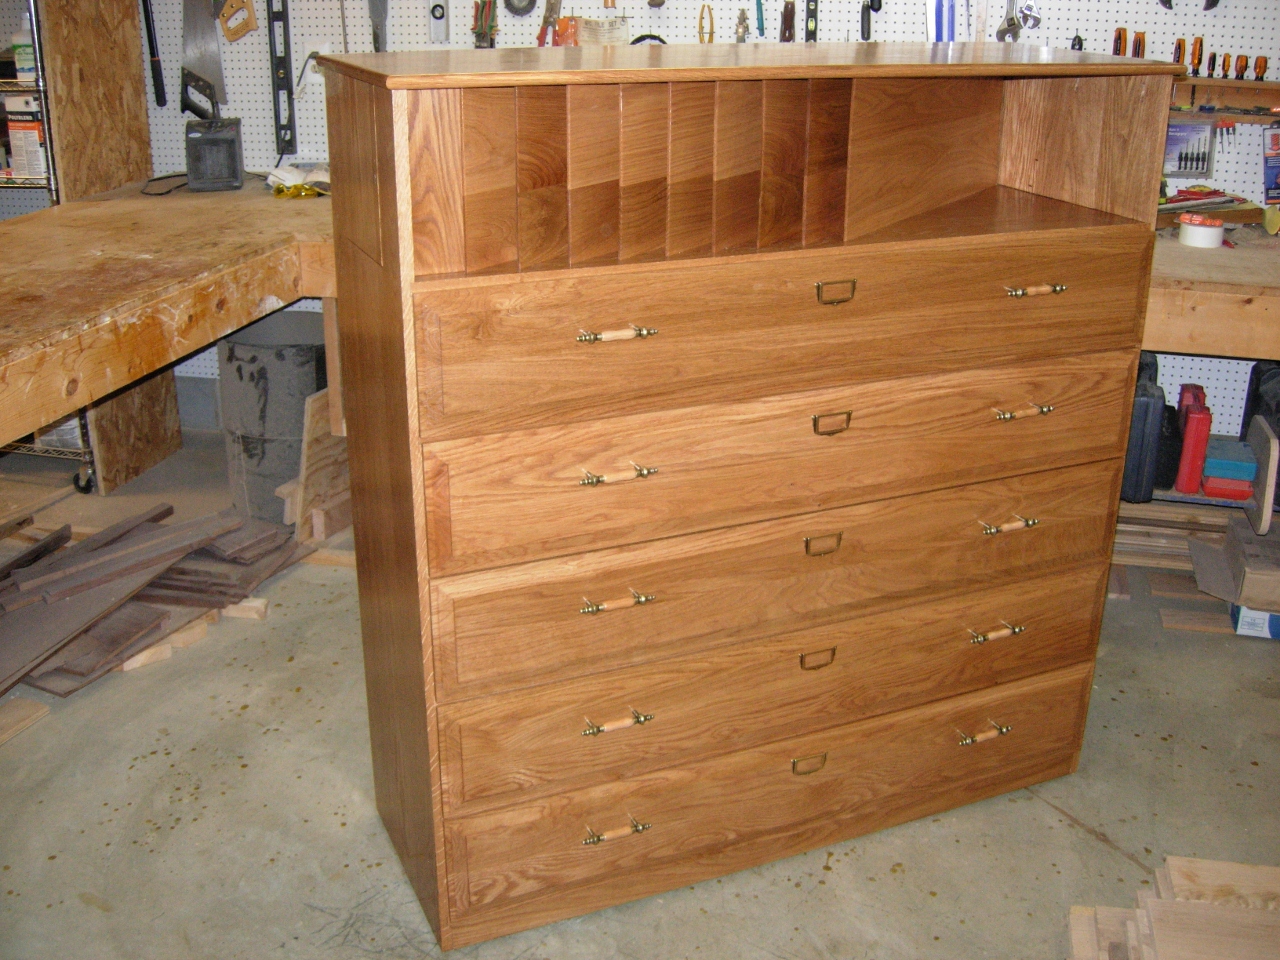
Finished product

One really beautiful cabinet and made with some standard tools. Great to see the kids get involved.