
Day 15 – Sacristy cabinet
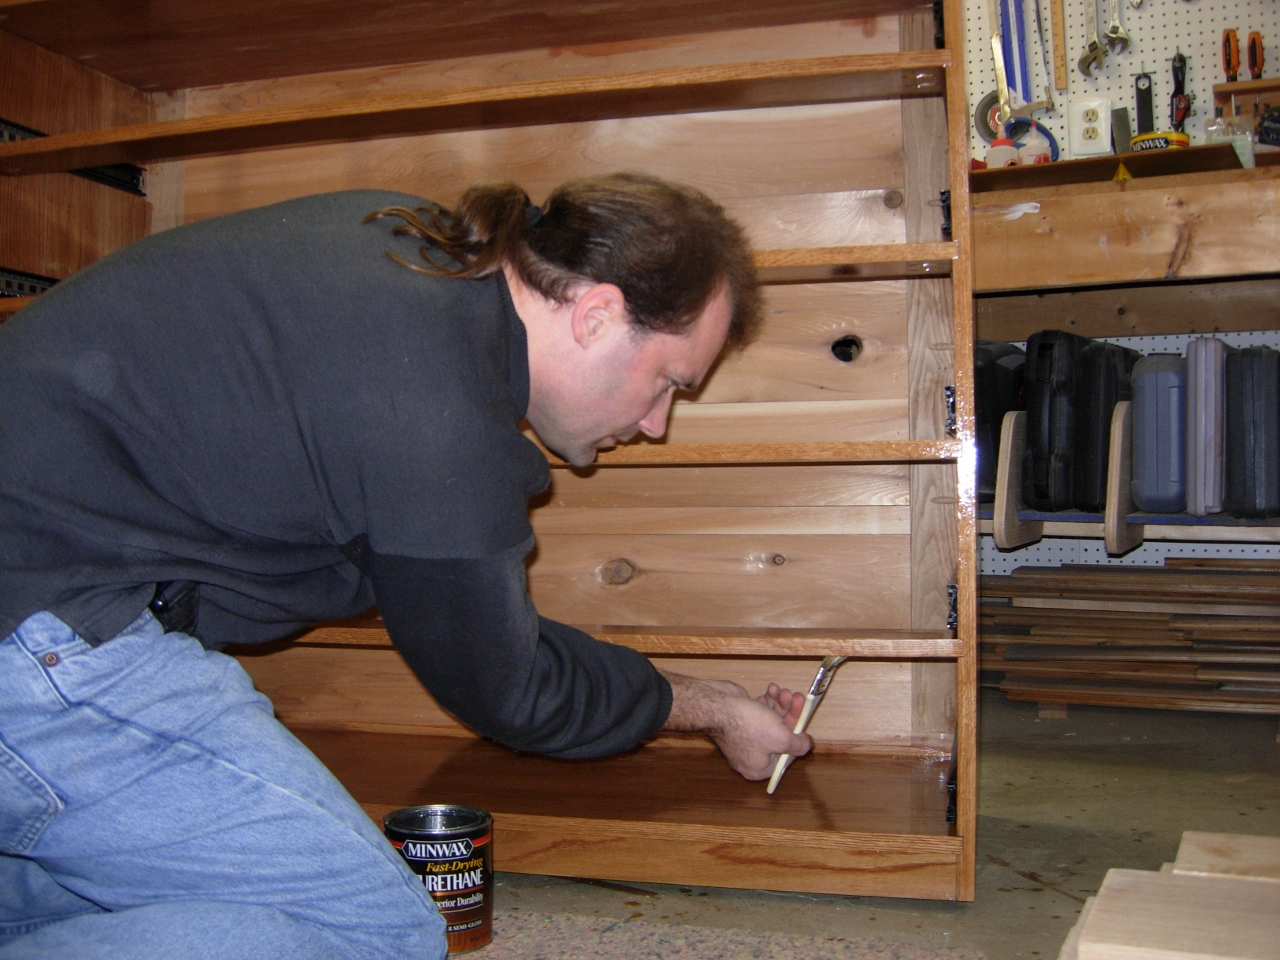
I started out the day by sanding down the first coat of polyurethane. The first coat is always rough. It raises the grain when it is first applied, and there is always dust floating down on your project. I normally use steel wool to take down the rough stuff but it leaves a lot of tiny bits of broken steel wool all over the place. Also, I have heard that the steel can react with the white oak and cause it to turn black if the metal is left embedded in the wood. So today I am trying a scotch brite scouring pad for the first time. It seems to do nearly as well, I still think the steel wool does a nicer job smoothing things down, but this is definitely less messy. I just wipe everything off with a piece of an old tee-shirt and it is ready for the second coat. I was nearly done this fun task when I ran into a snag. literally, I picked up a half inch long oak splinter through the scouring pad. I will spare you the picture of the scotch brite pad hanging from my finger like it was nailed there. Instead I will take a moment to pass on a couple of shop tips. One: Wear leather gloves and you are less likely to pick up nasty splinters. Two: Super glue makes an awesome bandage. I always keep tubes of it in the shop for just such an occasion. It forms an instant scab over the wound since it bonds to skin instantly. I posted a picture of the repaired wound, my trusty tube of super glue, and the nasty little splinter (3/8″ of which buried itself in my finger right at the joint). Moving on… I pretty much did the second coat of urethane the exact same way I did the first, with a disposable bristle brush. I hate using chemicals to clean my brushes so I use disposable ones. Let it dry and chuck it in the trash. When I got to the second coat on the spindles I switched to a foam brush. I needed something that would fit down inside the half inch gap. The foam brushes are 1/2″ thick so they fit perfectly. Those finished, I switched back to the bristle brush and finished up. I will let everything dry today and pop the hardware on tomorrow.

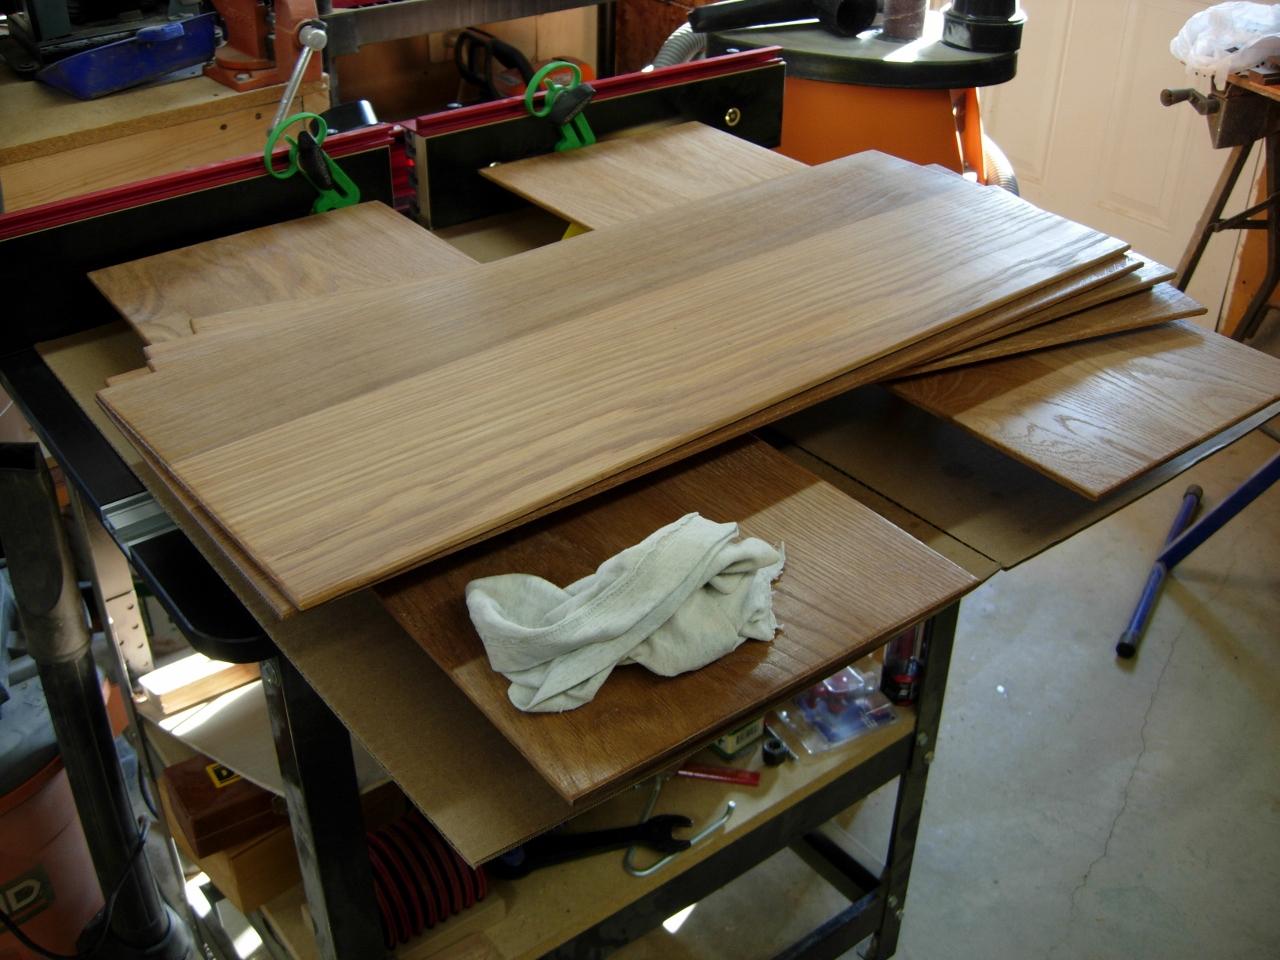
Sanding down the first coat

Wiping off the dust
Dividers done

Shop tip: Super glue is better than duct tape
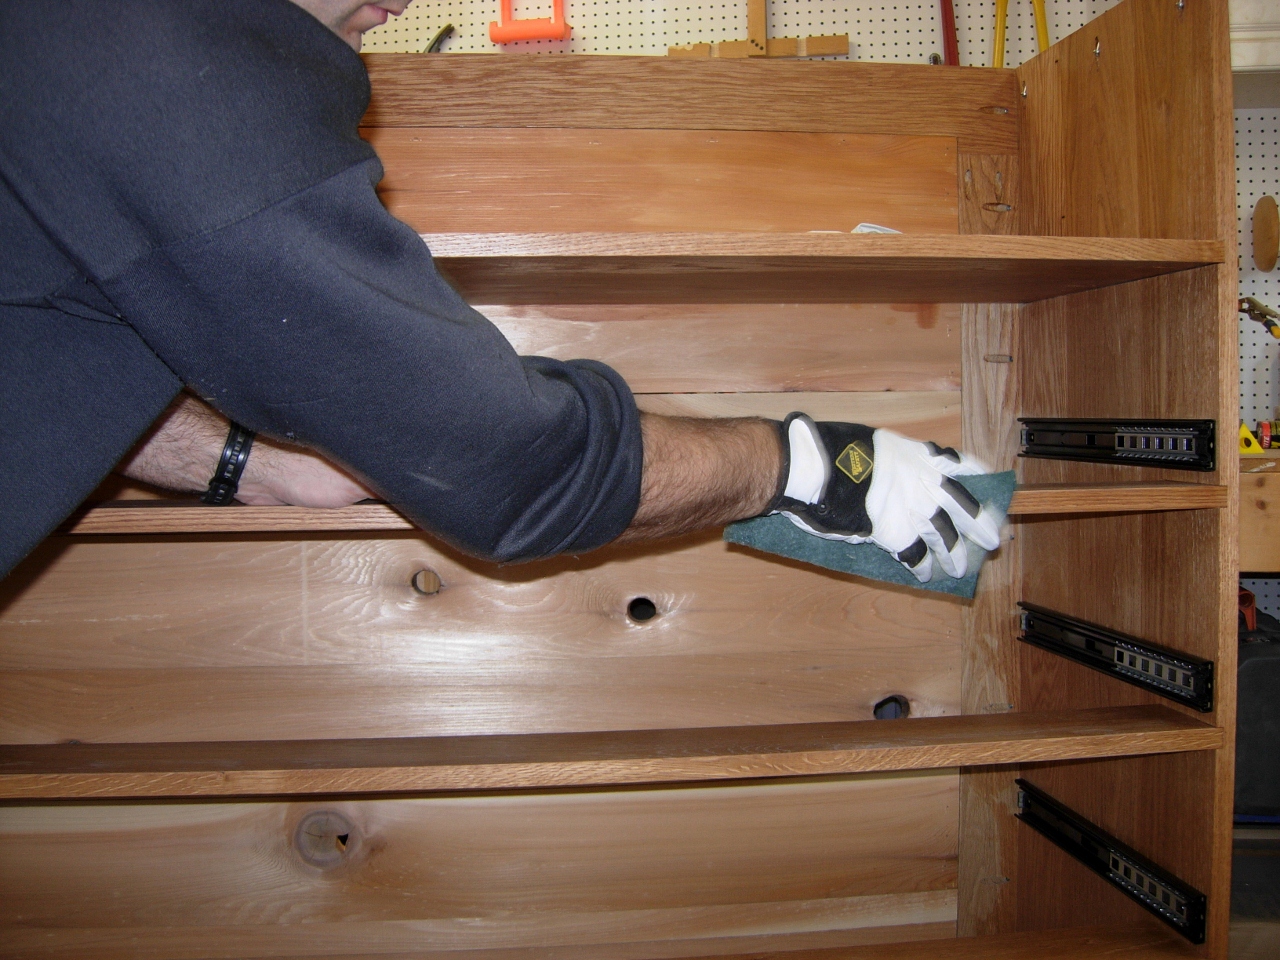
Wearing gloves to finish…
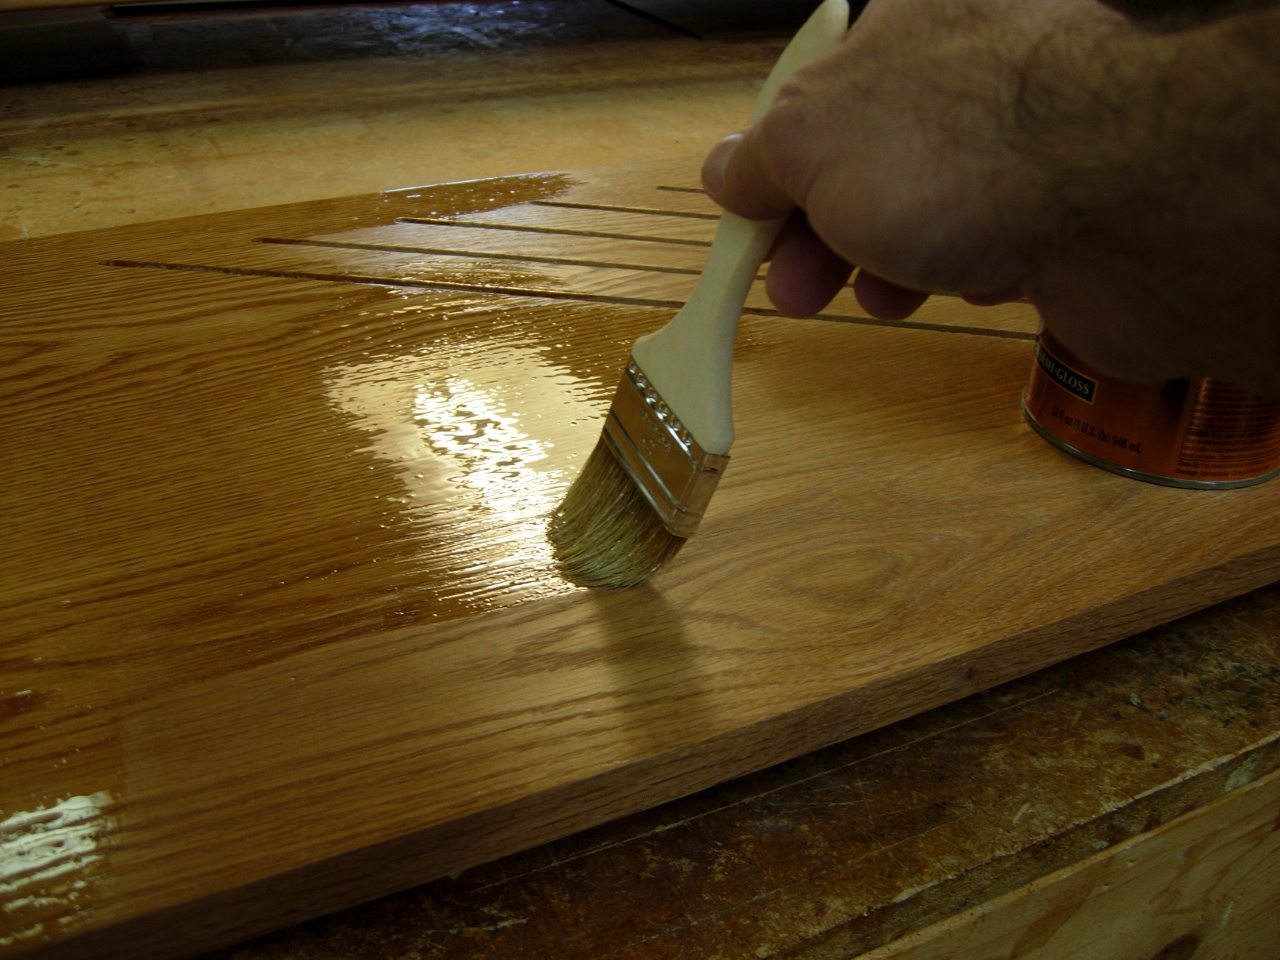
Applying the second coat

Foam brush for those hard to reach places

Doing the back side of the drawer faces

Drawer faces finished
The last little bit!
