
Day 10 – Sacristy cabinet
I got all of the cedar boards cut out and planed last night, so today I inserted them into place. (They are Spanish cedar that I had left over from another project, very aromatic) Everything fit well so I glued them down then nailed it to make sure it didn’t go anywhere. Cedar is a soft wood and can tear away from the glue joint with enough force. I had a couple of 3″x1/4″ slats lying around so I glued/nailed them in perpendicular to the cedar just to give it a bit more strength. It didn’t look bad either. I set that in place and proceeded to attach it with the pocket hole screws. Next I needed to drill out the drawer faces for the drawer pulls before finishing them. Since I don’t want to disassemble the drawers to put the faces on the drill press, I made a simple jig to guide my bit in perpendicular to the face as well as evenly space the holes. I placed the holes for the pulls slightly above center to avoid having to drill a larger hole in the front of the drawer. My screws were only long enough to pass through one of the two boards. Once that was done I remembered that I hadn’t finished rounding the edges of the top piece. I set up the 3/8″ round over bit in the router table and rounded the top and bottom of the sides and the front. No reason to round the back edge. I gave everything a once over with the sander and did a final test fit. The only things left to do are build the ten spindles, stain all the visible surfaces, then a couple of coats of urethane.

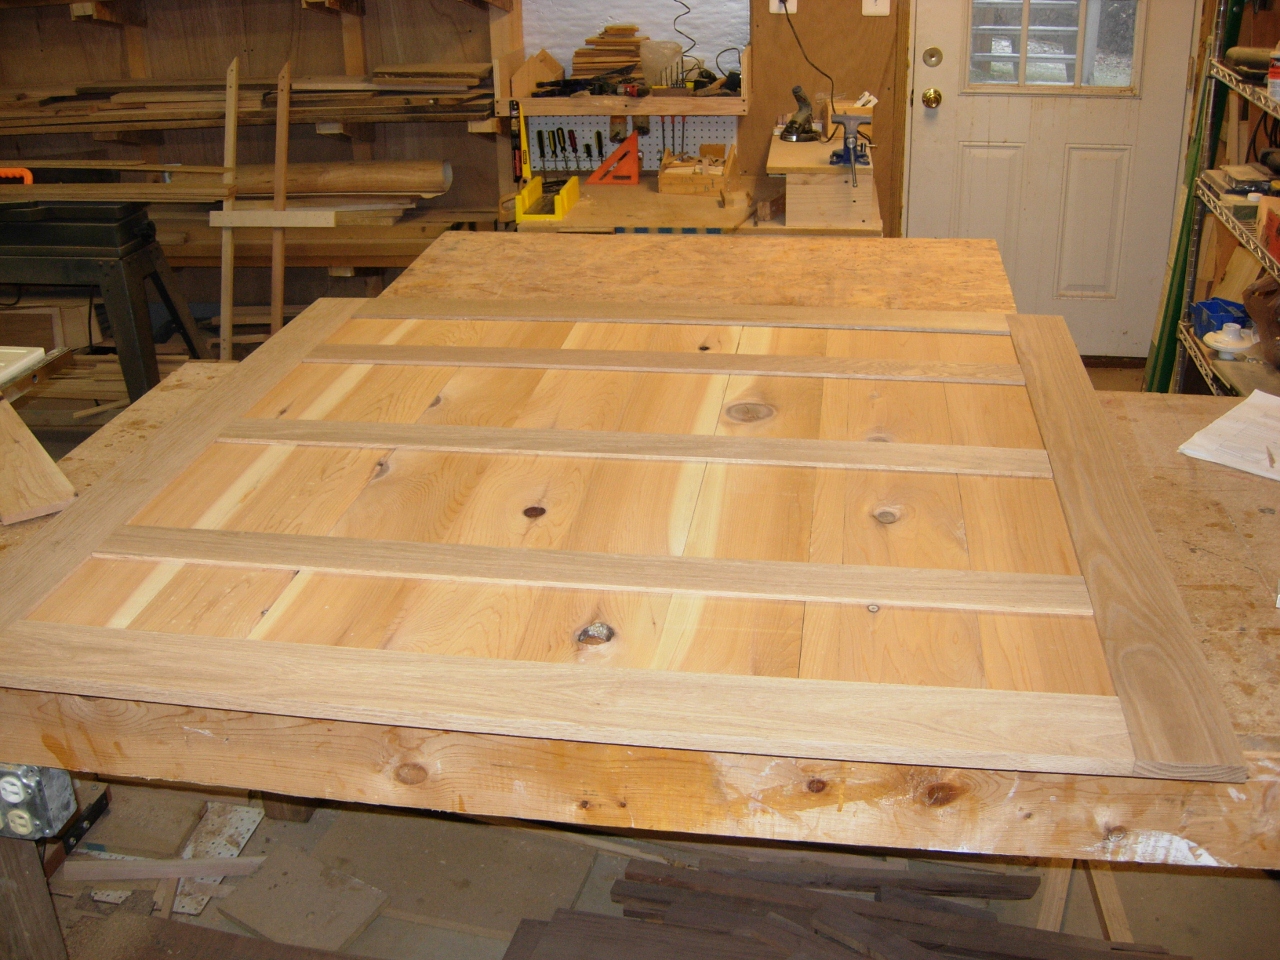
Laid out and glued the cedar
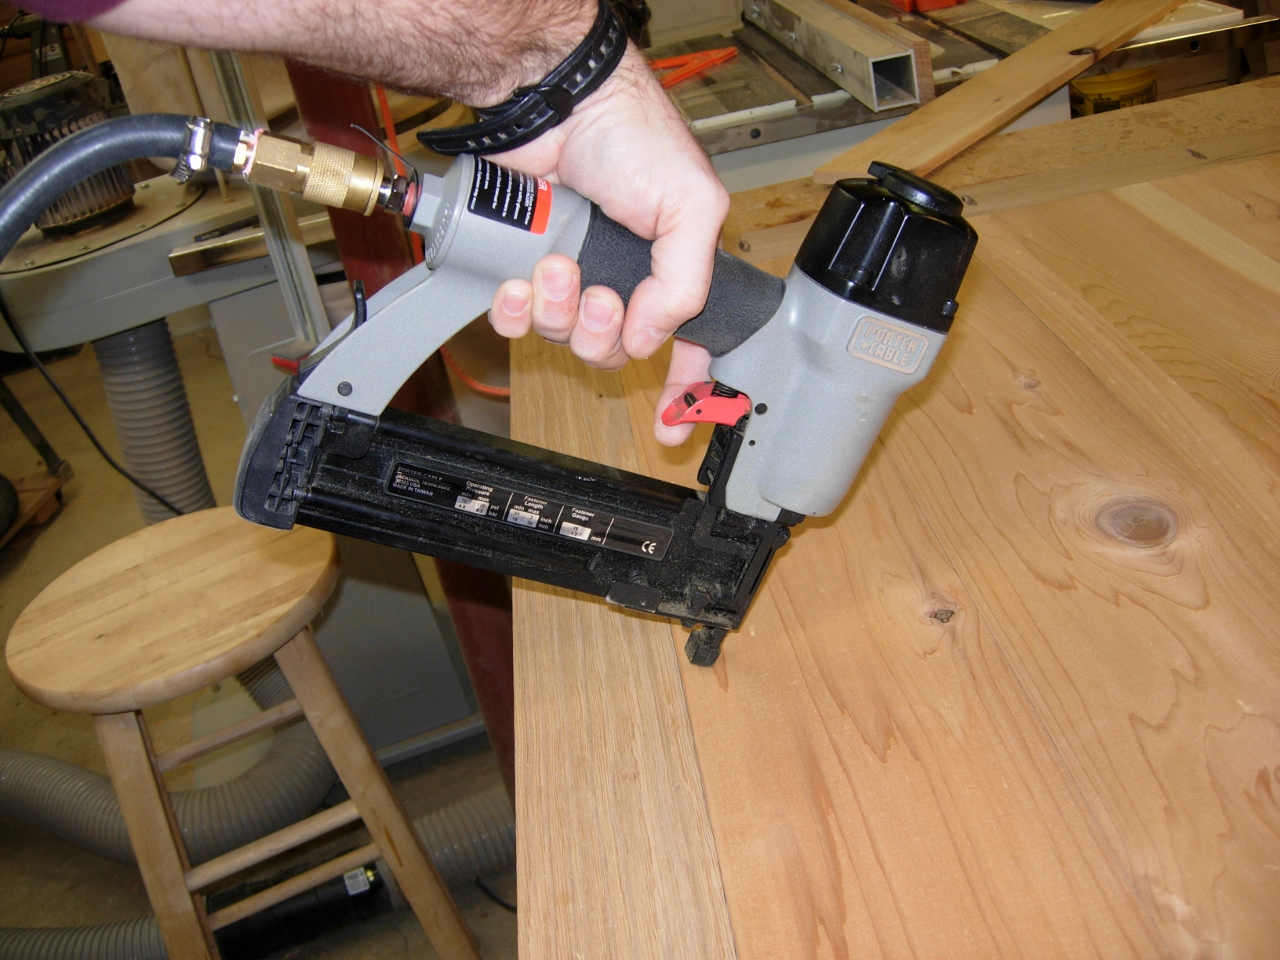
Nailed in the cedar so I can keep working while it dries
Added some slats to the back for added support
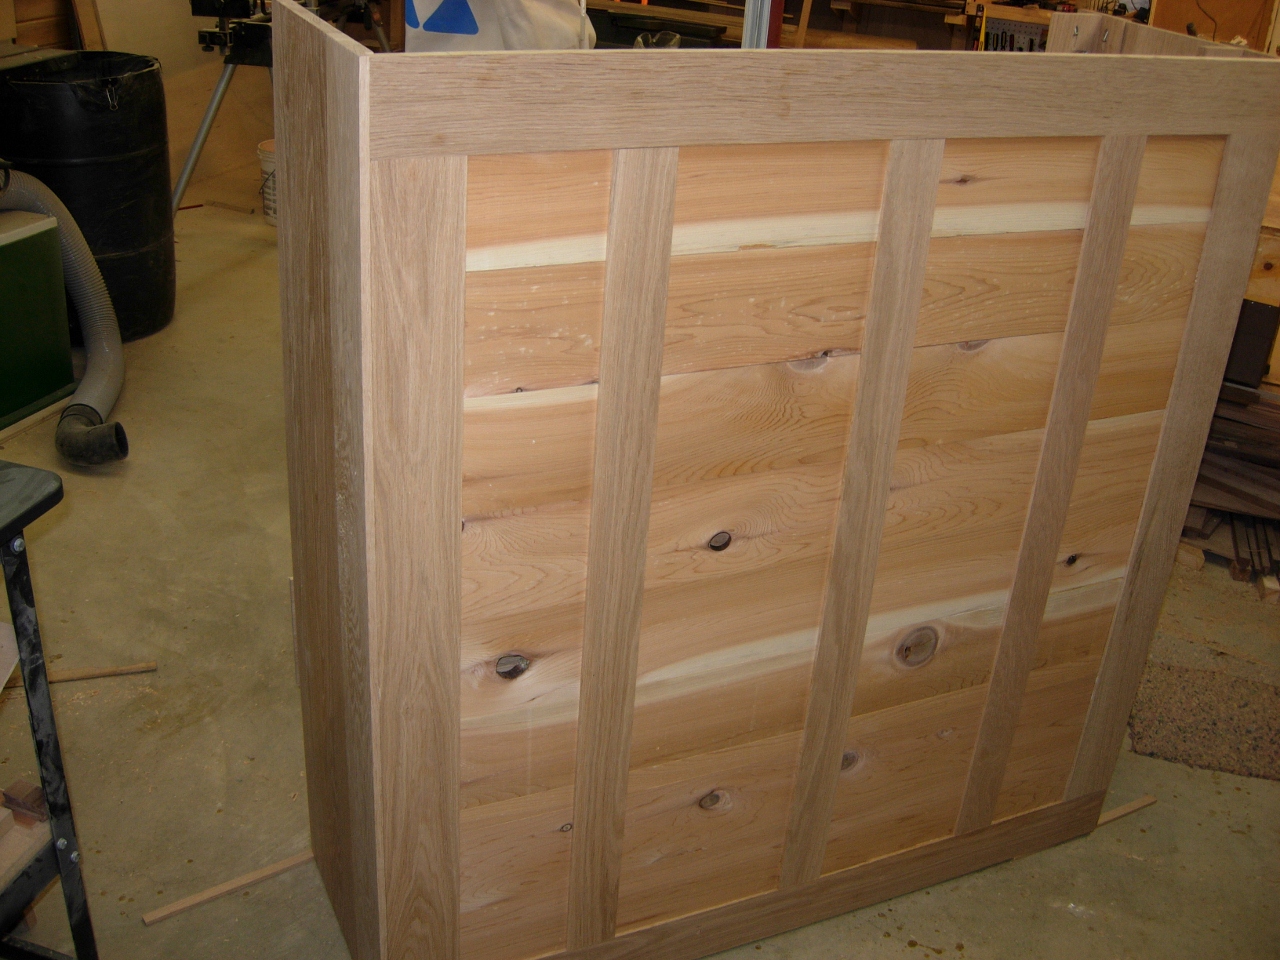
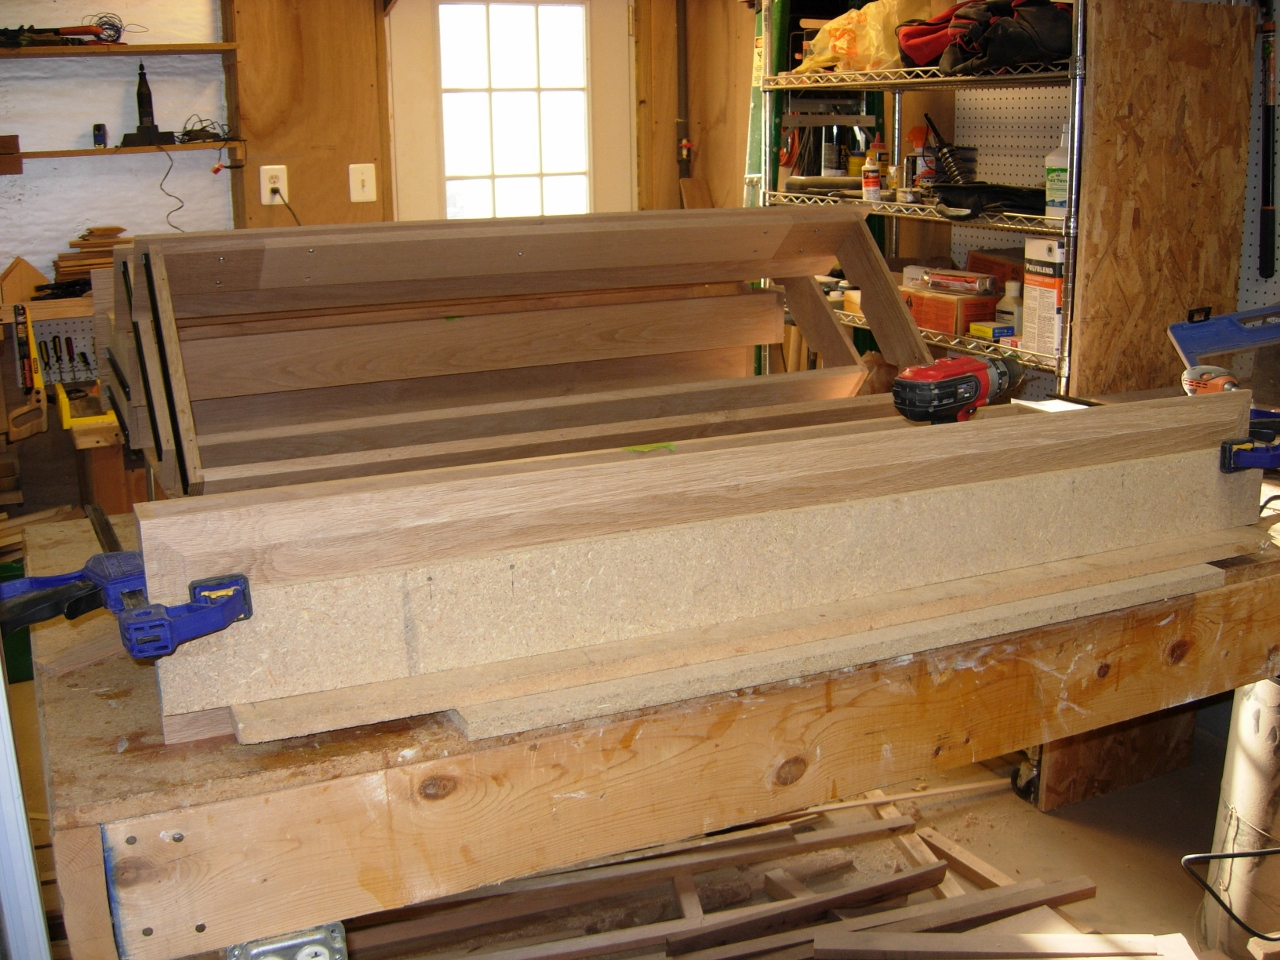
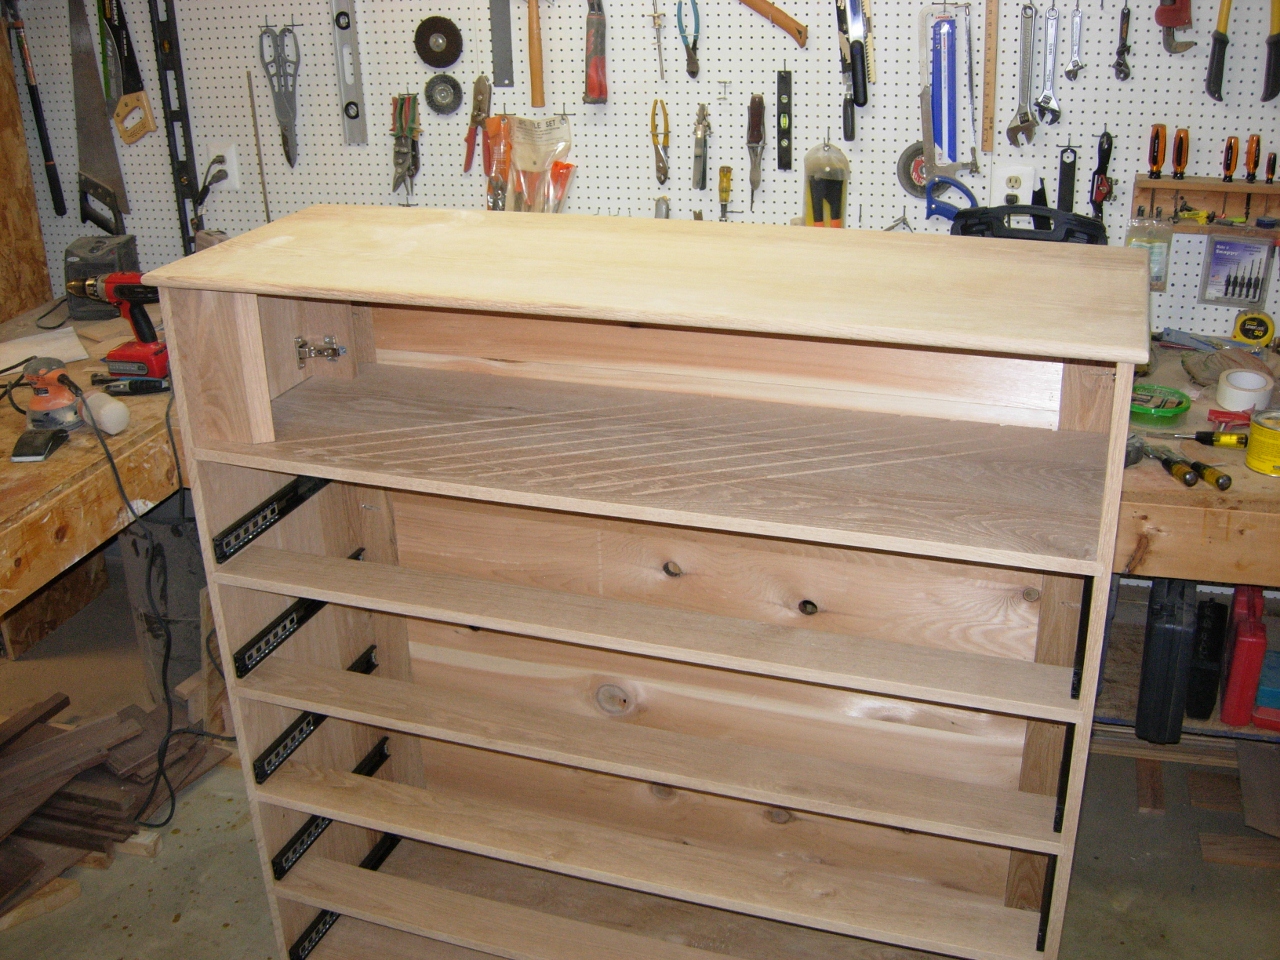
Test fit the panel
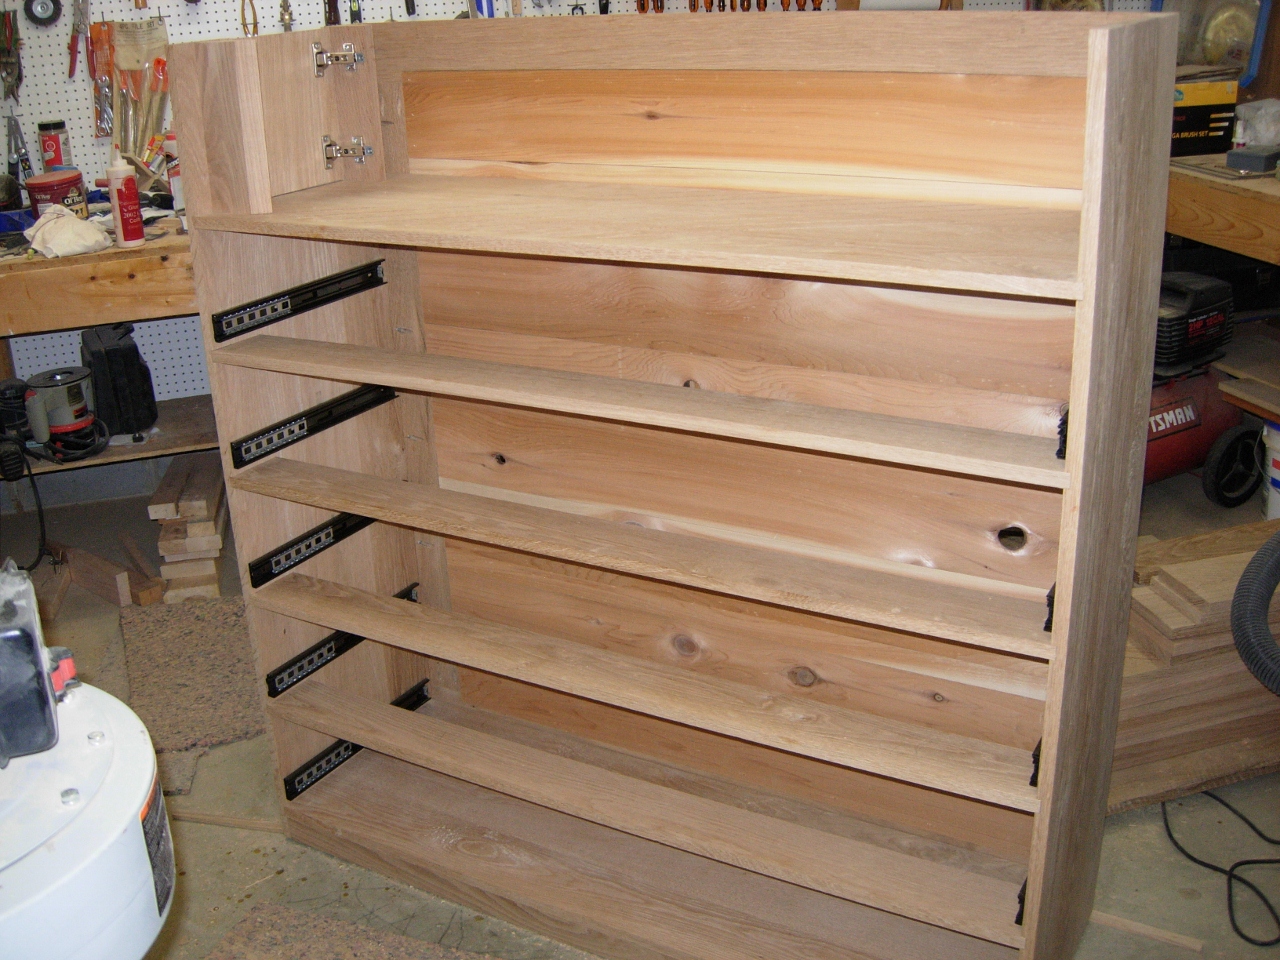
Attached the pocket hole screws to hold the back on
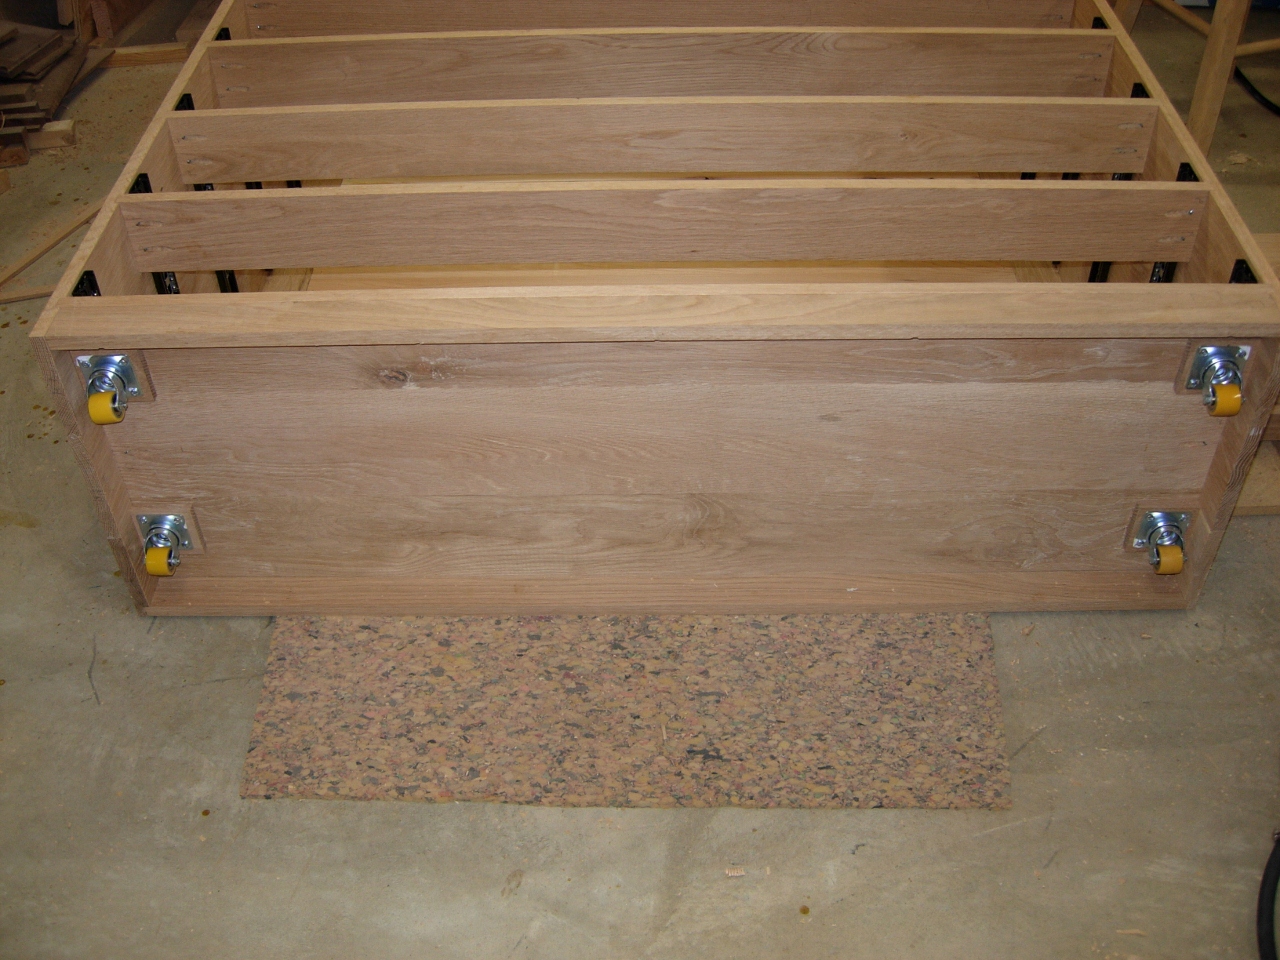
Added some temporary casters to move it around the shop
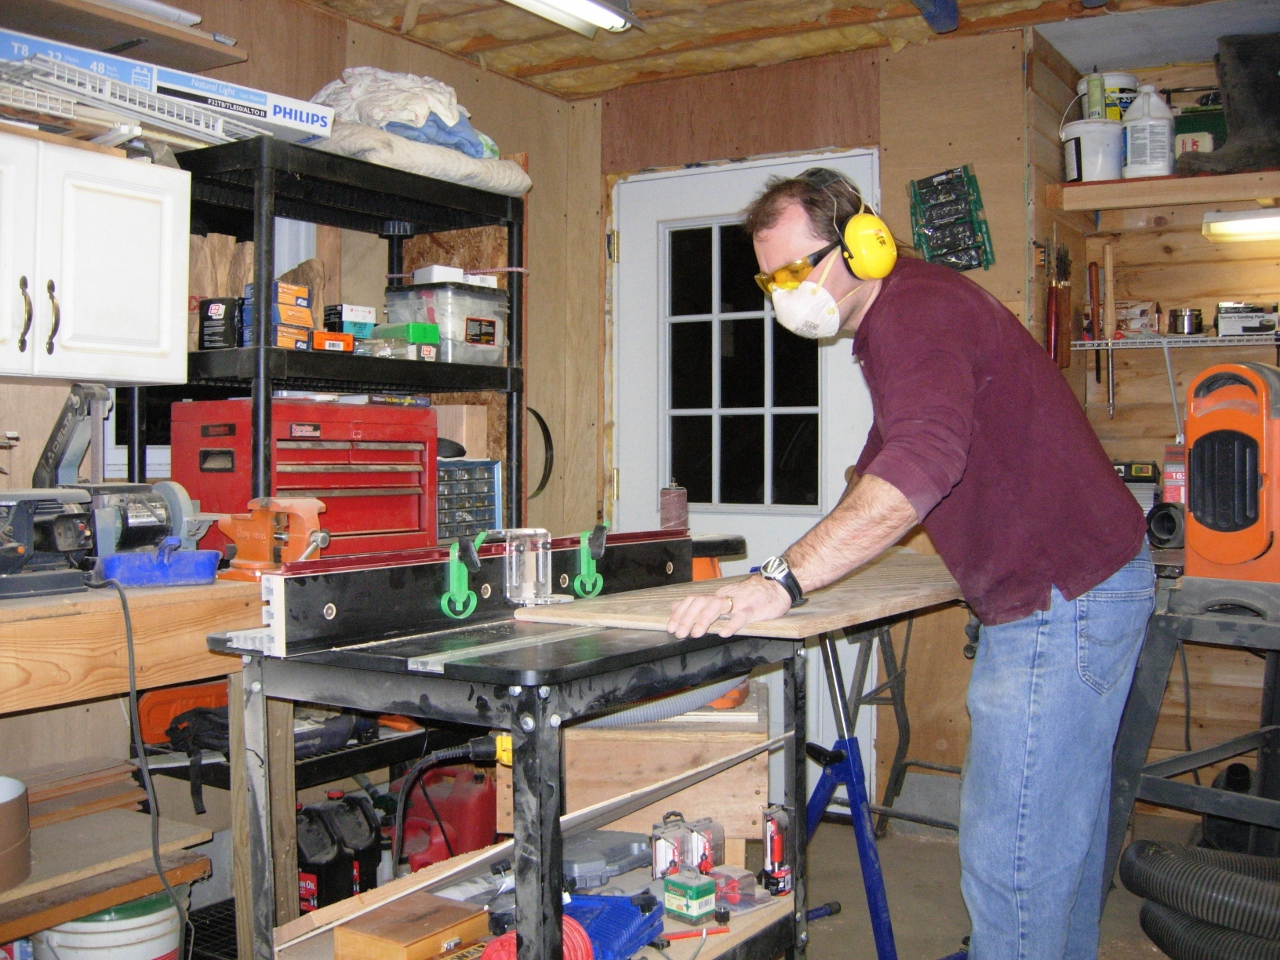
I set up a jig for mounting the drawer pulls

the pre-drilled particle board should keep my drill straight

The handles installed well and lined up with each other
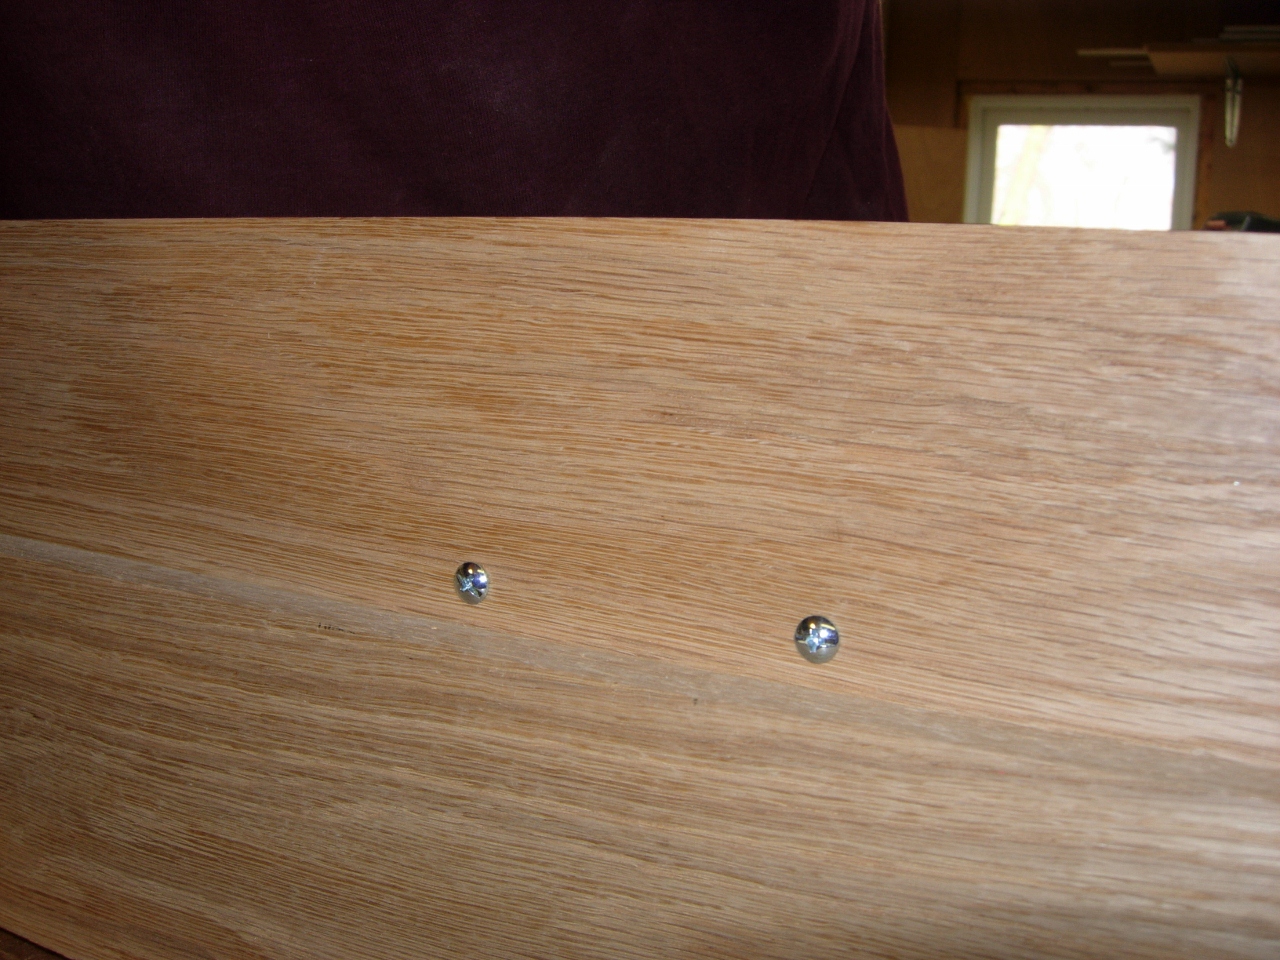
They are installed slightly above center to avoid having to drill through the drawer as well
Had to finish rounding off the edges of the top piece

Final sanding of the top
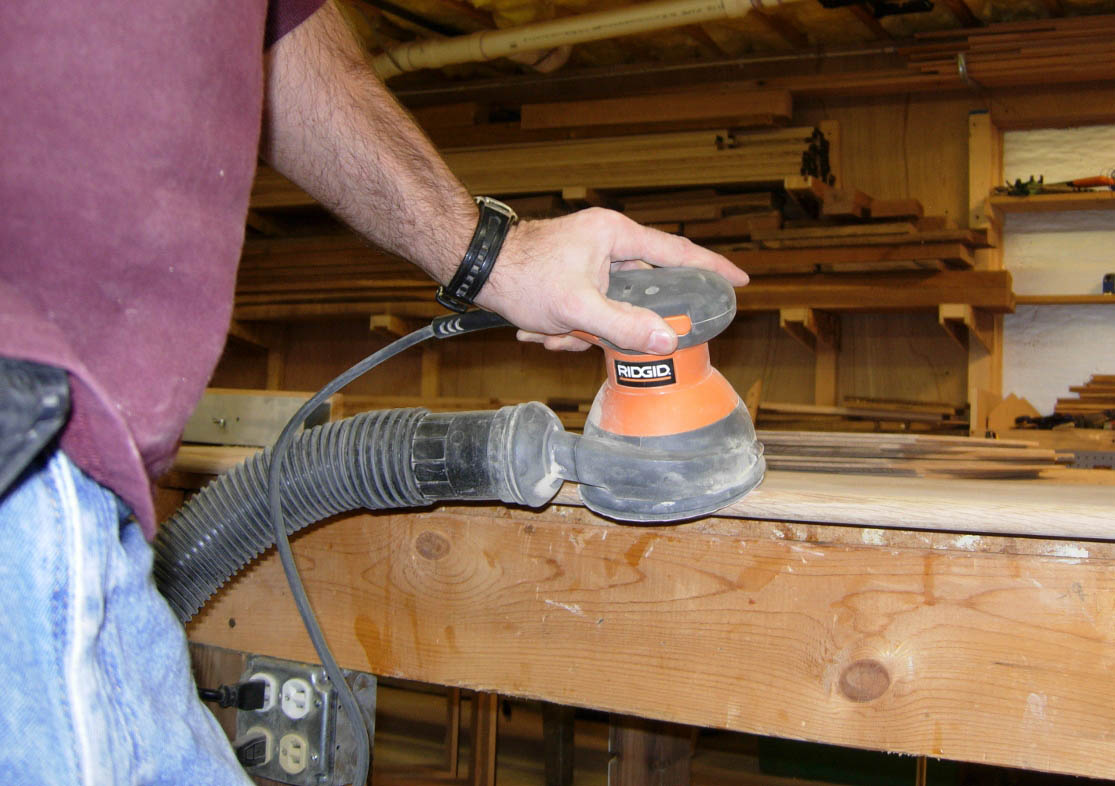
Sanded off the rounded edges
Lid set in place
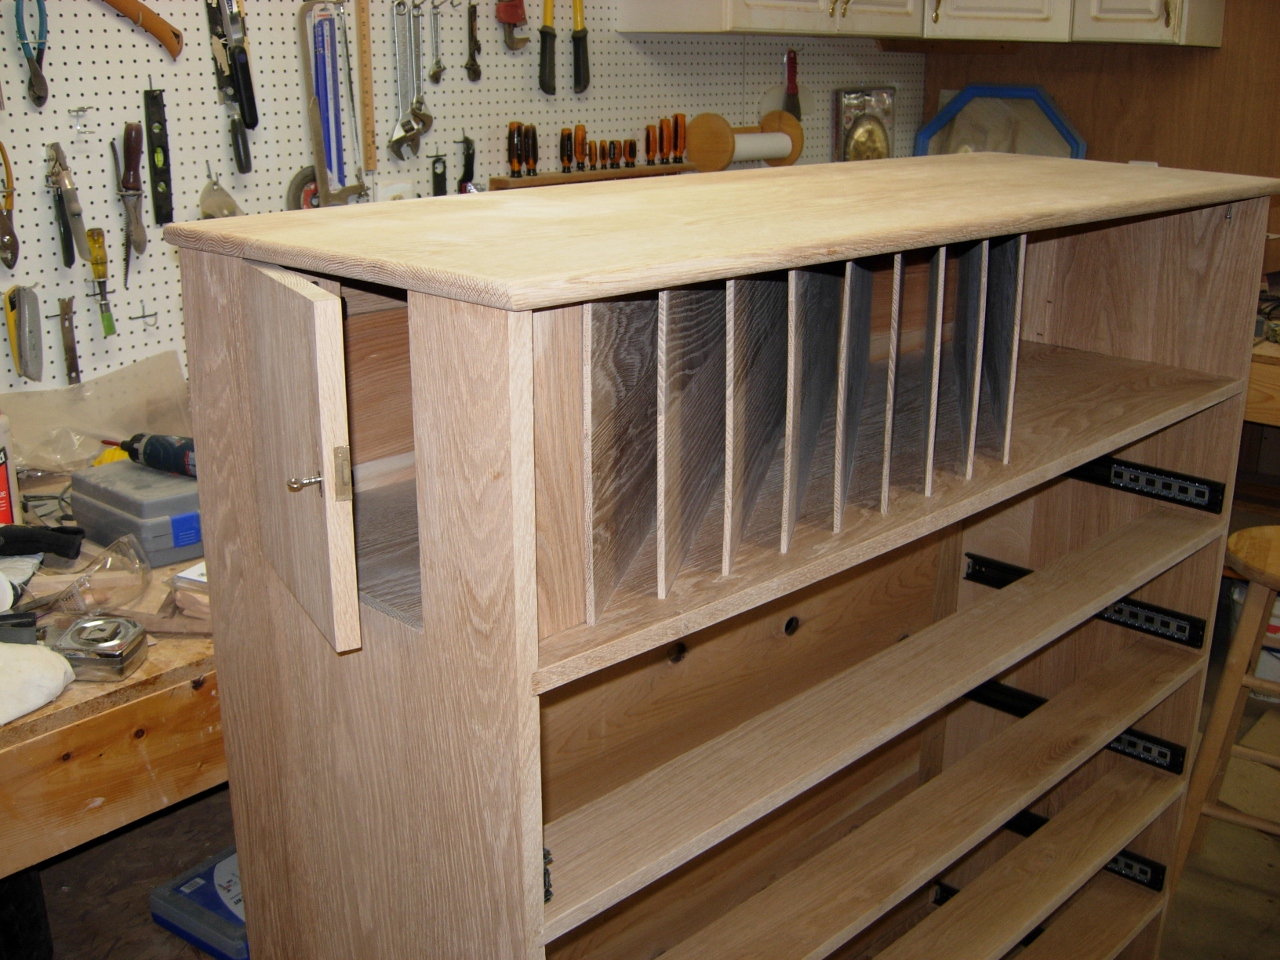
Final test fit, all looks good
