
Built-in beds – part 1
I have a couple of friends that are getting ready to move into their new house. It is currently in the final phase of construction and they want to move in soon. There are two bedrooms upstairs, for the kids, that have pitched rooves that lower the ceiling on one side of each room. They want beds built into the short sides of the rooms. They also want lots of storage if possible. The beds will have pull out drawers, where they are accessible and storage, under the mattress, where there is no drawer. There will also be a center divider with shelves. Since the rooms are slightly different (by an inch or two) I will build and install the beds first, then measure for the divider shelf. Below is an image of my design. The other room is a mirror opposite of this one, but 1-1/2″ shorter.

The carcass of the bed will be built from 3/4″ plywood. The top will be covered with 1/2″ plywood. The drawers will be made with both with a 1/4″ thick plywood bottom. The face frames and drawer faces will be made from pine and painted to match the colors in the kids rooms. Each bed will require one full sheet of each type of plywood. Since I am making four beds and plywood is getting rather expensive these days, I made up a cut list to figure out how to get the most out of each sheet. CUT LIST.pdf
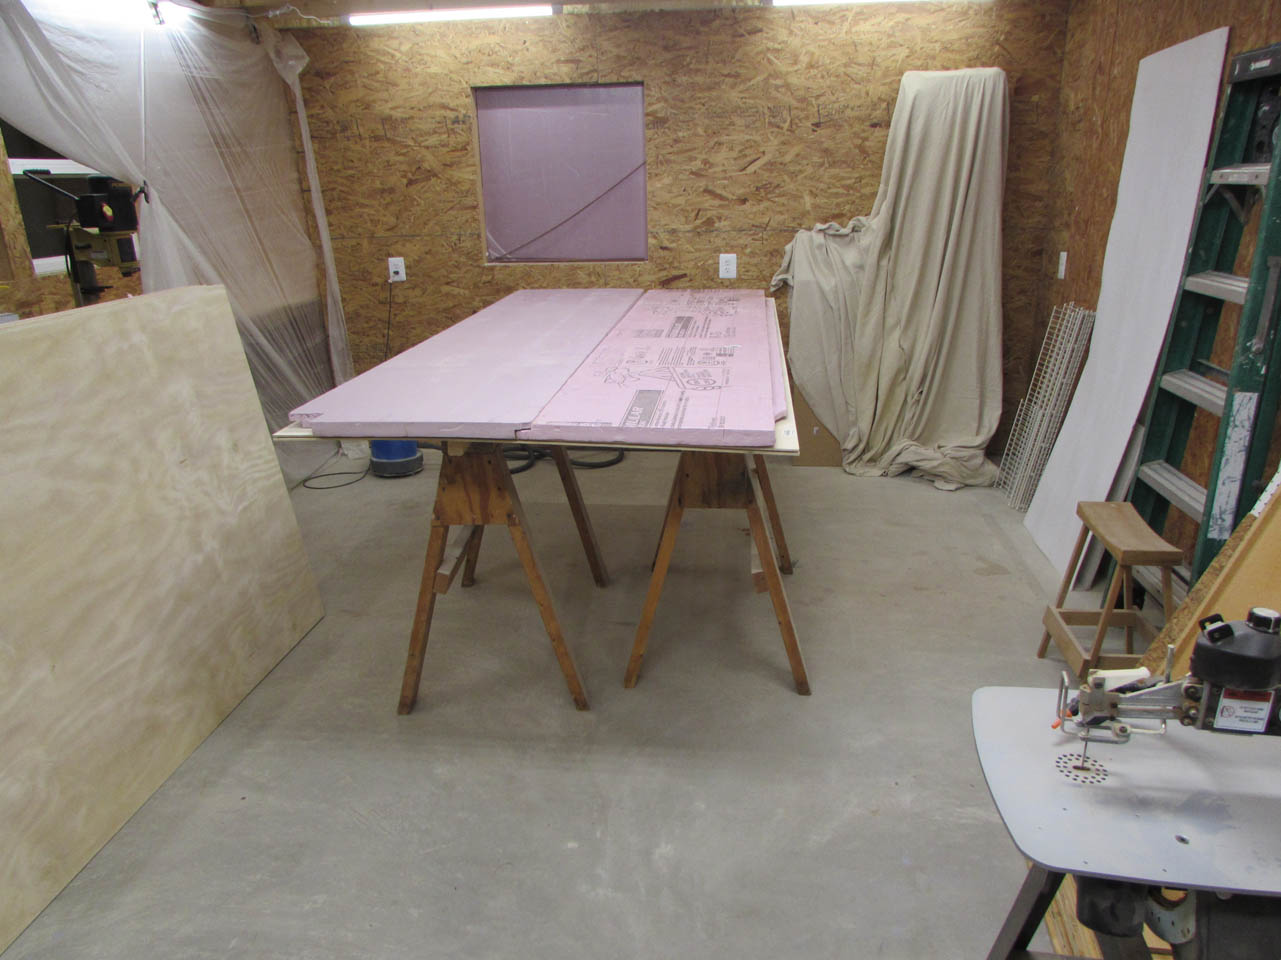
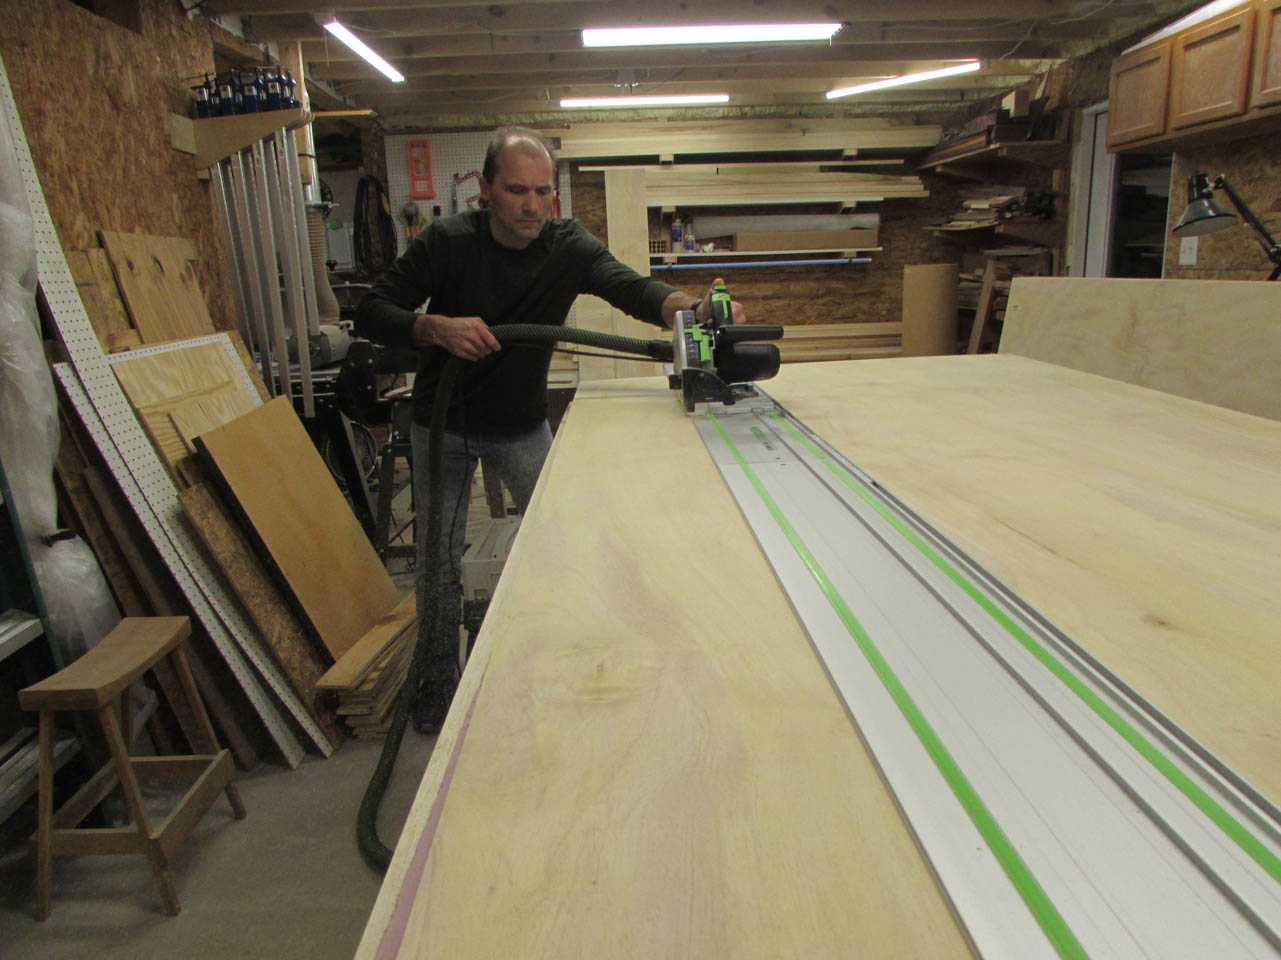
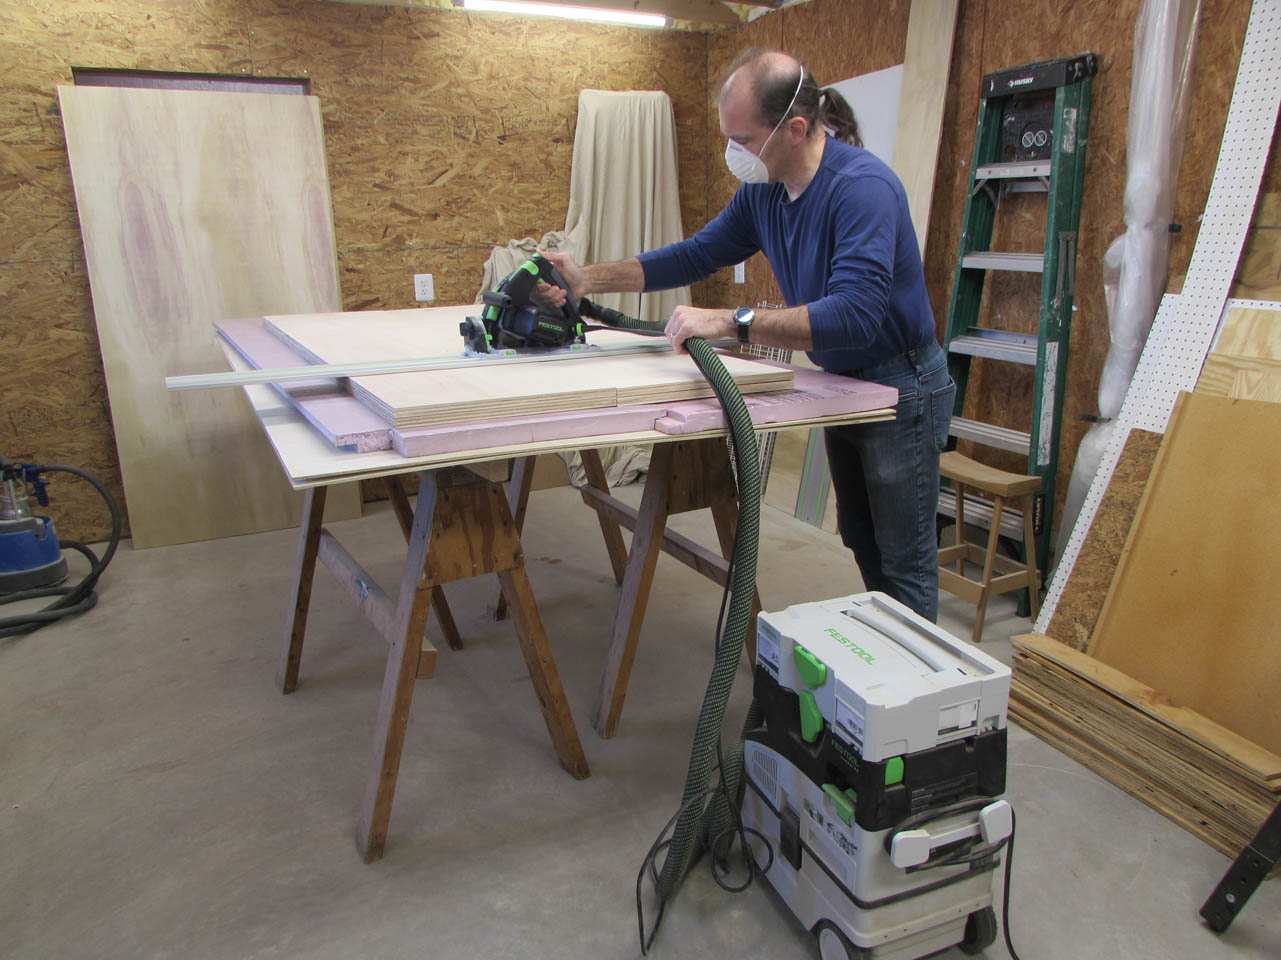
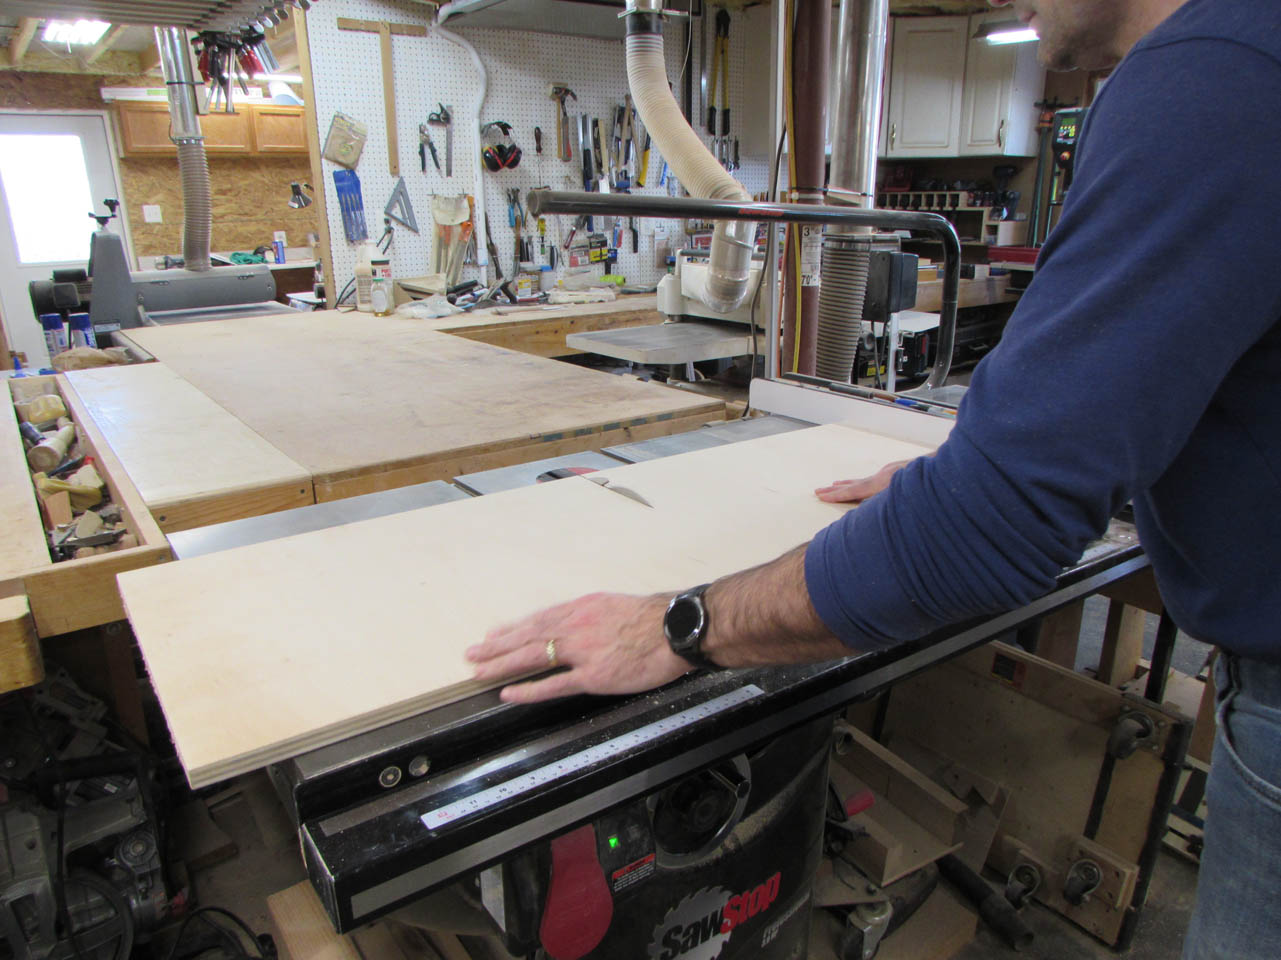
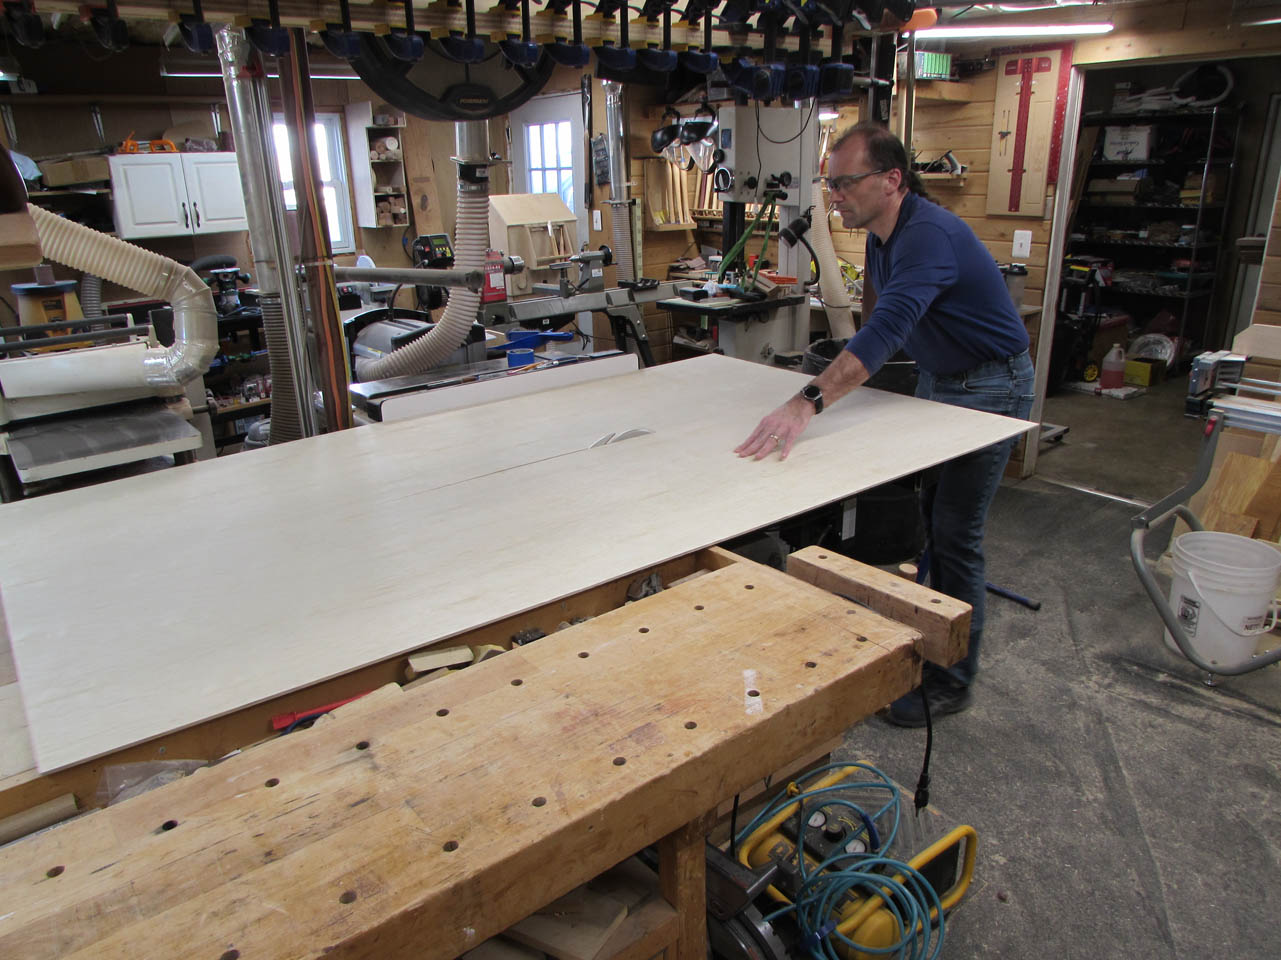
To avoid waste, I will have to cut the sheets down into smaller pieces to cut to size on the table saw. The easiest way to break down plywood accurately is with a track saw. I typically lay the plywood on rigid foam boards so that I can cut through the plywood, into the foam, and avoid cutting into the support surface below. I left the two sheets of 1/4″ plywood on top of my saw horses and placed the foam on top.
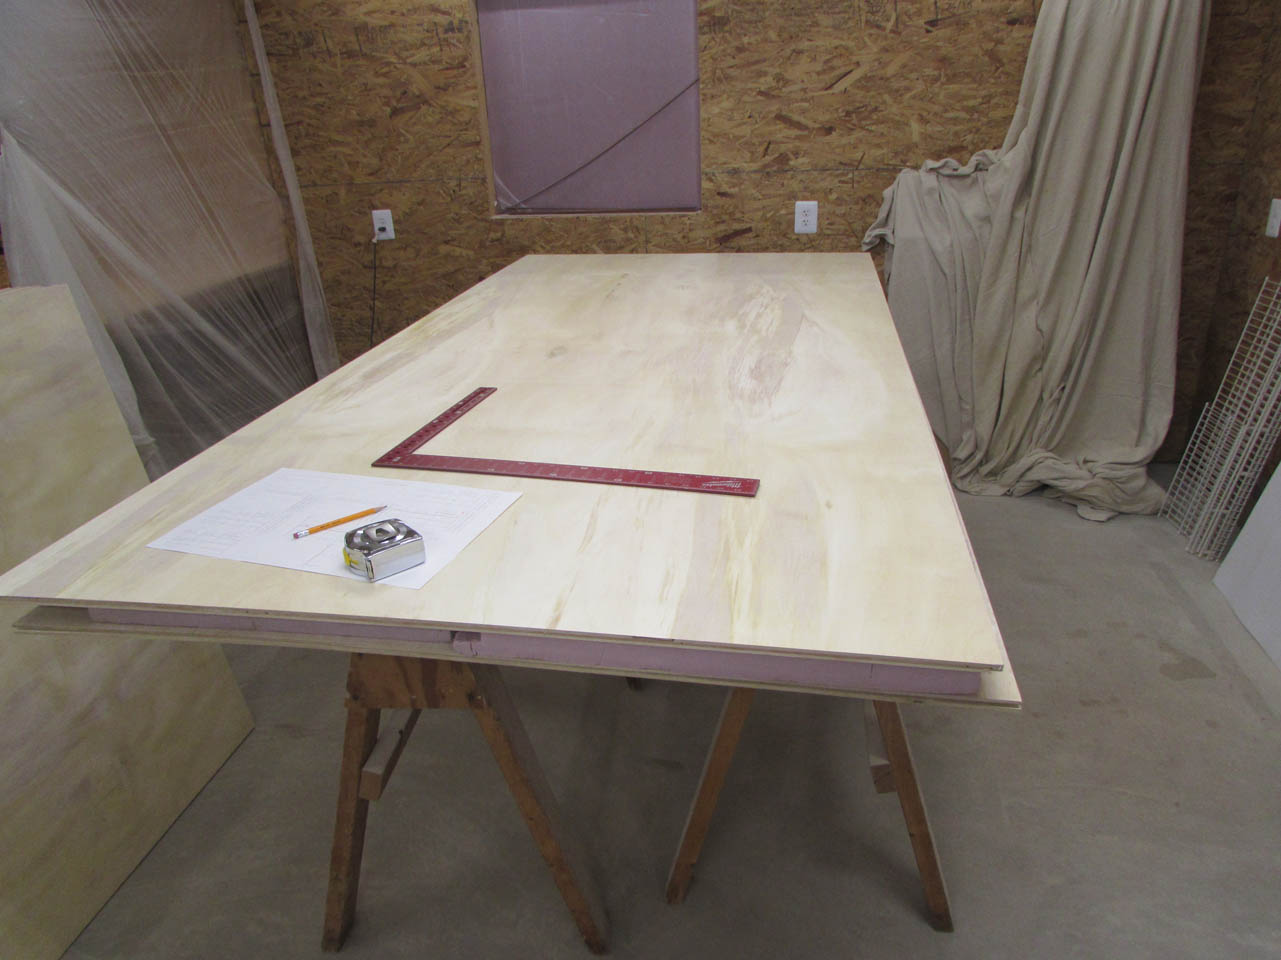
I started with the 1/2″ plywood, first looking for any damaged areas.

Then, also checking to make sure the boards were square. I have picked up sheets before that were not square and it has caused problems in the past. Never assume…
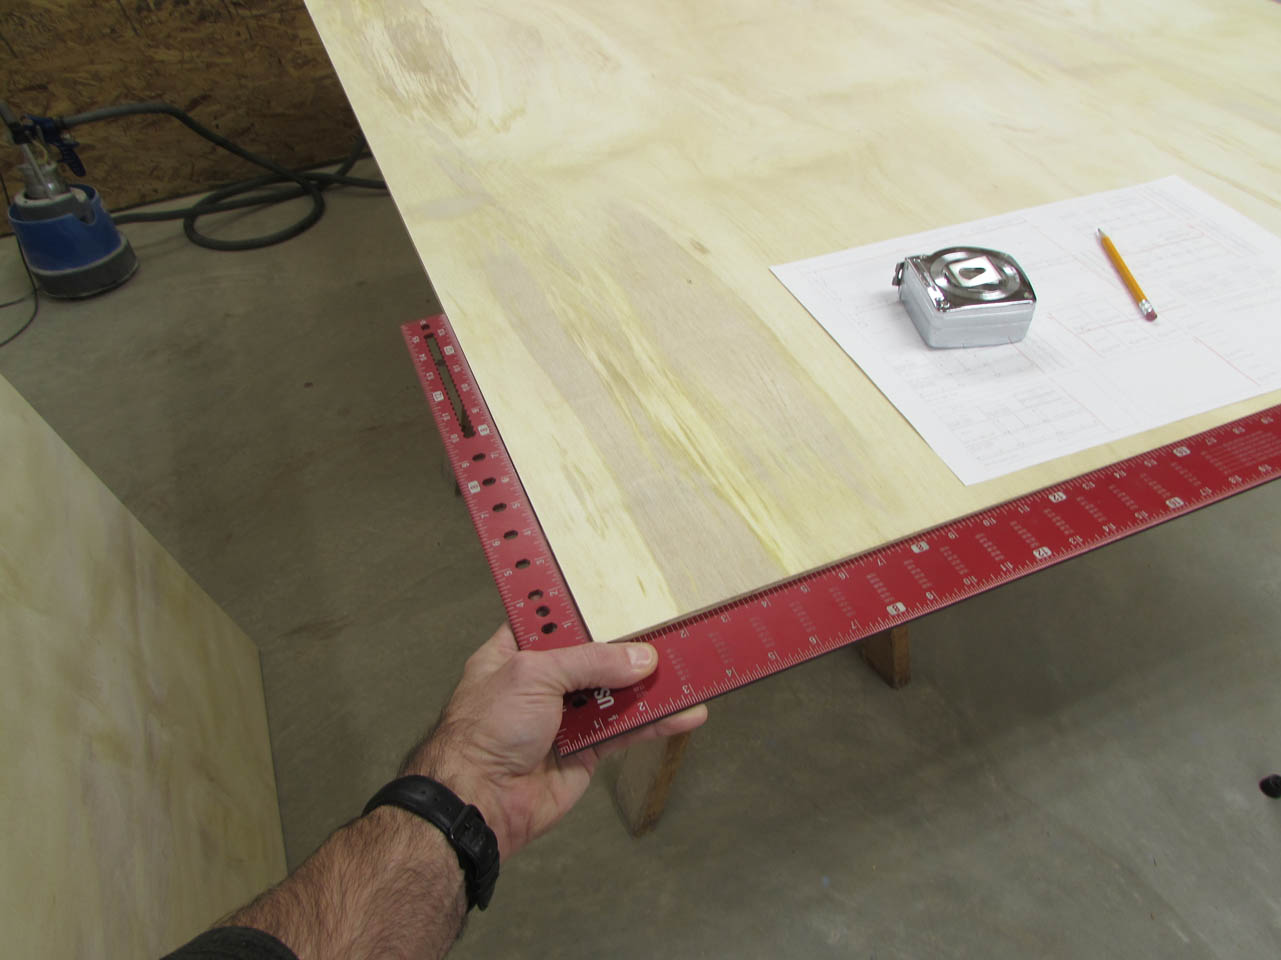

I started out by laying out the top piece for the bed, then cutting off the end. The new track saw works very well and leaves a clean, straight cut behind.
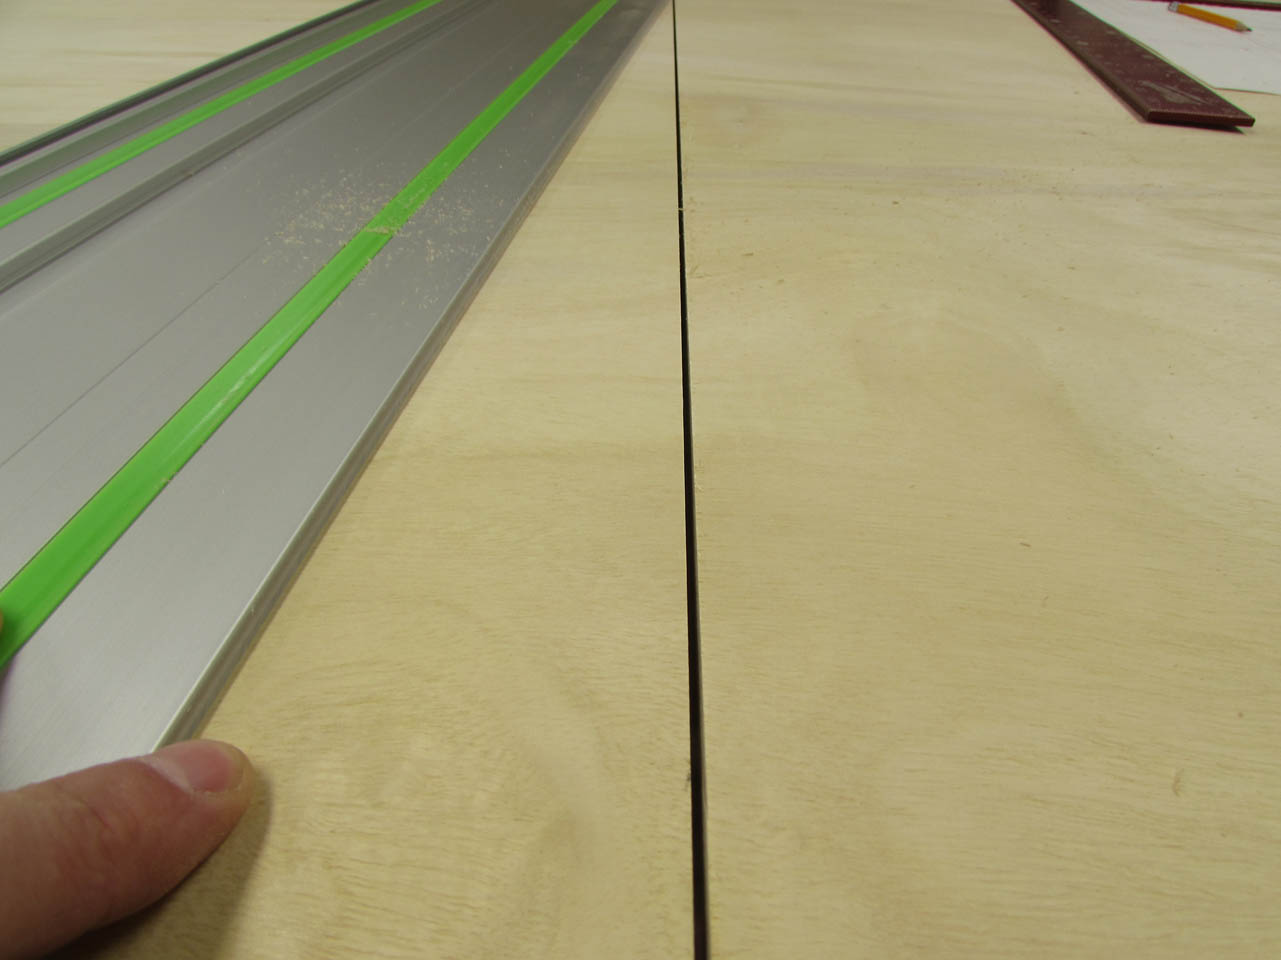

To cut in the long direction, I have to join two tracks together.

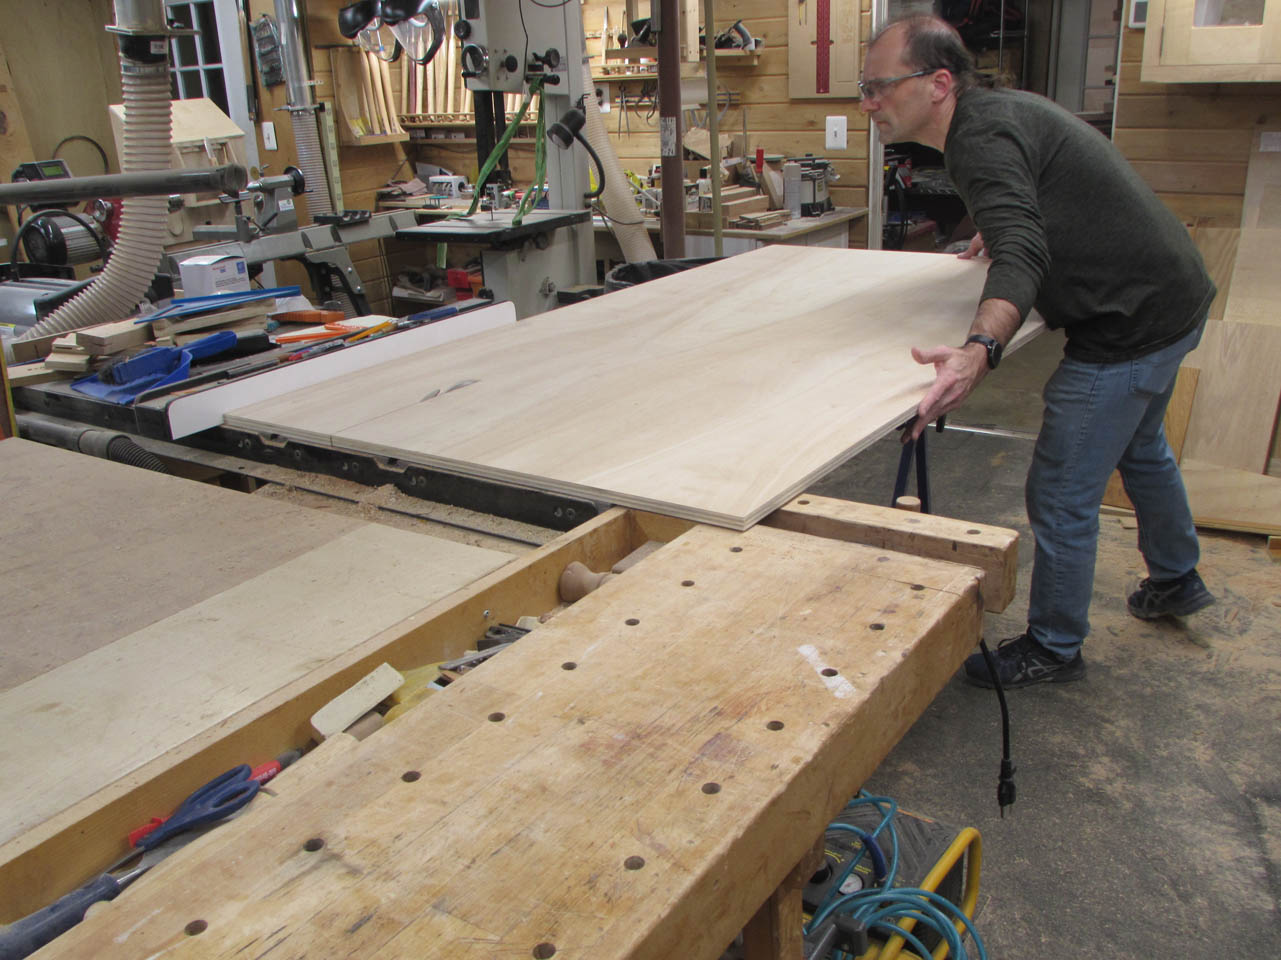
The long cut finishes the top piece and leaves me with two smaller pieces to cut down on the table saw to make ends for the drawers.
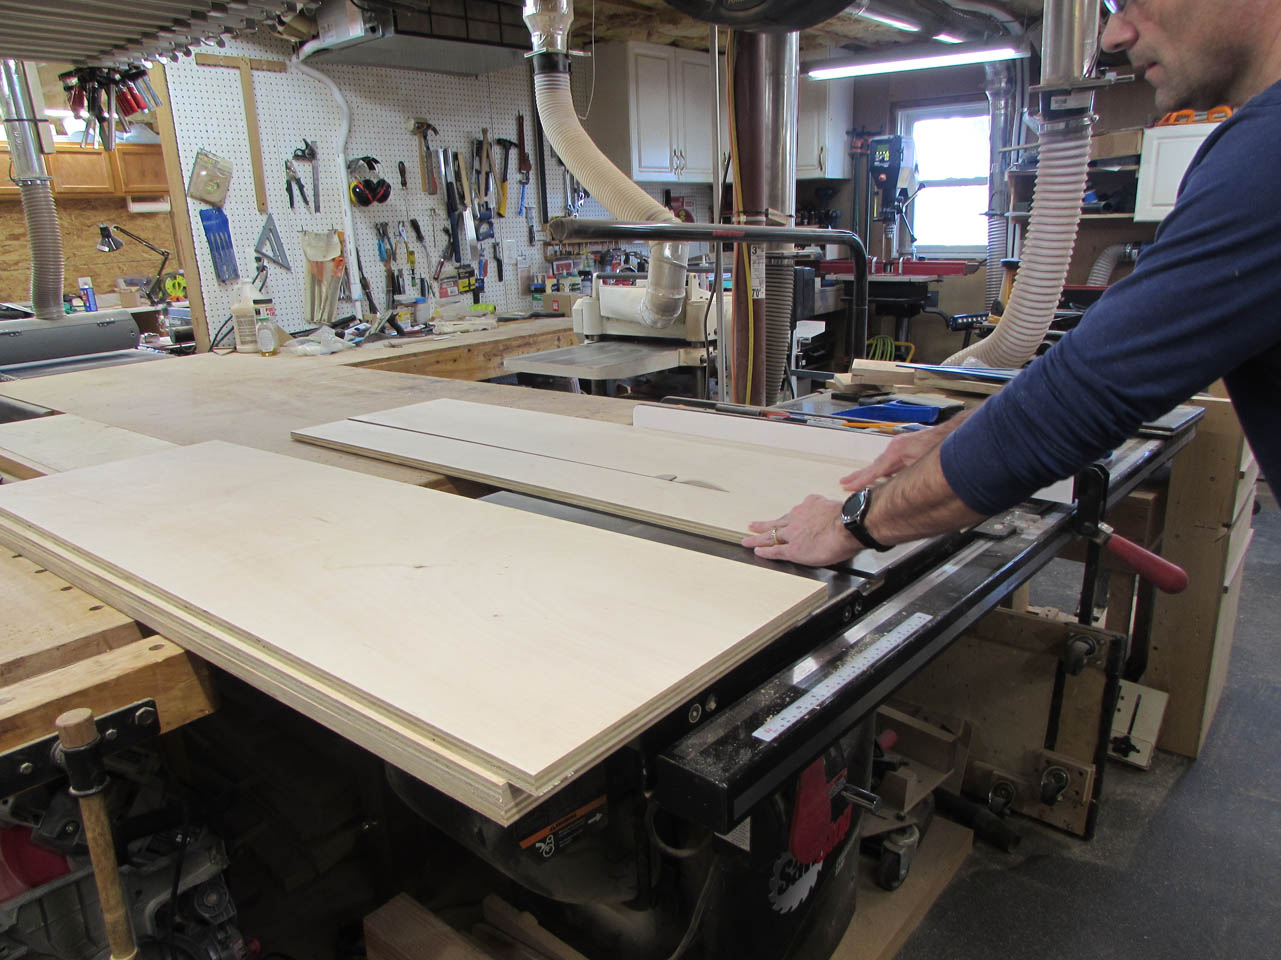
After I broke down the 1/2″ sheets, I did the same with the 3/4″ sheets. Once I cut off the ends to process into drawer sides later, I took the larger section to the table saw to rip down the carcass parts.

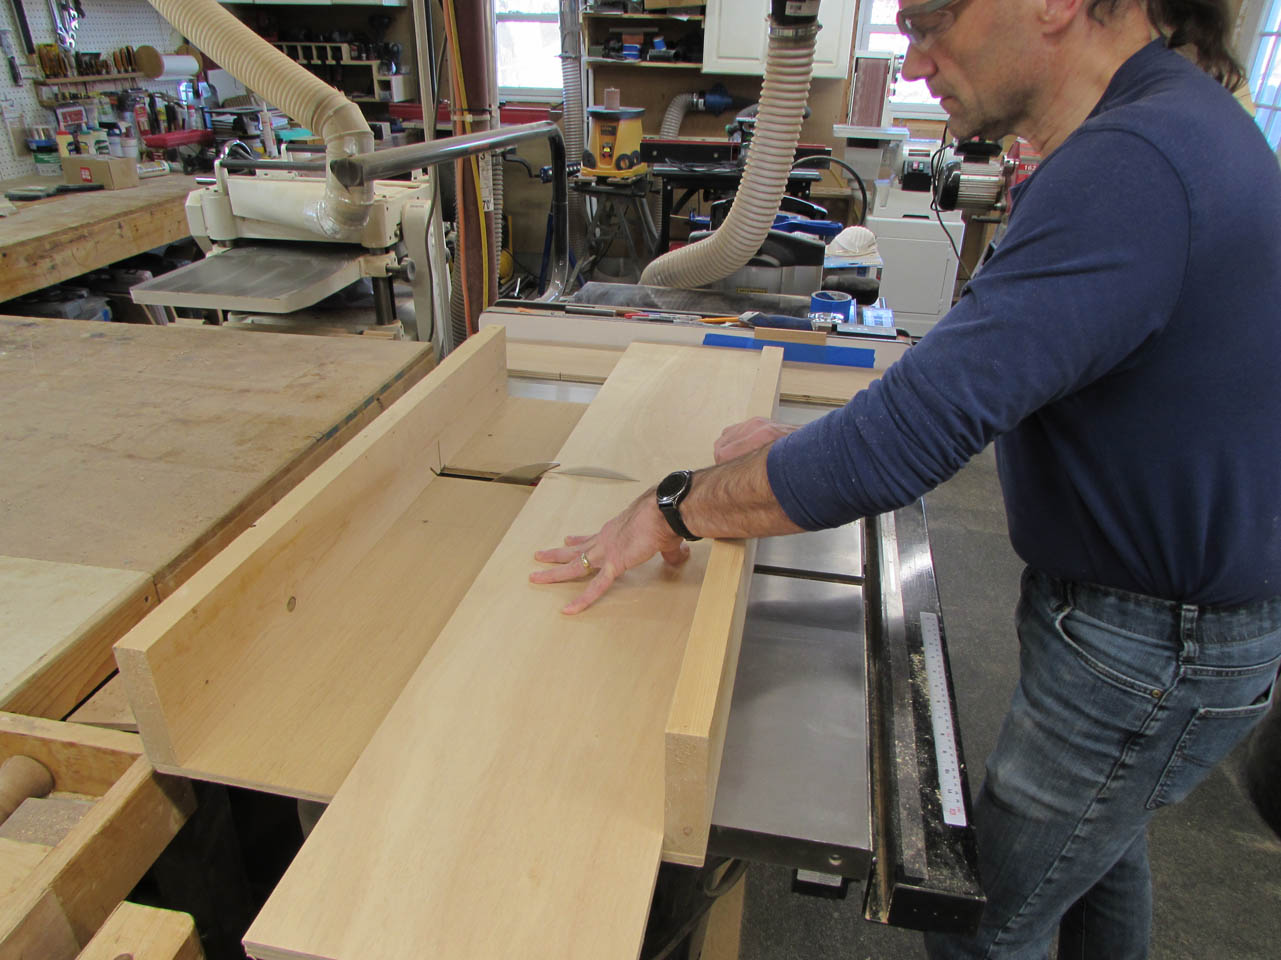
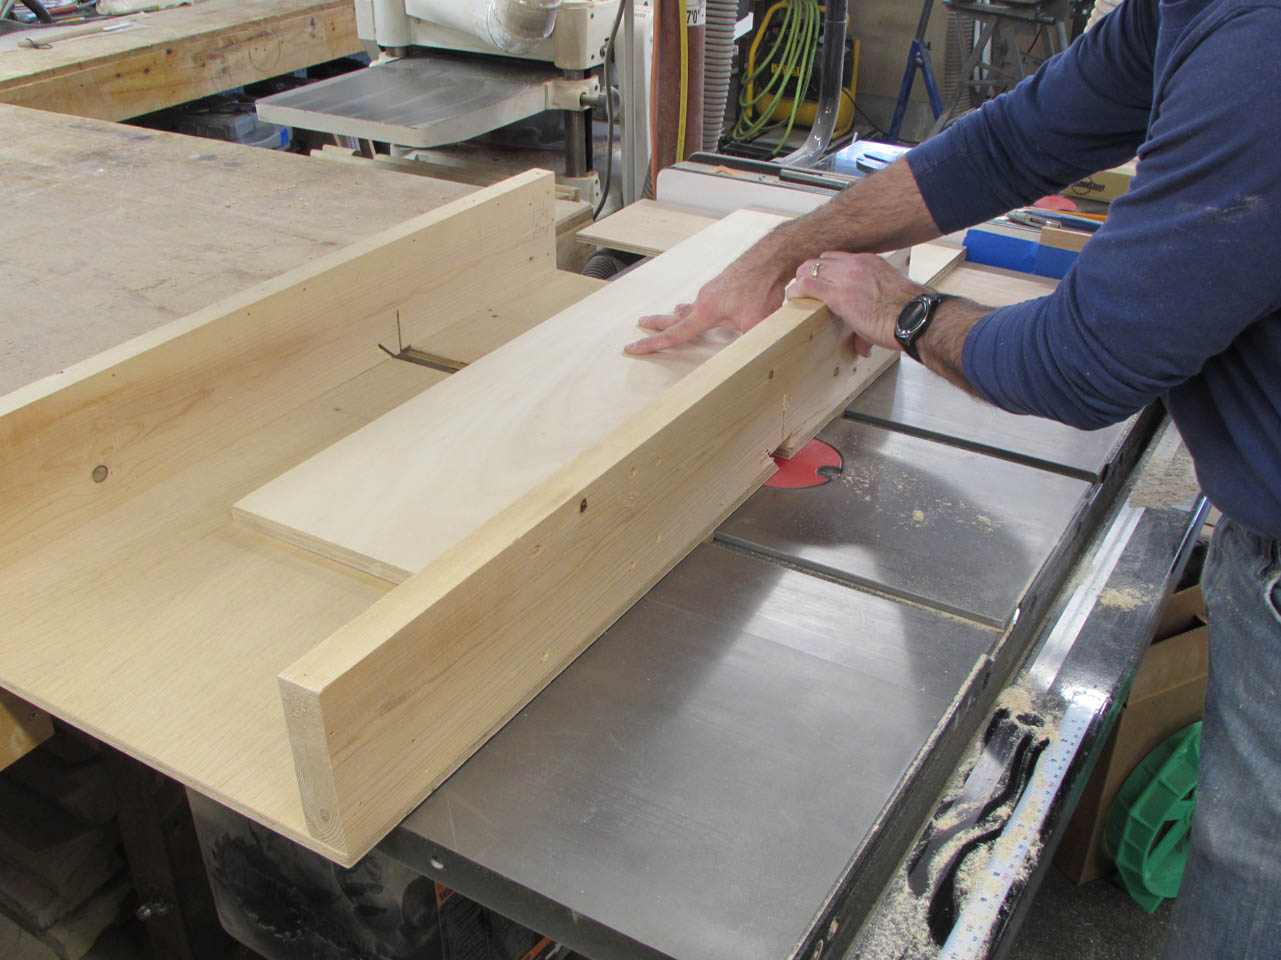
Shorter pieces are easier to work with but these are still a bit awkward.
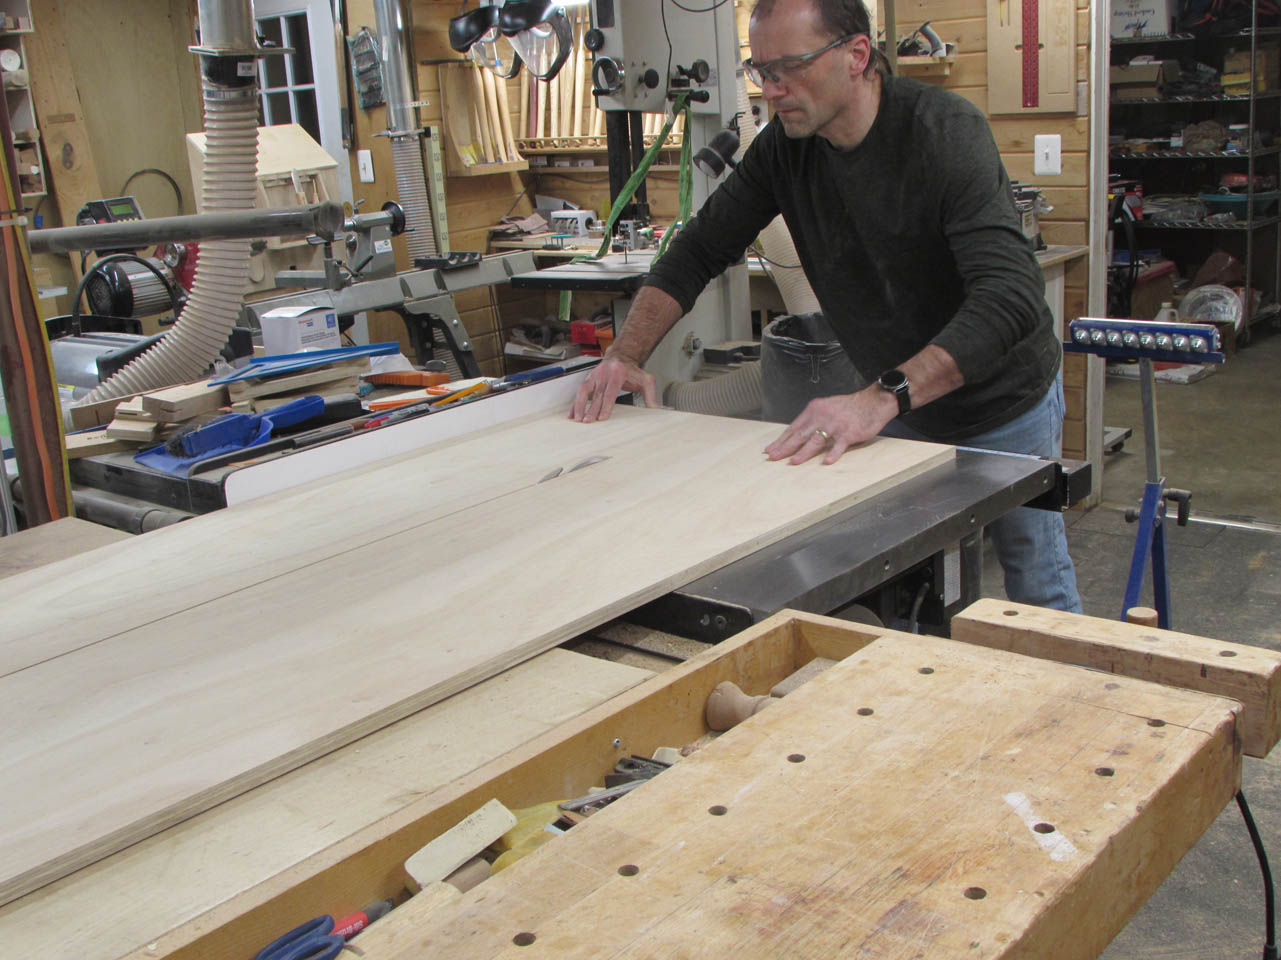
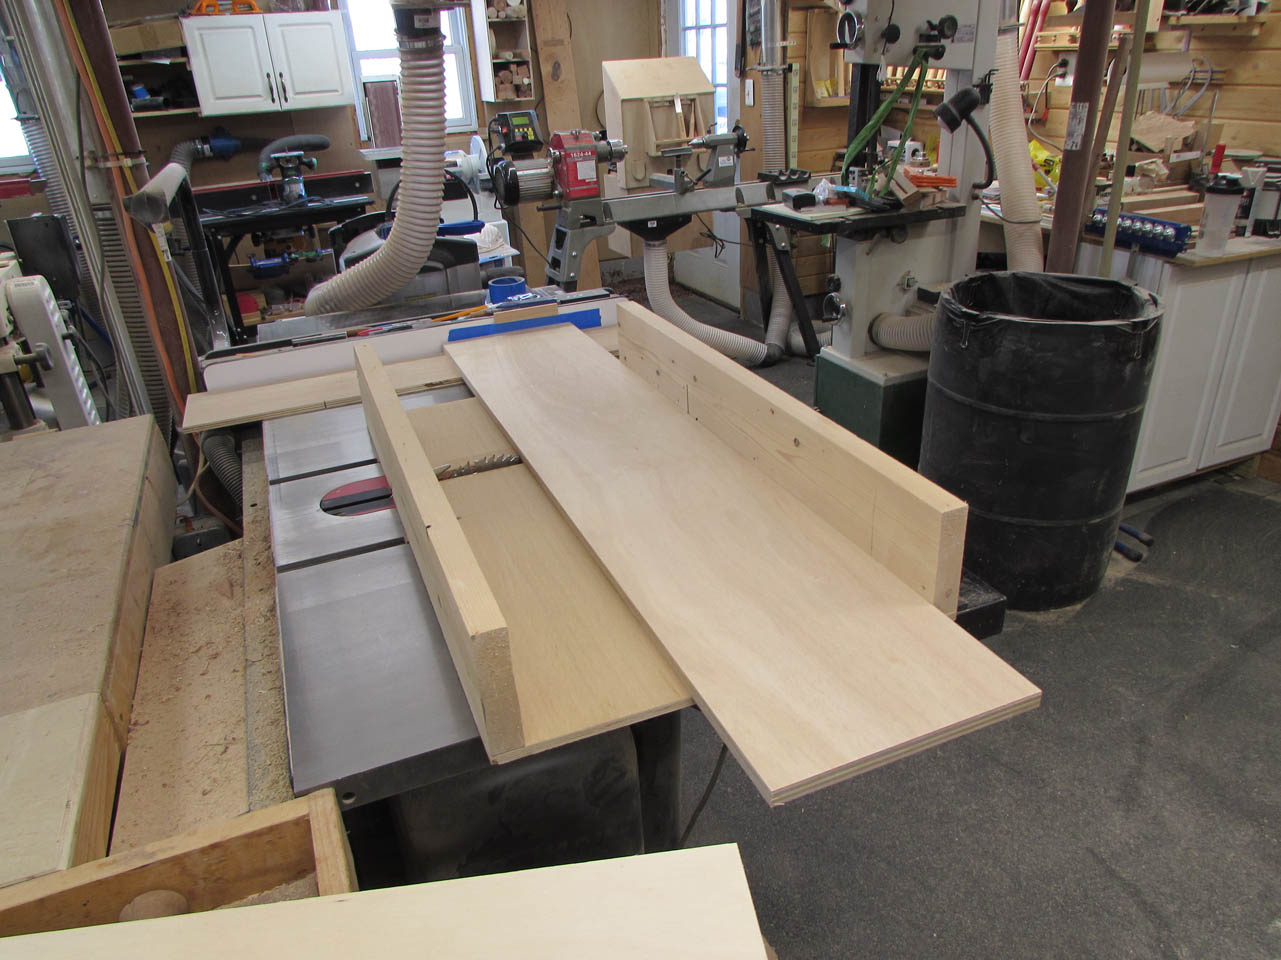
I take my time and rip all four boards down. These are all still a bit too long, so now it is time to move to the miter saw to cut them to length.
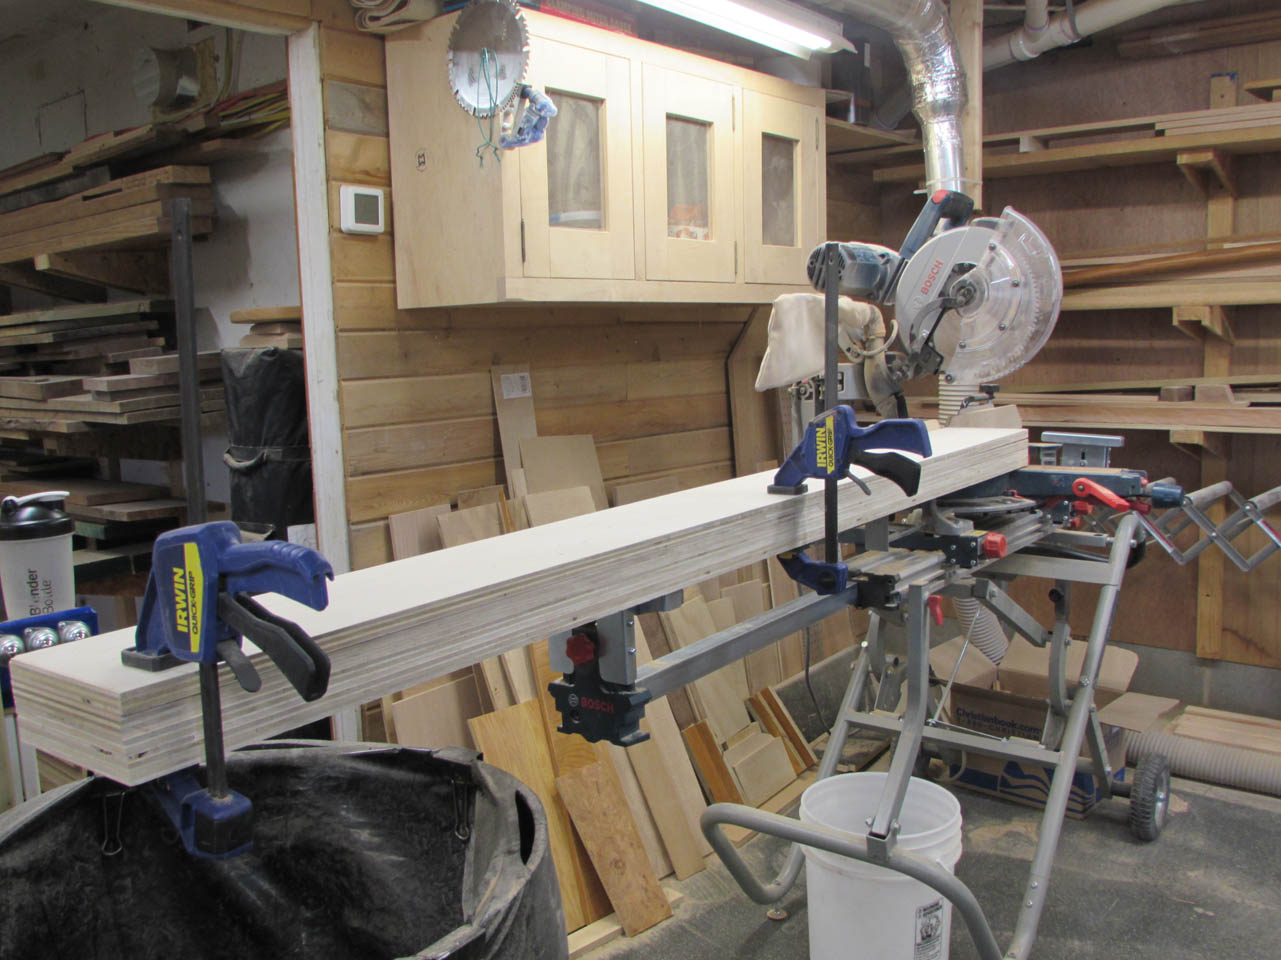
Since the lengths are all identical for all four beds, I clamp four pieces together at a time to cut them all at once.

I installed a new blade for this project hoping to reduce the chance of tear-out on the plywood. The new blade cuts nicely but it sure makes a lot more dust then the last one.


Once the main carcass was cut down, I went back to the track saw and further broke down the last long piece to separate the drawer dividers from the drawer sides.

Now I can cut those pieces down further on the table saw again..

Then, while the fence is set at 6-1/2″ I rip down the rest of the drawer sides.
When the board is too wide for my miter saw or I want to make a lot of cuts the same length, I can set up my cross-cut sled on the table saw.
I attach a temporary block on the fence to set the length of the board but I place it far enough back that the board won’t be in full contact with it when cutting the board. If I am pushing on the sled and the board is against the fence, it could cause the board to bind and kick up.

This allows me to make repeatable cuts and cut all my drawer dividers to the exact same length.


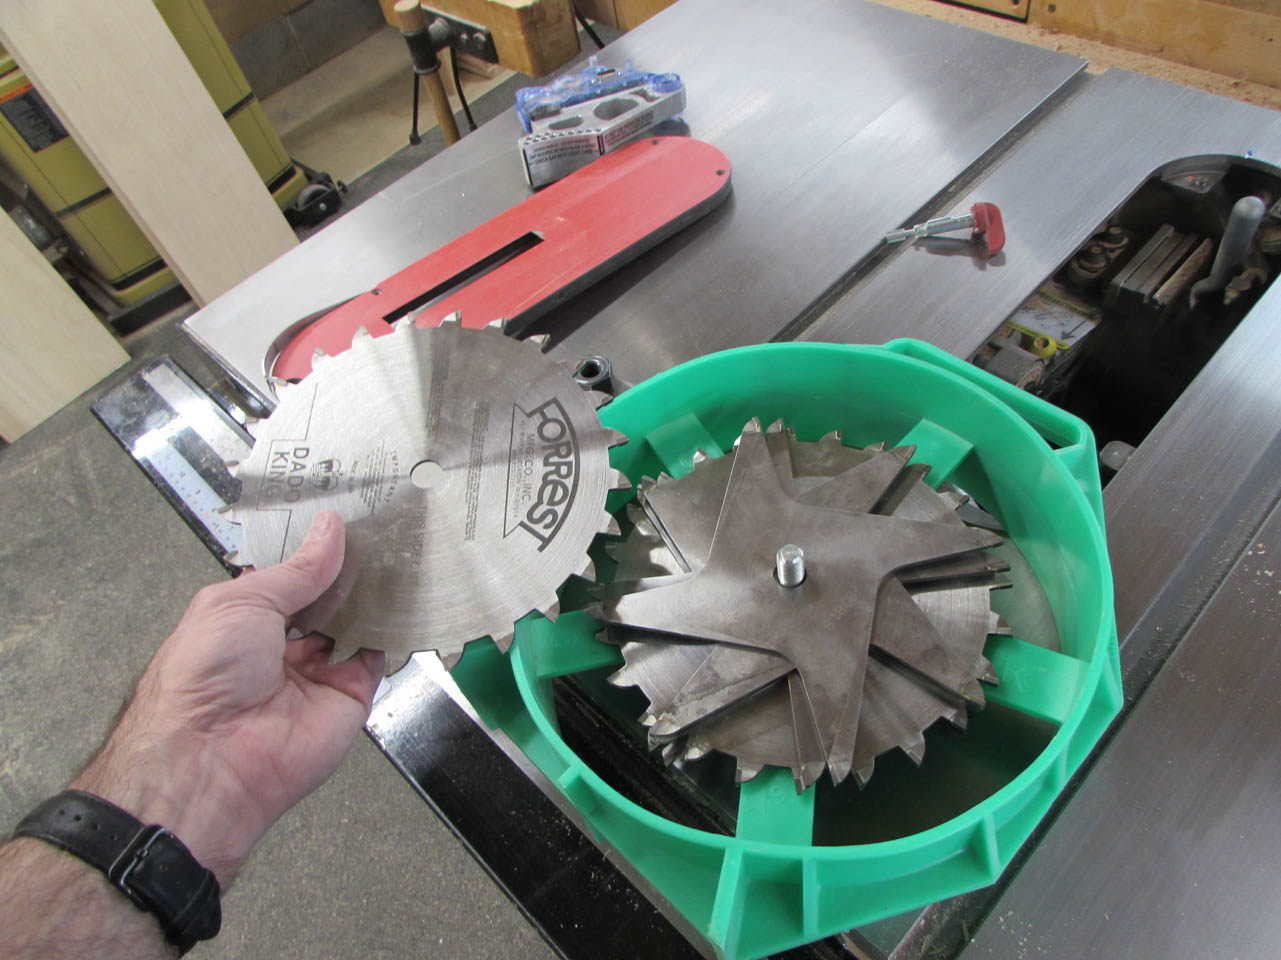
To assemble the carcasses I will need to add a couple of 1/4″ deep grooves for alignment. I will use the cross-cut sled again, but I want to cut a 3/4″ wide groove called a dado.
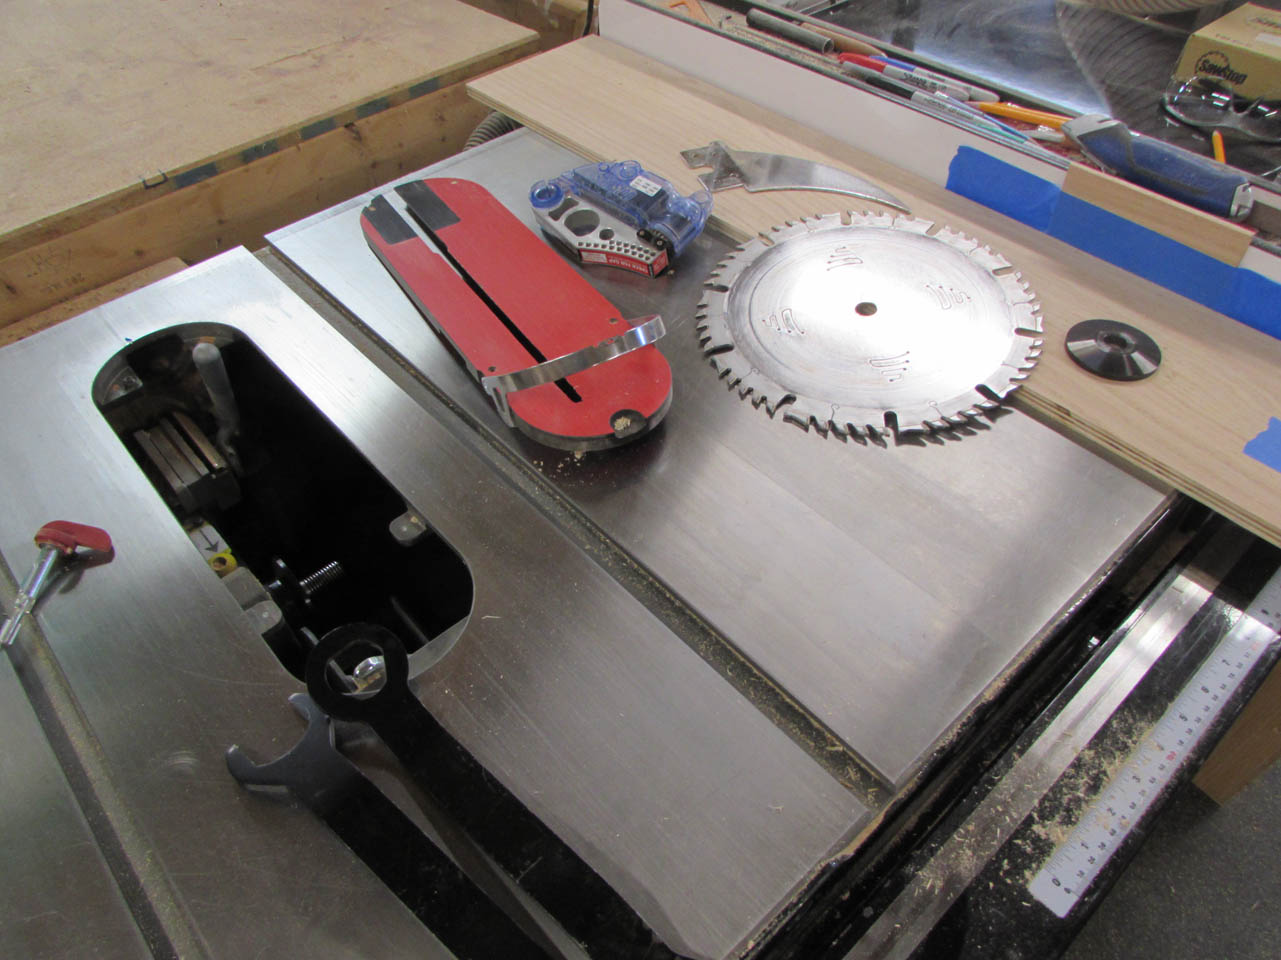
To do this I will remove the single blade and install the dado blade. I can stack up several blades to equal the width of my plywood.

When securely bolted on and set to the correct depth, I can cut a 3/4″ wide x 1/4″ deep dado.
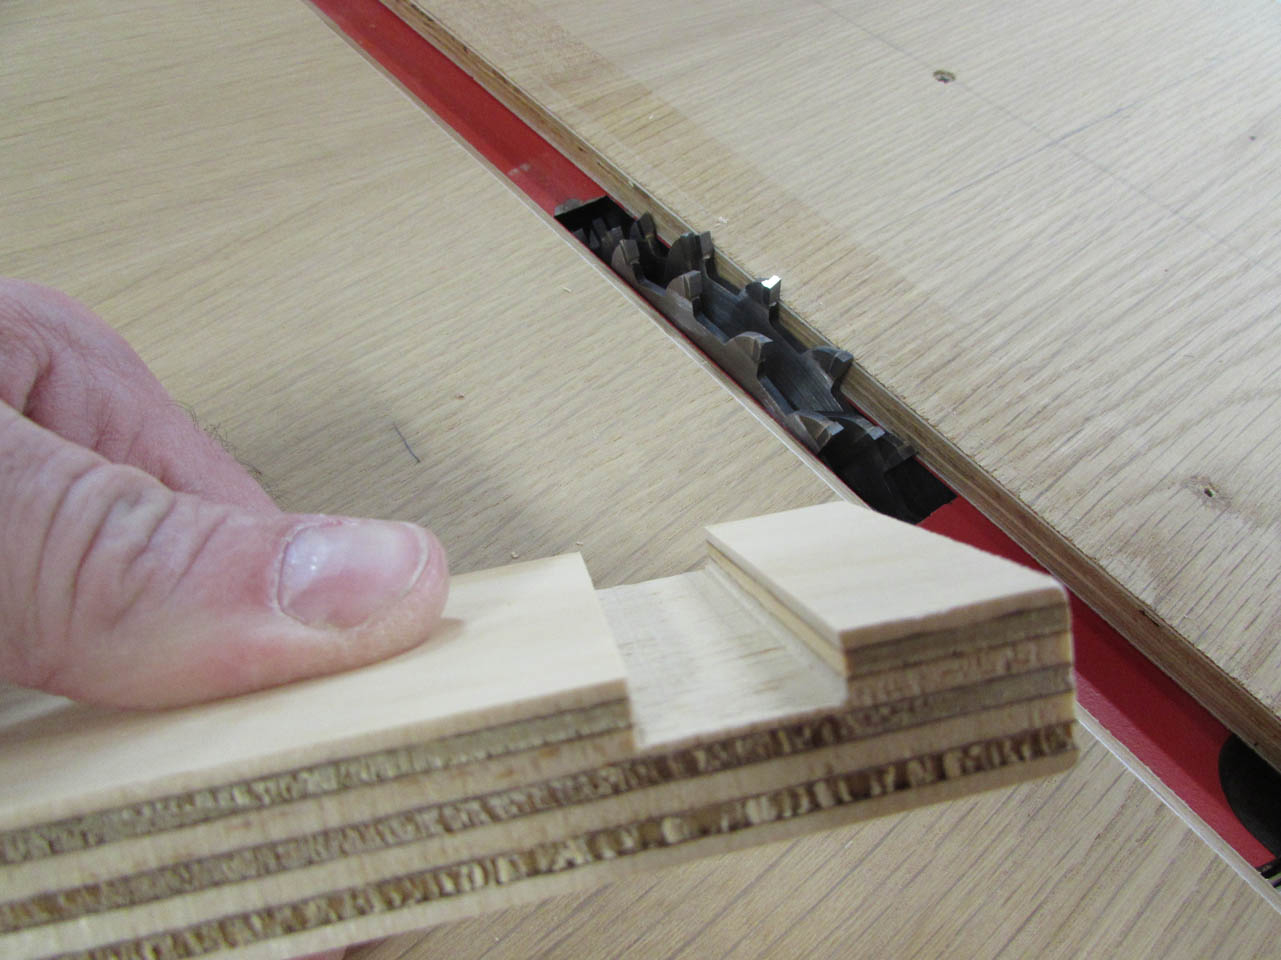

This allows me to cut the location of the drawer dividers in the main center support board.

A test fit of the dividers show they fit well. Since two of the beds will be tucked into a nook where drawers can’t open, I shifted the dividers a couple of inches to accomodate.

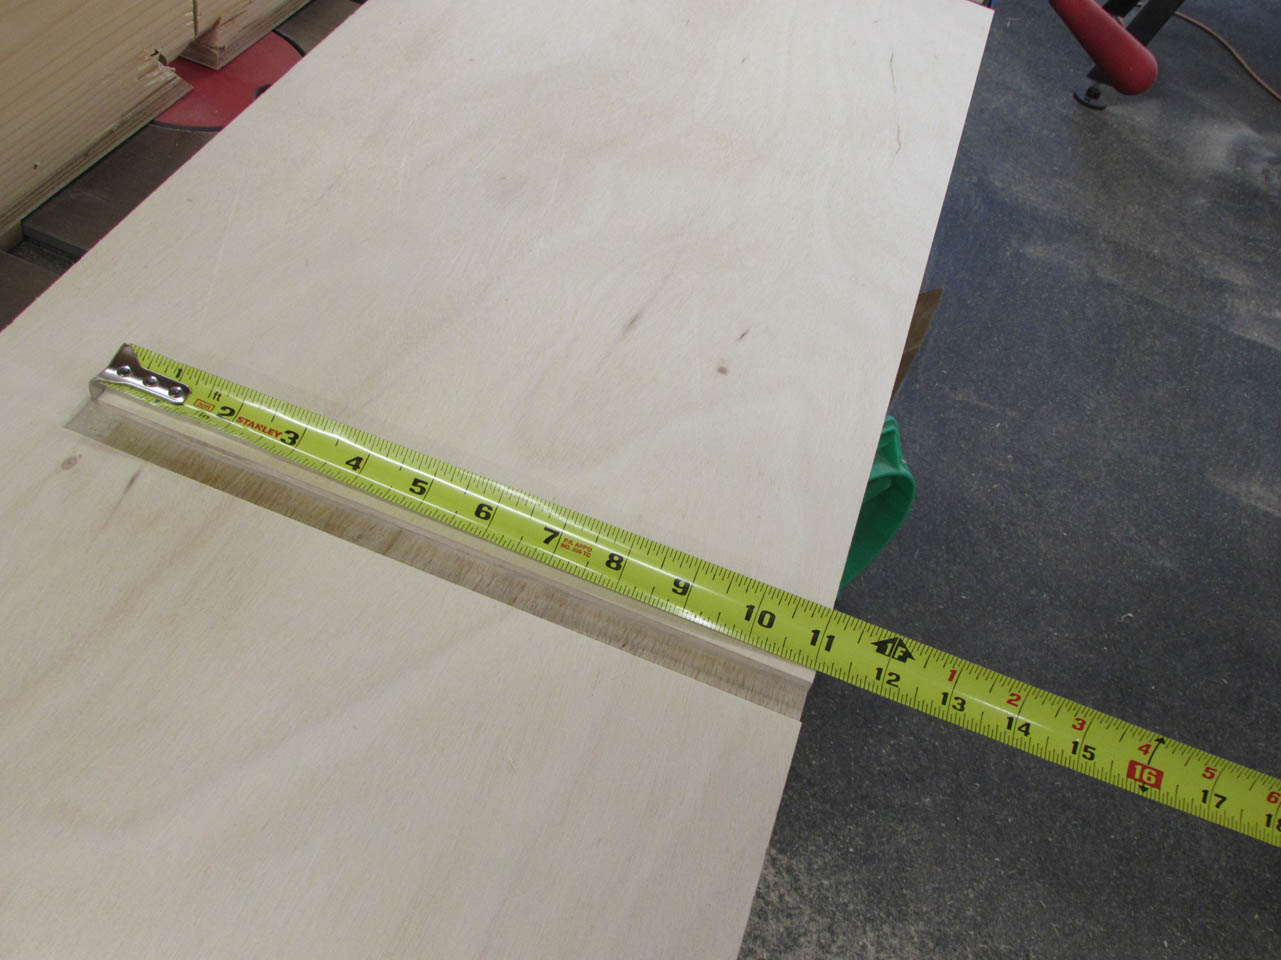
The next dado will locate the center support on the sides of the beds. I don’t want it to cut all the way through so I figure out where the blade will hit and measure from there.

I marked the location on the plate below so I know how far to feed the board before stopping.

Then I do a test cut to see if I got it right. Close enough…
Since the blade is curved, I have to chisel out the last little bit of the stopped dado.


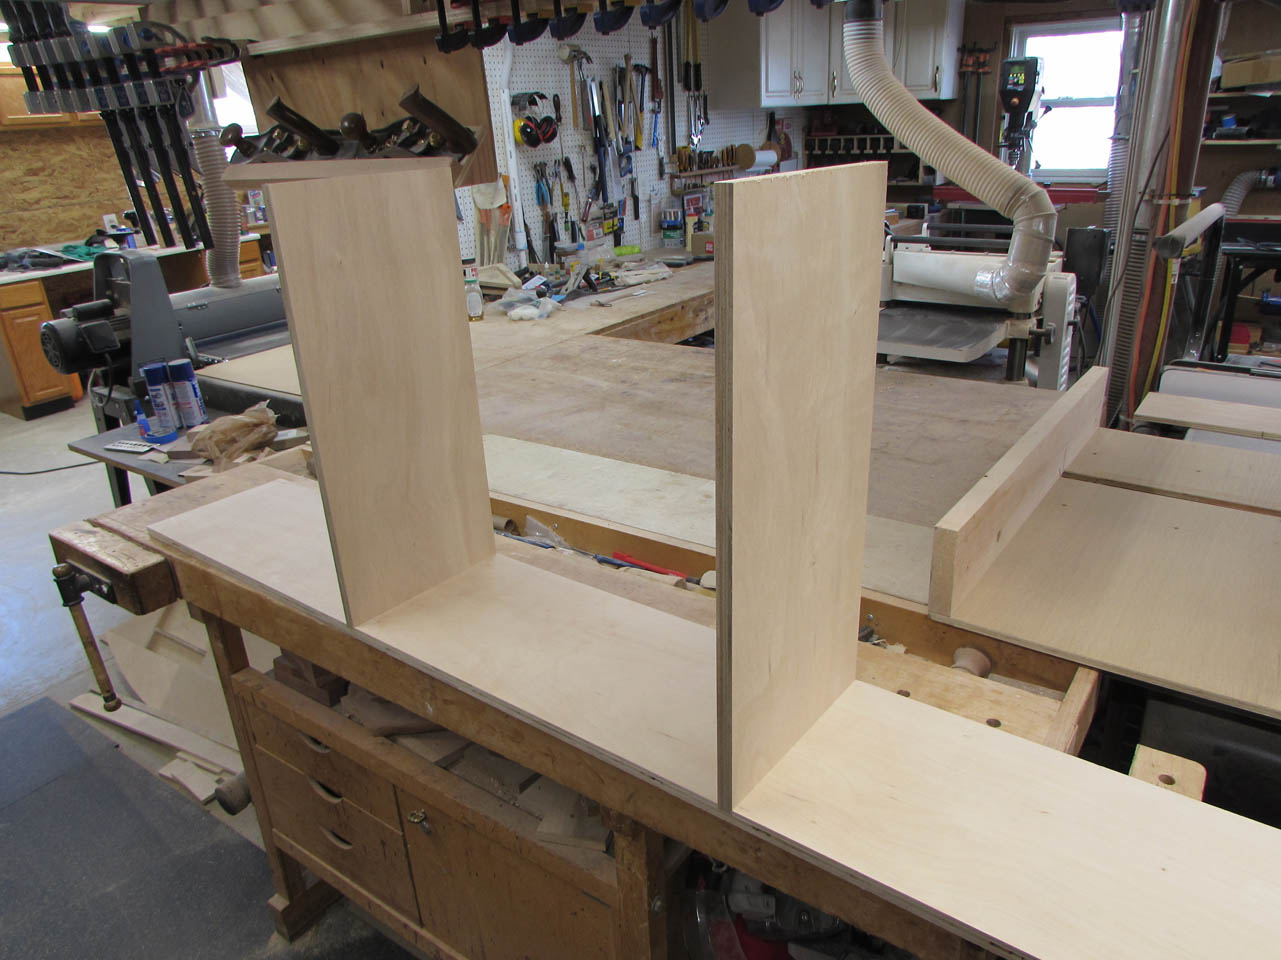
When this is done, I can test fit everything to make sure it works.

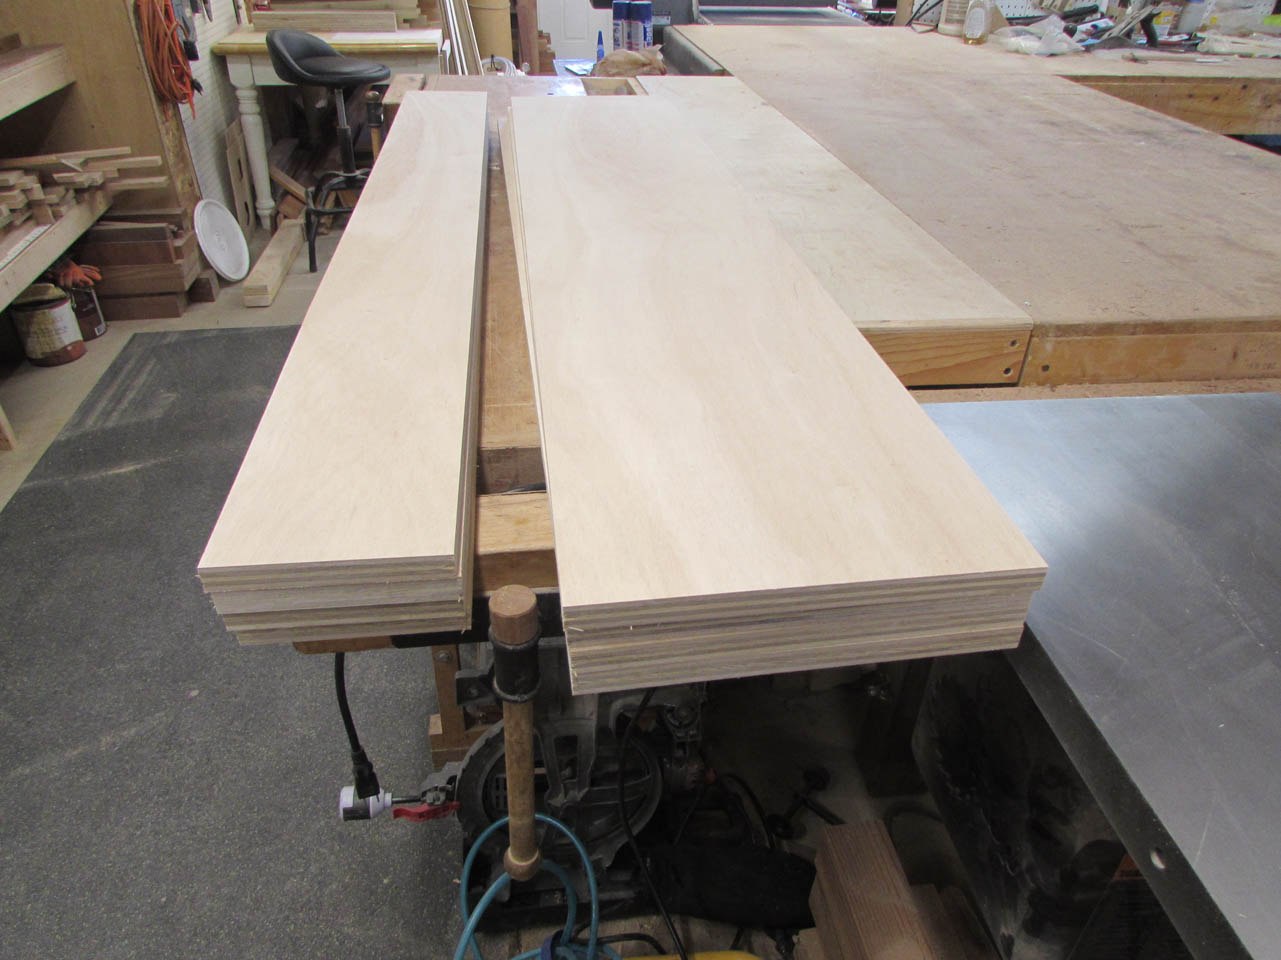
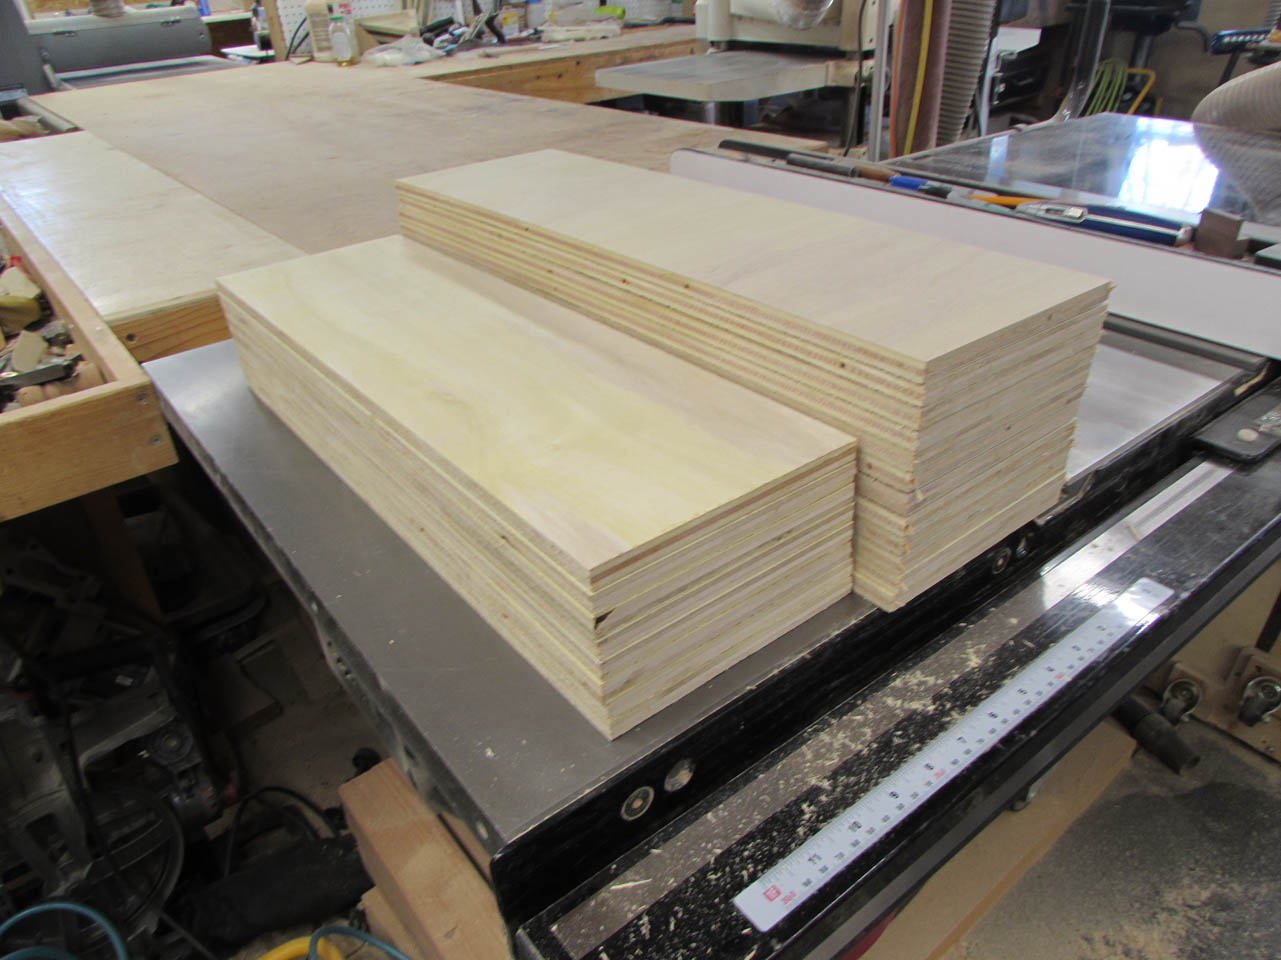
With the dados cut, I can finish cutting up all of my 3/4″ pieces.


When those are done, I grabbed the 1/2″ pieces and finish cutting all of the drawer ends.


I cut them all to lenght first, then to width.

With all of the drawer sides and ends done, I can cut in the dado to hold the drawer bottom.

It is 1/4″ wide so I make two passes with the single blade.

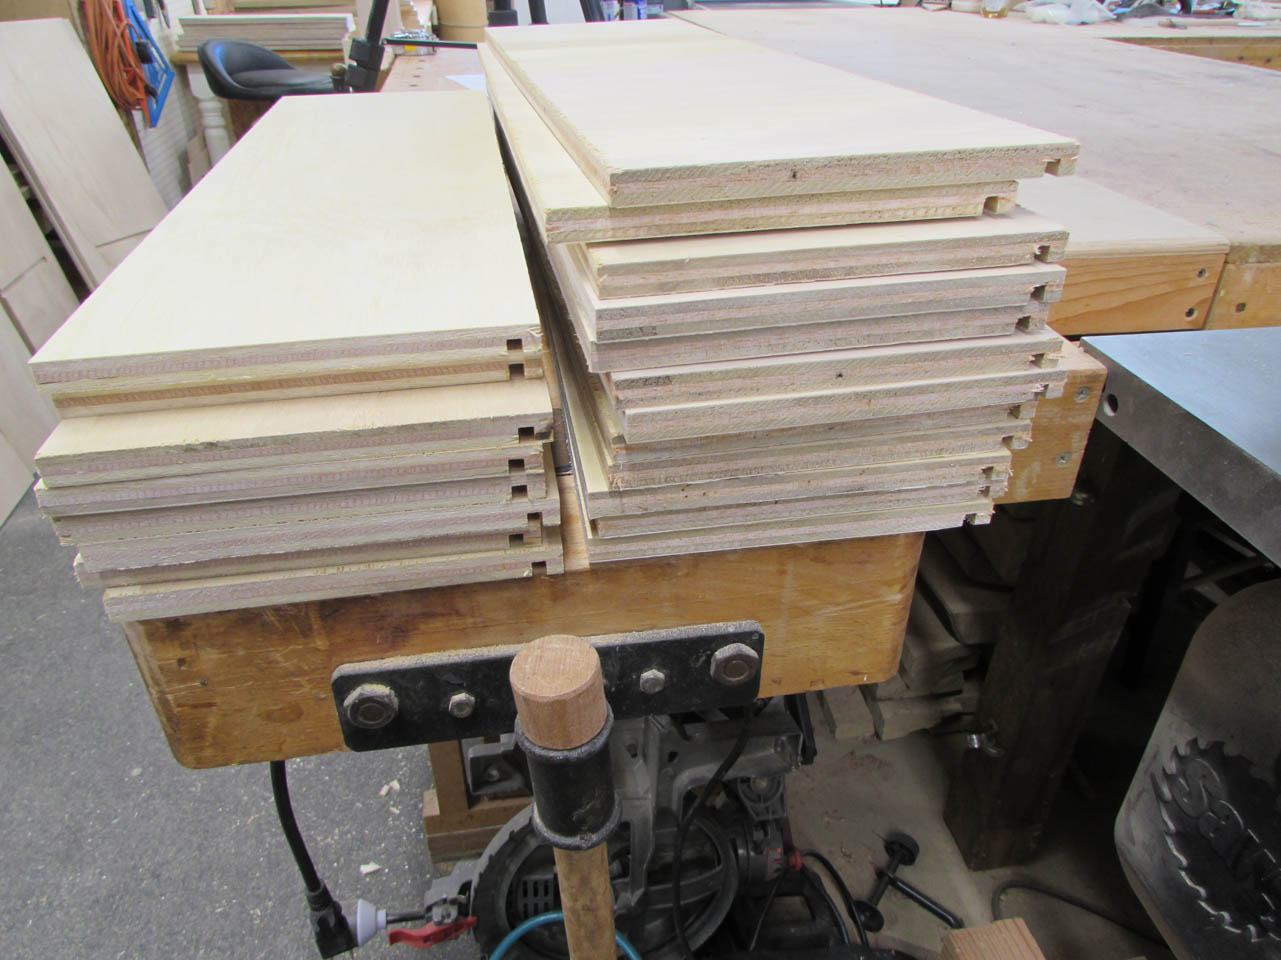
All of the drawer parts are done.
Well, except the bottoms. I forgot them still sitting under the foam…
These are lighter and easier to handle on the table saw so they were easier to cut down.

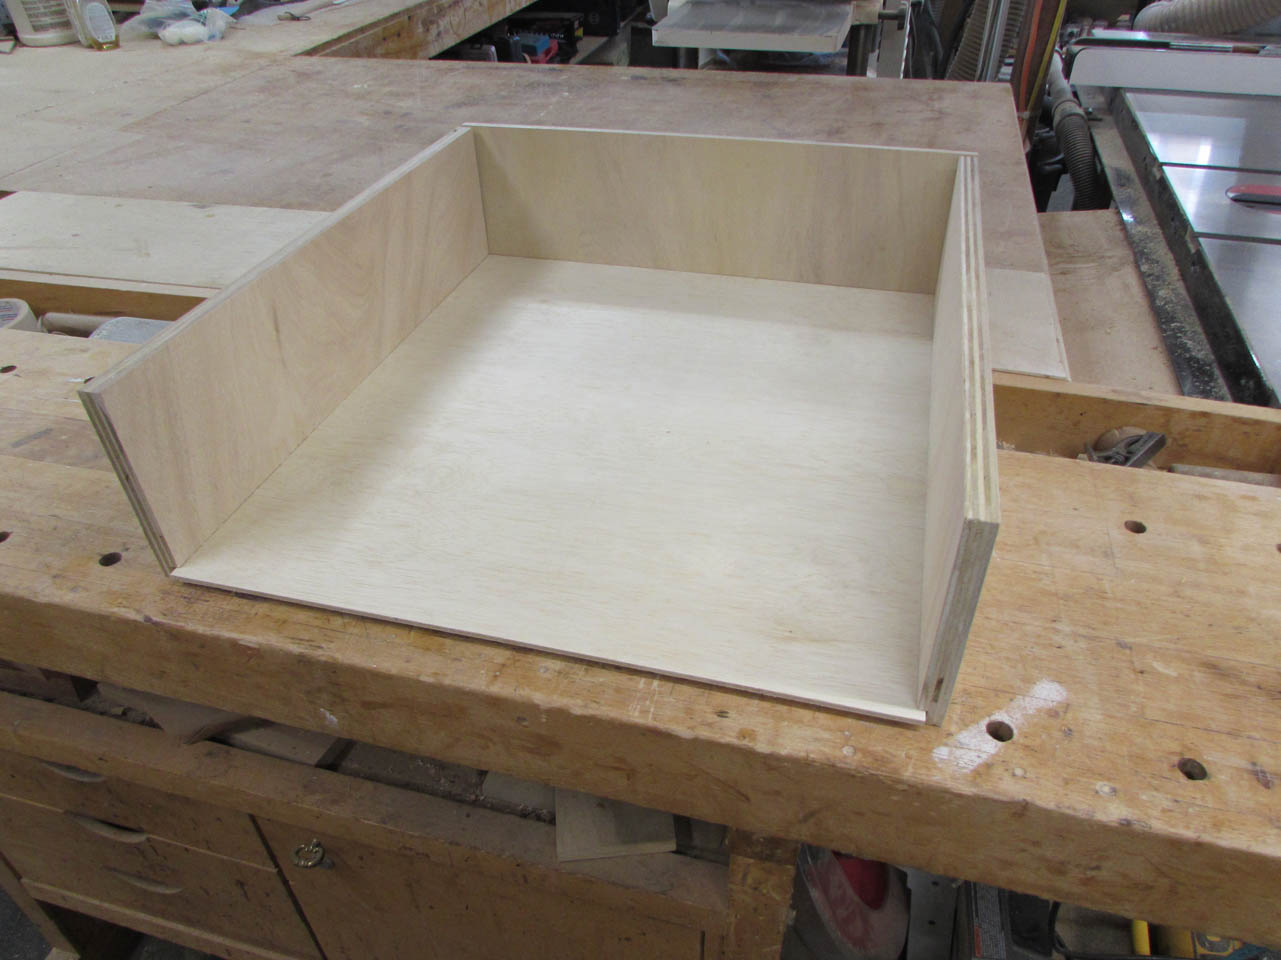
A dry-fit of my drawer boxes shows that everything will work well.


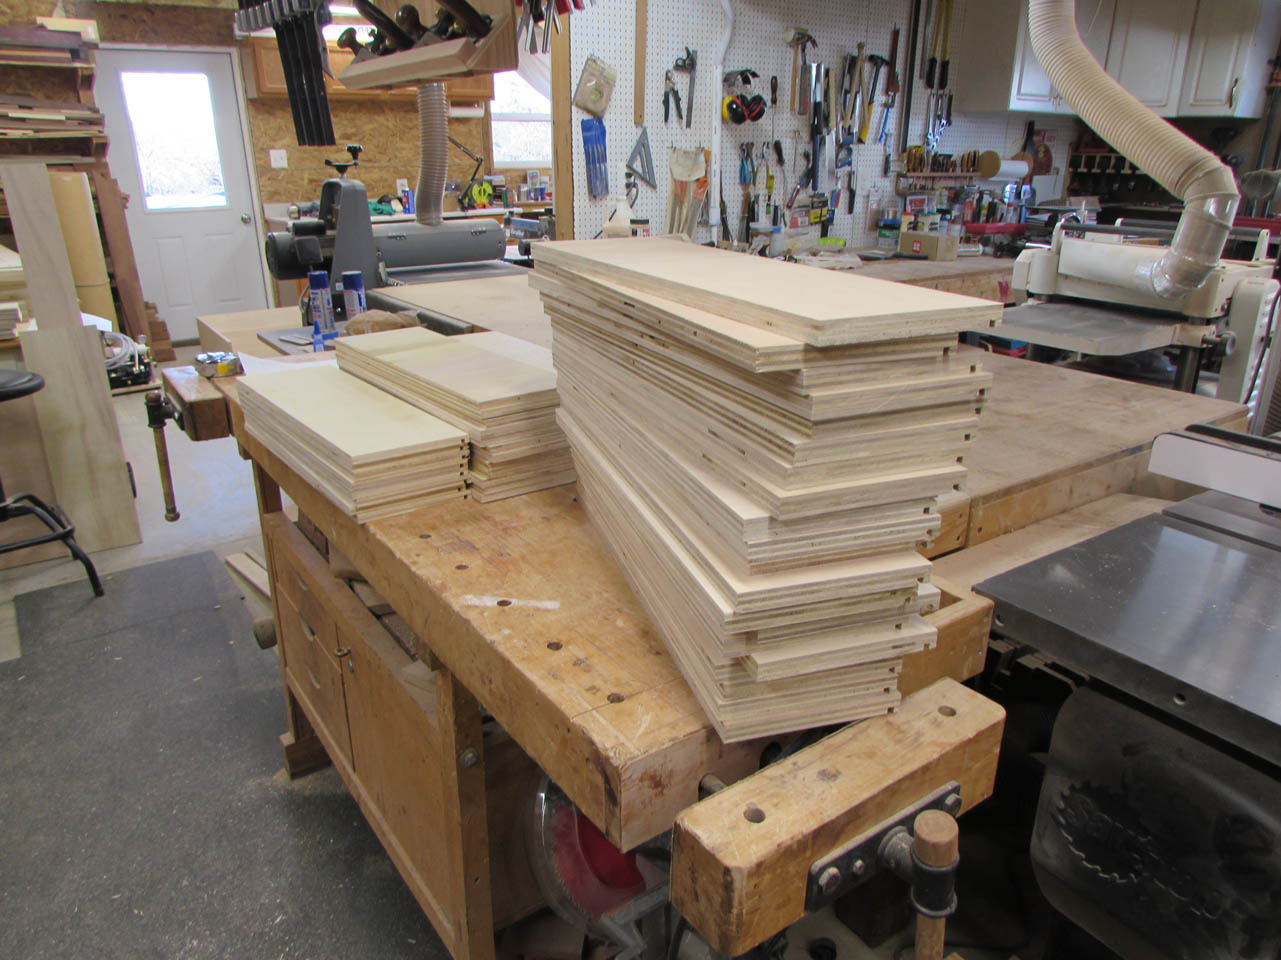
All of my plywood has been cut down so now I have to start sanding. The kids will be in and out of these drawers all the time so I need to make sure no-one gets a splinter.

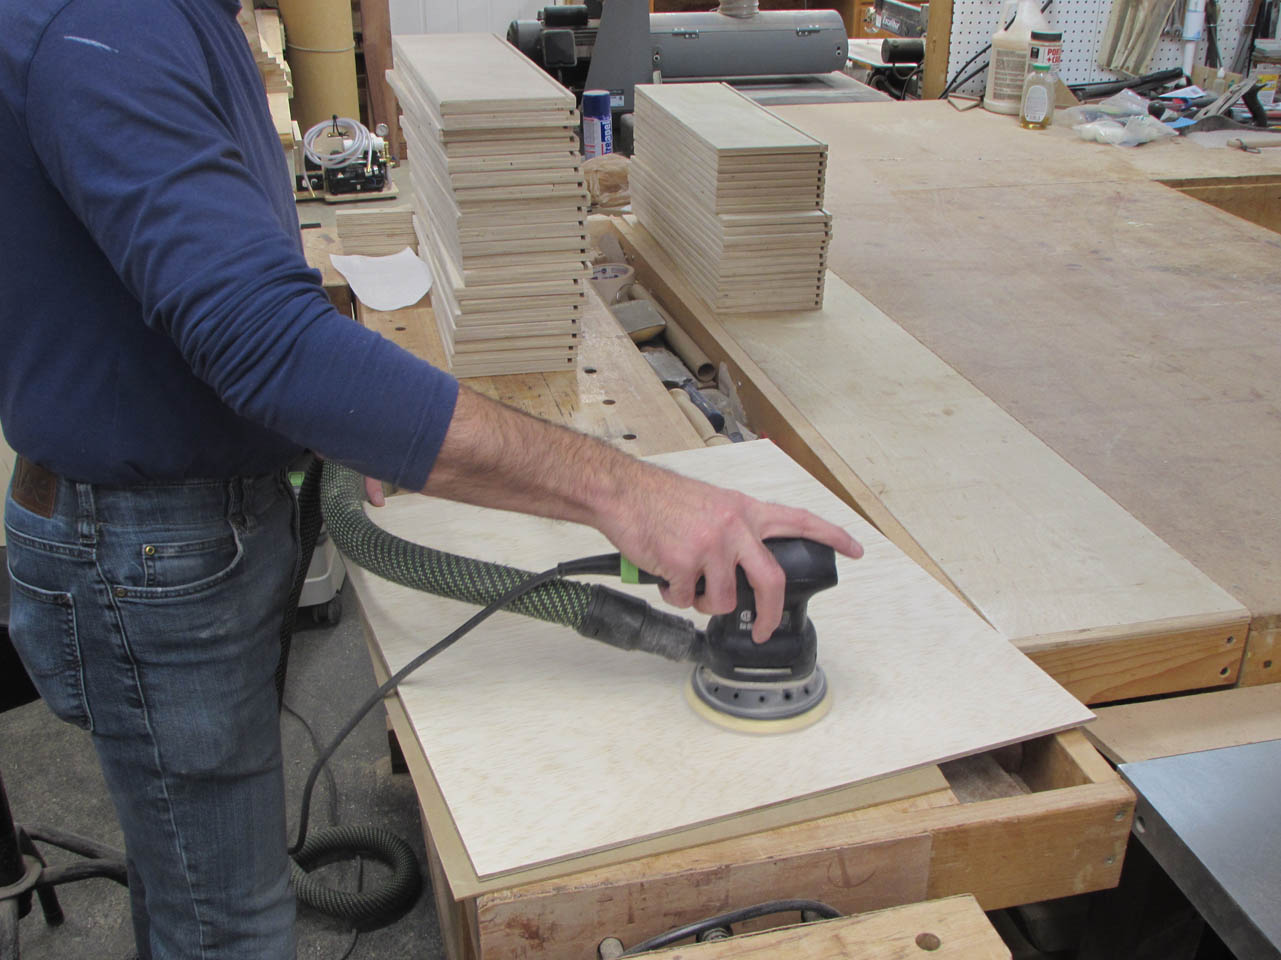
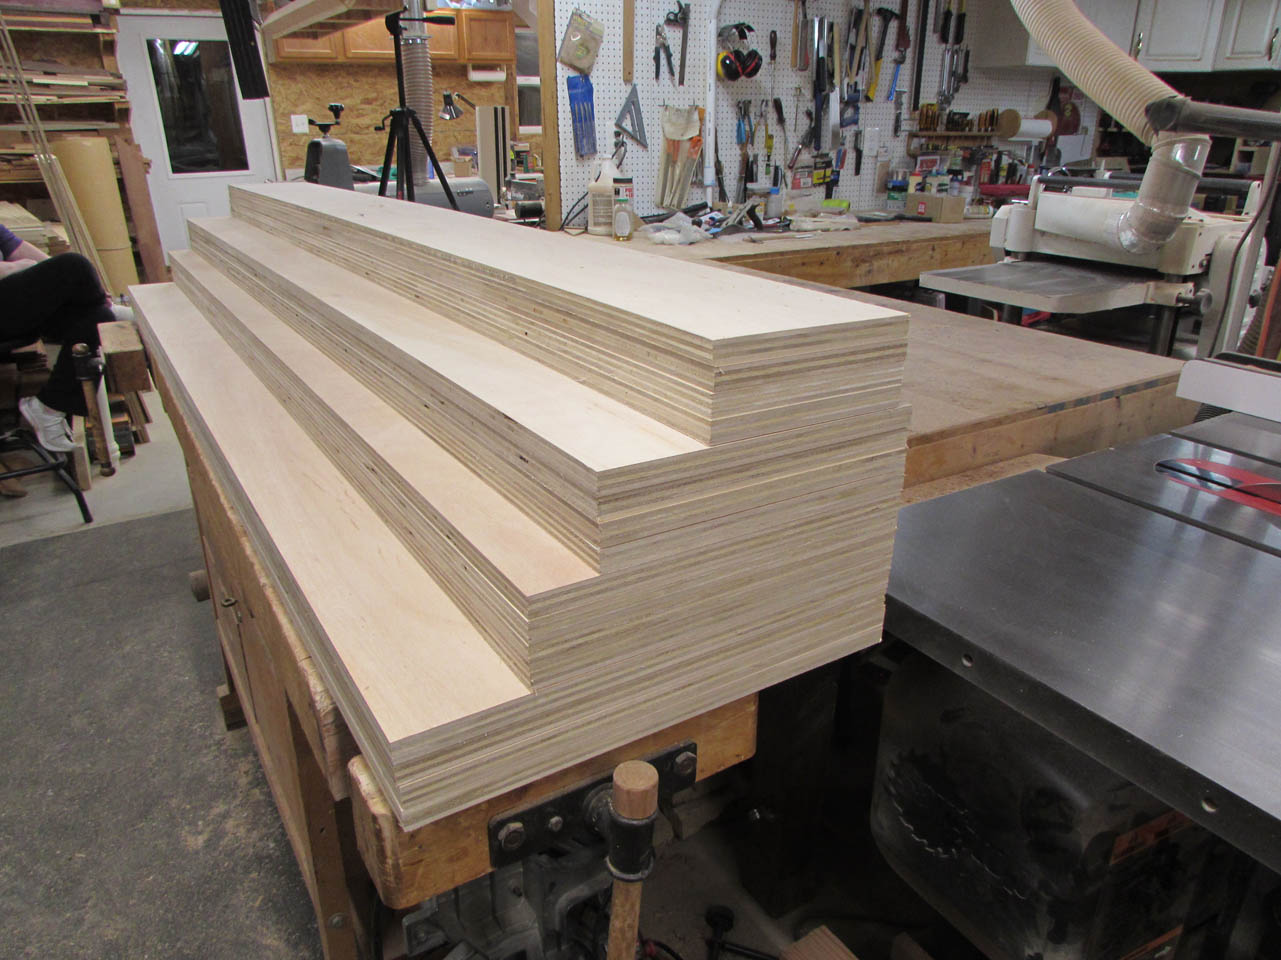
Several hours later… sanding of the drawer parts is complete.

That was a lot of rectangles. Things should start to take shape with the next post.
