
Marian procession bier – part 8
Time to get started on the back arch of the bier. I have one short piece of the old growth Douglas fir left and it should be enough to create the frame.

I jointed two faces to get them flat and perpendicular to each-other.
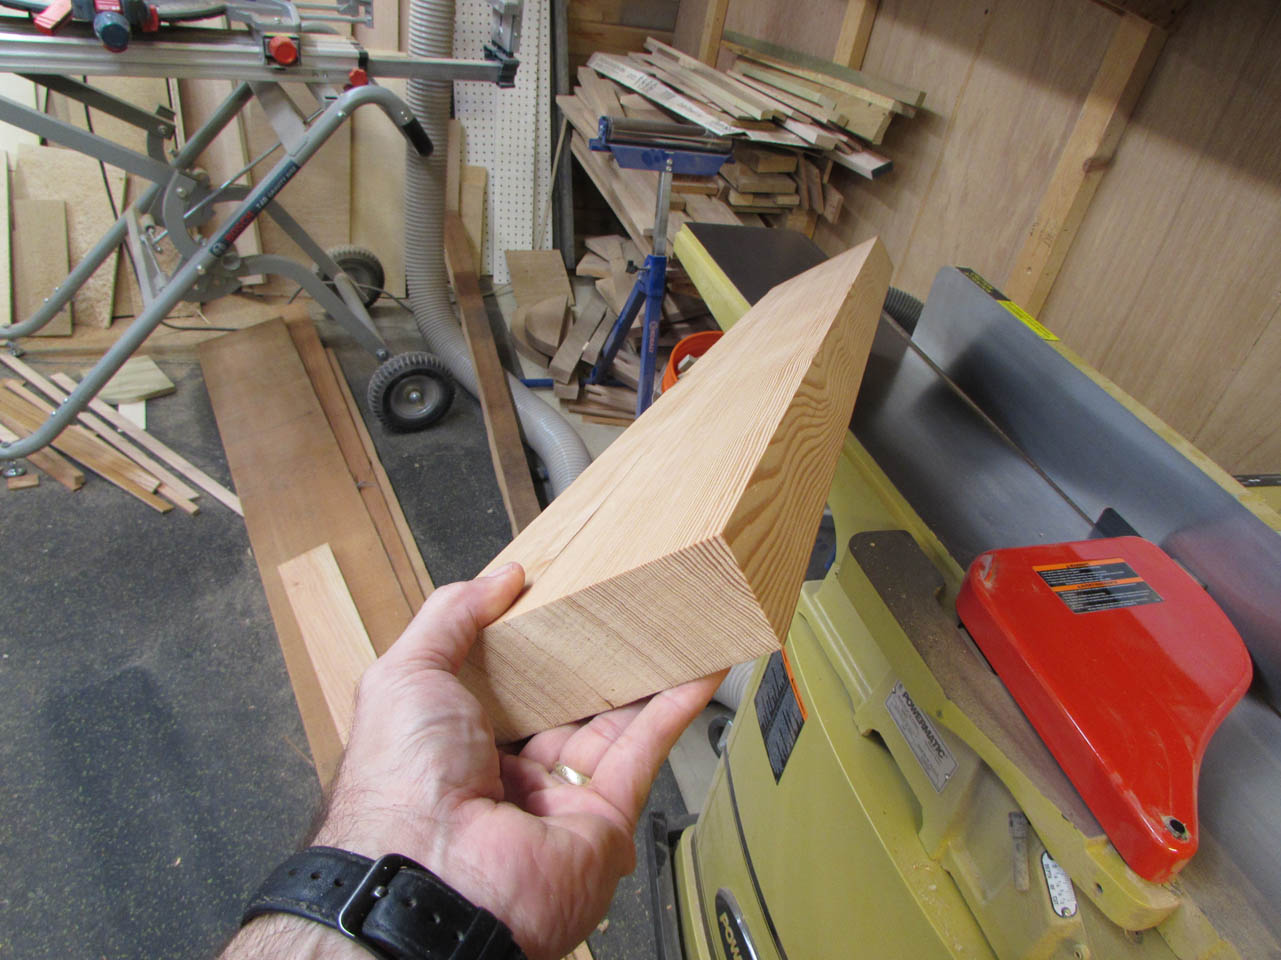

Then I ripped the opposite side on the table saw to get it parallel. I then planed the last surface flat.


I ripped two perfectly square sections from the block to create the sides.
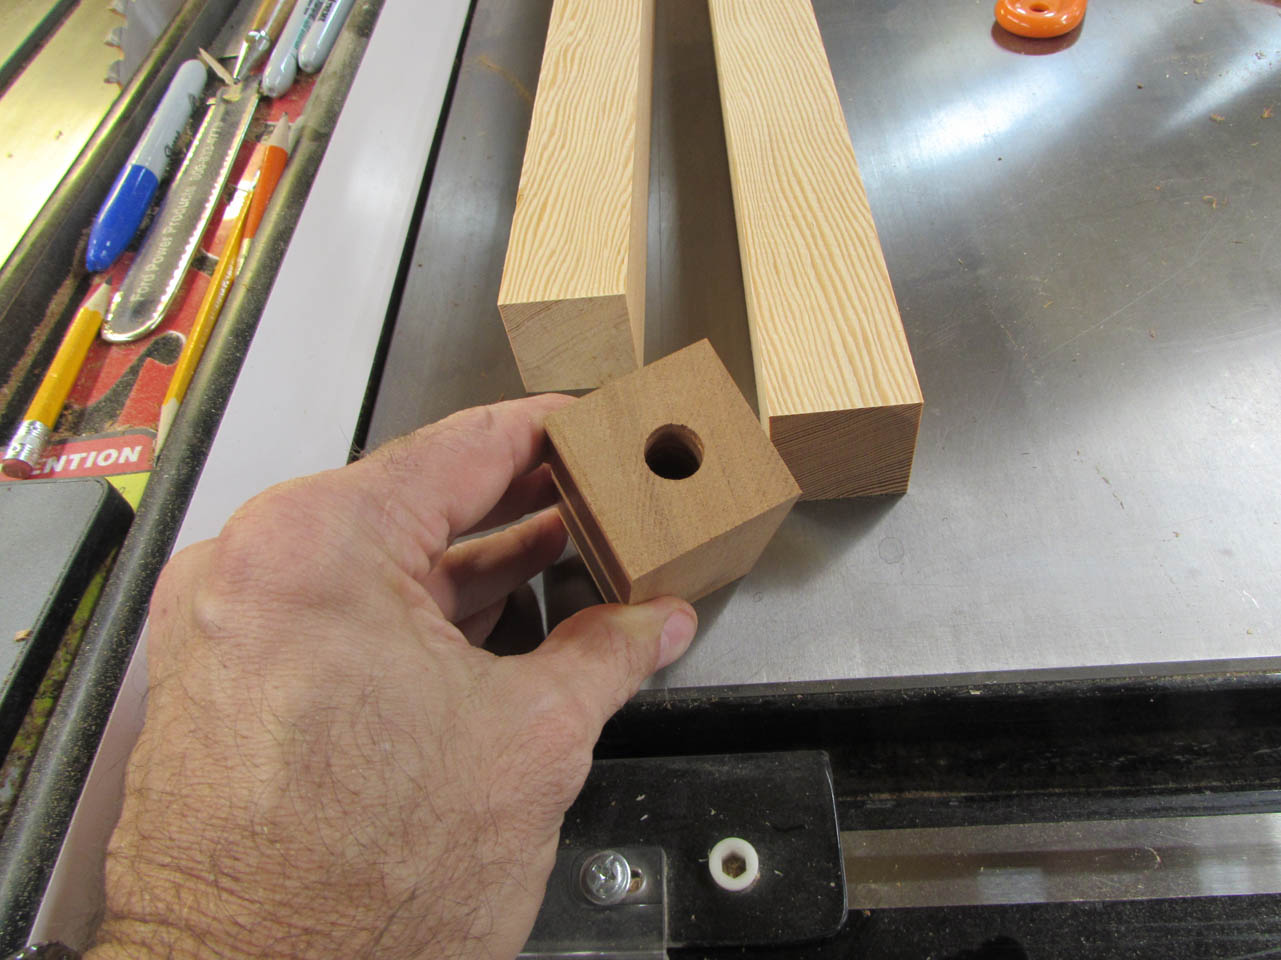
I need to drill a 1/2″ diameter hole straight up through the bottom, center of each post. I made an extra block when I was making the corner posts. I thought it would make a useful drill guide so I cut it down to the same dimensions as the posts.
I clamped it in place as tightly as I could, then used a long, brad-point drill bit to drill a 3″ deep hole into the posts.
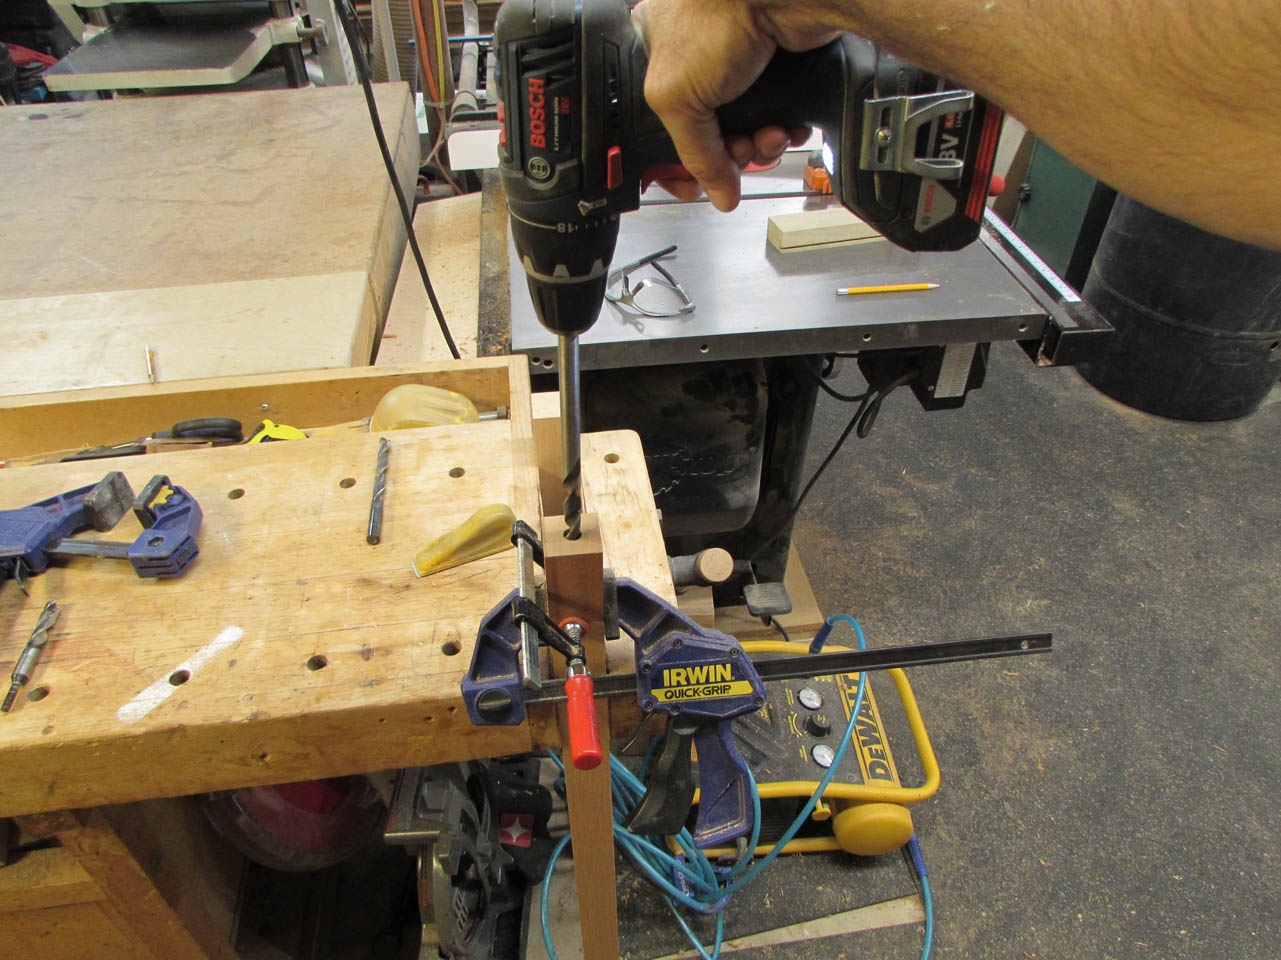

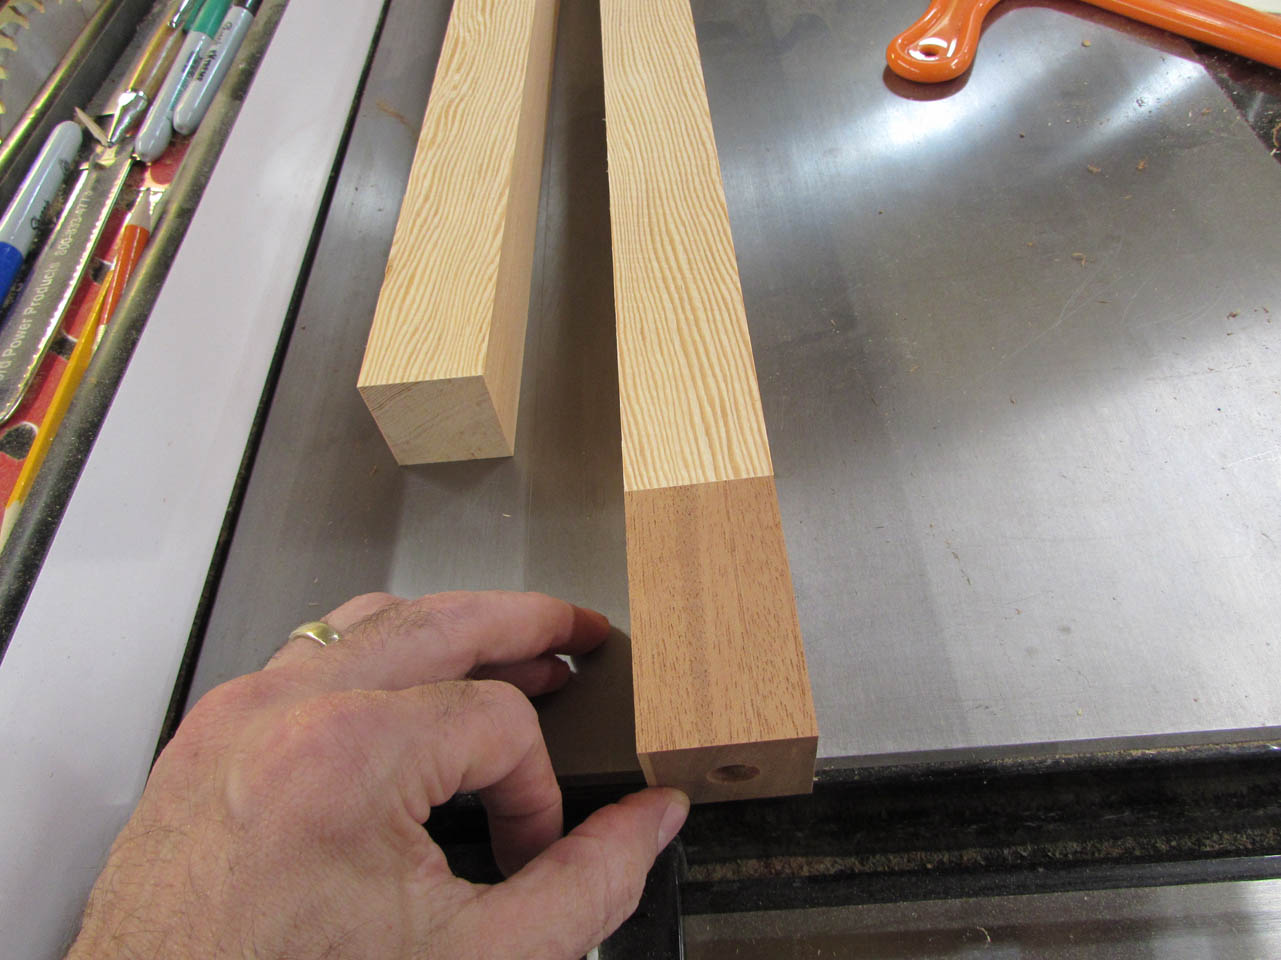
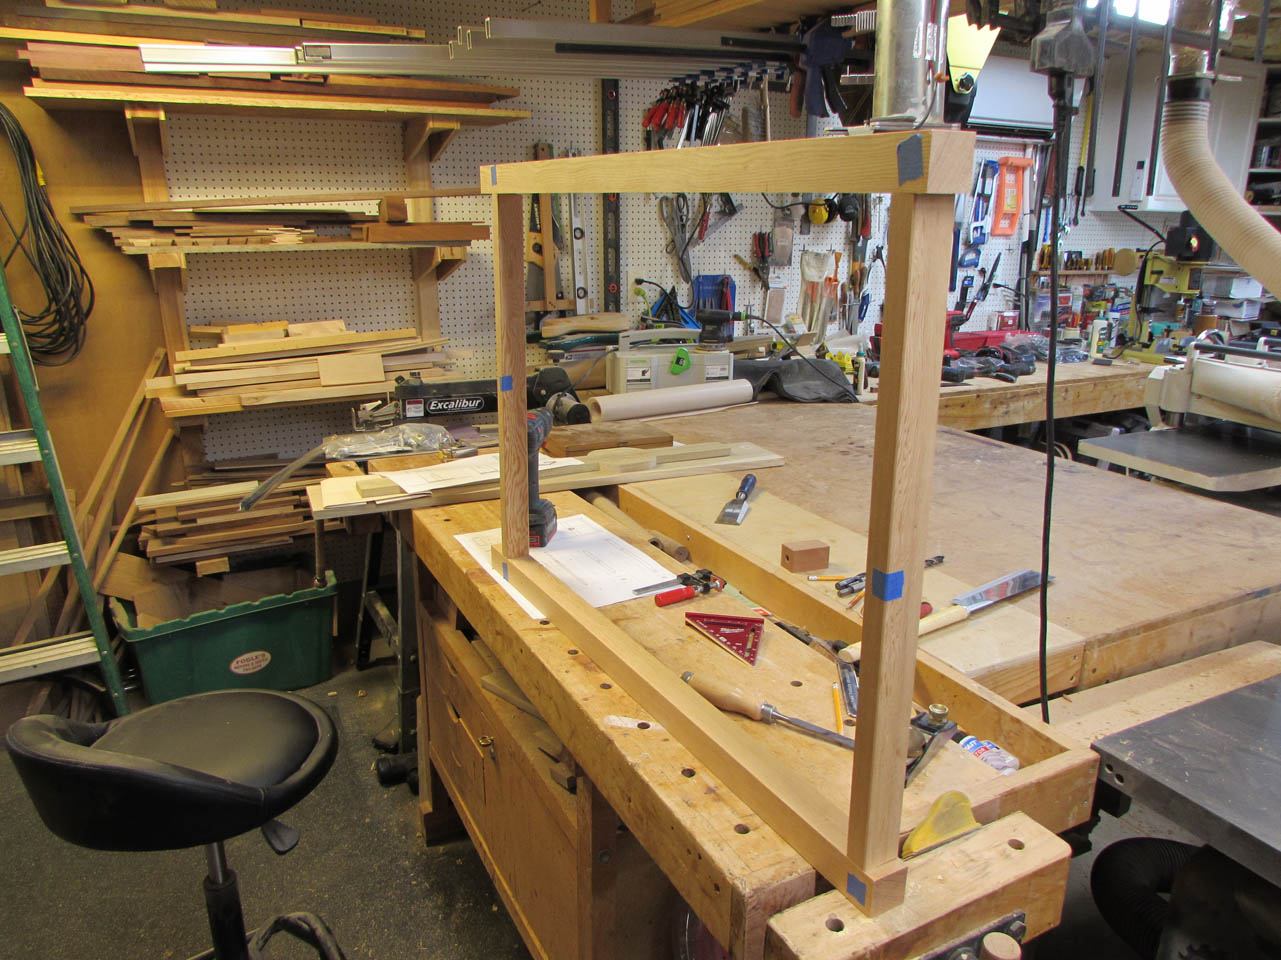
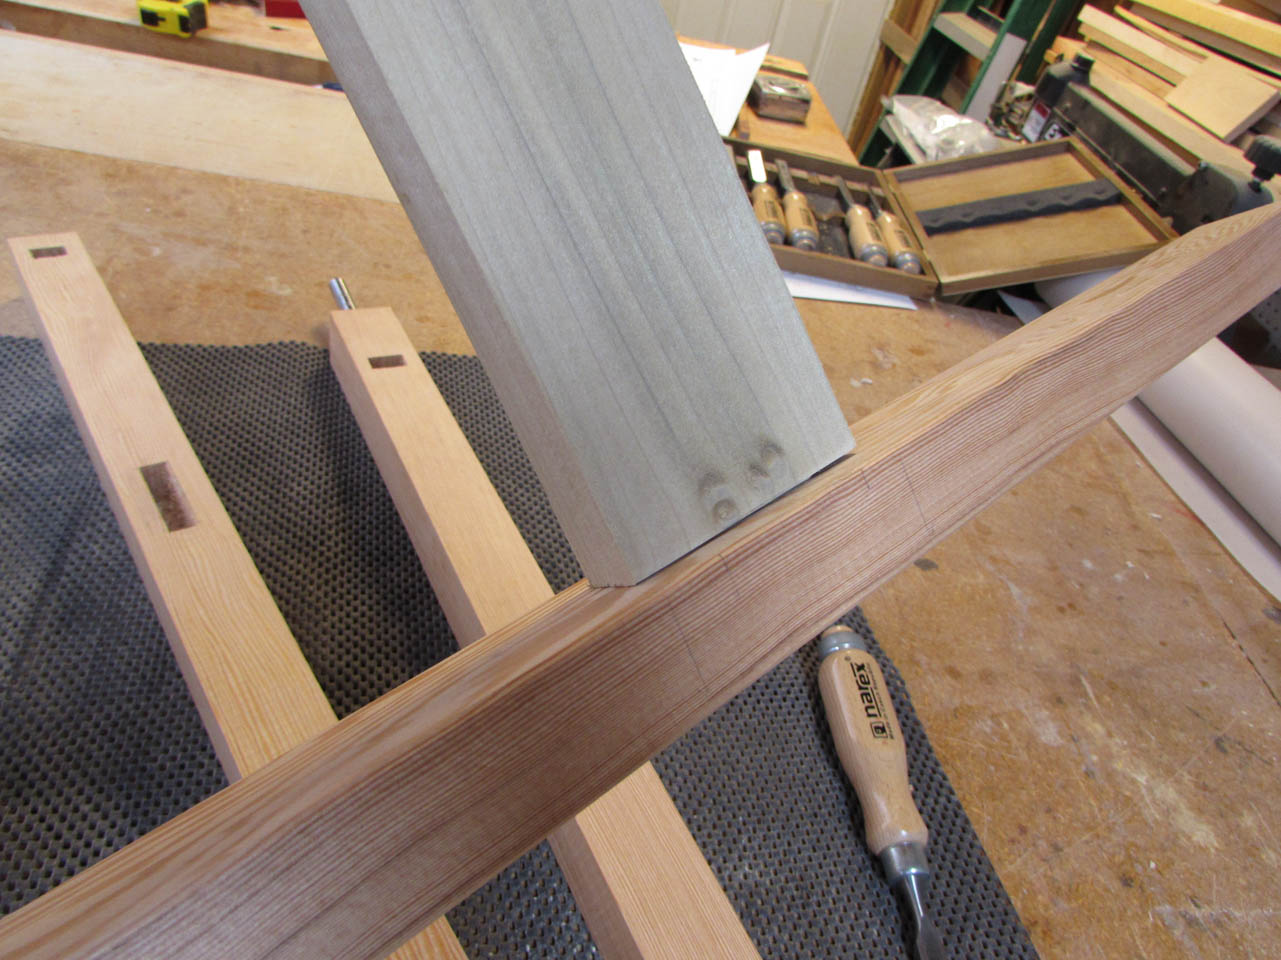
I set the steel posts in place to verify depth.


When I was happy with that, I installed the posts on the bier.
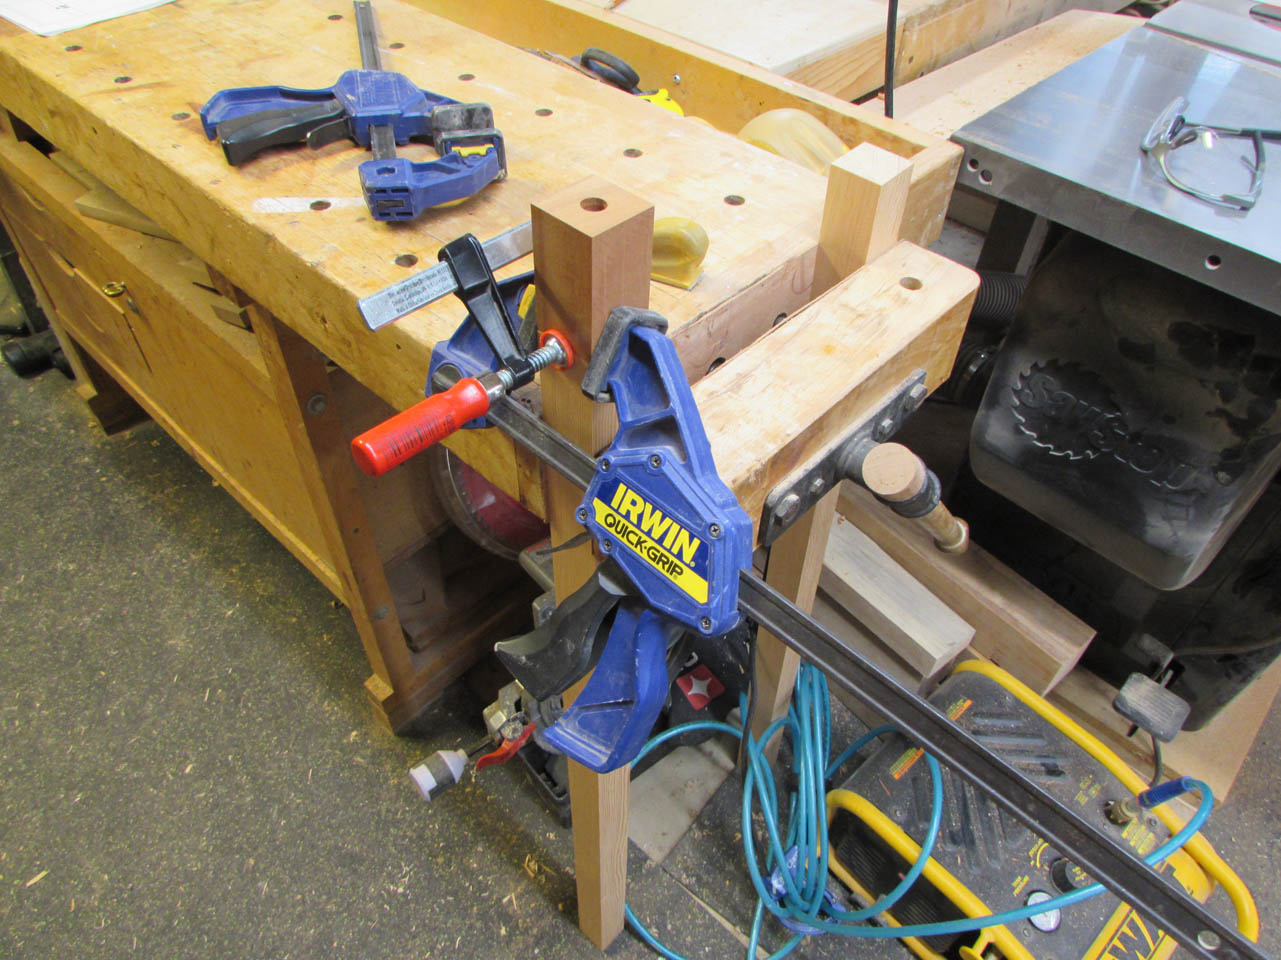
One of them drilled perfectly, and the other one was slightly off.

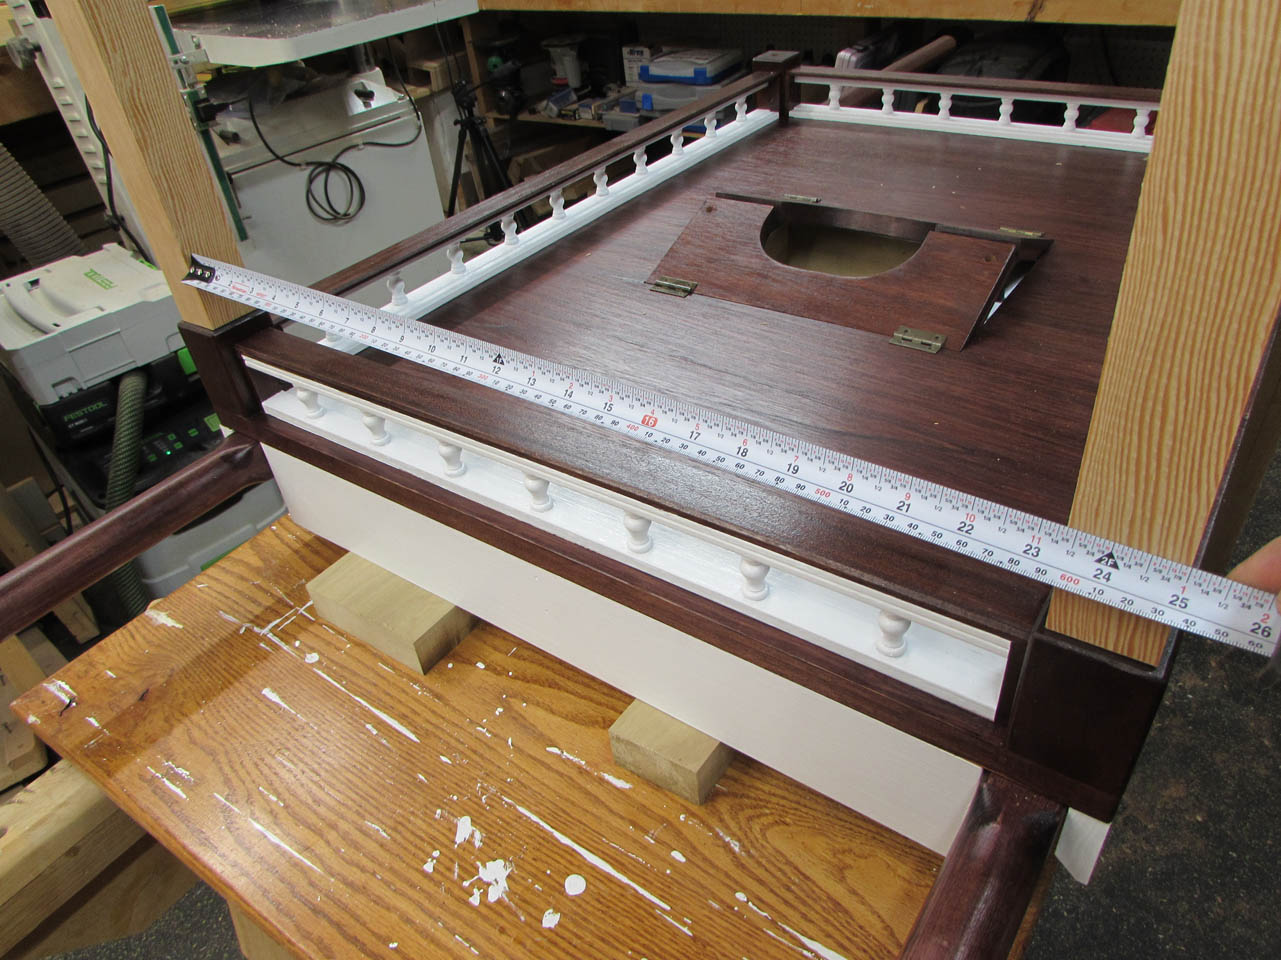
Not off enough that it will be visible, but enough that each cross member being attached will have to be a custom length. I clamped some boards across the vertical posts to hold them in their exact location. I verified that this was the correct location by flipping the back around and making sure it easily inserted back into the post holes, in the opposite direction.

I cut two, 1″ wide pieces from my remaining Douglas fir, then held them in place and marked the inside of the posts.

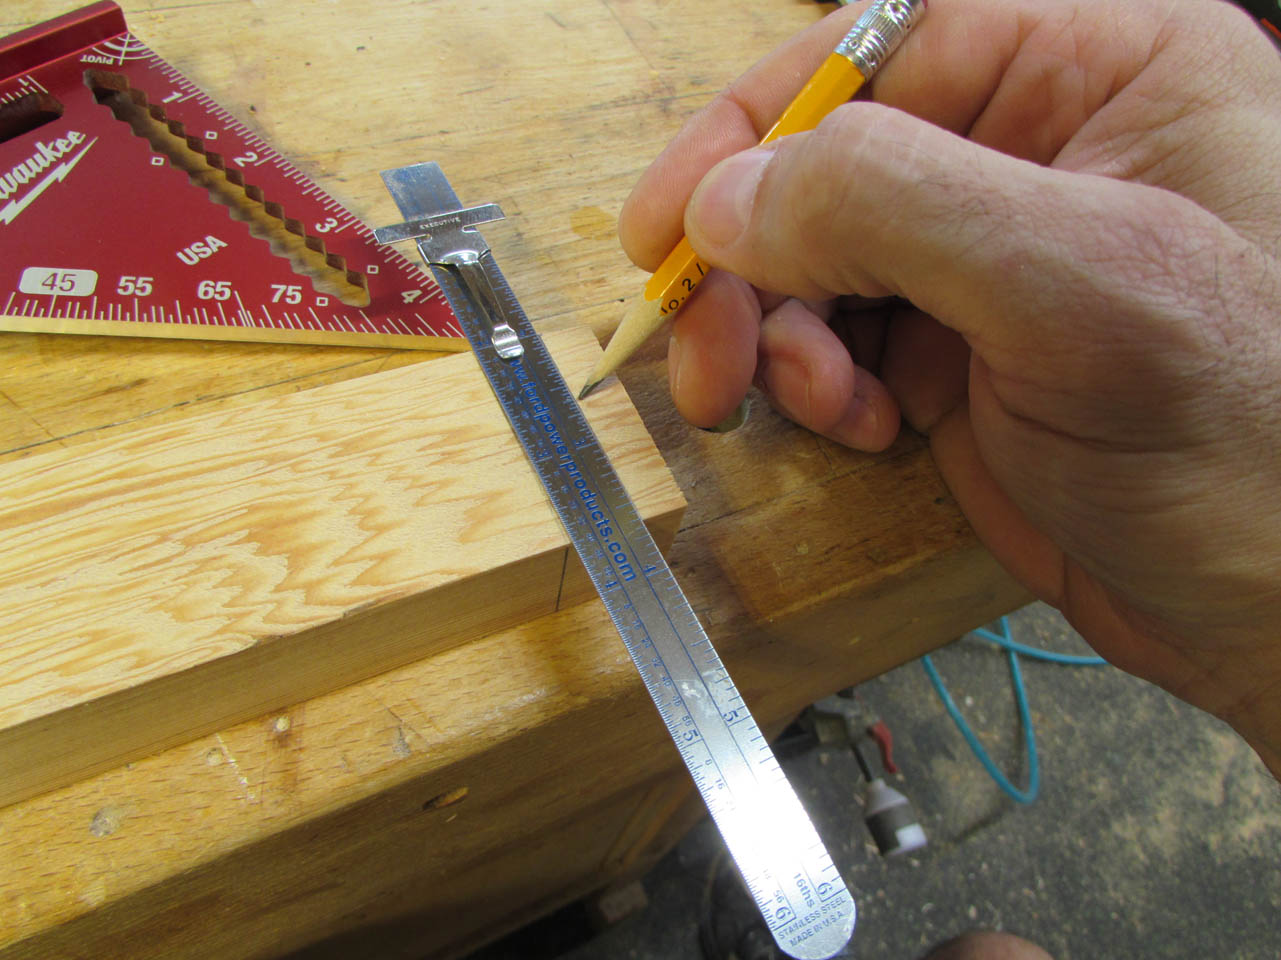
I used these marks to lay out the shoulder and the tenon that I would be cutting on each horizontal bar.


I cut the ends to the exact angle of the shoulder, then set my table saw blade to 1/2″ high and cut the front and back shoulder on each end.

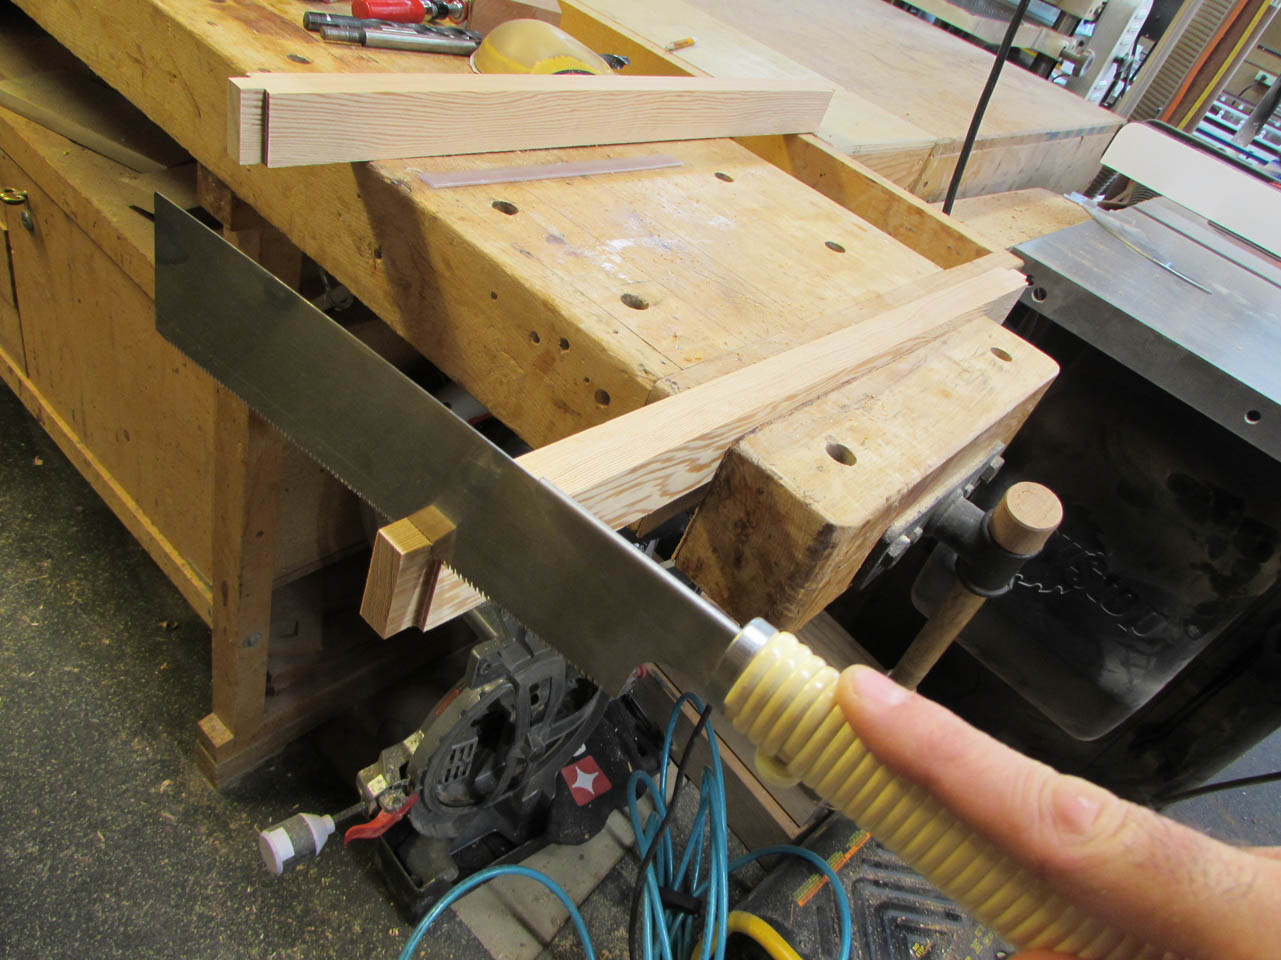
To cut the sides of the tenons, I used my Japanese pull saw.
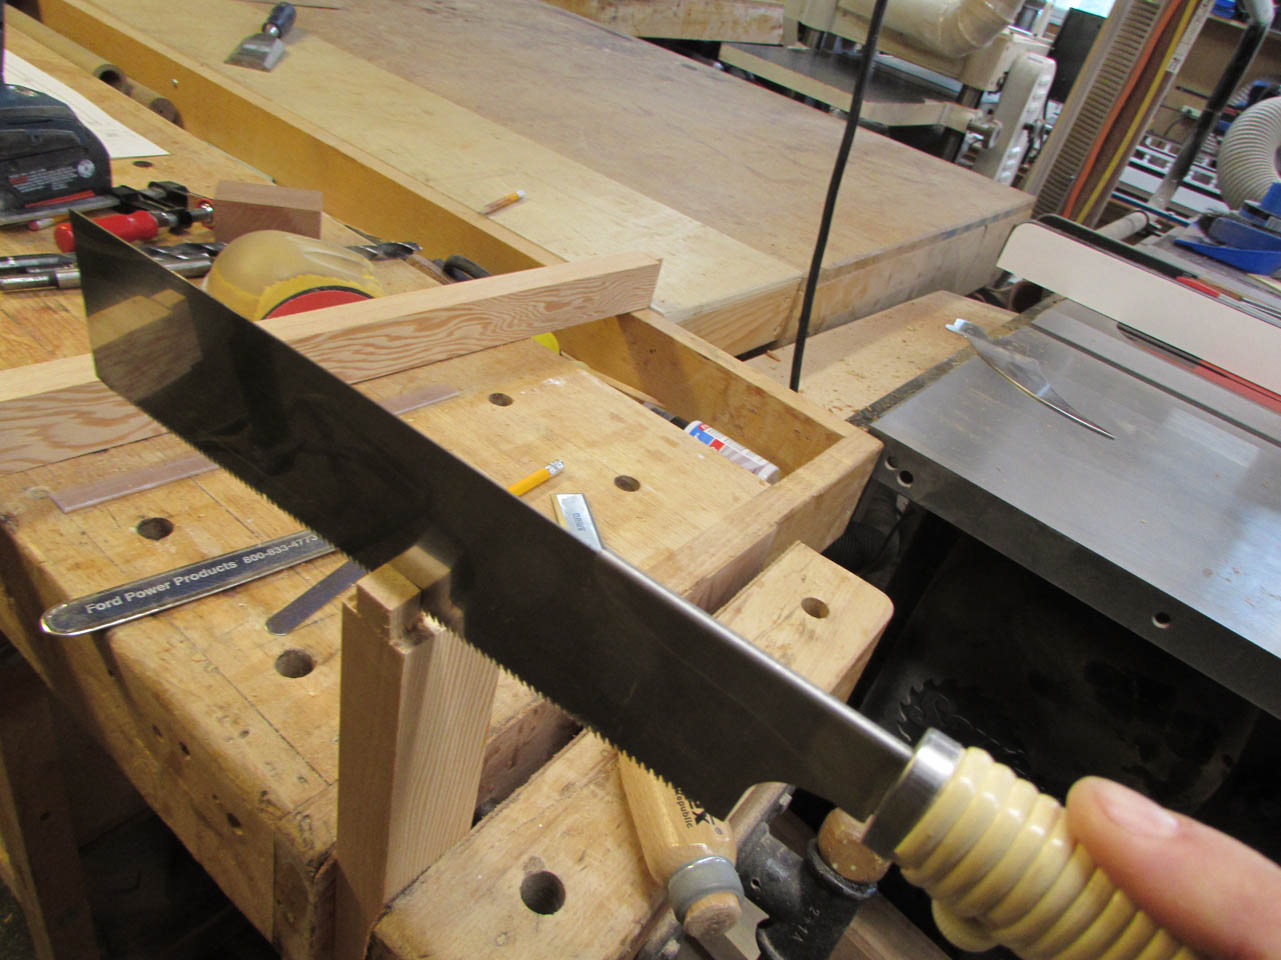
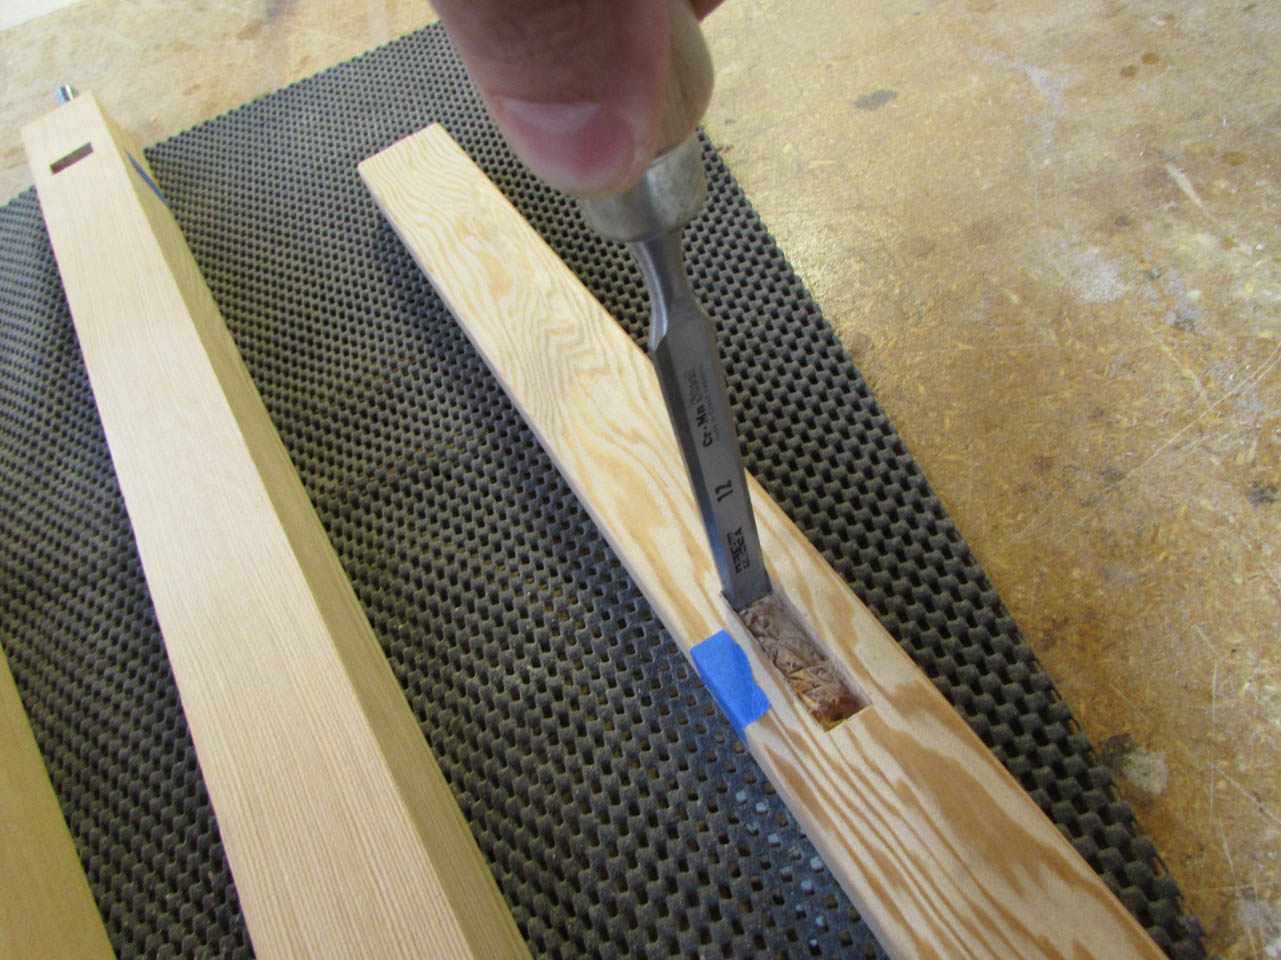
Once all the shoulders were cut, I smoothed the shoulder out with a sharp chisel.


I marked out each of the mortises on the posts to match the size of the tenons.

I put a 1/2″ square chisel into my hollow chisel mortiser and started drilling square holes.
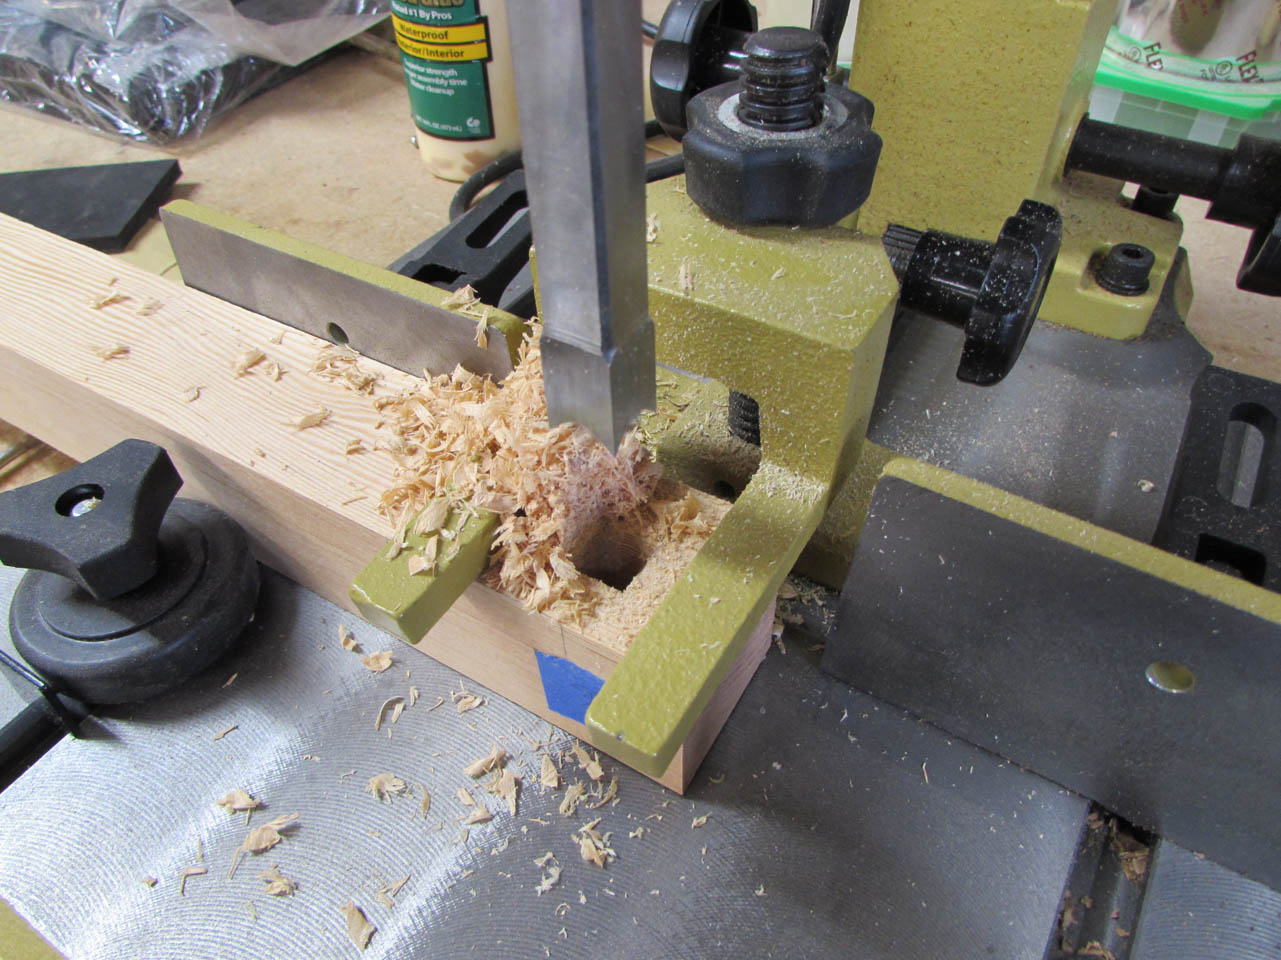
Two holes, drilled side by side, make the rectangular mortise.

A quick test showed that they were a bit tight so I sanded the shoulder of the tenon until I had a good press fit.

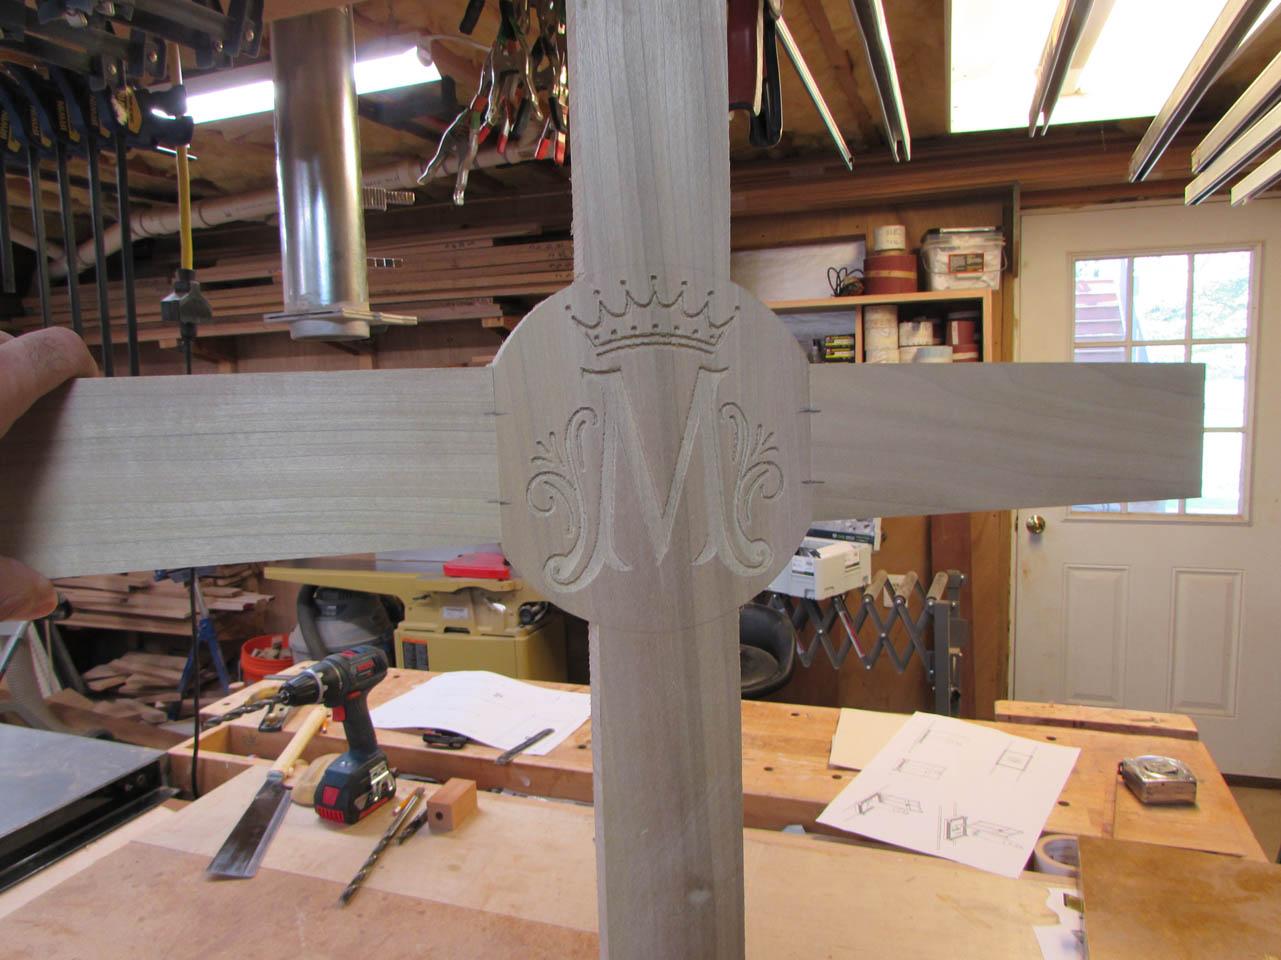
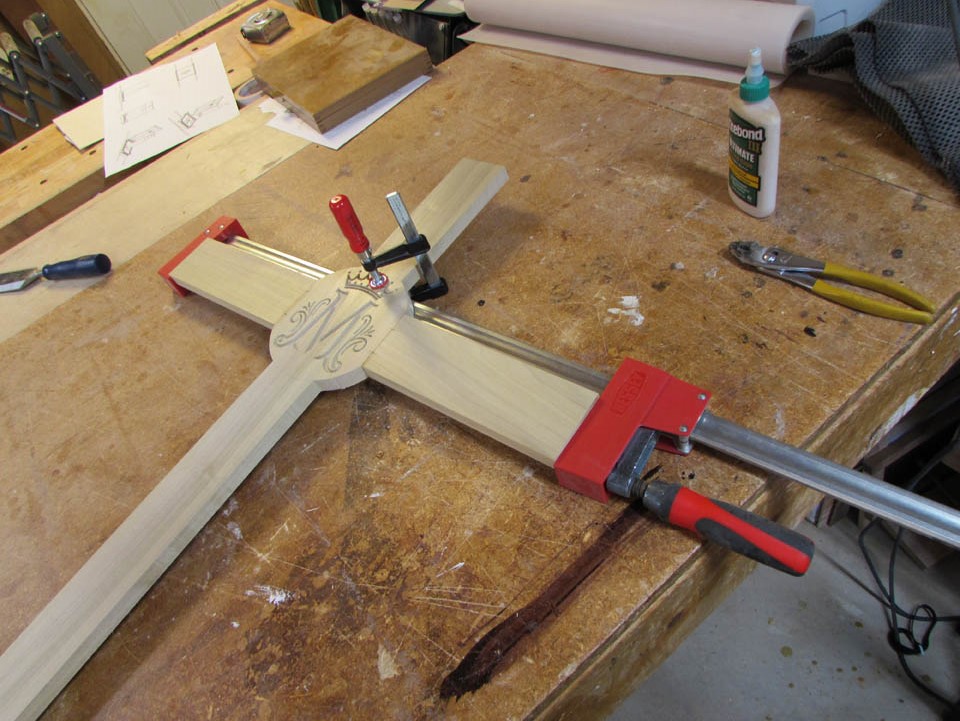
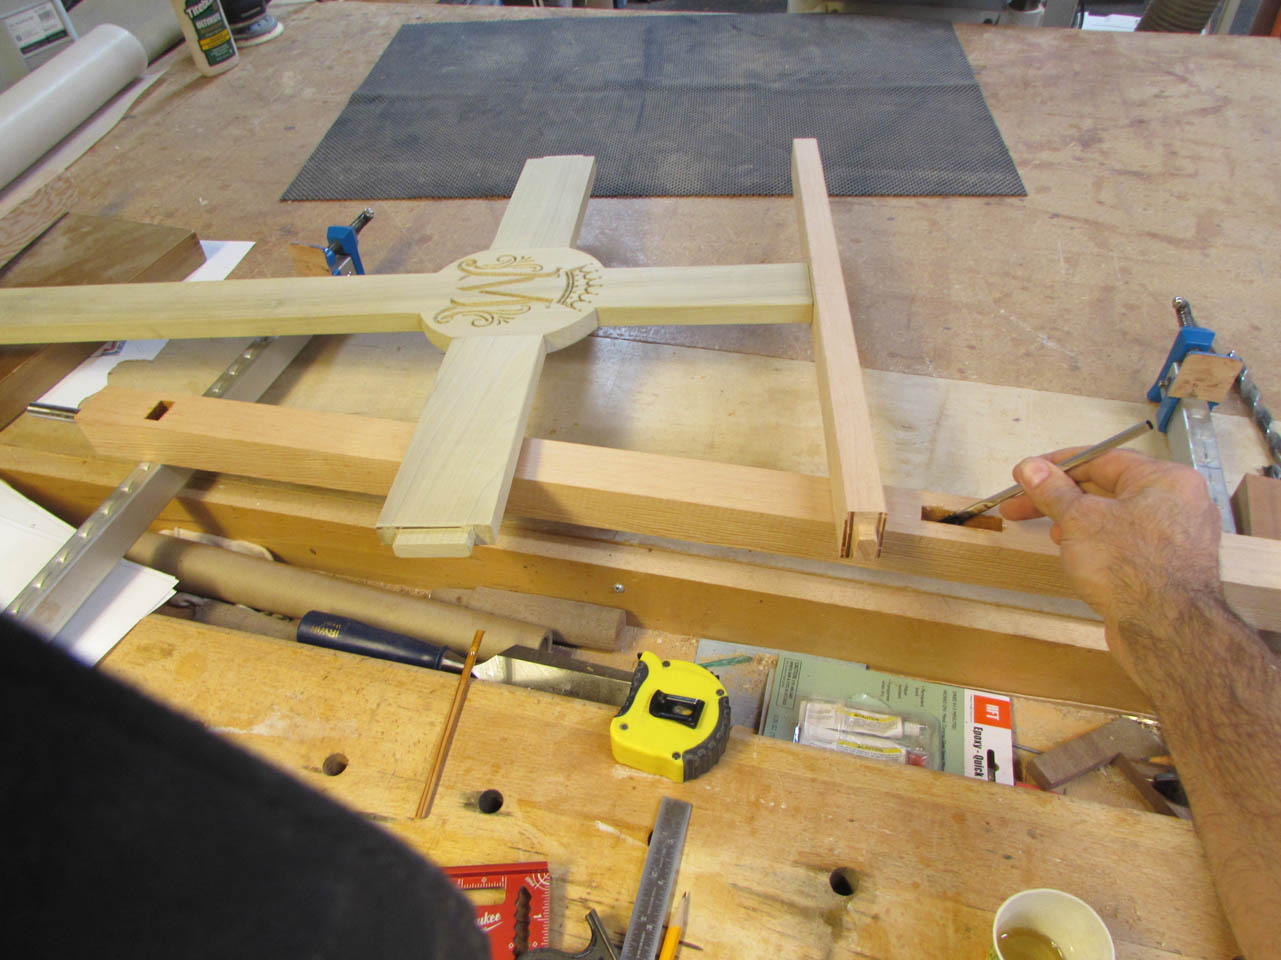
Once the frame was complete, I started cutting the arms of the cross.
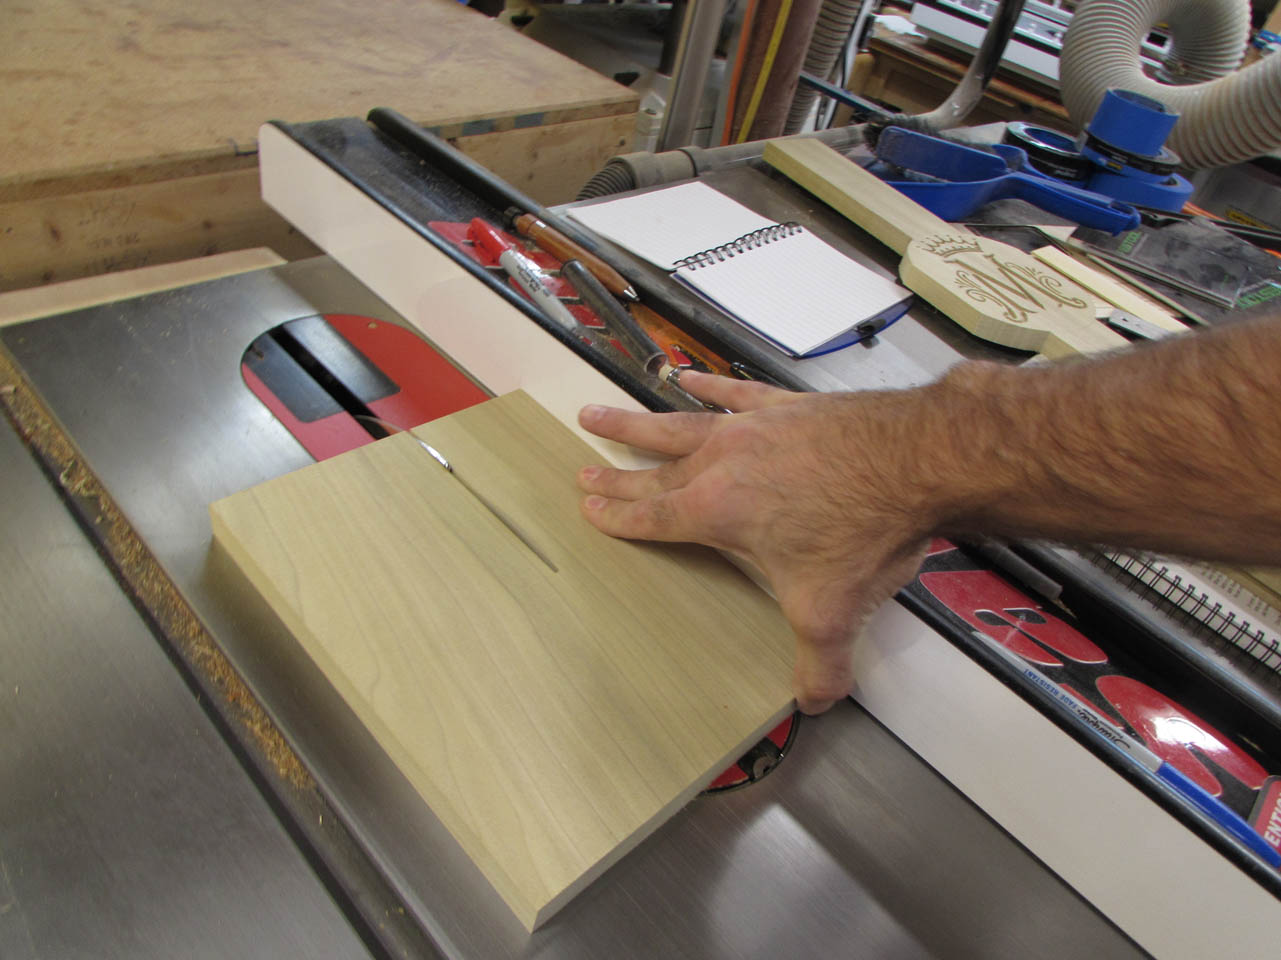
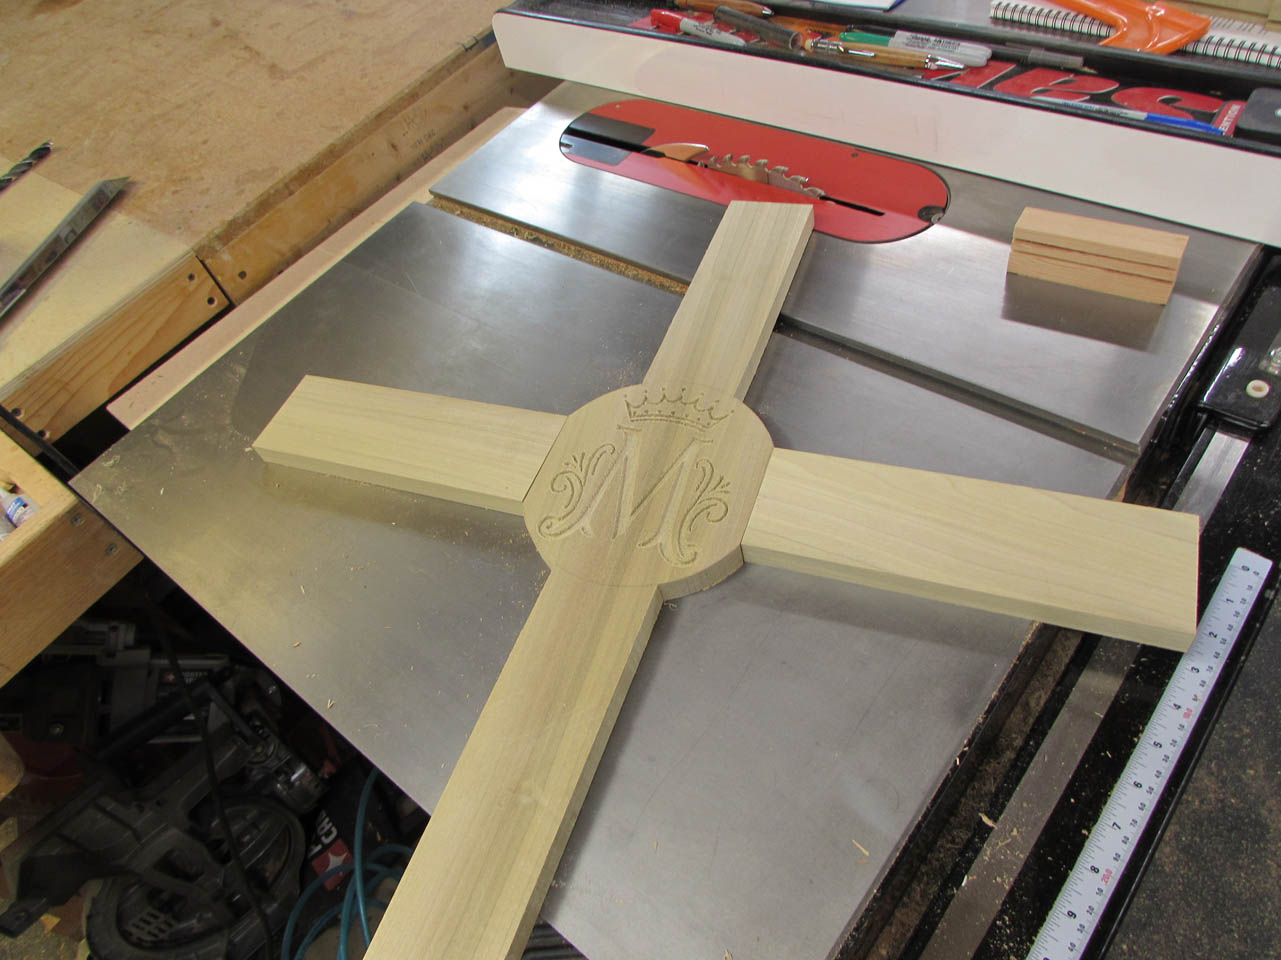
The arms need to be attached to the vertical cross piece that I carved and cut down last week.
Instead of cutting more tenons, I am going to use my Festool Domino to quickly attach the arms. I only need to figure out their locations and mark where the Dominoes need to be cut.

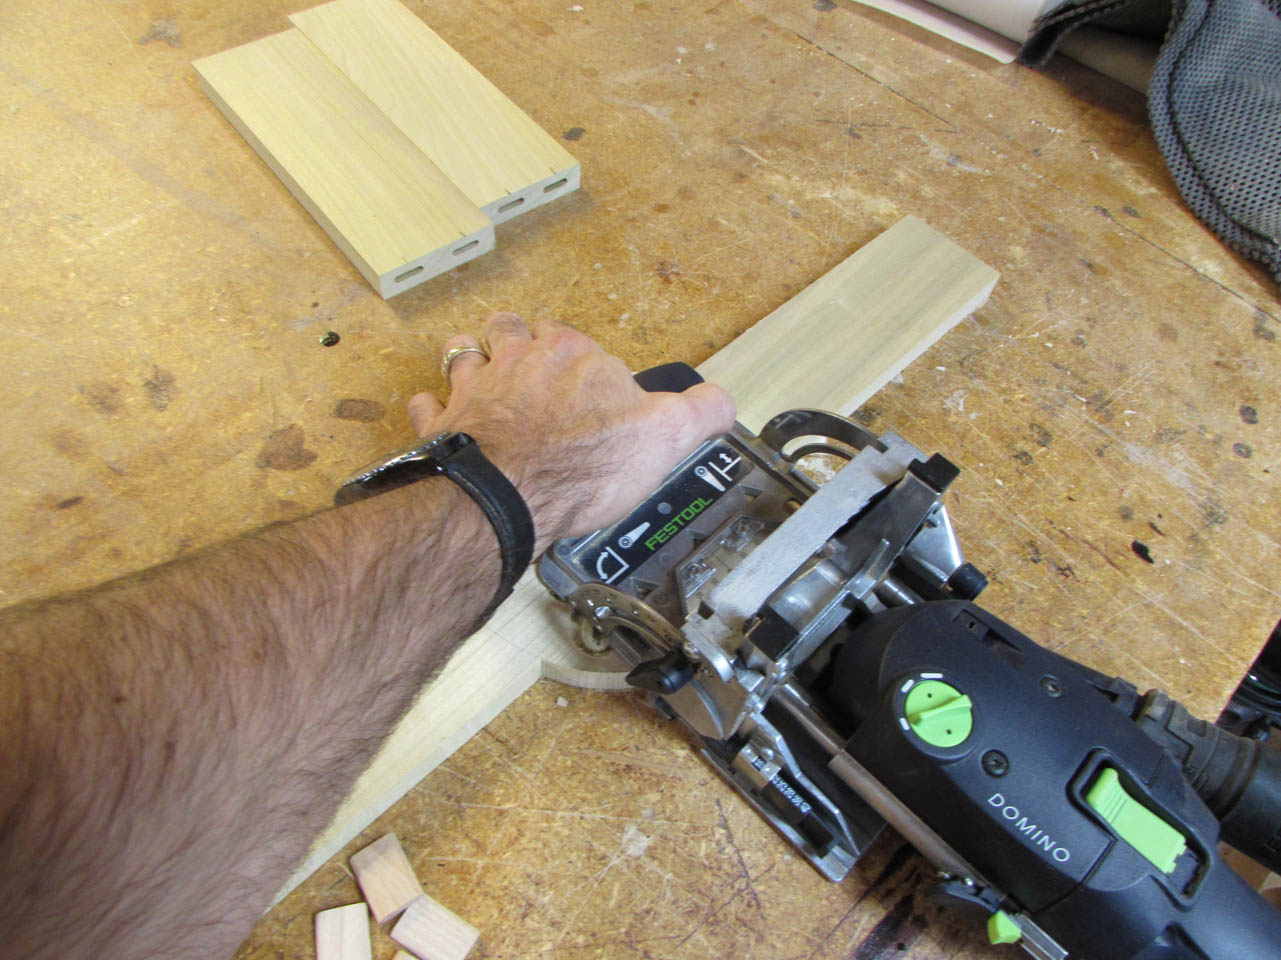
A couple of quick plunges with the Domino mortiser and I am ready for glue-up.
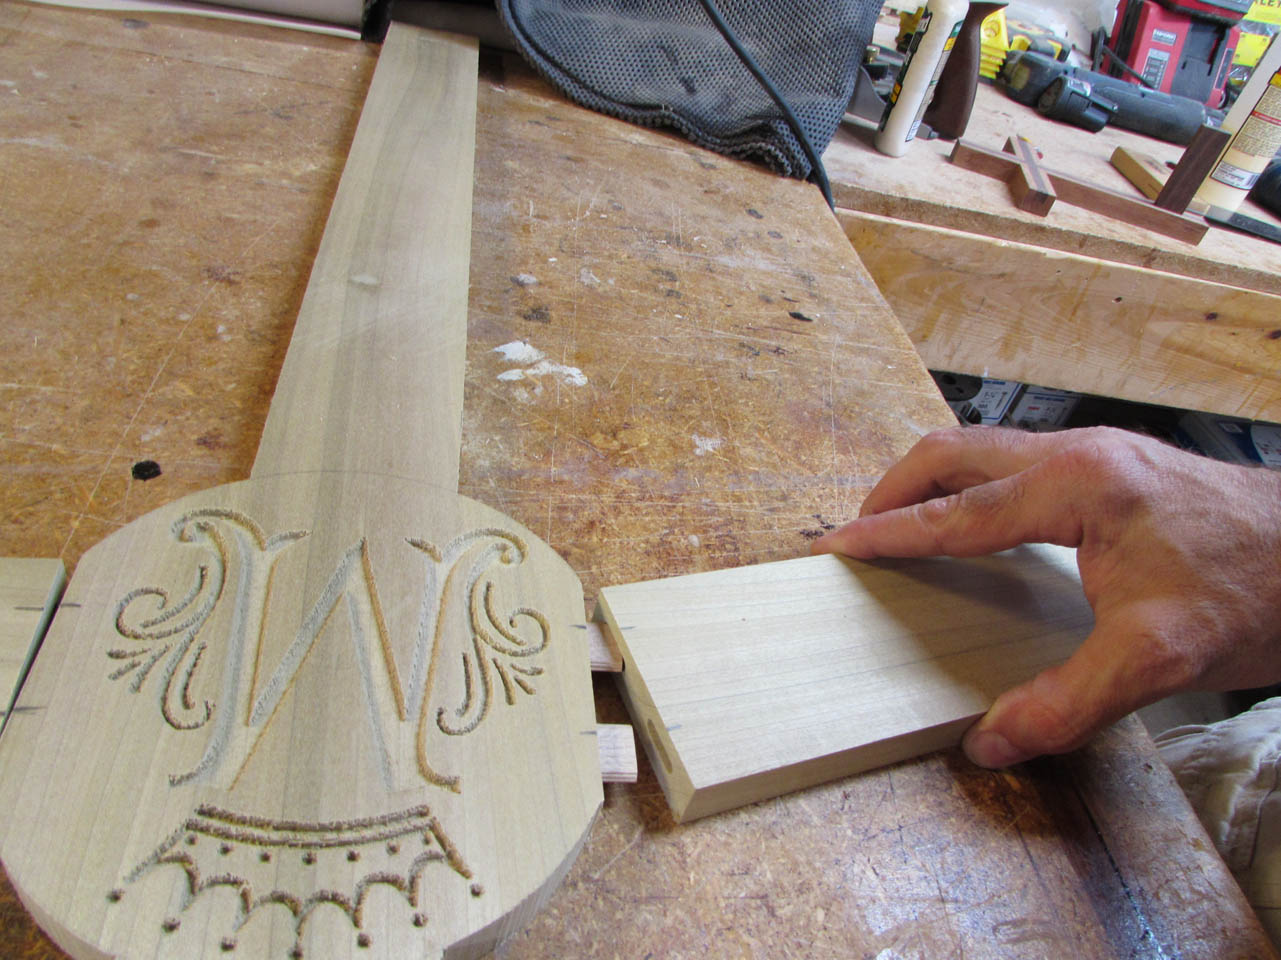
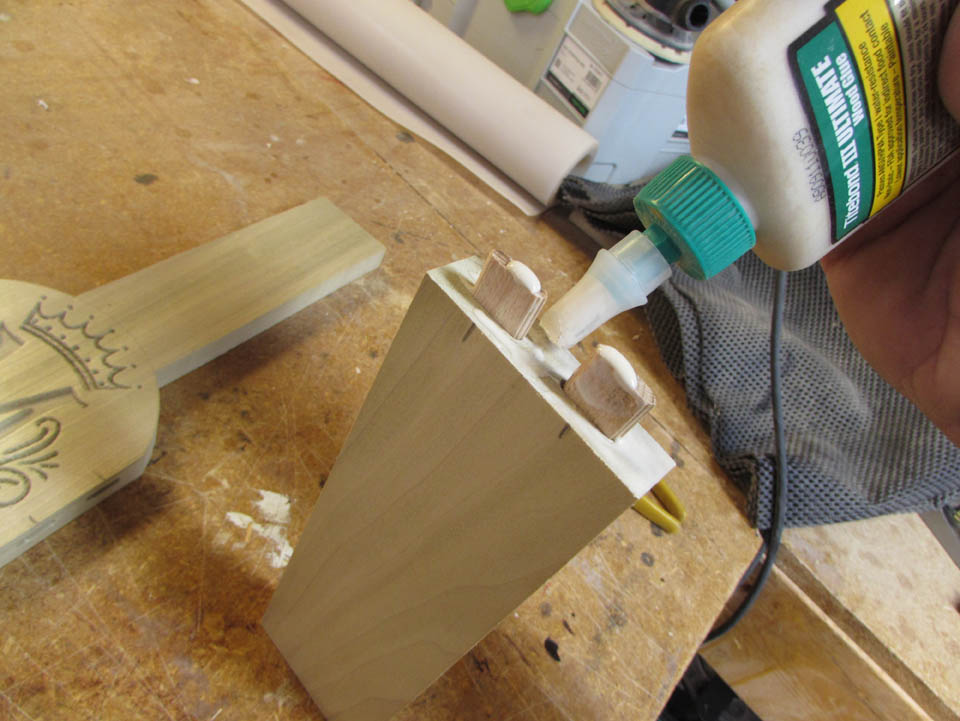
After a dry-fit to make sure everything fits well, I install the Domino tenons and apply glue.
I clamped it up and let it dry for about an hour.
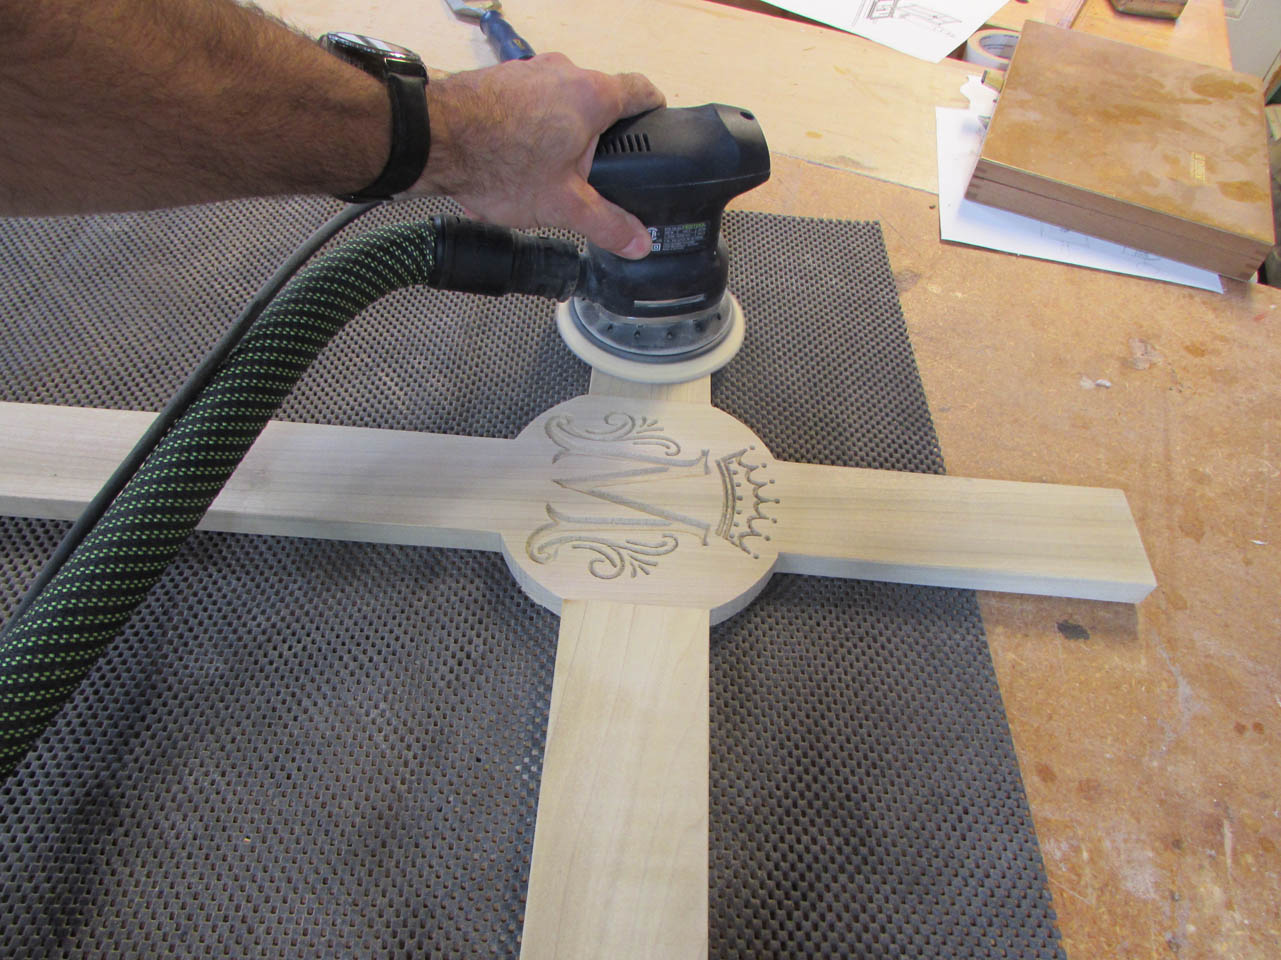
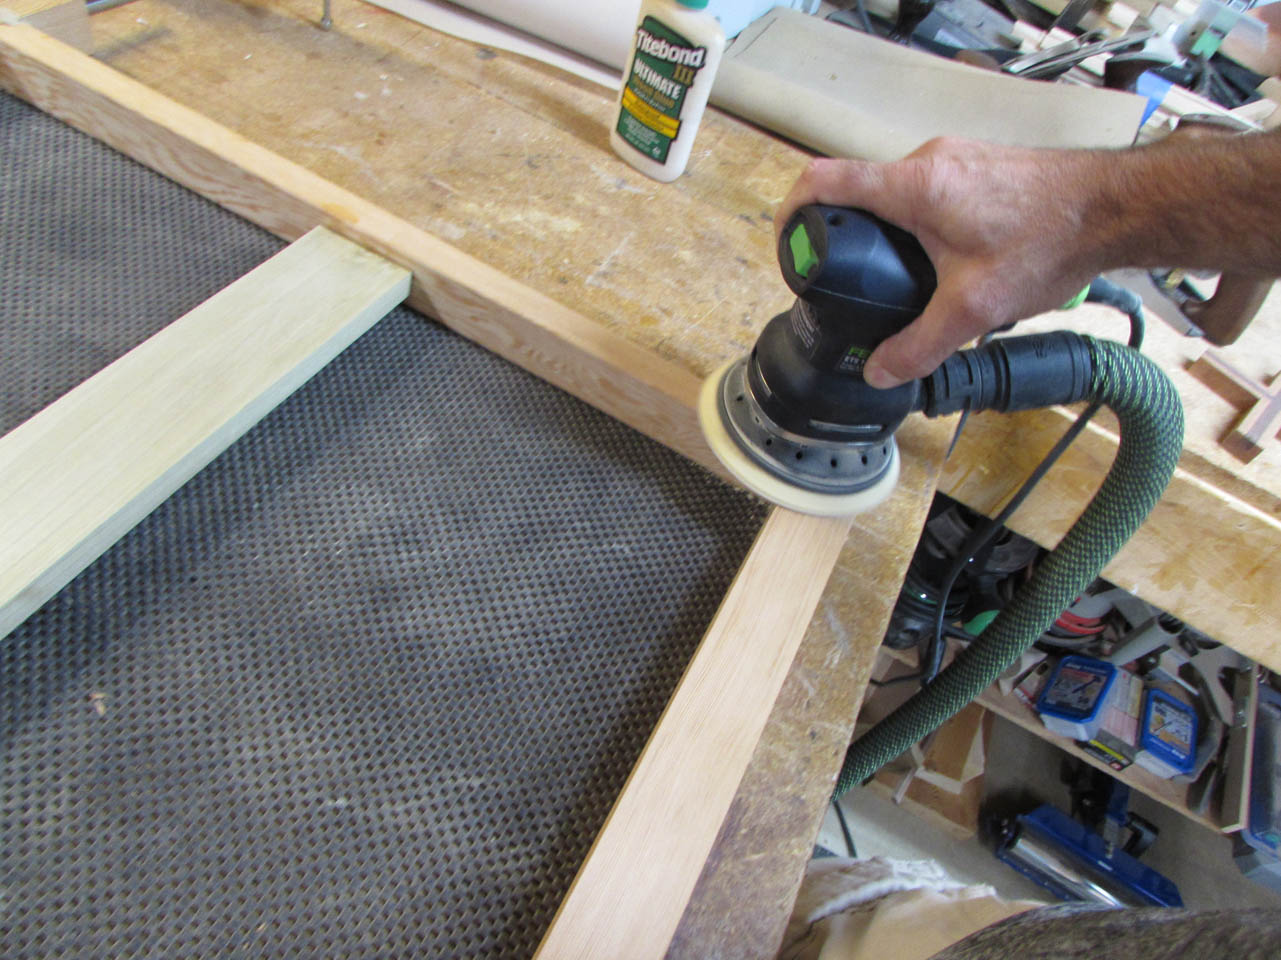
I sanded the face of the cross to make sure the surface was perfectly flush on both sides.

Next, I used a rasp and some sand paper to clean up the edge of the band saw cut around the center circle.

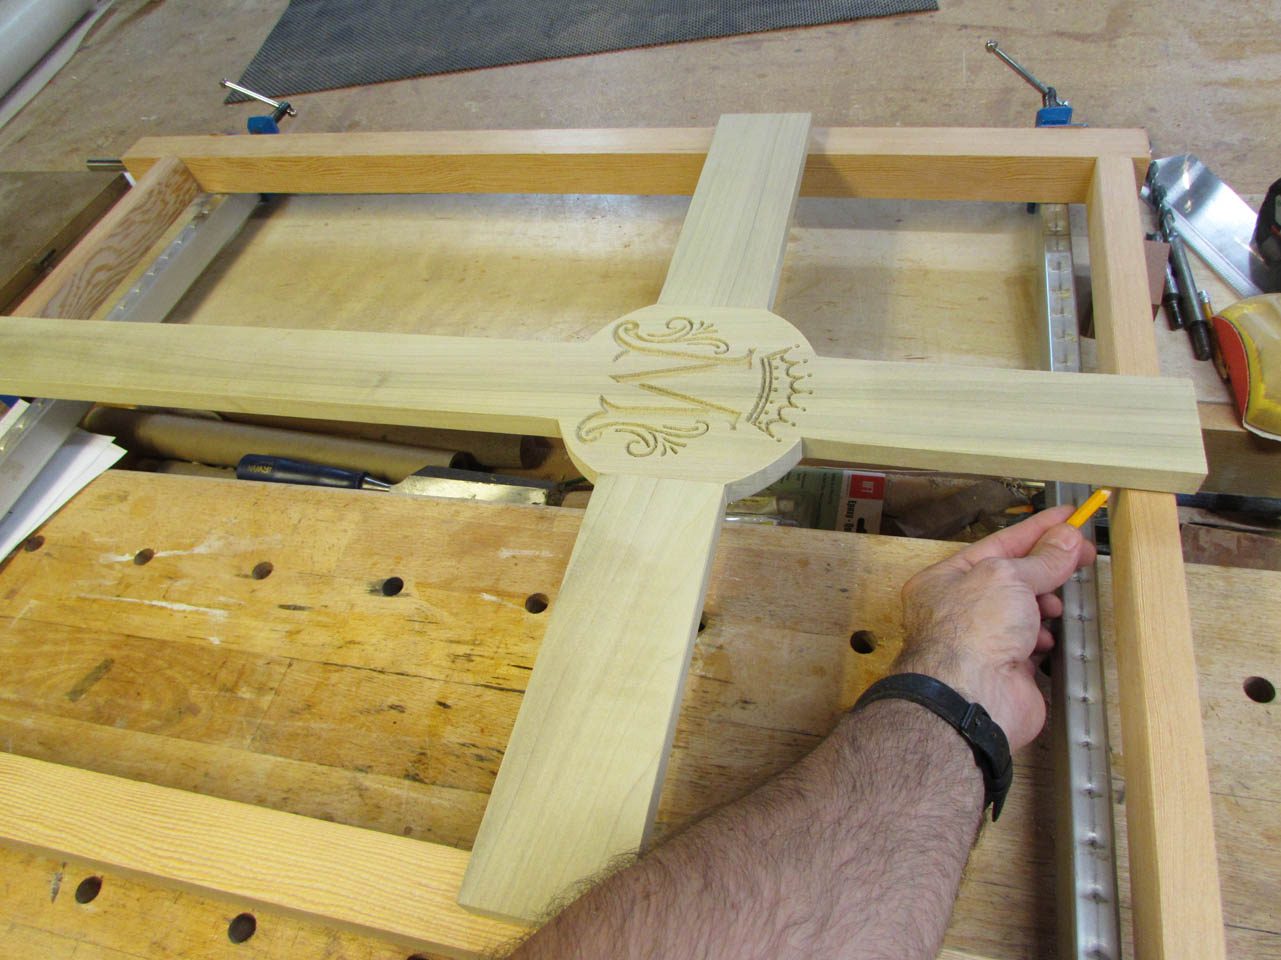
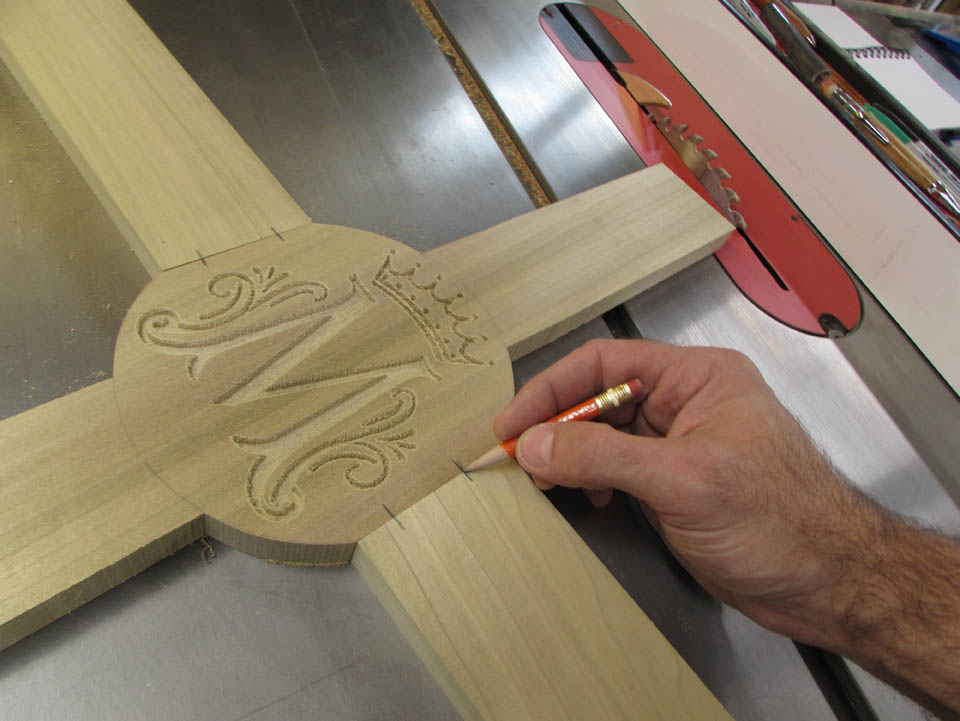
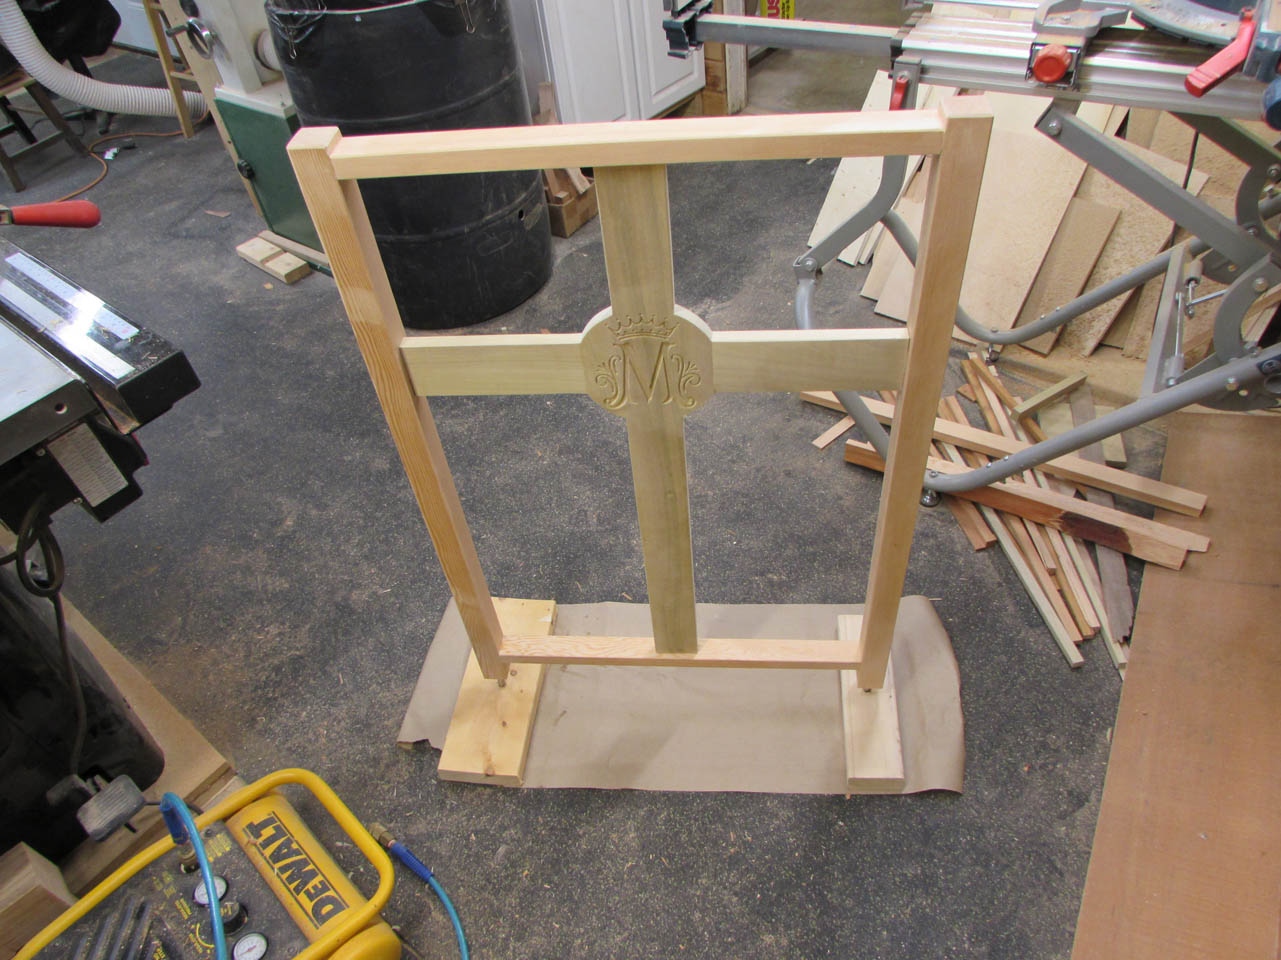
With the cross complete, I centered it up on the back frame and marked the location on the frame.

I repeated the process of cutting the tenons to match the frame.


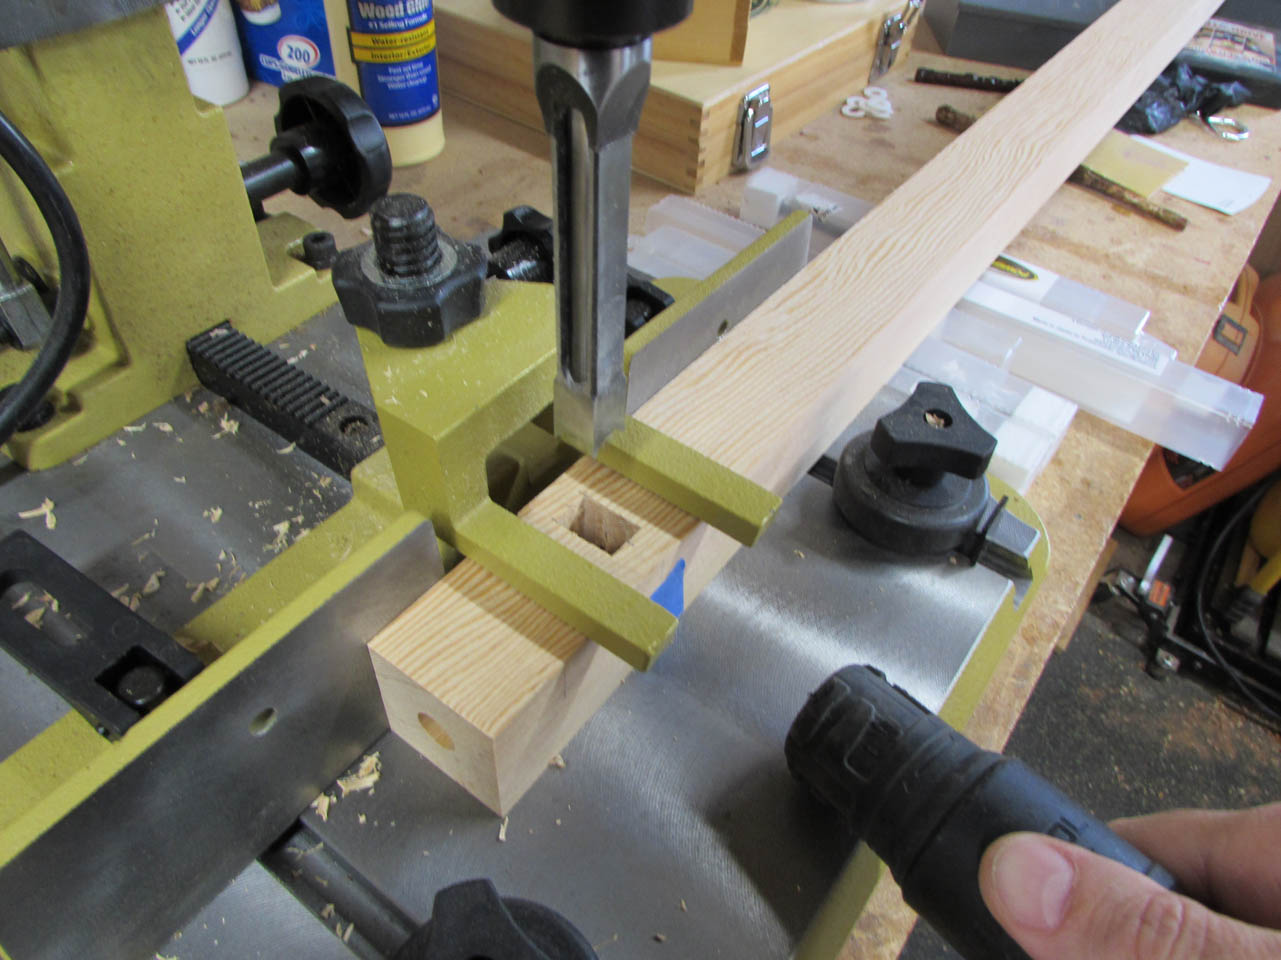
Then I laid out the mortise holes and took apart the back frame.
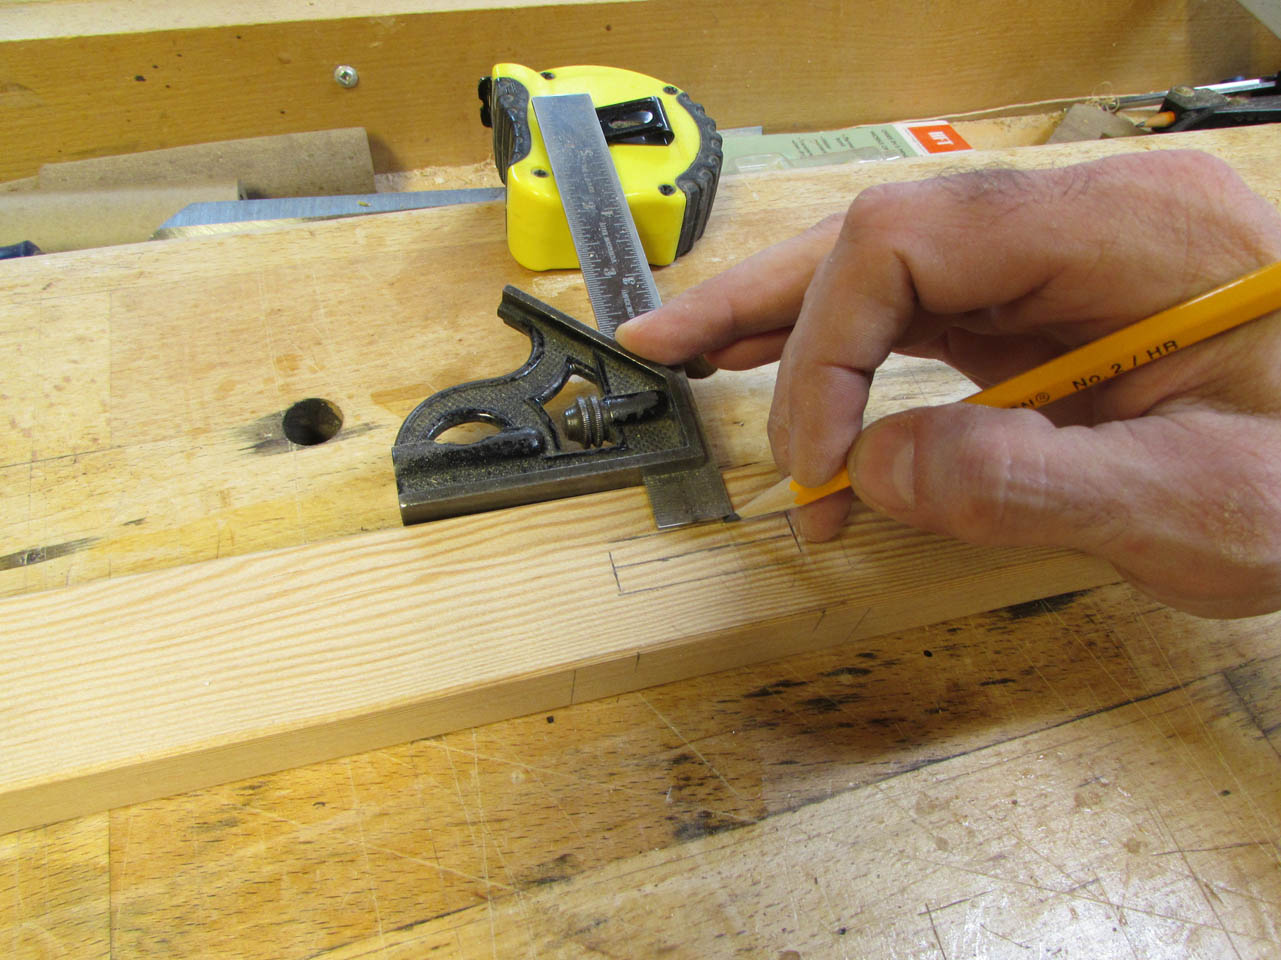

I used the mortiser again to create much longer mortises for the cross.

A quick clean up with the chisel and I was ready for final assembly.

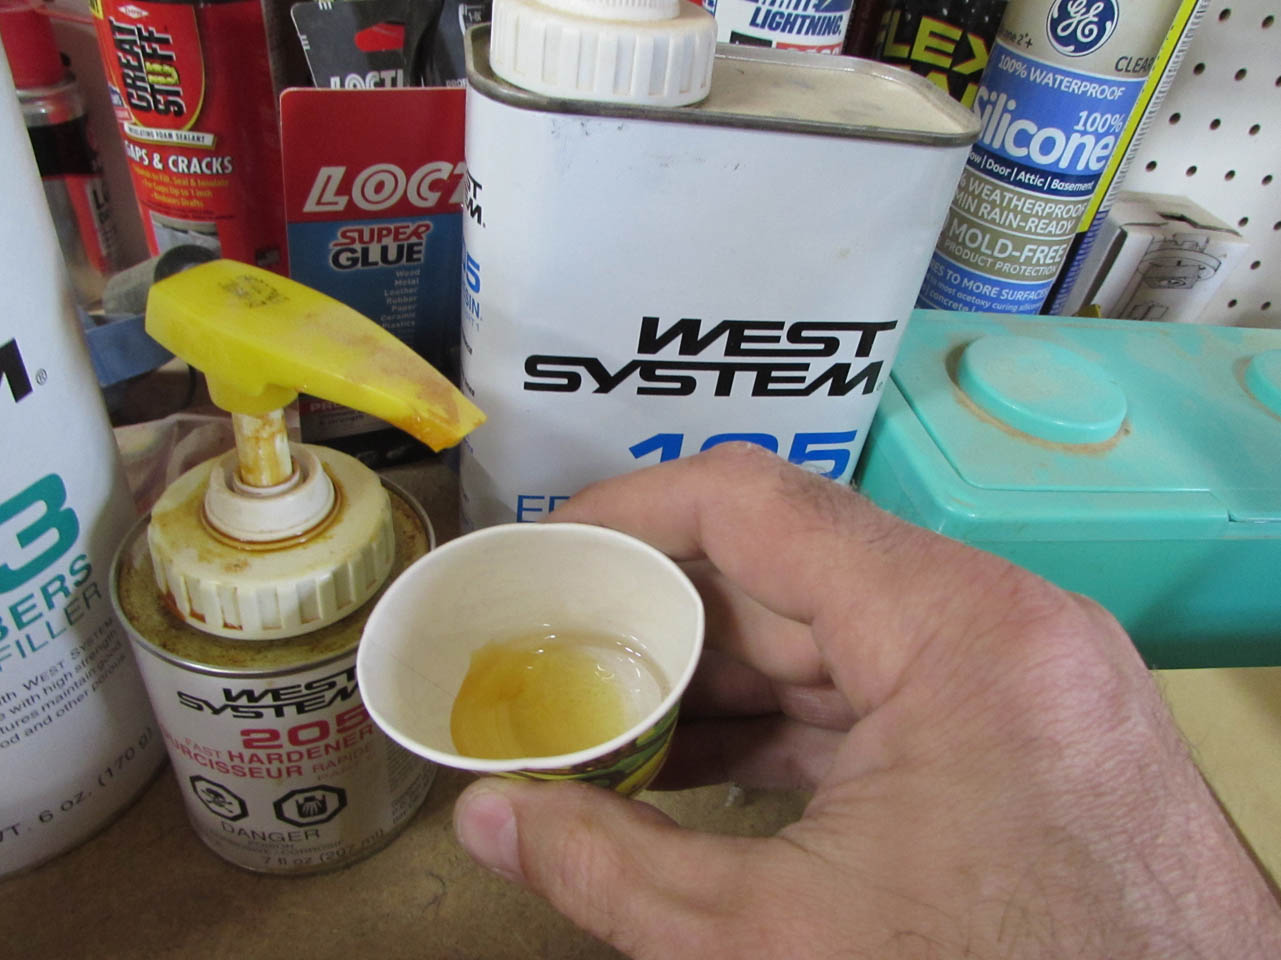
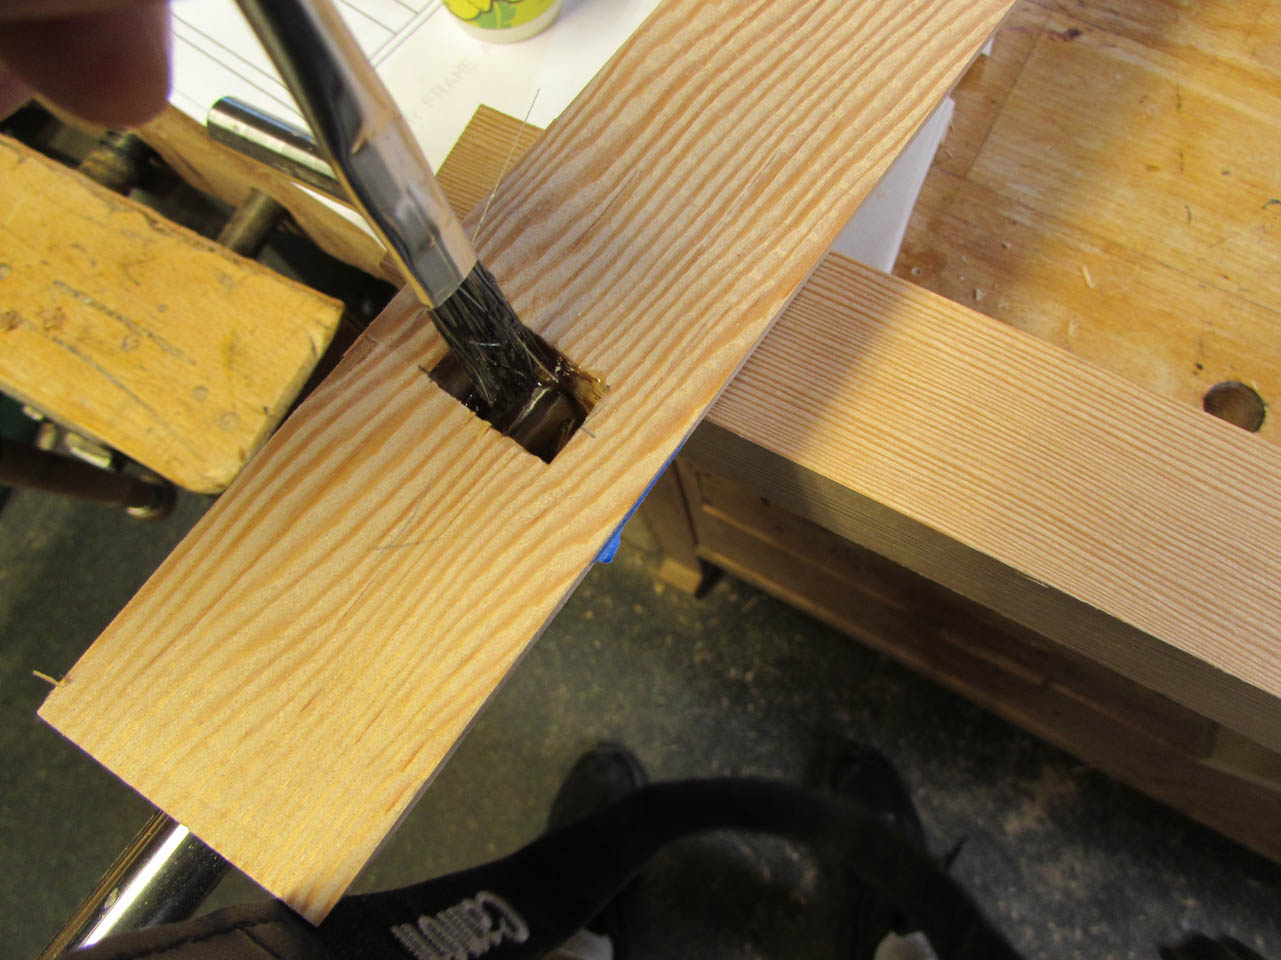
After everything was dry-fit together, I mixed up some West Systems 2-part epoxy.
I started applying the epoxy in the post holes first.
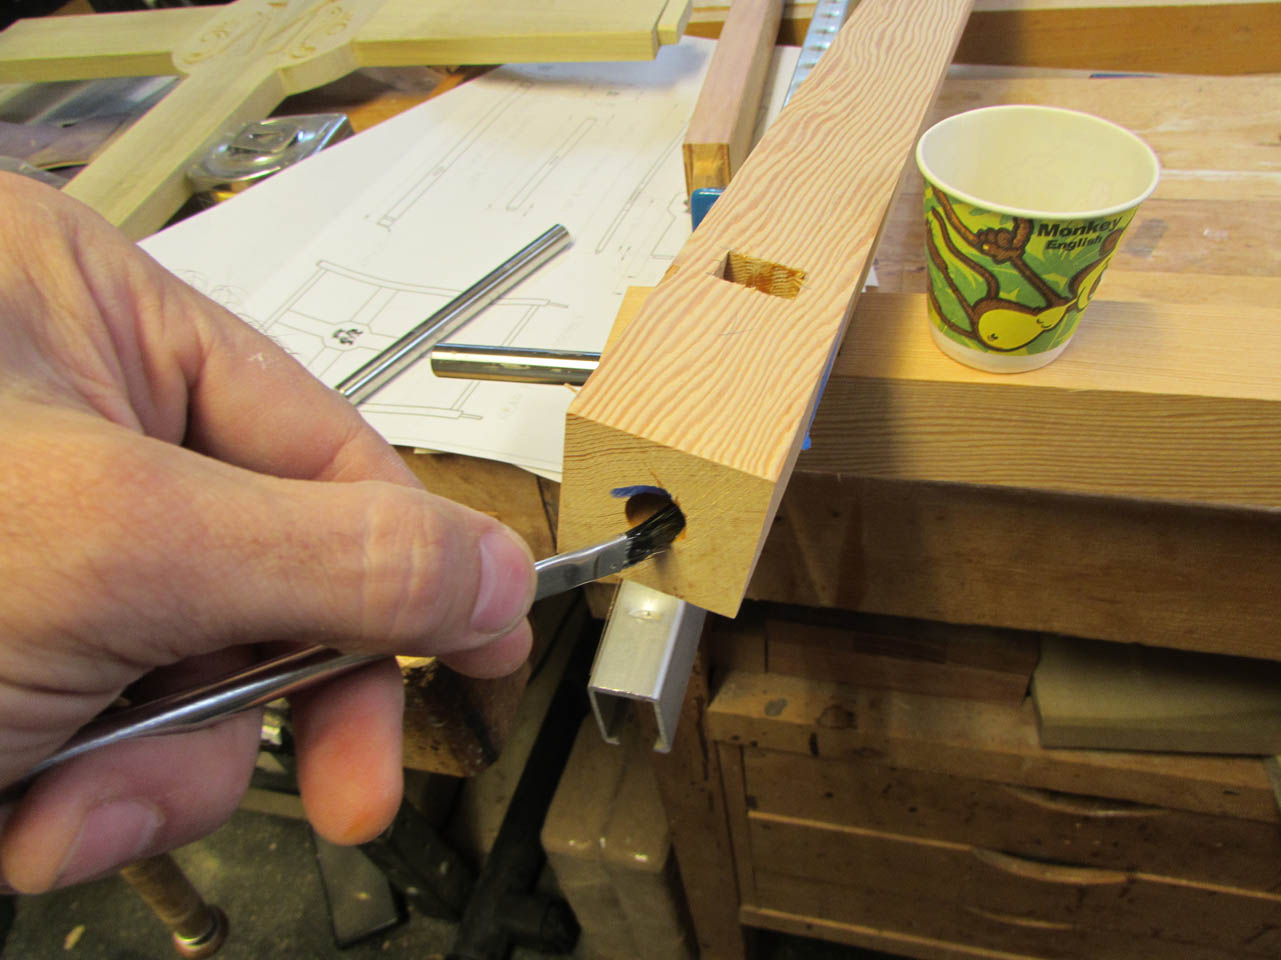
With the steel posts inserted, I could easily deal with squeeze-out because it all welled up in the mortises that broke through to the post holes.
Next, I filled the top and bottom mortises and attached those rails to the cross.
Then I attached the cross to one side and quickly attached the other side and clamped it all up.
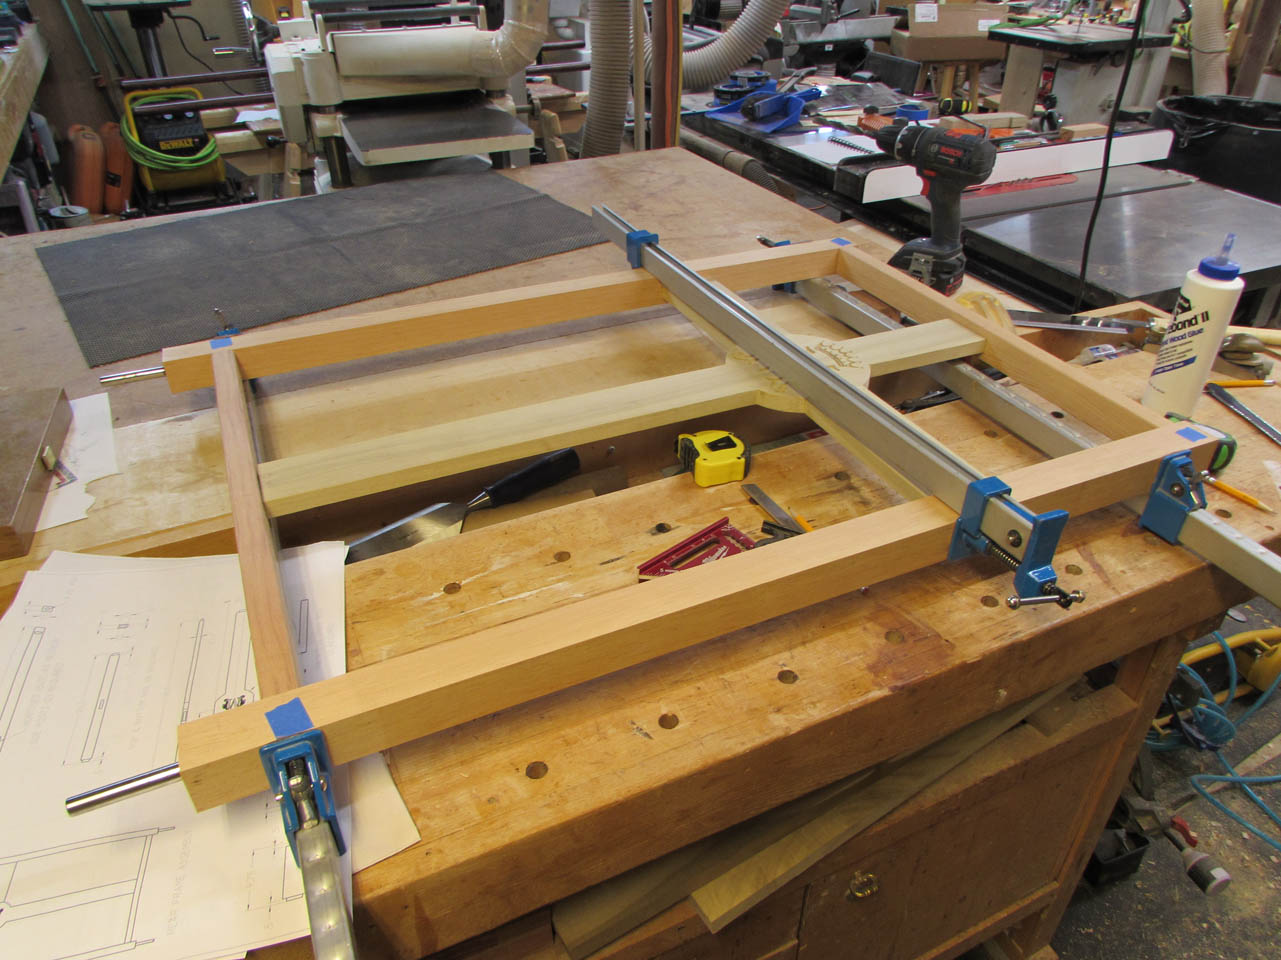
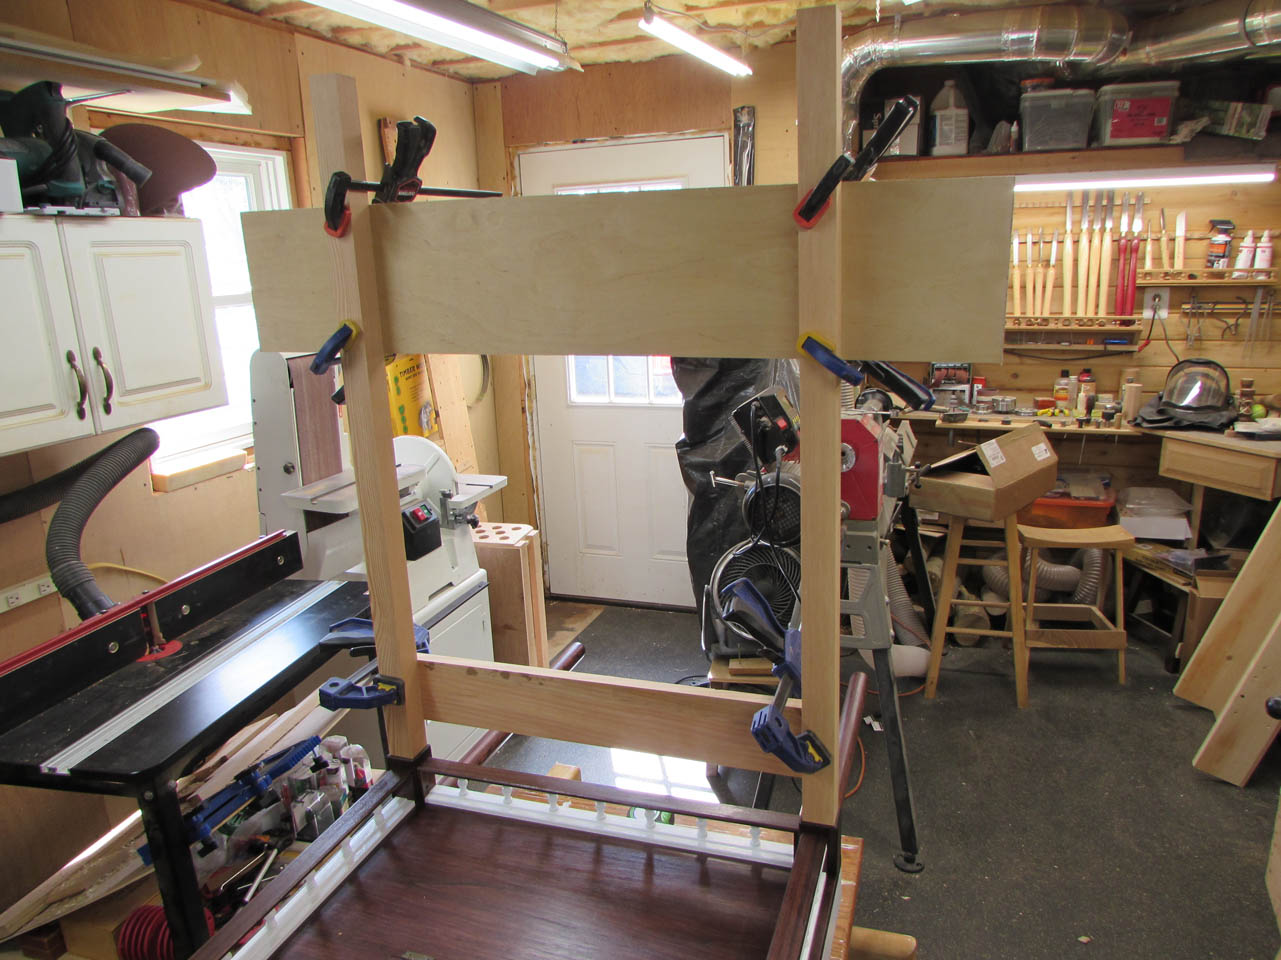
Before everything had a chance to set, I carried the whole frame over and installed it in both, front and rear orientations, to verify that everything was clamped up properly.
After the successful test fit, I applied a big clamp to the top and bottom as well and let it all dry.

After a couple of hours, I pulled the clamps and sanded everything flush and smooth.

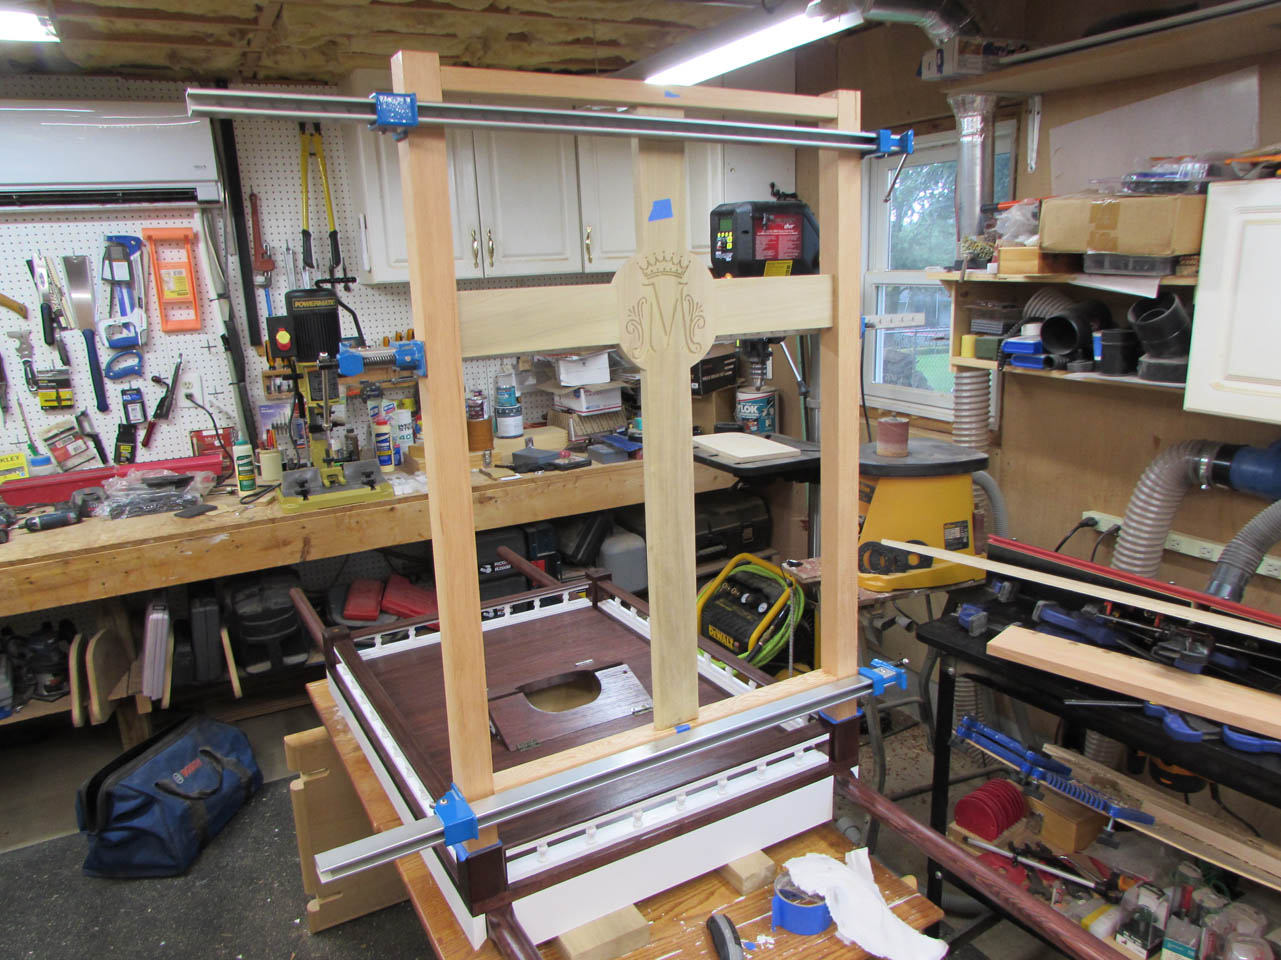
To paint all sides, at the same time, I had to figure out a way for all of the wood to be exposed at once. The steel posts were the answer. I drilled a 1/2″ hole into two scrap blocks and inserted the posts. Now the back has feet.

I started by painting the underside locations first, then flipped the assembly over and installed the feet to complete applying the first coat.
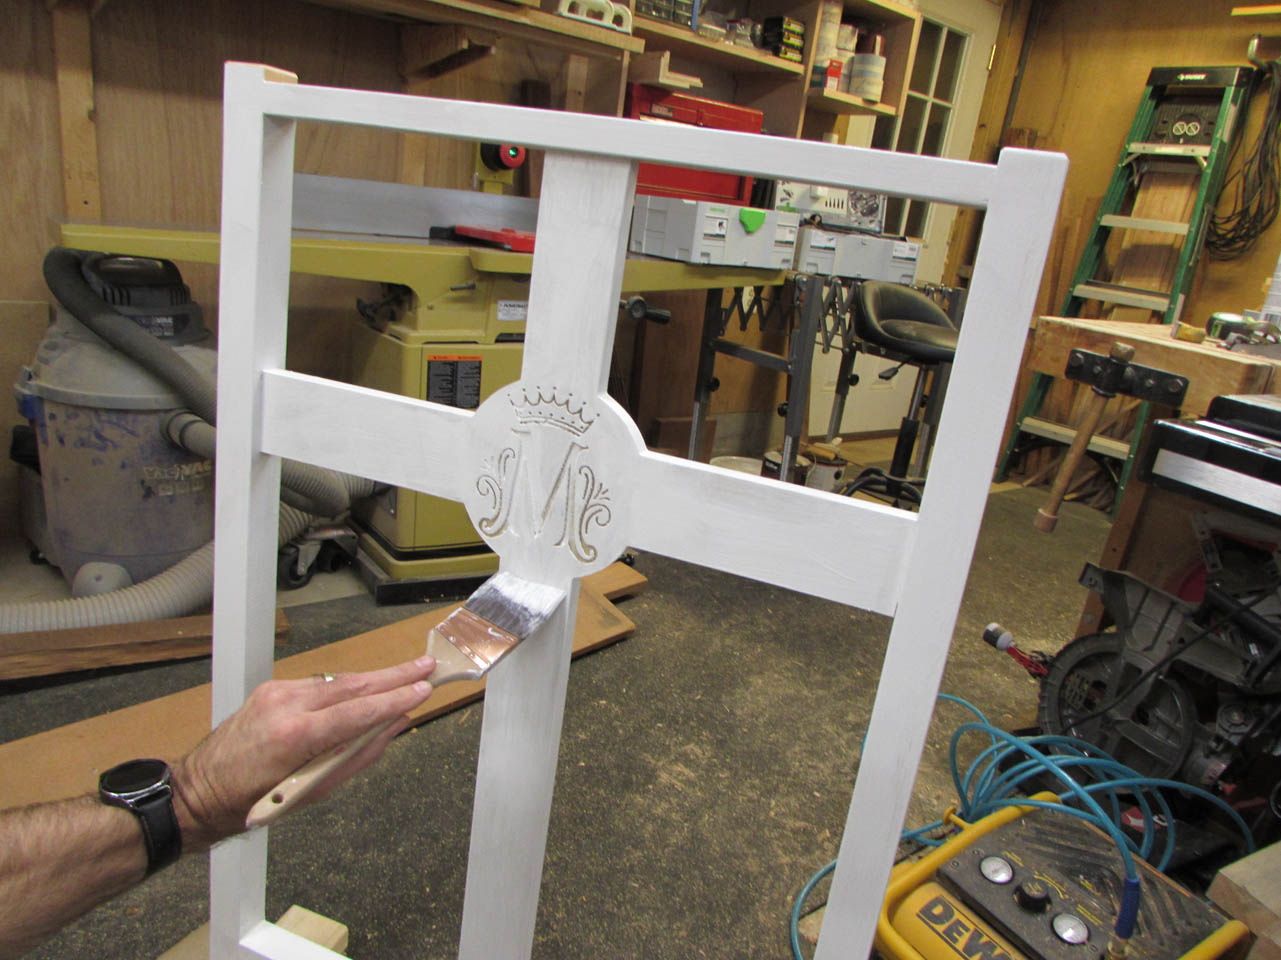

I am very happy with the frame. It worked almost perfectly. I will apply a second coat tomorrow, then apply paint to the Marian symbol. The only other thing left are the tiny crosses that mount on the front corners.
