
Marian procession bier – part 7
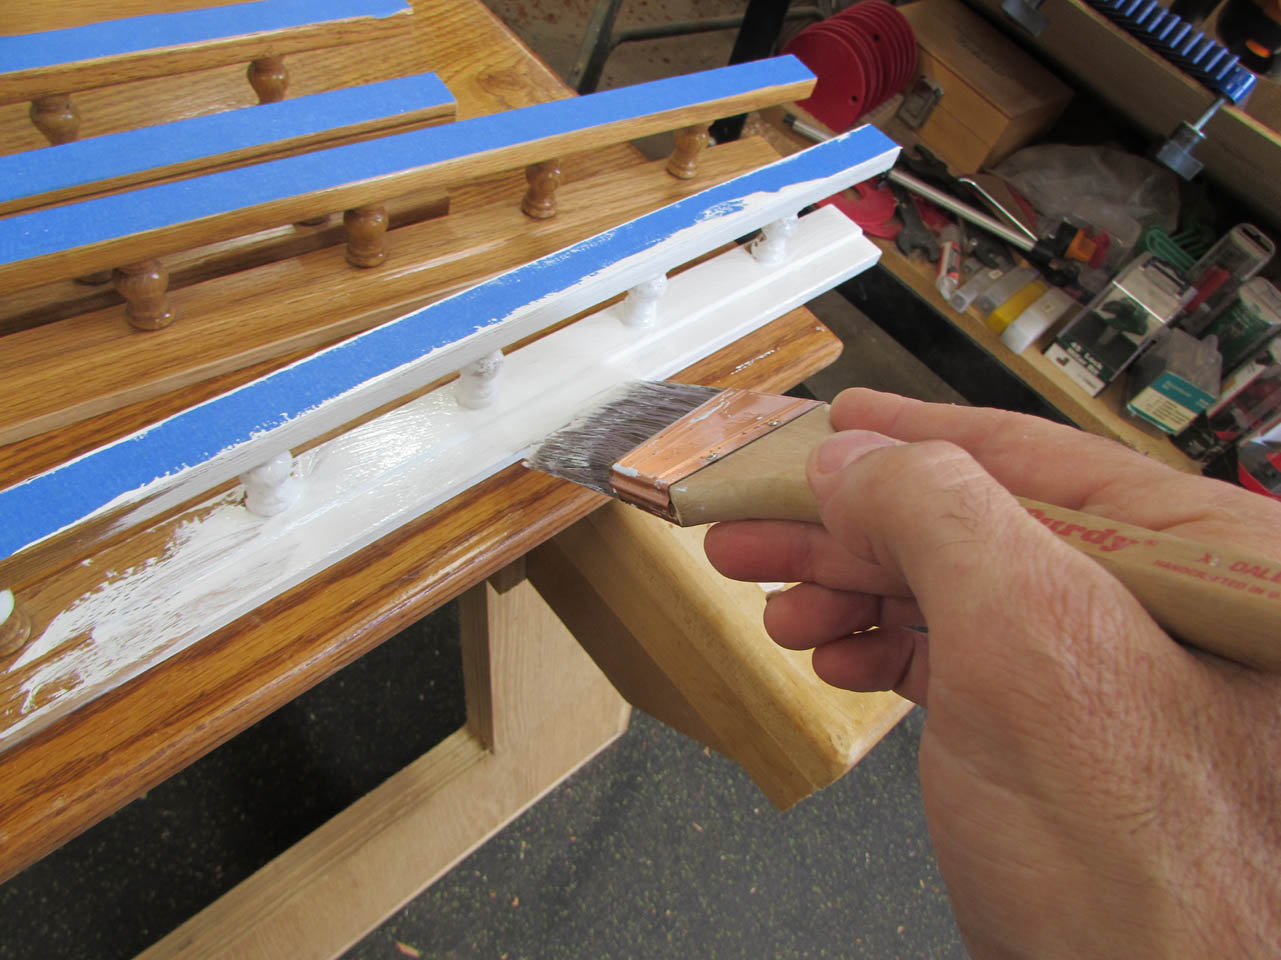
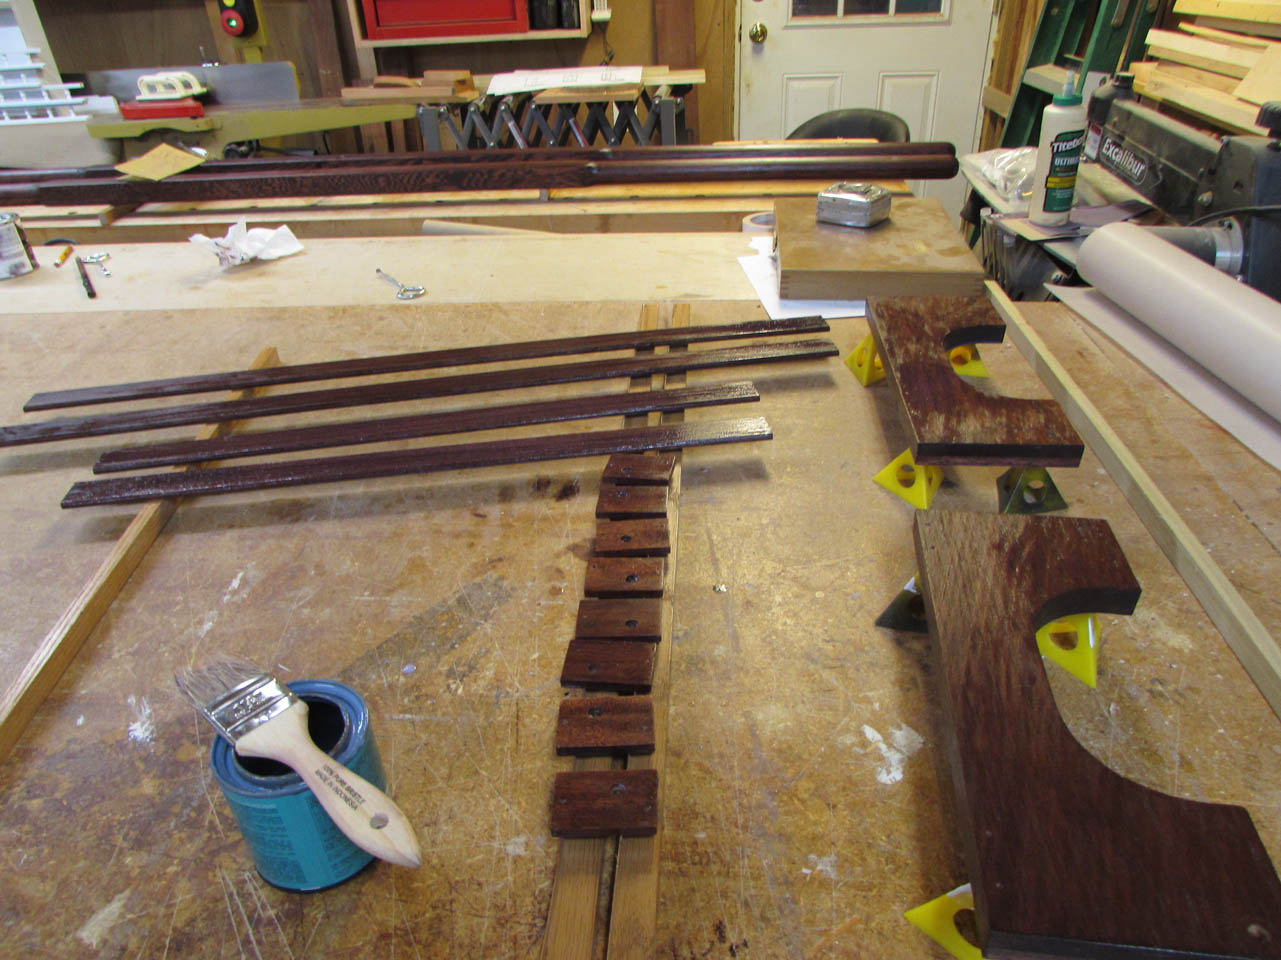
I need to do a lot of pre-finishing before I can start assembling anything. I start by painting the rails. I am using a good quality exterior paint and applying it with a brush to reach all of the tiny details around the spindles.

After the rails, I apply one coat to the inside of the base. It really doesn’t need it, but I figured it would not hurt to help prevent moisture infiltrating the wood.

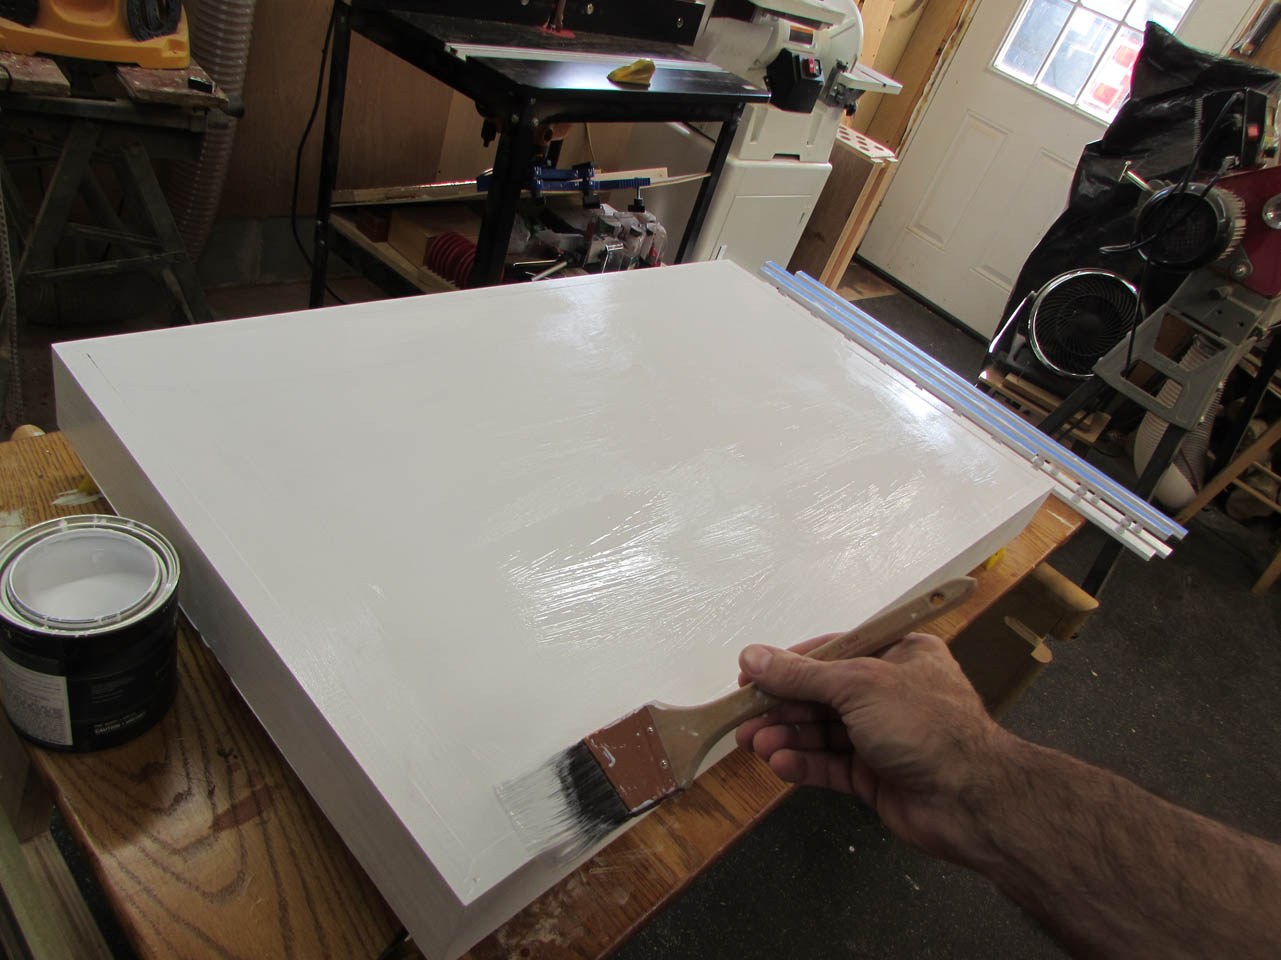
I flipped the base over onto painter’s pyramids and painted the bottom as well, then I painted the side pieces.

The paint dries fast and by the time I finished, I could start over again and apply the second coat.


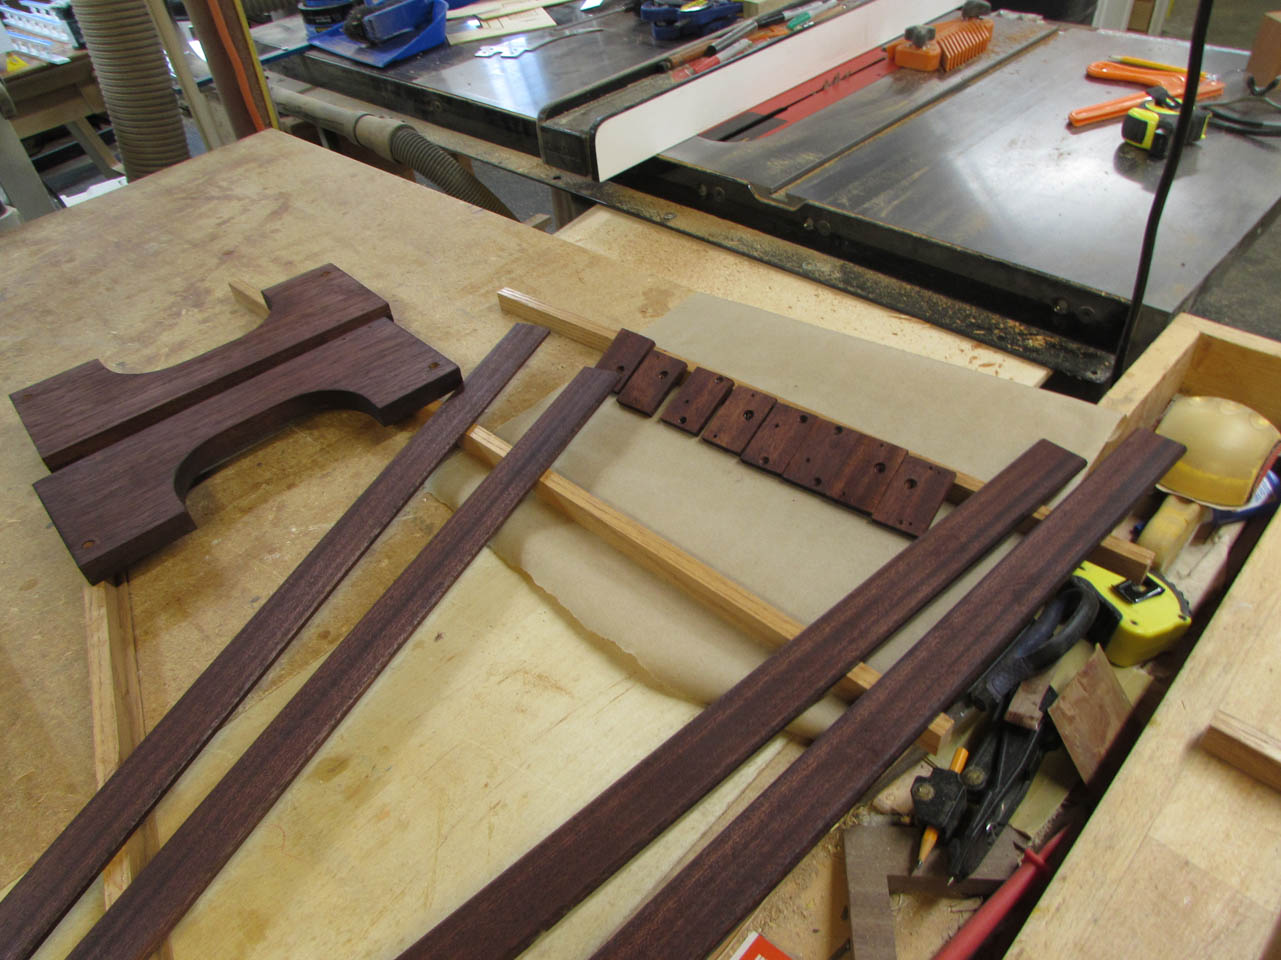
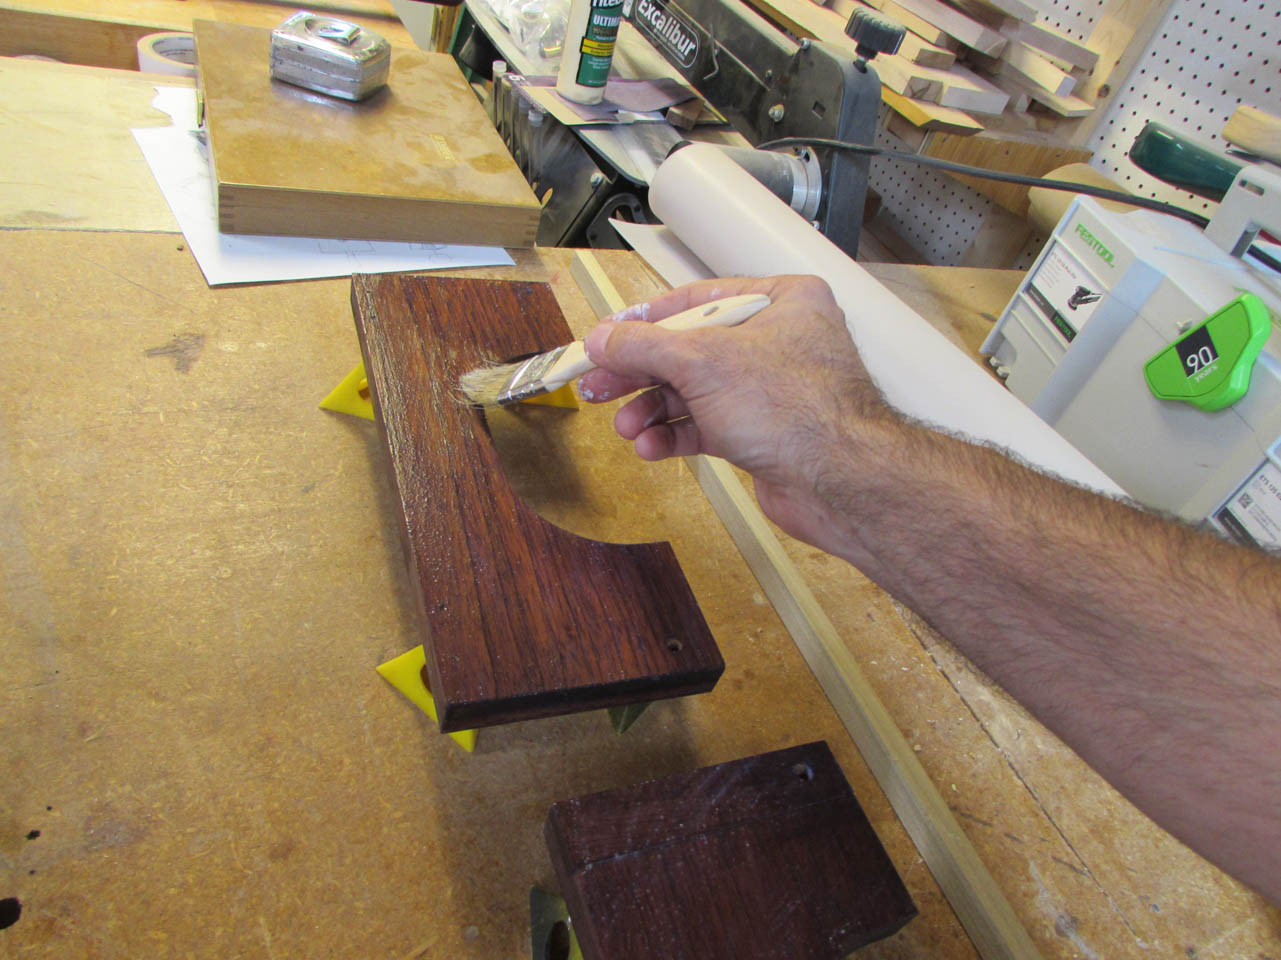
While the paint was drying, I started staining all of the rest of the parts. I could not find a Minwax brand stain that matched the color I wanted, but I found that Varthane makes a Black Cherry stain that should work perfectly.
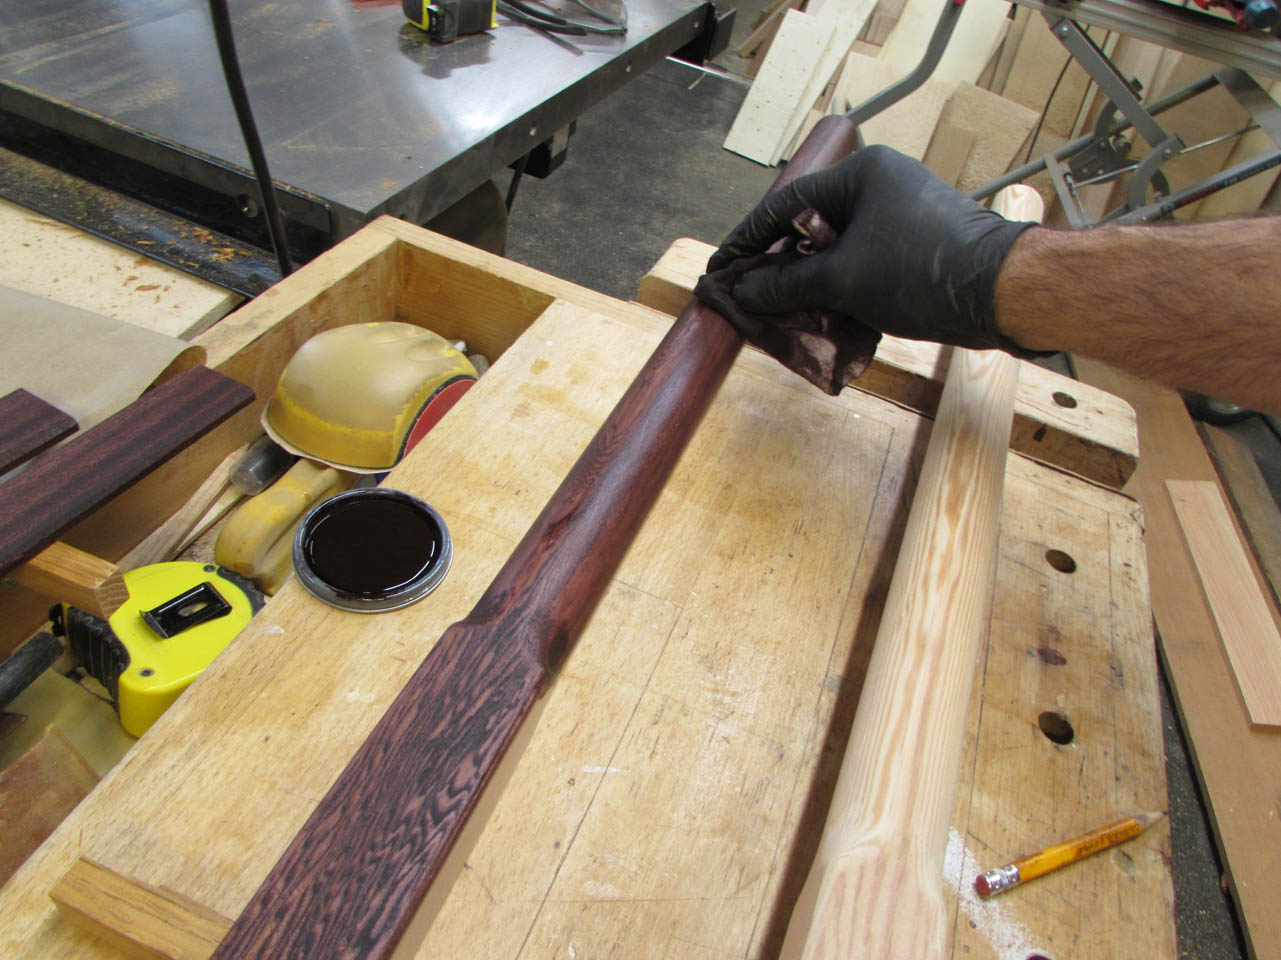
I haven’t used Varthane stains in a very long time because they used to have very strong fumes. This stain had almost none. The can also claims that it will dry in one hour. I will have to test that…
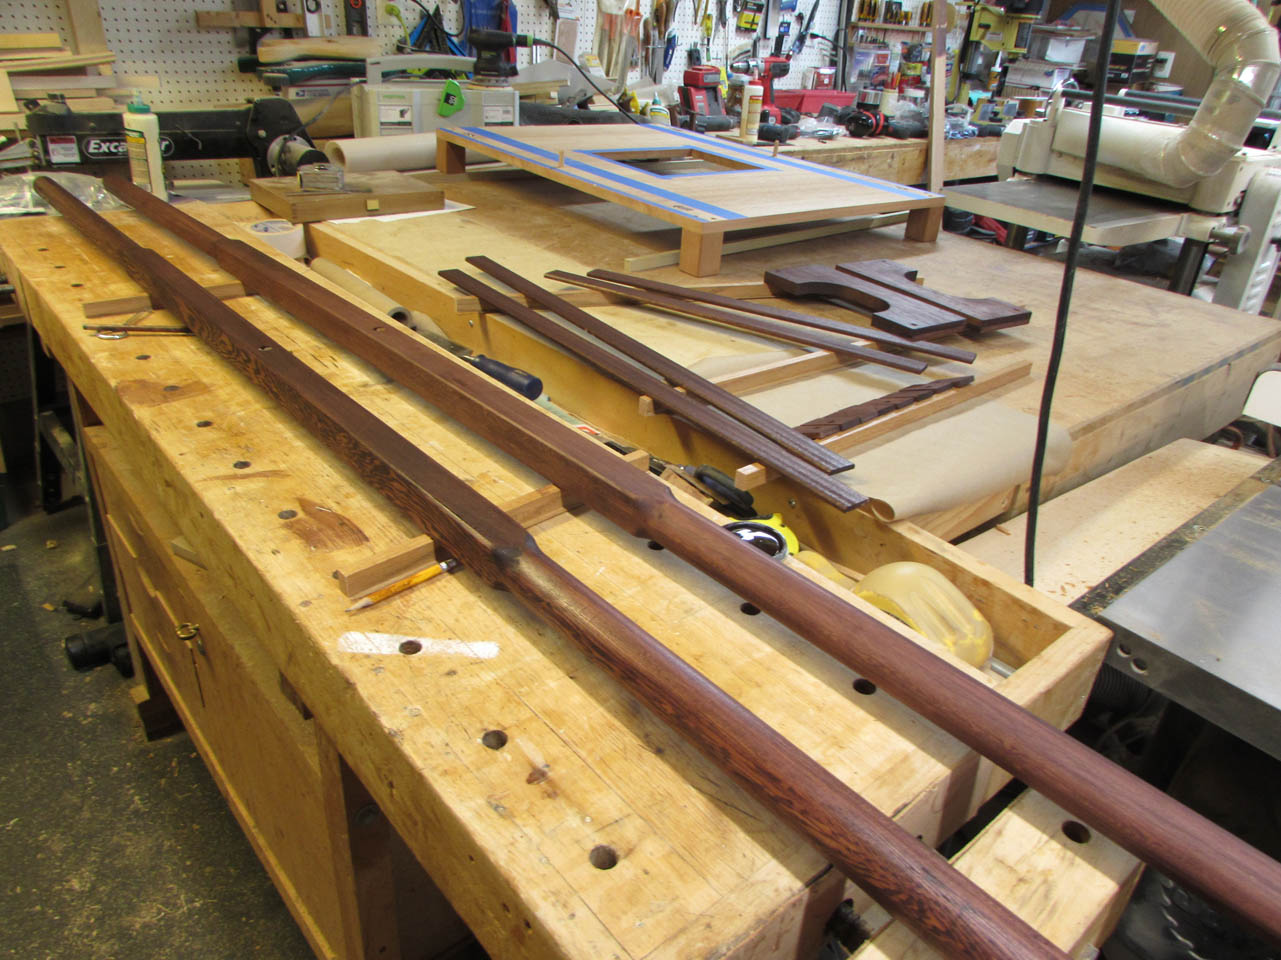
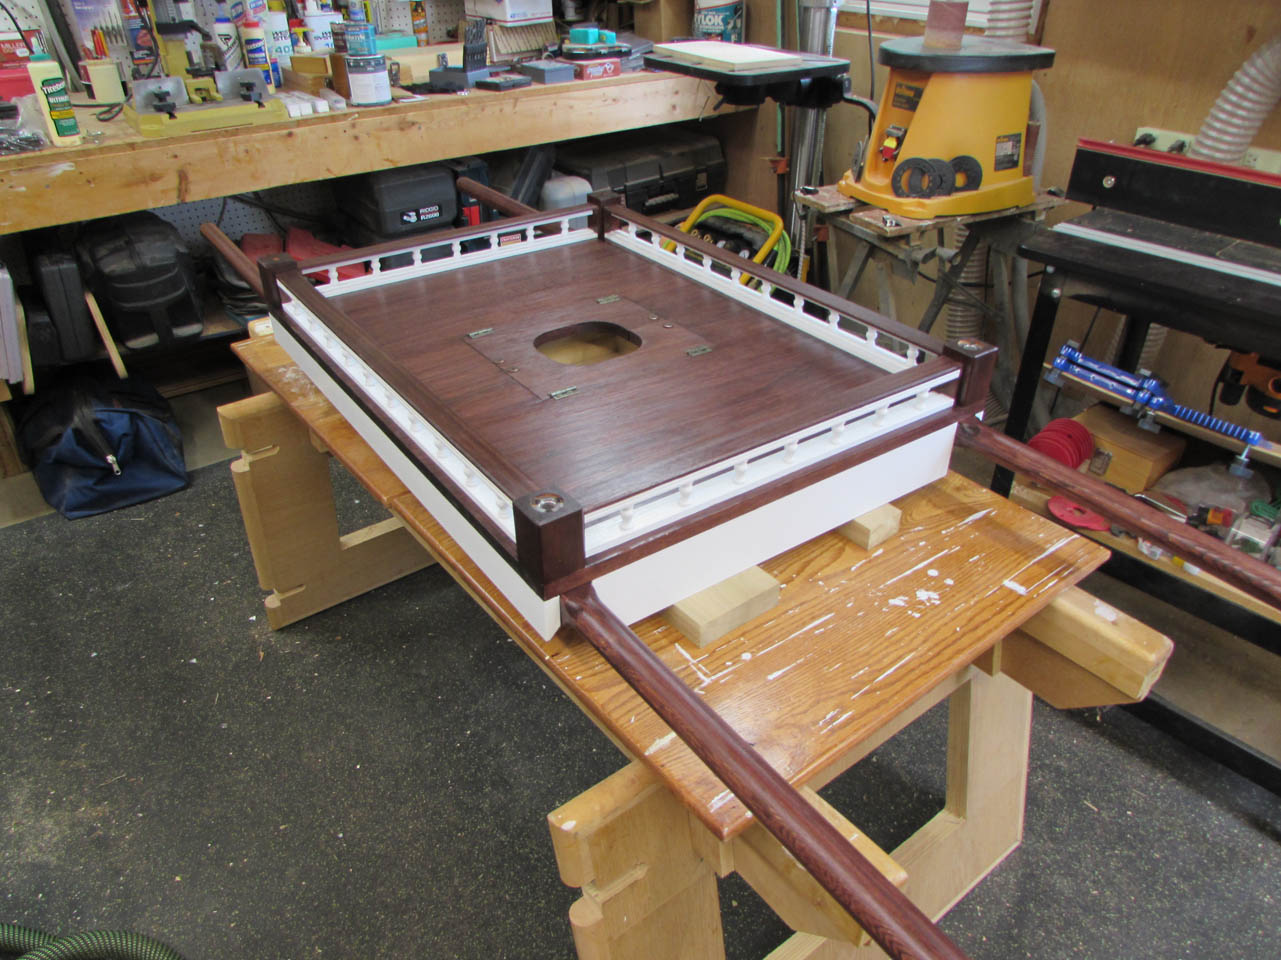
I finished staining all of the Spanish cedar and the sapele parts and left them to dry.

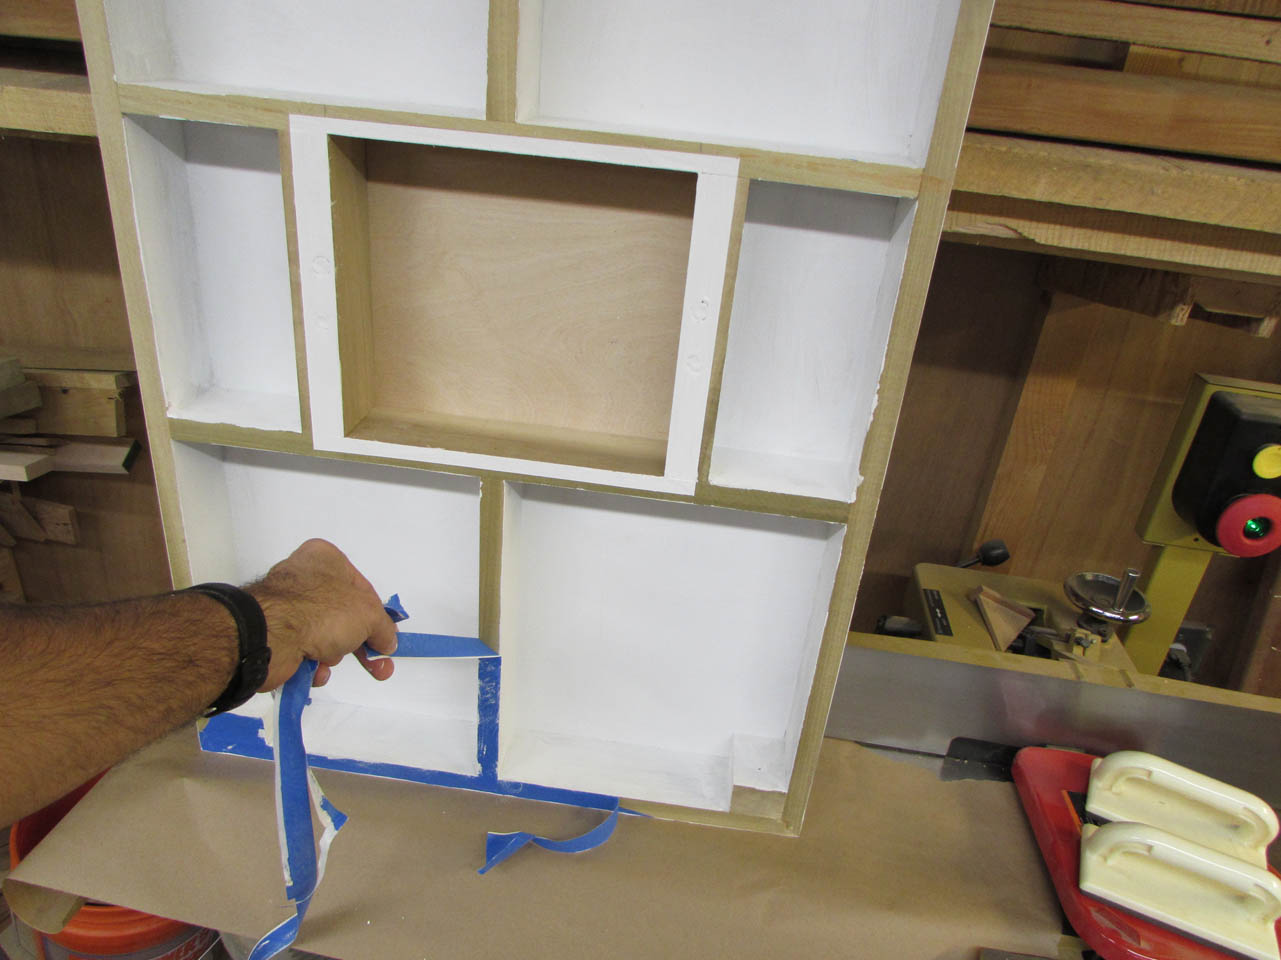
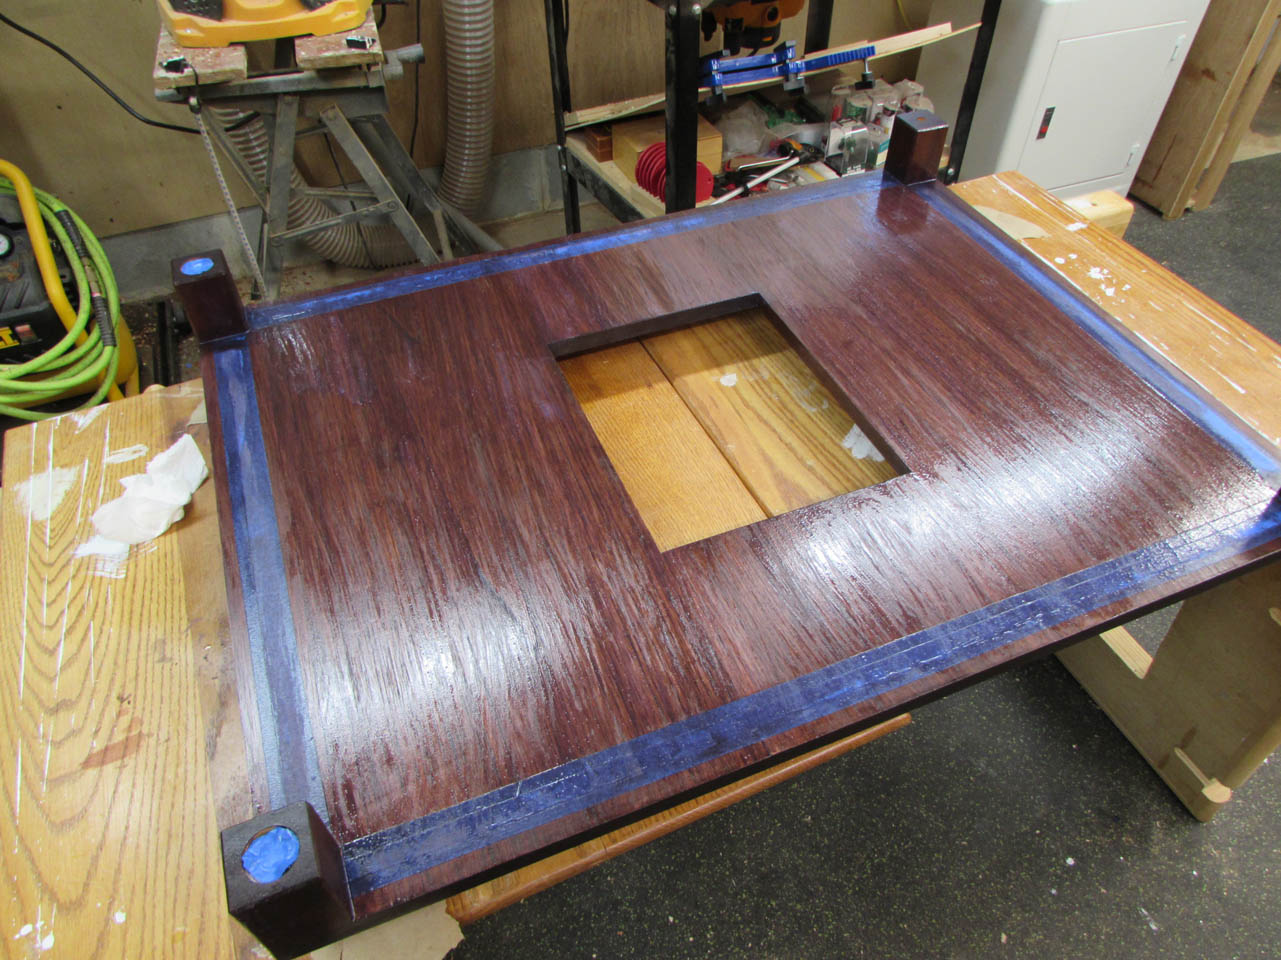
The paint is now dry to the touch so I removed all of the masking tape. I prefer to do this when the paint is still a bit flexible. The tape is easier to remove.
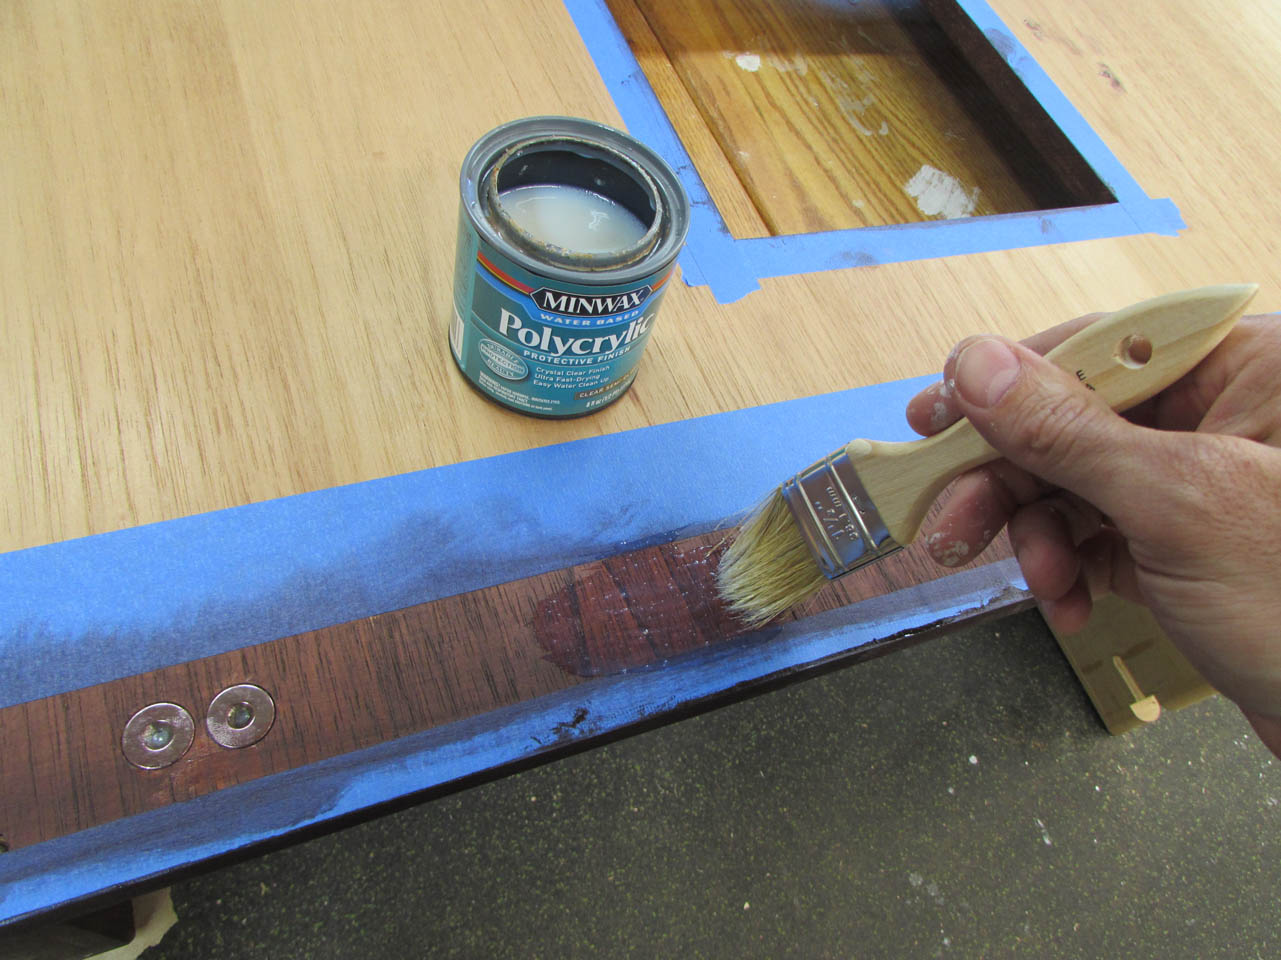
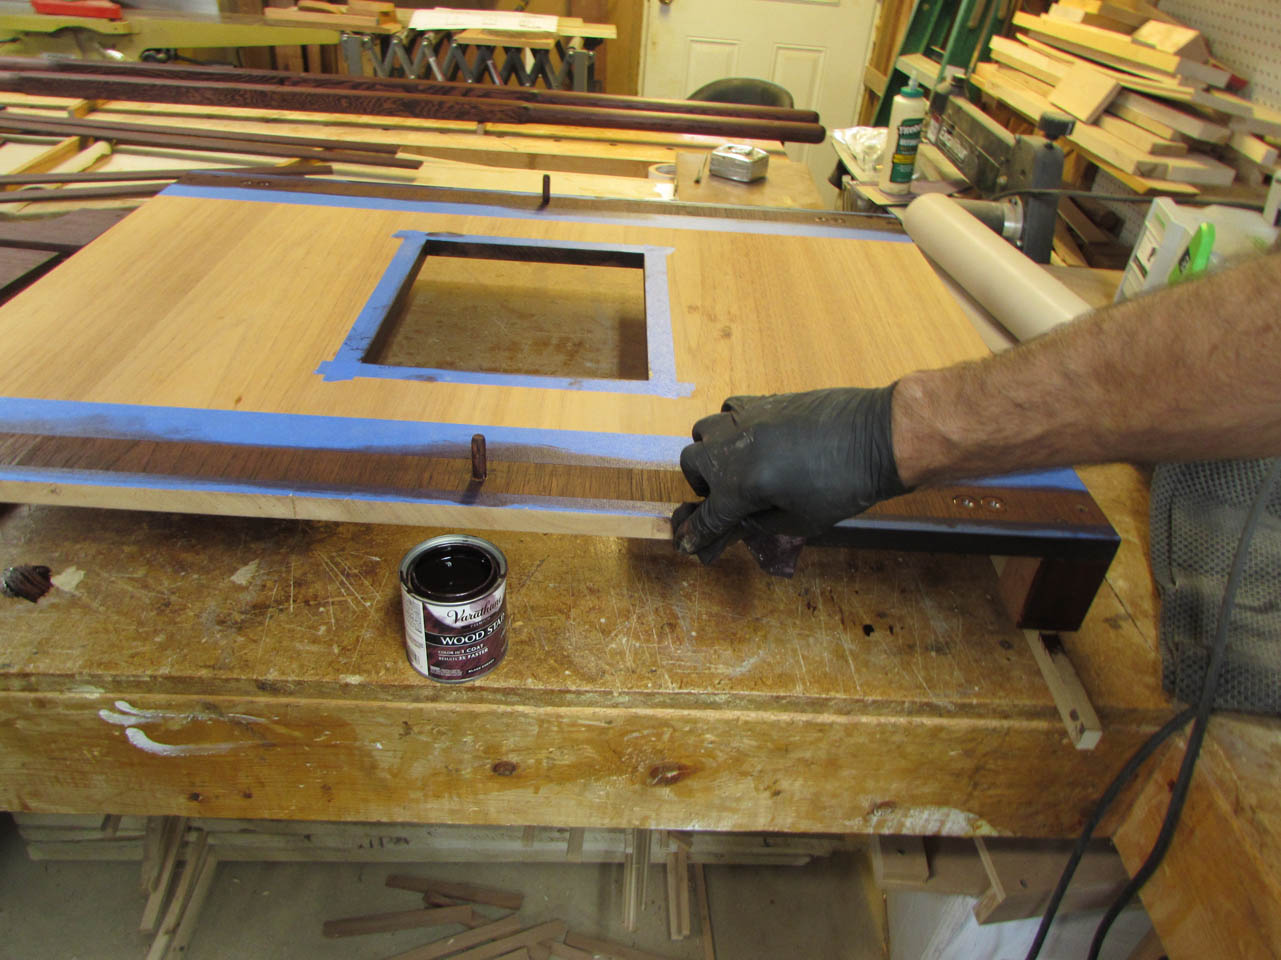
About an hour after the stain was applied, I started applying some water-based polyurethane to the under side of the top. Any problems with the finish in this location will never be seen, so it is a good test location.

But, I was impressed. The stain was completely dry and the finish applied perfectly without any of the stain bleeding and sticking to the brush. I need to experiment more with this line of finishes.

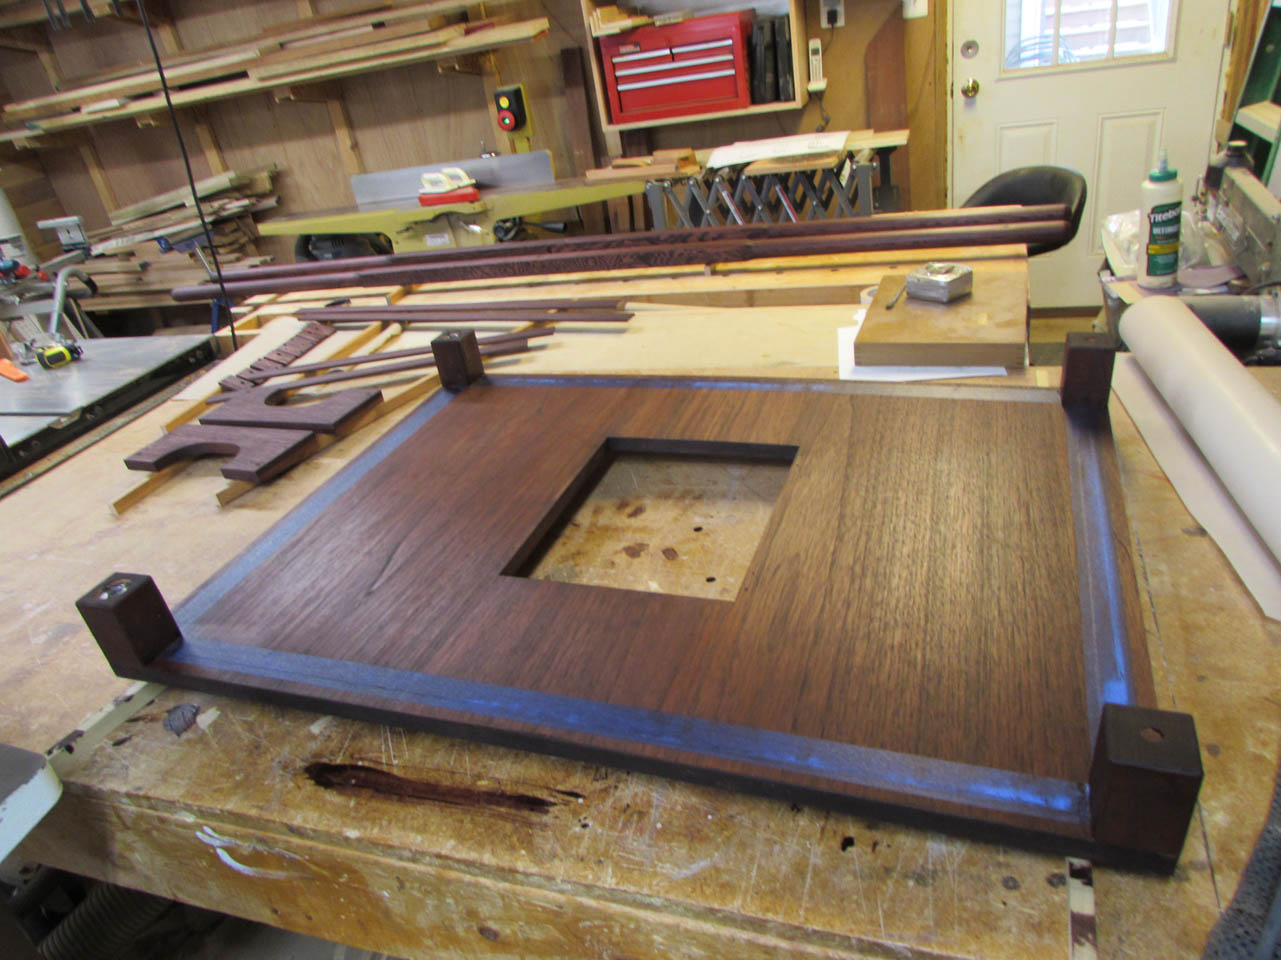
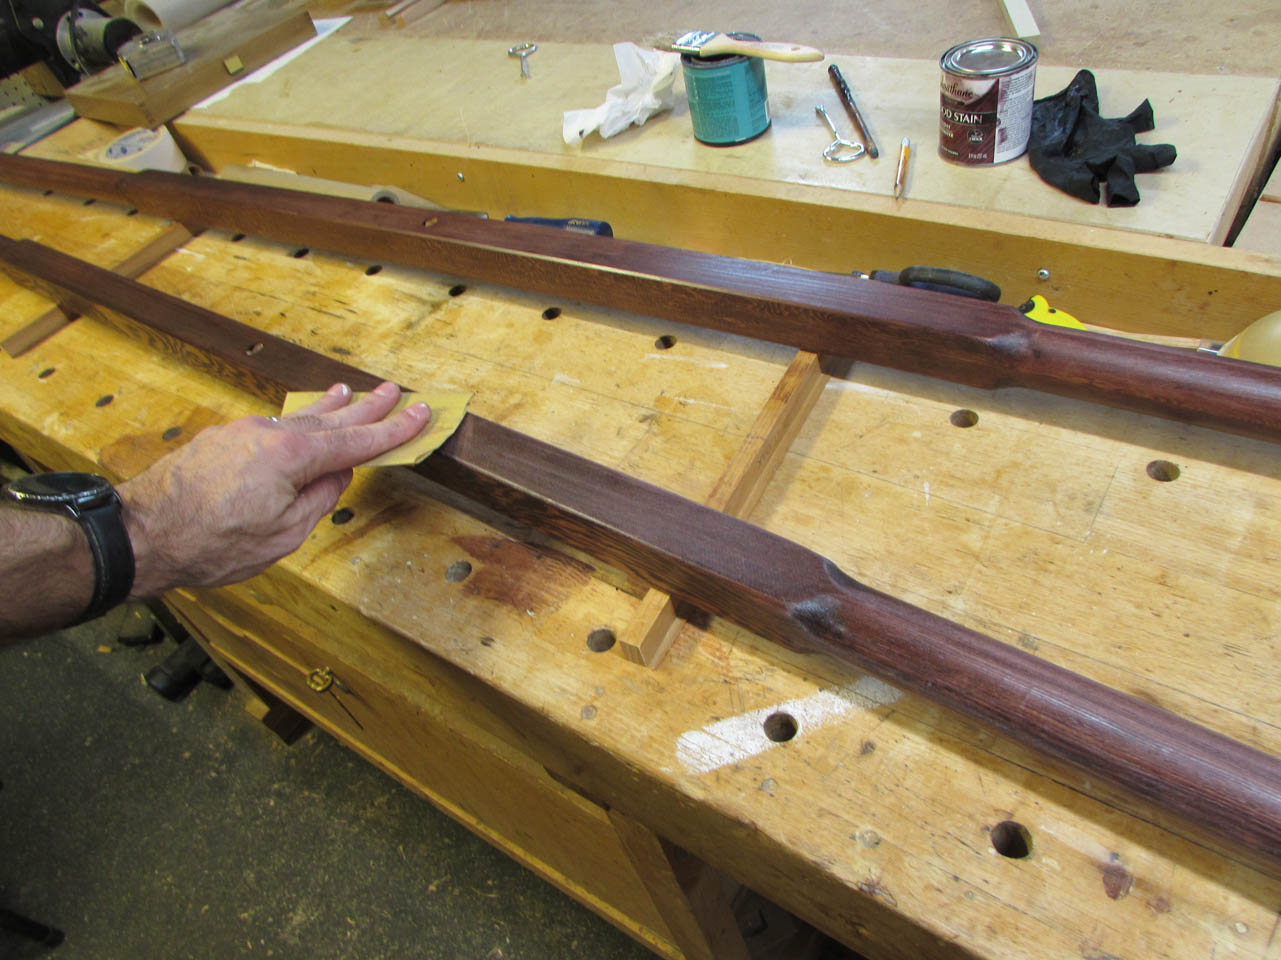
Encouraged by the success staining the bottom area, I finished the top and moved on to the rest of the pieces.


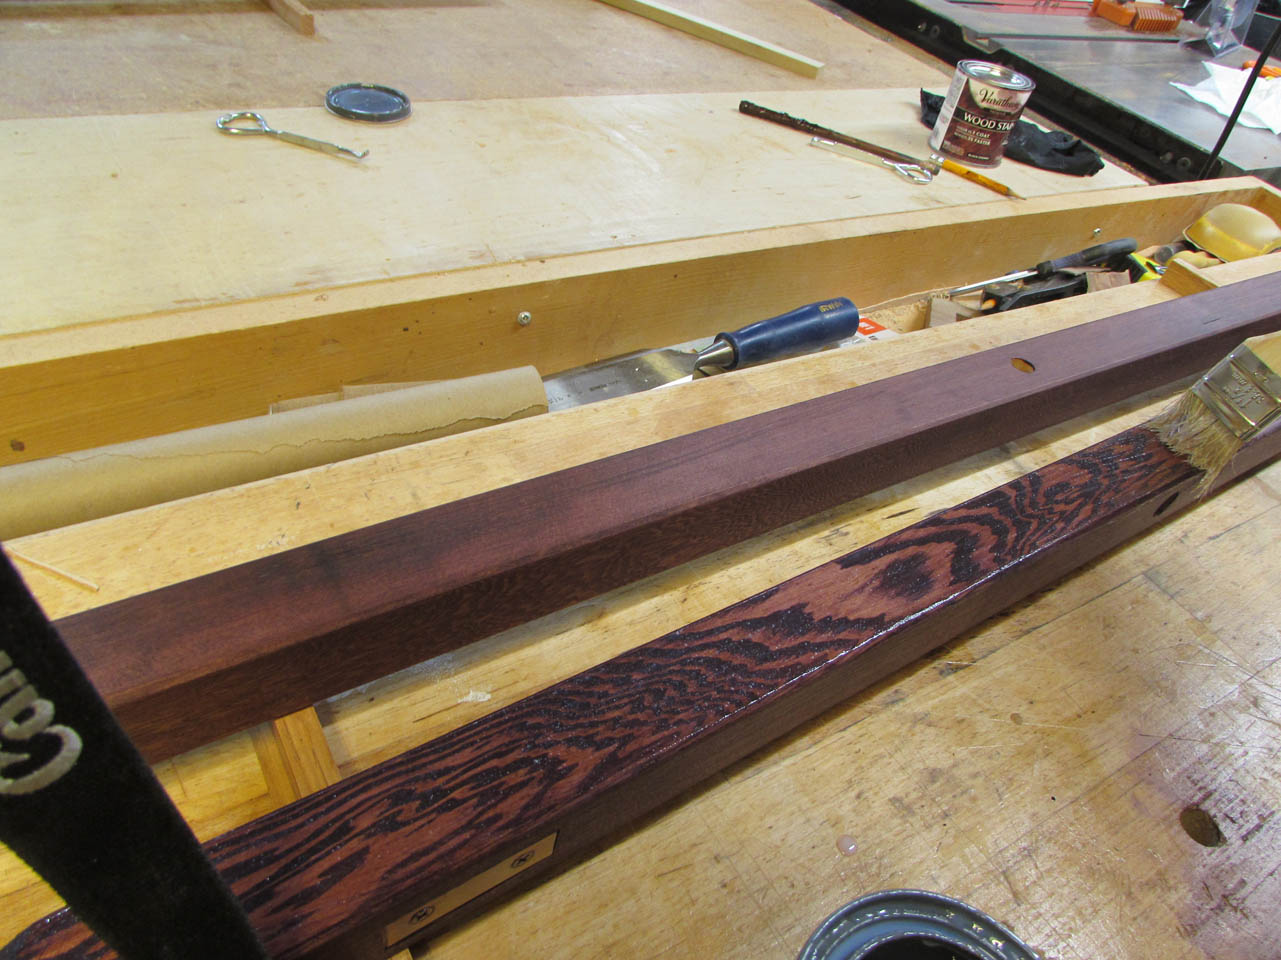
I was also impressed with how well the Douglas fir poles took the stain. The Spanish cedar, sapele, and Douglas fir all stained the exact same color. It usually doesn’t work that way. Each wood has a different density and porosity so the absorption acts differently with each. They must have dye in the stain. I am very happy with the outcome. The fir looks really cool stained.
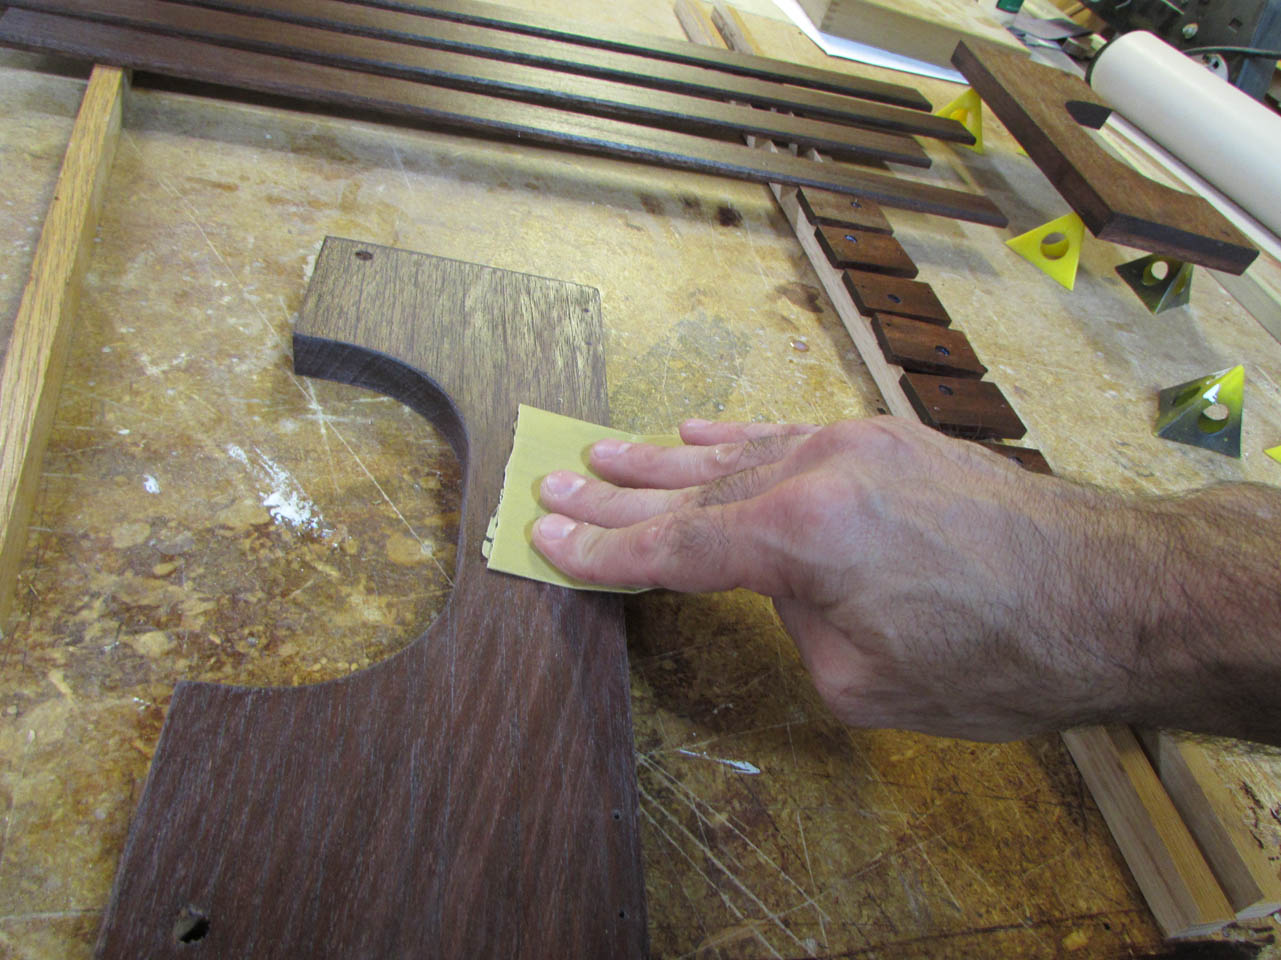
After the first coat of Poly was dry, I sanded down everything with 400 grit paper and applied a second coat.

Between the quick-drying stain and the water-based poly, I was able to do all of the finishing in one afternoon. Usually it is a process that takes at least two days or more.


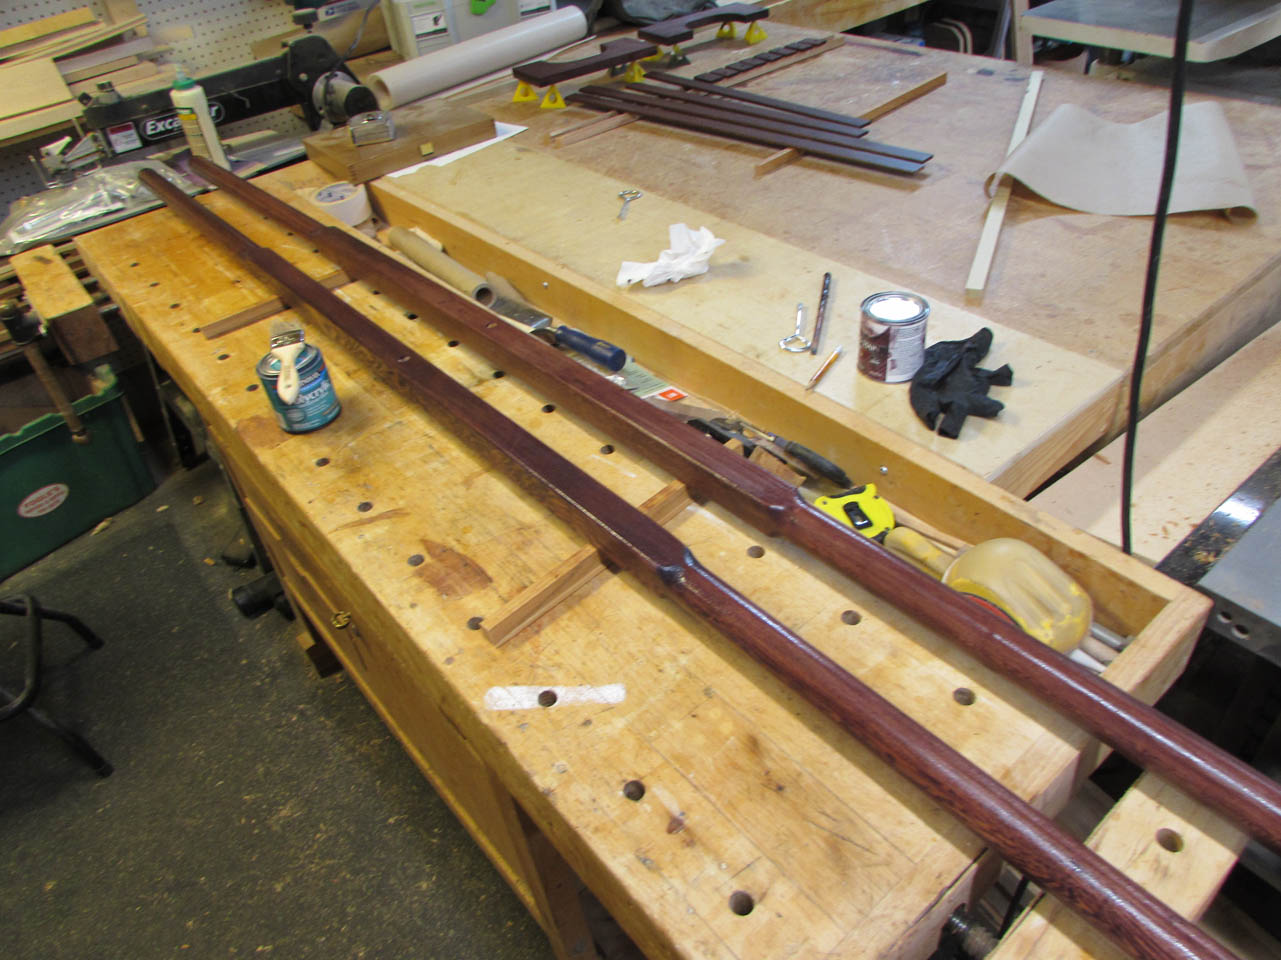
The next morning, I pulled the masking off of the stained parts.

You can really see the color difference.
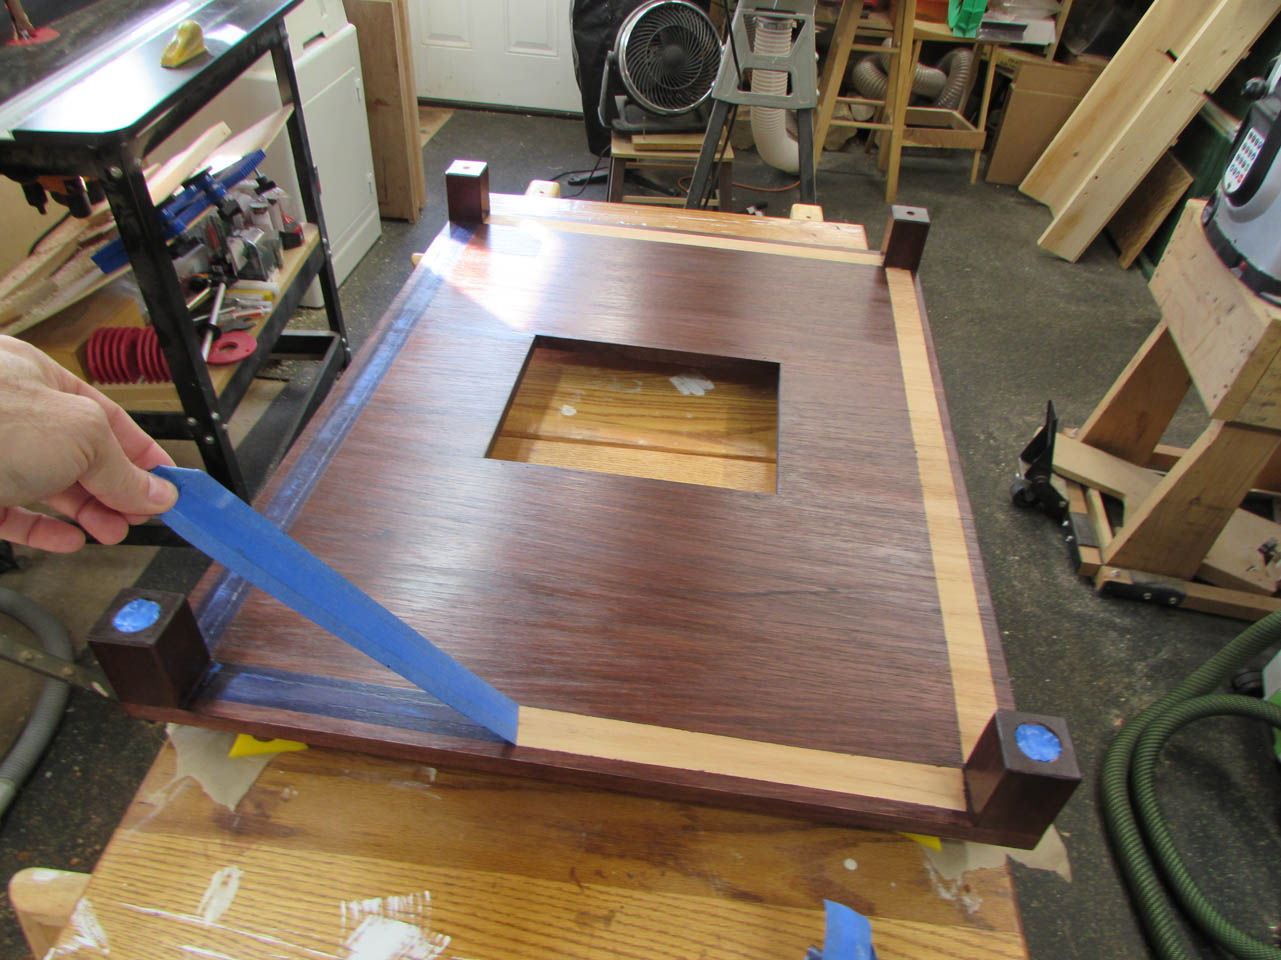

Time to start reassembling all of the end caps on the rails. I had marked each one so it would go back to its original location, but the stain and poly wiped out my marks… So I took my time and got them all back in place.

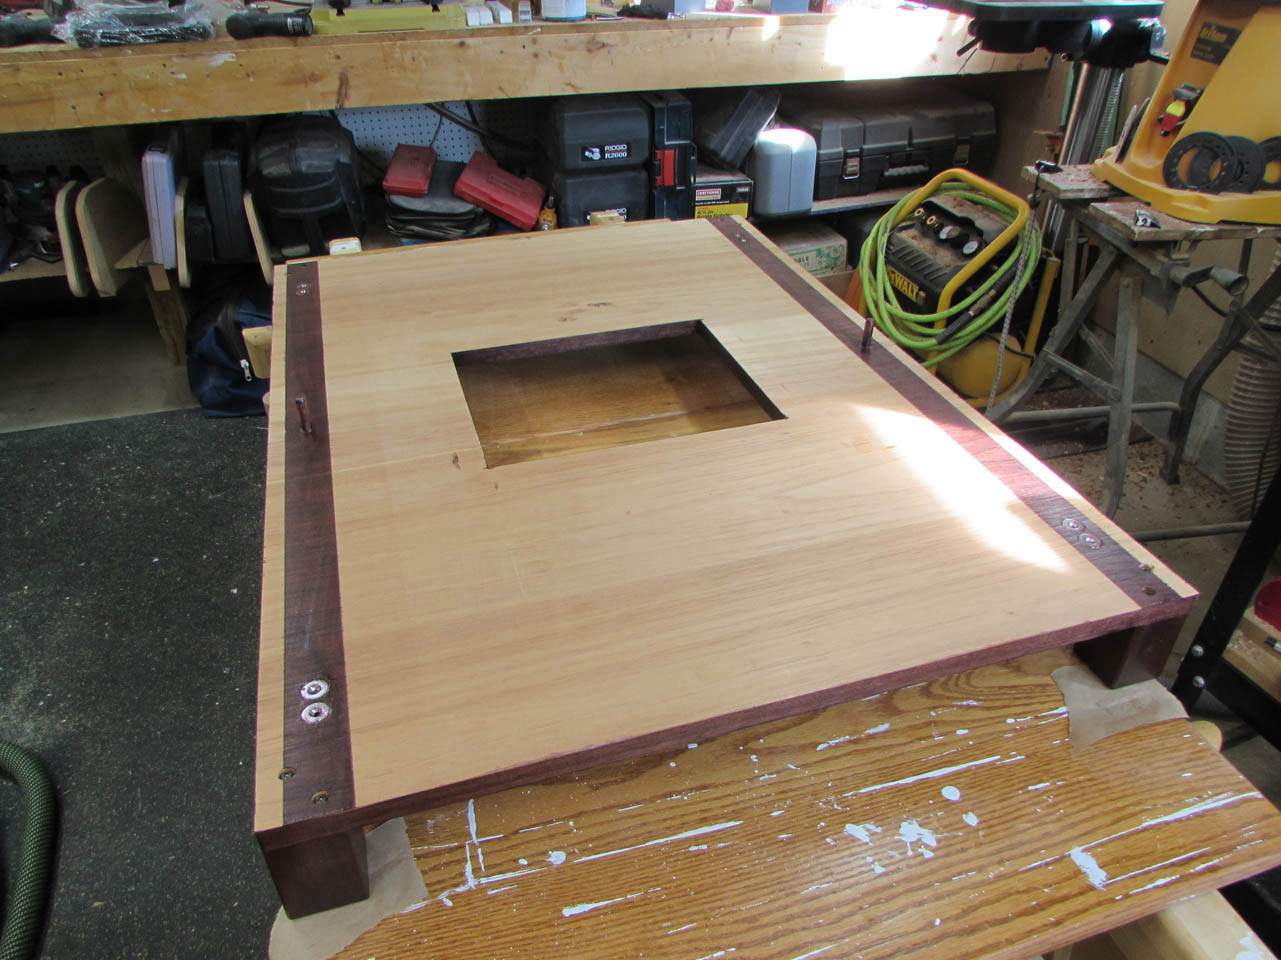
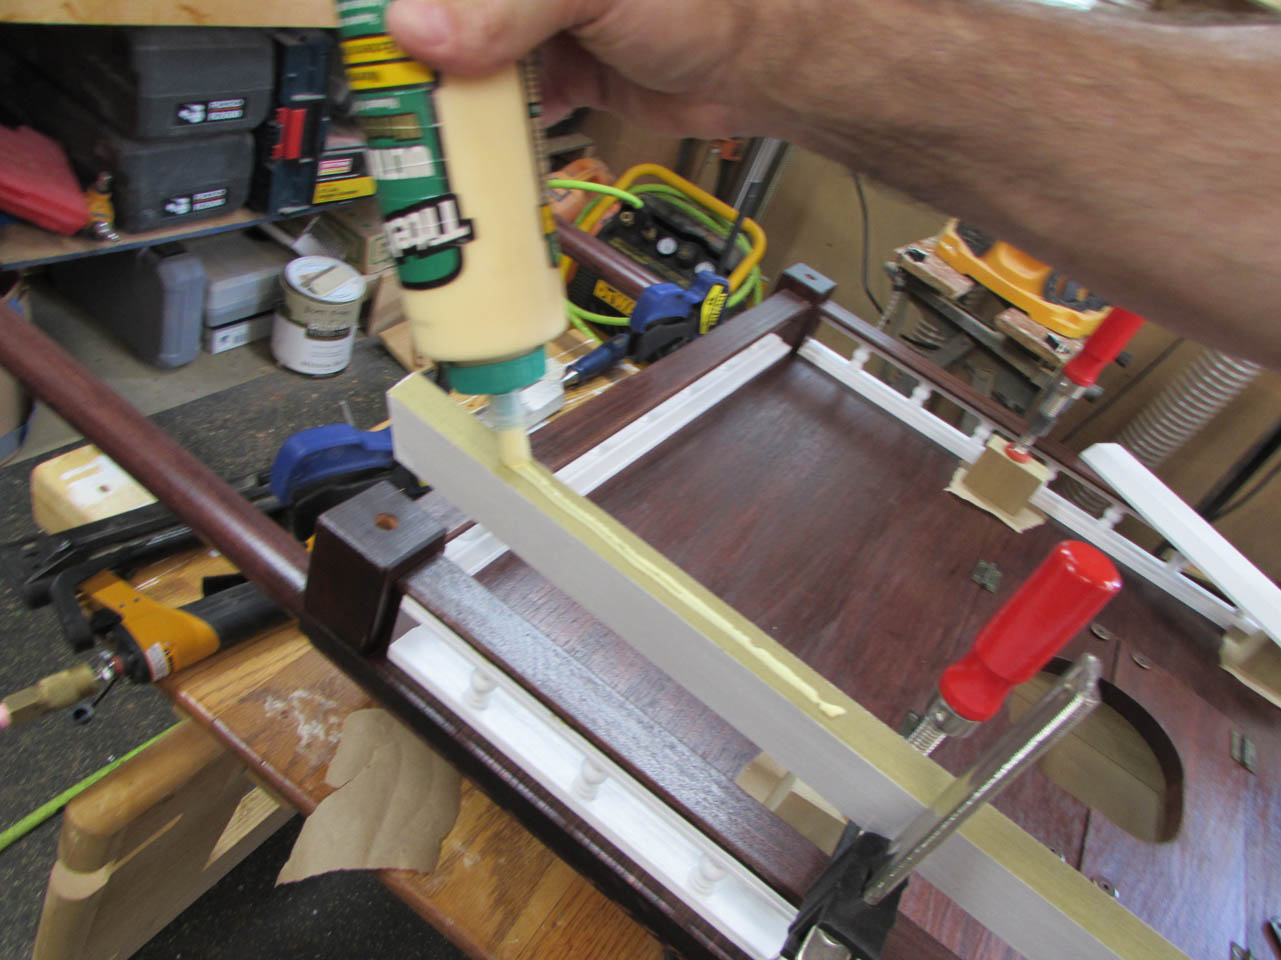
I applied a line of glue to the unstained cedar and attached the rails with the pocket screws at each end.

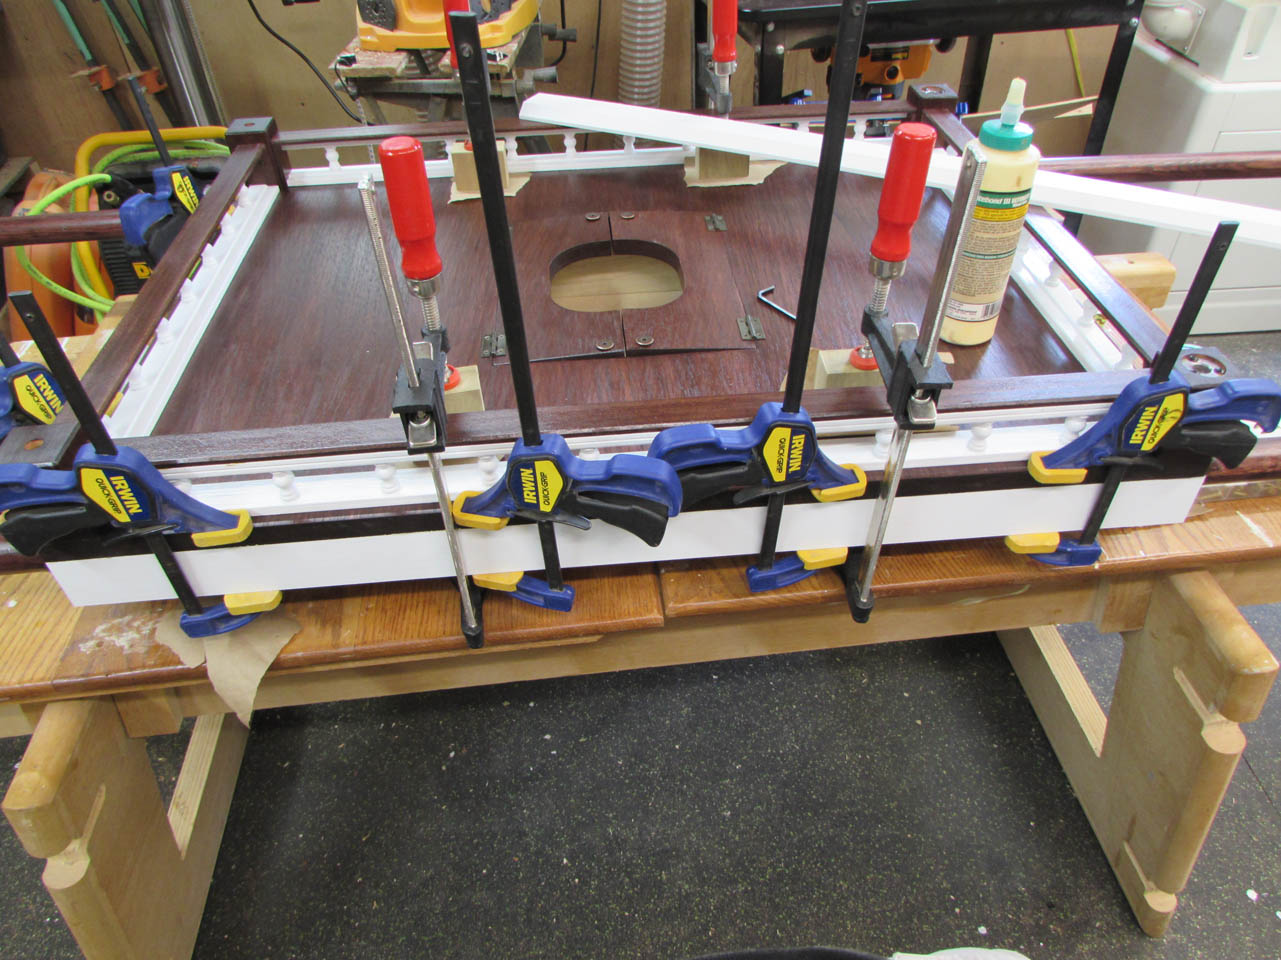
Then I clamped the rails down as well to insure a good glue bond.
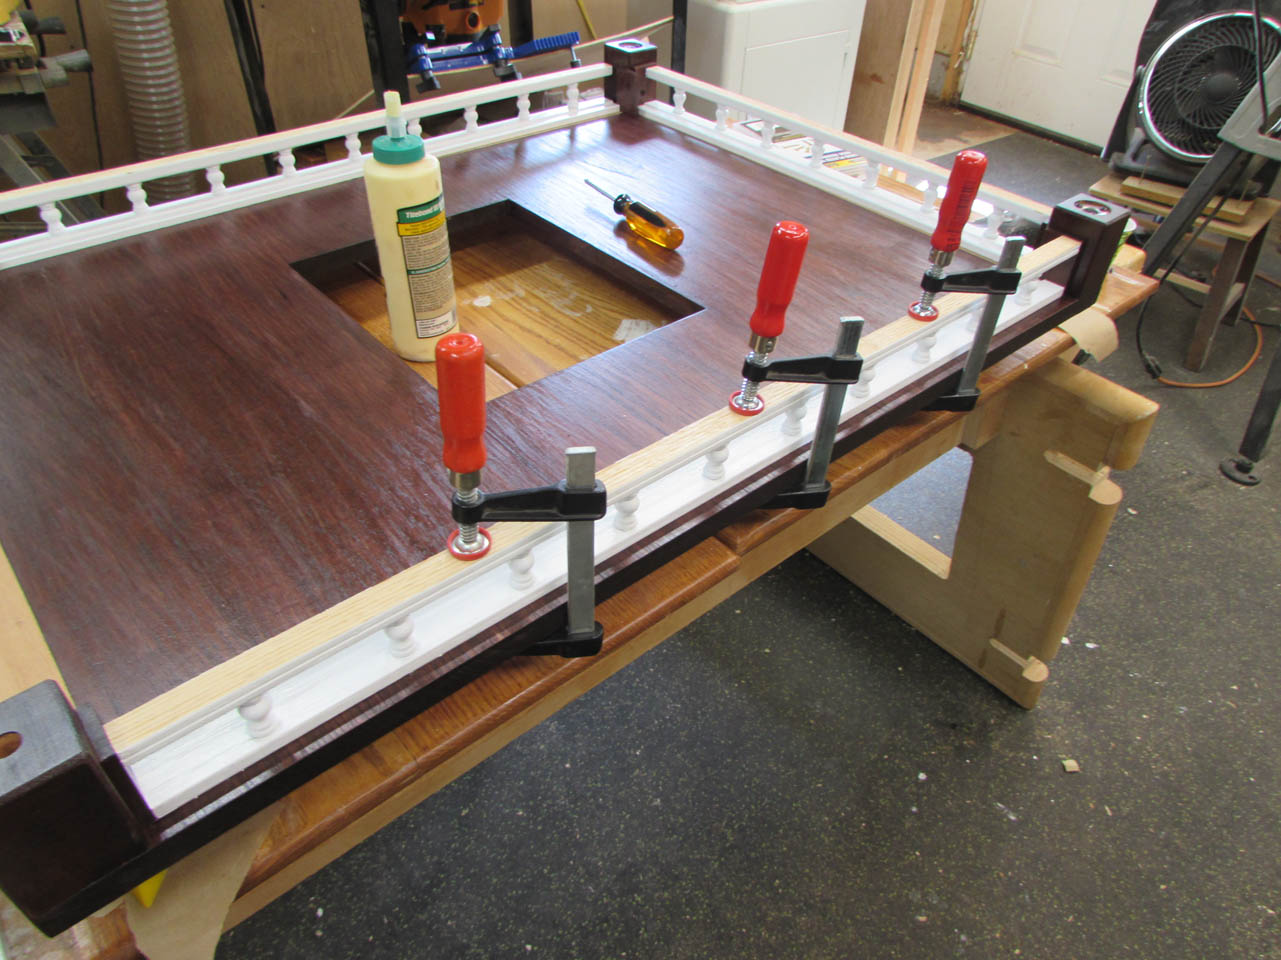

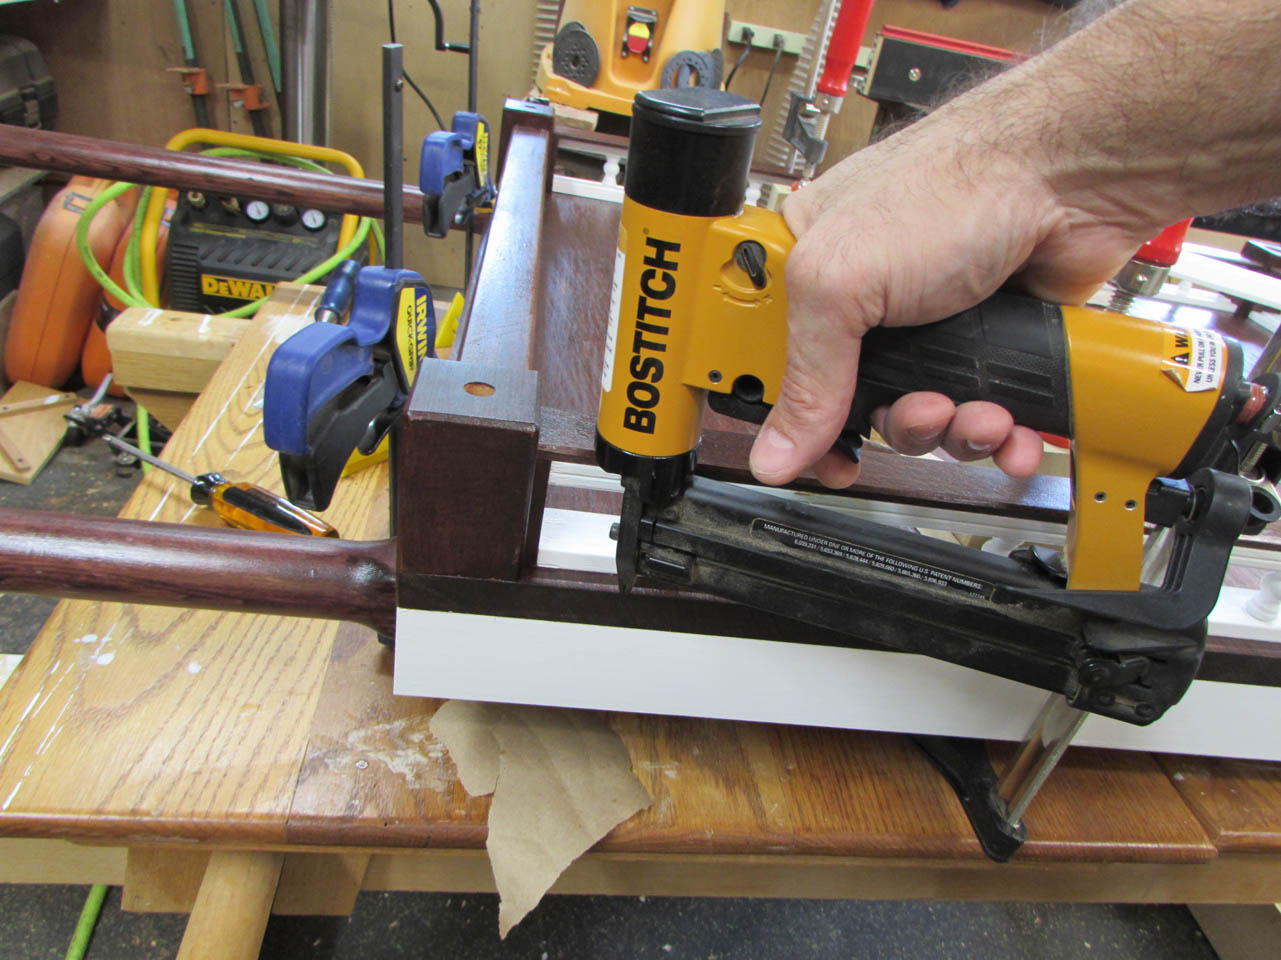
Once those were dry enough, I applied glue to the top of the rails and pinned the rail caps in place.
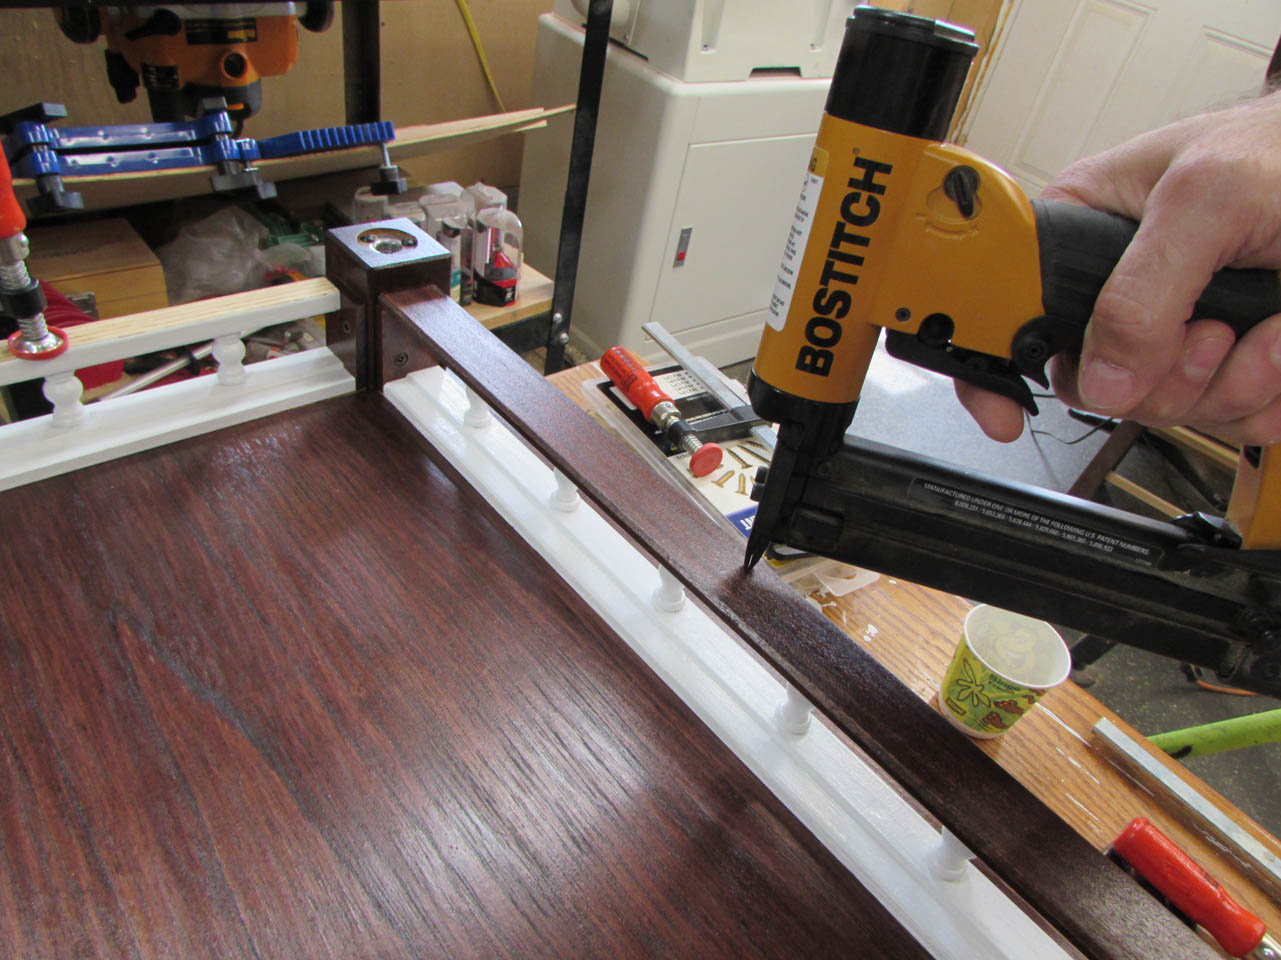
The pins are small enough that they are not visible, but hold the cap so that it does not move when I clamp it down.
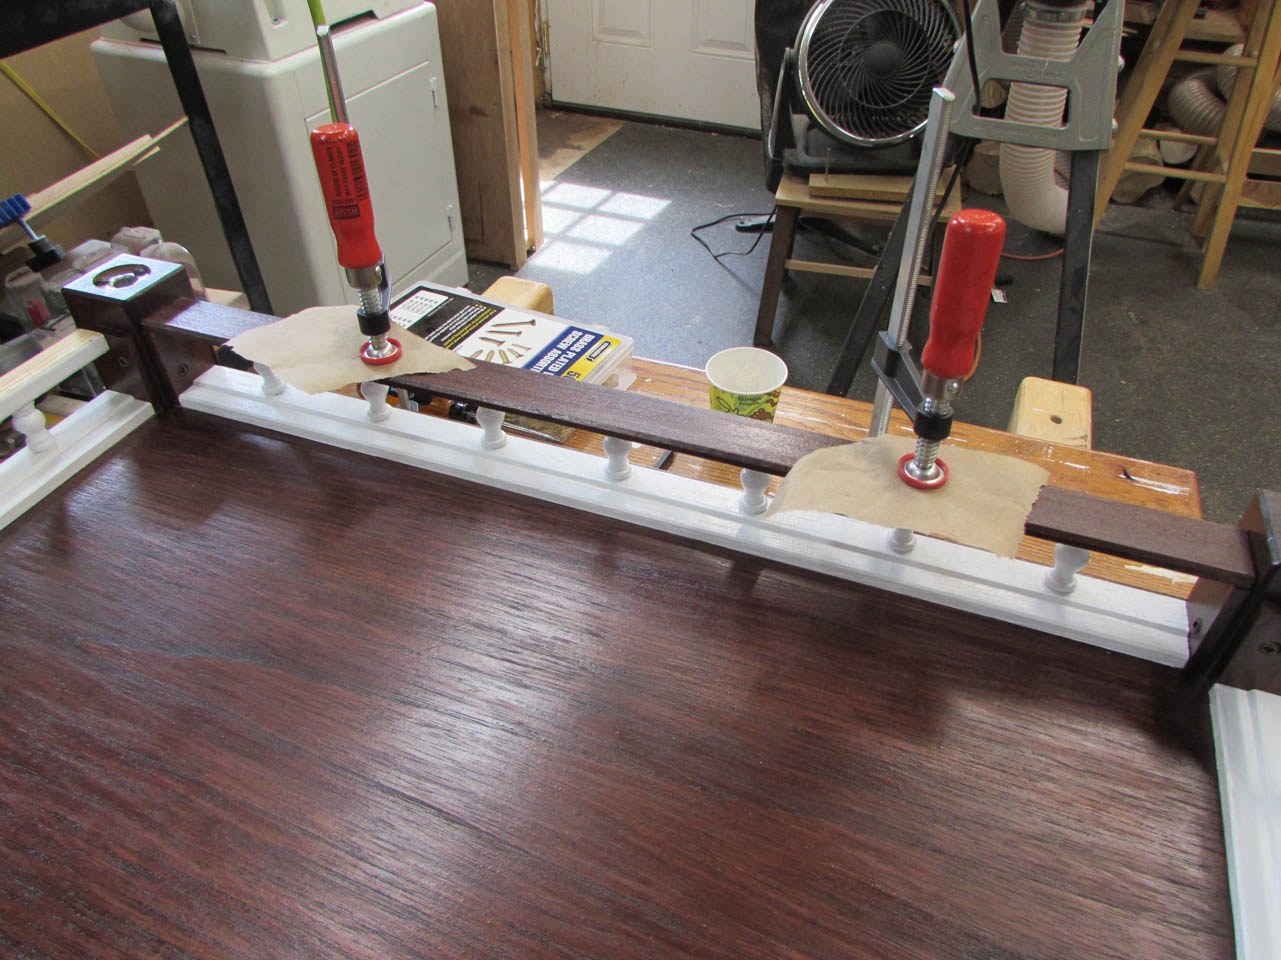
I left all the rail caps clamped to dry for another hour.

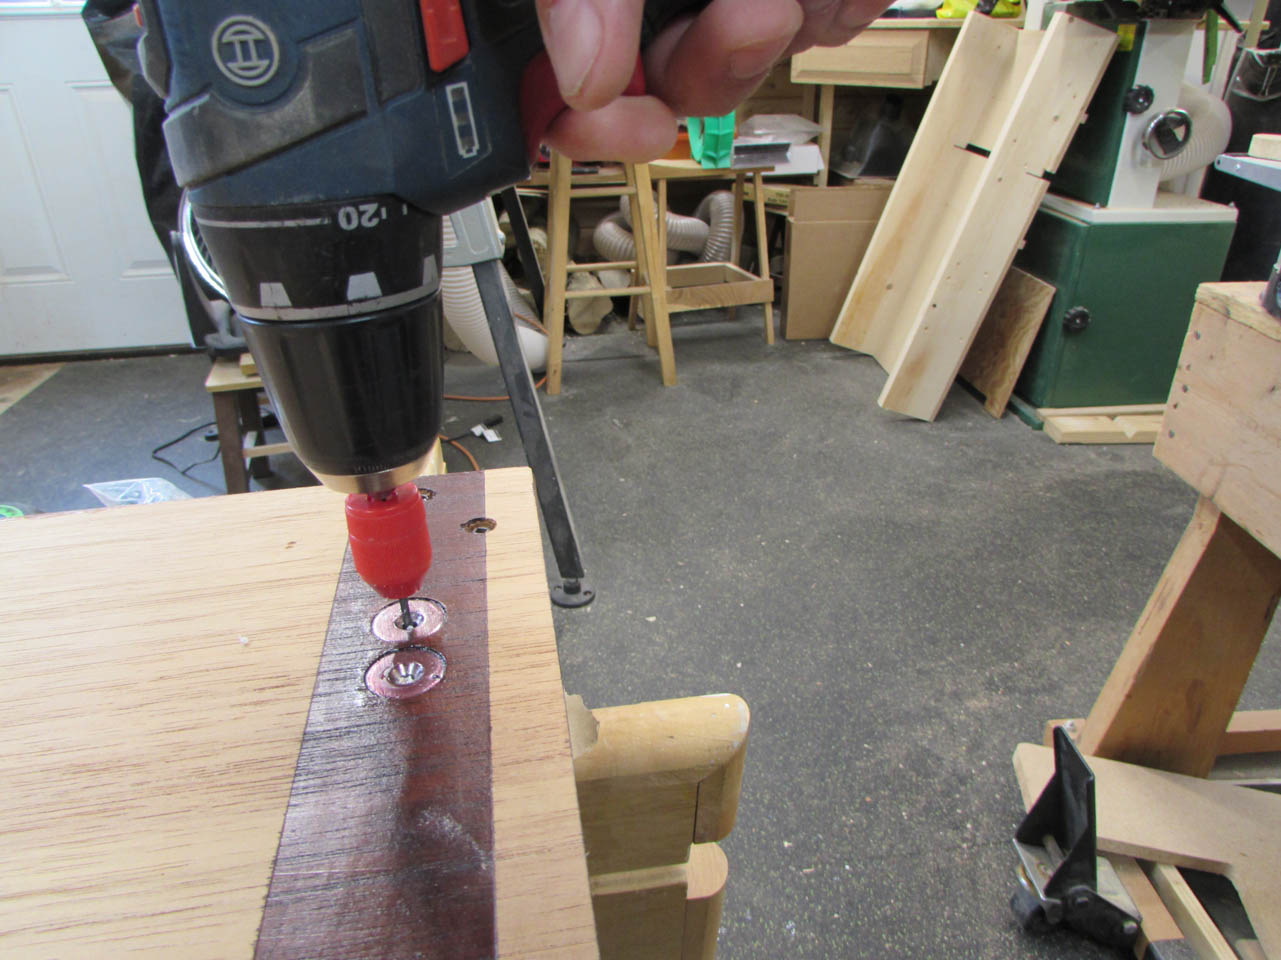
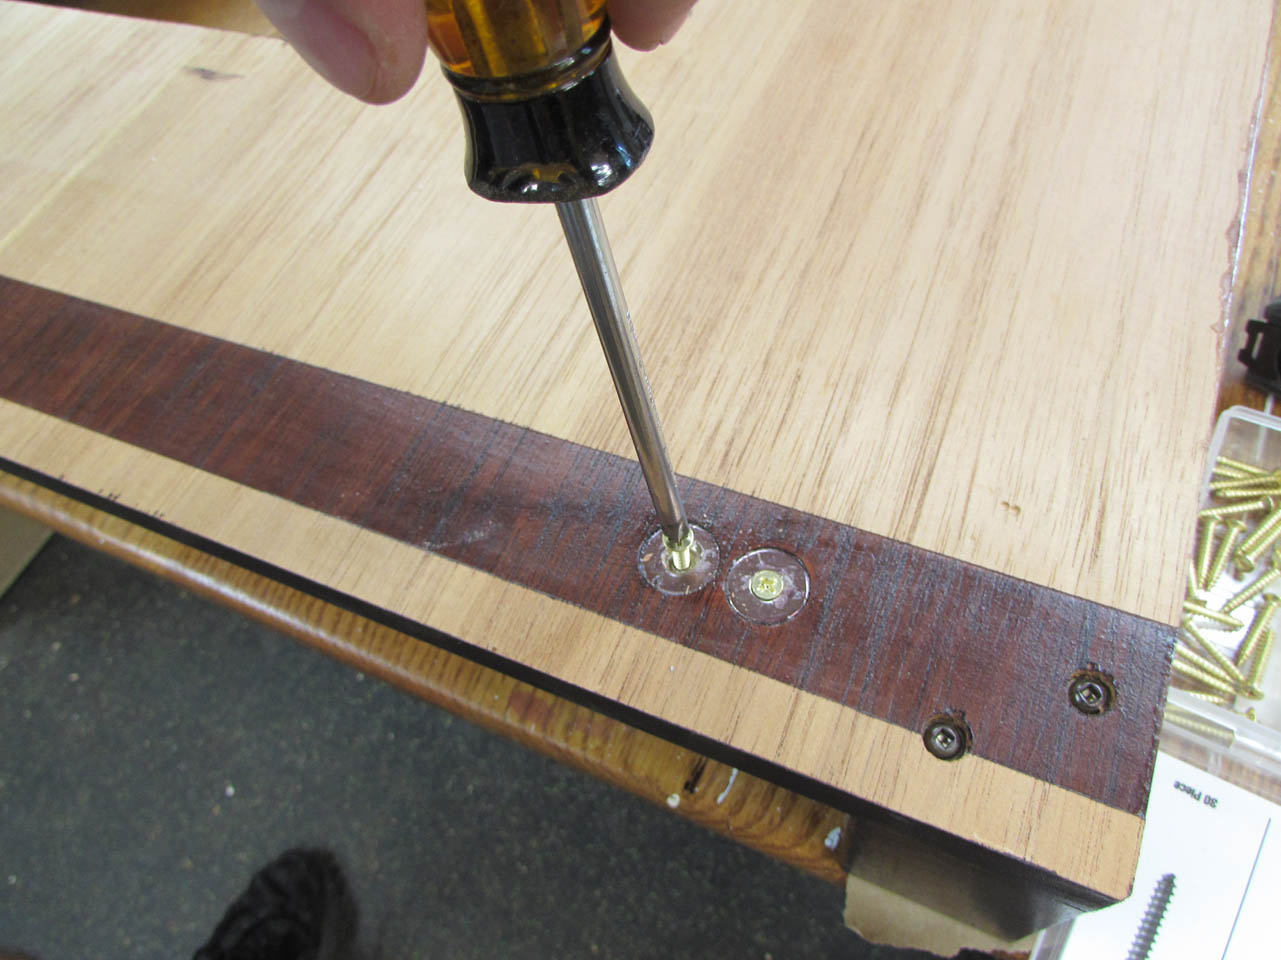
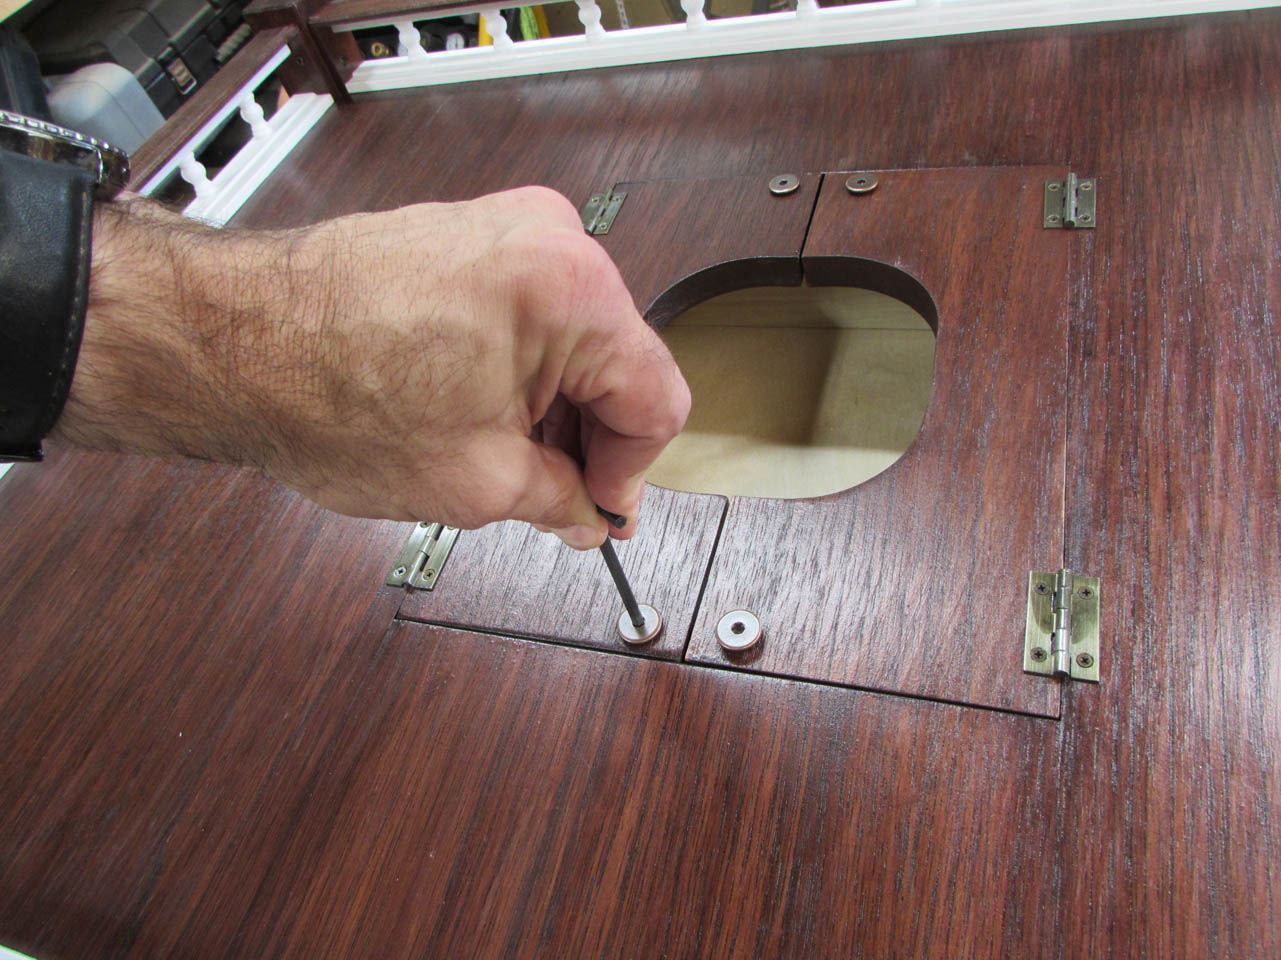
When the glue had set, I pulled the clamps and flipped the top over. I cleaned the epoxy out of the counter-sunk magnets and drilled pilot holes for screws. I used 1″ long wood screws that sat flush with the face of the magnet when installed. The screws are just long enough to enter the base of the rails above but not pass through. This is a good backup to the epoxy. I don’t want the magnets to ever pull out and stay stuck to the poles by accident.
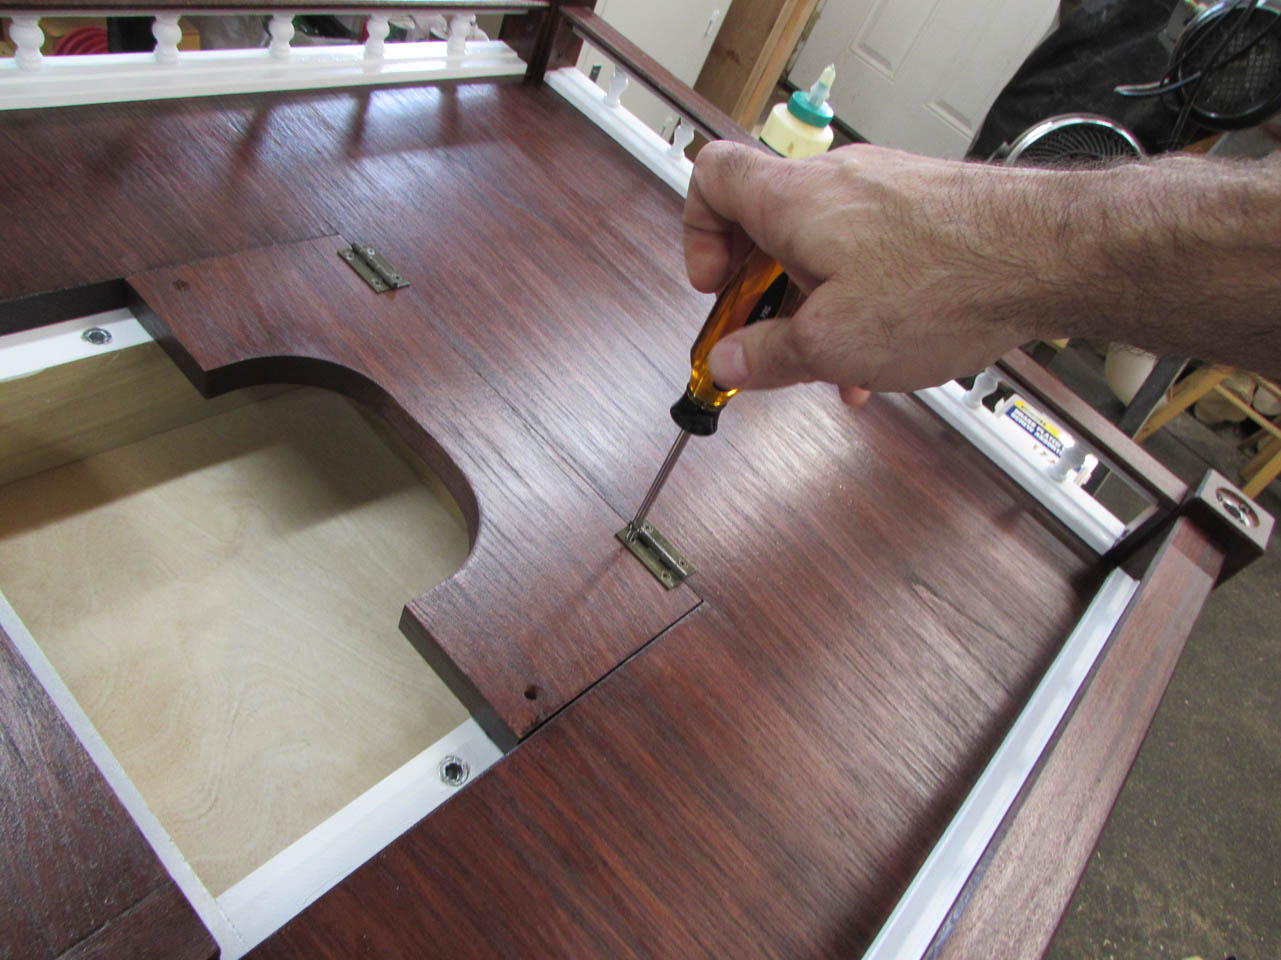
Before I can attach the top to the base, I need to re-install the doors that hold the statue base. I have to make sure the bolt holes line up correctly with the inserts.
When I know everything is oriented the way it was when I installed the hardware, the first time, I can remove the top and put glue on top of all of the structural ribs, then reinstall the top.

I placed the four bolts through the holes in the doors and screwed them all the way in before clamping the top on. This insures that it is located properly.

I clamped the top on with some larger clamps that leave me room to insert the poles and also install the side retainers.
After applying a thin layer of glue to the retainers, I also pin them in place before clamping them to dry.

I left that to sit for a while, then pulled all of the clamps and made sure the poles had enough clearance to be removed and reattached without any problems.
Yeah! The base is complete. I still have to line the socket with foam and make small crosses for the front posts, as well as the entire back arch, but this is significant progress. The glue and finish will now have time to finish curing while I get started on the rest.
