
Chalkboard easel
My son is getting married in a few short months and he asked if I could make a chalkboard easel to put in the entrance of the reception hall to have messages for the guests written on it. No problem, I sent him to the local big box store to pick up a piece of hardboard with chalkboard paint already applied to it, then got to work.
I have a lot of oak off-cuts from the last project, so I rough-cut them to length and started flattening them on the jointer.


After I got one good, flat face and side, I cut them all to 2″ wide on the table saw.
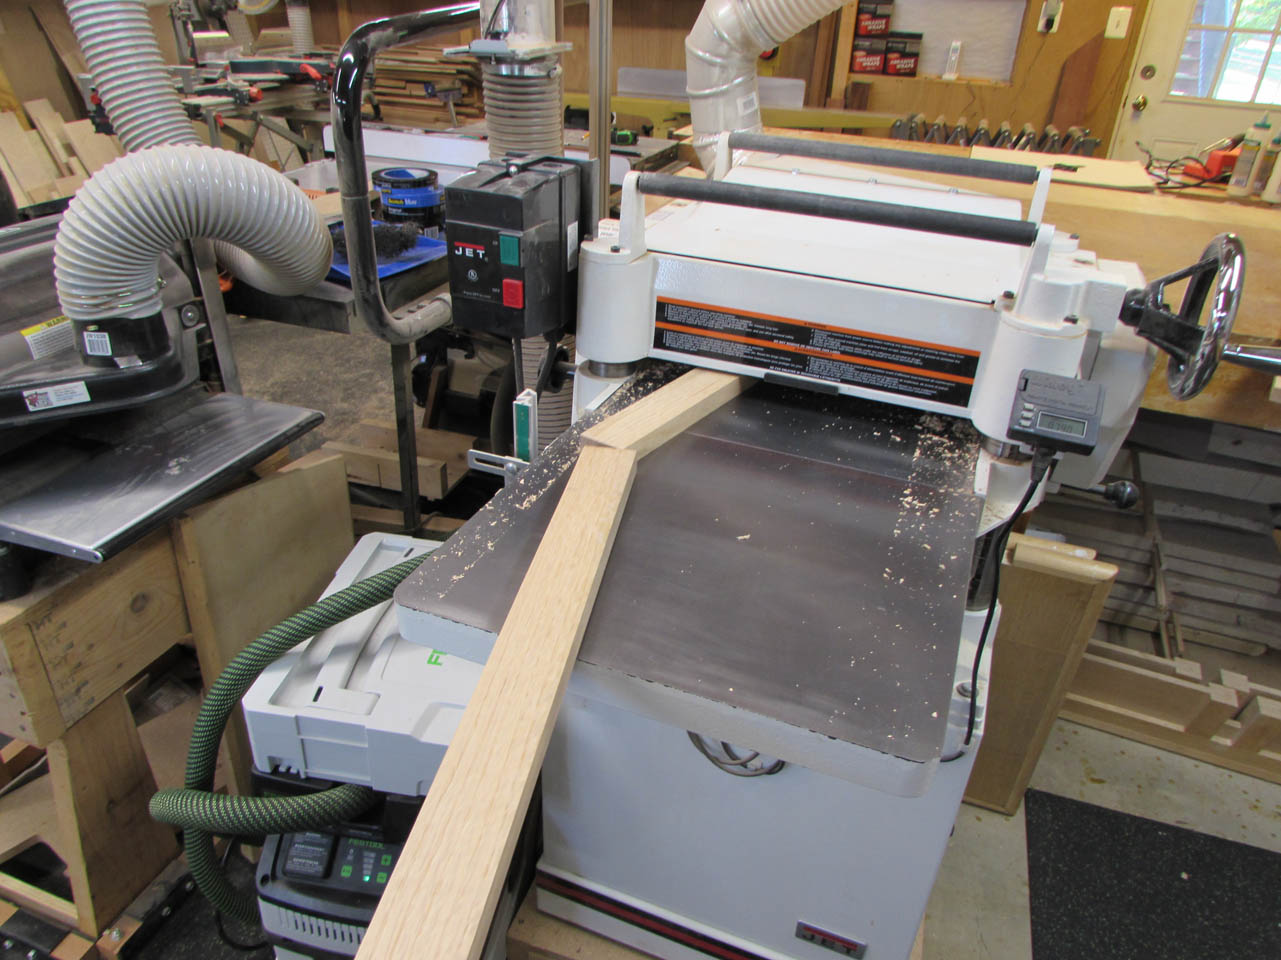
Then planed the last rough face down to 3\4″ thick.

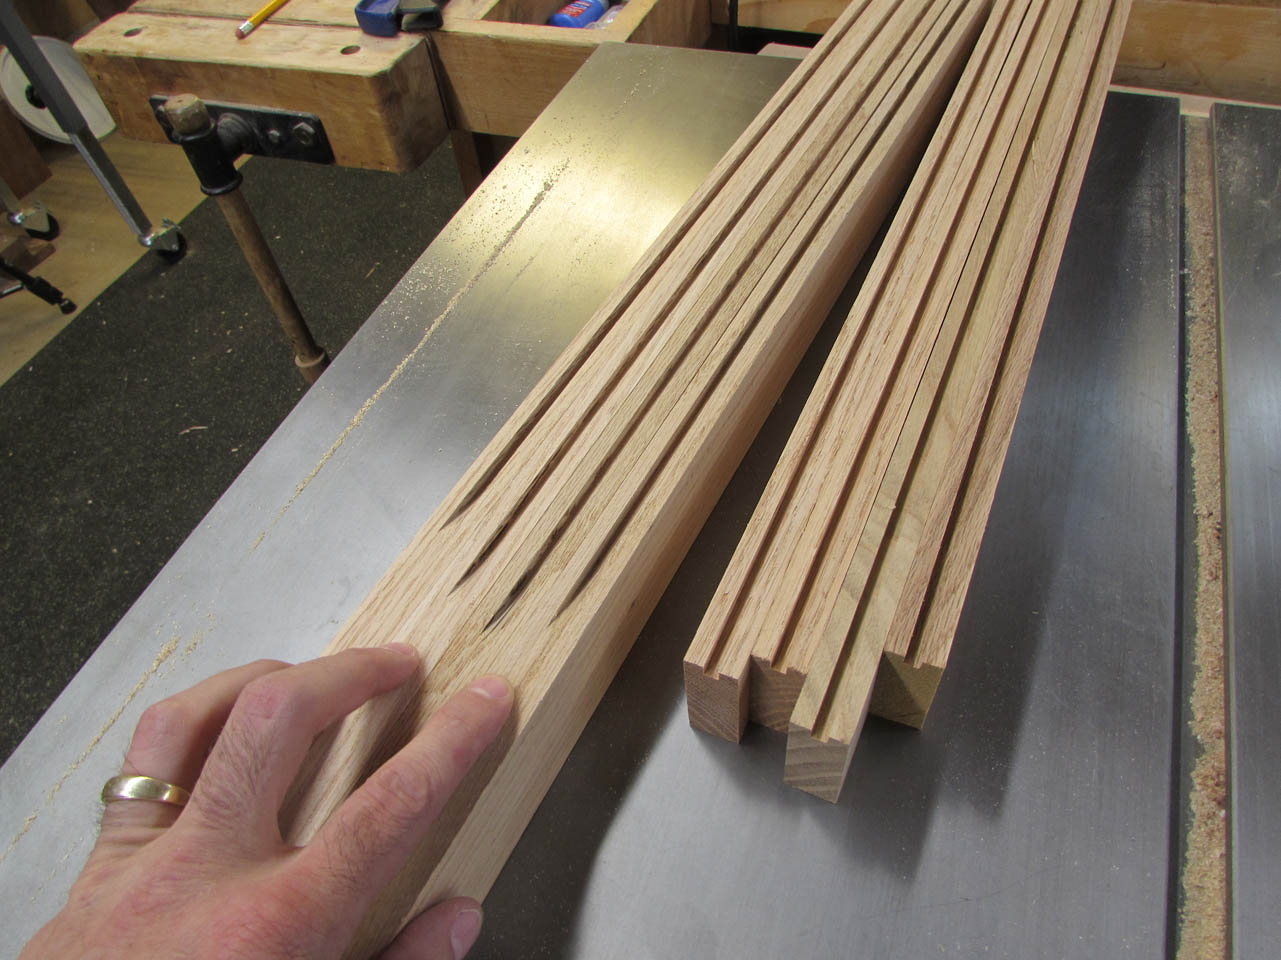
This gave me four long pieces for legs and four shorter pieces for the tops and bottoms of the frame.

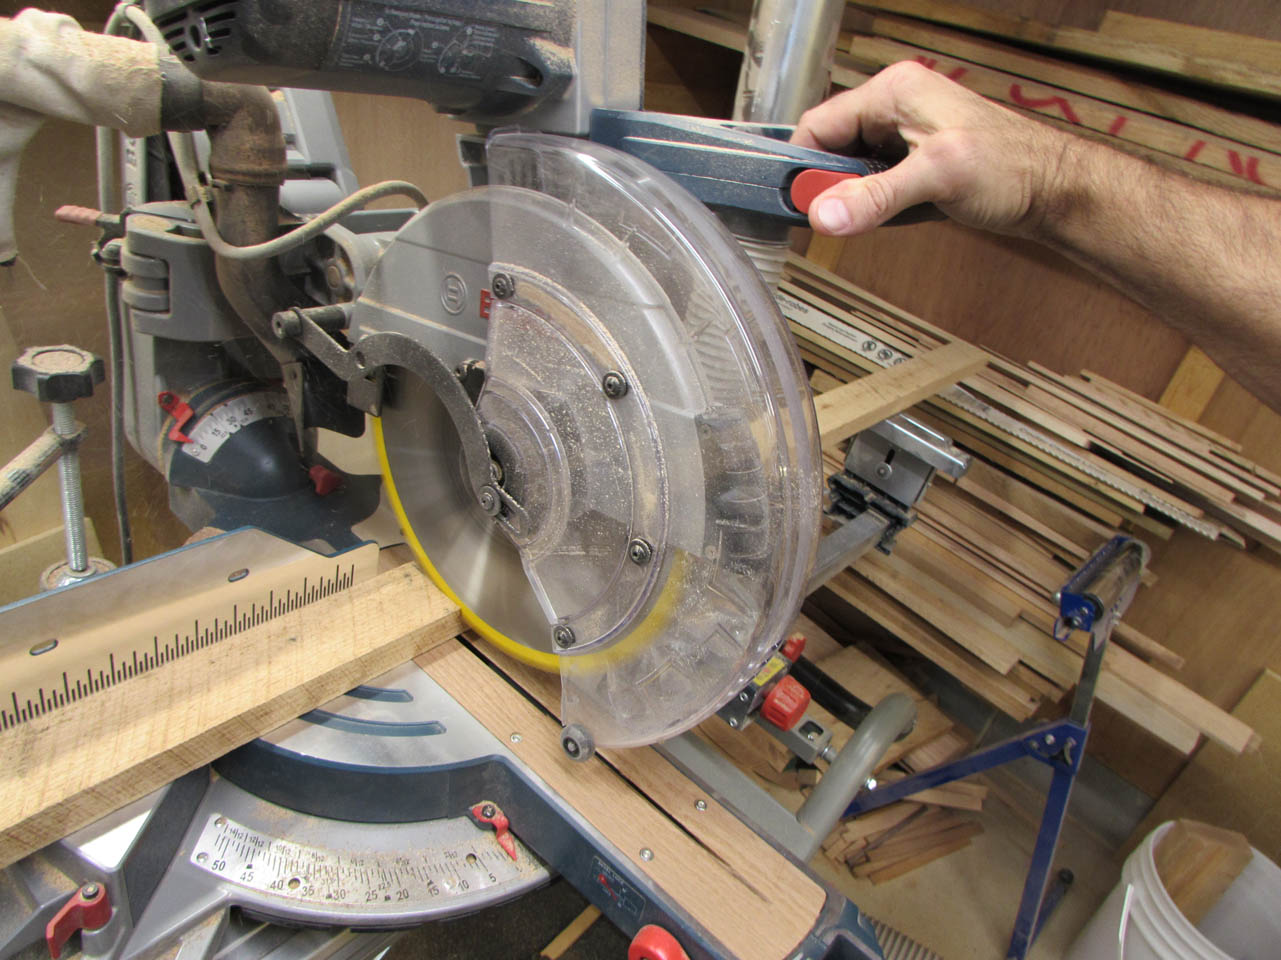
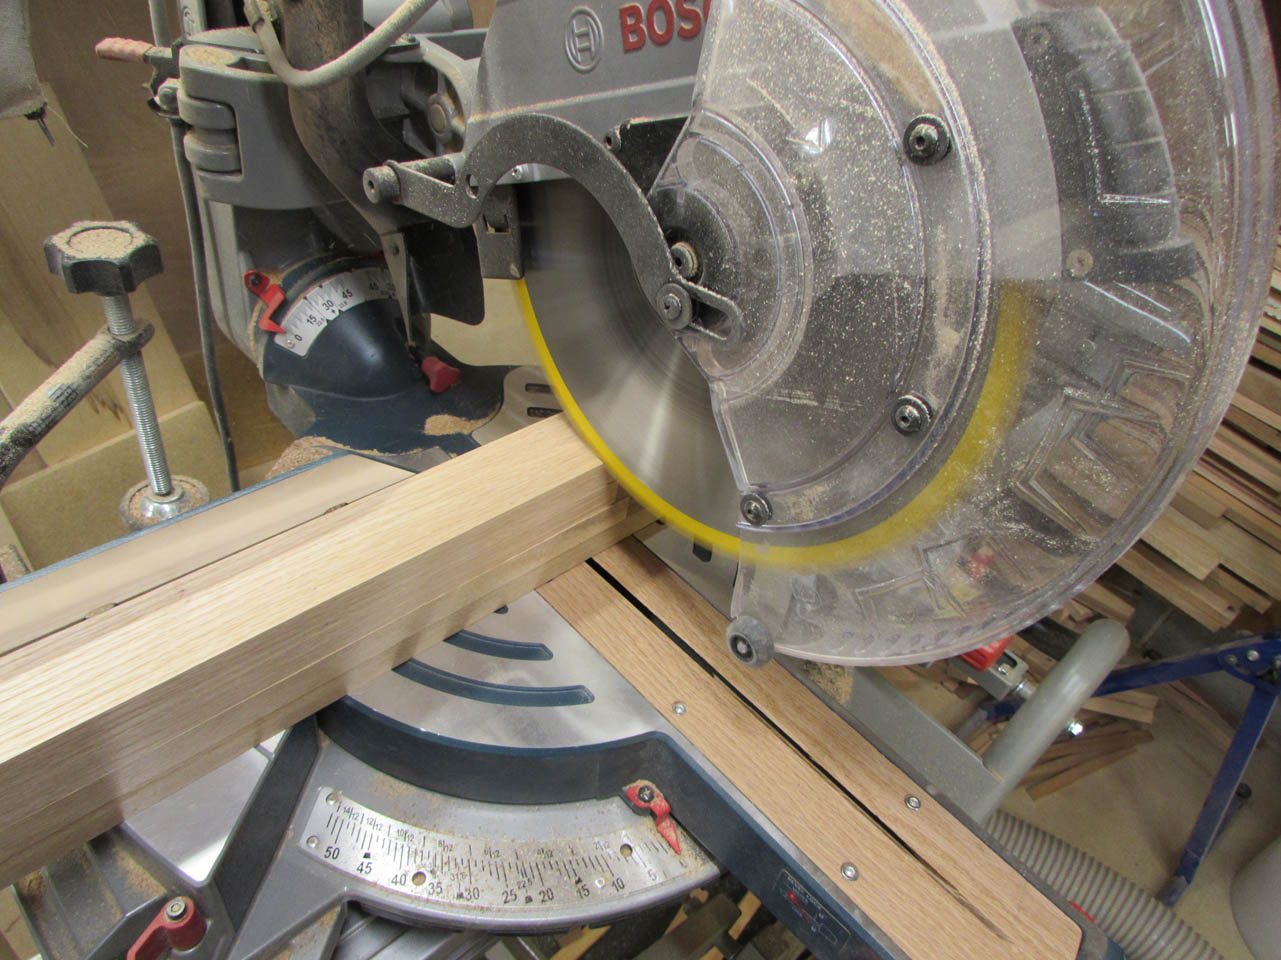
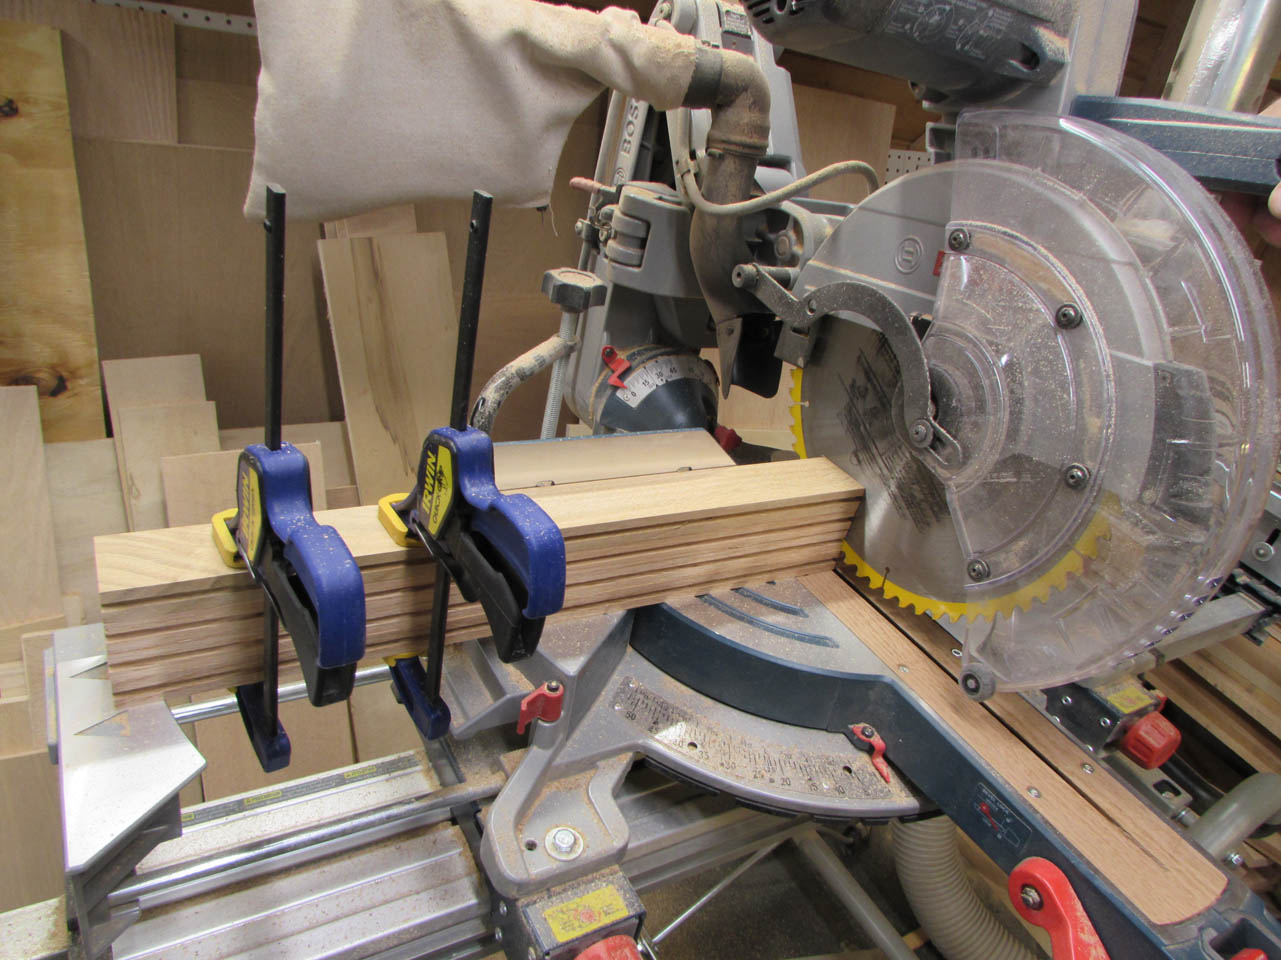
I lined up all four legs and cut them to the exact same length on the miter saw.

Then I grabbed a scrap and cut a couple of test grooves in it until I had the correct size dado to capture the hardboard (about 3/16″).

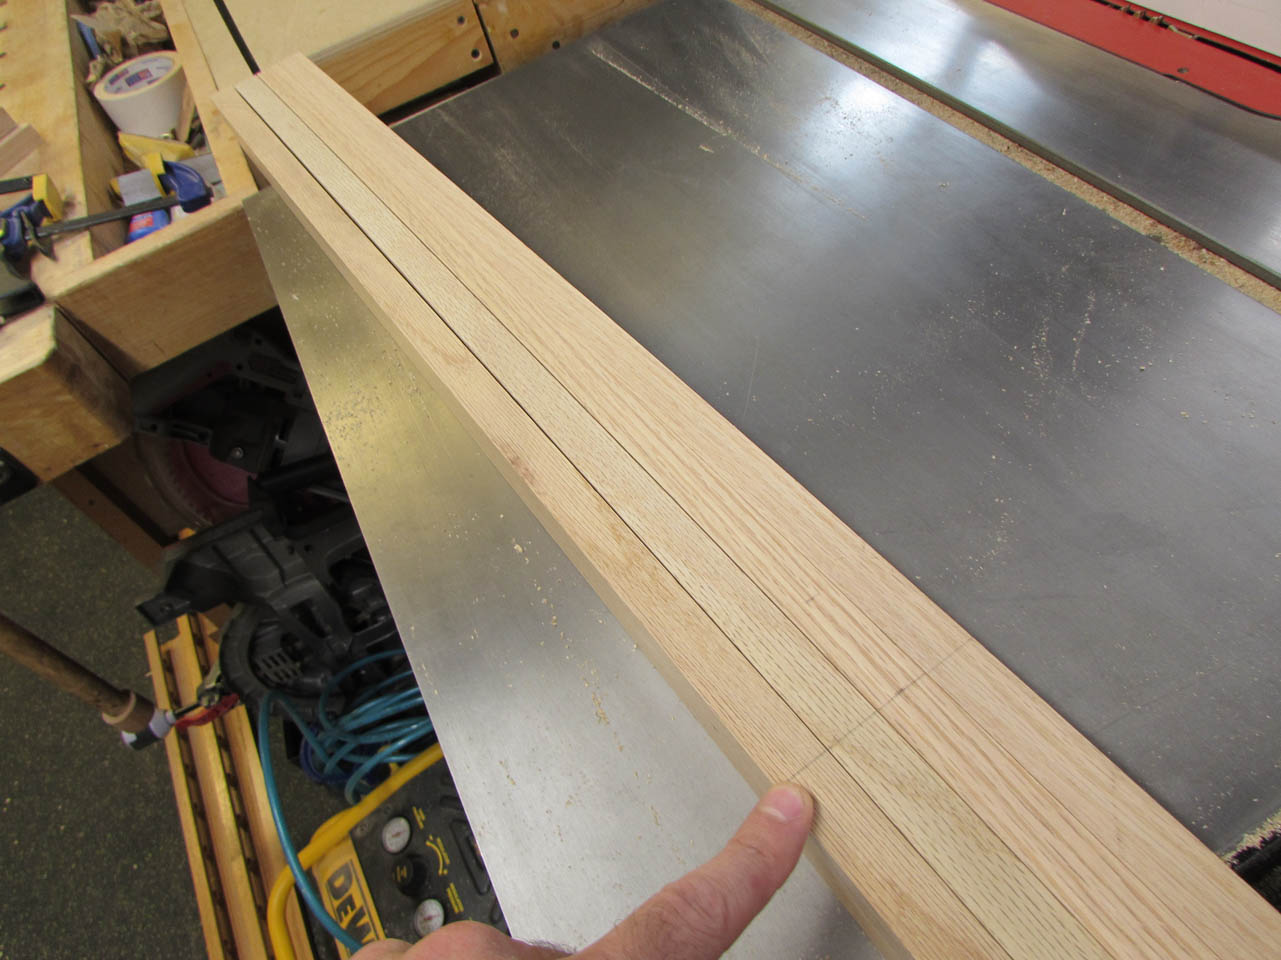
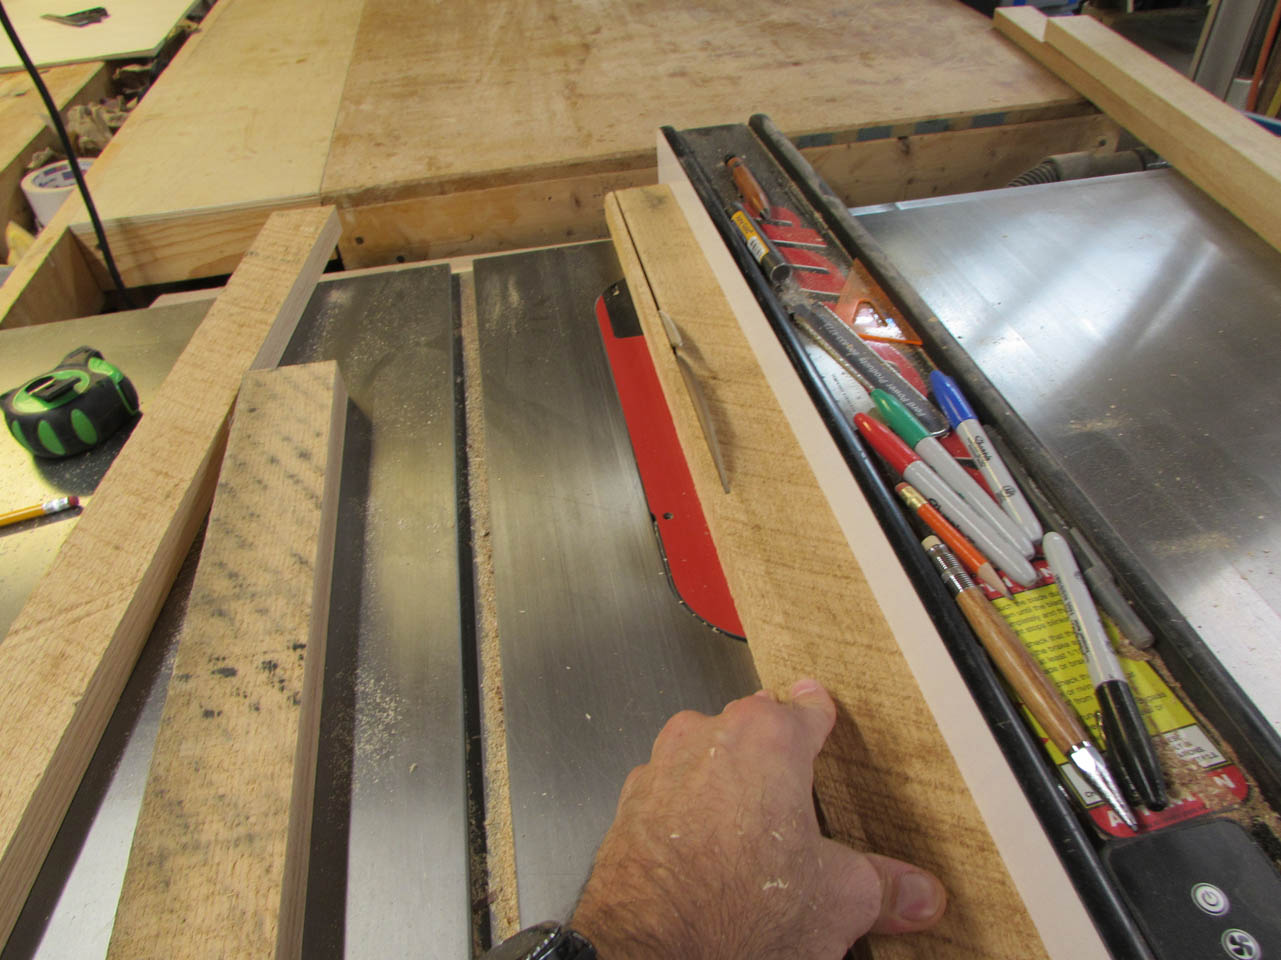
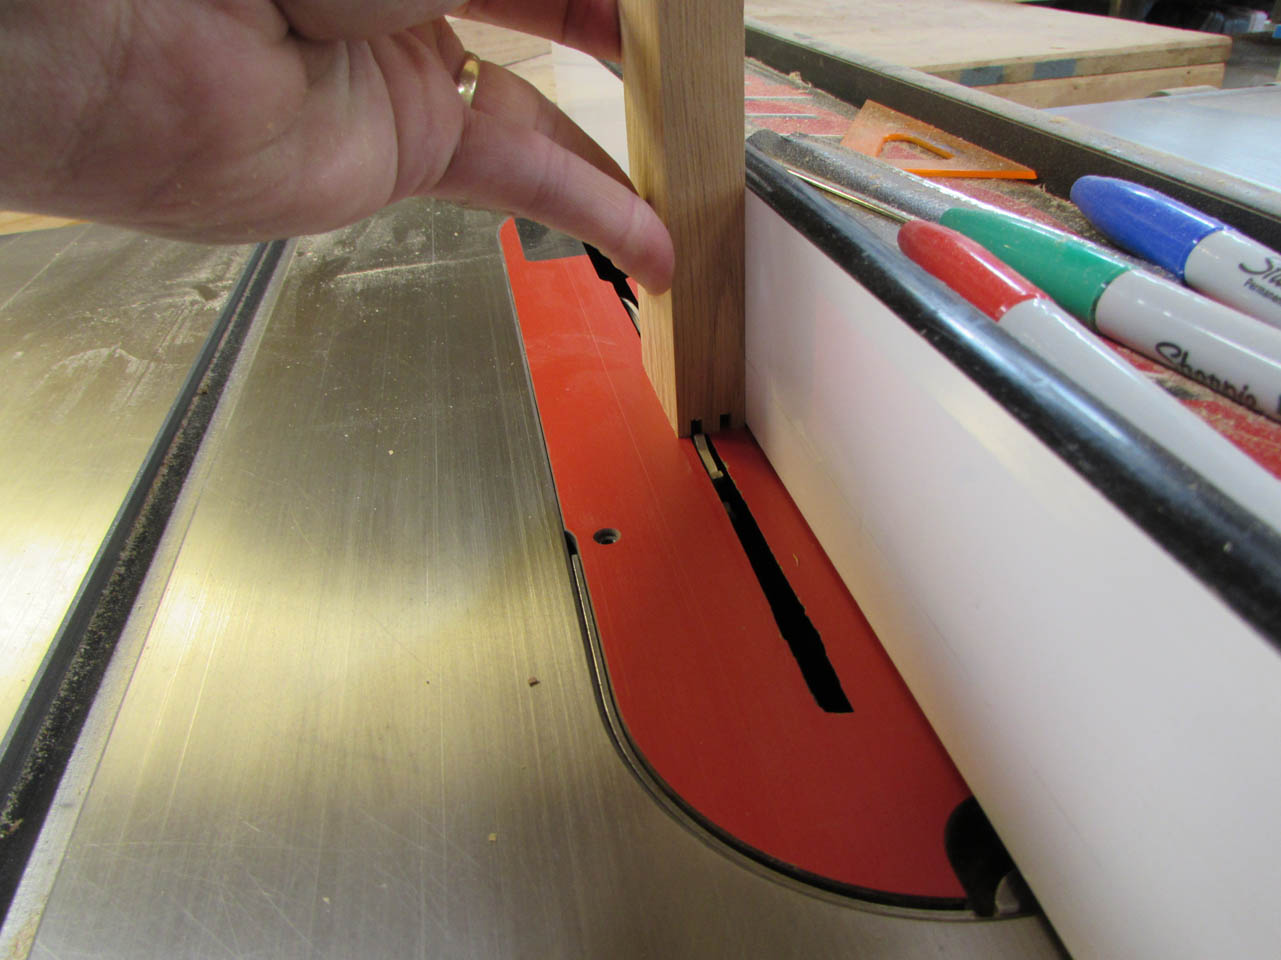
I want to create a stopped dado in the legs so the groove does not appear past the bottom of the chalkboard. To do this, I marked the bottom of my cut on the legs, then put a piece of tape on the table saw fence to indicate where the front of the saw blade was.
I ran the boards through the blade until my mark reached the tape and stopped.

After the legs were cut, I cut the shorter, horizontal pieces, all the way through.

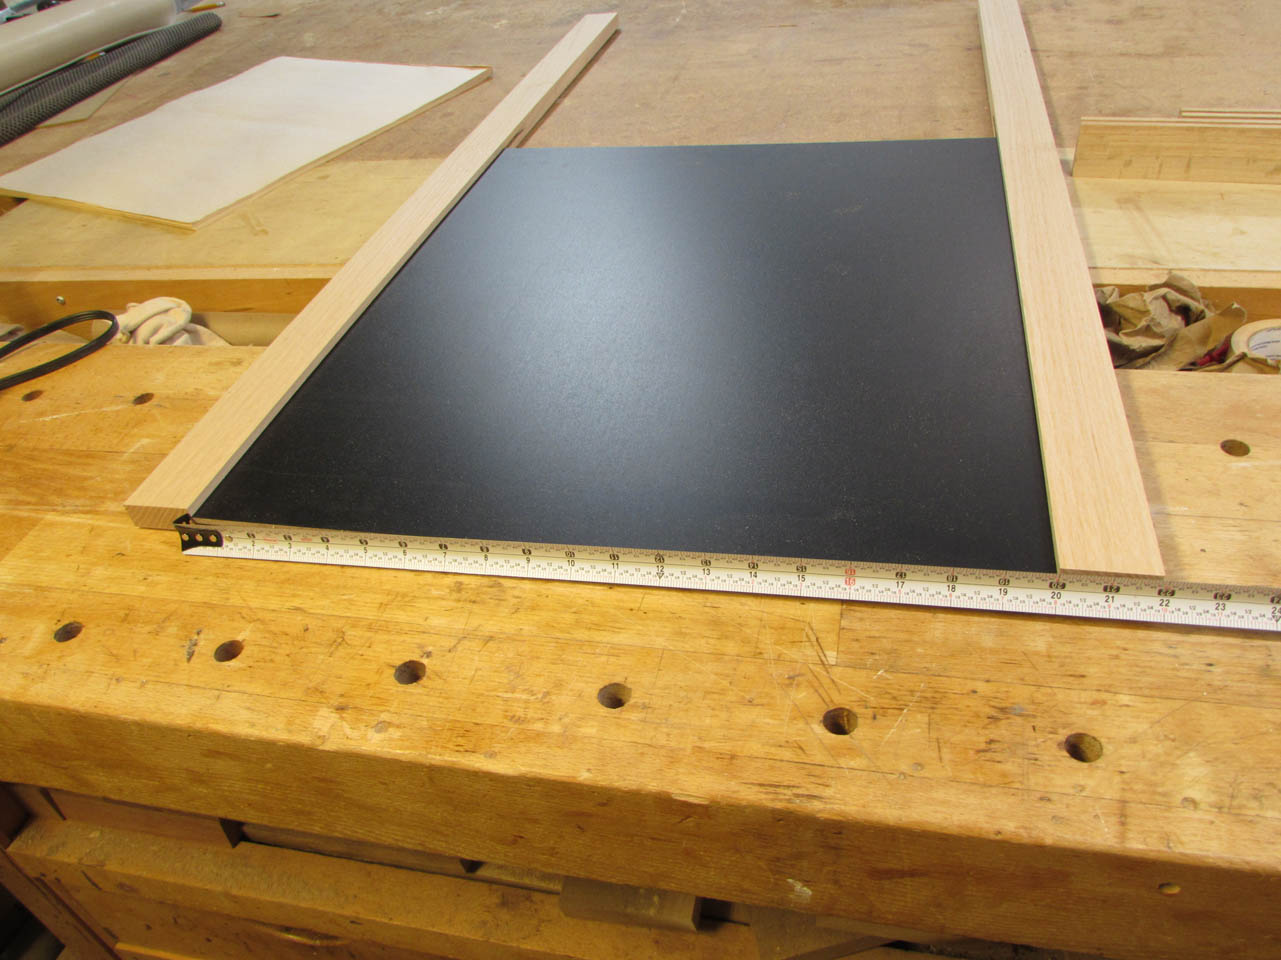
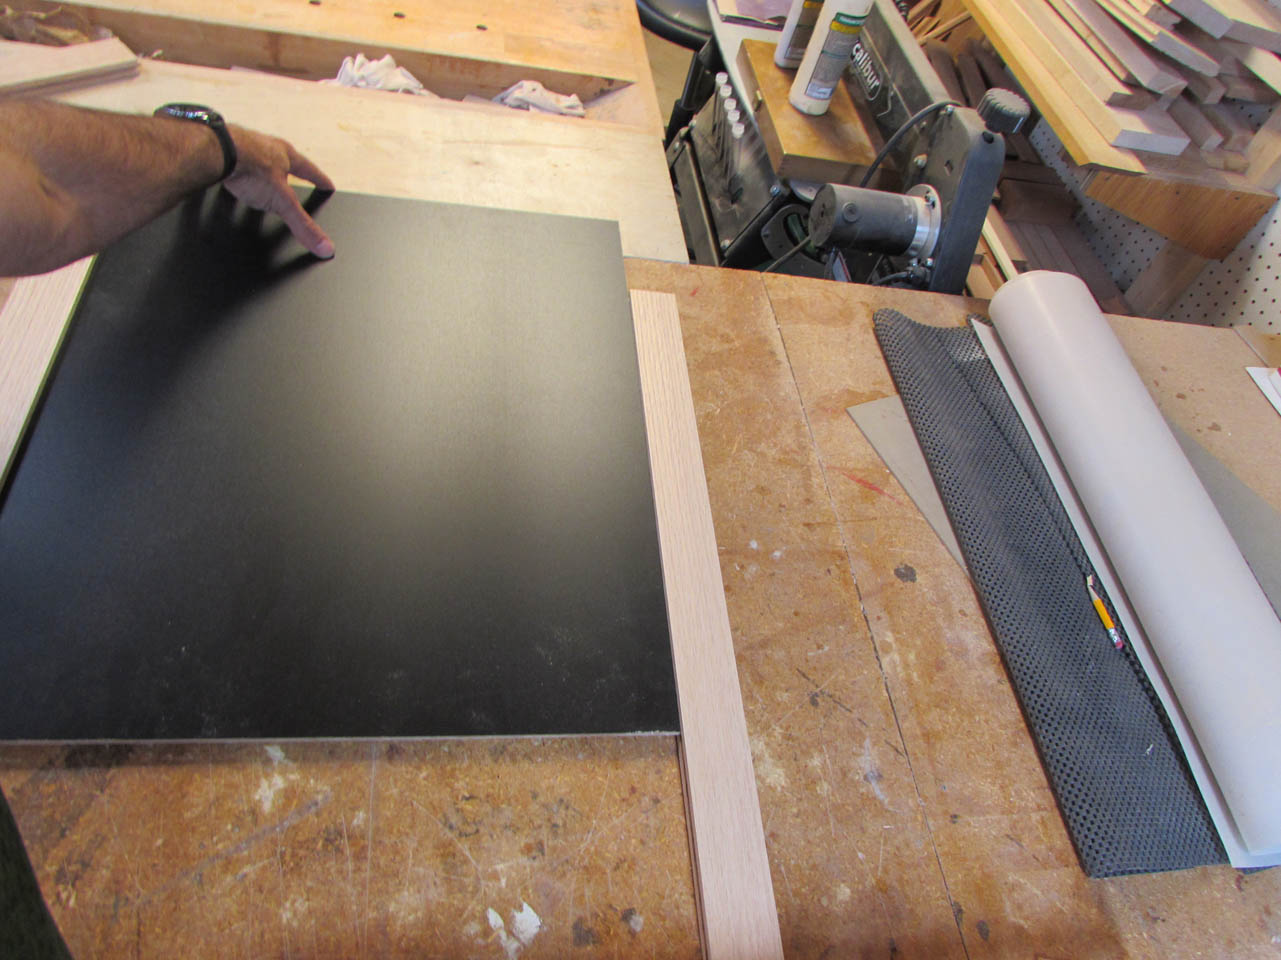
I installed the chalkboard in two of the legs to get a final measurement for the length of the horizontal pieces.
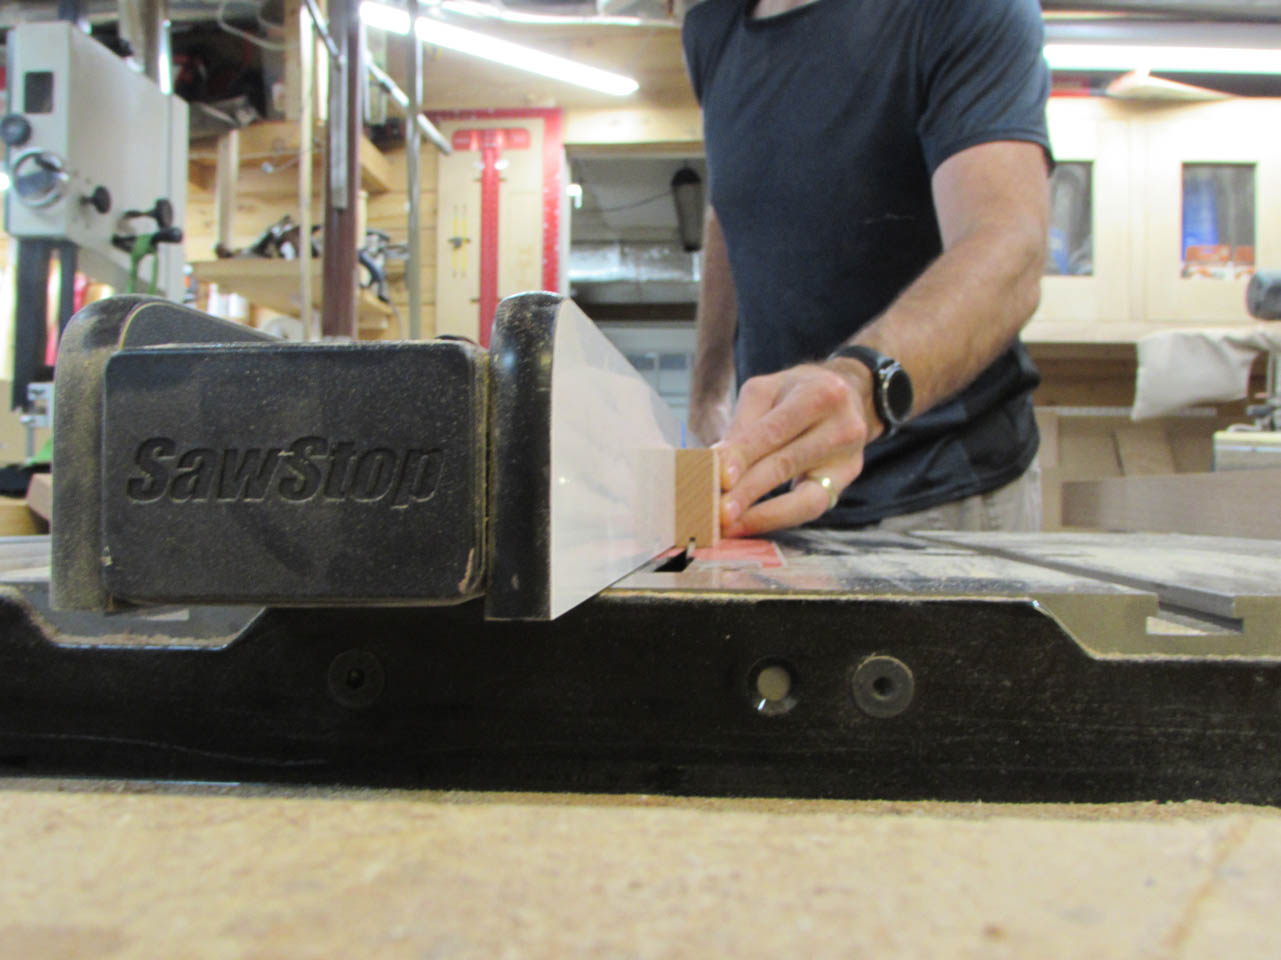
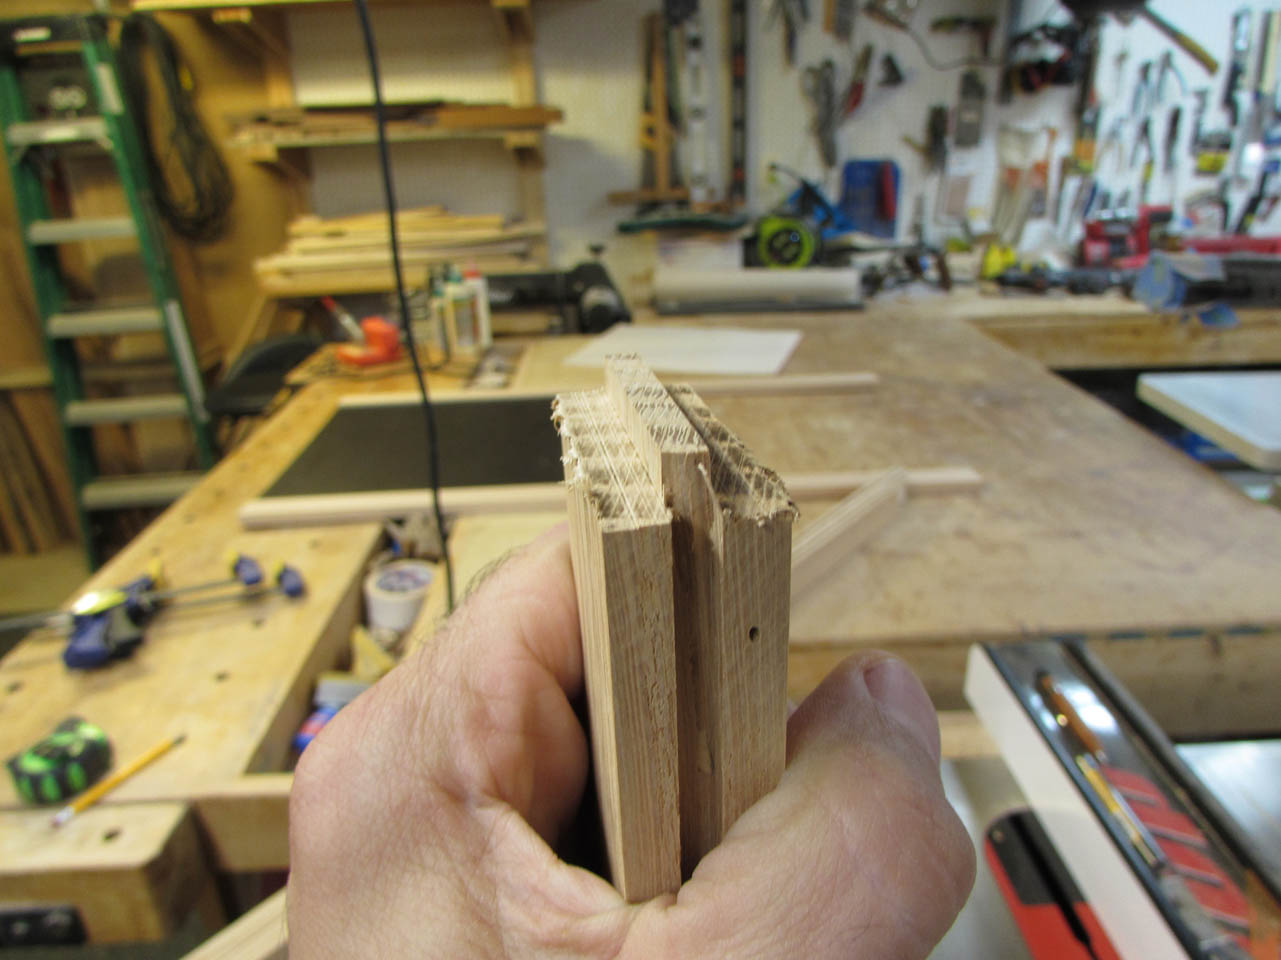
Then I cut them to length and cut away the shoulders of the ends to leave the tongue behind.

With a little sanding, I have a tongue that will fit perfectly into the grooves.

Unfortunately, I used my shoulder dimension as my full length dimension…

No problem, I just reduced the width of the chalkboard by 3/8″ and I had a perfect fit.


To finish squaring up the stopped dadoes, I measured the chalkboard with the top frame piece installed and marked the exact bottom of the dado.
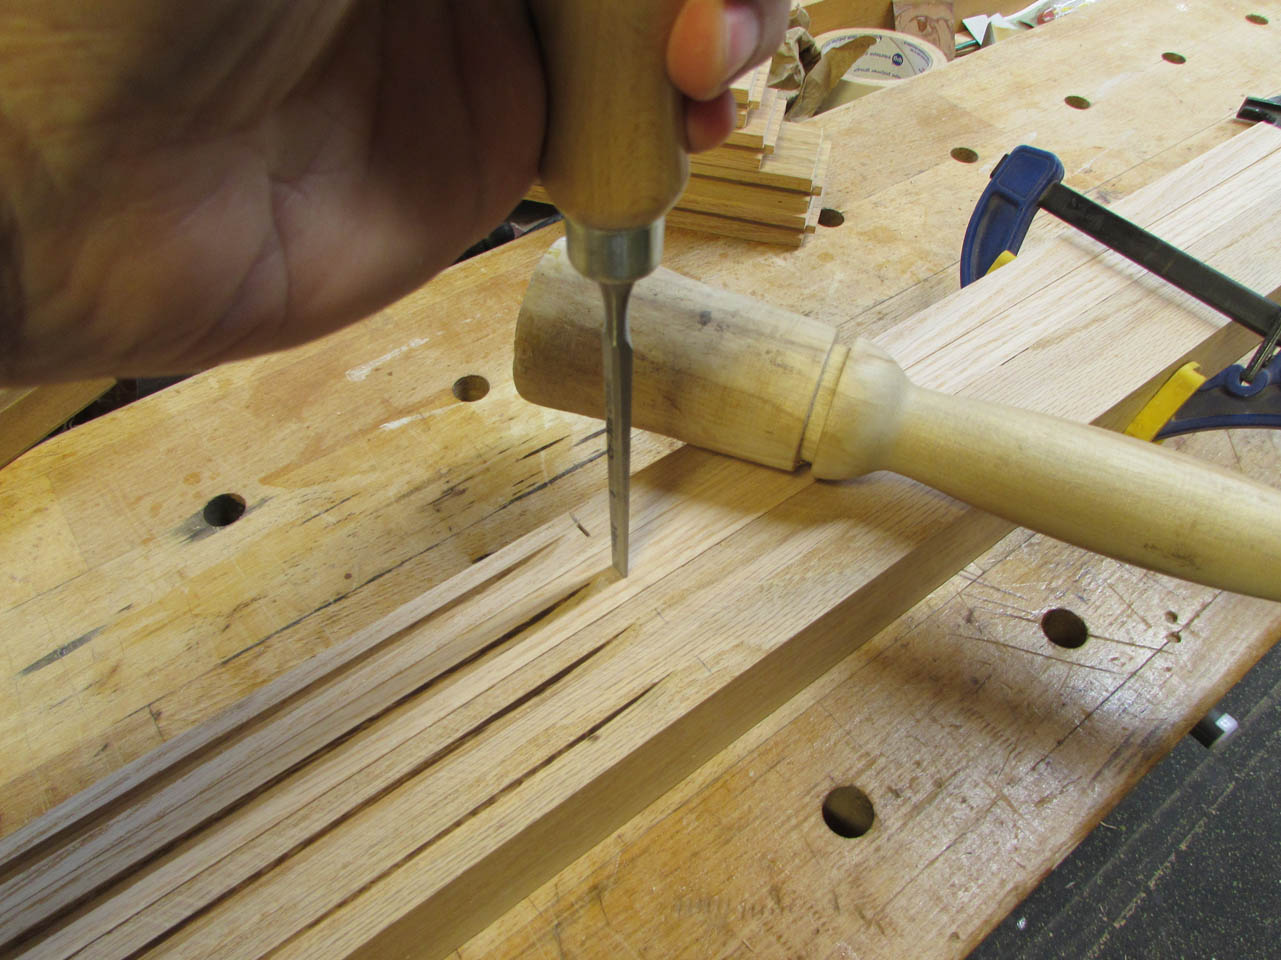
Then I got out my chisels and chopped the rest of the groove out by hand.
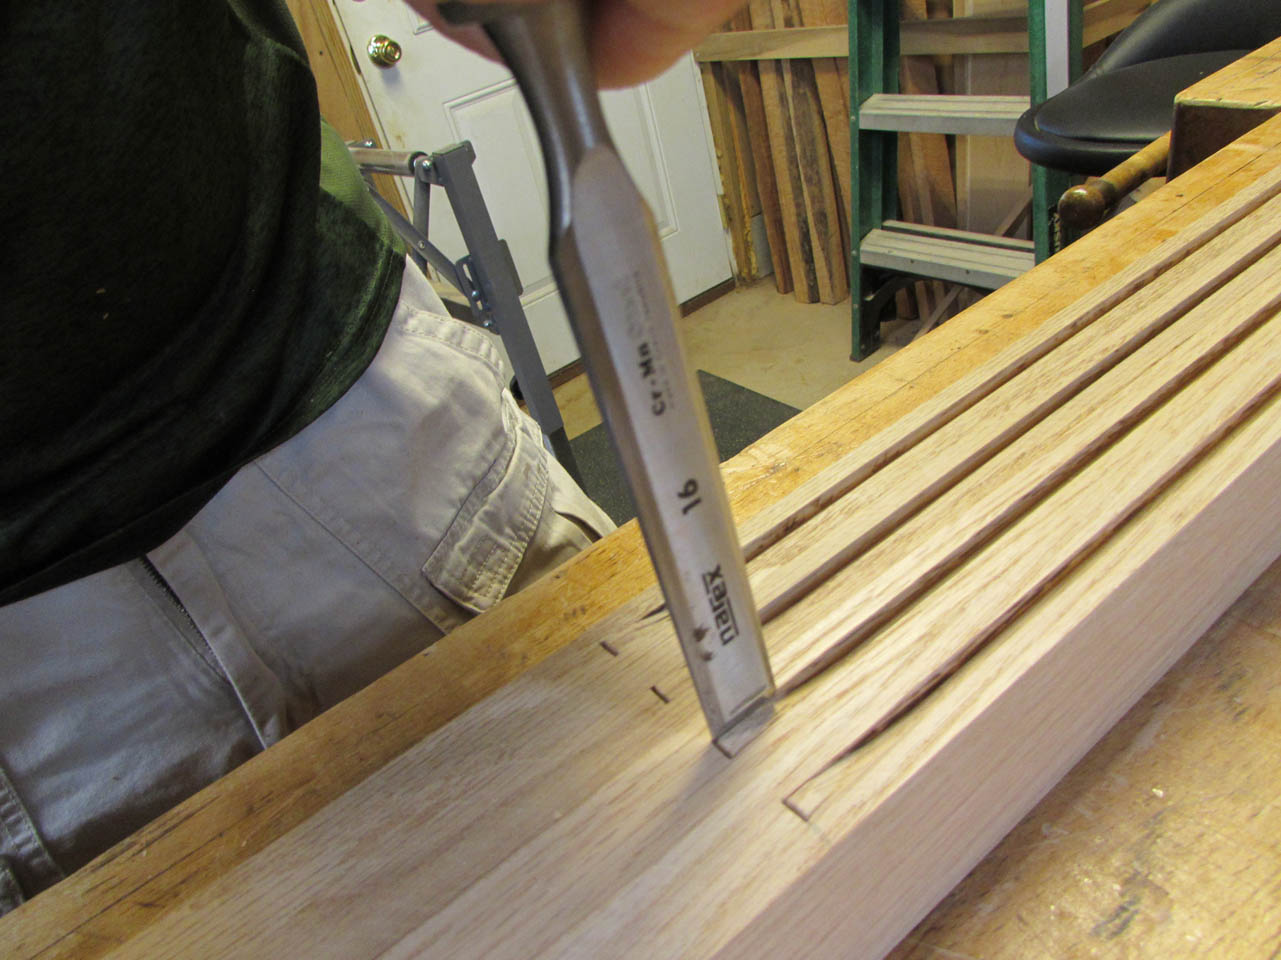
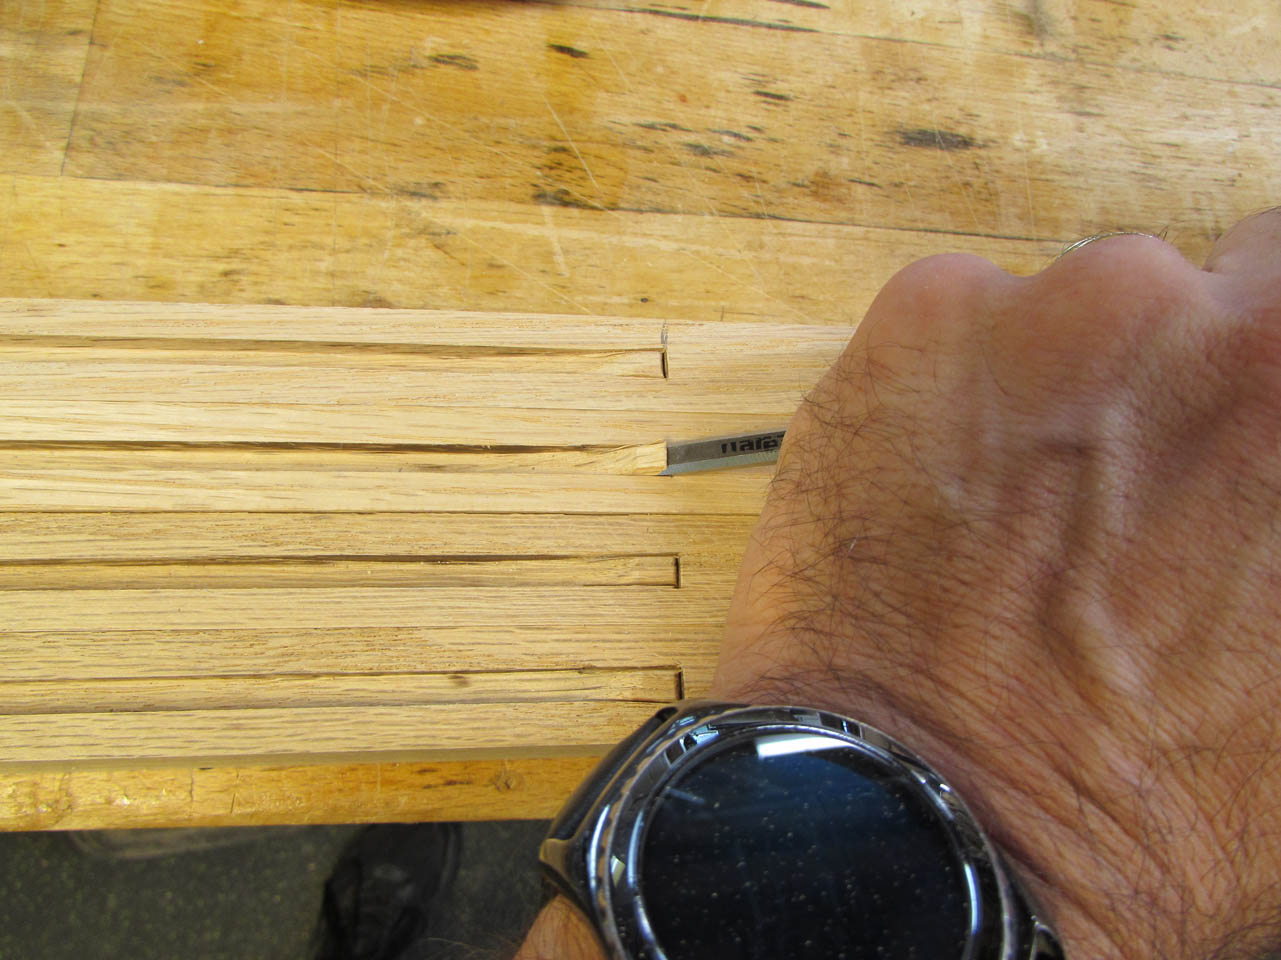
I took my time and tested the fit as I went until I had all four nice and snug joints.
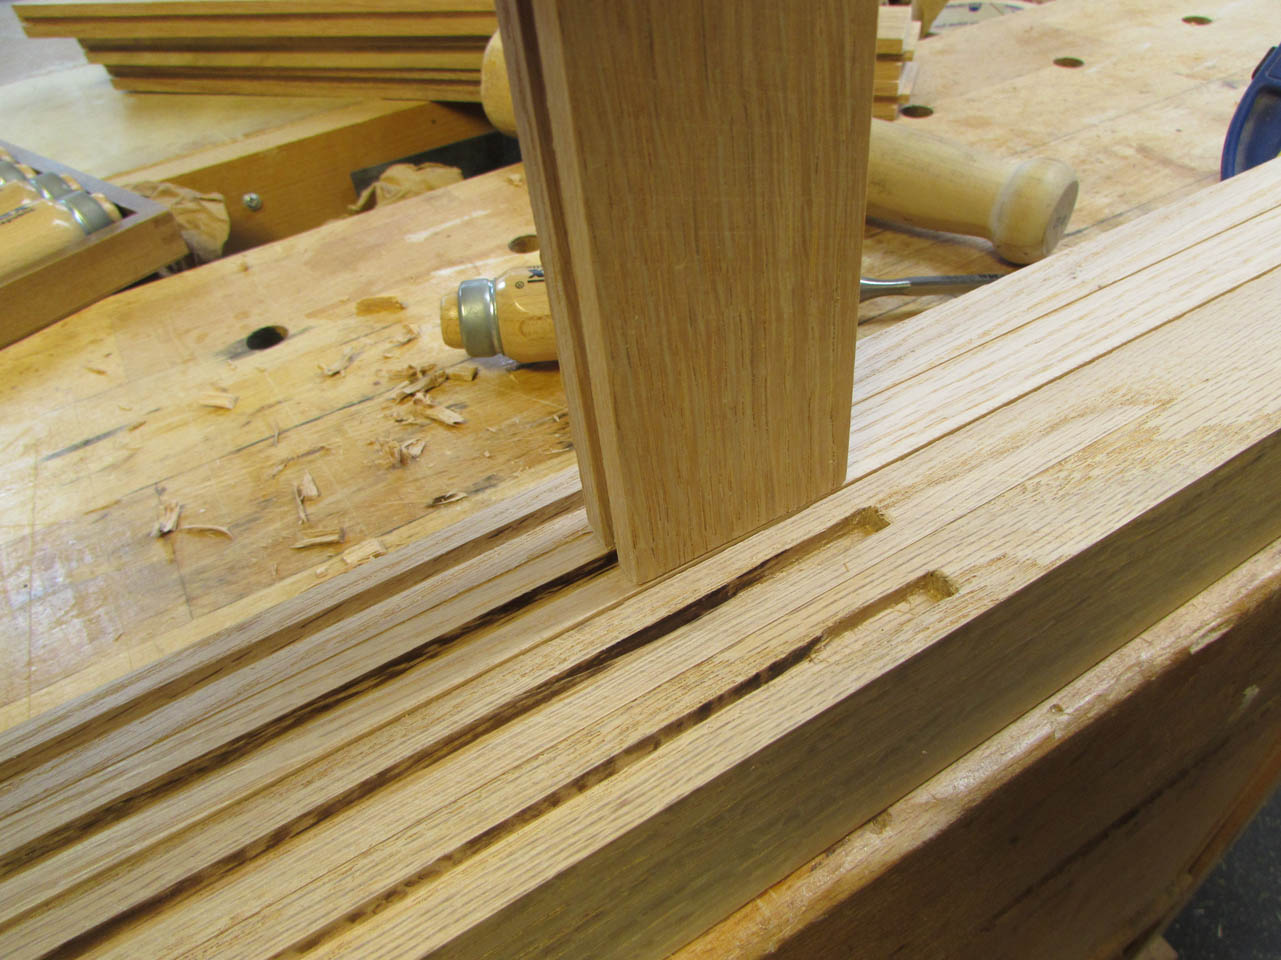

To prevent chalk from building up on the bottom lip, I added a 45° bevel to the bottom horizontal piece with my router table.

After a successful dry-fit, I mixed up some epoxy to apply to the hand-cut end of the dado.
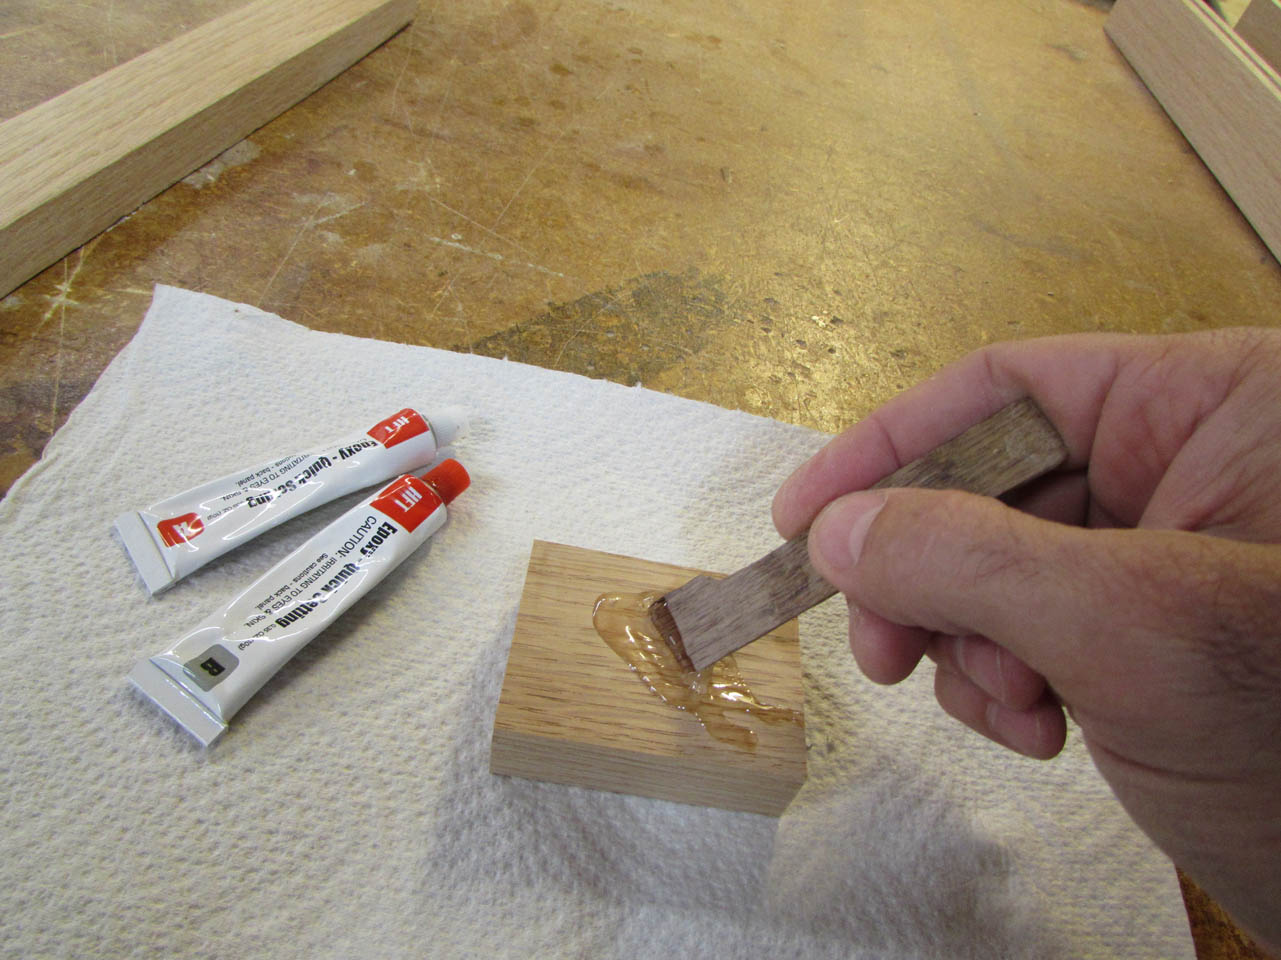
Since hand-cutting the groove is not perfect, the epoxy will fill the gaps and give a good, tight bond.


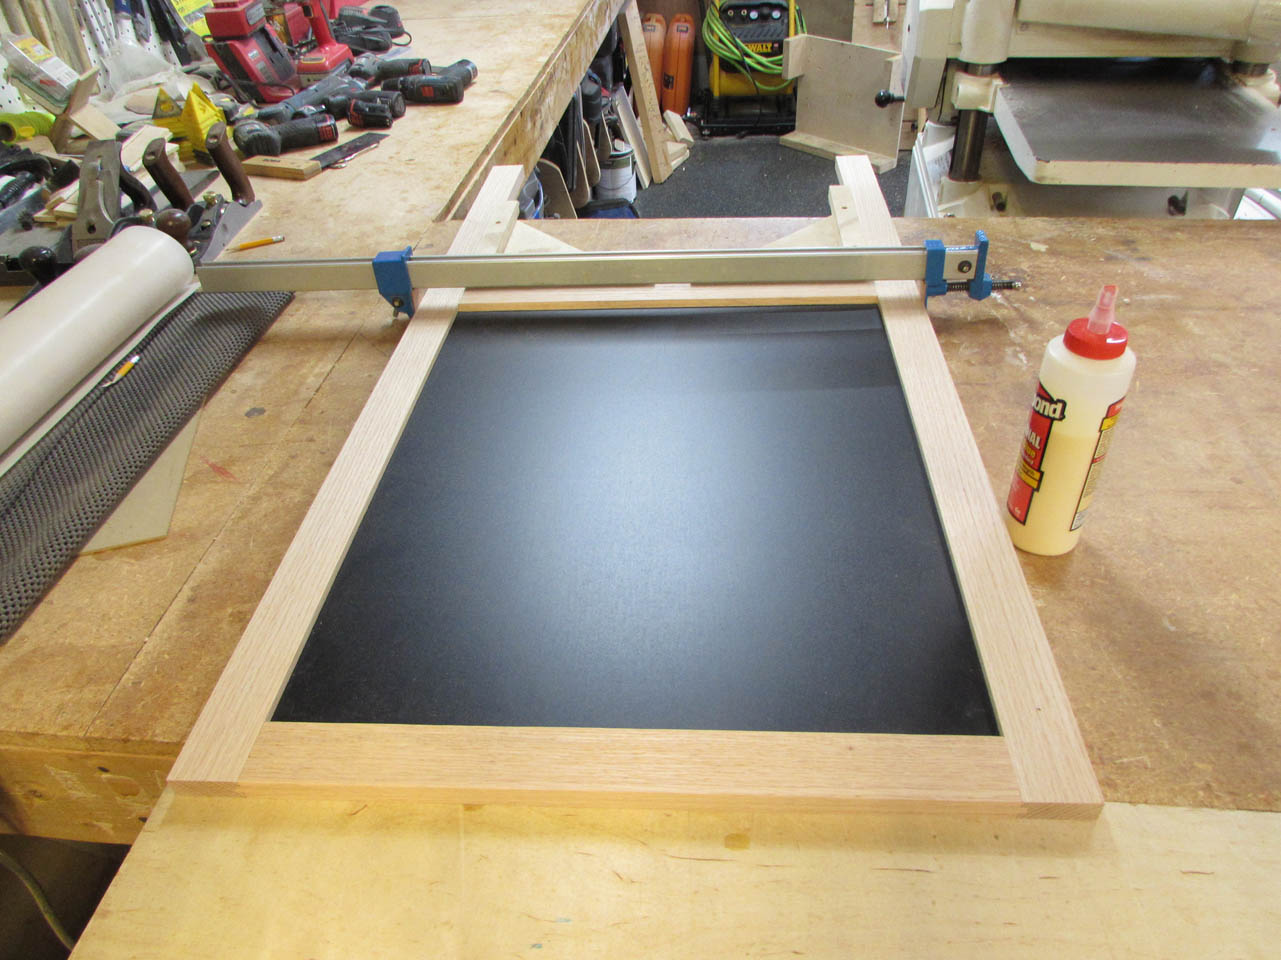
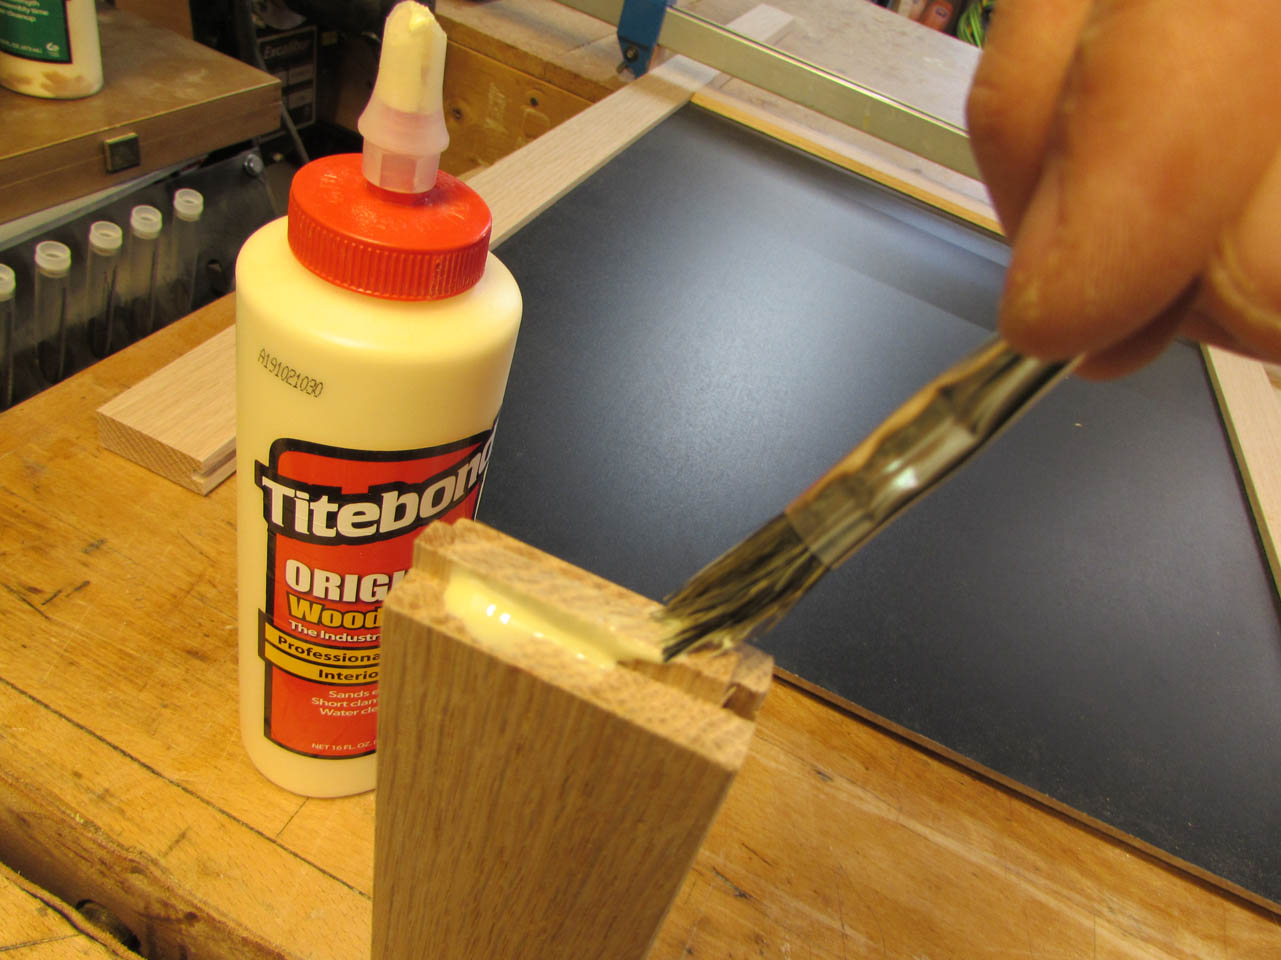
Once that side was squared up and clamped, I slid the chalkboard into place.

When it was fully seated, I applied wood glue to the top piece and clamped it in as well.
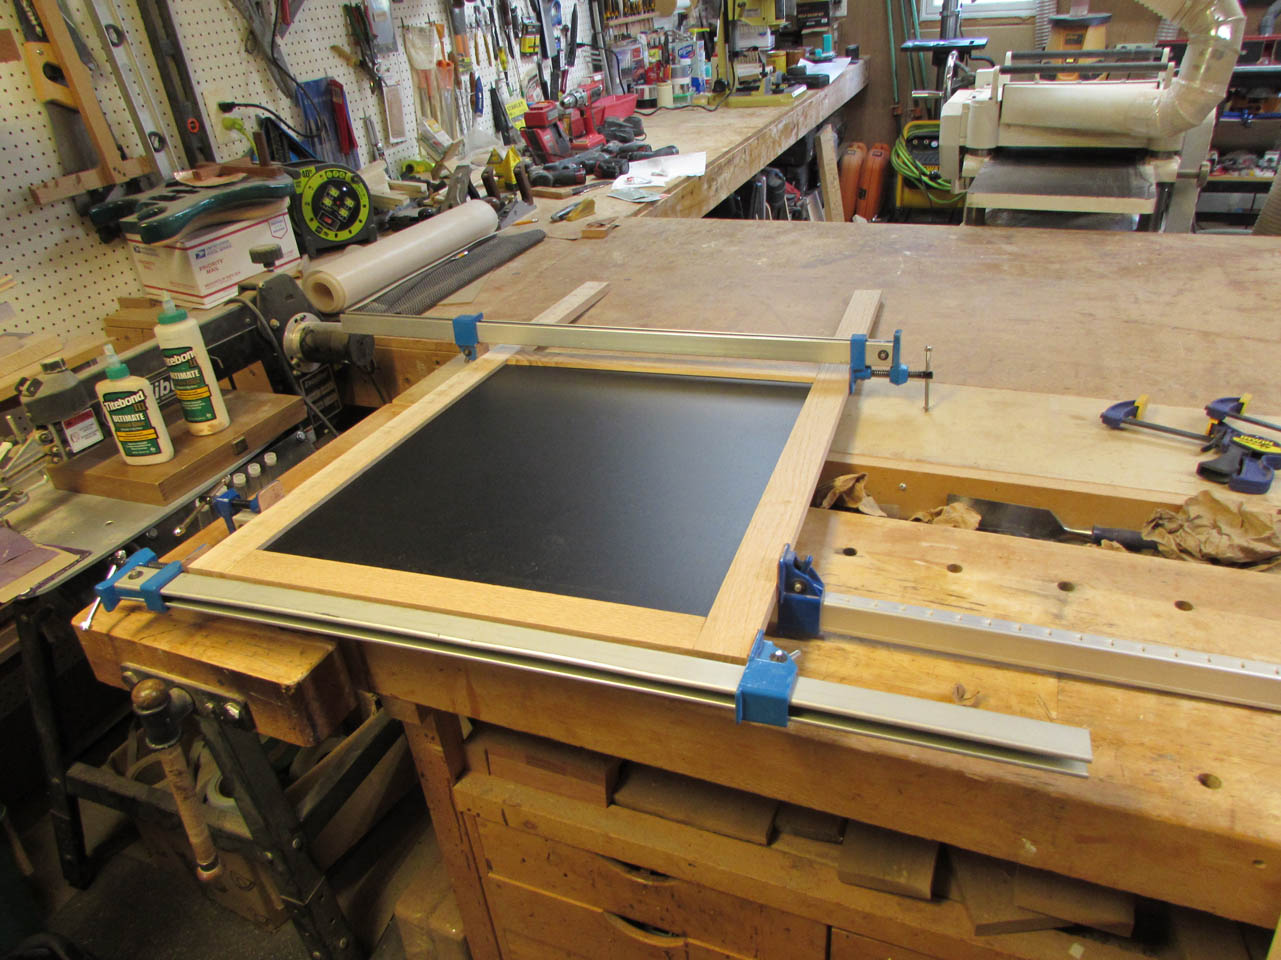
I repeated the process for the second one.

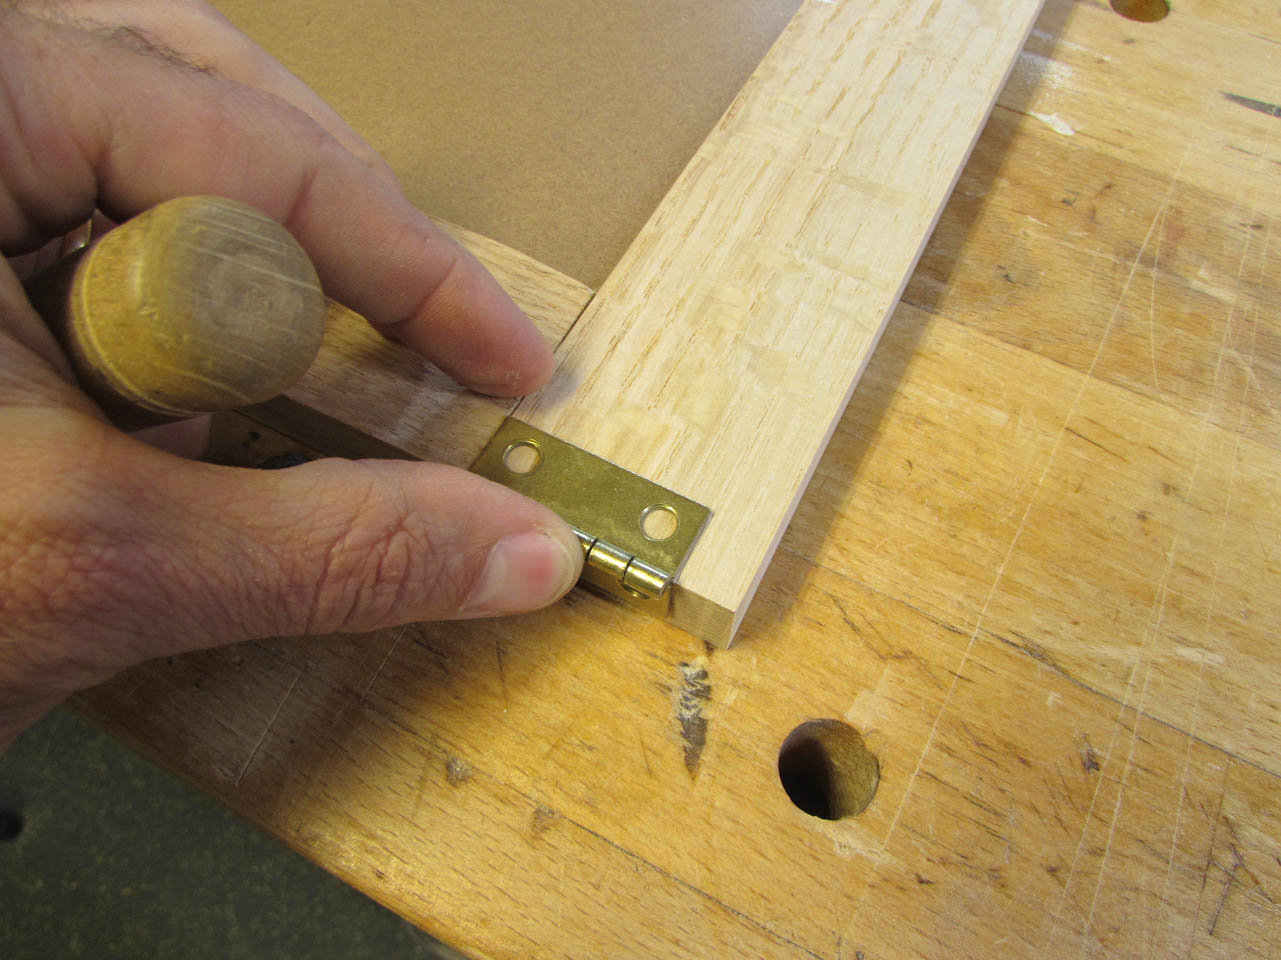
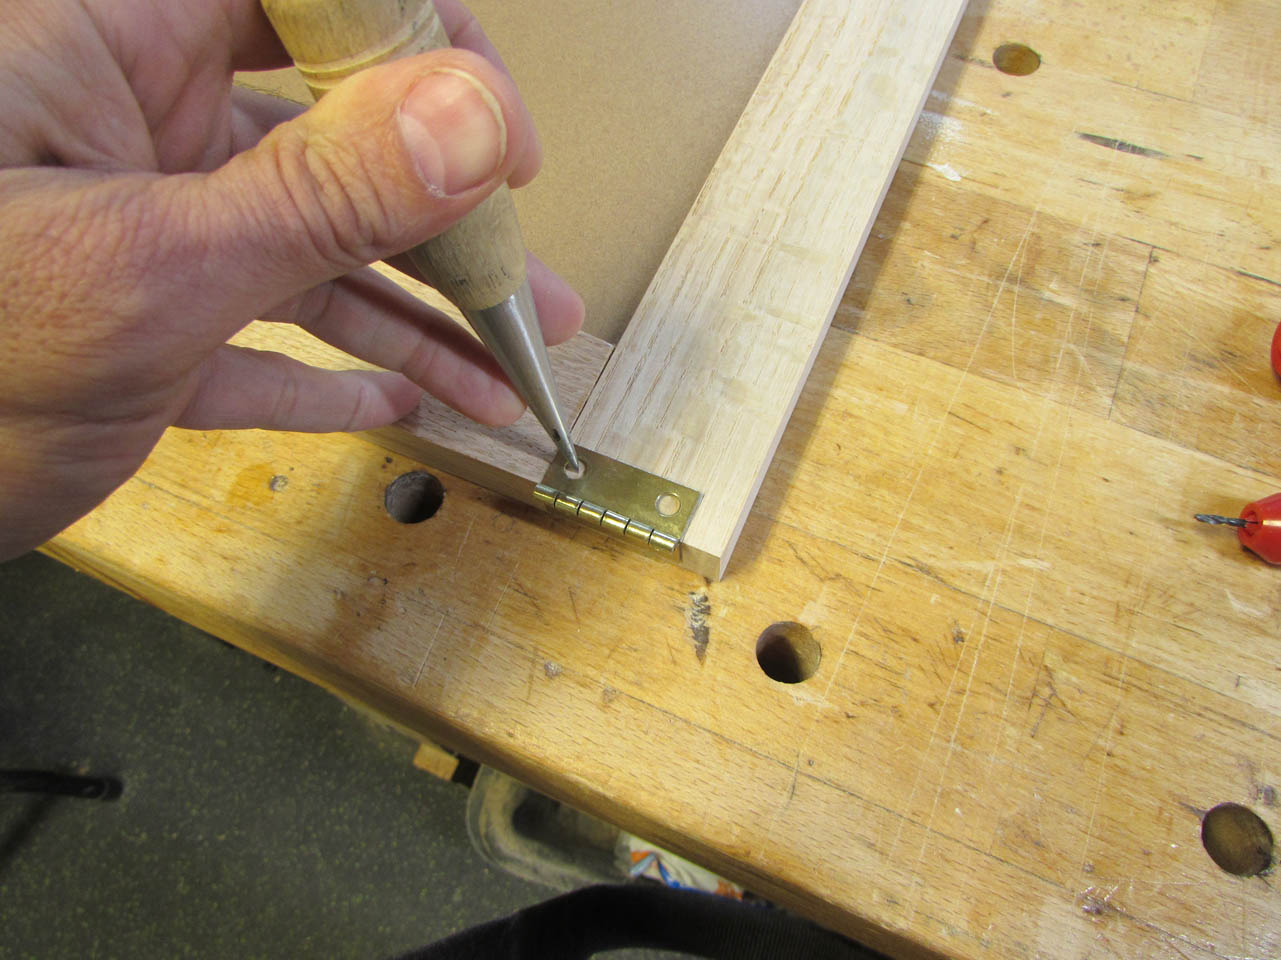
When both frames were dry, I located the hinges at the top and used an awl to punch a center point for the screws.

I just bought a couple of these adjustable drill stops to try. I can locate them along the drill bit to create a stop point so they won’t drill through the face of the frame.

They worked well and I was able to drill all of my pilot holes without accidentally drilling through the board.
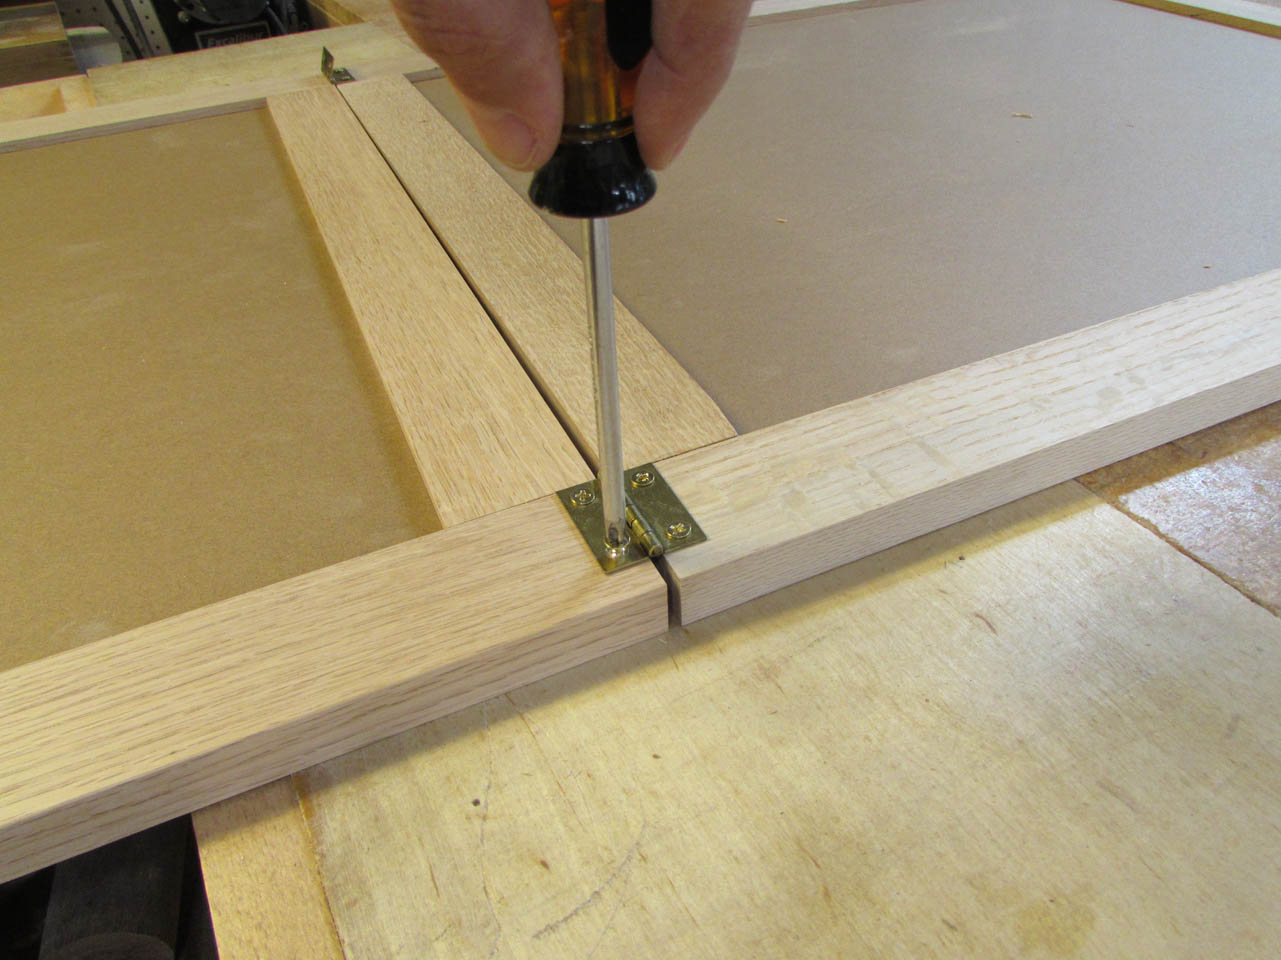
I carefully installed the screws by hand to avoid stripping the screw or splitting the wood.

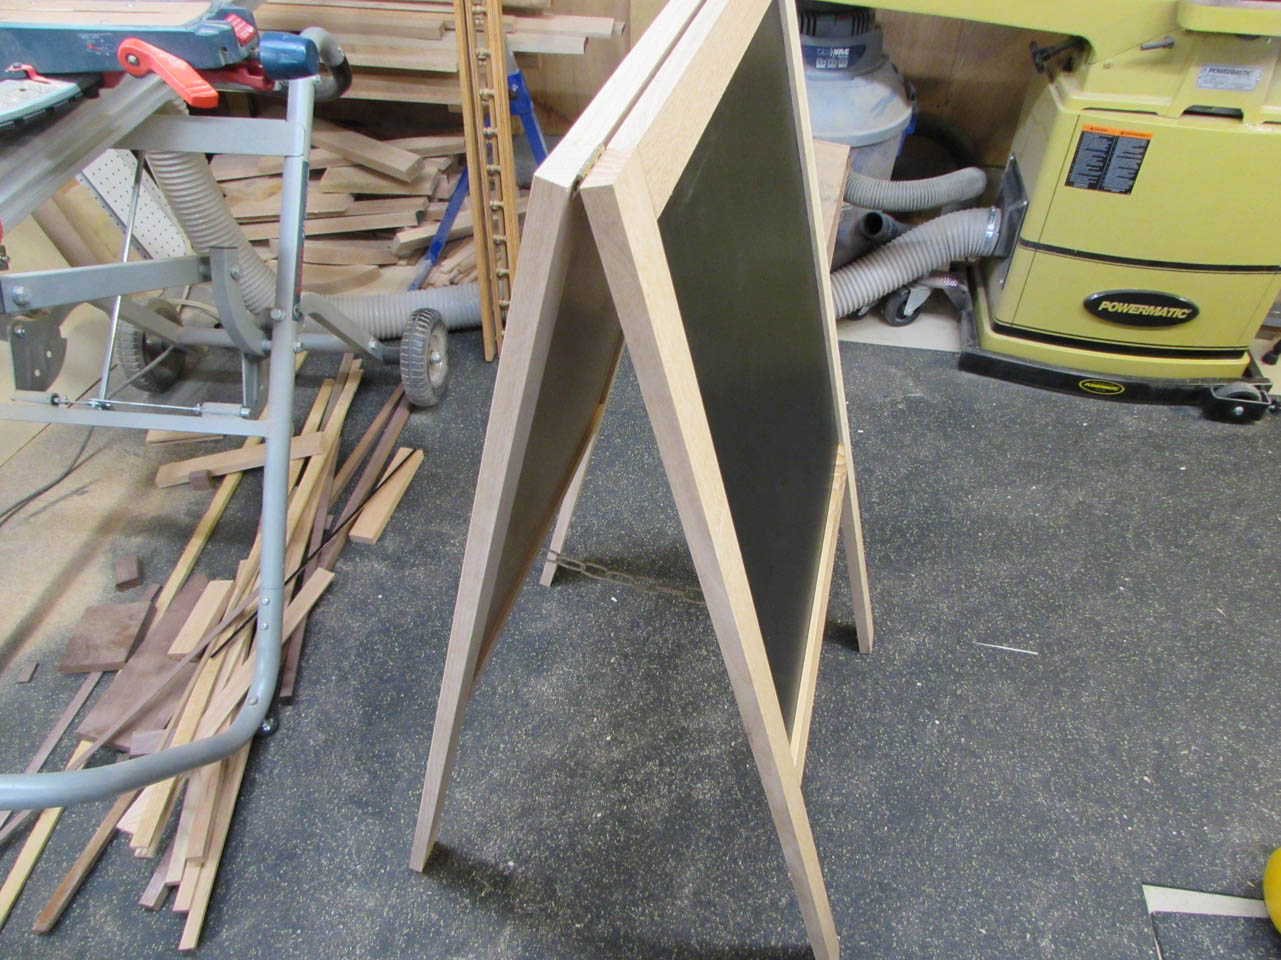
The hinge works well, but I needed something to set the open angle.


I found a couple of small hook eyes and a short length of chain. This allows me to fold up the board for storage and transport, and to open it up, to stand.

Next, I used my block plane and sanding block to break all of the sharp edges.
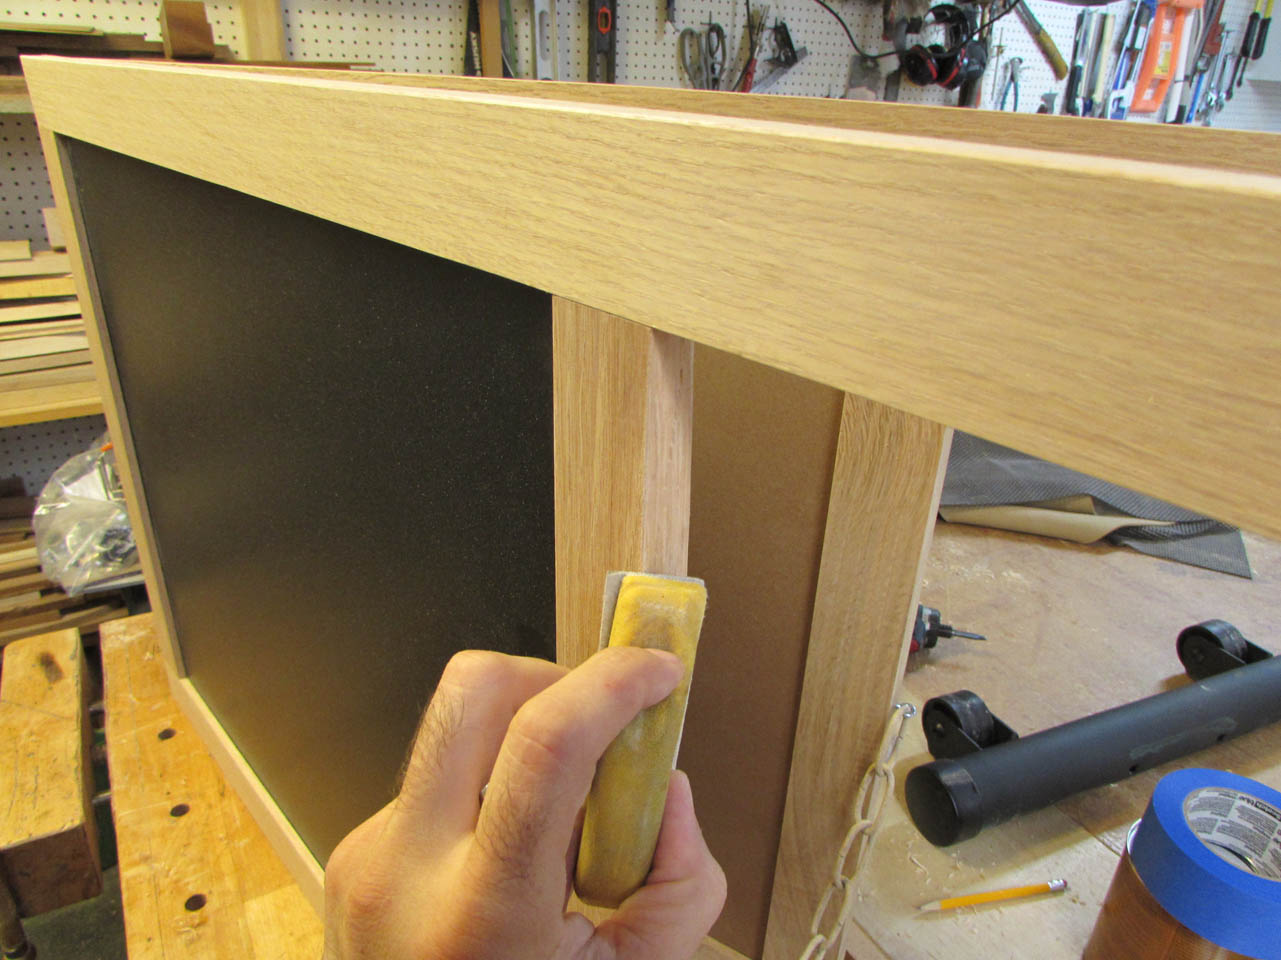

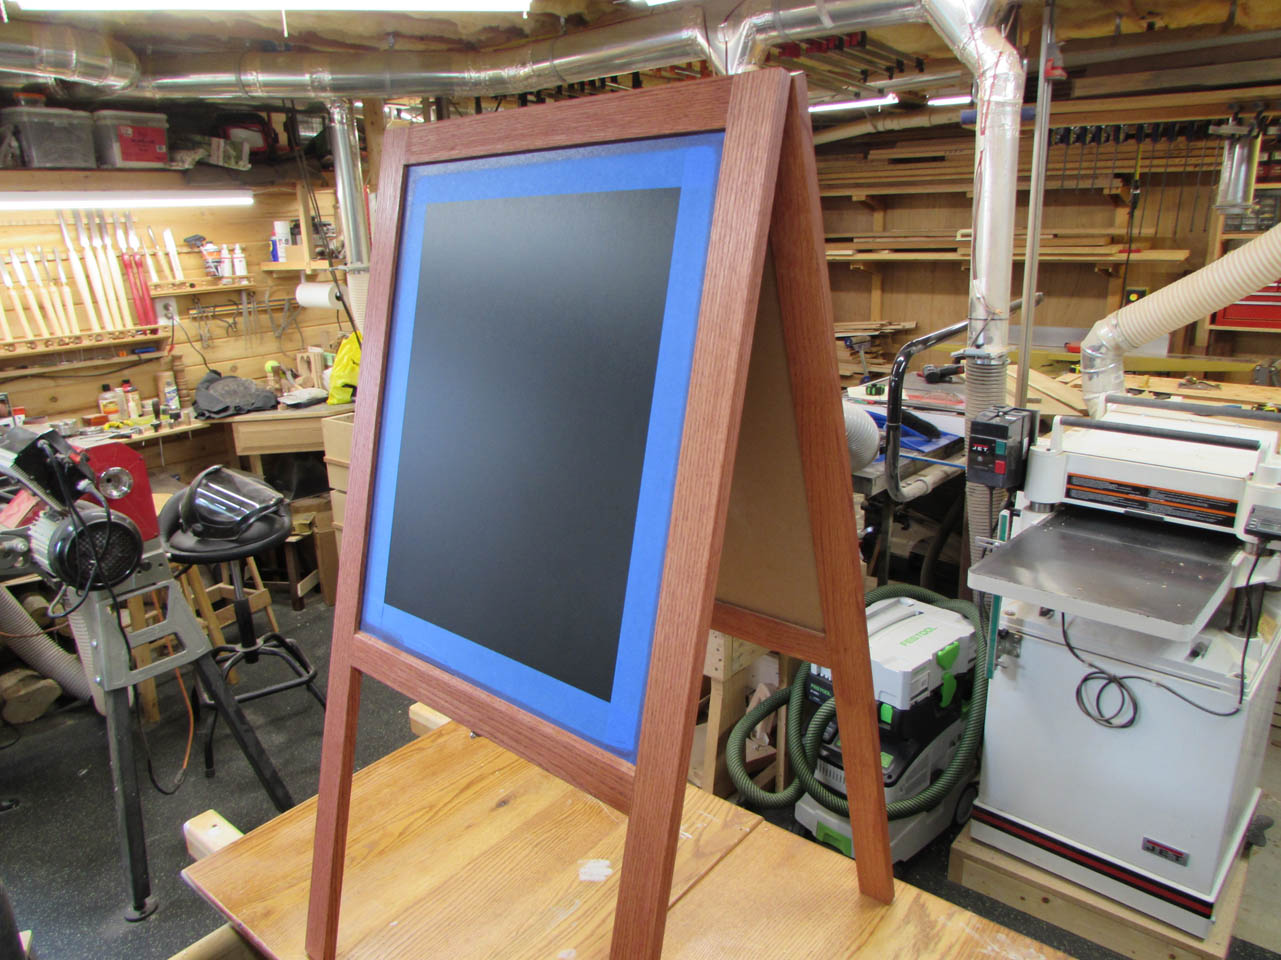
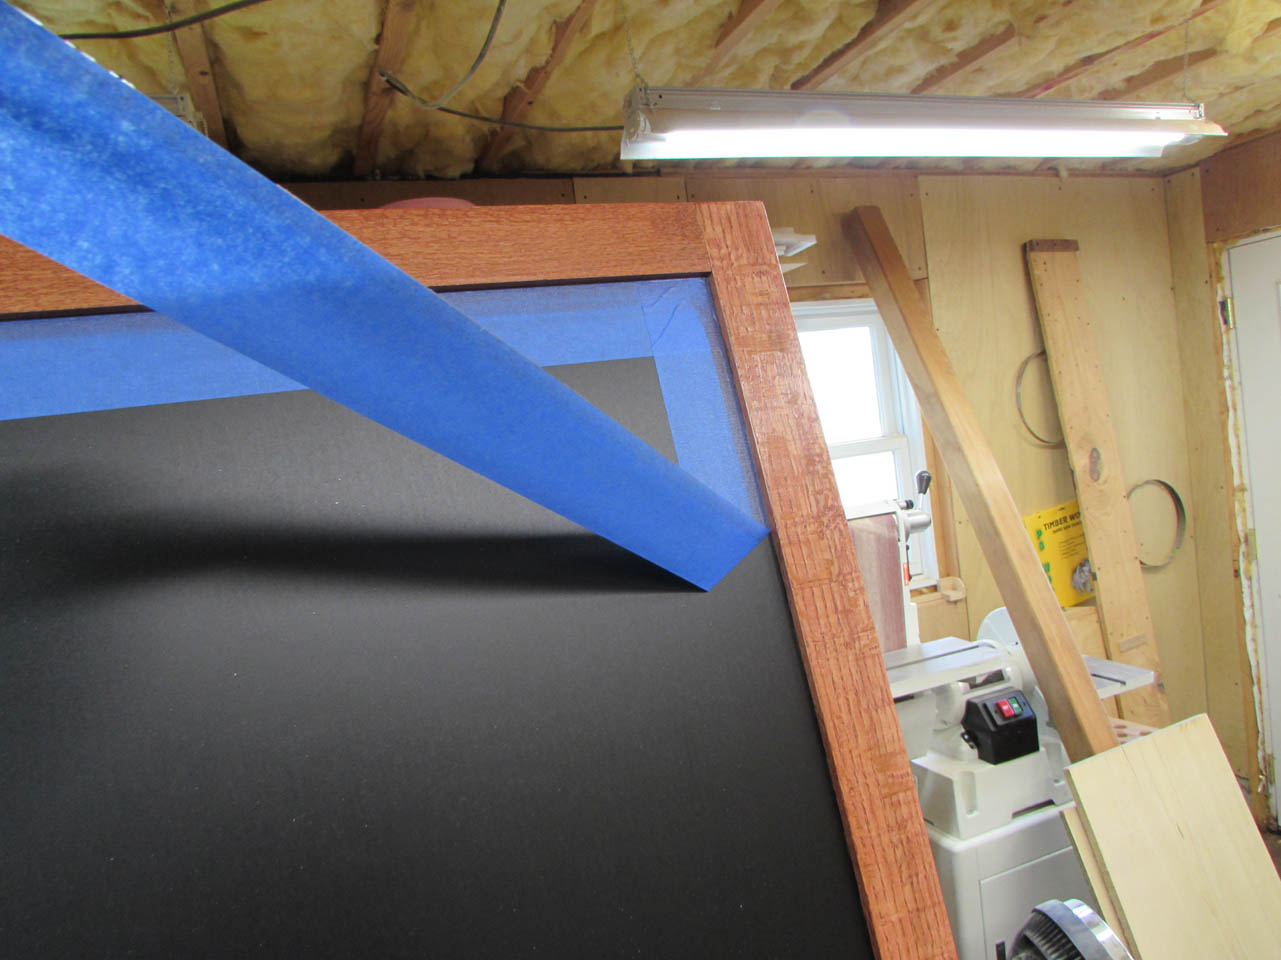
Then I applied masking around the edges of the chalkboards.


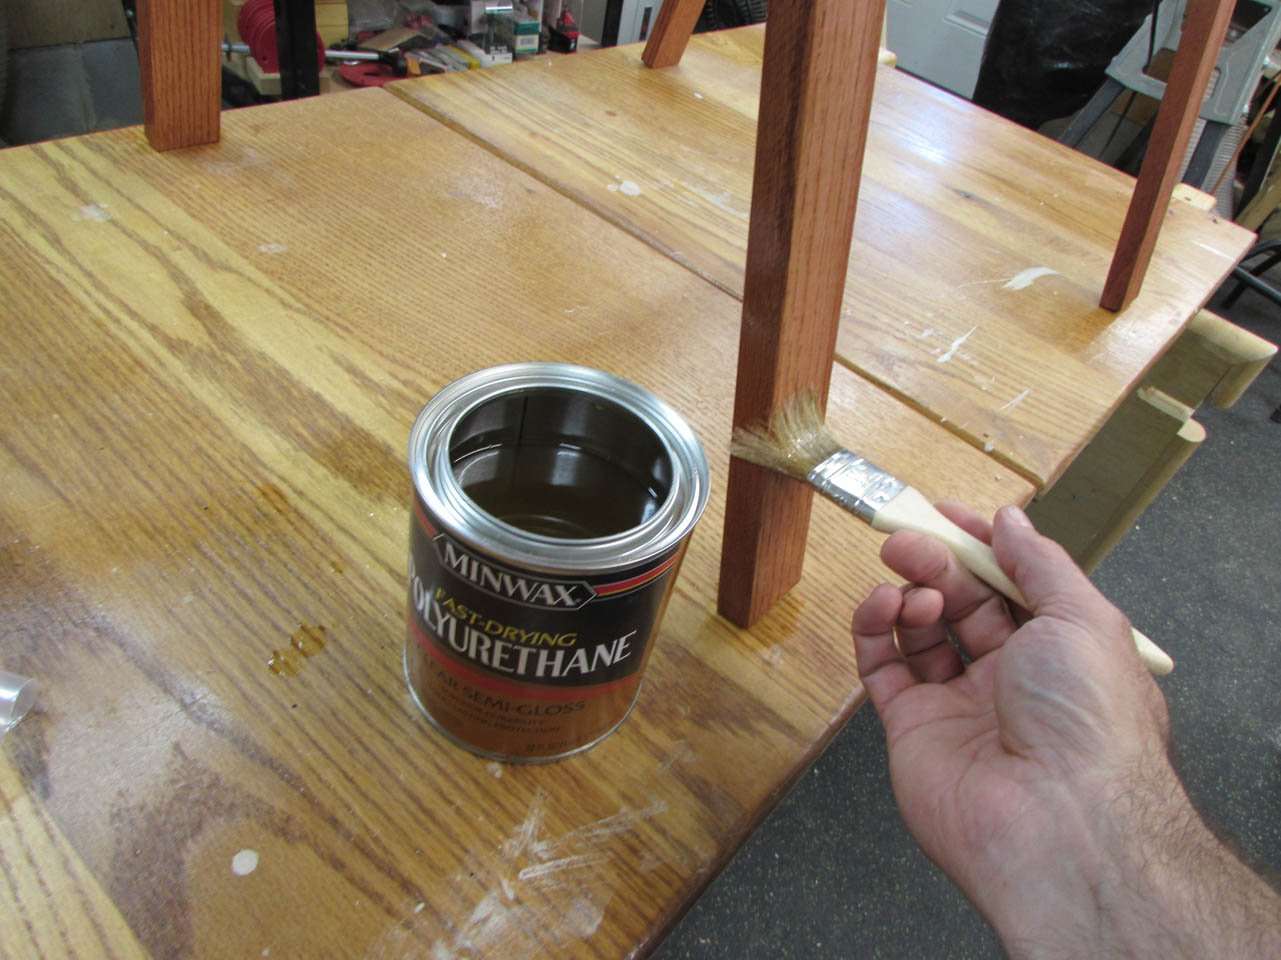
I am using a Minwax Sedona red stain on all of the oak parts , which I just rub on with a cloth.

The next day, when the stain was dry, I started applying the polyurethane. I did not feel like disassembling everything, so I started in the hard-to-reach places first and worked my way down.
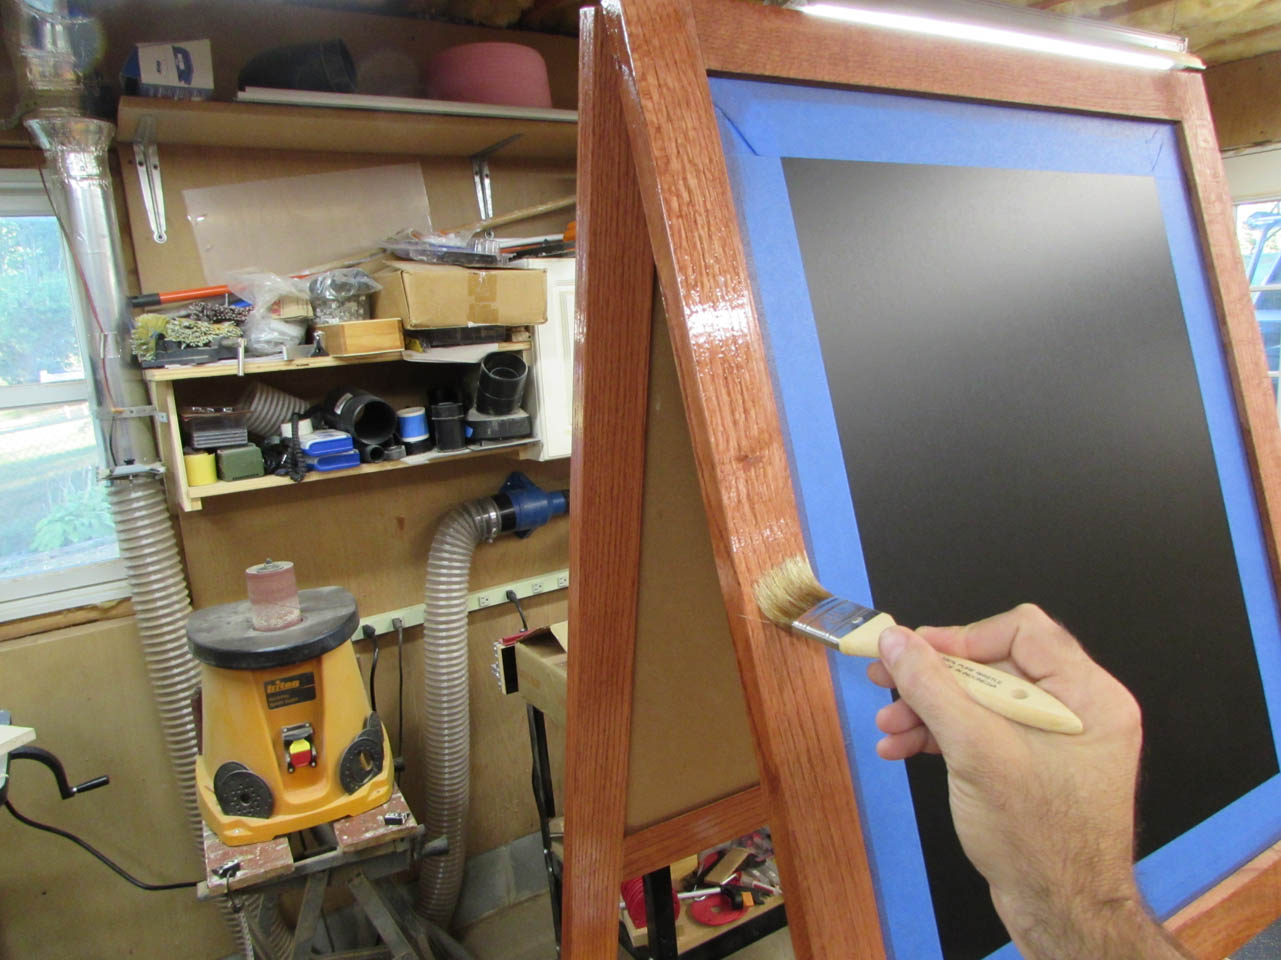

After the first coat had a day to dry, I used 400 grit paper to sand down the surface and prep for the second coat.


The second coat goes on quicker and easier than the first, but you are more prone to get drips, so you have to go back and check everything when you are done.

The next day, All I had to do was remove the masking tape.

And we now have a chalkboard easel that will display messages at the reception. Also, it can be tucked into a closet and brought out in a few years for grandchildren to play with… 😉
