
St. Kilian chapel – Wall mounted candle holders
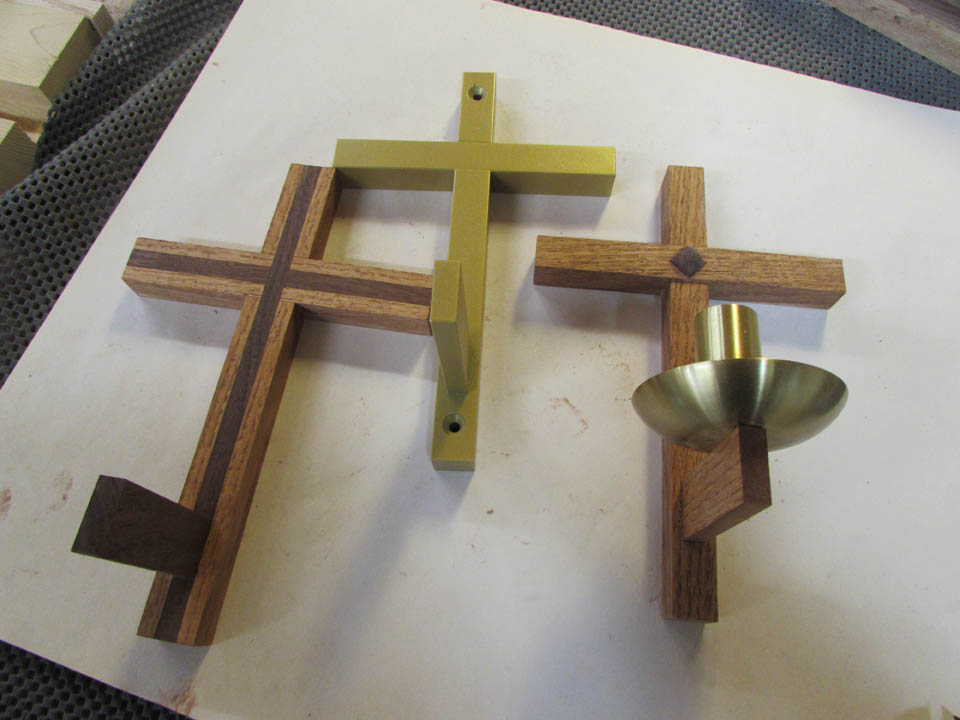
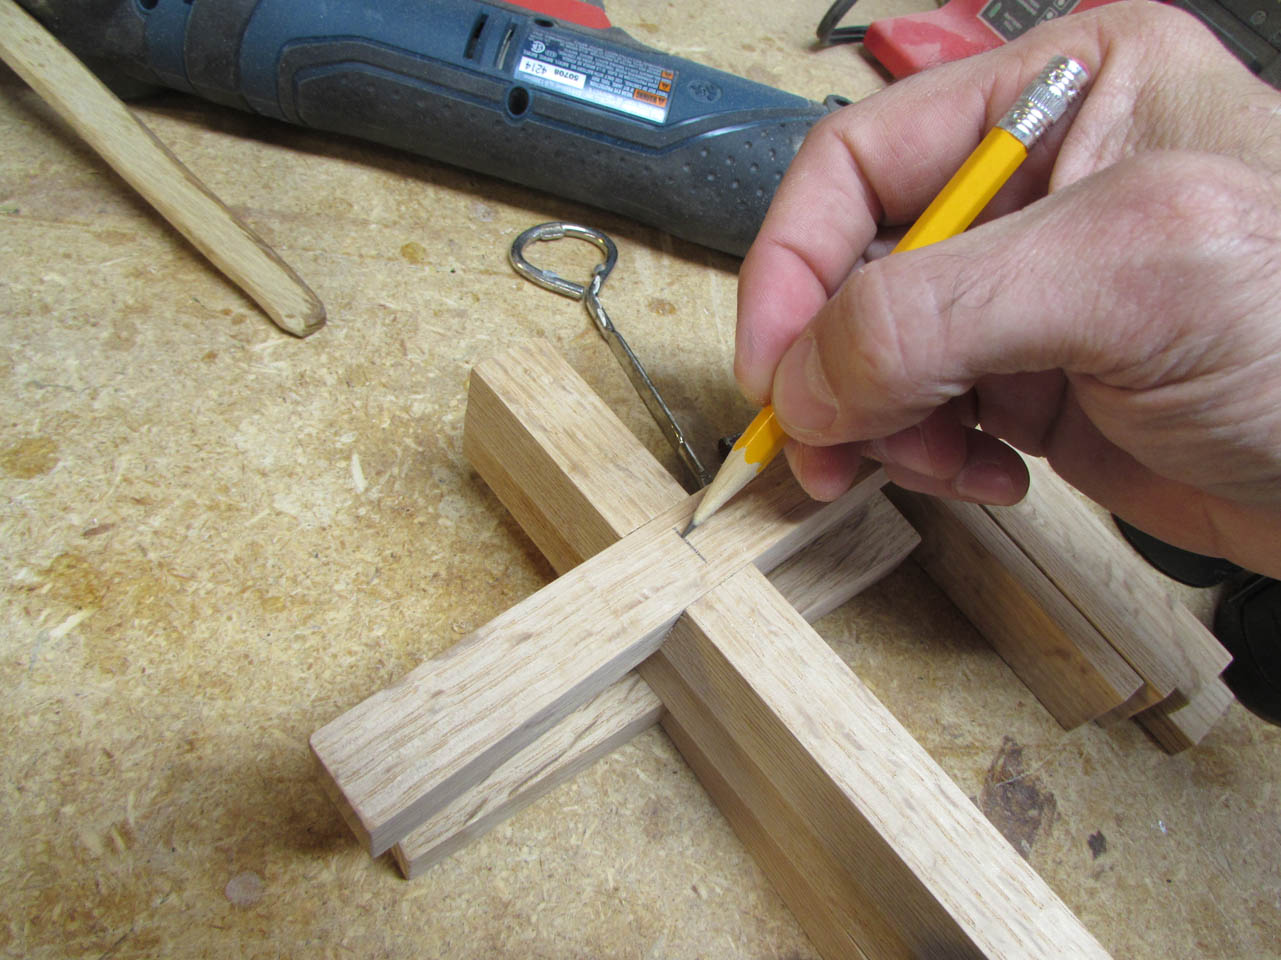
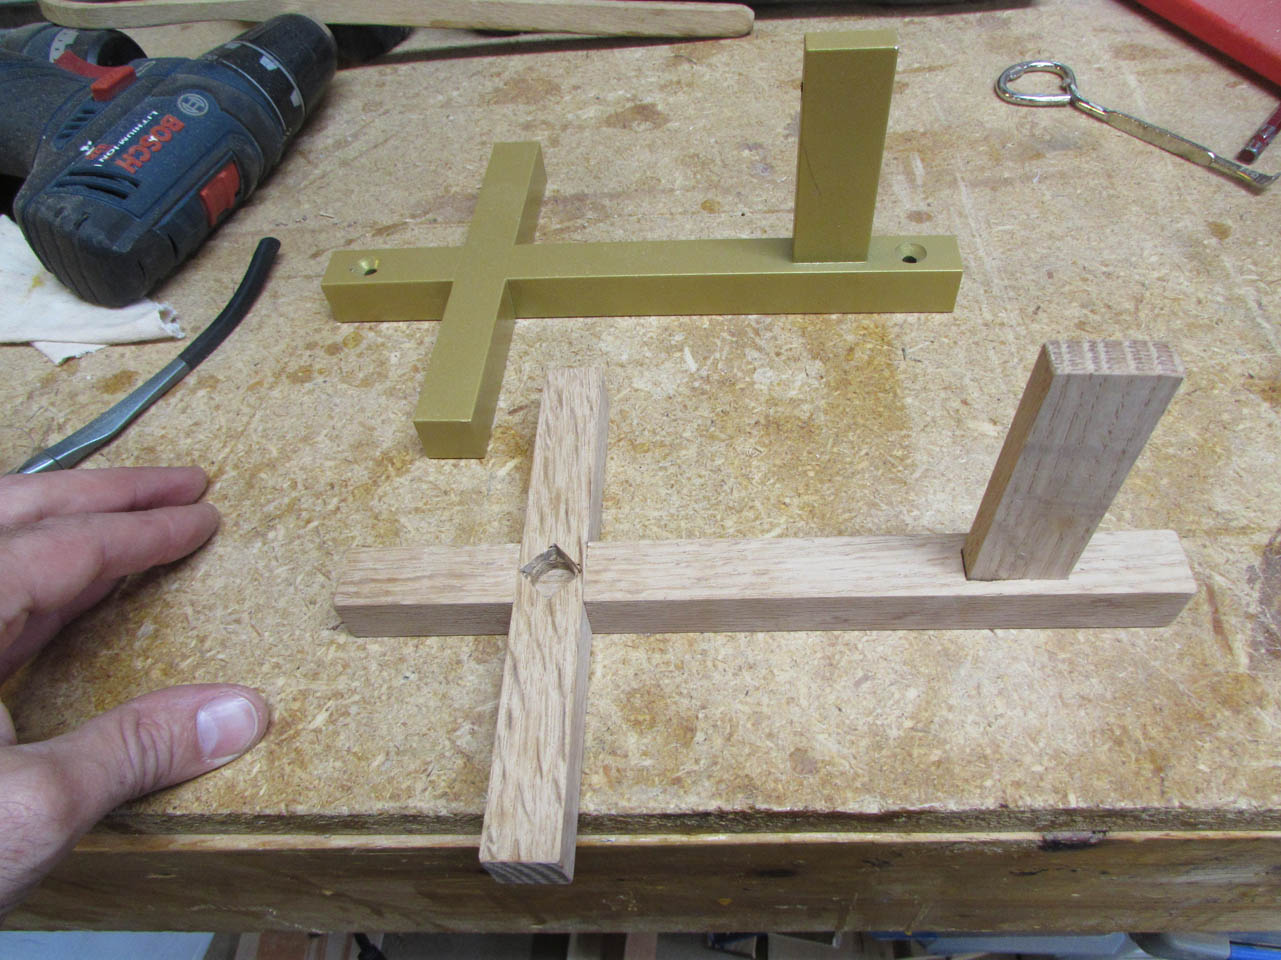
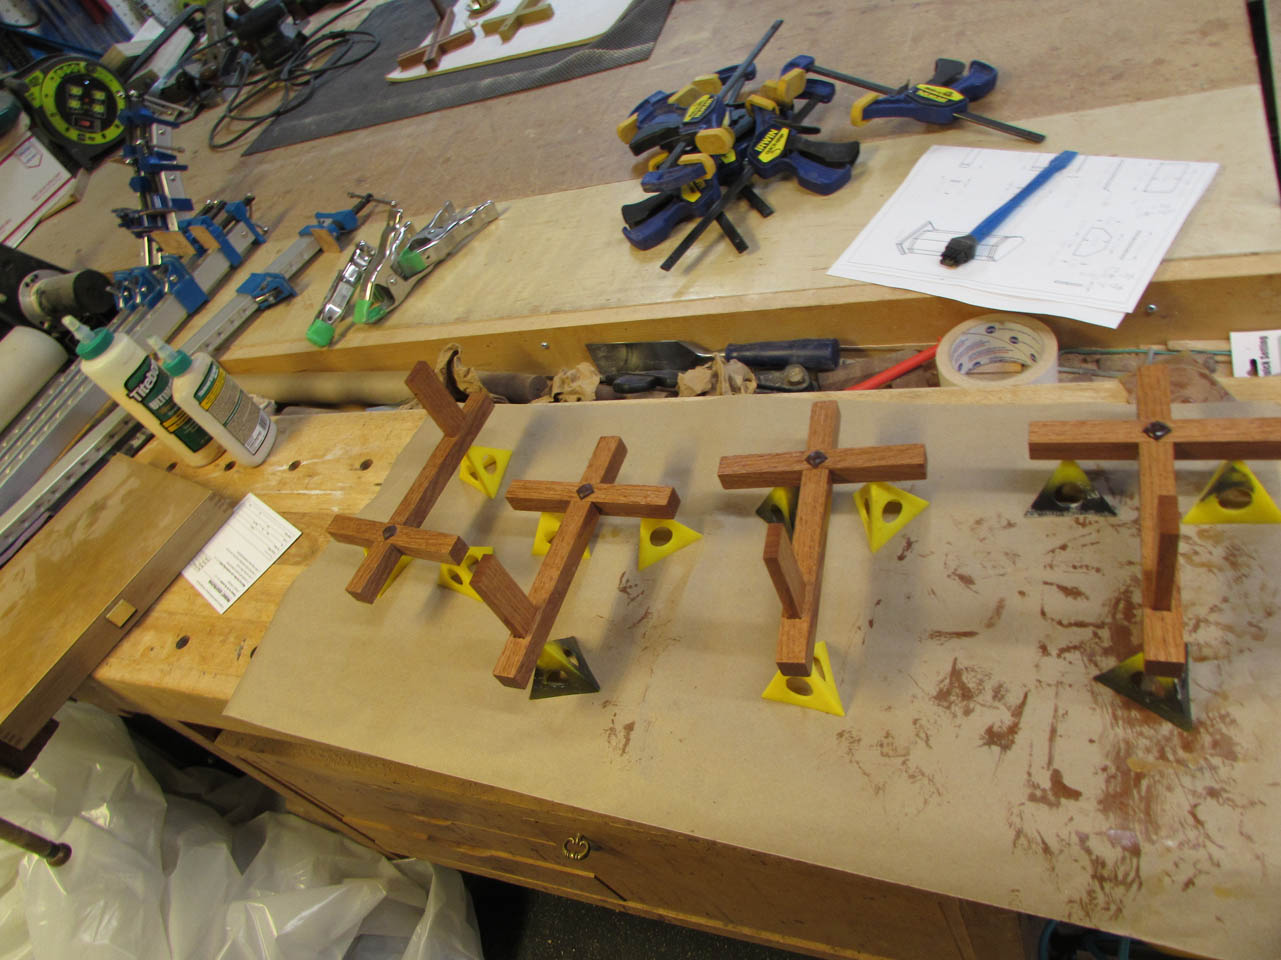
Monseigneur Rowan had one last request before I drove up to deliver all of the chapel furniture. He purchased four wall hanging candle holders but they arrived as painted metal, not the wood displayed in the picture. He requested that I replace the crosses with ones that matched. The gold one in the picture below is the original, The two on either side were two of the options I presented him. I also made one that was just oak, but we felt that there should be an element of walnut to tie it back to the other furniture, so the diamond was added at the center of the cross. The simple one was chosen So I made three more.
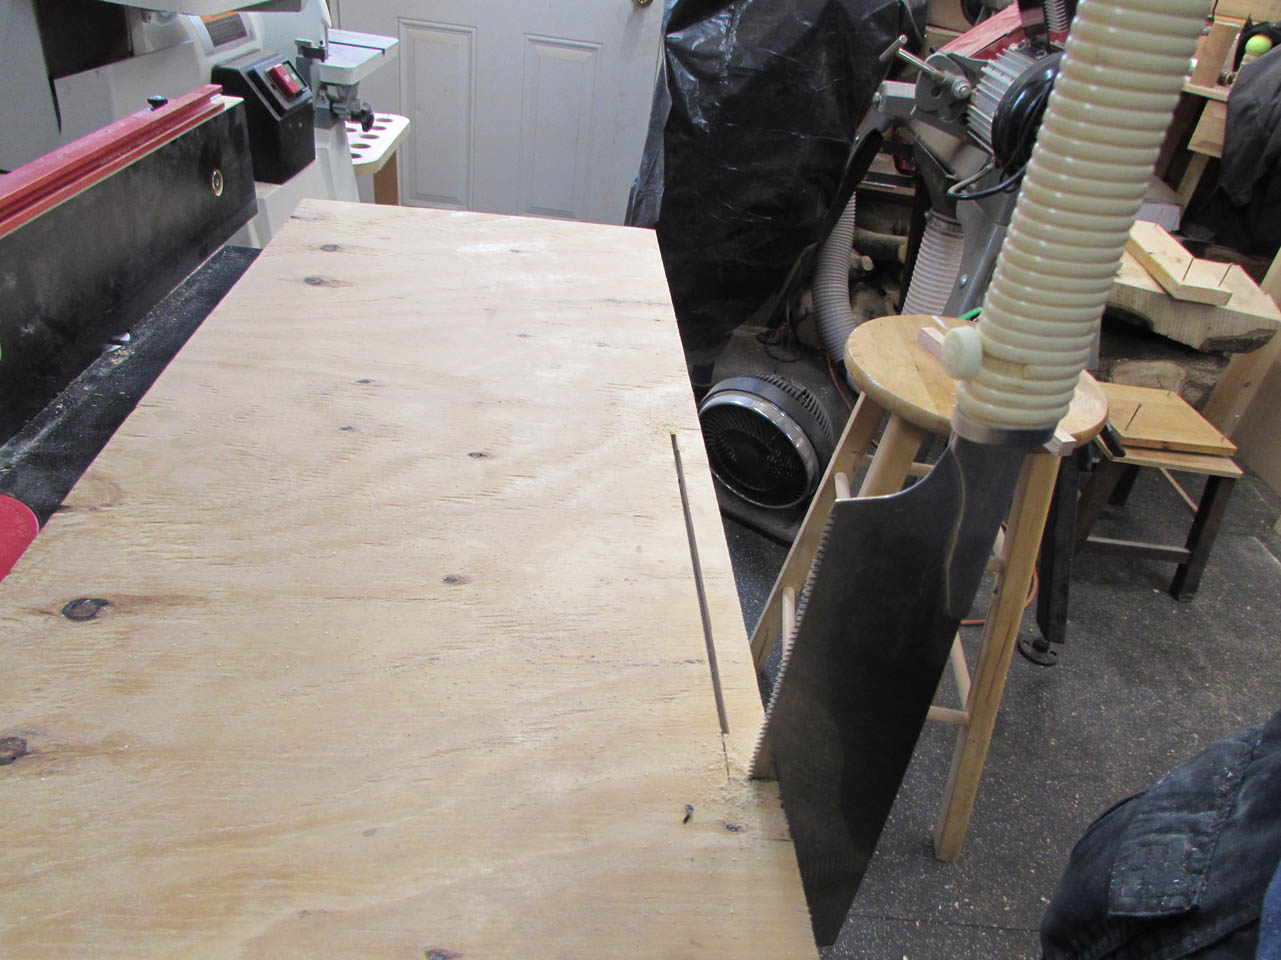
I started by cutting some 3/4″ x 3/4″ oak strips from some scrap quarter-sawn oak, left over from the tabernacle stand.

Step one was to cut four strips down to 9″ long. I am making an extra to have one to screw up as I go.

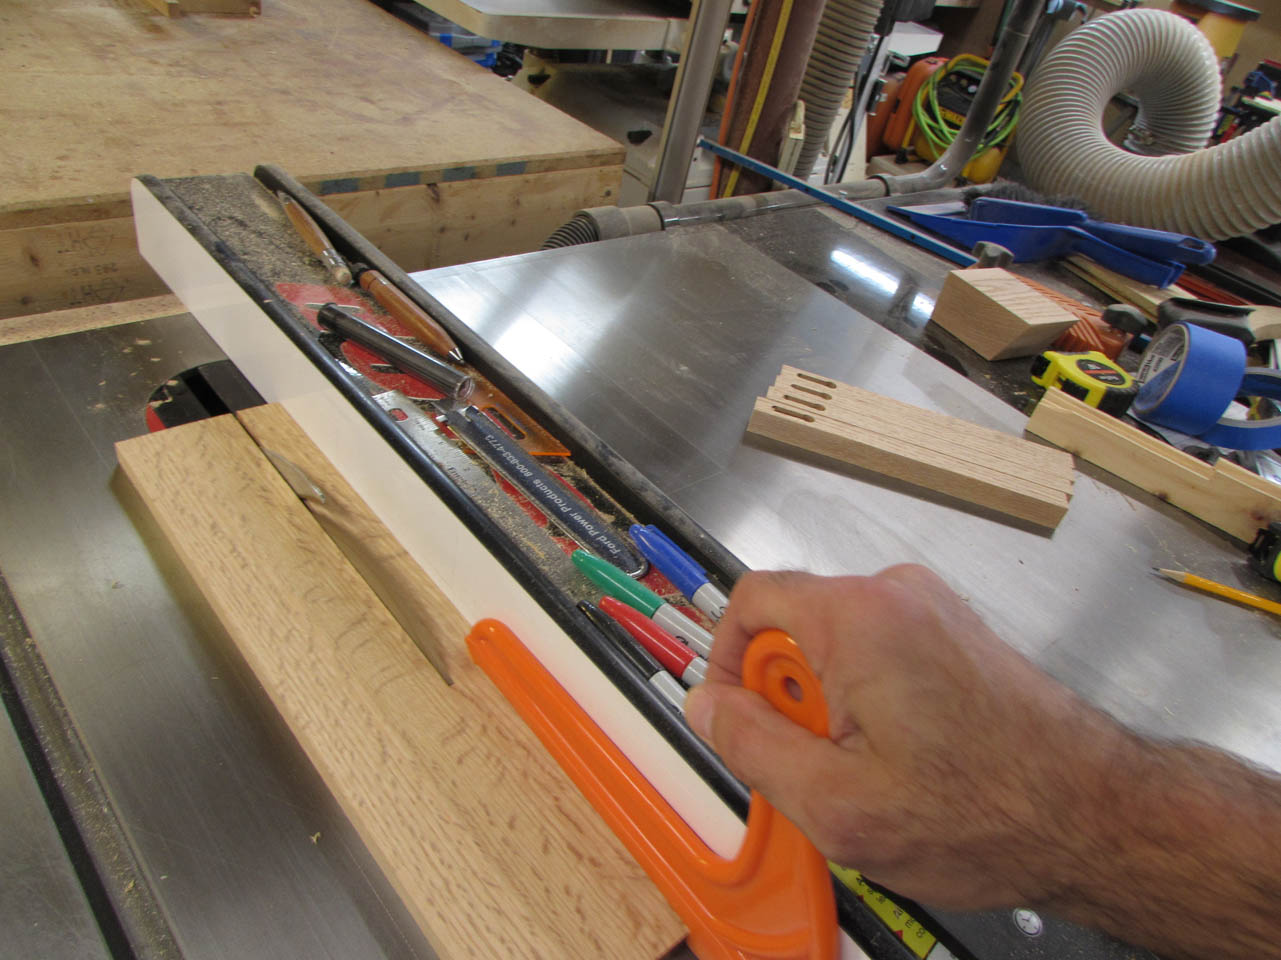
The most difficult part of this build will be cutting the key hole on the back to hang the cross. I haven’t found a keyhole bit that works right without wanting to climb-cut and rip the part from your hand. I decided to make a jig that will somewhat capture the piece of wood and limit the ability of the wood to be ripped from my hands.

I measured the length of the keyhole slot to be about 1″ long so I made the notch in the plywood 3/4″ x 10″.

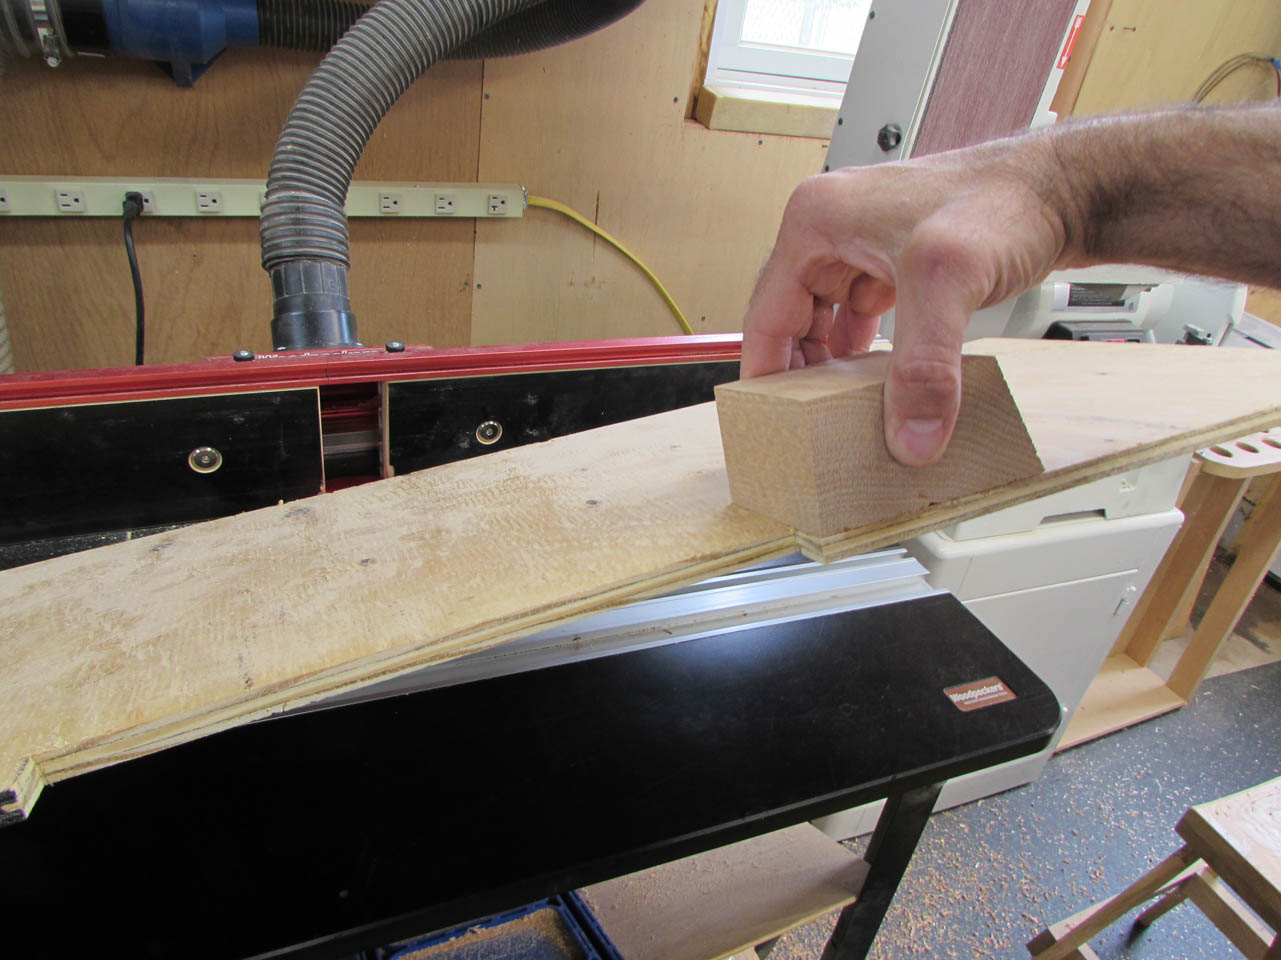
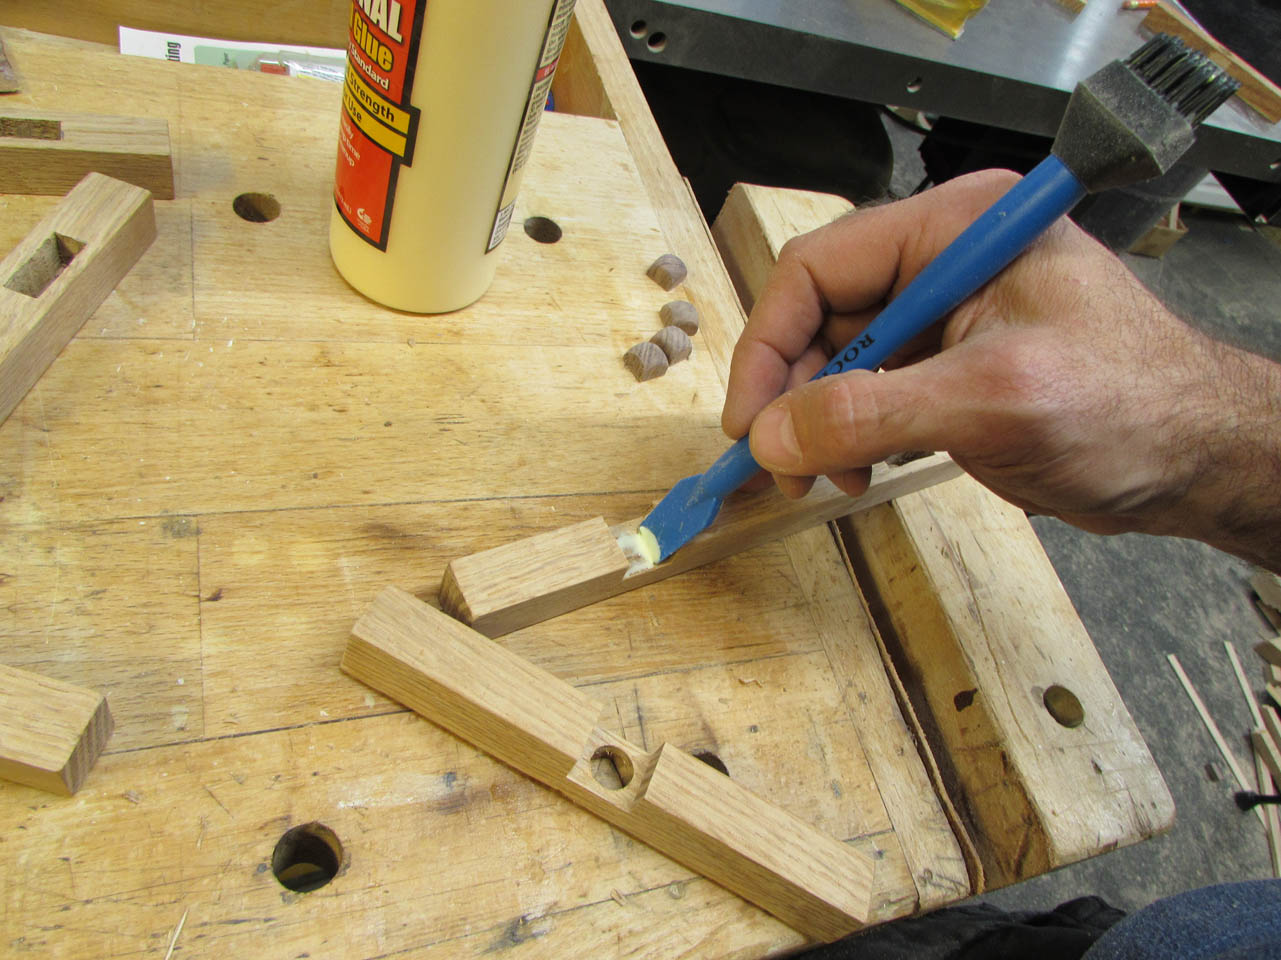
I used CA glue to attach a block at the top of the cut so I had a surface to ride against while entering the cut.


I just got some spray-on activator to use with my CA glue, it is great, bonds in seconds.

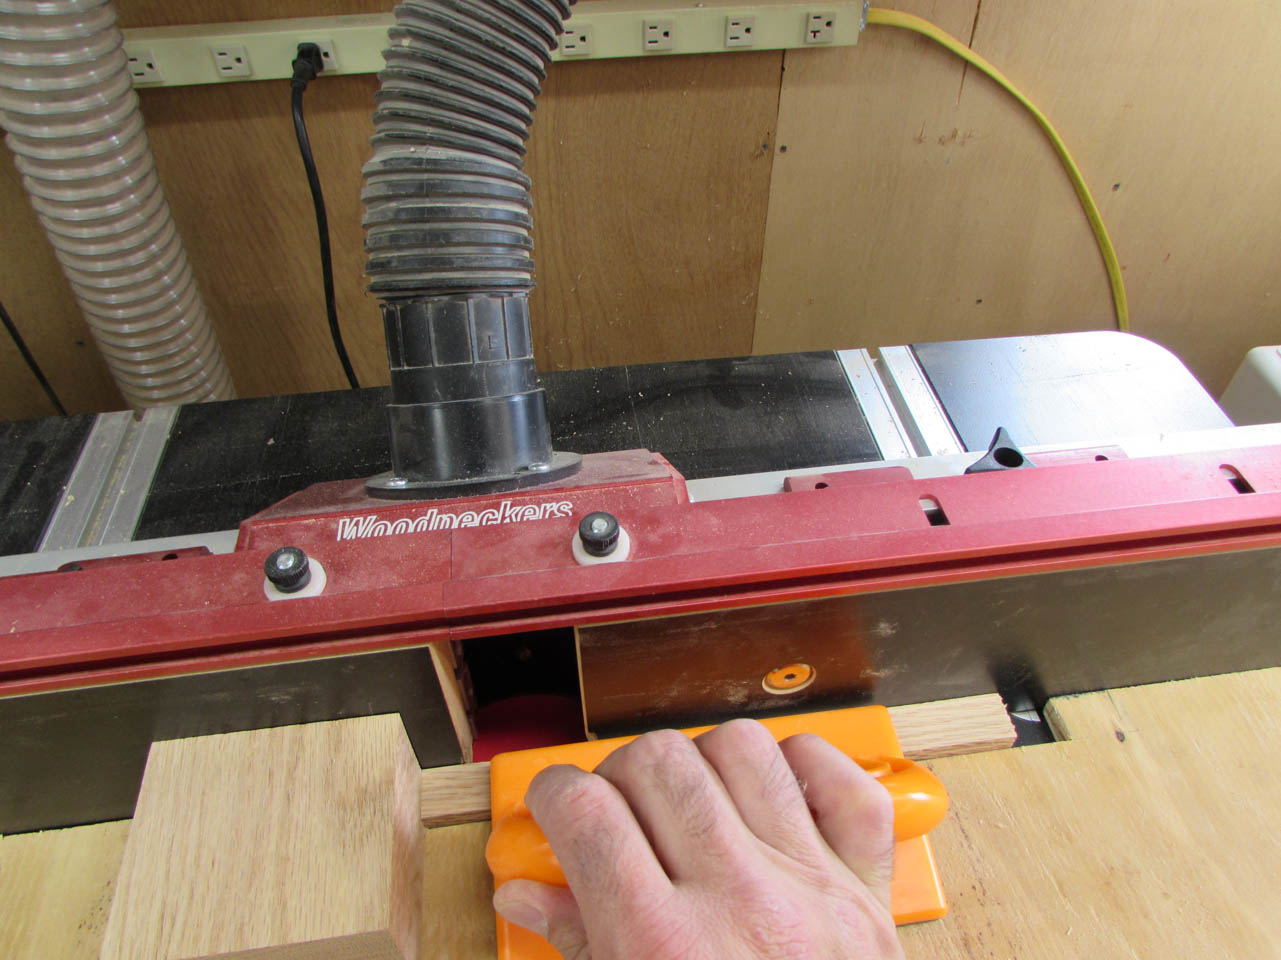
I set up my bit and my jig. After a couple of test cuts, I feel confident this may work.

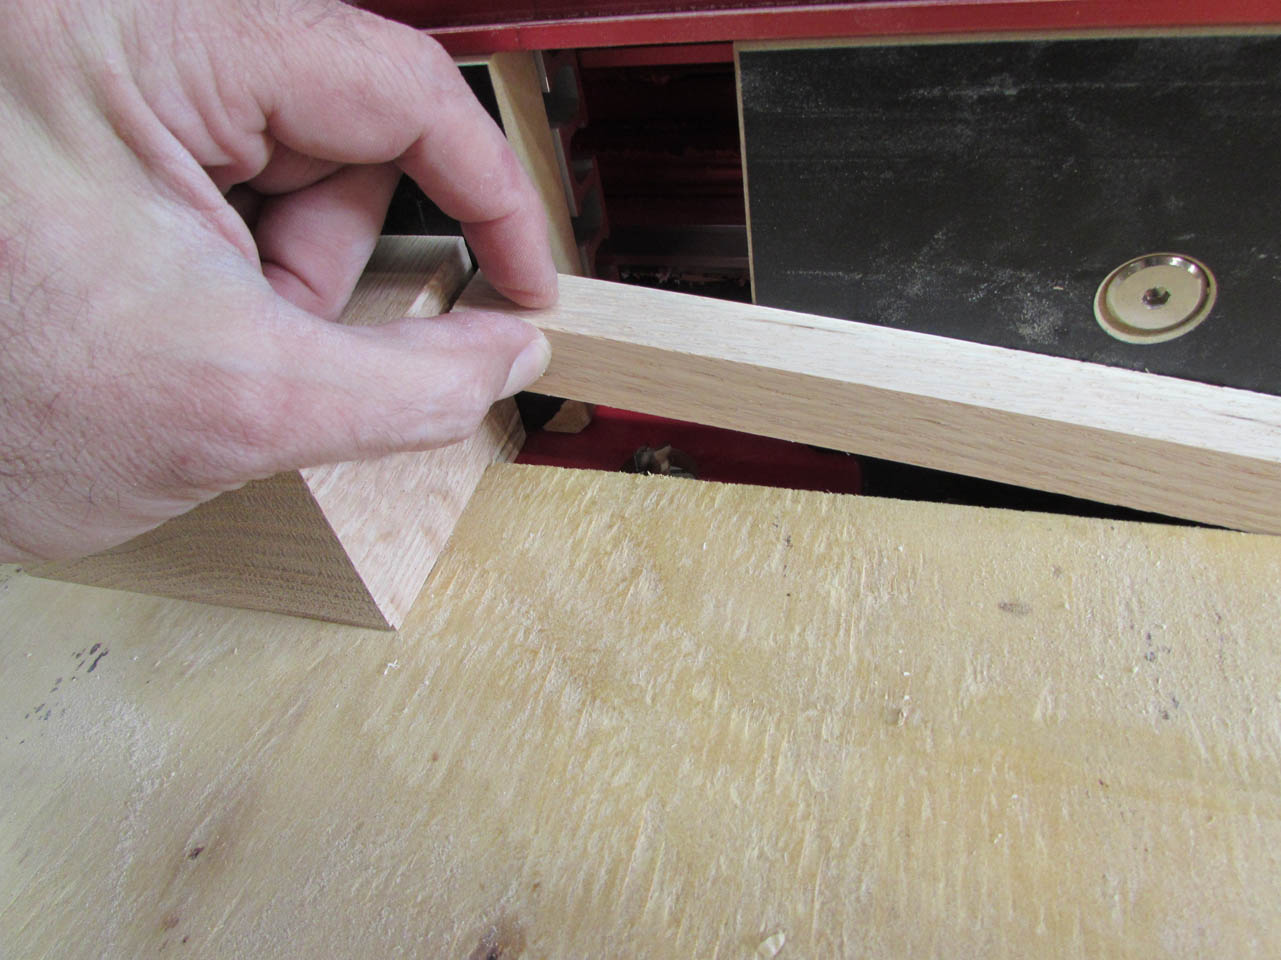
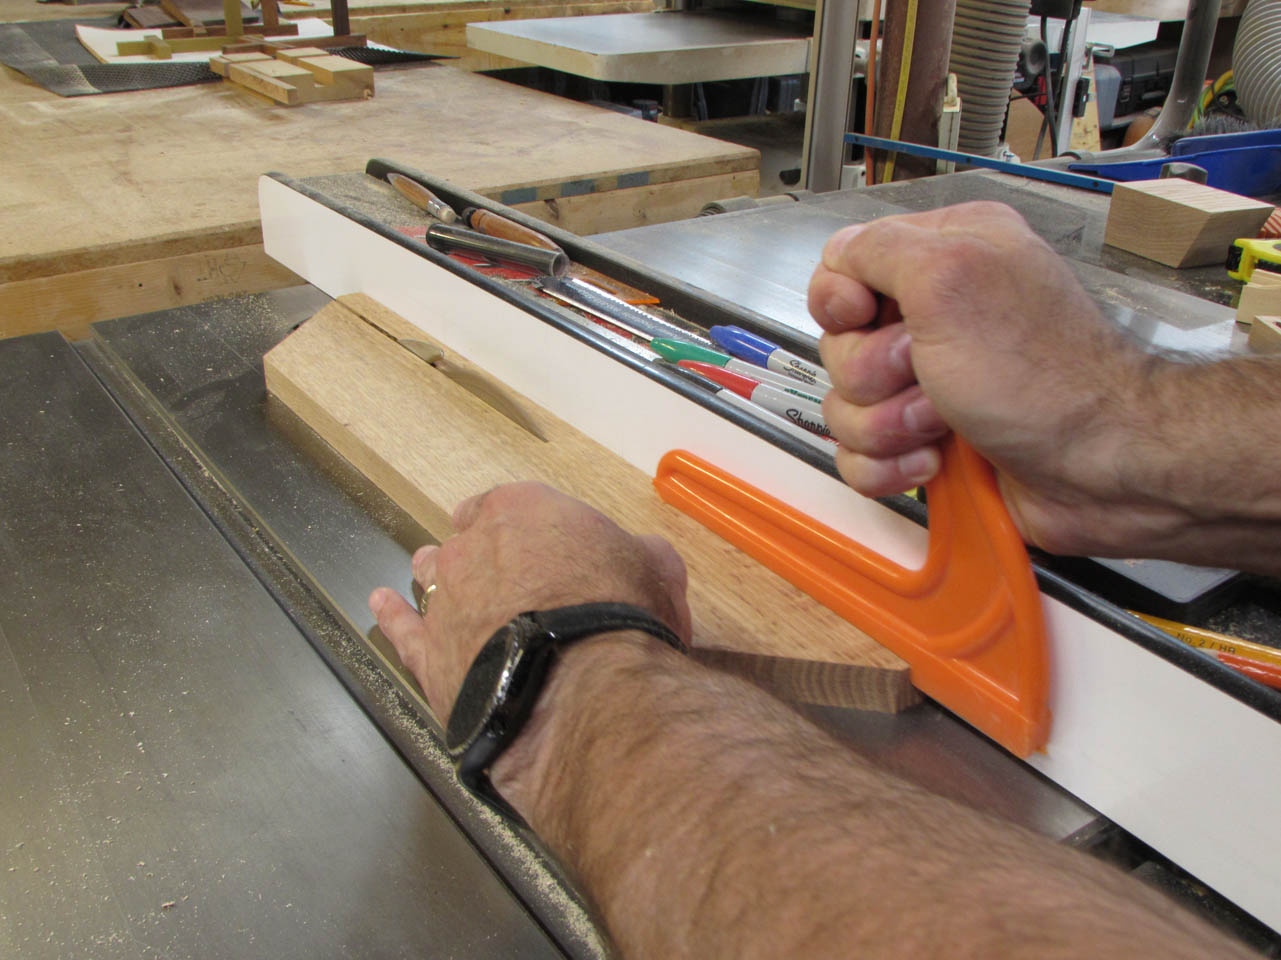
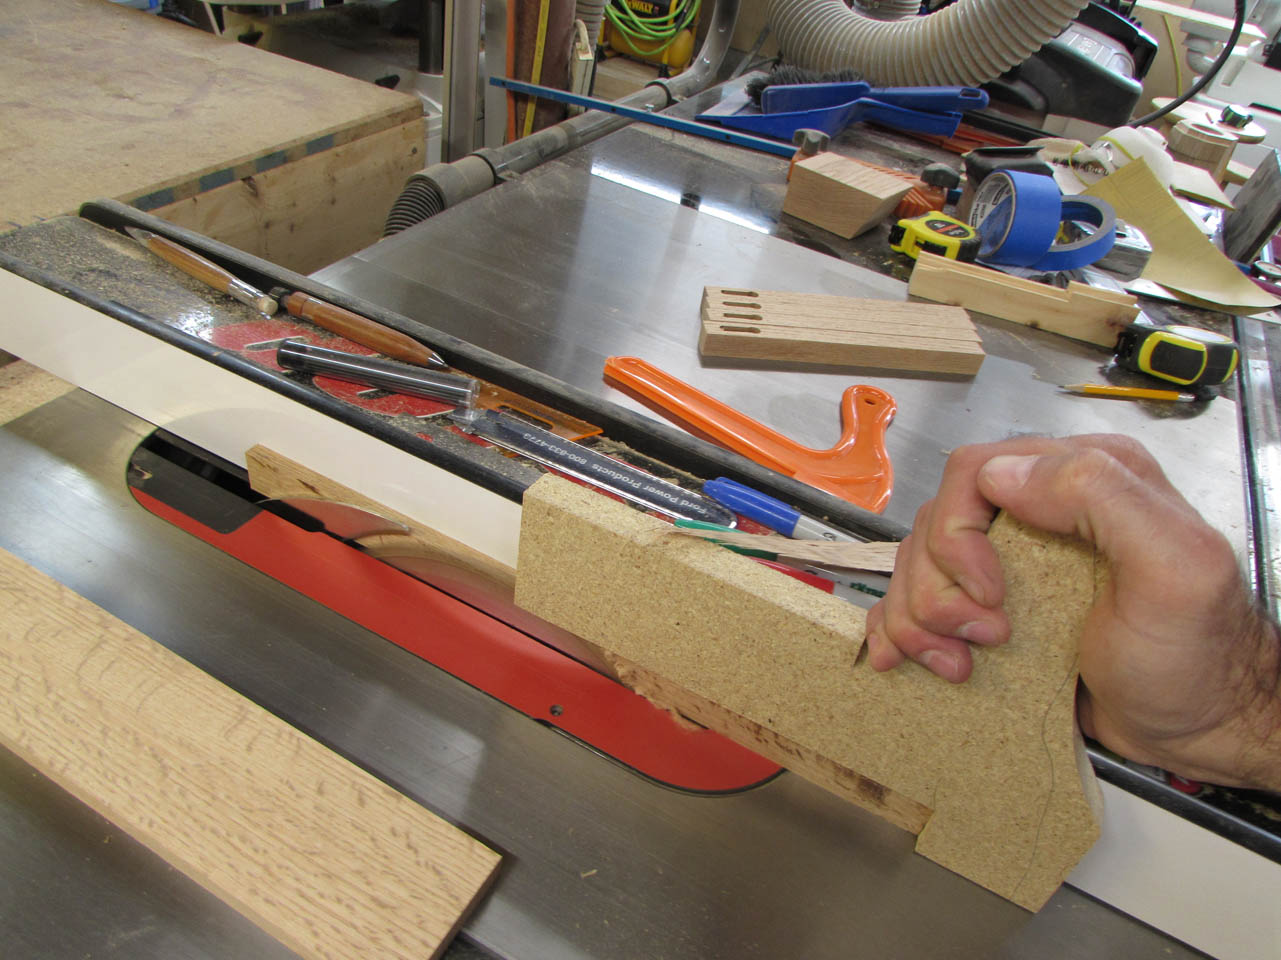
I carefully hold the right side of the wood strip while lowering the left side onto the spinning bit.
Then very slowly, I slide the strip of wood to the right to make the cut. It fights me the entire way. Router bits prefer to feed from right to left, not the other way around. But the keyhole bit requires the opposite approach.

I turn off the router before attempting to remove the piece after the cut.

It appears to be successful so I installed a screw in my bench to test it.

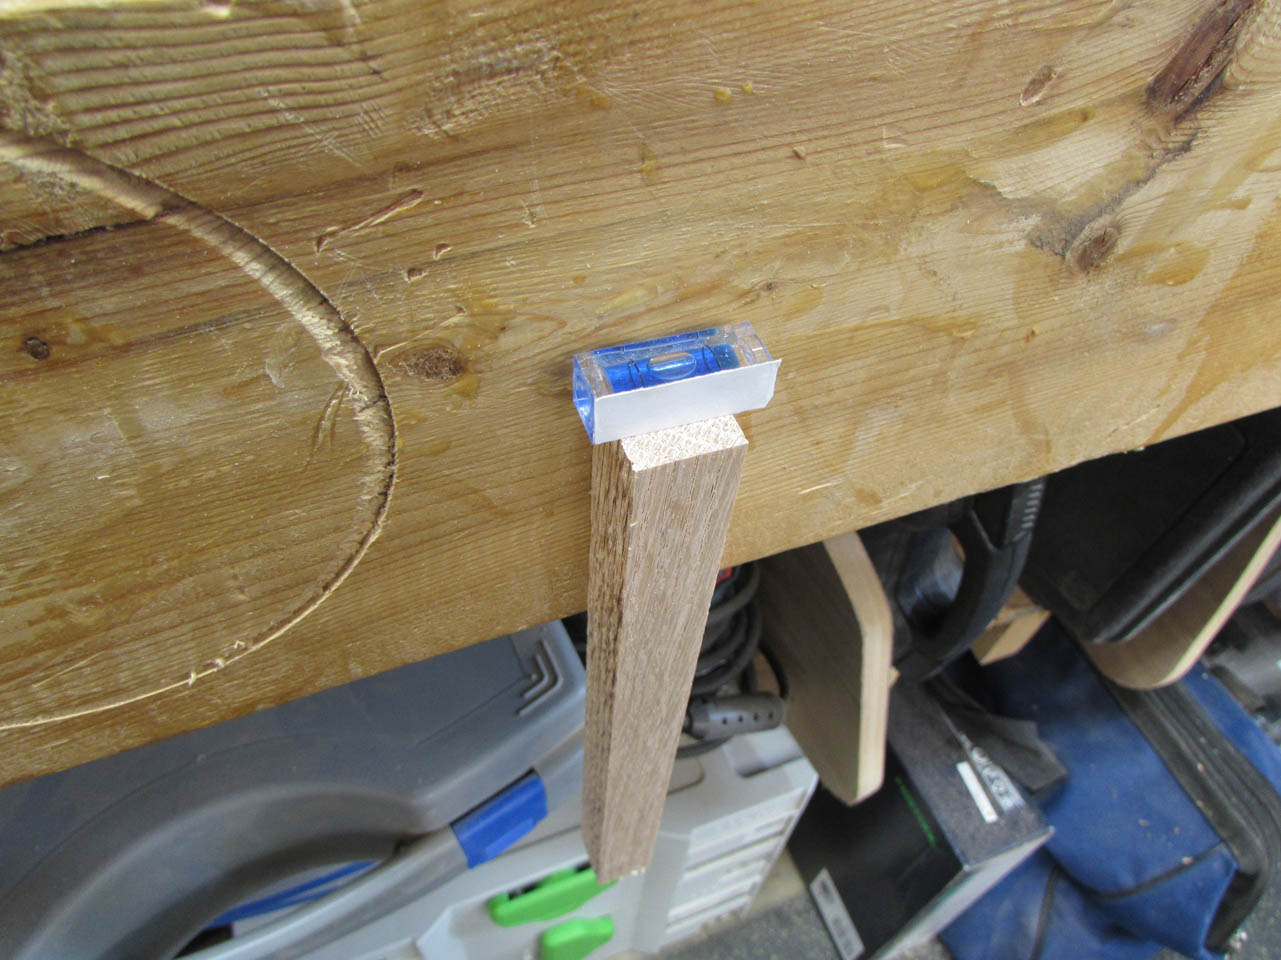
I use a tiny level bubble to see if it hangs straight. Looks good.

With that success, I cut all four.

Next, I cut four more 3/4″ x 3/4″ pieces for the arms of the cross, and some 1″ x 1/4″ x 3″ long pieces to support the candle holder.

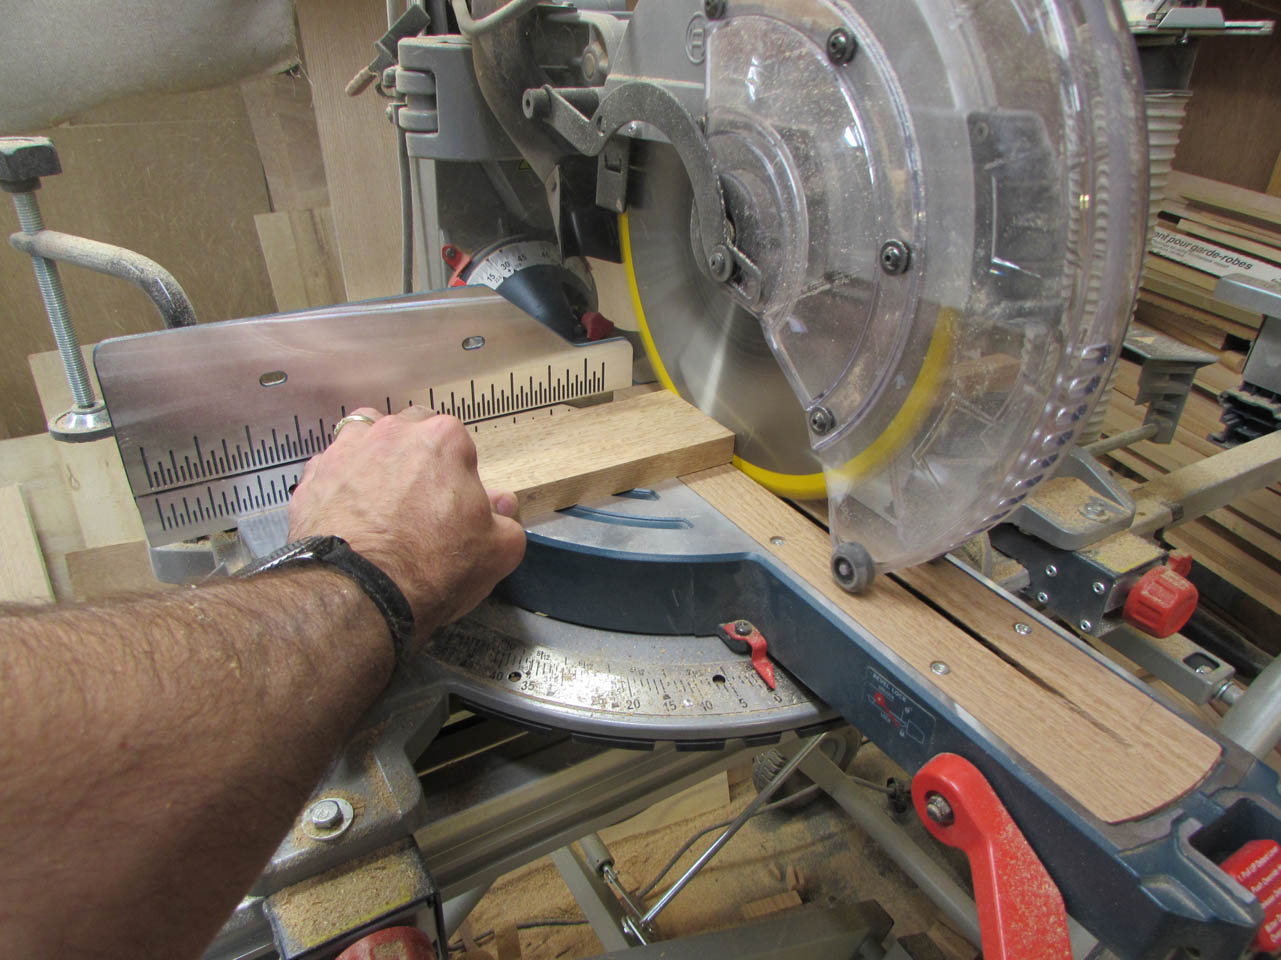
I used the miter gauge to cut the support beam, for the candle, to length.

Then I sanded all of the pieces.

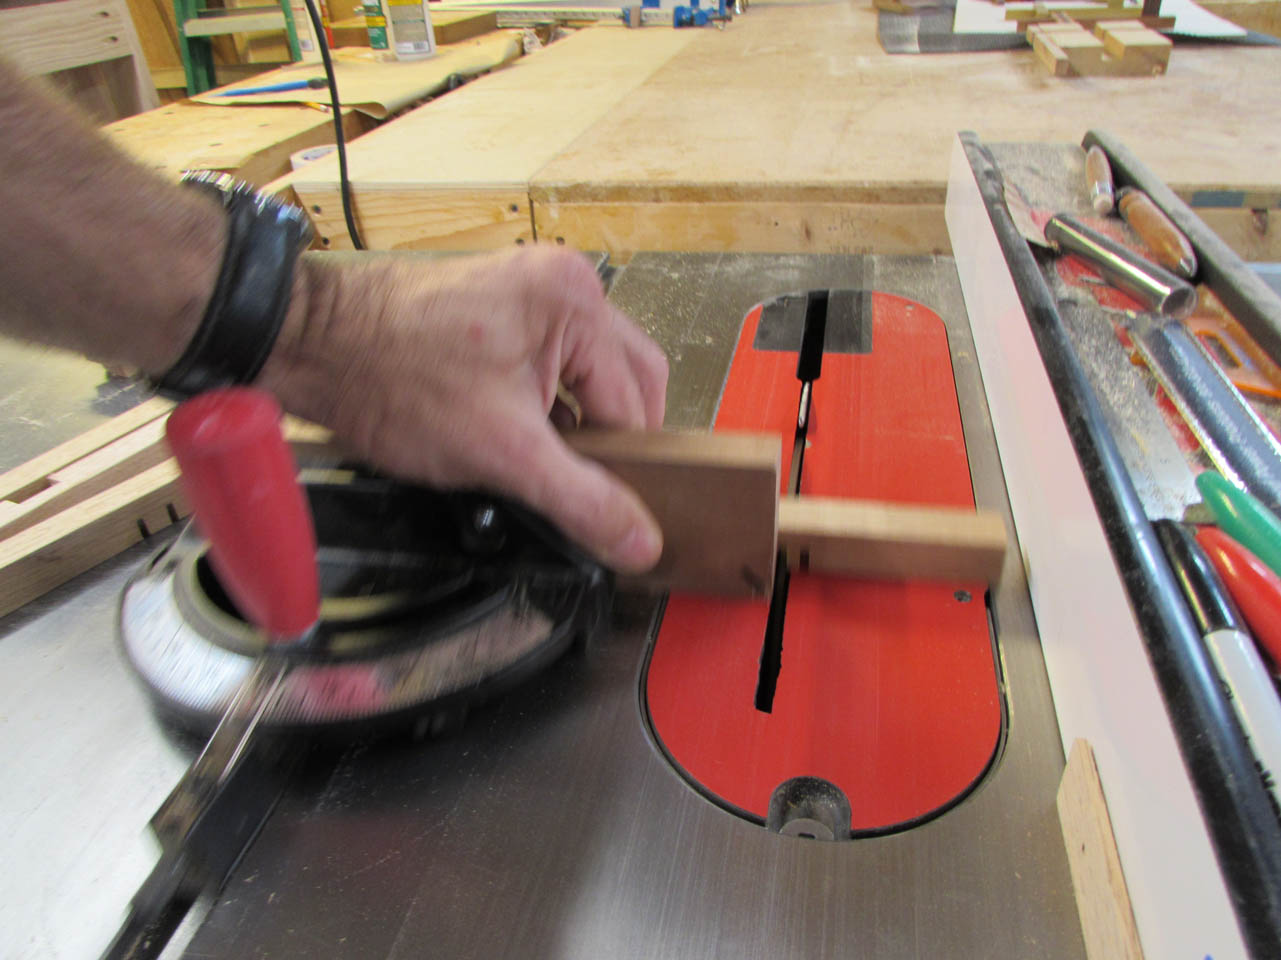
I used my miter gauge, along with my fence to locate and cut the edges of the notches in the cross.


Once the edges were defined, I nibbled away the middle section with repeated passes over the blade.
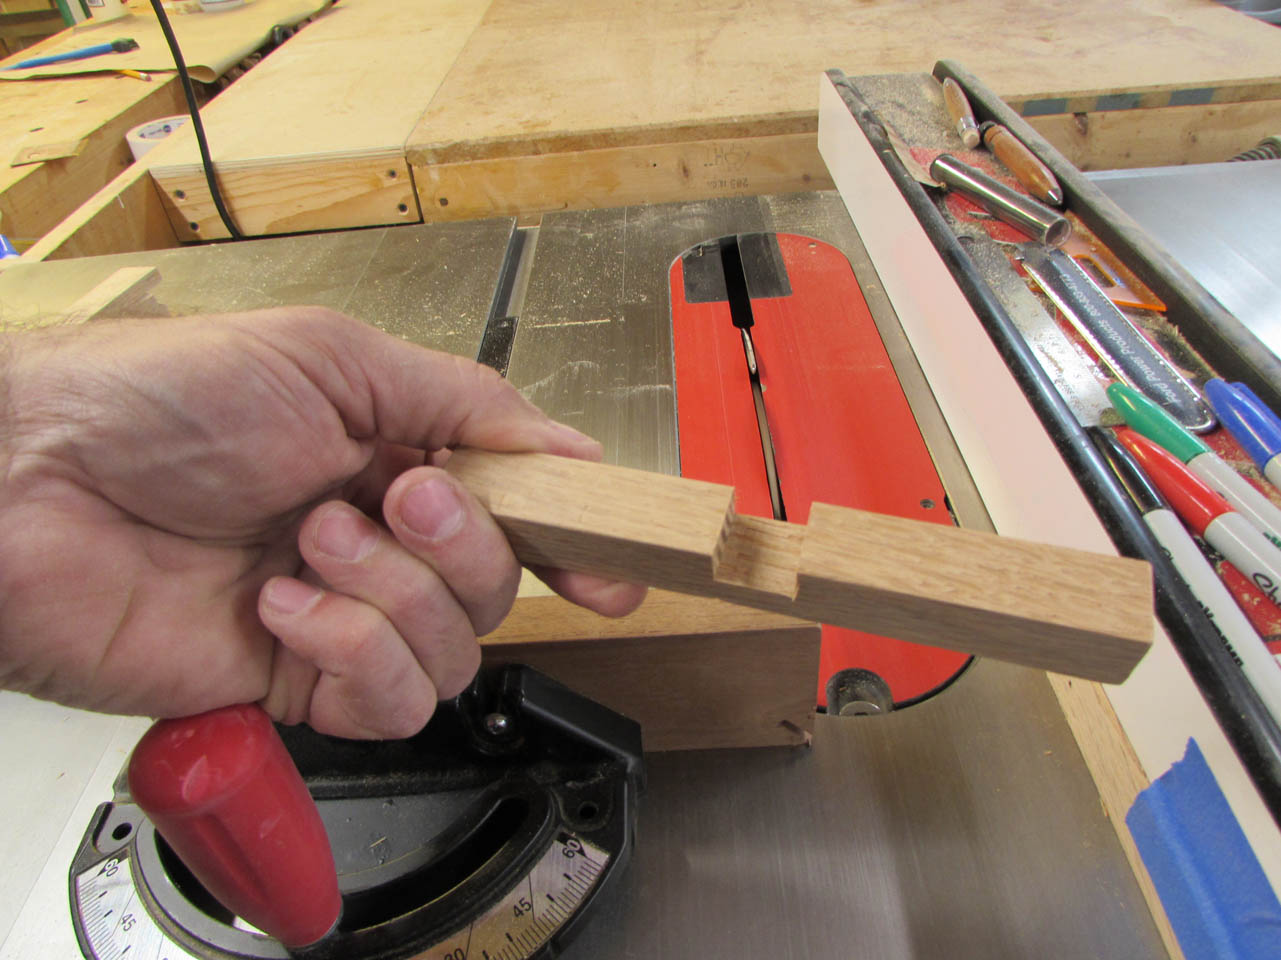
With the notches in the arms done, I repeated the process with the vertical piece.


If you take your time and get your depths right, you get a perfect press-fit connection.


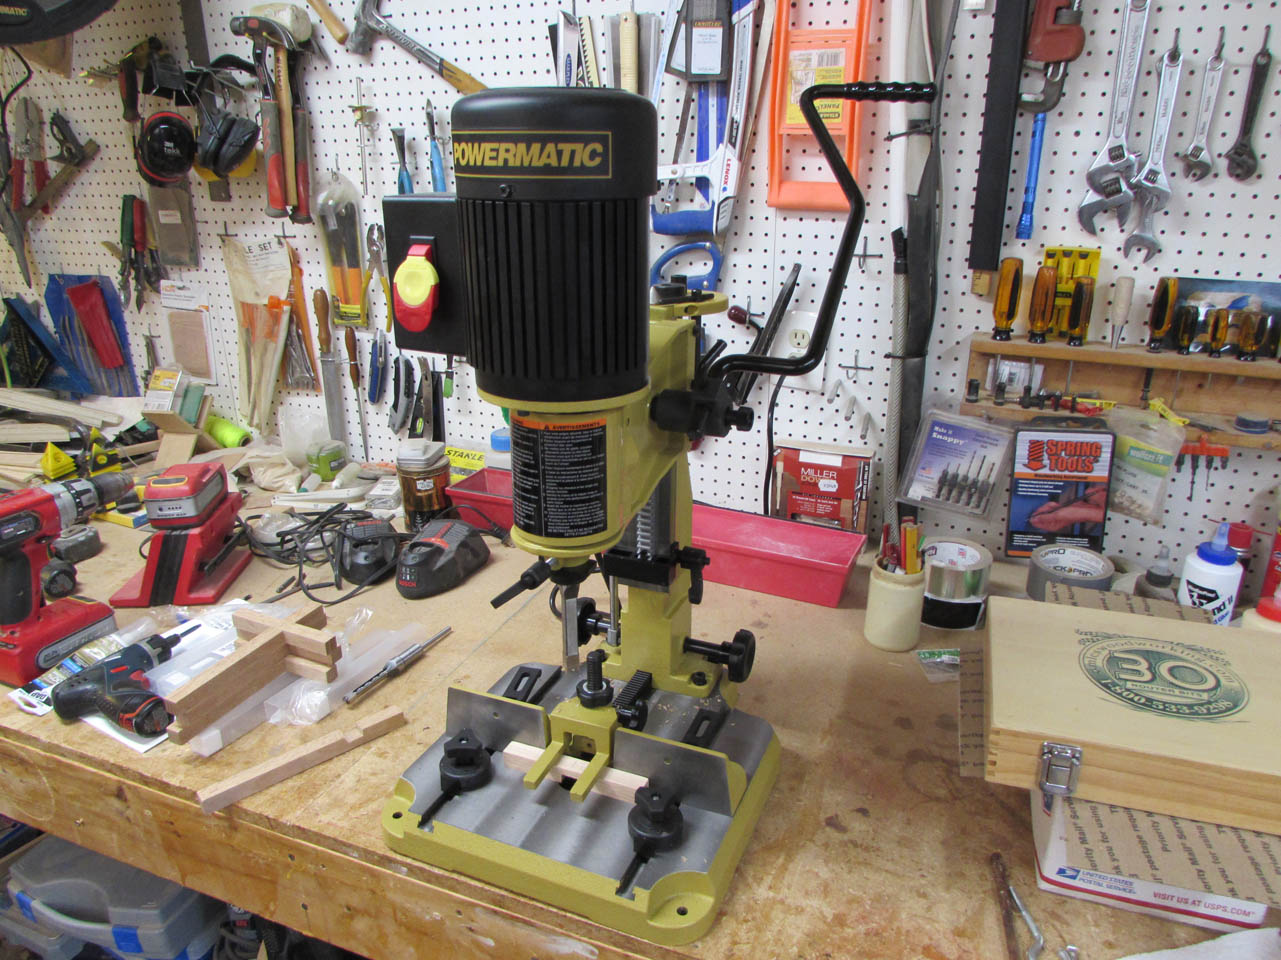
Time to introduce my newest tool in the shop. This is the Powermatic PM701 Bench Mortiser. For the last couple of months, Powermatic was running a 15% off sale with free shipping. I thought this might be a useful addition to the shop. The mortiser drills holes and the drill bit is housed in a square chisel which cuts square sides to the hole as you drill.
I mention this now because I decided to use it on the crosses.
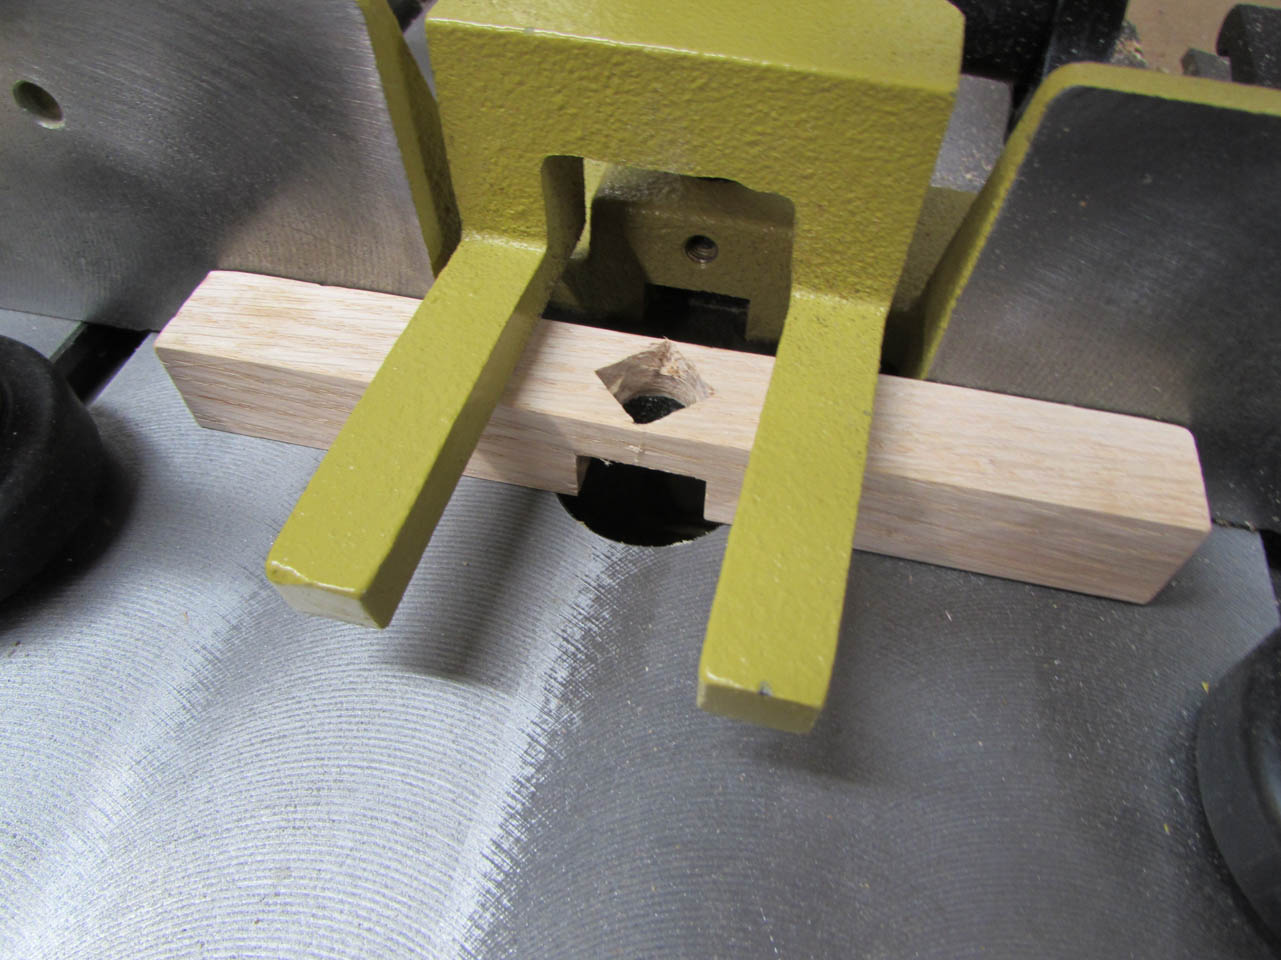
I marked the center of the arm of the cross and clamped it into the mortiser.

I used the 1/2″ mortising bit to drill a 1/2″ square hole in each arm.

Then I installed the 3/8″ bit and drilled a series of holes at the bottom of the vertical piece, 1″ long.
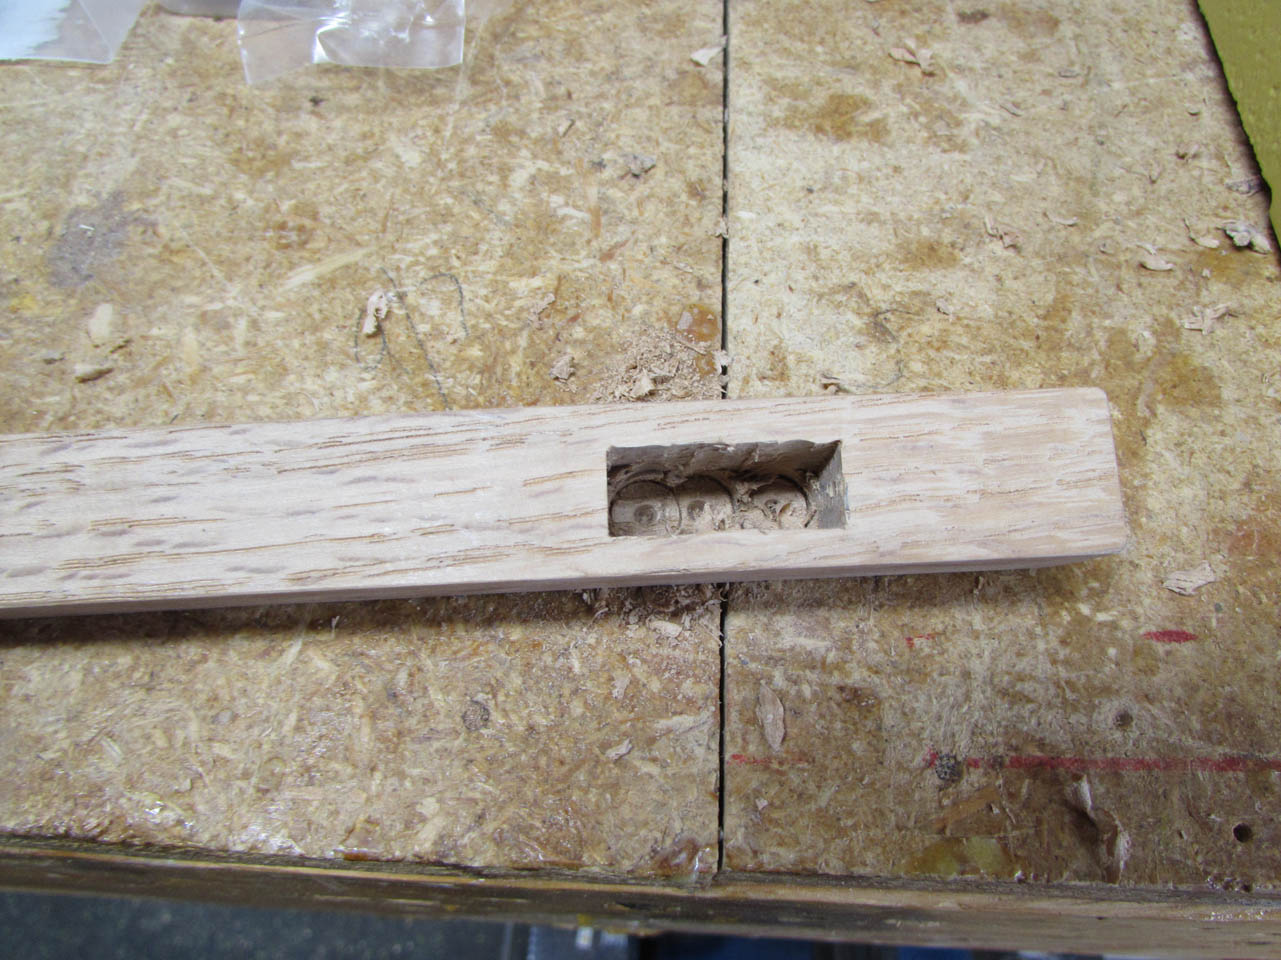
This created a rectangular mortise for my candle support beam to sit in.
I used a regular chisel to clean up any waste that might be in the way.


Before assembling the candle support, I pre-drilled a pilot hole for the mounting screw. This would be difficult to drill once everything was assembled. I also screwed a wood screw into the support to pre-thread the holes. This will hopefully prevent any stripping of the screw when I install the candle holder after everything is finished.


Next to create the walnut inlay.
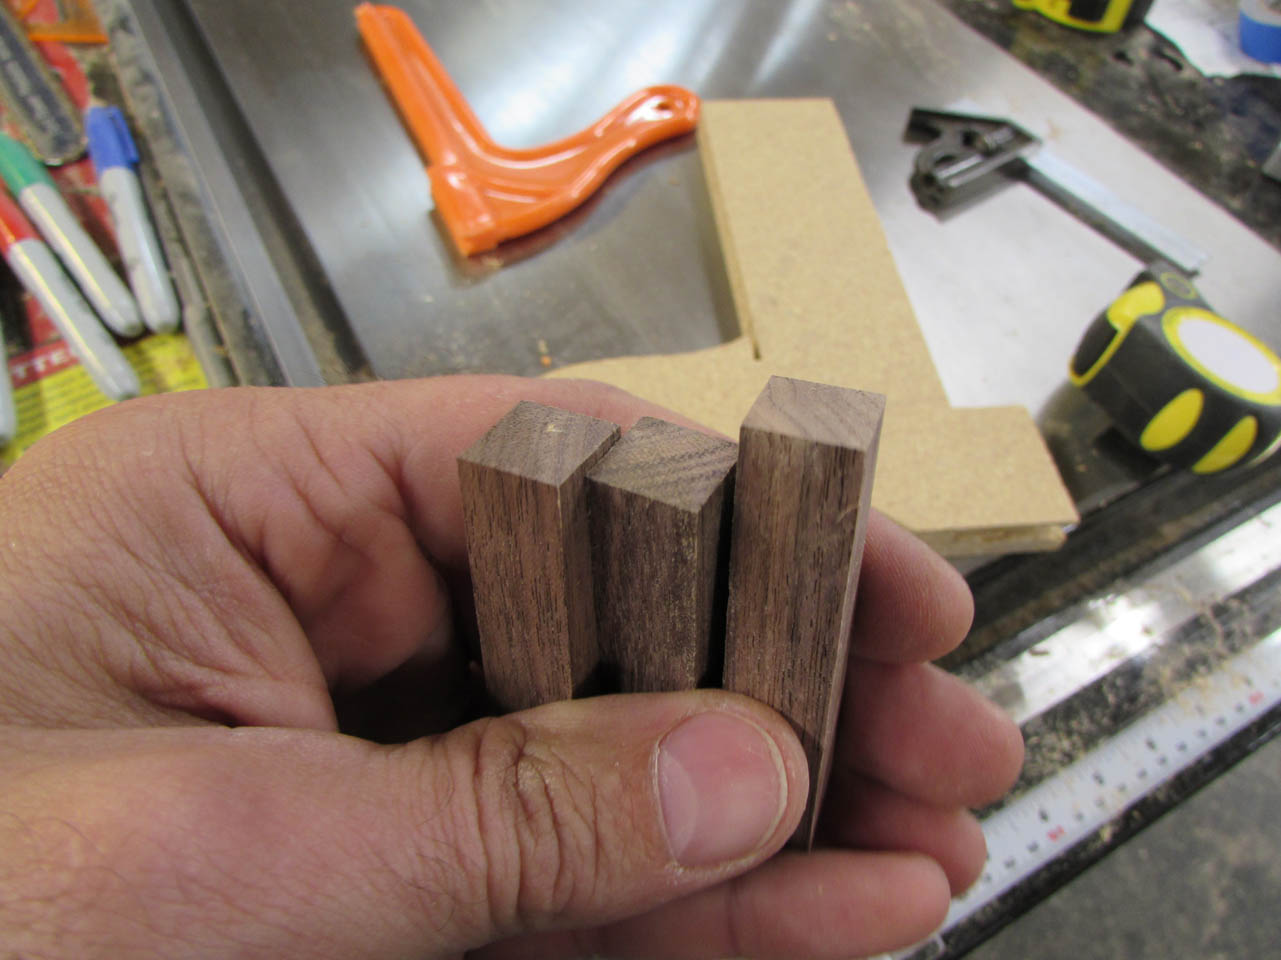
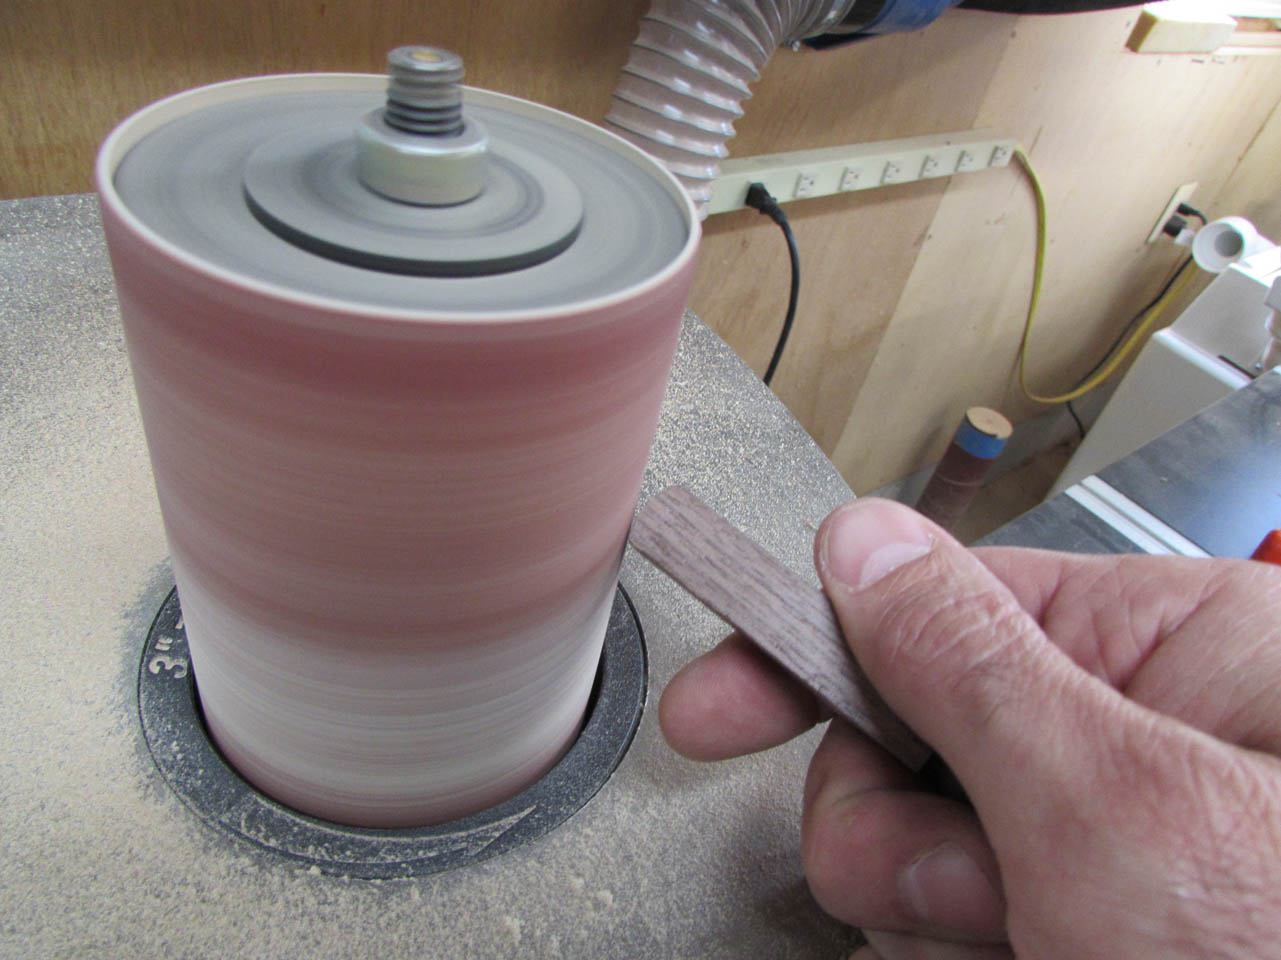
I started by cutting some pieces of 1/2″ x 1/2″ walnut. I eased the edges on the spindle sander, but it did not look nice enough.
I decided to load the pieces in the lathe and cut a small dome on the end.
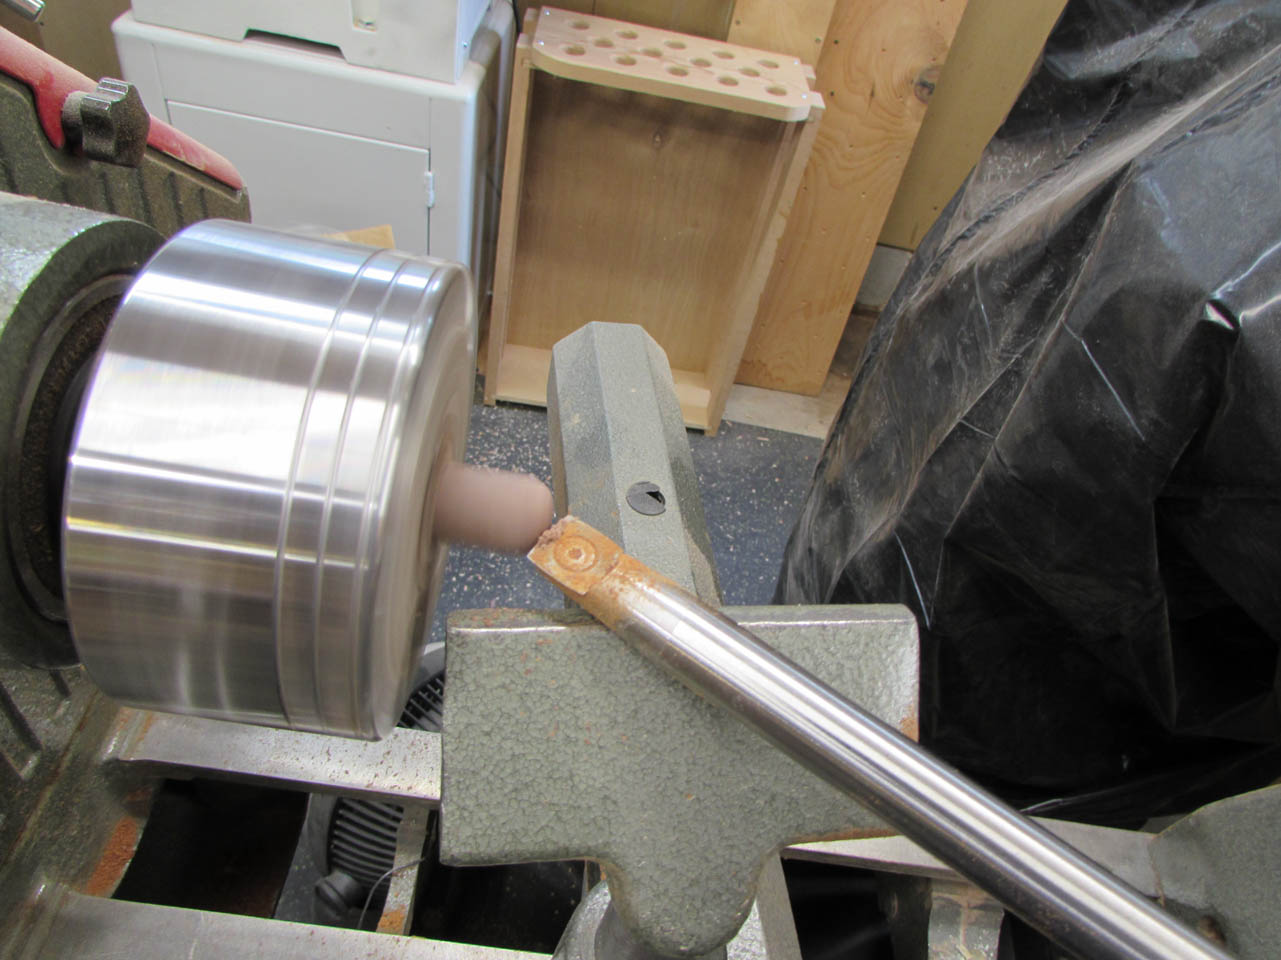

After sanding, I cut the rounded nubs off at about 3/8″ long.

I applied wood glue carefully at each of the joints and pressed the pieces together.

Then I did the same for the walnut plug and the support arm as well.


I placed a clamp on the center of the cross and the support arm, and left it to dry.

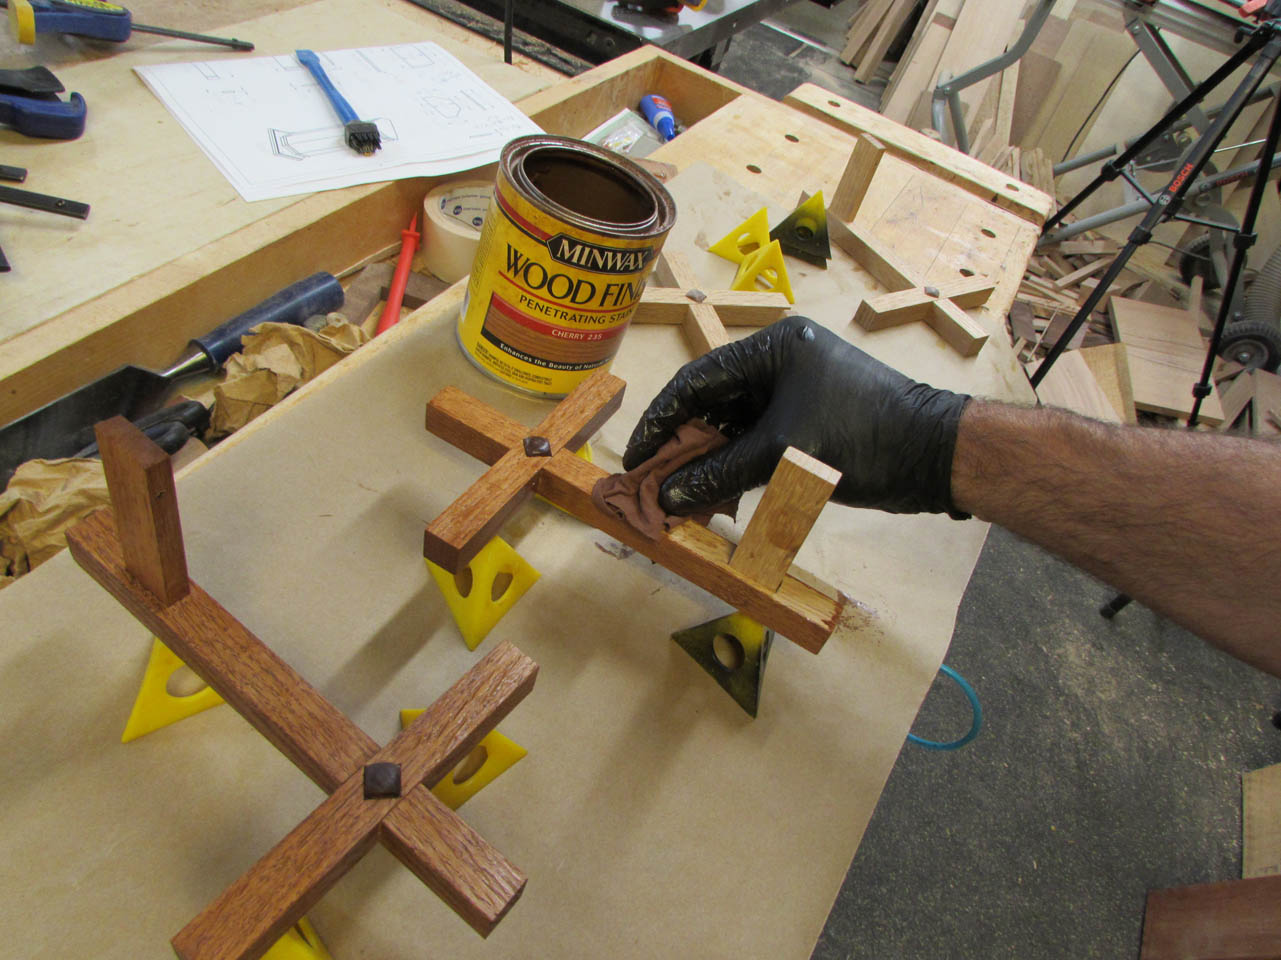
When dry, I applied the cherry stain that I used on the rest of the furniture and let it dry overnight.
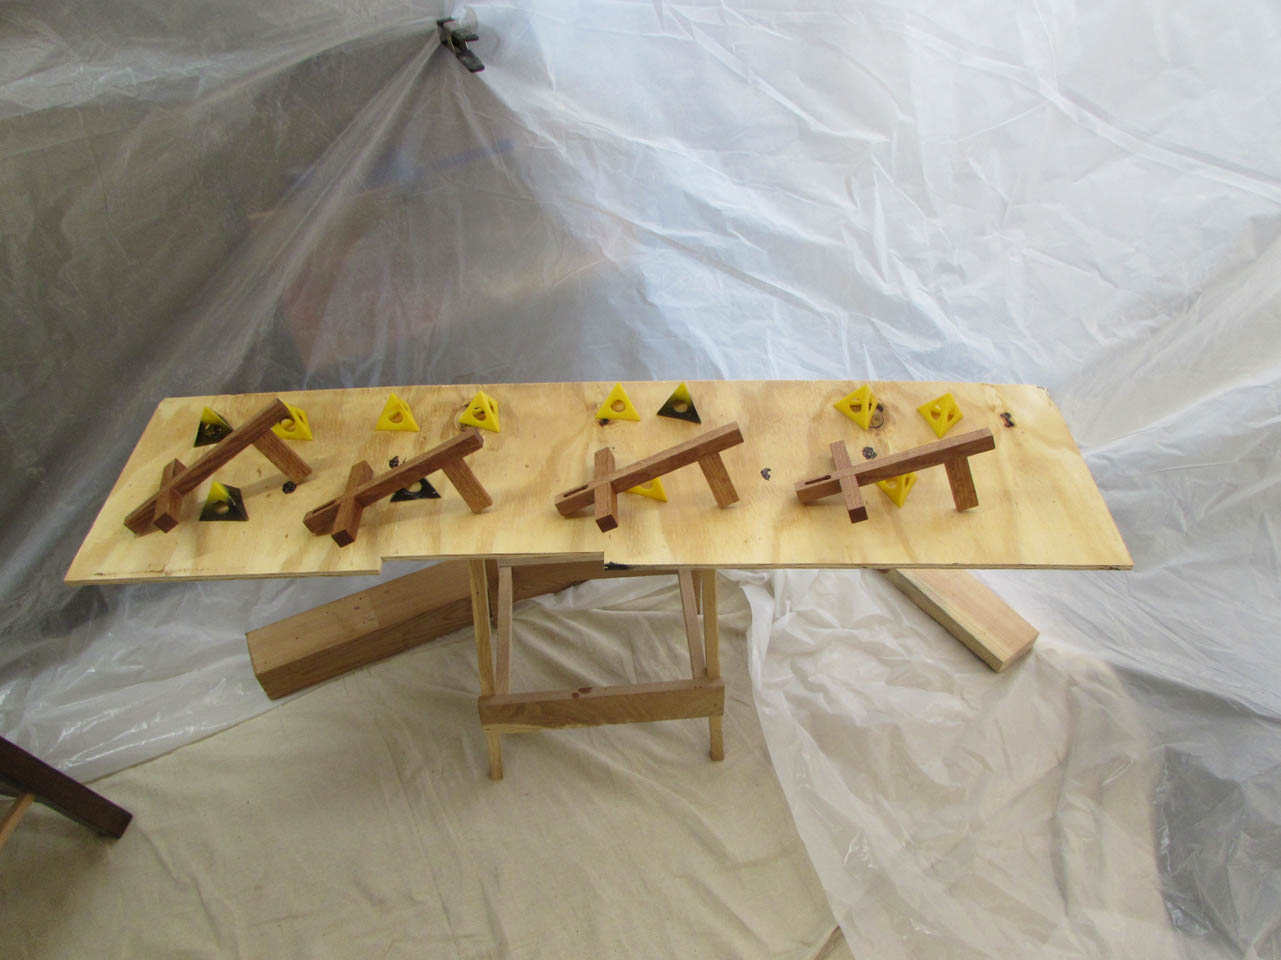
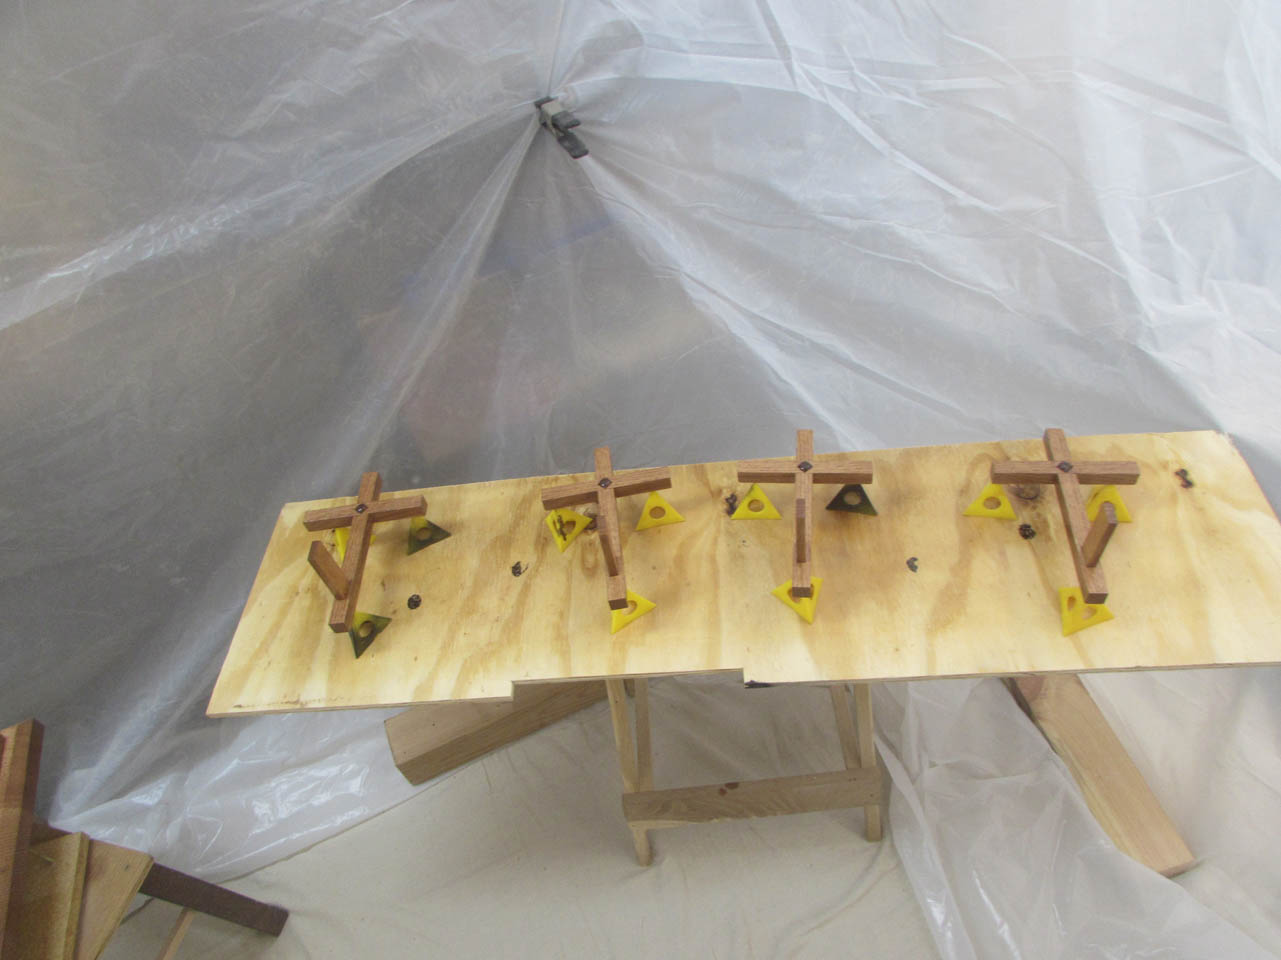
I set these guys up in my spray booth and applied a coat of polyurethane with my sprayer.


Between coats, I sanded everything down with 400 grit paper and wiped away the dust.
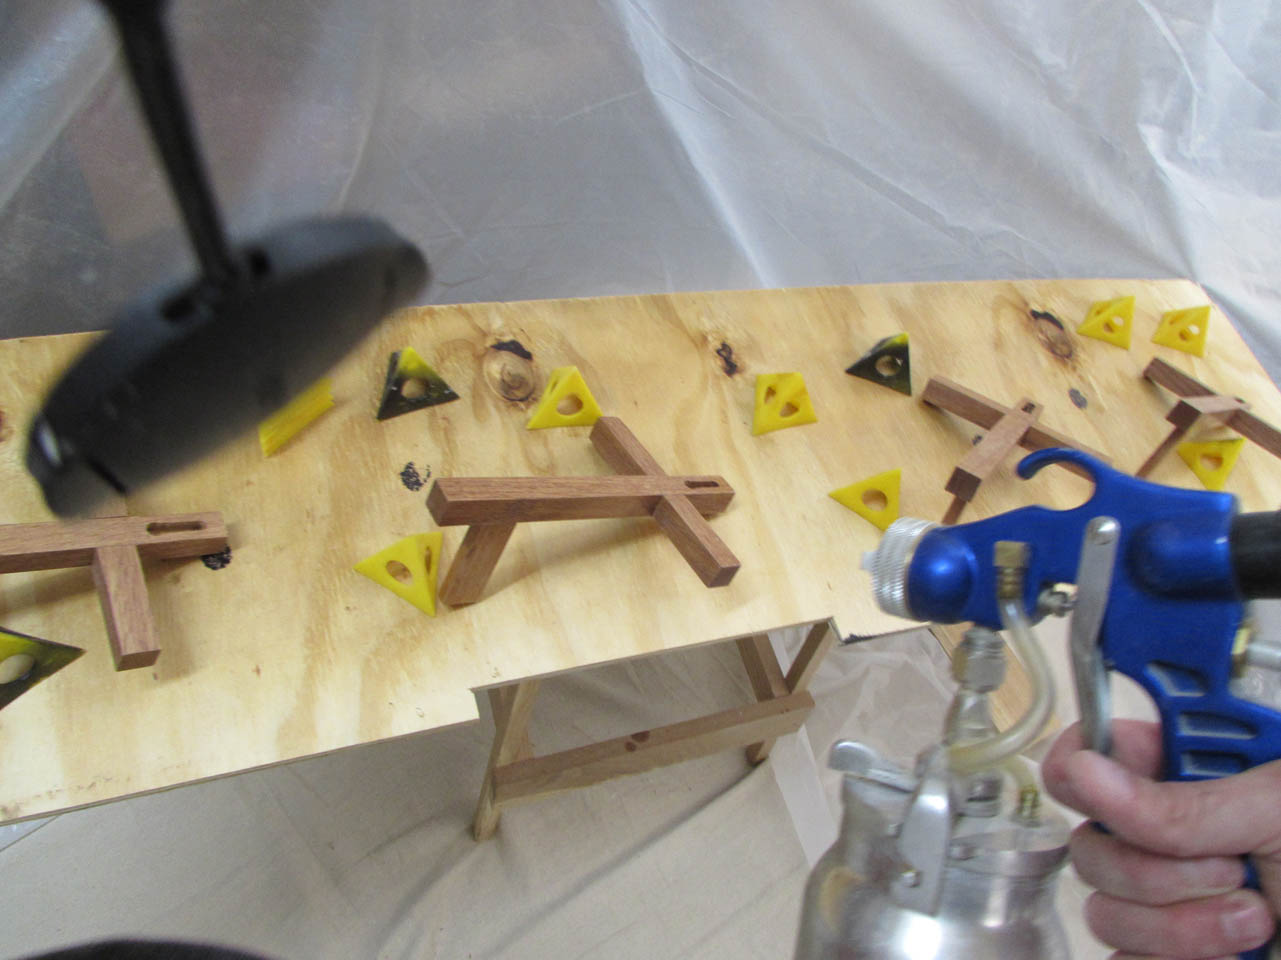
Then applied a second coat and left it to sit overnight.

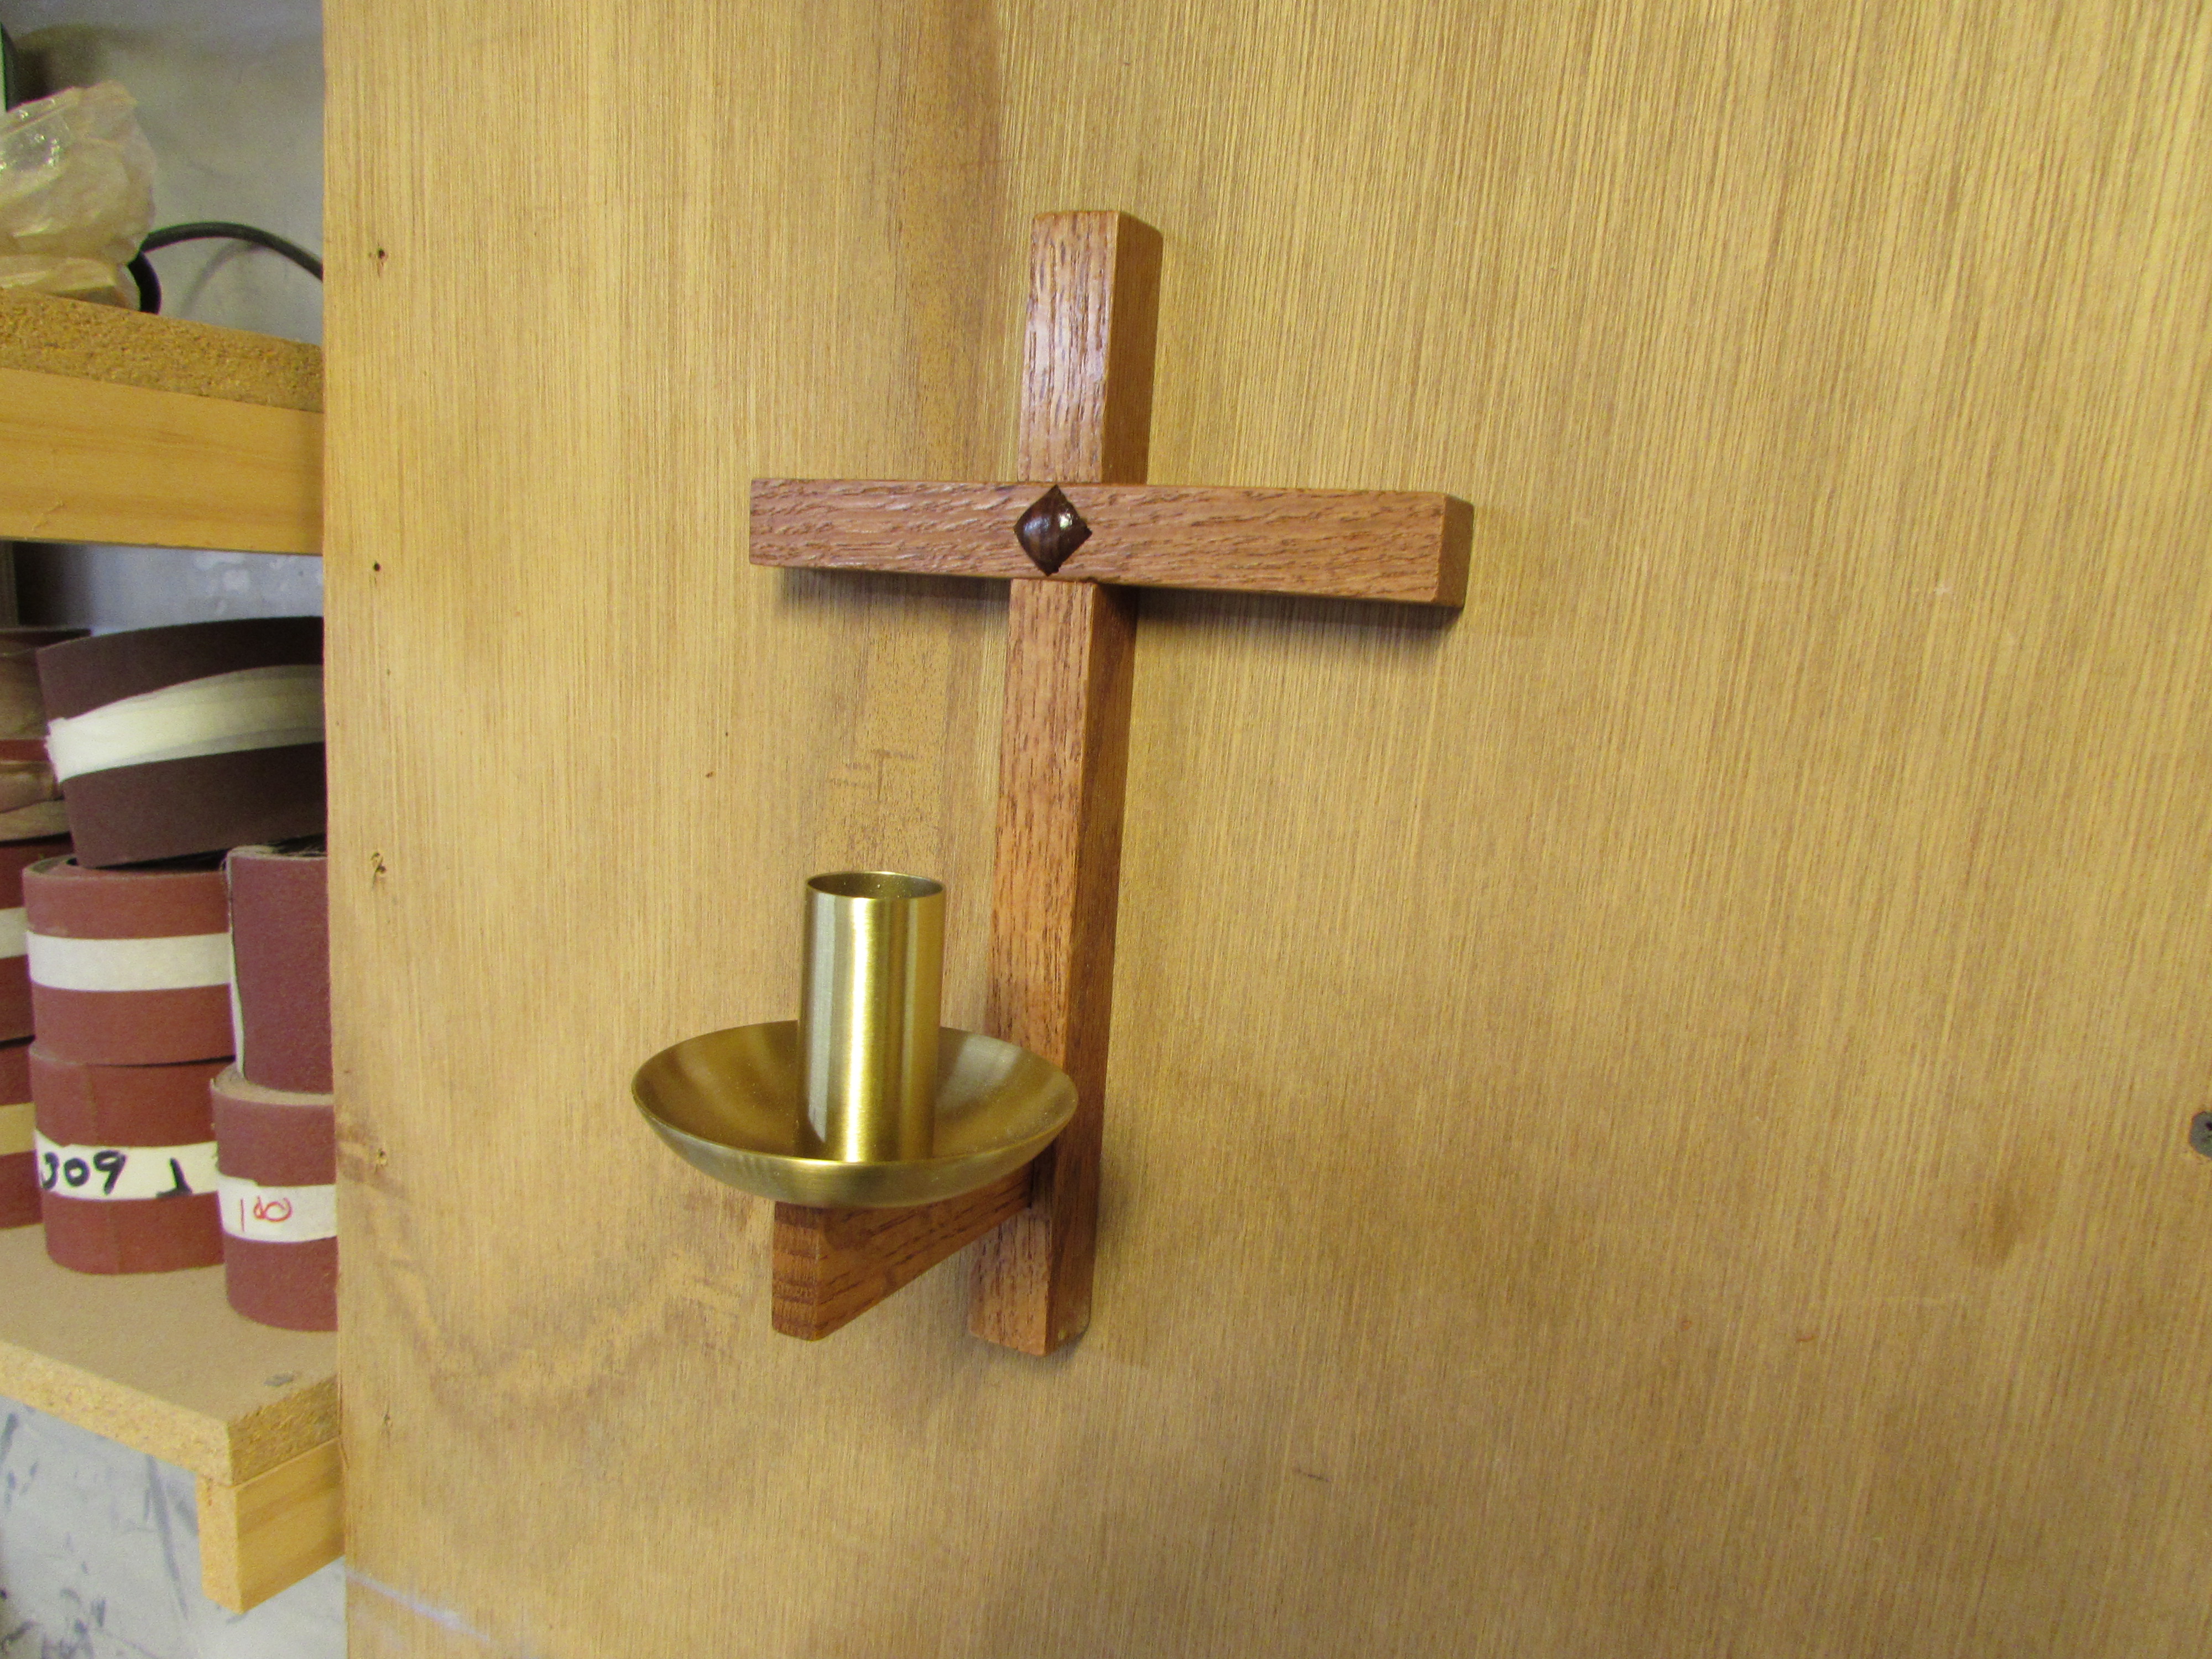
I removed the candle holder from the metal cross and using a brass colored wood screw, Attached the holder to the new cross.


I put a screw in the wall just to double-check that everything would hang correctly. Looks good.
I have packed all of the furniture for Saint Kilian church up in my truck along with the crosses. Tomorrow, I have a 4-5 hour drive to deliver it all. They are calling for thunderstorms all day tomorrow, so please say a prayer for my safe travels.

Pingback: St. Kilian chapel – Wall mounted holy water fonts | Midnight Woodworking